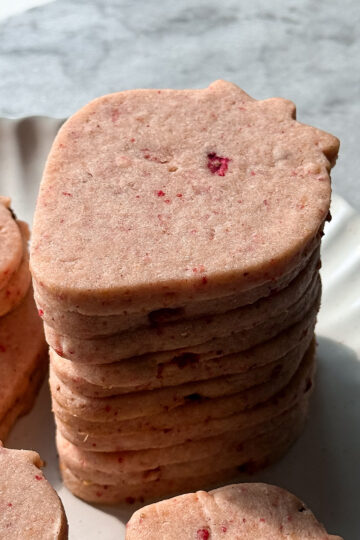
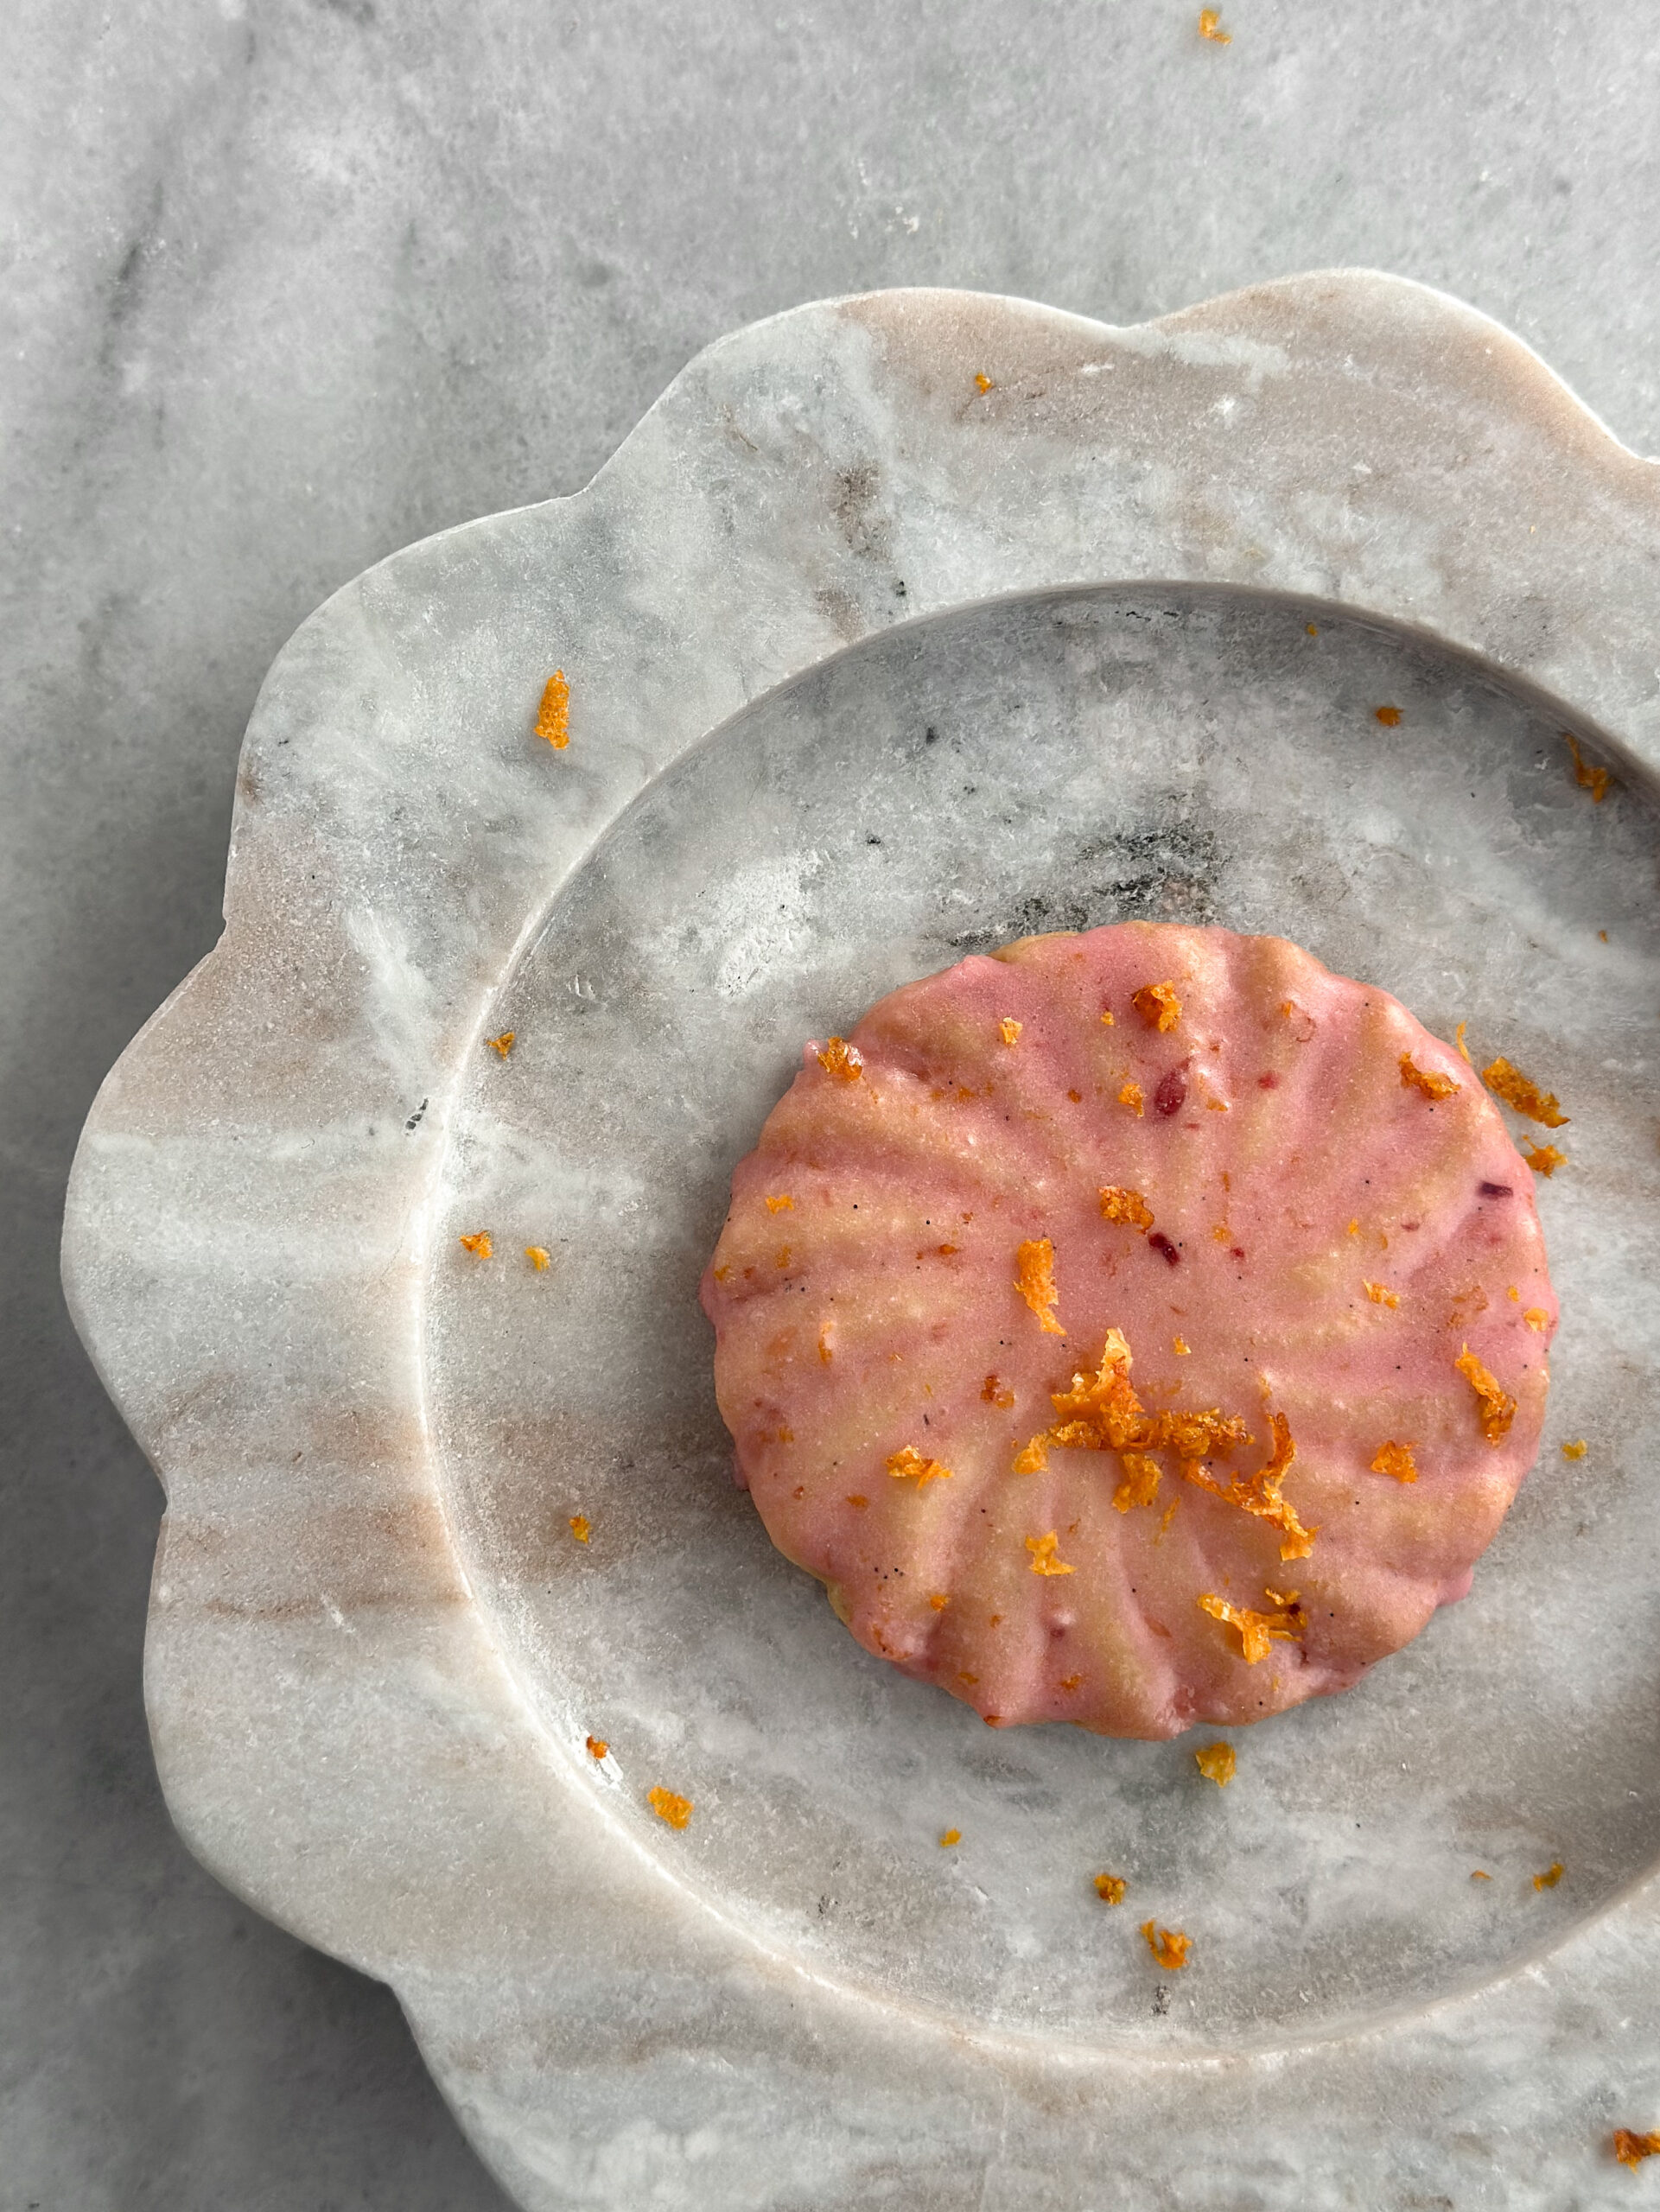
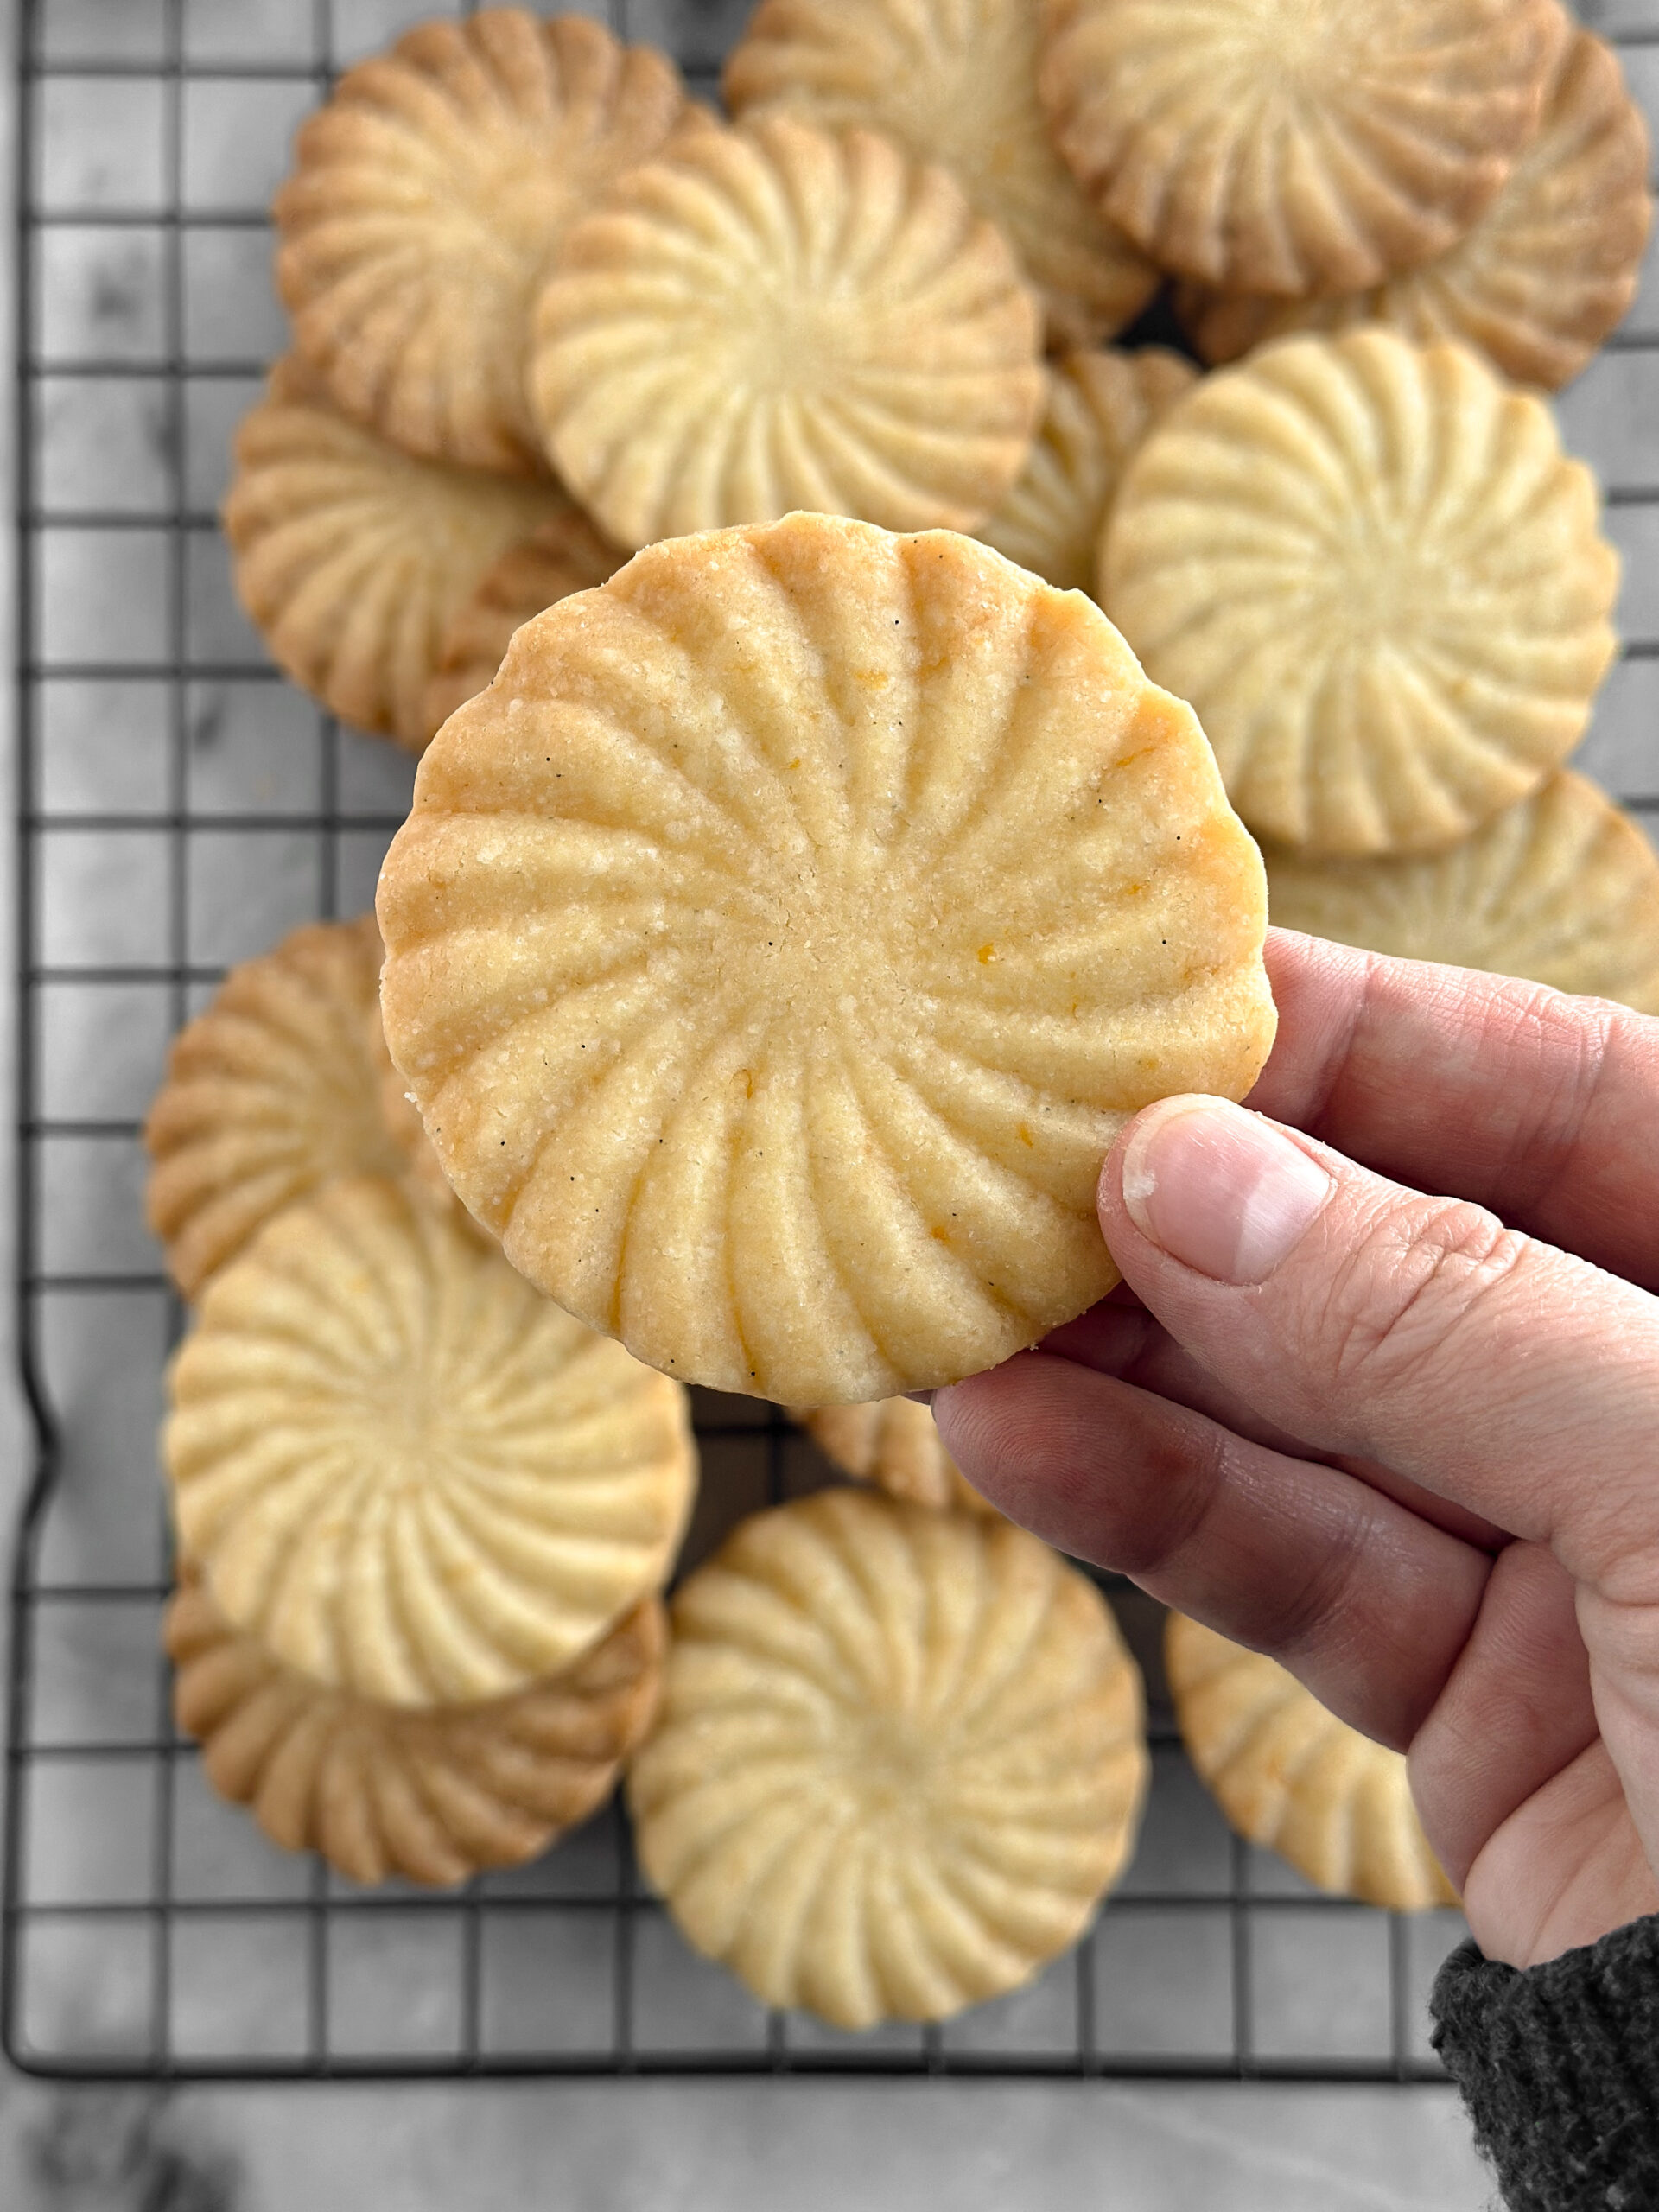
These stamped, buttery shortbread cookies are deliciously crisp and covered in a vanilla blood orange glaze which gives them an upscale creamsicle vibe, and who doesn’t want that?

why you’ll love stamped blood orange shortbread cookies
- The texture is unreal. I have tried making a shortbread cookie with this texture so many times. RIP to the butter. The texture of this shortbread cookie is perfect- crisp, crunchy and airy inside rather than dense.
- Who doesn’t love creamsicle flavor? This cookie’s blood orange vanilla bean glaze is an upscale version with fresh-squeezed blood orange juice, zest, vanilla bean paste, and a good pinch of salt.
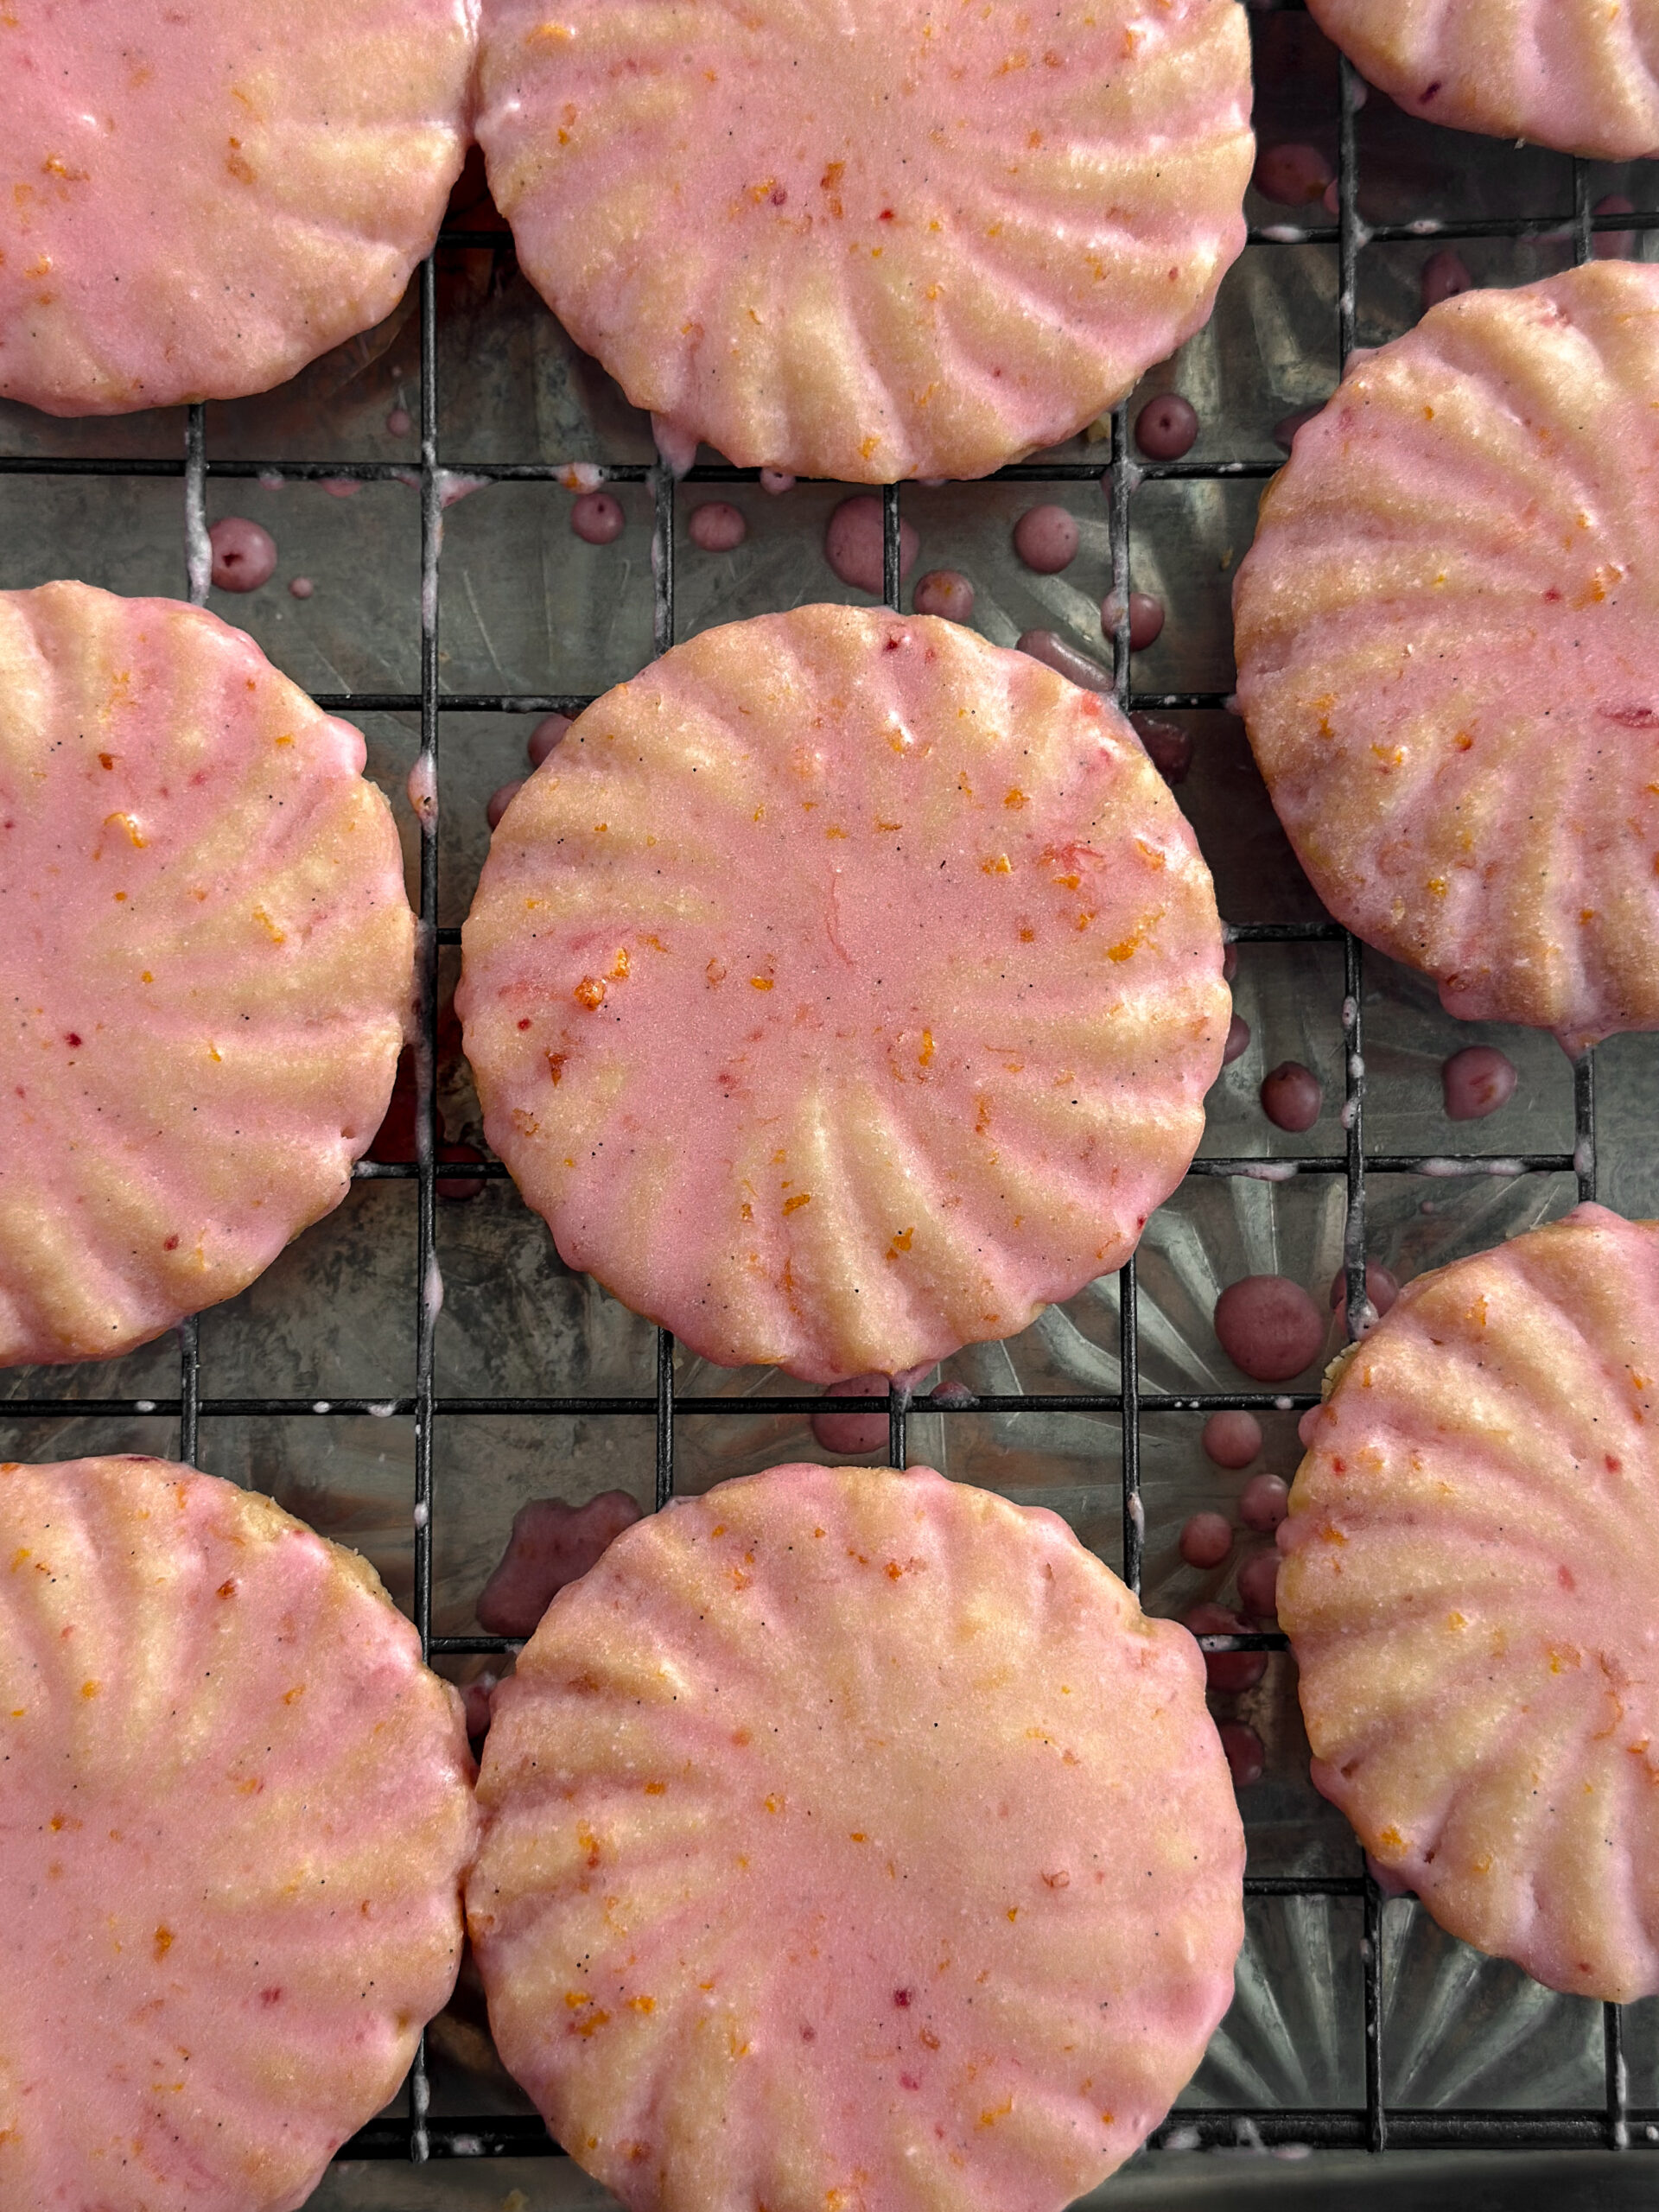
- They are just so pretty, let’s be real. That color is all natural.
- They are easy (even the stamping, I promise).
ingredients in blood orange stamped shortbread cookies
the cookie dough
- unsalted butter– If all you have is salted butter, it’s absolutely fine. If you are sensitive to salt, remove ¼ teaspoon of salt from the recipe. *You want the butter to be room temperature. If your butter is cold, put it in the microwave for three seconds, flip them, and microwave it again for another three seconds. Keep doing this until the butter is pliable. I keep my butter in the paper for this. Just be careful not to melt them or get them too soft.
- sugar– This cookie uses granulated sugar. I tested it with powdered sugar, as many shortbread recipes use powdered sugar, but the texture was not right. Granulated sugar gives the dough more lightness because the granular texture of sugar cuts into the butter in the creaming process, aerating the butter a bit. Powdered sugar made these cookies more dense and doughy rather than airy and crisp.
- Diamond Crystal kosher salt– I highly recommend grabbing a box of this salt here. It is the best salt for cooking and baking. However, if all you have is table salt, divide the salt in the recipe by half. (For this recipe, you would use ½ teaspoon of regular table salt rather than 1 teaspoon of Diamond Crystal kosher salt.)
- blood orange zest– This is technically optional, but it adds a bit of orange flavor and pretty bits of orange throughout the dough.
- vanilla bean paste– You can absolutely use vanilla extract if that’s all you have, but the flavor of vanilla bean paste is incredible and adds a bigger punch of vanilla than regular extract. Not to mention the added bonus of pretty speckles of vanilla bean caviar. I use vanilla from here and here and here..
- flour– This dough uses regular all purpose flour. I use King Arthur.
the glaze
- powdered sugar– the sweetness and bulk of the glaze
- unsalted butter- Melted, but don’t overheat the butter. Just melt it slightly and stir it until it’s melted through. *Salted butter is fine.
- orange juice– fresh squeezed blood orange juice
- vanilla bean paste– extract is fine, but the flavor of vanilla bean paste is even better here
- zest– adding some orange zest to the glaze adds a bit of texture and pops of orange color
- Diamond Crystal kosher salt– salt is important for the balance of flavors (if you use regular table salt, divide the amount by half- that would be ⅛ teaspoon of regular table salt rather than the ¼ teaspoon of Diamond Crystal kosher salt)
supplies needed to make blood orange stamped shortbread cookies
- stand mixer or hand mixer
- mixing bowl (if you’re using a hand mixer)
- spatula- for scraping down the bowl
- scale (trust me, it will make everything easier)
- microplane or zester- for zesting the orange
- citrus juicer of some sort
- fine mesh sieve or sifter- to sift the powdered sugar for the glaze (it turns out this is not optional unless you’re fine with little lumps of powdered sugar in your glaze)
- parchment paper– for rolling the dough and baking on
- rolling pin and guides set to ⅙″ or ¼″ (I did ⅙″)
- baking sheets, two
- stamps from Nordic Ware (mine was from this set, but you can use whatever you like)
- 2 ½″ circle cookie cutter
- an offset spatula- to help lift the cookies from the parchment once they’ve been cut (it made the process so much easier!)
how to make blood orange stamped shortbread cookies
These stamped, buttery shortbread cookies are deliciously crisp and covered in a vanilla blood orange glaze (which gives them an upscale creamsicle vibe). They are not difficult to make, despite the fact that they are stamped, which has caused me many a headache in the past.
*Always prepare the ingredients and supplies before beginning to make a recipe.
make the dough
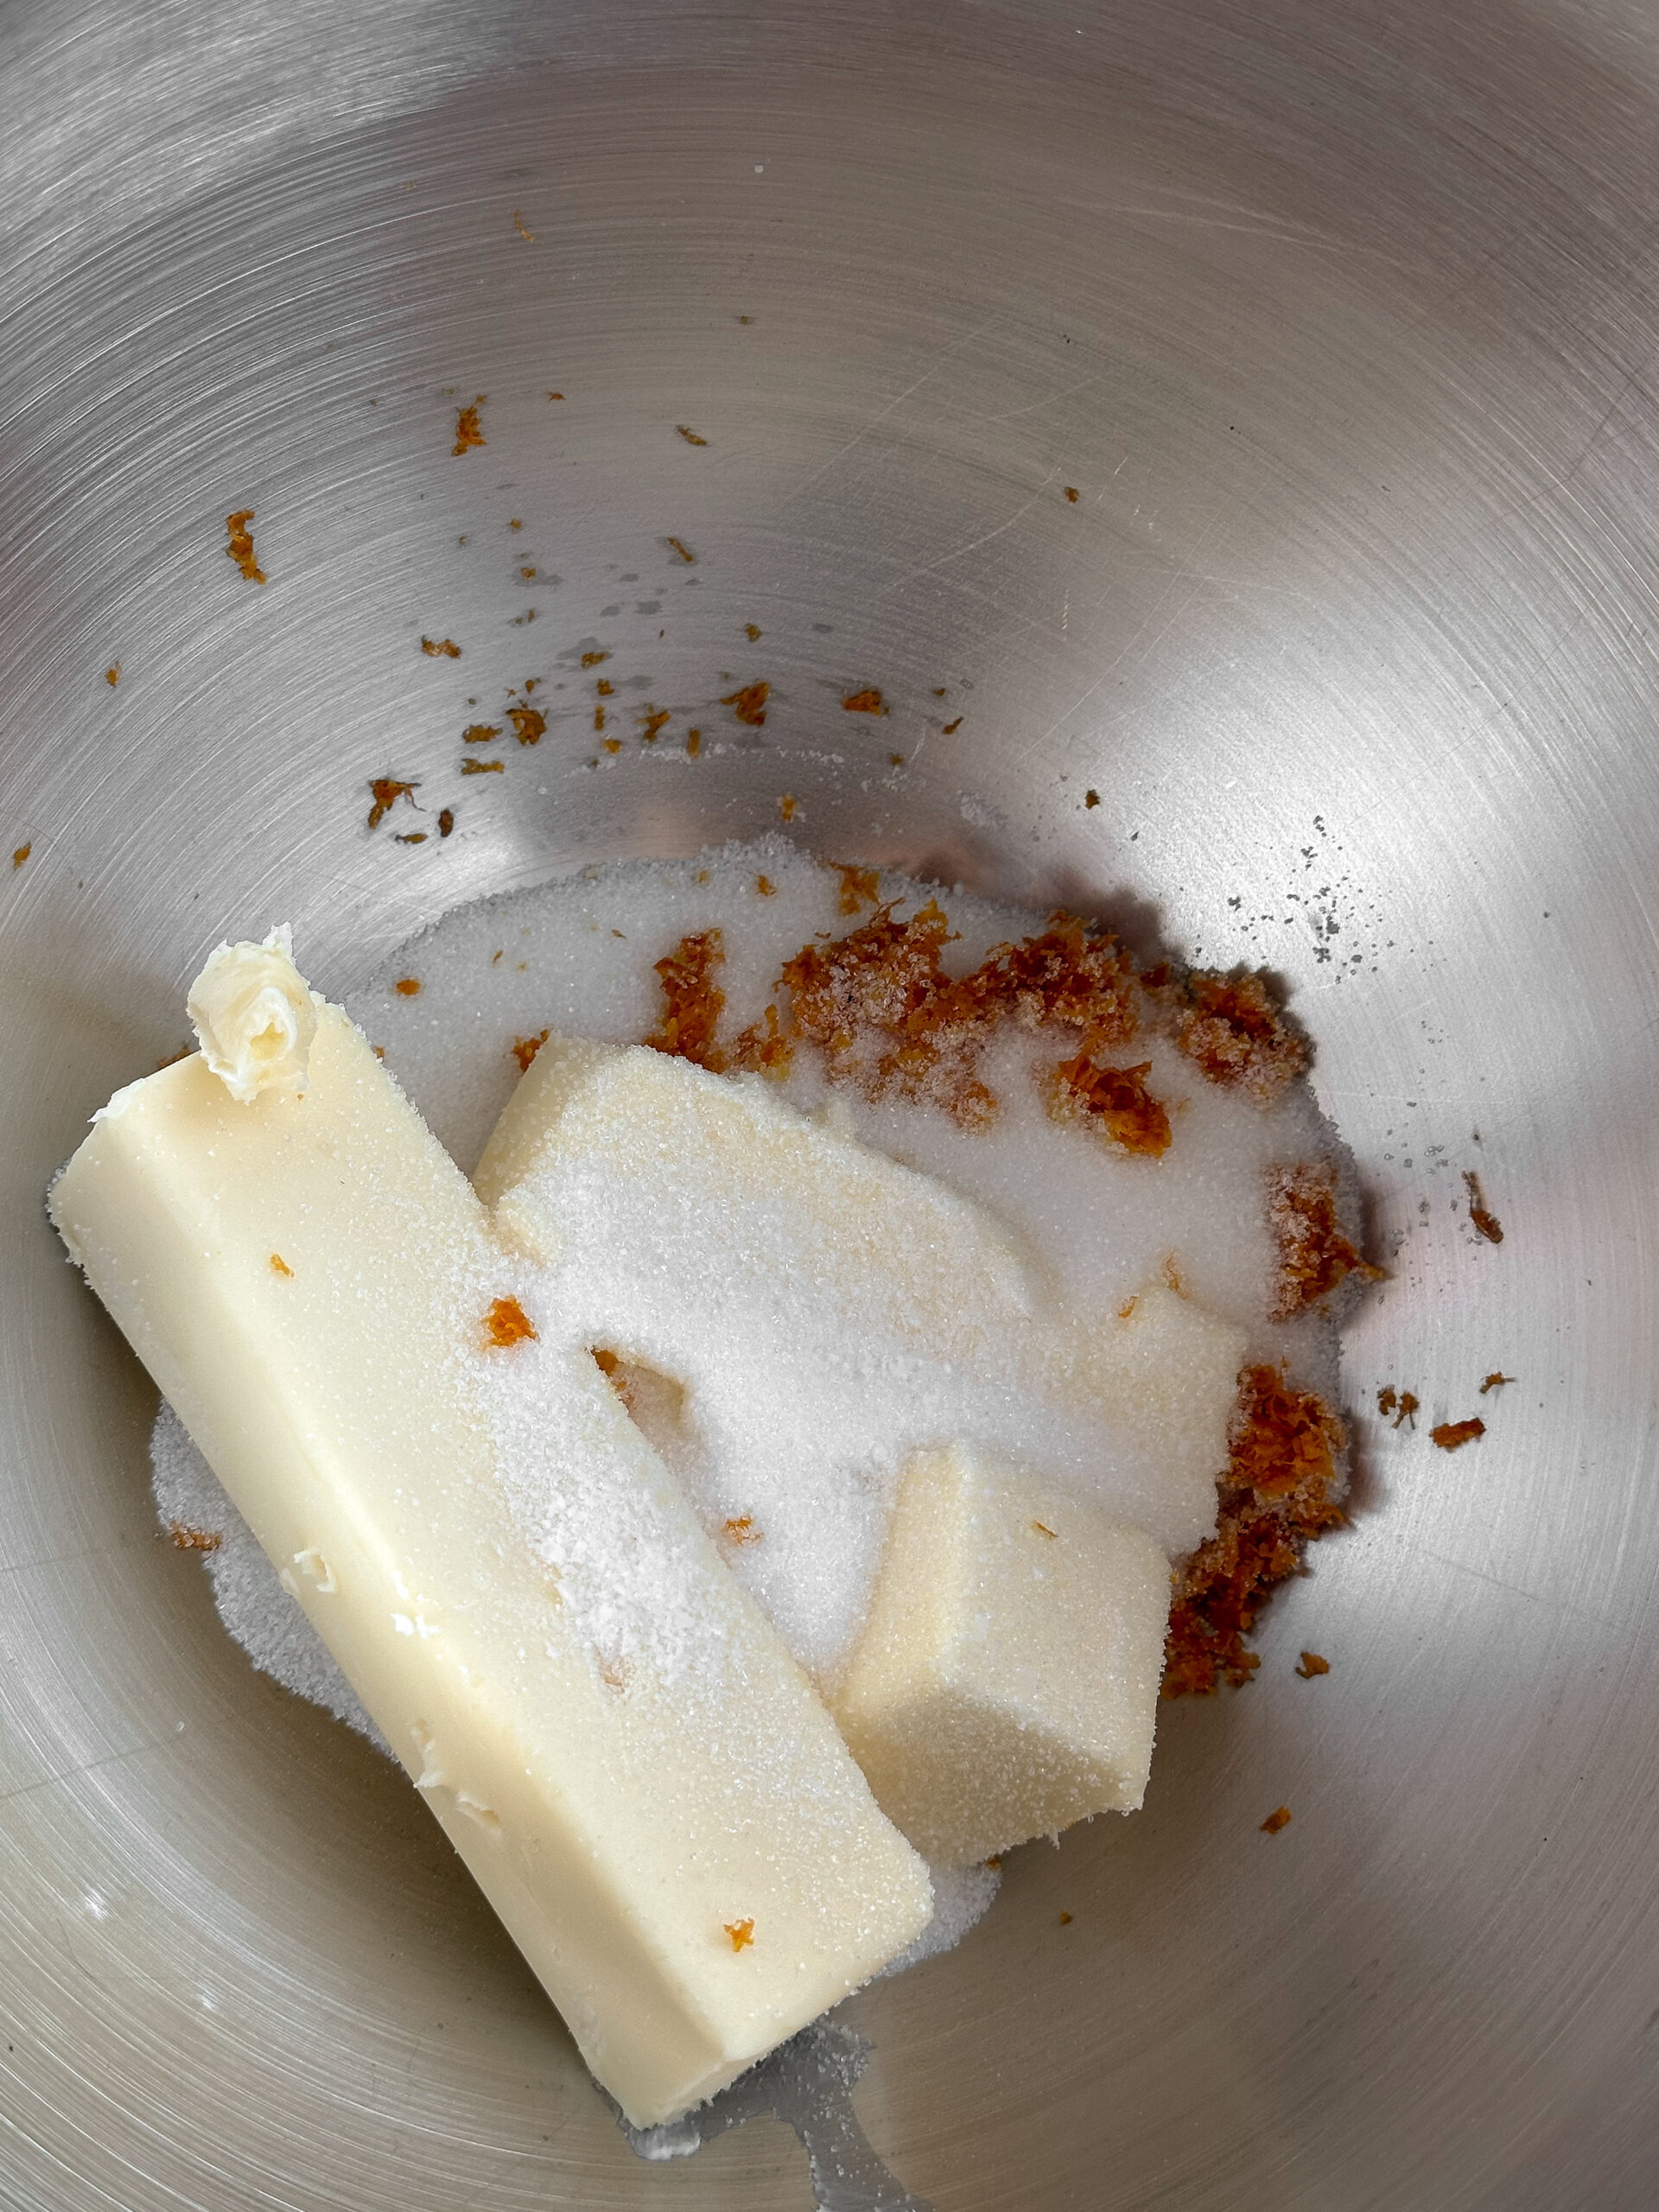
To a mixing bowl, add the room temperature butter, salt, granulated sugar, and the orange zest. Mix on medium-low speed to cream the mixture. It should be lightened and completely mixed with no lumps of butter. You don’t need to cream it to be light and fluffy like you would if you were making a cake.
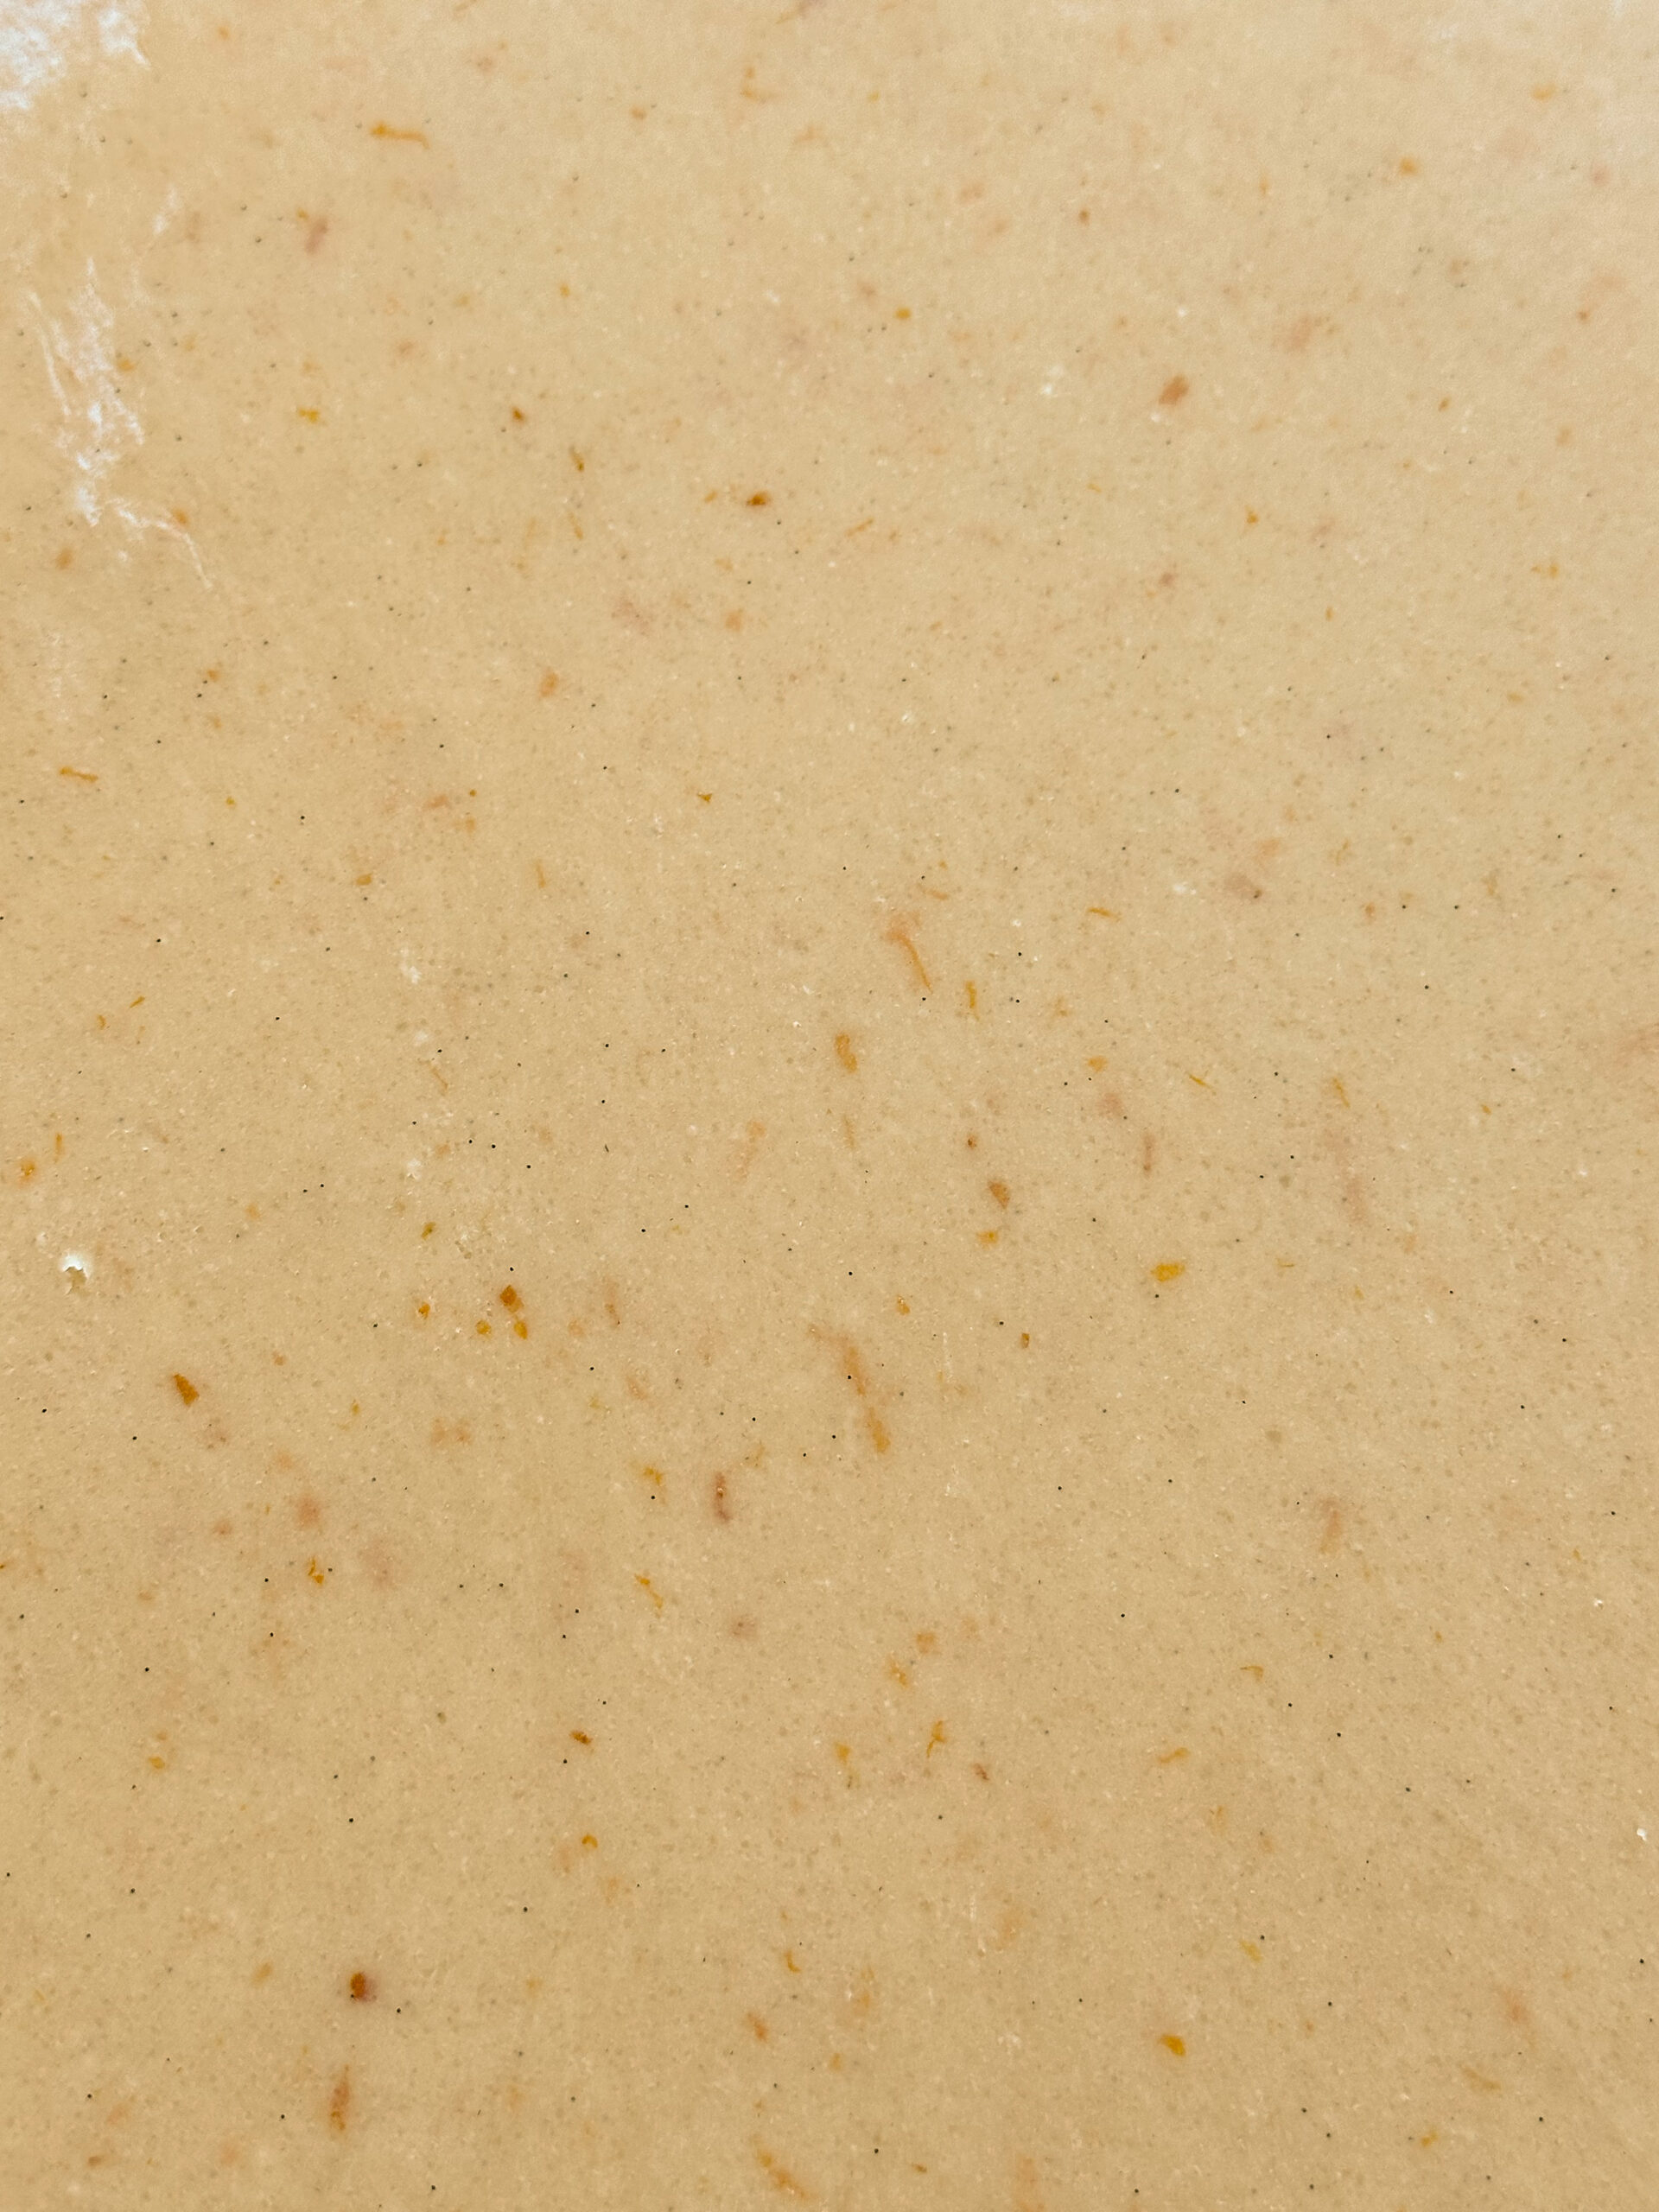
Add the vanilla and mix just until combined. Add the flour all at once and mix until combined. Scrape down the sides to make sure there are no lumps of flour or bits of butter.
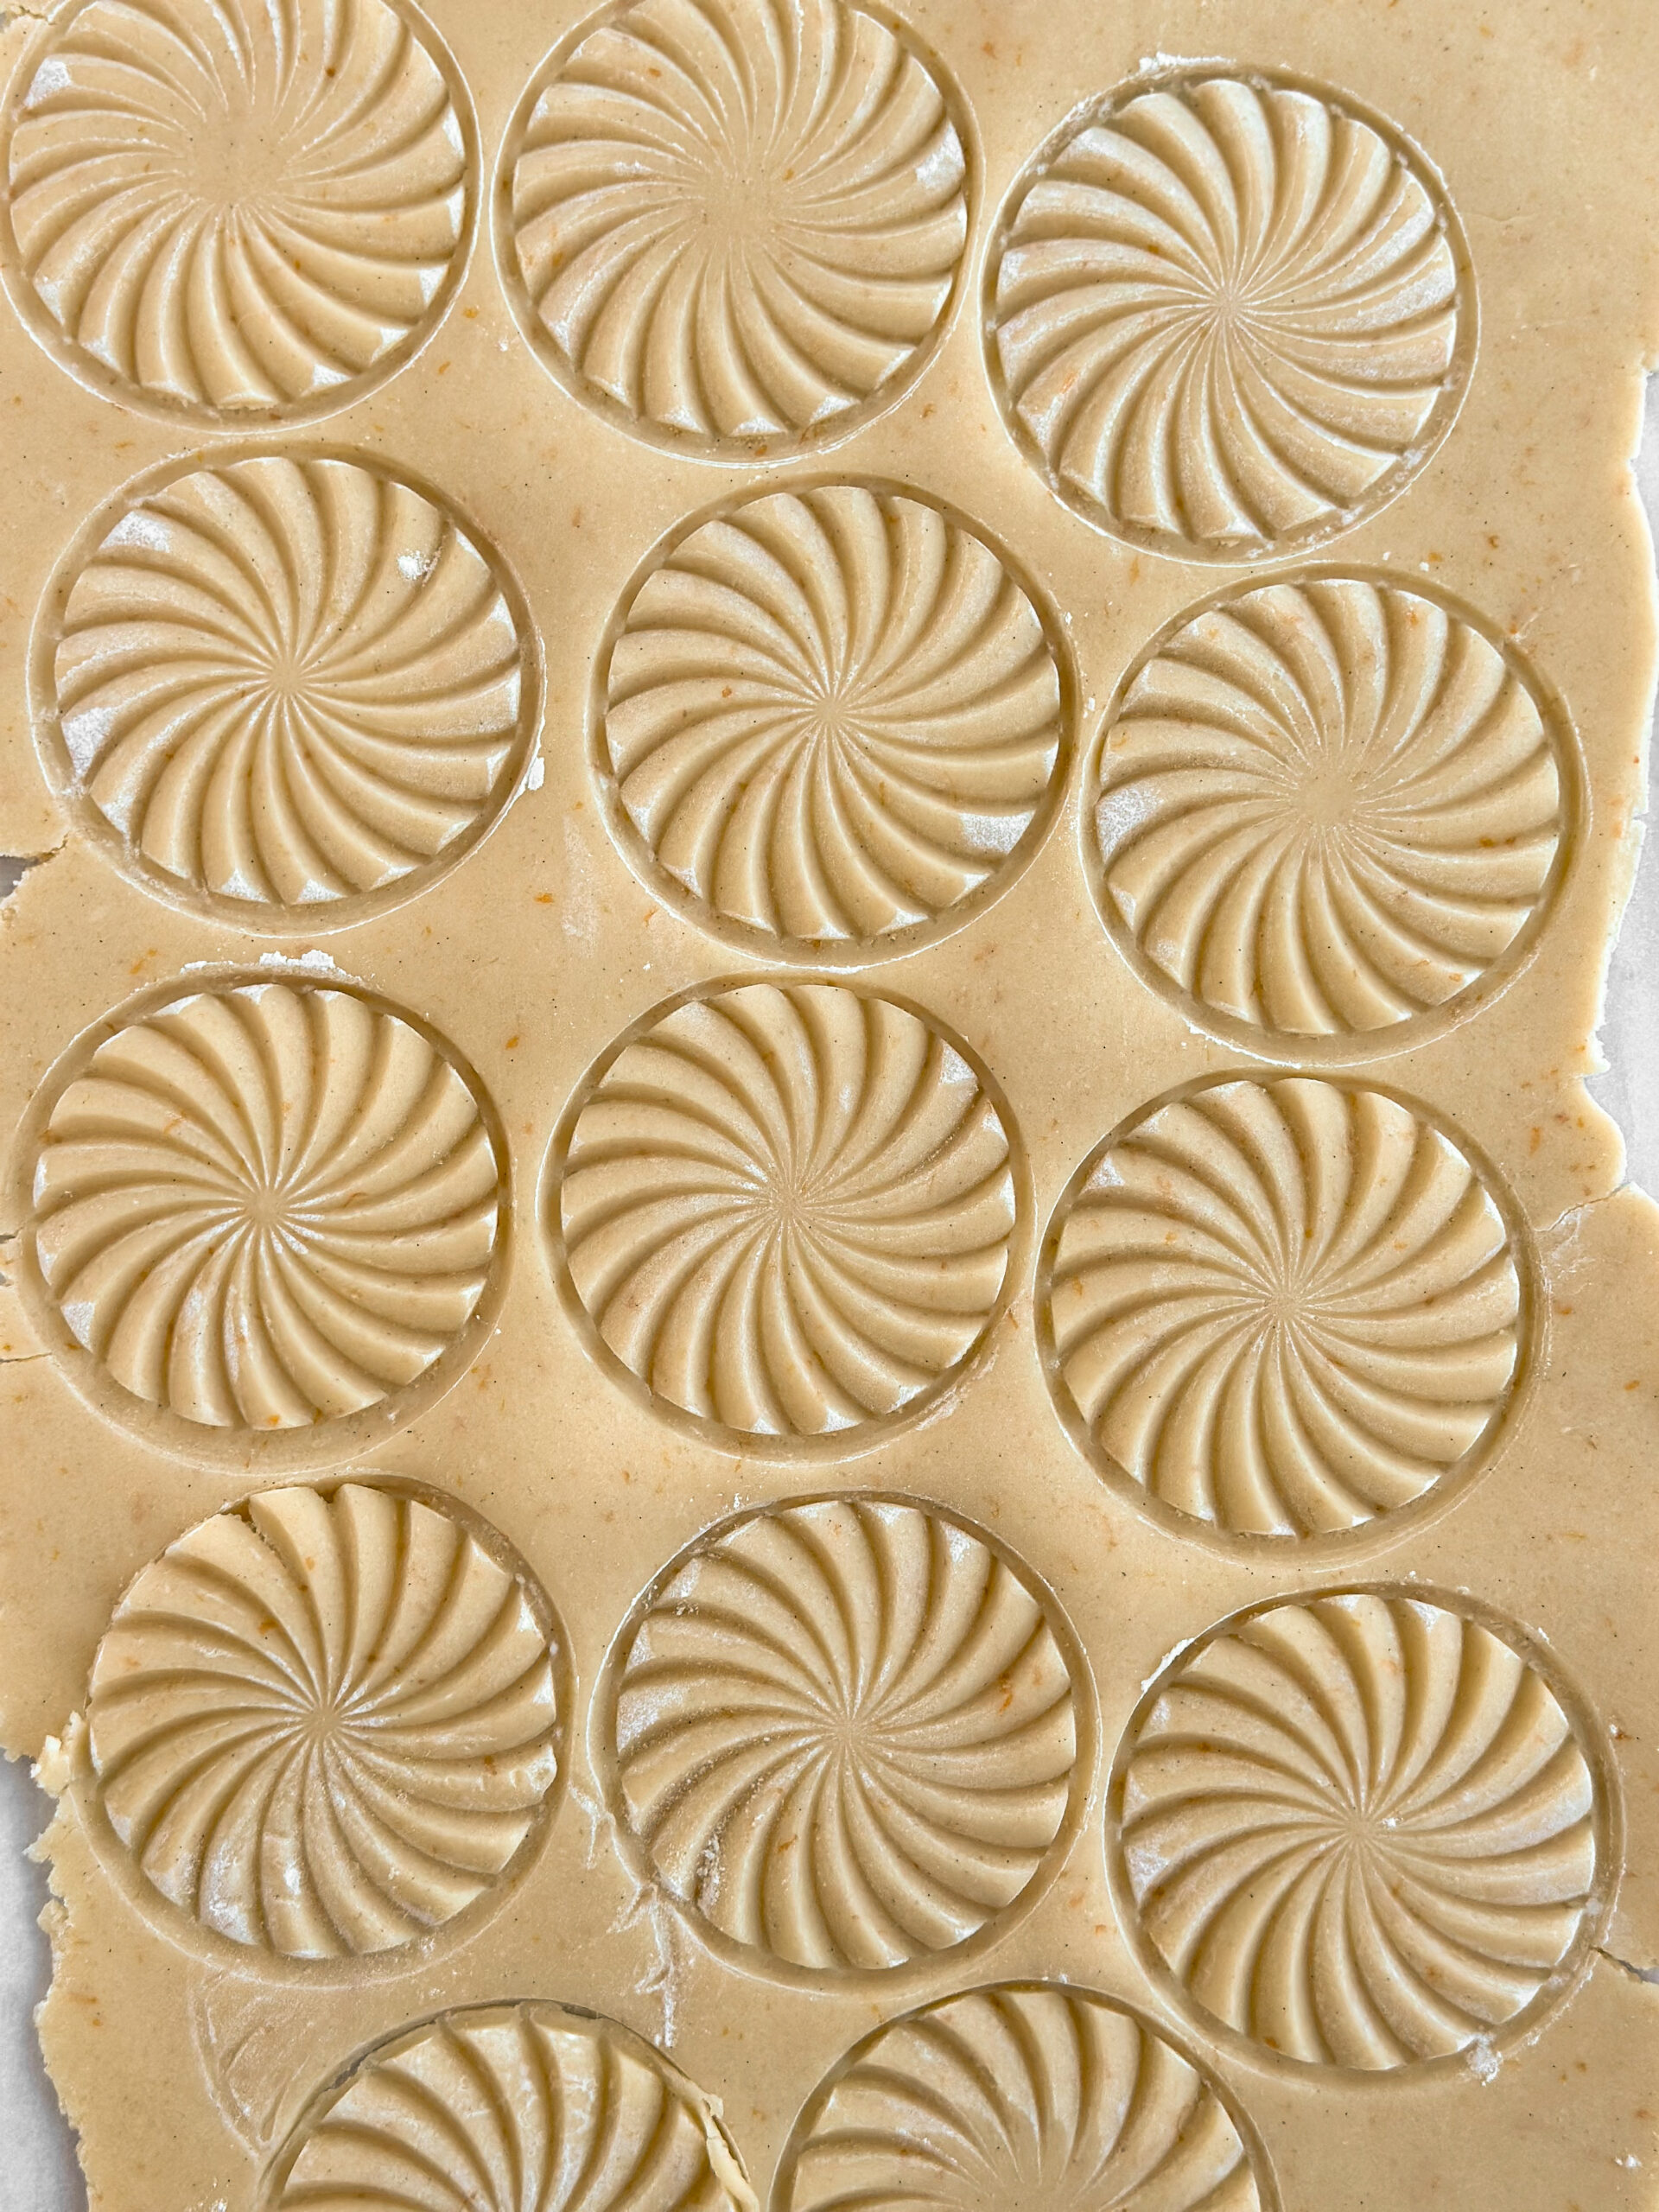
Drop dough onto a lightly floured piece of parchment paper. Gently press the dough into a thick rectangle, smoothing the sides of the dough. Sprinkle flour on the dough and place a second piece of parchment paper on top. Roll out the dough with a rolling pin fitted with guides set to ¼″ or ⅙″. Stamps tend to work better with dough rolled to ¼″, but I prefer the texture of a ⅙″ rolled cookie. I found that wiggling while pressing the stamp into the dough and stamping room temperature dough solved the problem of using the thinner rolled dough.
Once the dough has been rolled, immediately peel off the top layer of parchment. If there is any visible stickiness, sprinkle some flour over the surface and gently brush it off with your hand. If the dough is extremely flexible and sticky, pop it in the fridge for a half an hour. (It shouldn’t need fridge time at this stage, though.)
Dip your cookie stamp into flour before pressing into the surface of the dough. Press firmly and wiggle the base of the stamp into the dough to make sure that the entire surface of the stamp is in contact with the dough inside the stamp.
Don’t be alarmed, but the first stamp is sometimes a dud. If you find that the first stamped cookie gets stuck in the stamp, simply remove the dough and set it to the side for when it’s time to re-roll the dough. To remove the dough, use a cocktail pick, toothpick, or a cake tester. Dip the stamp in flour, making sure that flour is evenly coating the stamp with no bare areas and no large clumps of flour. Stamp again, continuing through the entire sheet of dough until there is no more open space. Dip the stamp in flour before stamping each time.
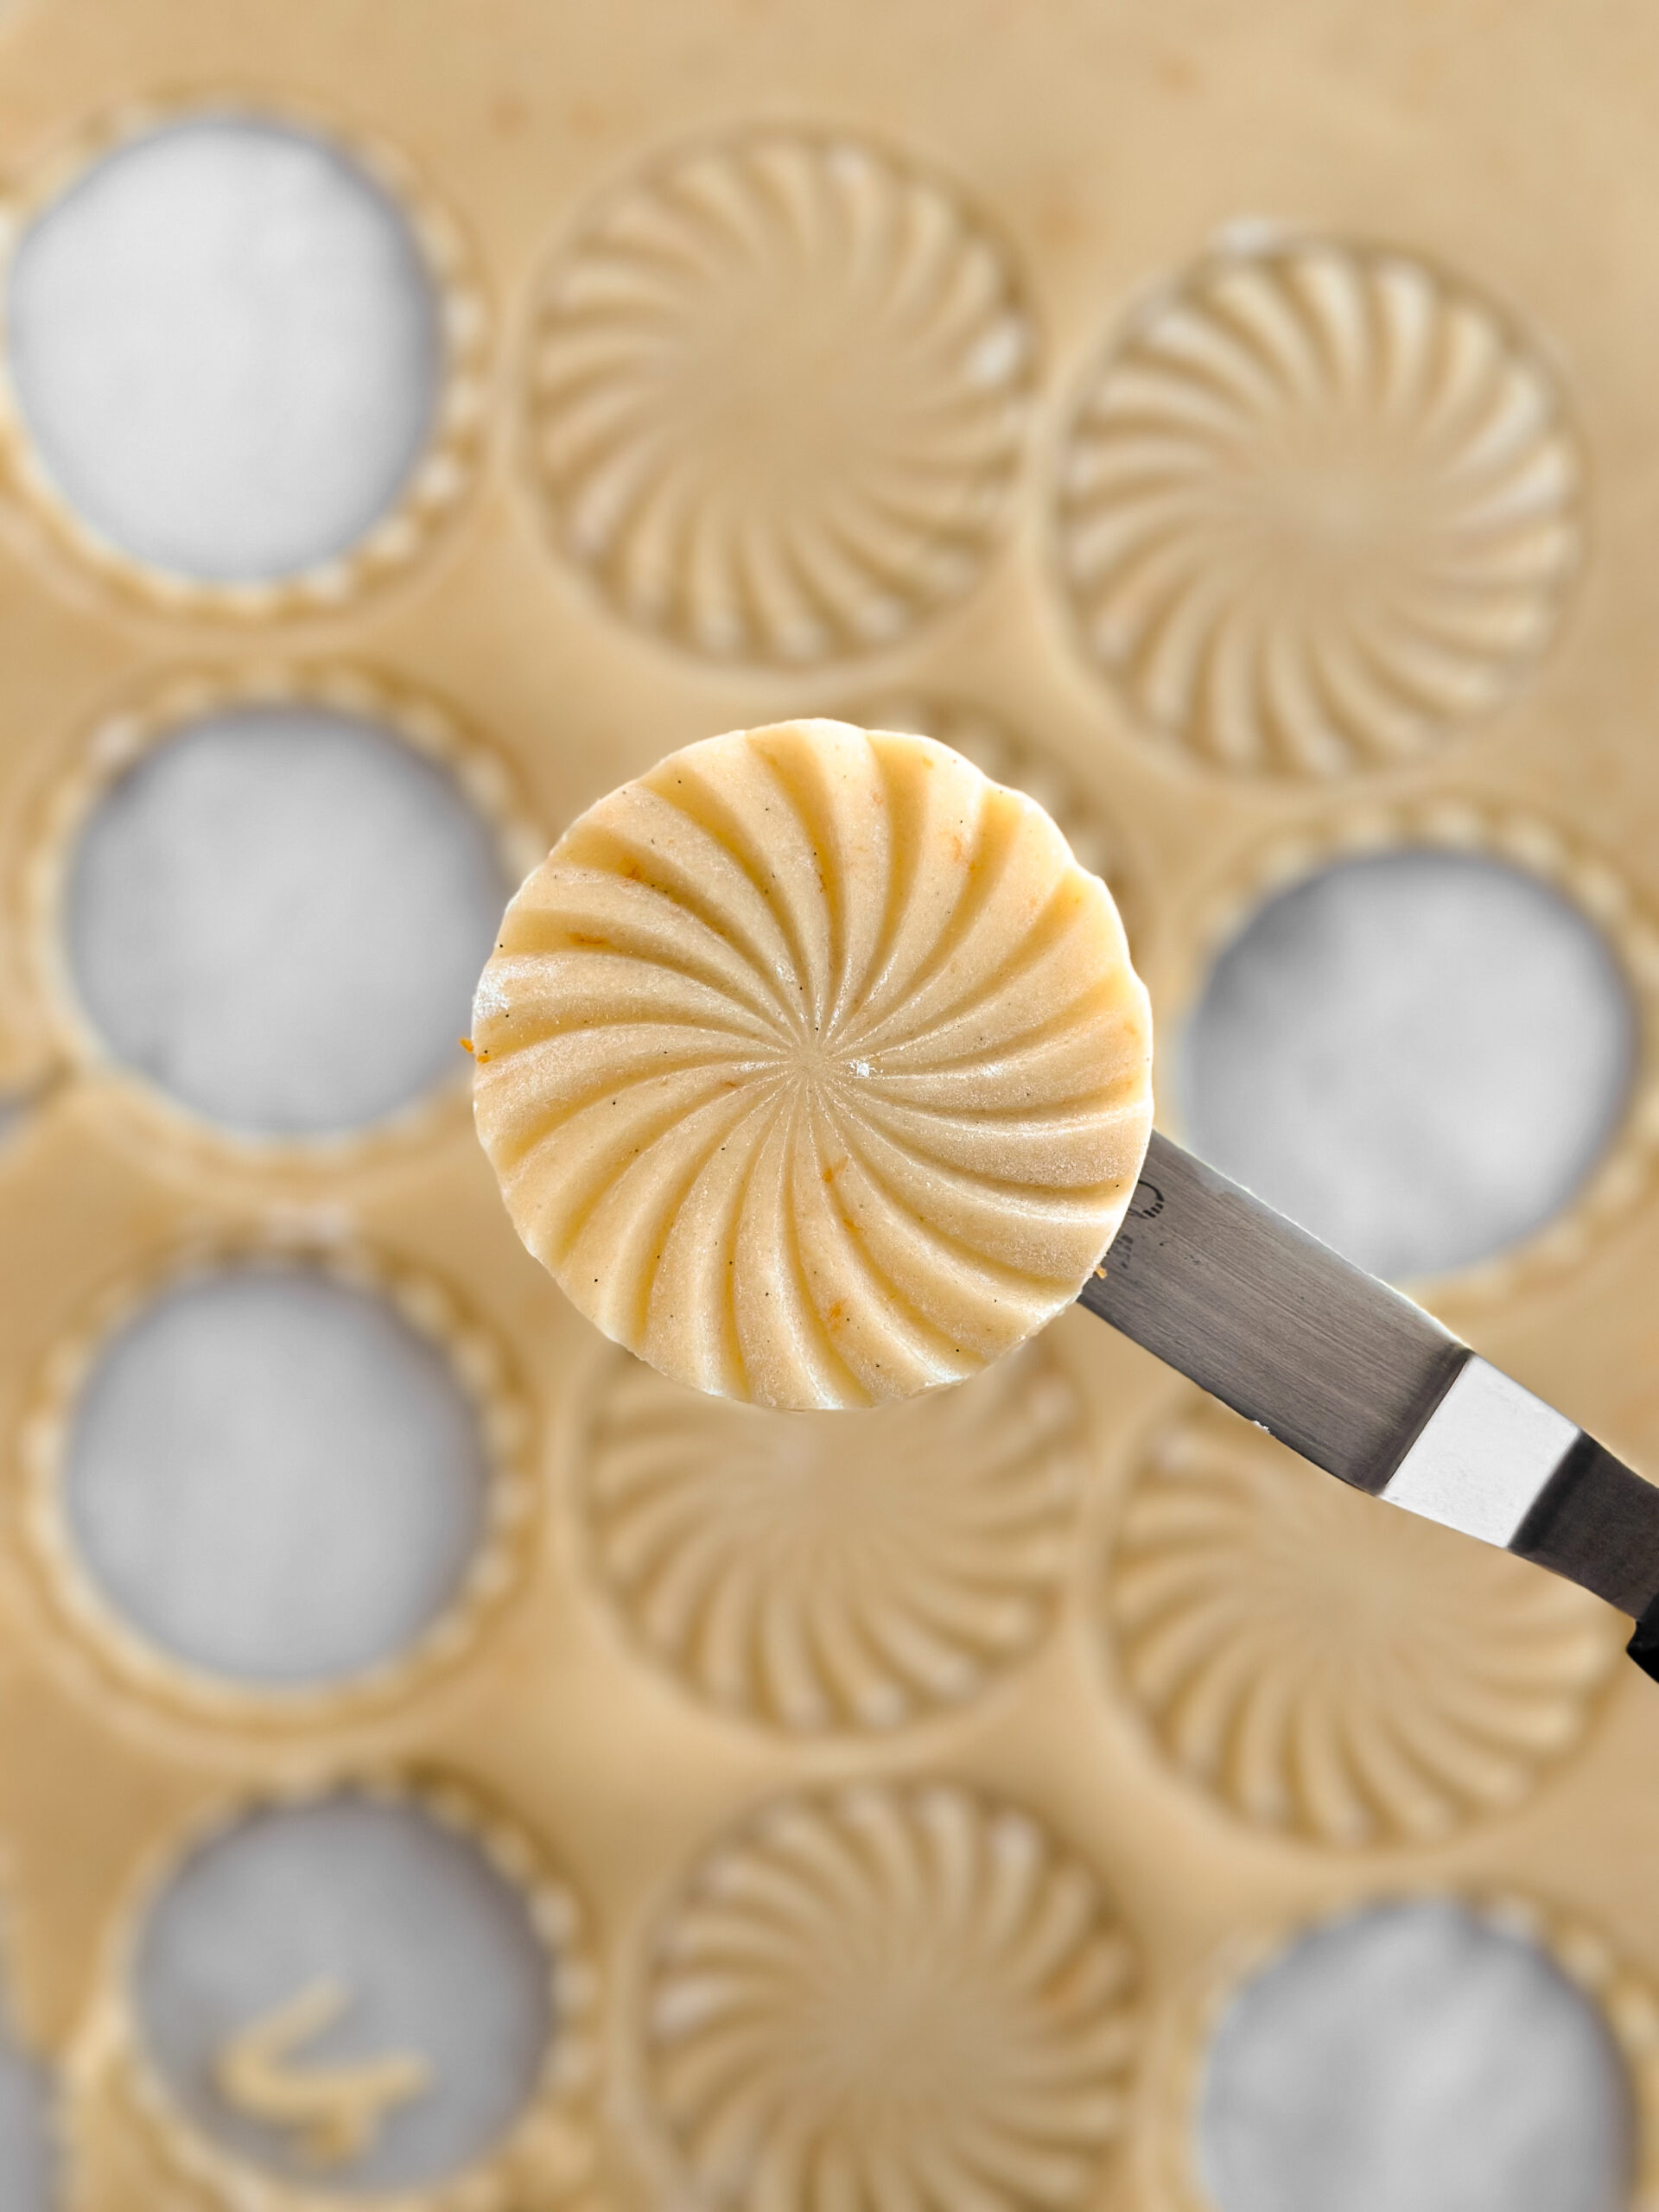
Use a 2 ½″ round cookie cutter to cut the stamped shapes from the dough. Use an offset spatula to gently pick them up from the parchment and transfer them to a parchment lined baking sheet. (Make sure you line your pan with the parchment paper you peeled off the top of the dough rather than getting a new piece.)
Re-roll your dough another time or two. This recipe makes around two dozen cookies, give or take depending on how thick you roll your dough. I got about thirty cookies rolled at ⅙″ with re-rolling a couple of times.
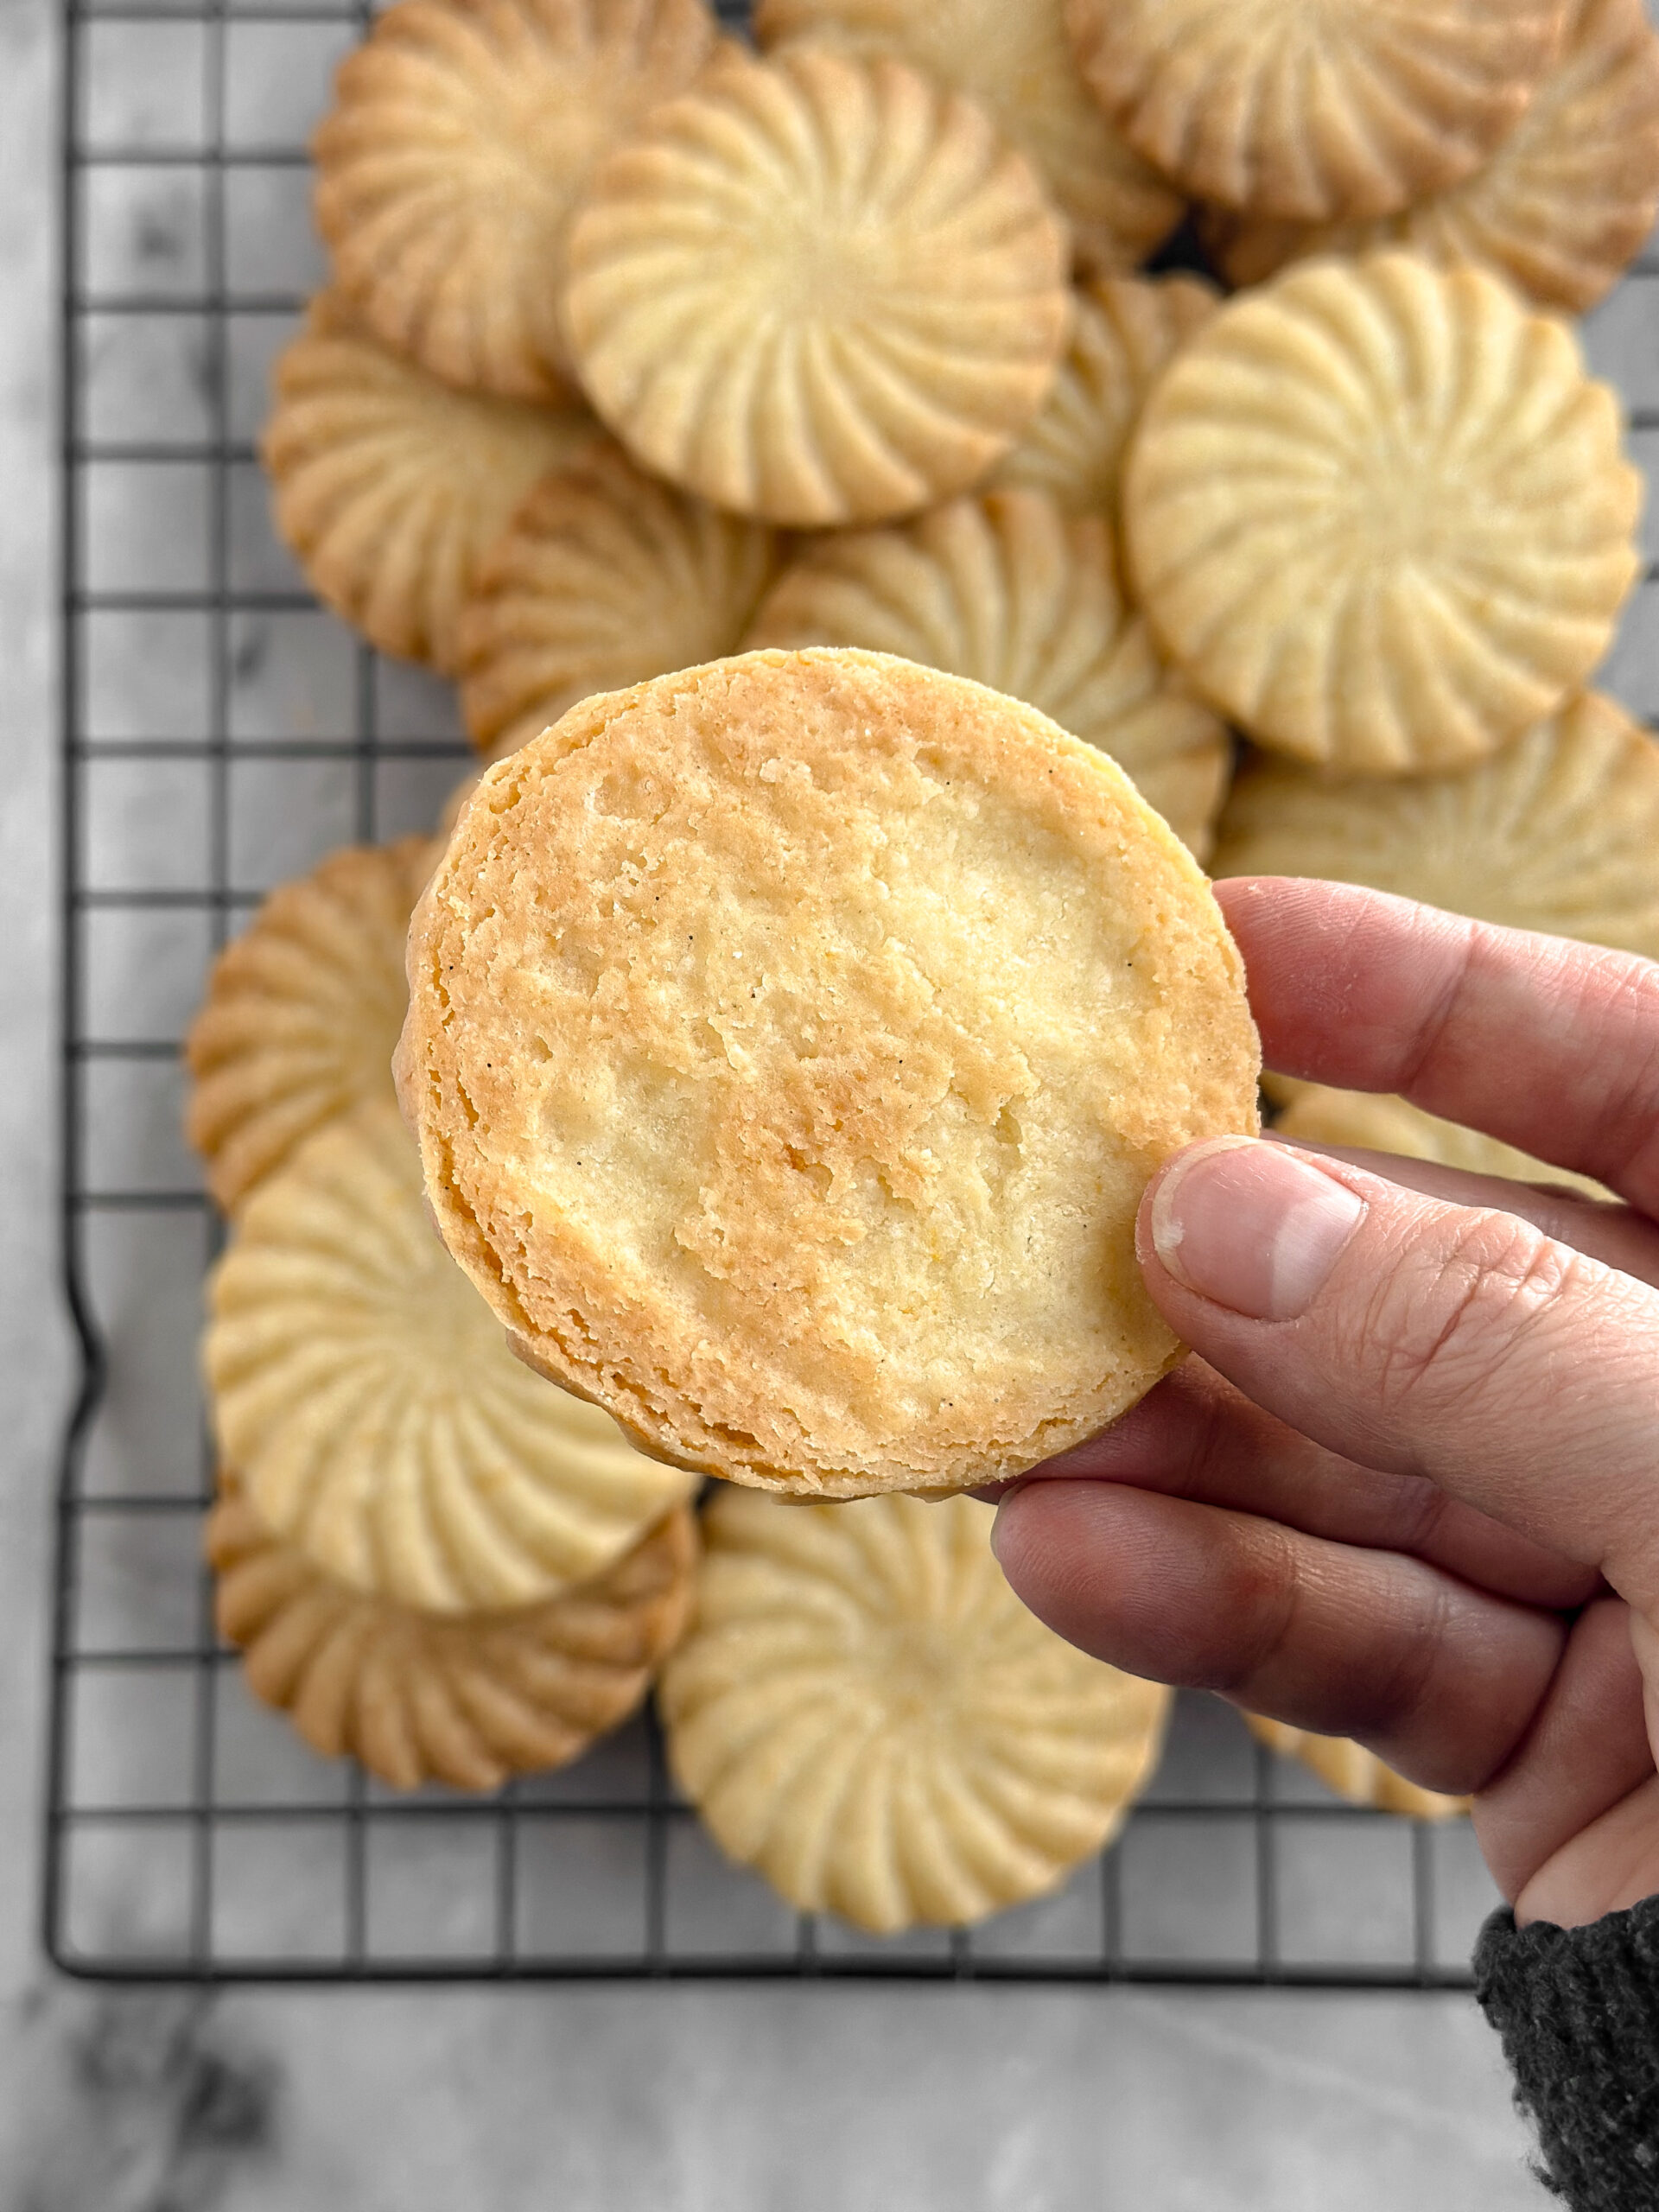
Freeze the sheet of cookies for five minutes before baking, just to help them retain their shape. Bake at 350 F for 15-17 minutes for a crisp texture with golden brown bottoms. (The best flavor comes from a golden brown bottom!) Allow the cookies to cool slightly on the pan for a couple of minutes before transferring to a wire rack to cool completely.
make the glaze
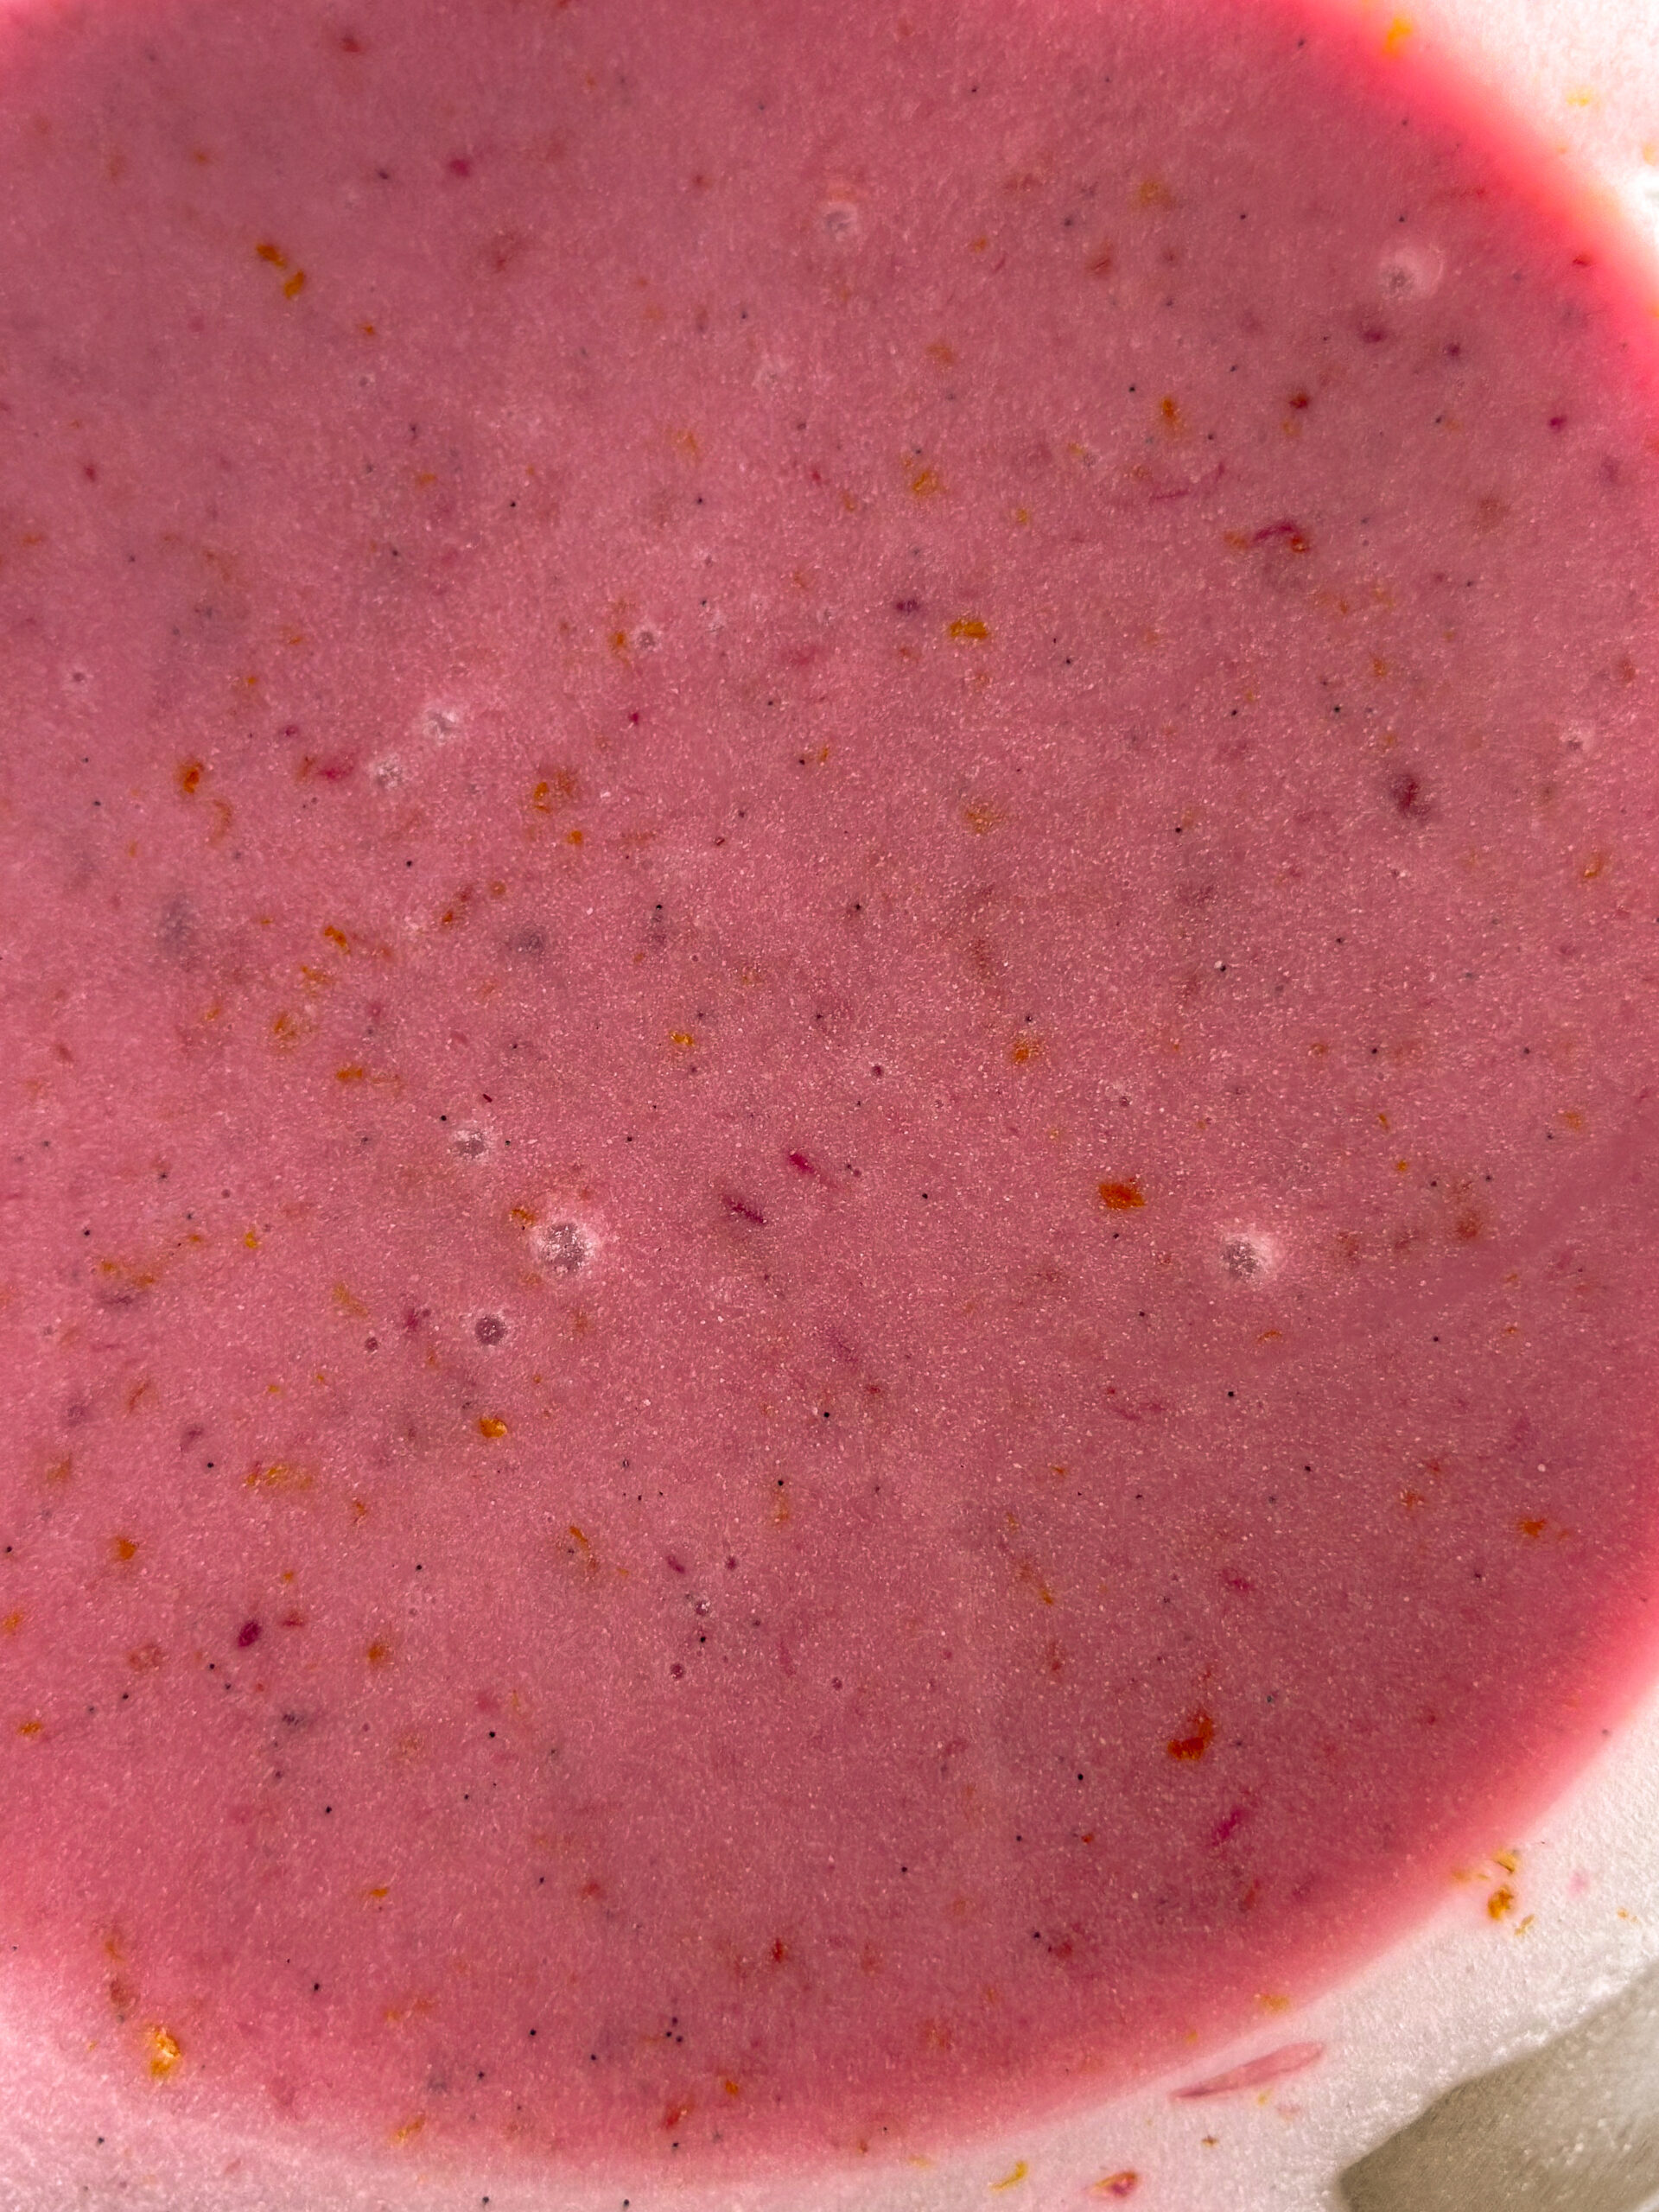
This glaze is so delicious and very easy to mix up with just a wire whisk. Sift the powdered sugar into a small bowl and add the rest of the ingredients. *I like to keep the pulp in the juice so there are bits of red throughout the glaze. Stir it together, and you’re done!

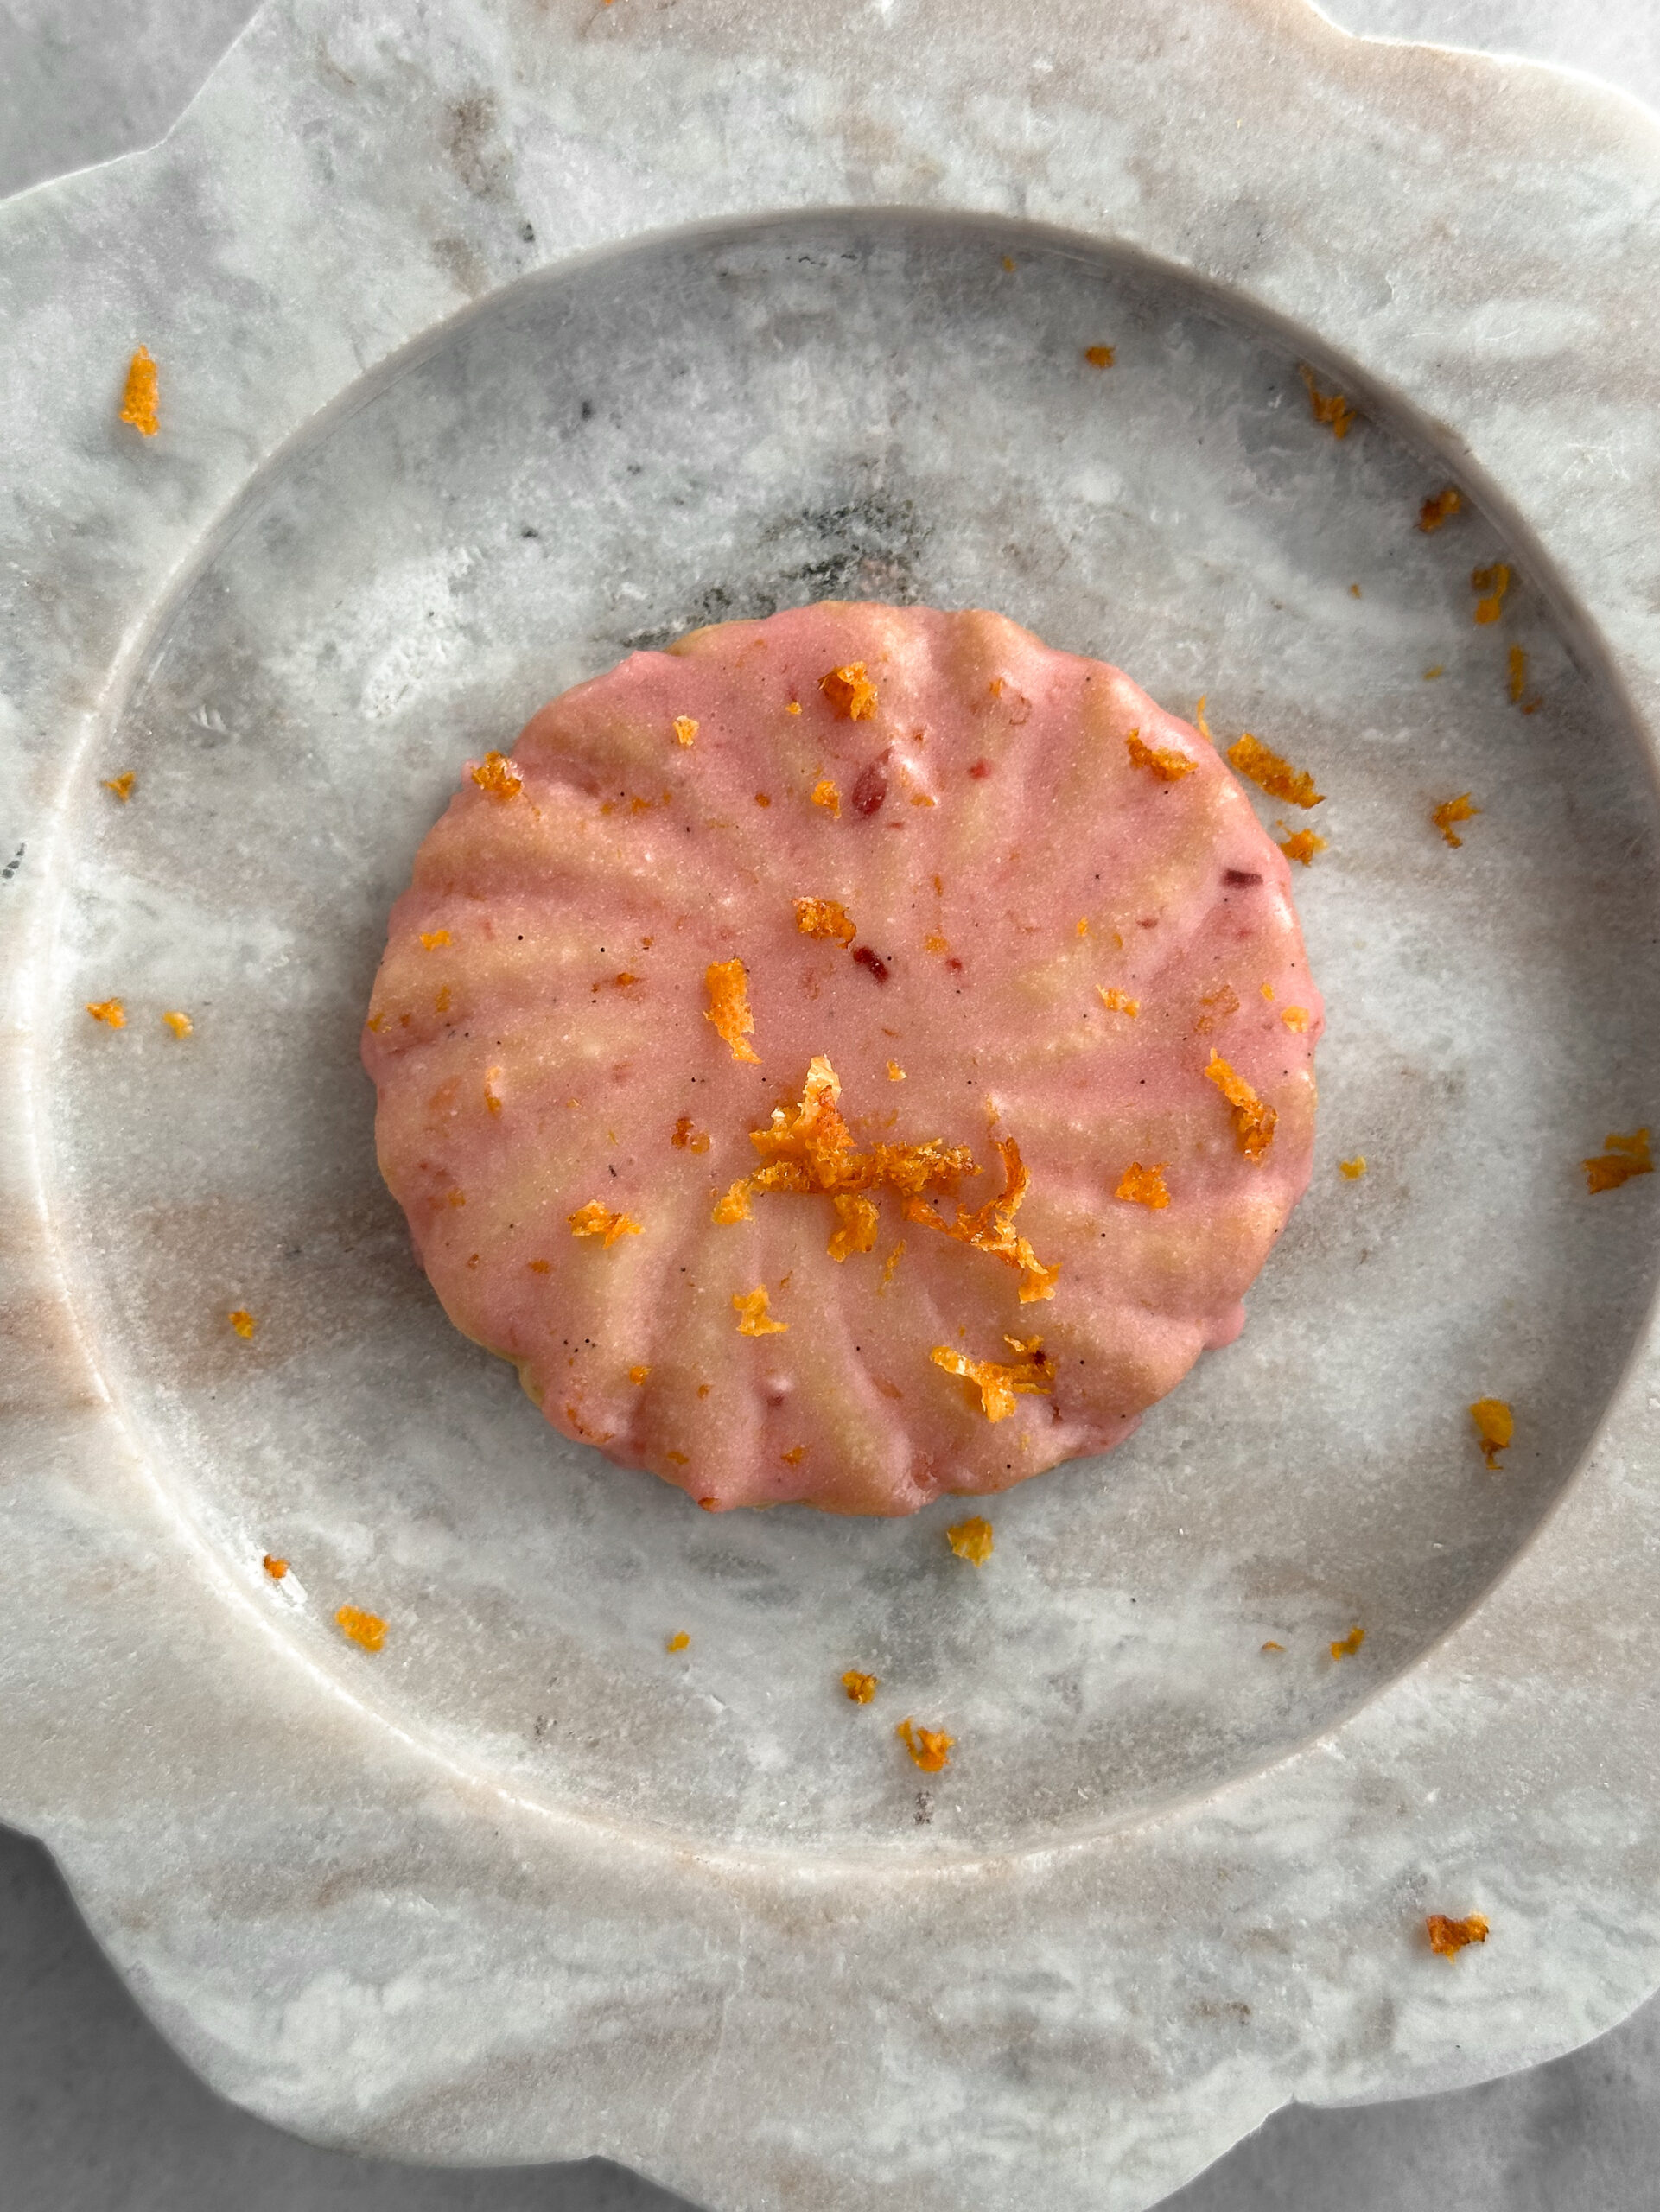
Use a pastry brush to brush the glaze over the cookies. I like to double glaze them with the leftover glaze to make the glaze a bit thicker on the cookie.

success tips for making blood orange stamped shortbread cookies
- Don’t chill your rolled dough before stamping! It is much easier to stamp a softer, room temperature dough. If the cookies are a bit stuck to the parchment, and even the offset spatula isn’t helping lift them, chill the entire sheet of stamped dough for fifteen-thirty minutes in the fridge or five-ten minutes in the freezer. Remove from the fridge/freezer and try again with the offset spatula.
- Freeze the cut cookies for five minutes before baking to help them retain their shape.
- If your glaze is too runny, add a bit more powdered sugar or pop it in the fridge for a little while. I like to double glaze my cookies so the icing is a bit thicker on the cookies.
- Zest an orange over the freshly glazed cookies so there is some orange zest sitting on top of the glaze.
- Mise en place’ is a French phrase with the idea of putting everything in its place before beginning to make a recipe. It helps everything to go smoothly and eliminates so much possible stress. Getting all of your supplies and ingredients together before ever starting the recipe will help tremendously.
- Weigh your ingredients, particularly the flour. It is the most important measurement in this recipe to weigh. Flour can be off in volume measurements by up to 30g, which is a quarter cup! Having incorrect flour measurements can cause your cookies to spread too much or, alternatively, be dry and crumbly. Weighing your ingredients makes everything so much easier, as you don’t have to wash all the measuring cups at the end. However, I do not use the scale to weigh out teaspoon or tablespoon measurements for things like baking powder, salt, vanilla, or cornstarch, for example.
blood orange stamped shortbread cookies
These stamped, buttery shortbread cookies are deliciously crisp and covered in a vanilla blood orange glaze (which gives them an upscale creamsicle vibe).
Ingredients
The Cookies
226g (1 cup) unsalted butter
1 tsp Diamond Crystal kosher salt
100g (½ cup) granulated sugar
zest from one blood orange, optional
1 tsp vanilla bean paste or extract
270g (2 ¼ cup) all purpose flour
The Glaze
120g (1 cup) powdered sugar
14g (1 Tbsp) unsalted butter, melted and cooled
1–2 tablespoon fresh squeezed blood orange juice
1 tsp vanilla bean paste or extract
zest of one blood orange
¼ tsp Diamond Crystal kosher salt (or ⅛ tsp regular table salt)
Instructions
Preheat the oven to 350 F.
To a mixing bowl, add the room temperature butter, salt, granulated sugar, and the orange zest. Mix on medium-low speed to cream the mixture. It should be lightened and completely mixed with no lumps of butter. You don’t need to cream it to be light and fluffy like you would if you were making a cake.
Add the vanilla and mix just until combined. Add the flour all at once and mix until combined. Scrape down the sides to make sure there are no lumps of flour or bits of butter.
Drop dough onto a lightly floured piece of parchment paper. Gently press the dough into a thick rectangle, smoothing the sides of the dough. Sprinkle flour on the dough and place a second piece of parchment paper on top. Roll out the dough with a rolling pin fitted with guides set to ¼″ or ⅙″. Stamps tend to work better with dough rolled to ¼″, but I prefer the texture of a ⅙″ rolled cookie. I found that wiggling while pressing the stamp into the dough and stamping room temperature dough solved the problem of using the thinner rolled dough.
Once the dough has been rolled, immediately peel off the top layer of parchment. If there is any visible stickiness, sprinkle some flour over the surface and gently brush it off with your hand. If the dough is extremely flexible and sticky, pop it in the fridge for a half an hour. (It shouldn’t need fridge time at this stage, though.)
Dip your cookie stamp into flour before pressing into the surface of the dough. Press firmly and wiggle the base of the stamp into the dough to make sure that the entire surface of the stamp is in contact with the dough inside the stamp.
Don’t be alarmed, but the first stamp is sometimes a dud. If you find that the first stamped cookie gets stuck in the stamp, simply remove the dough and set it to the side for when it’s time to re-roll the dough. To remove the dough, use a cocktail pick, toothpick, or a cake tester. Dip the stamp in flour, making sure that flour is evenly coating the stamp with no bare areas and no large clumps of flour. Stamp again, continuing through the entire sheet of dough until there is no more open space. Dip the stamp in flour before stamping each time.
Use a 2 ½″ round cookie cutter to cut the stamped shapes from the dough. Use an offset spatula to gently pick them up from the parchment and transfer them to a parchment lined baking sheet. (Make sure you line your pan with the parchment paper you peeled off the top of the dough rather than getting a new piece.)
Re-roll your dough another time or two. This recipe makes around two dozen cookies, give or take depending on how thick you roll your dough. I got about thirty cookies rolled at ⅙″ with re-rolling a couple of times.
Freeze the sheet of cookies for five minutes before baking, just to help them retain their shape. Bake for 15-17 minutes for a crisp texture with golden brown bottoms. (The best flavor comes from a golden brown bottom!) Allow the cookies to cool slightly on the pan for a couple of minutes before transferring to a wire rack to cool completely.
While the cookies are baking, make the glaze. Sift the powdered sugar into a small bowl and add the rest of the ingredients. I like to keep the pulp in the juice so there are bits of red throughout the glaze. Stir it together until it is smooth and the powdered sugar is completely mixed in.
Use a pastry brush to brush the glaze over the cookies. I like to double glaze them with the leftover glaze to make the glaze a bit thicker on the cookie.
Allow the glaze to set before storing in an airtight container.