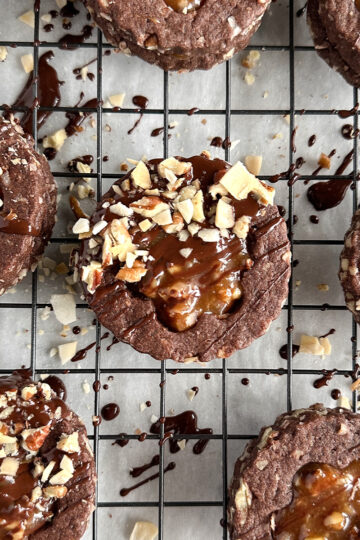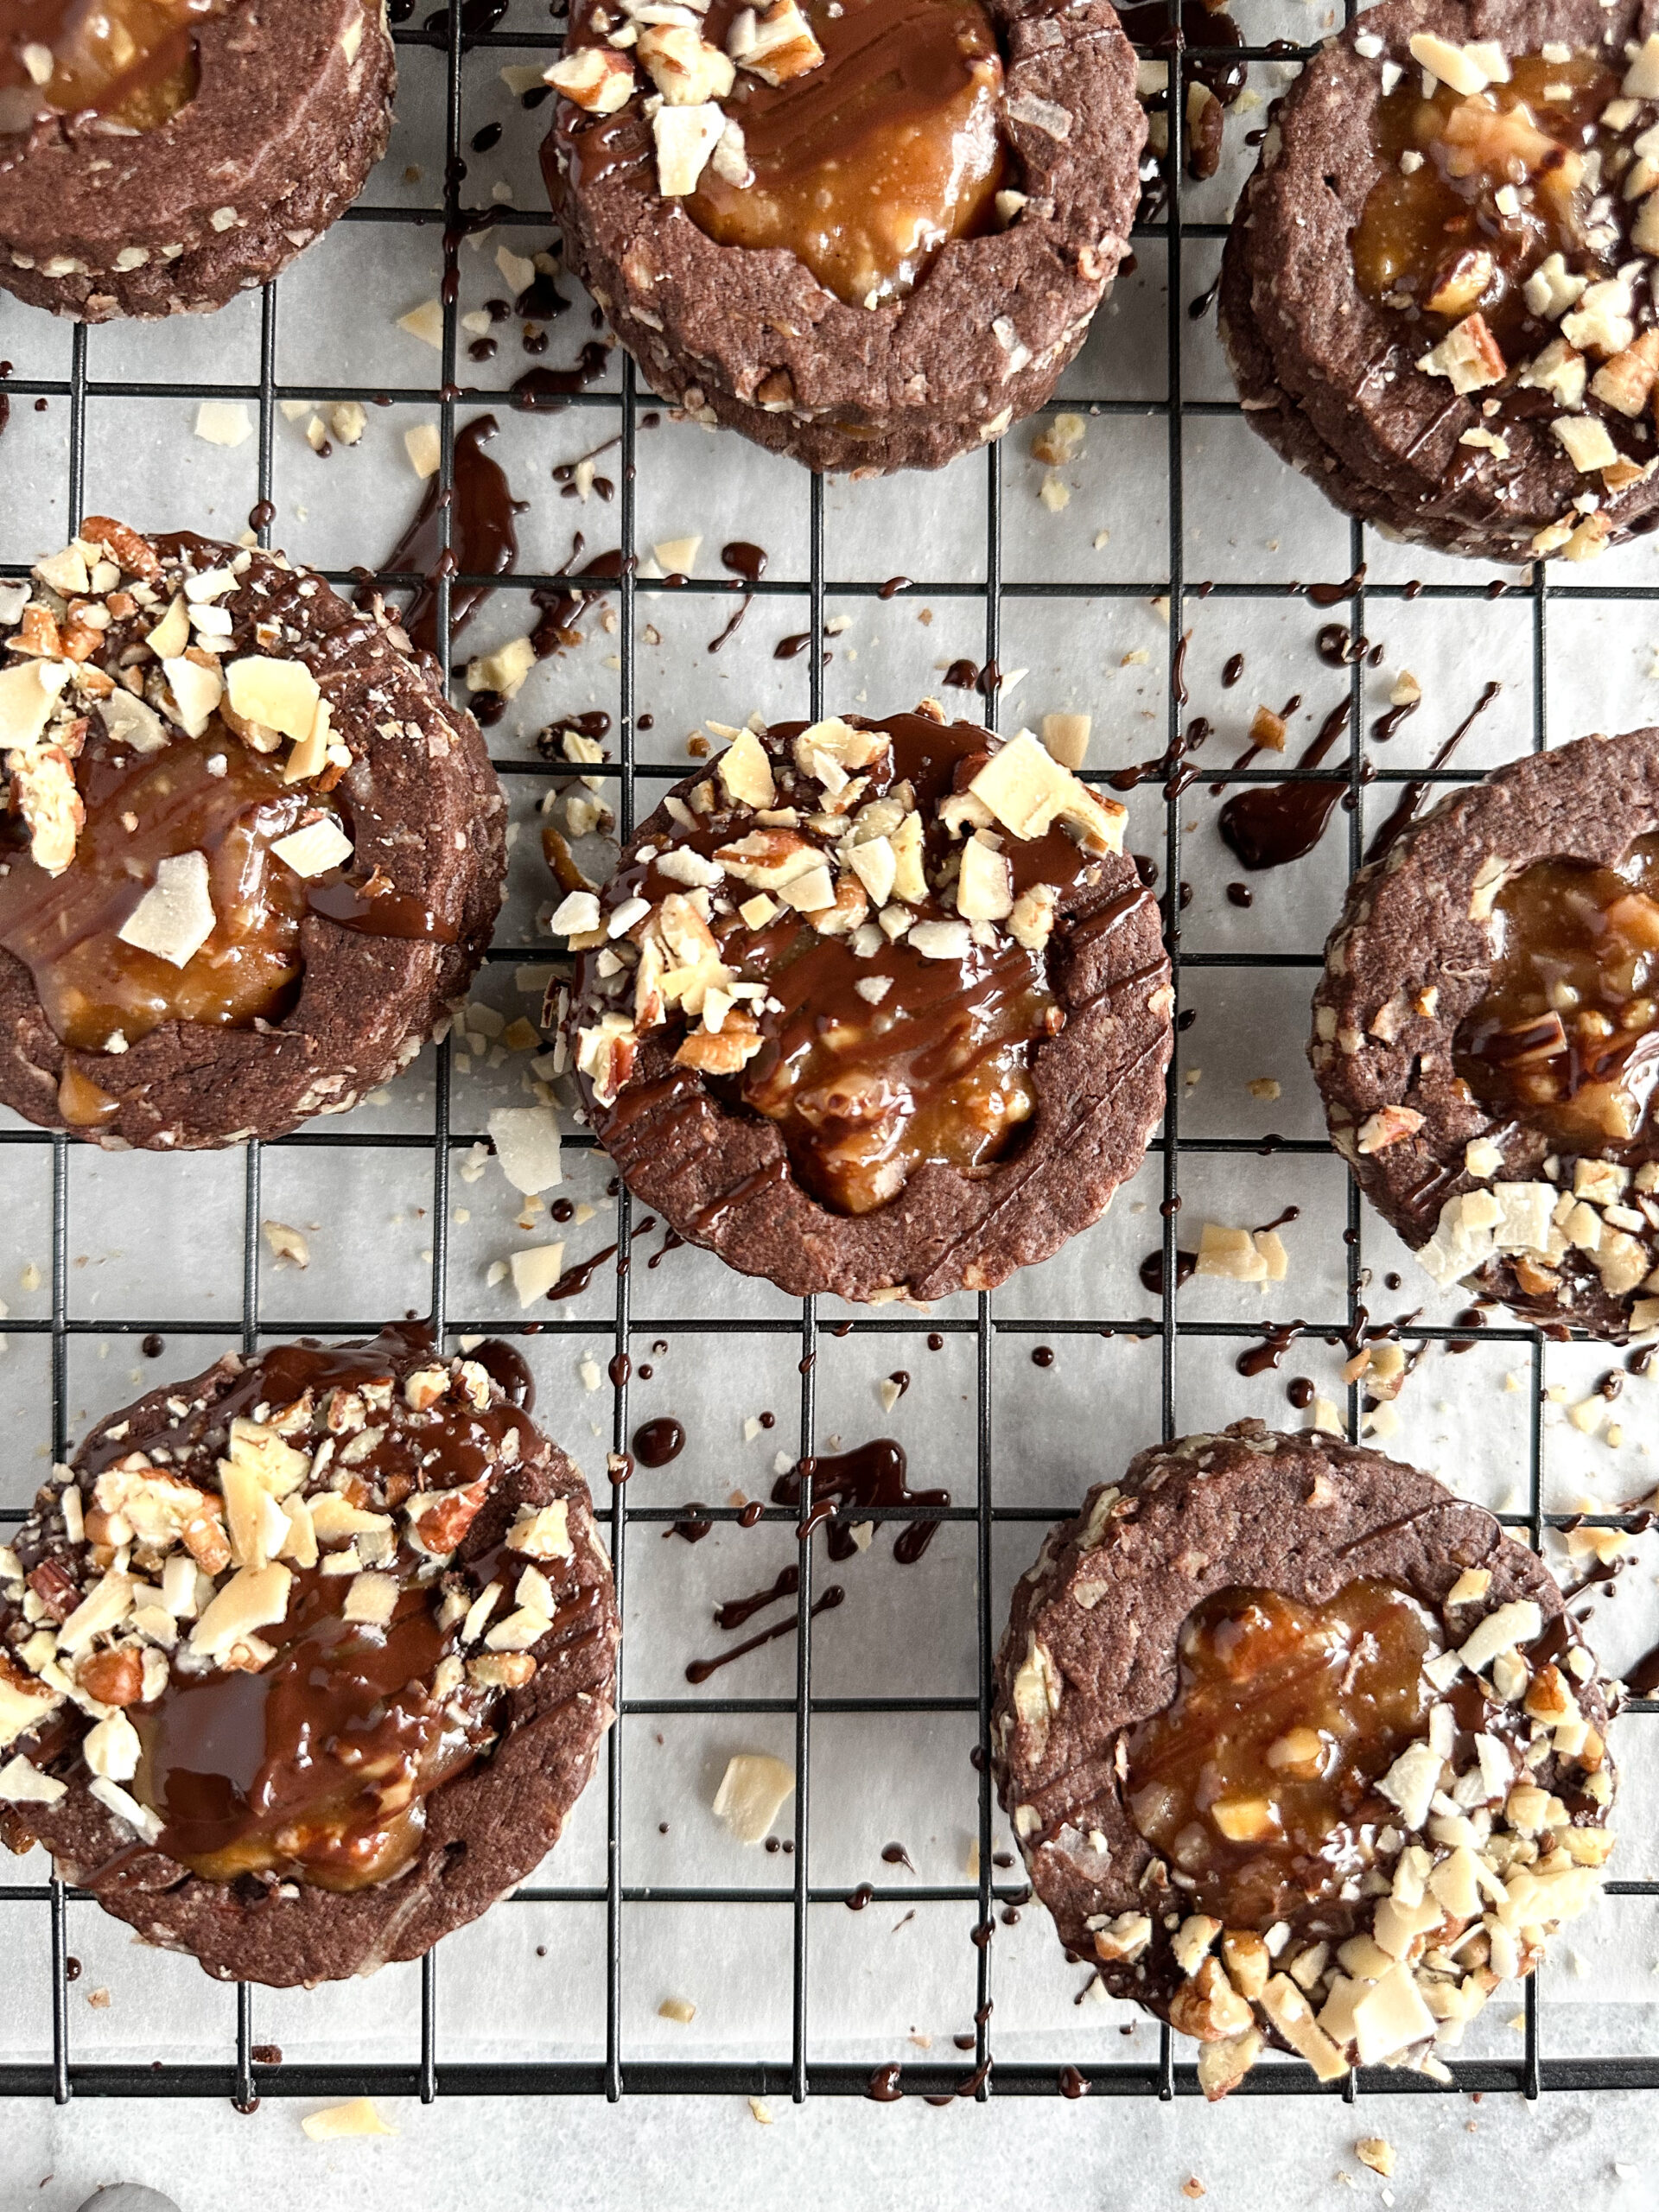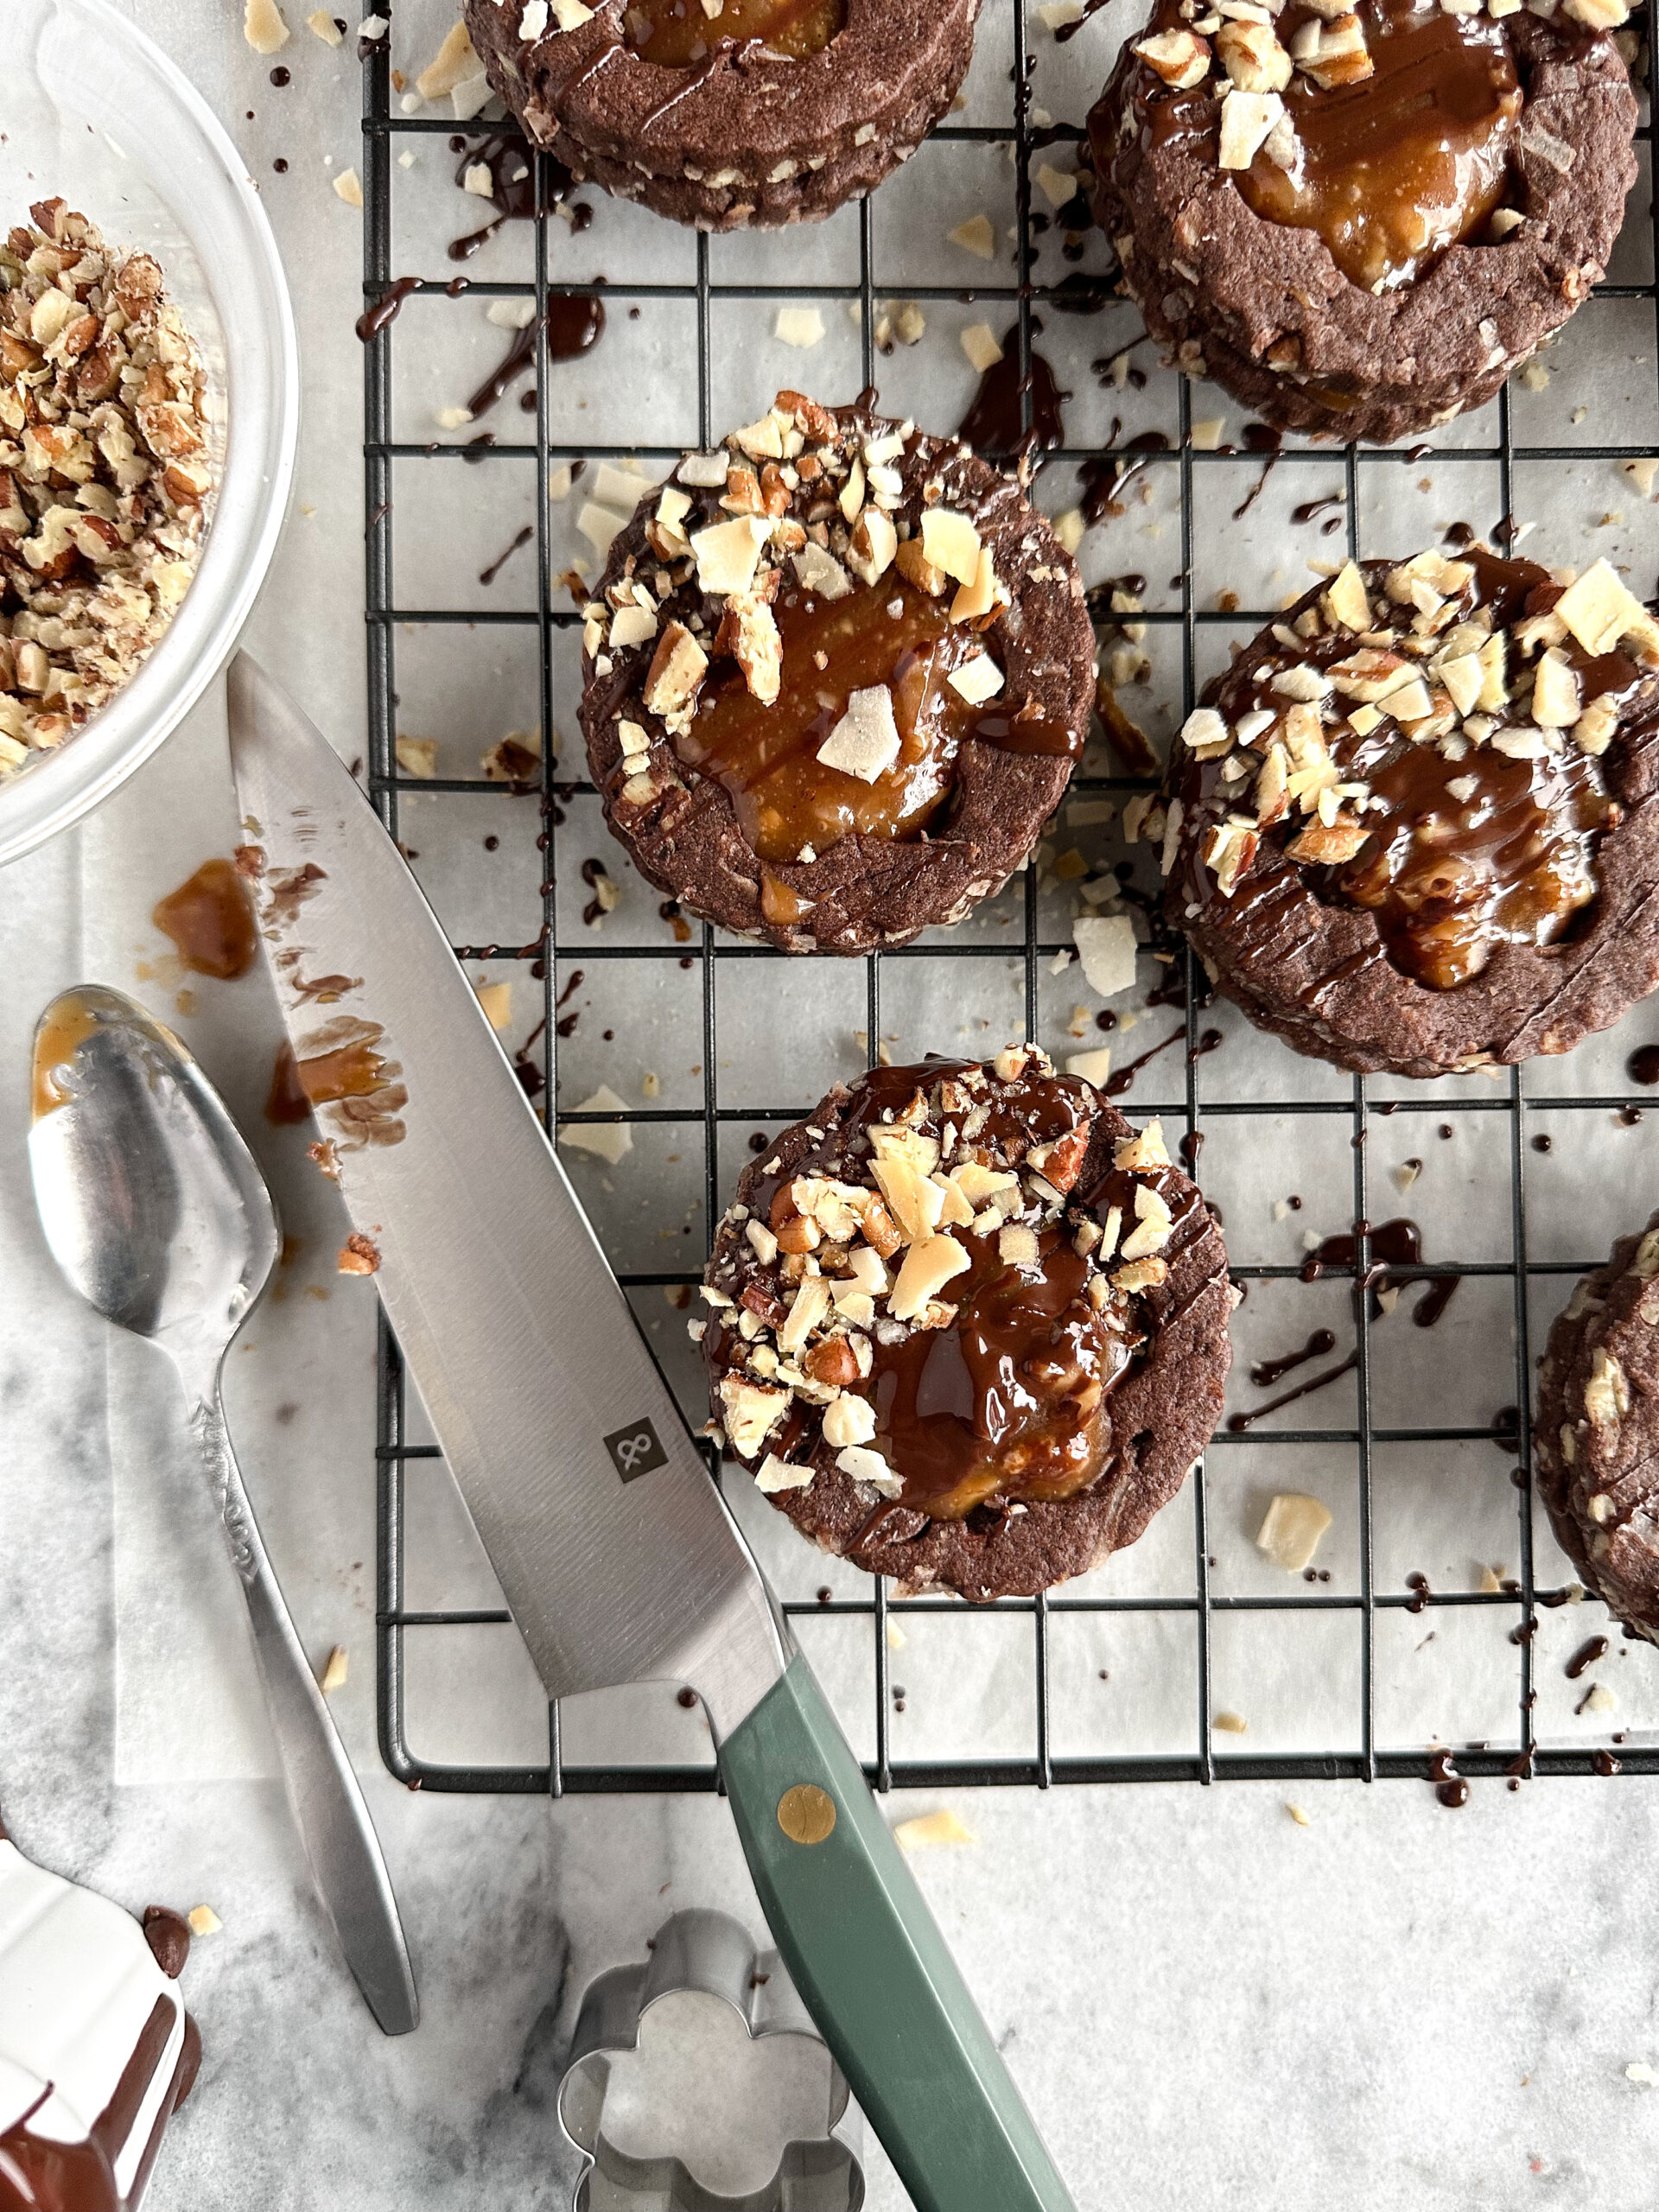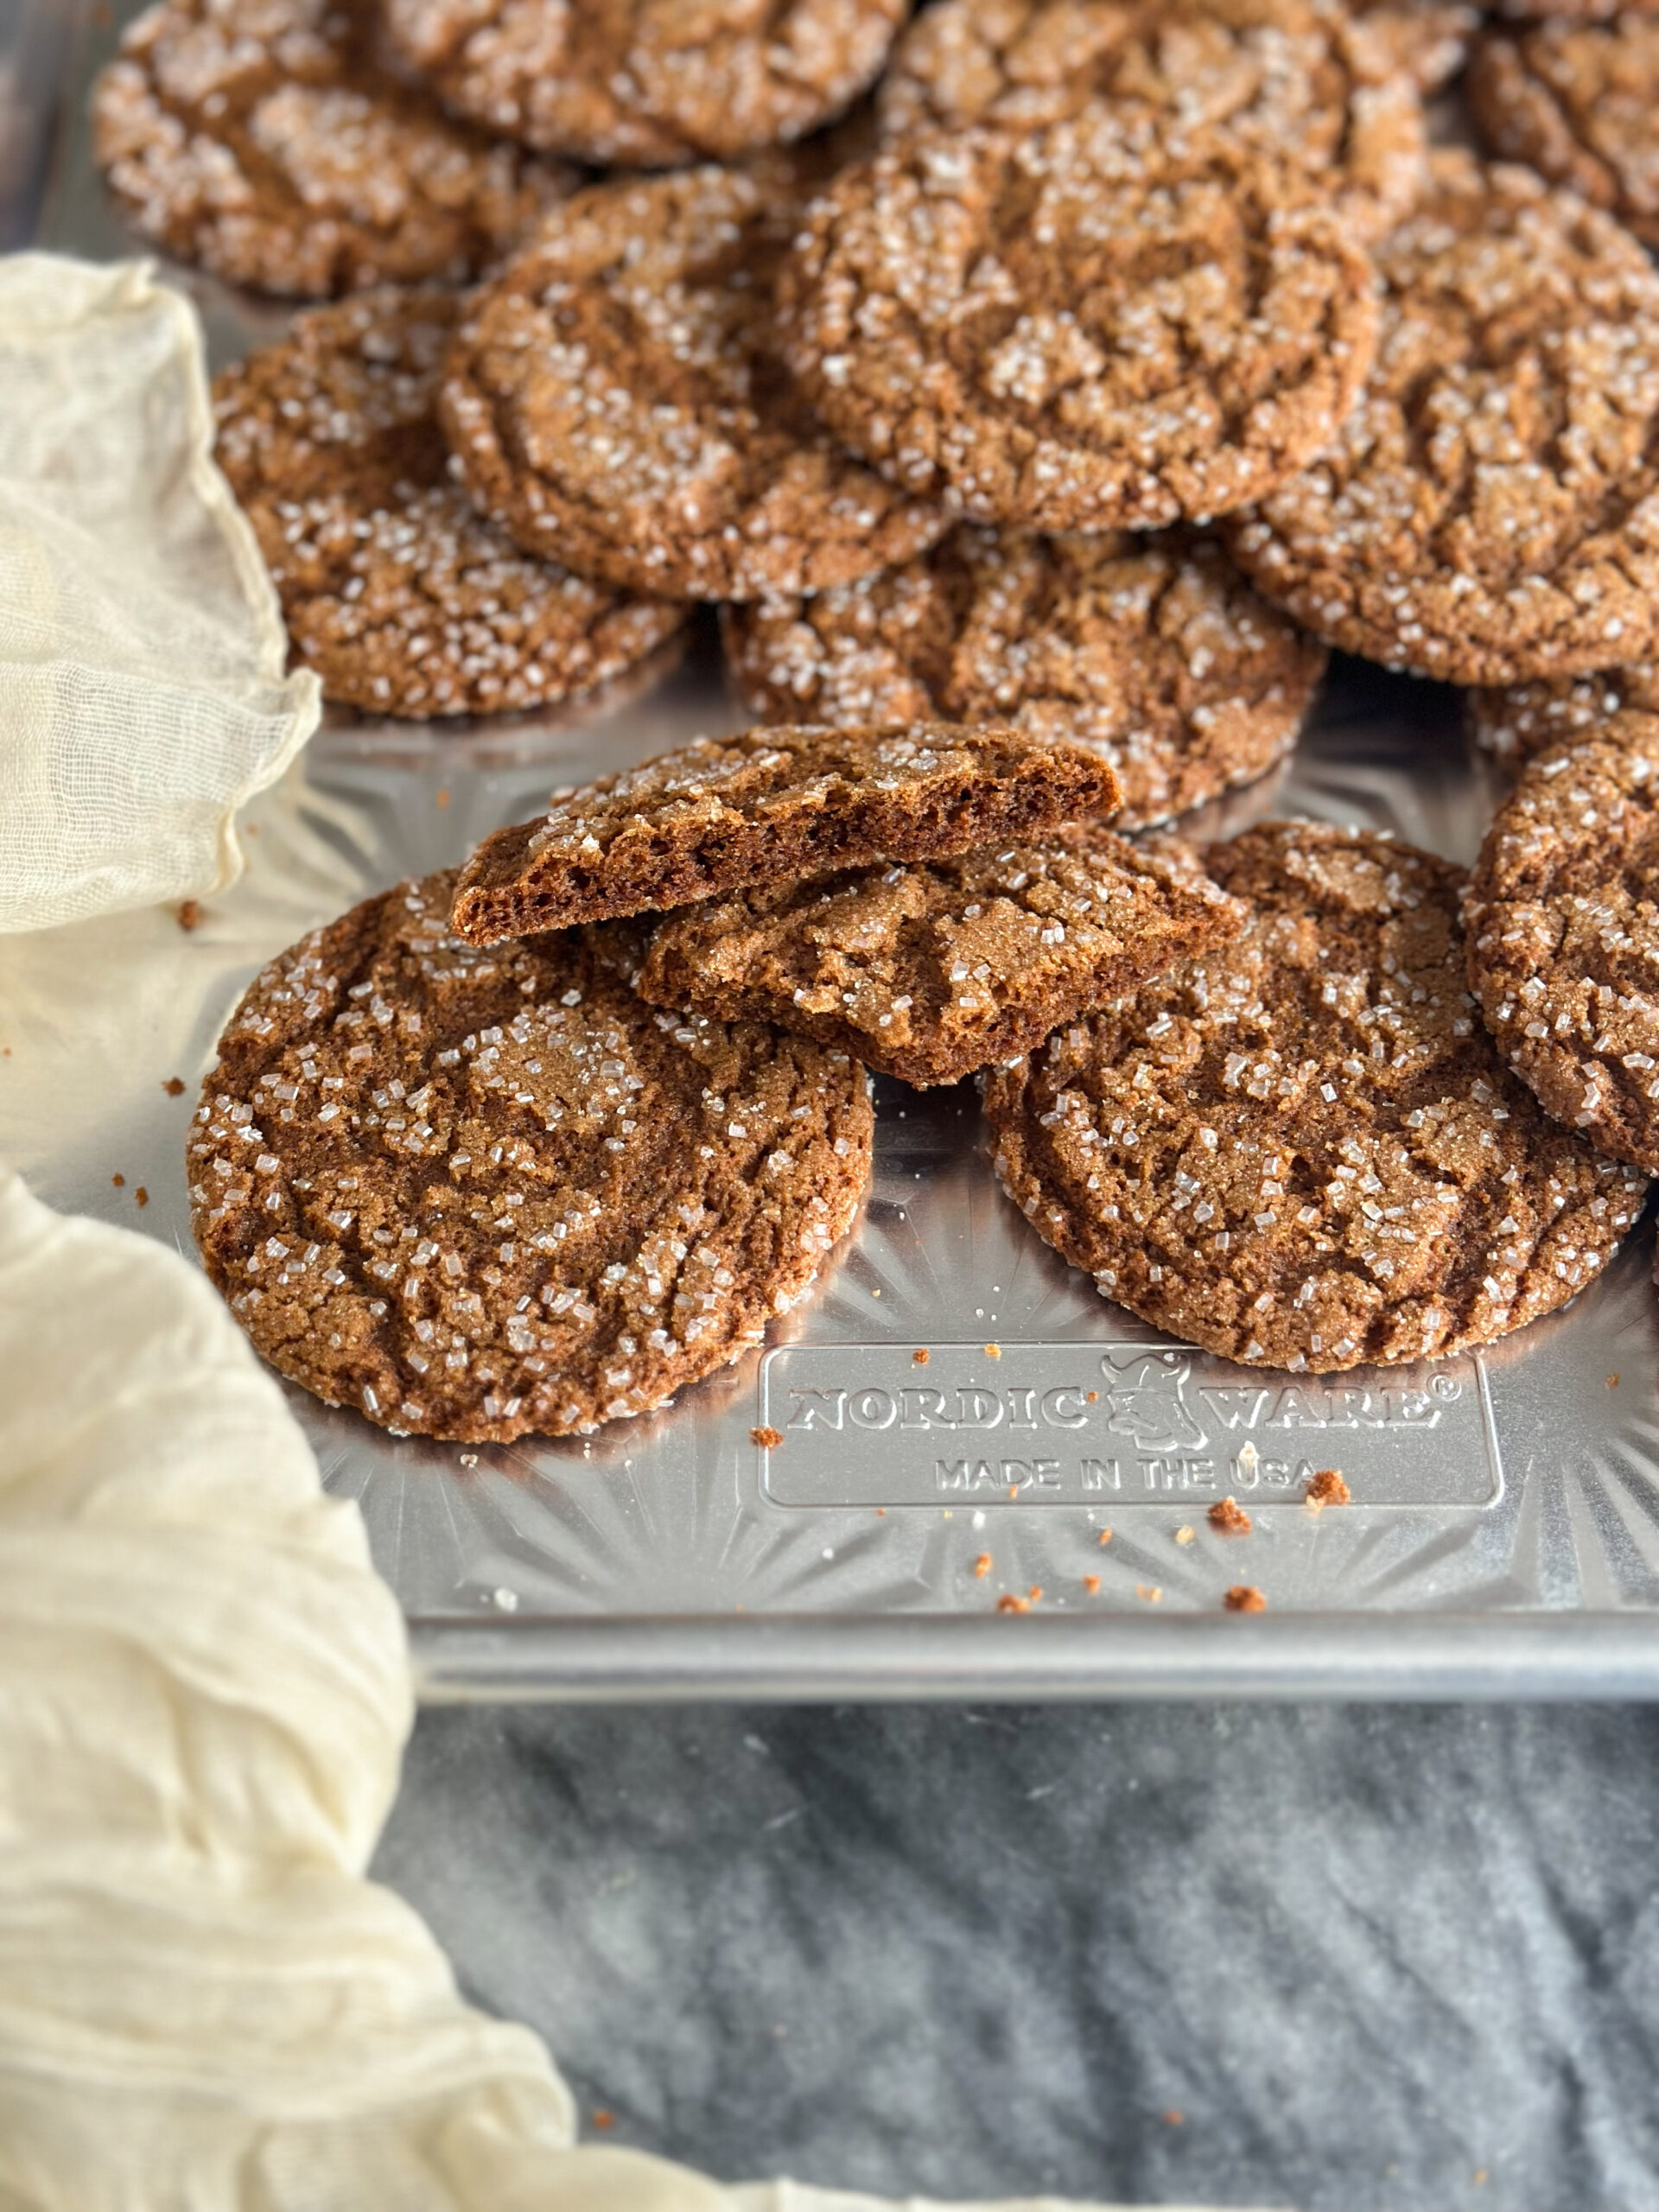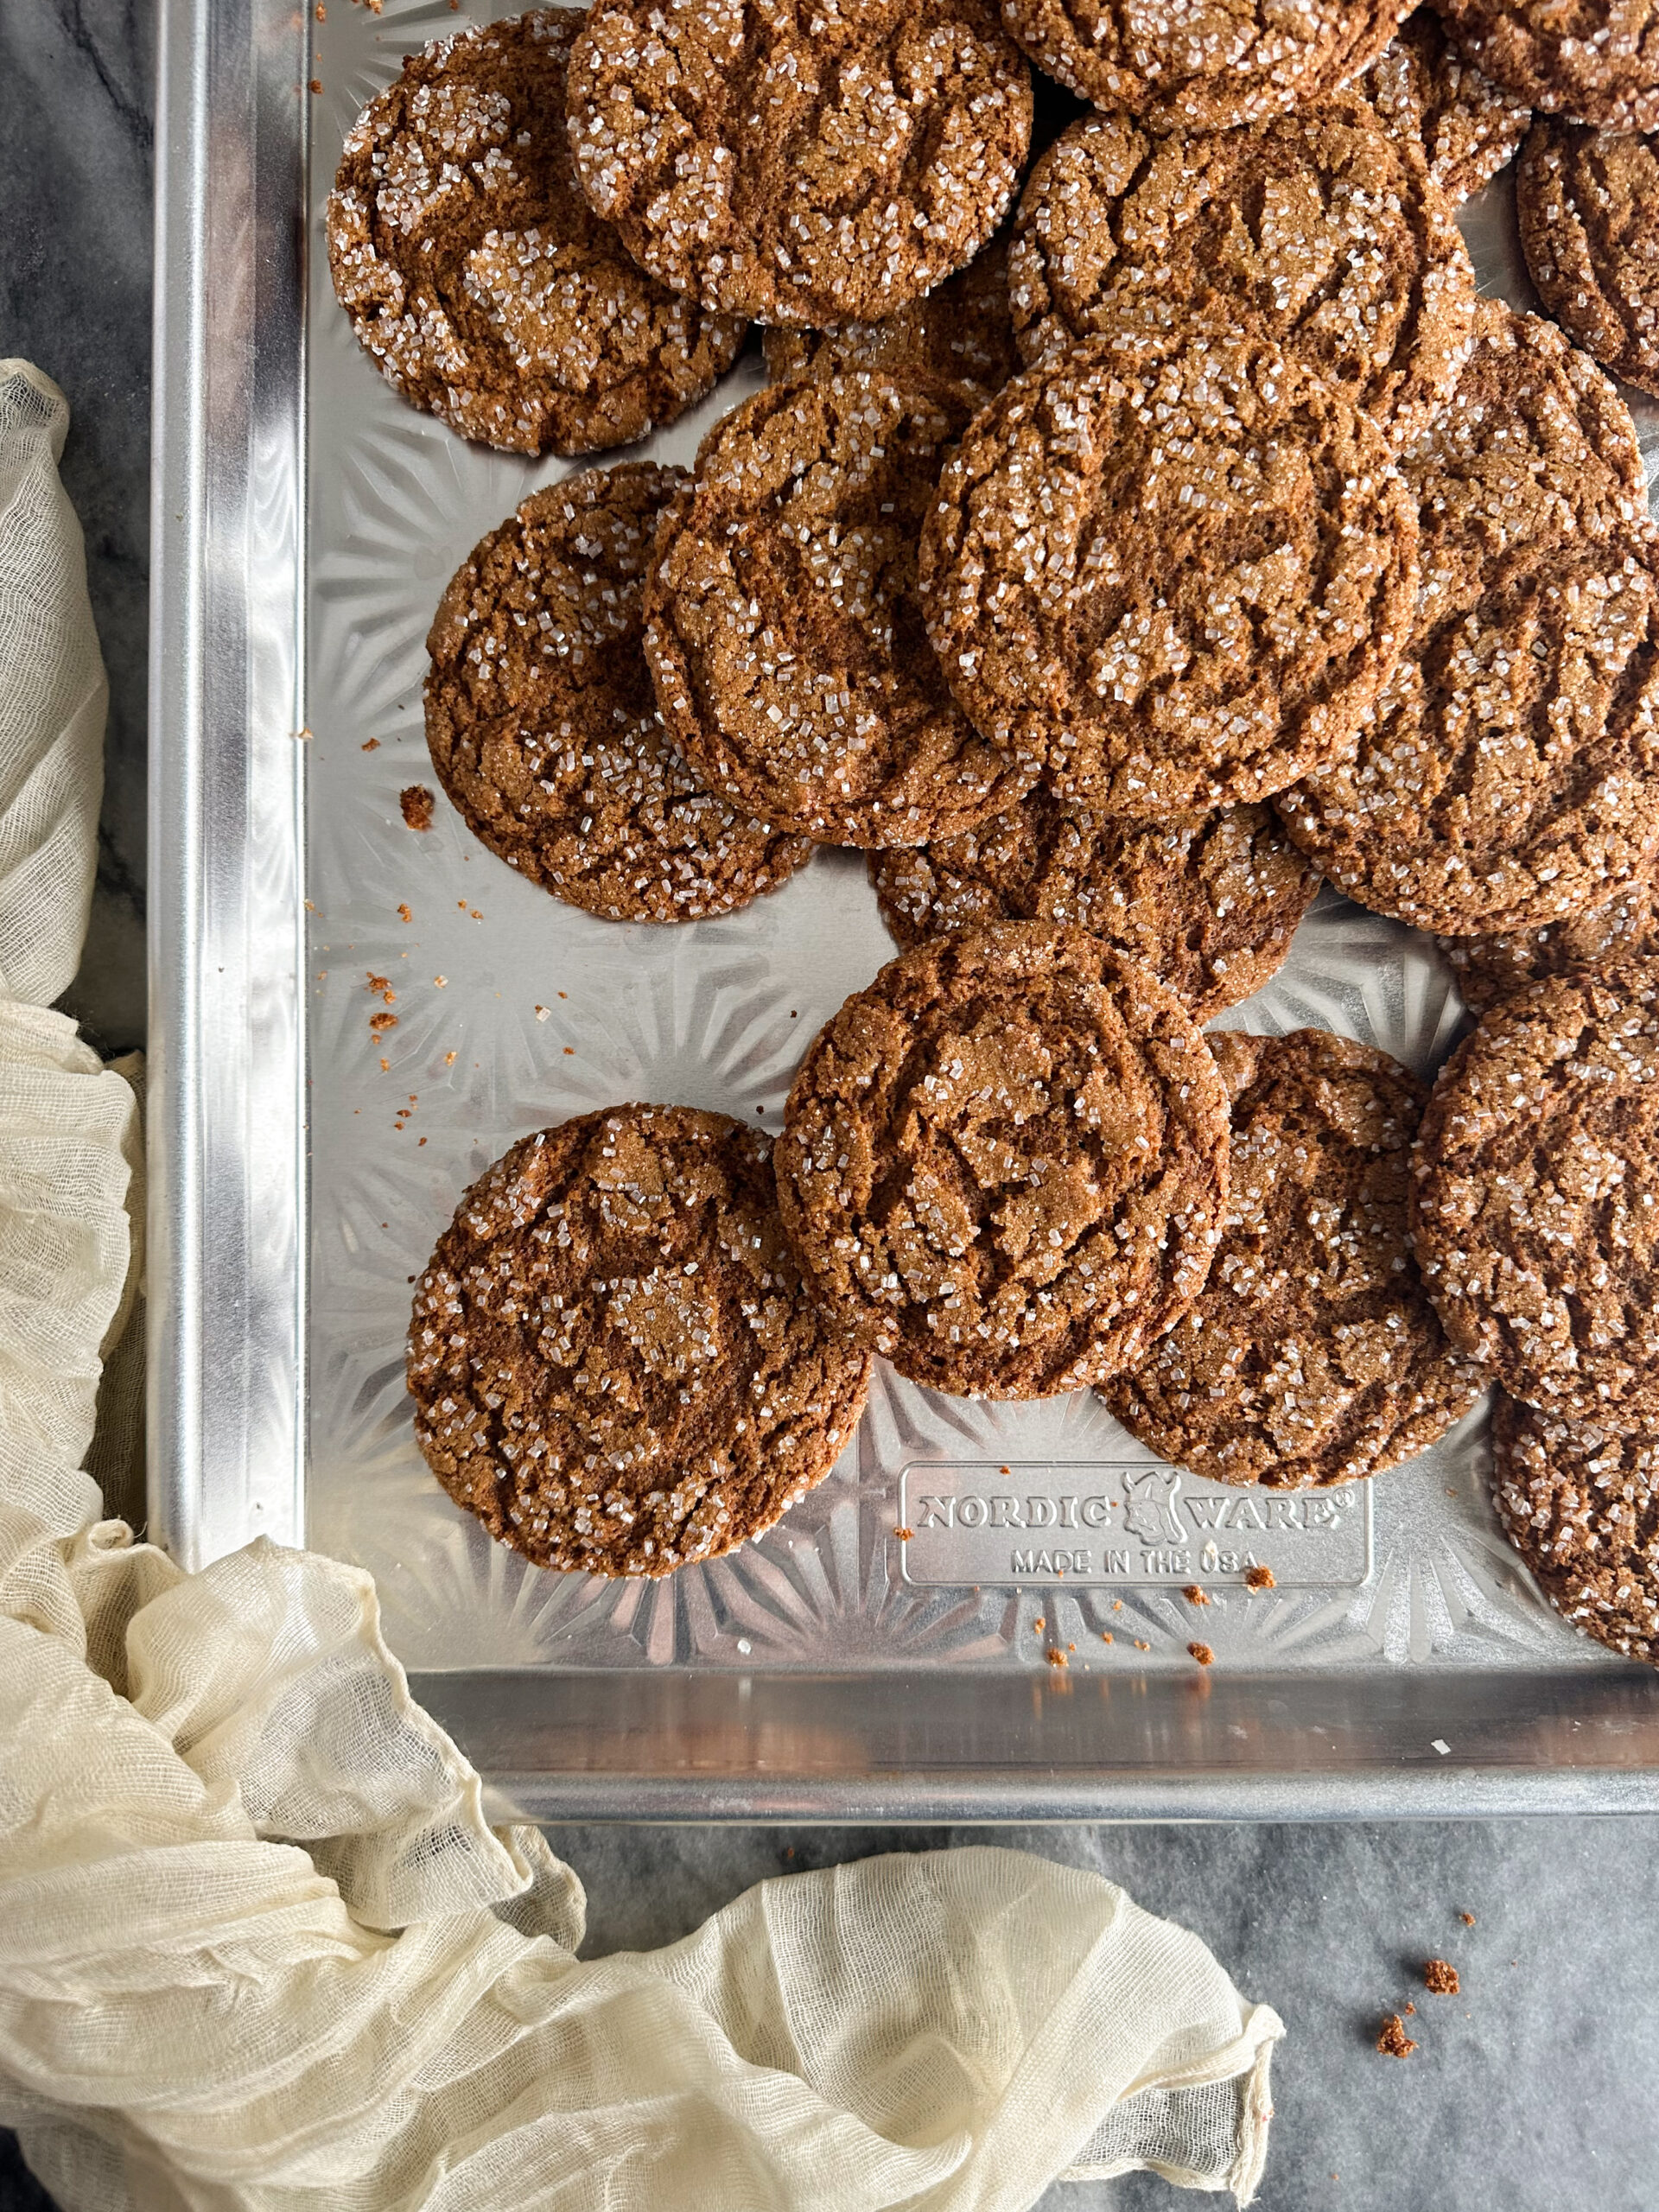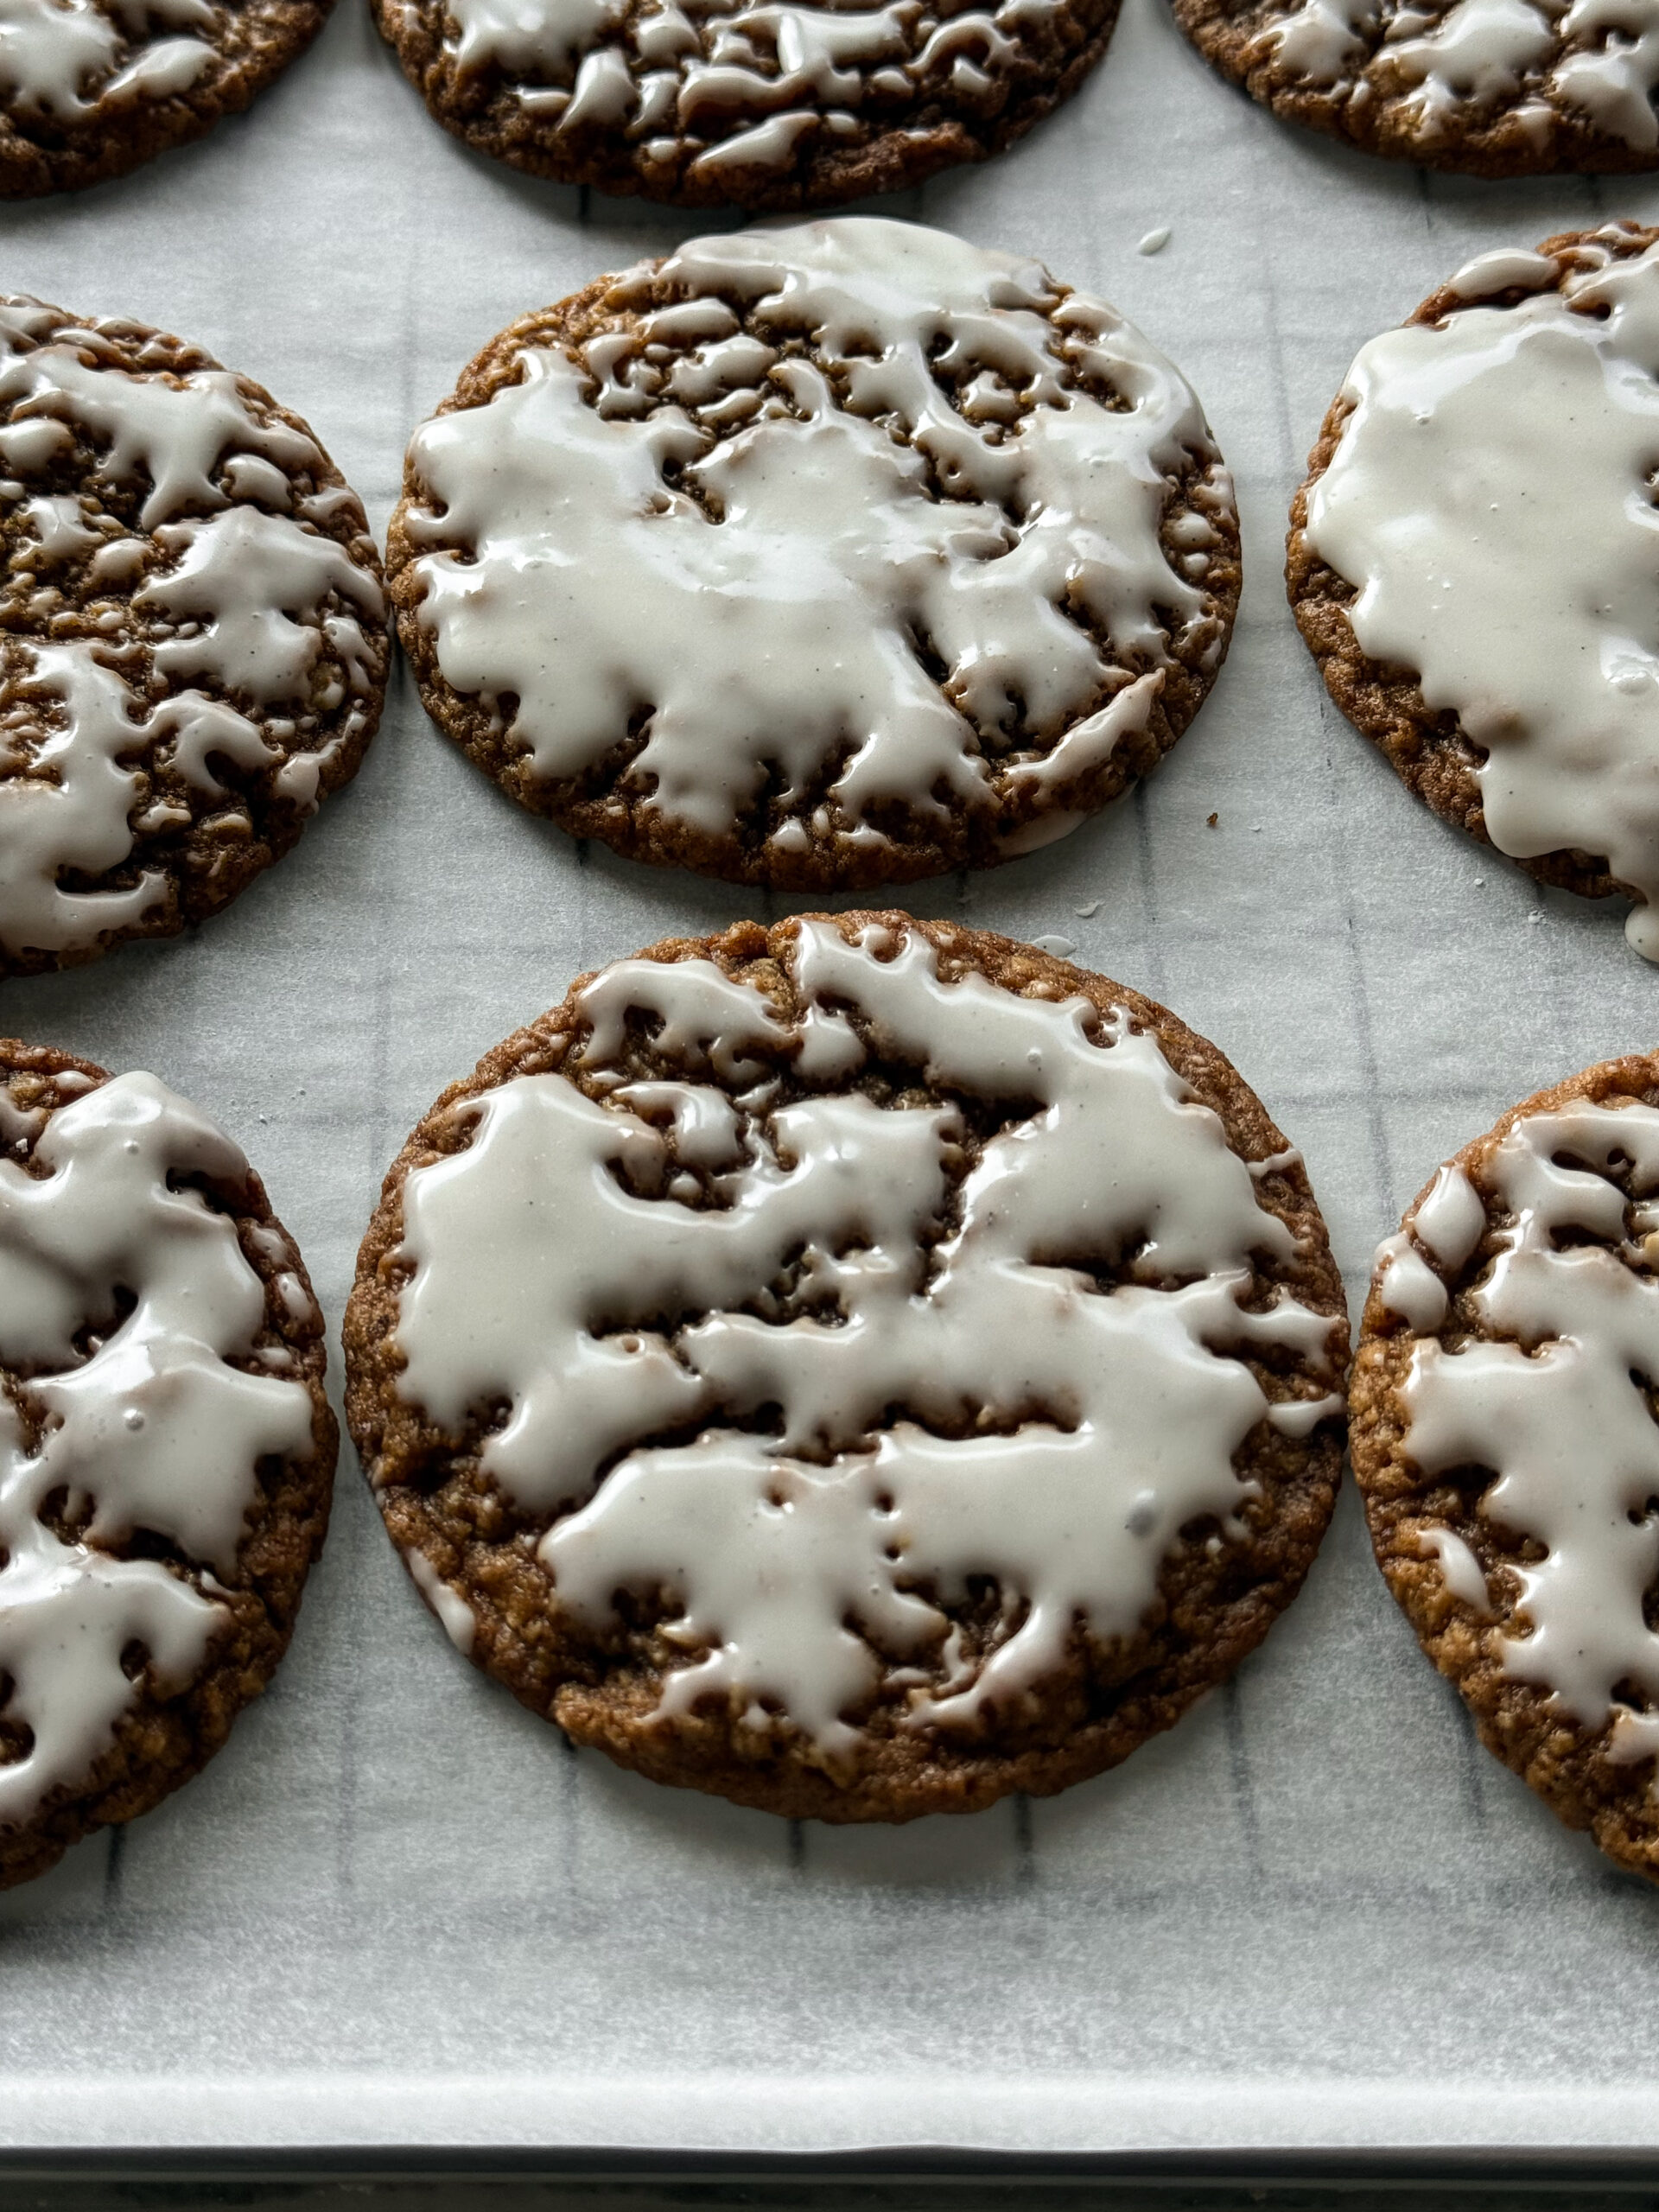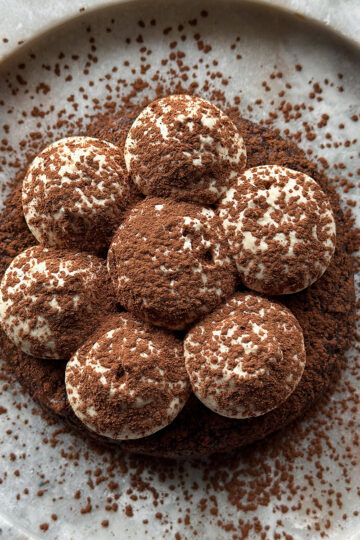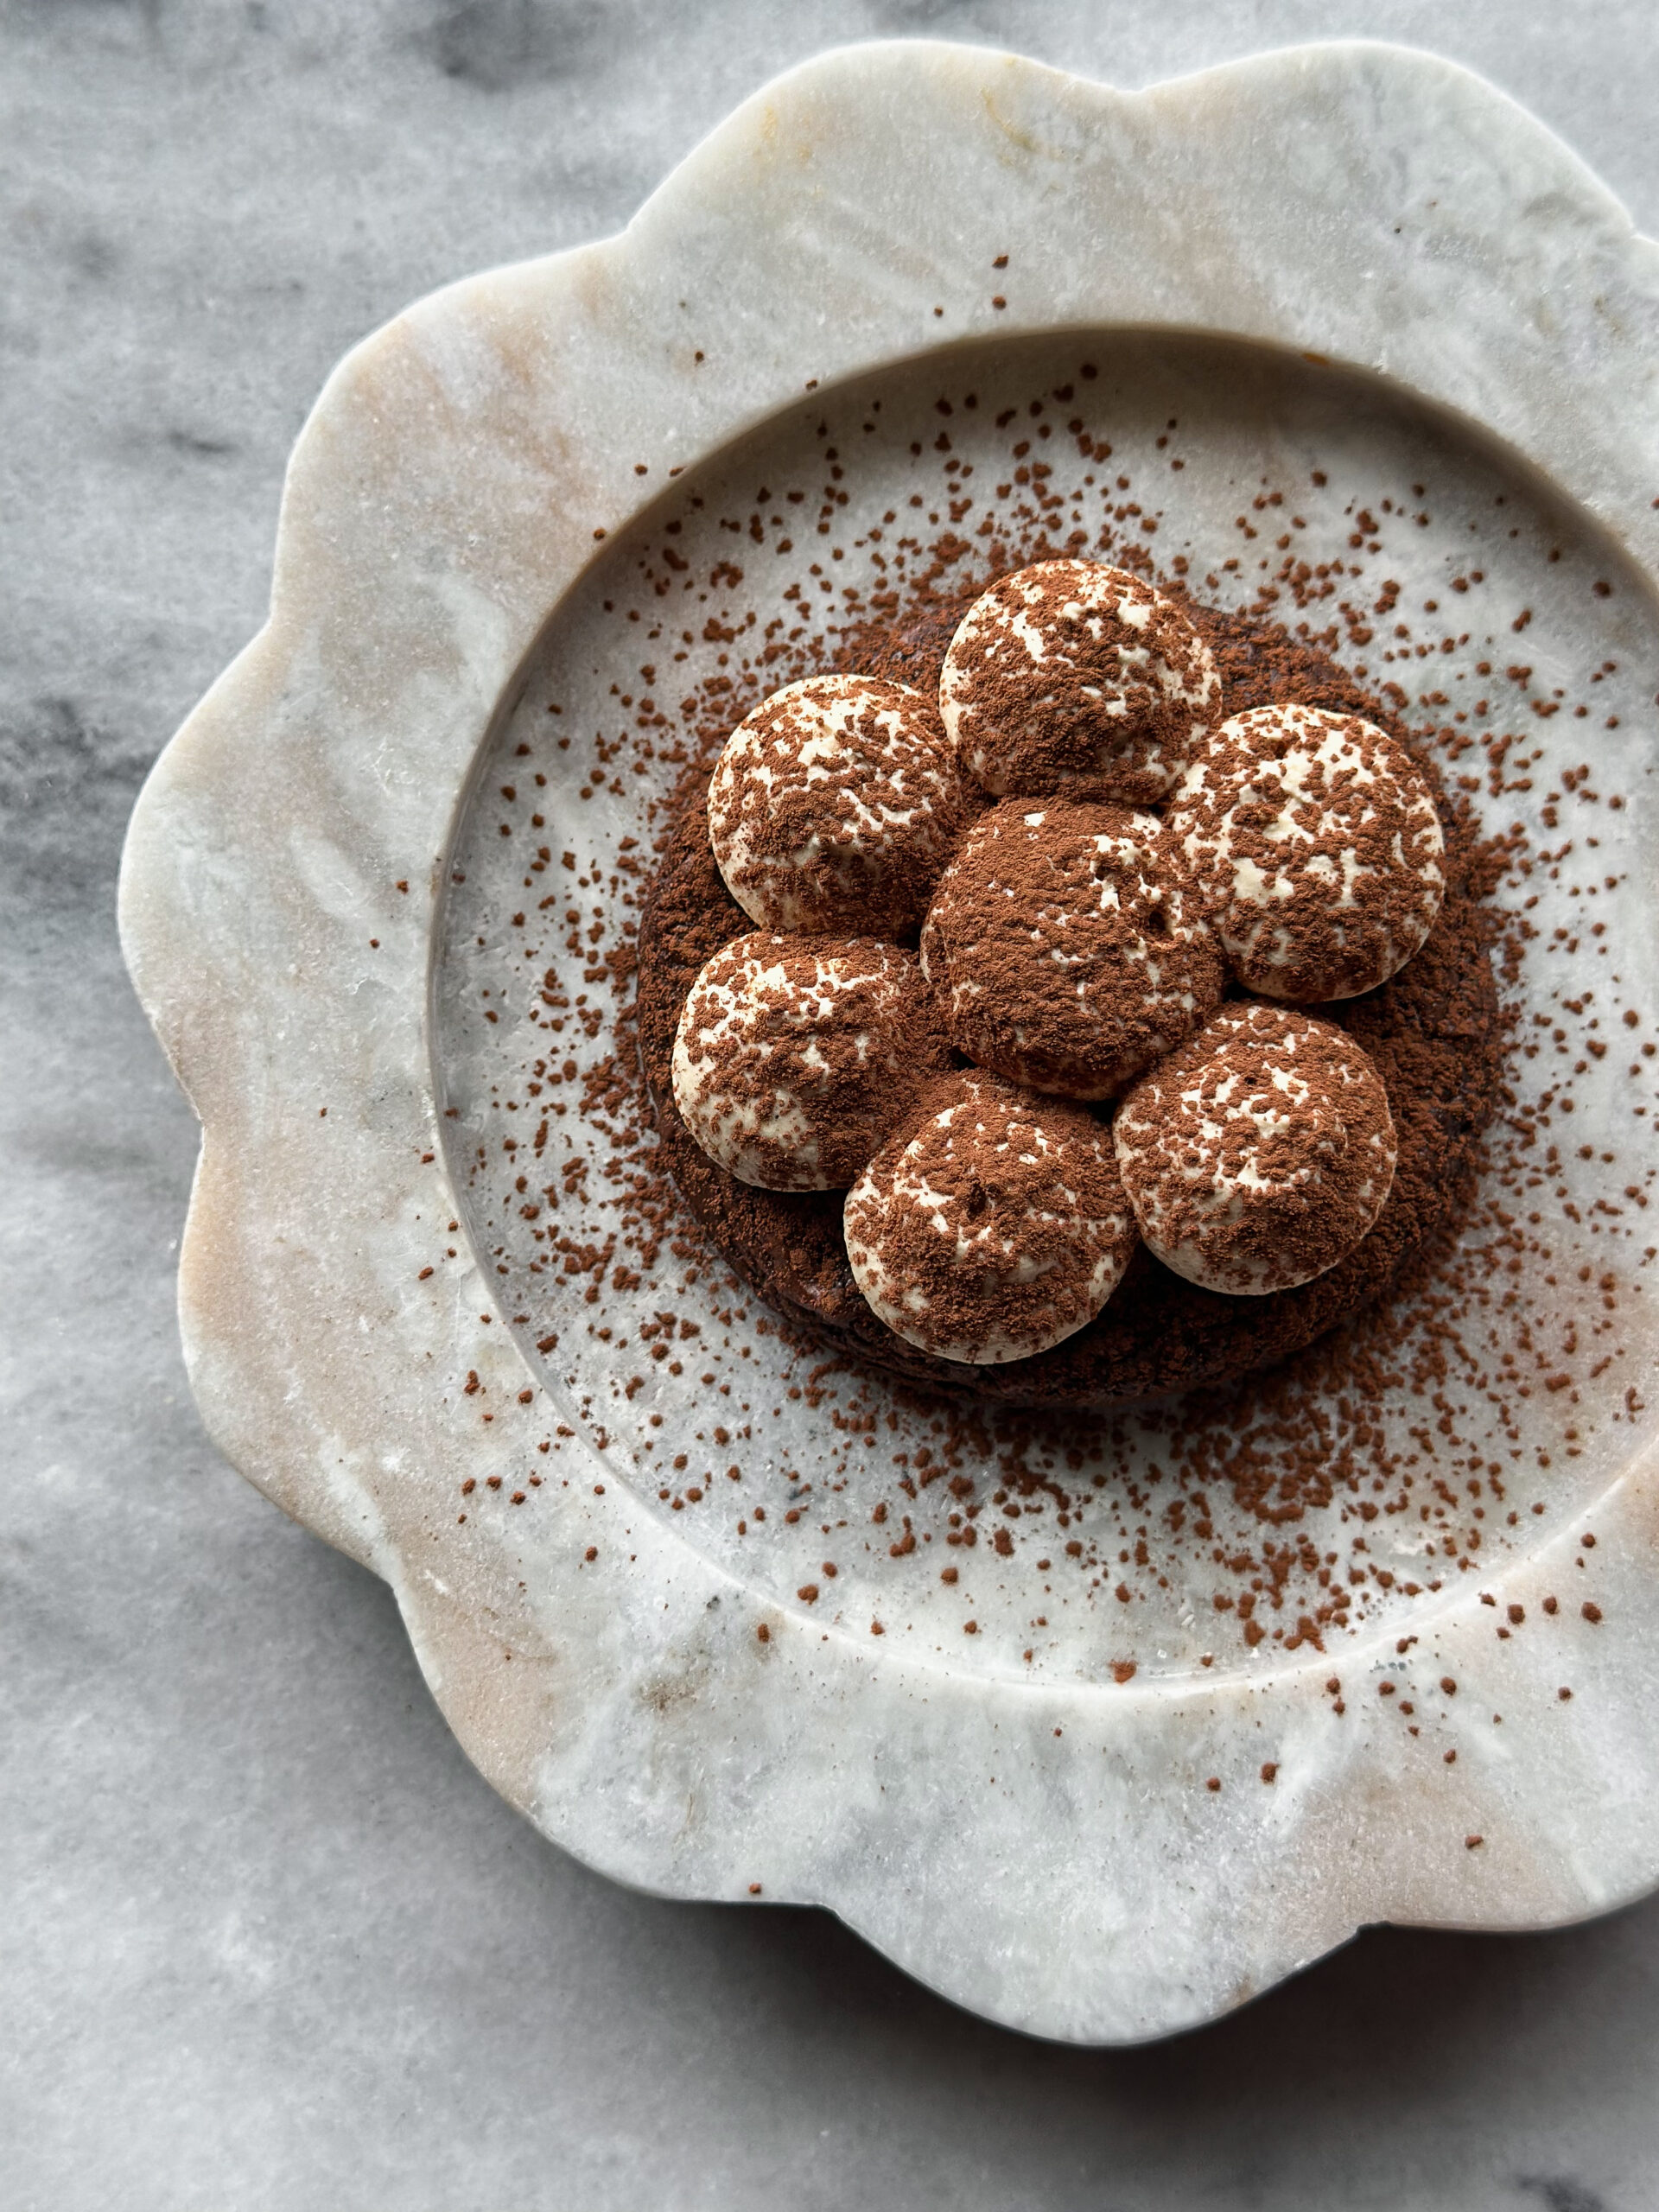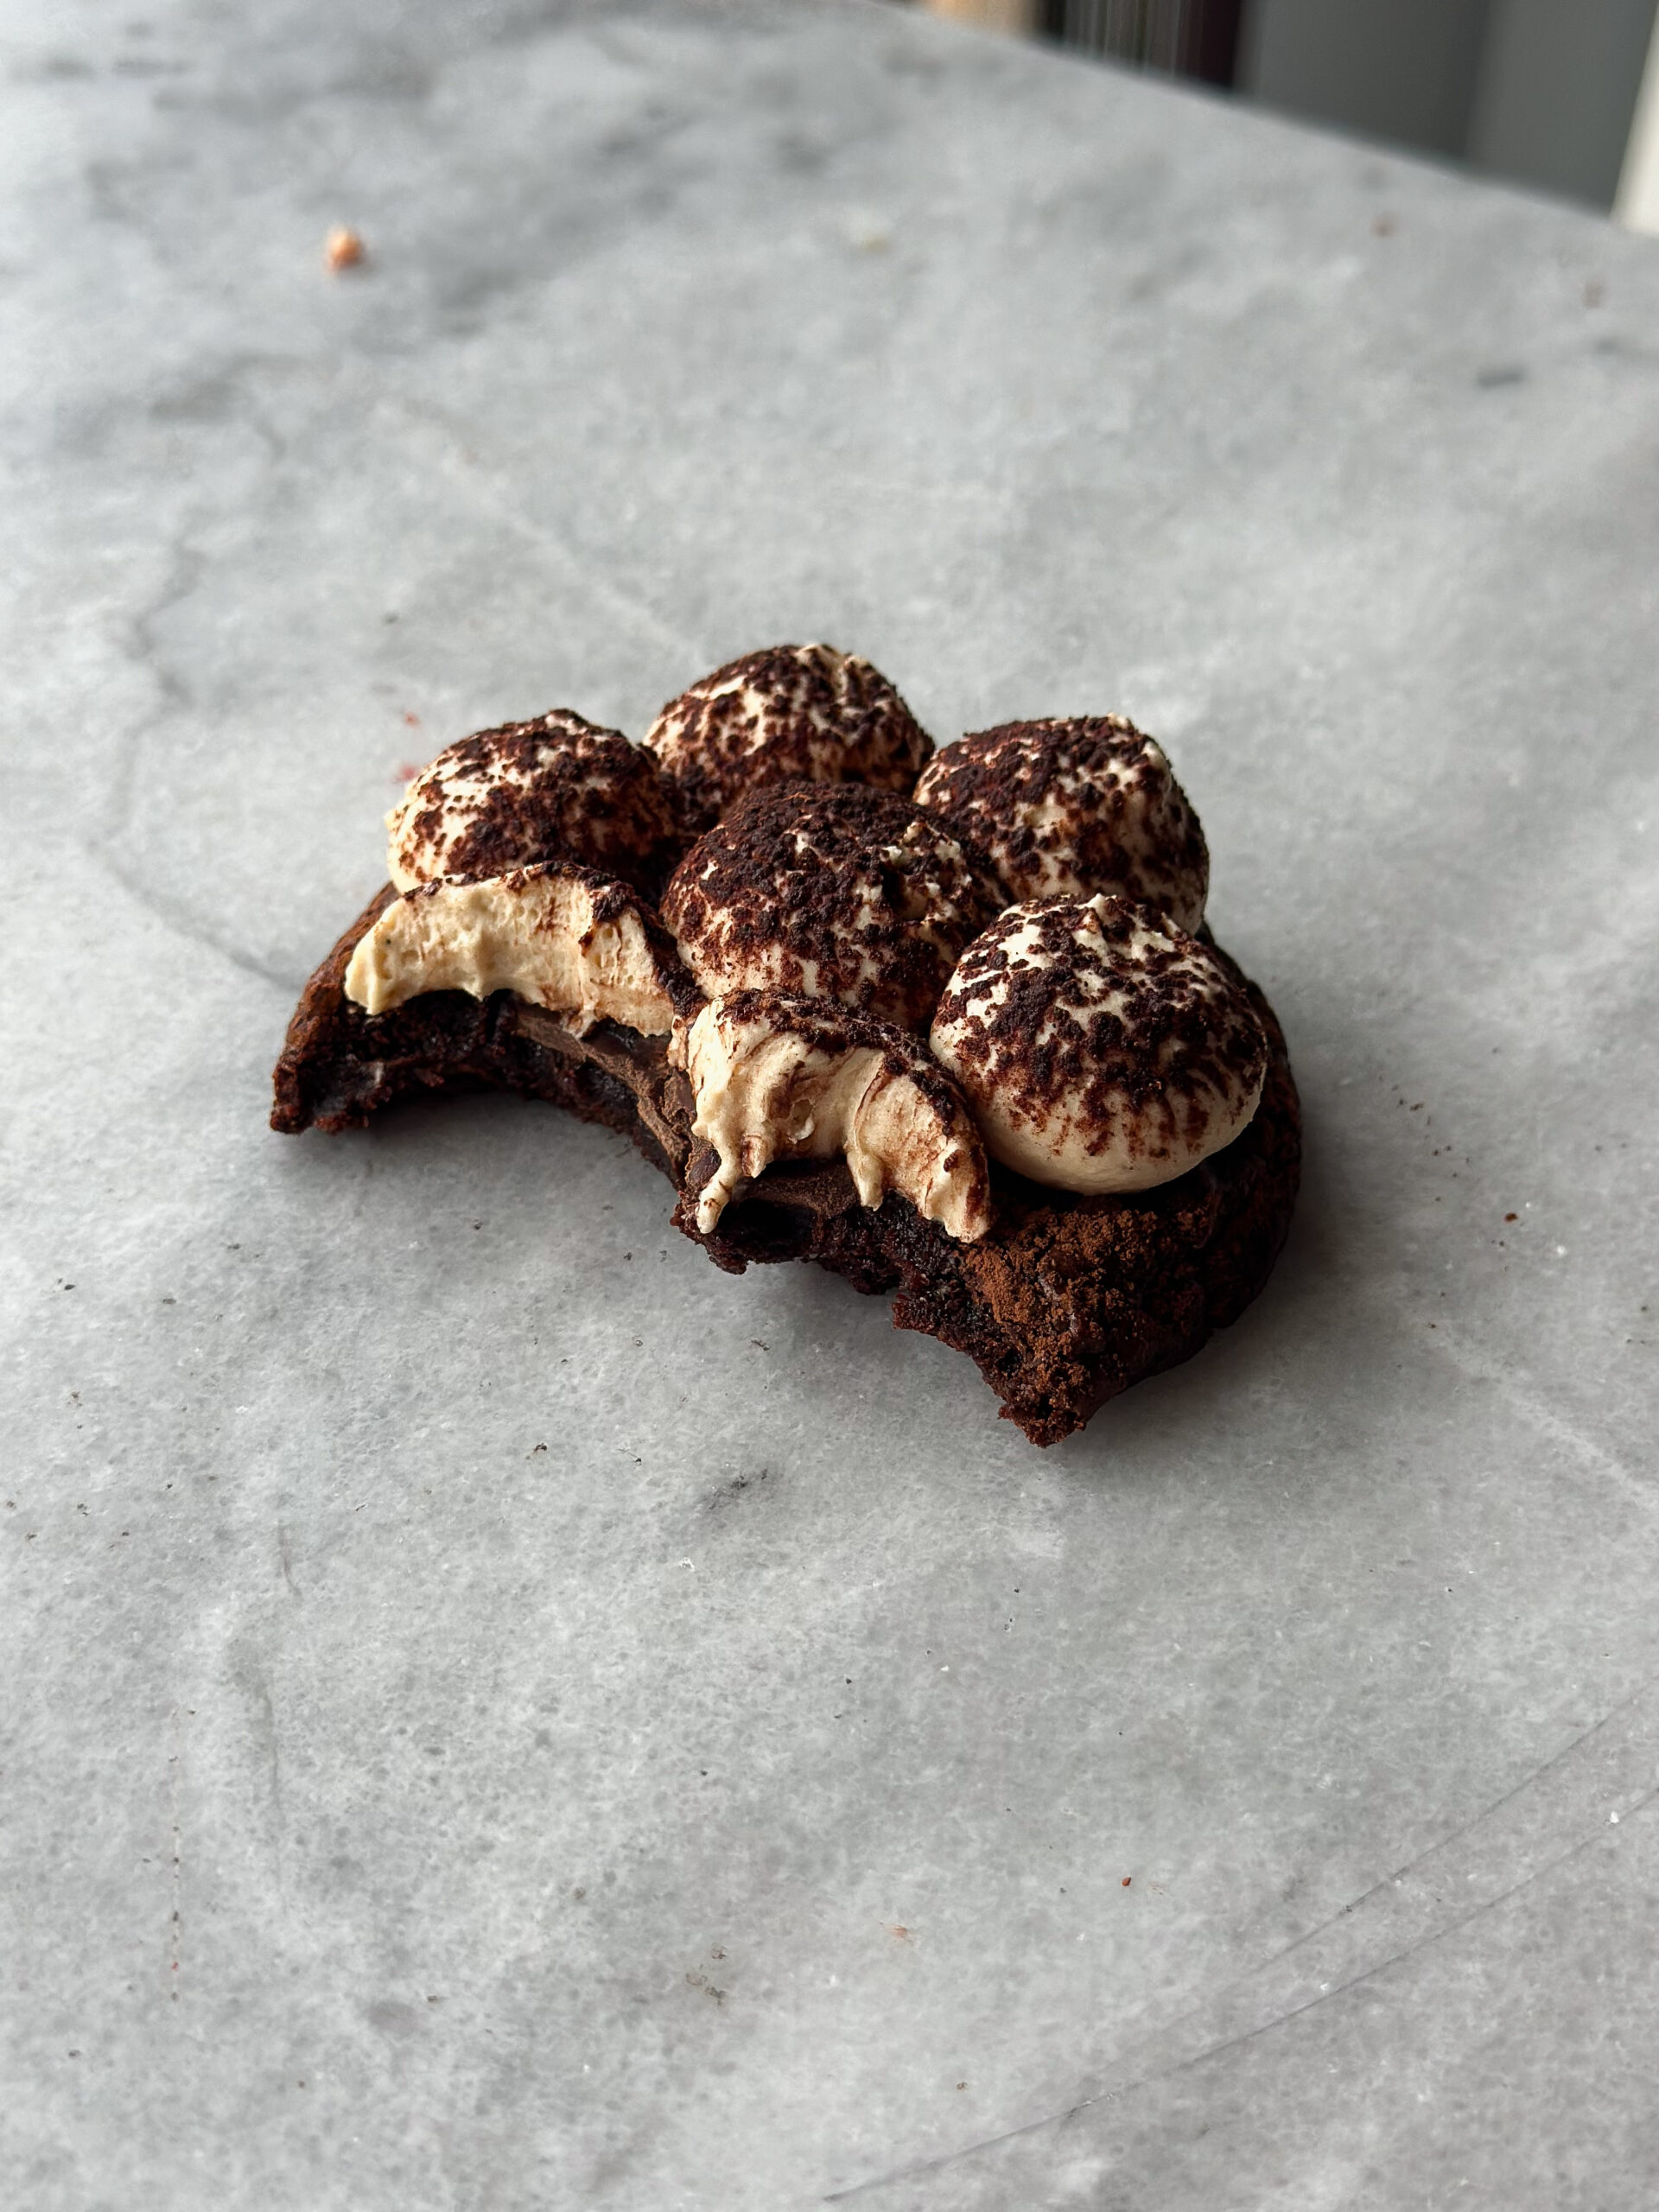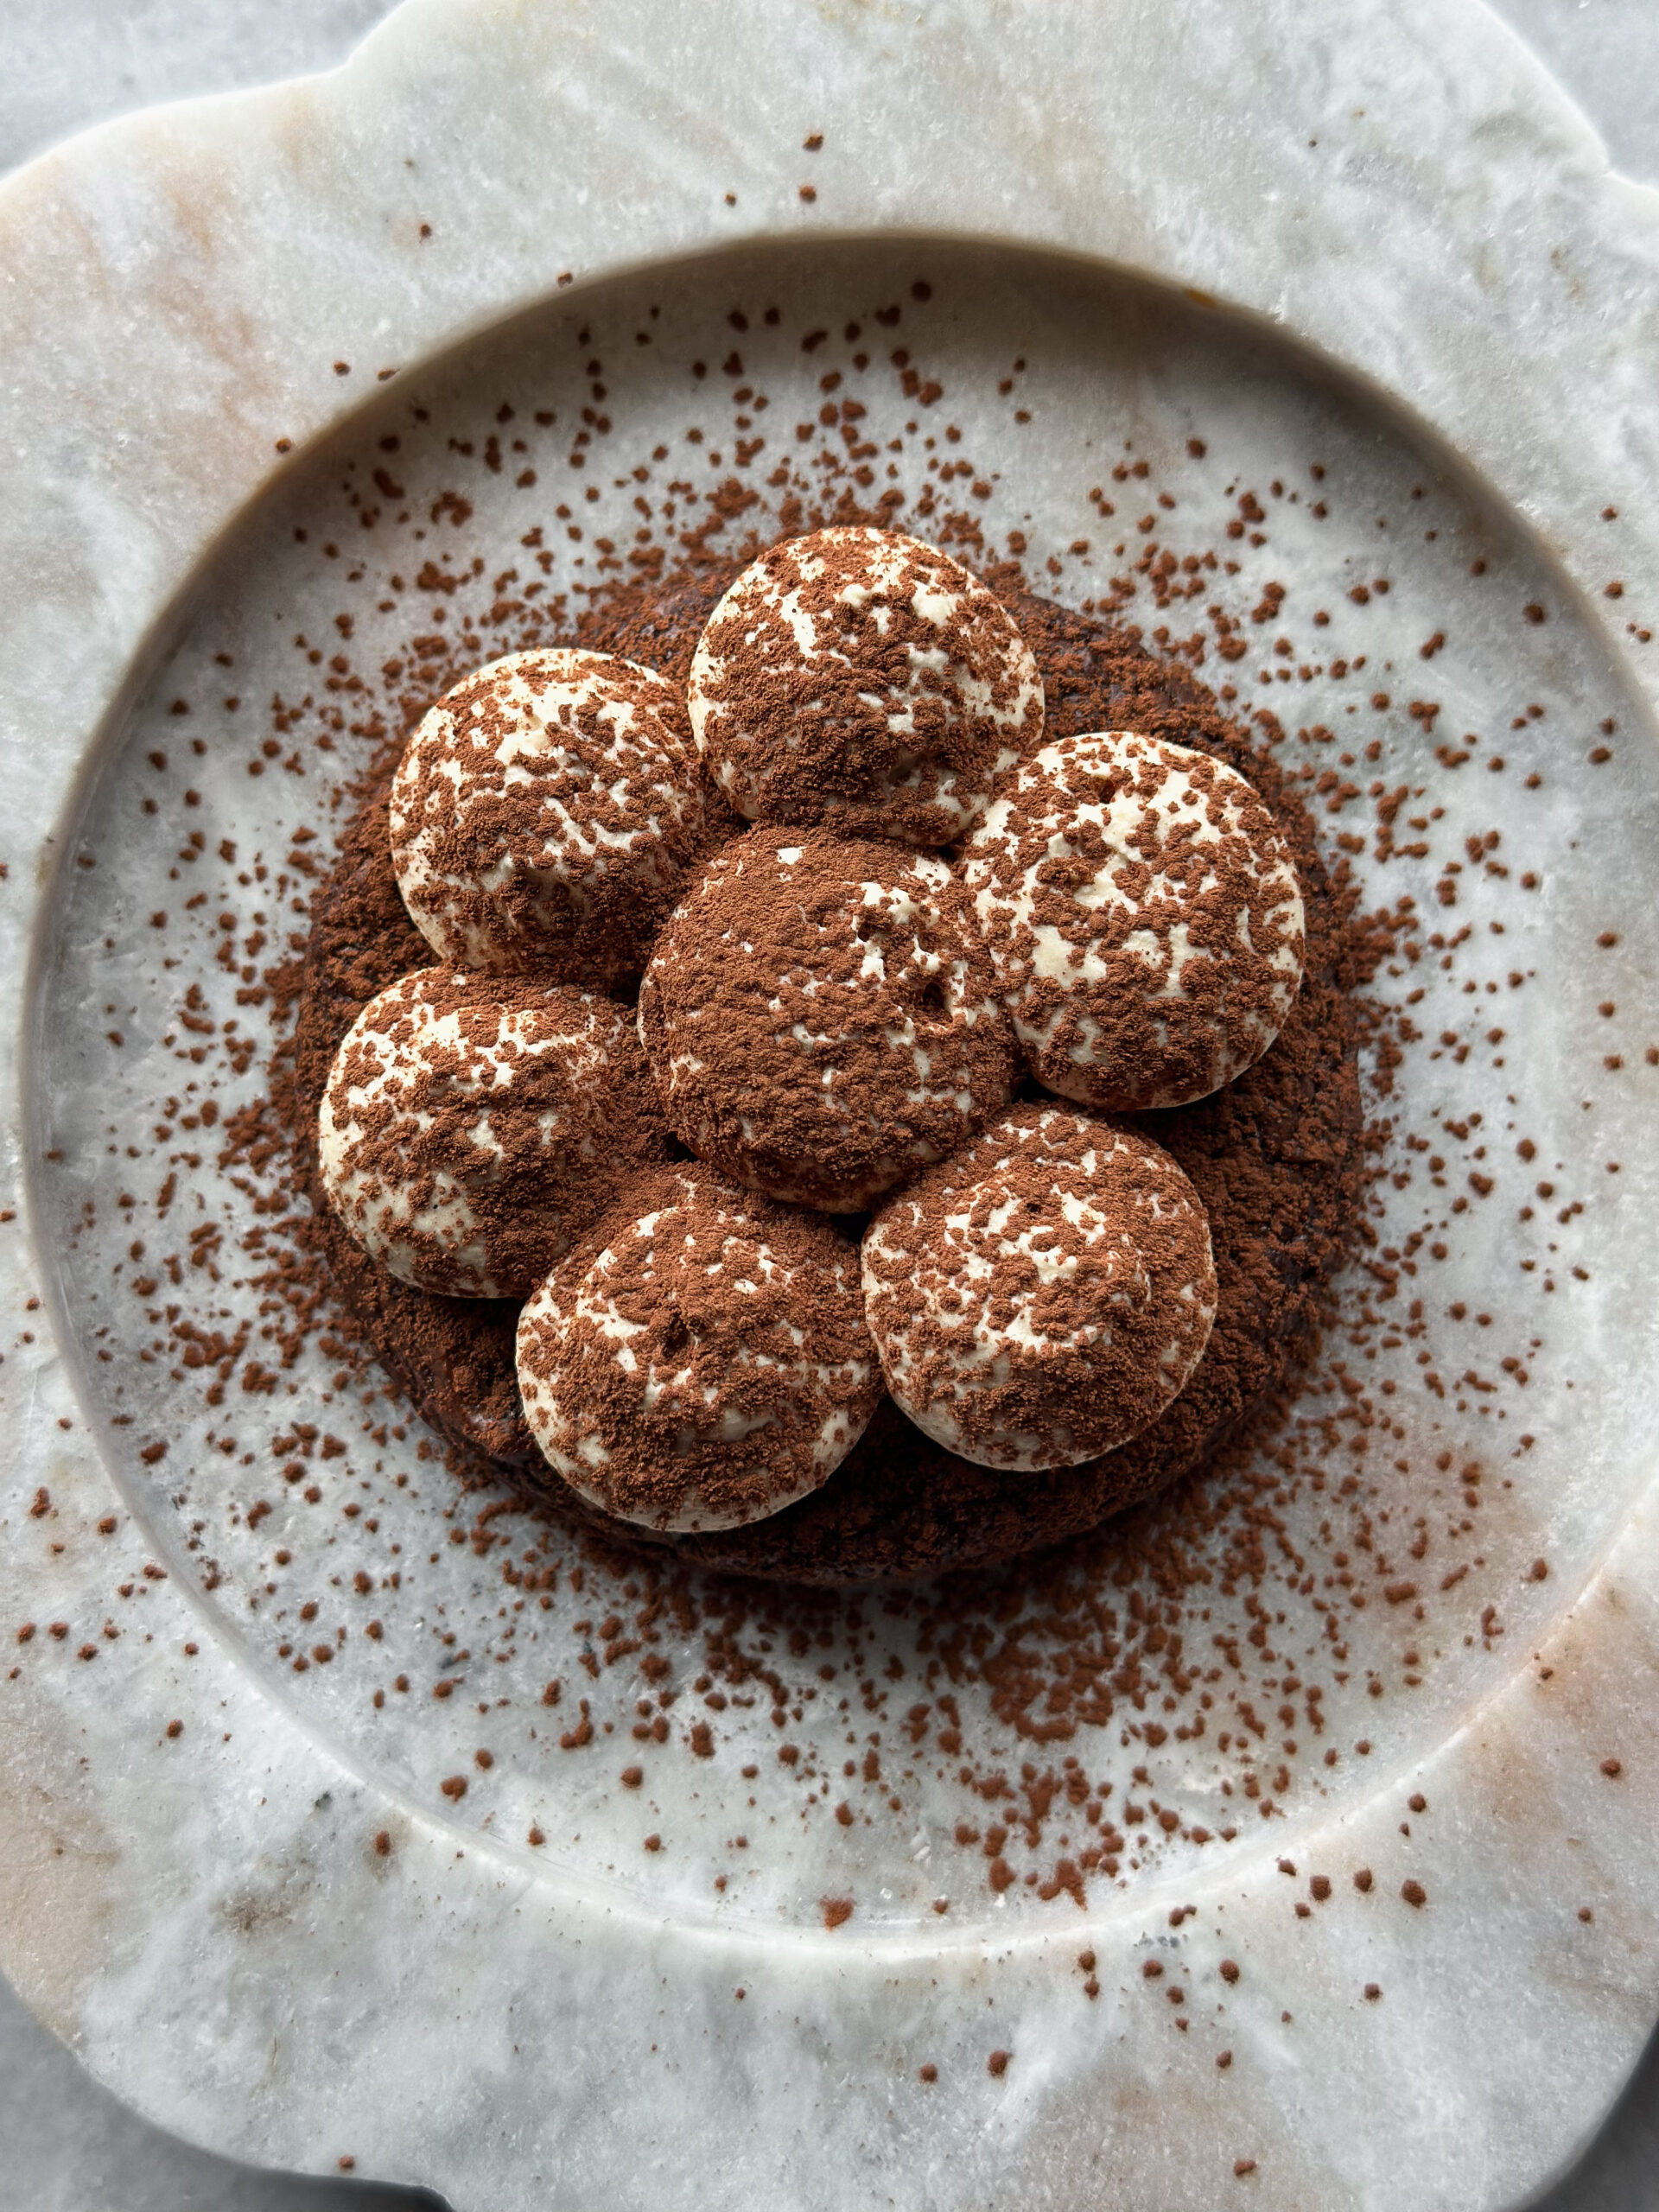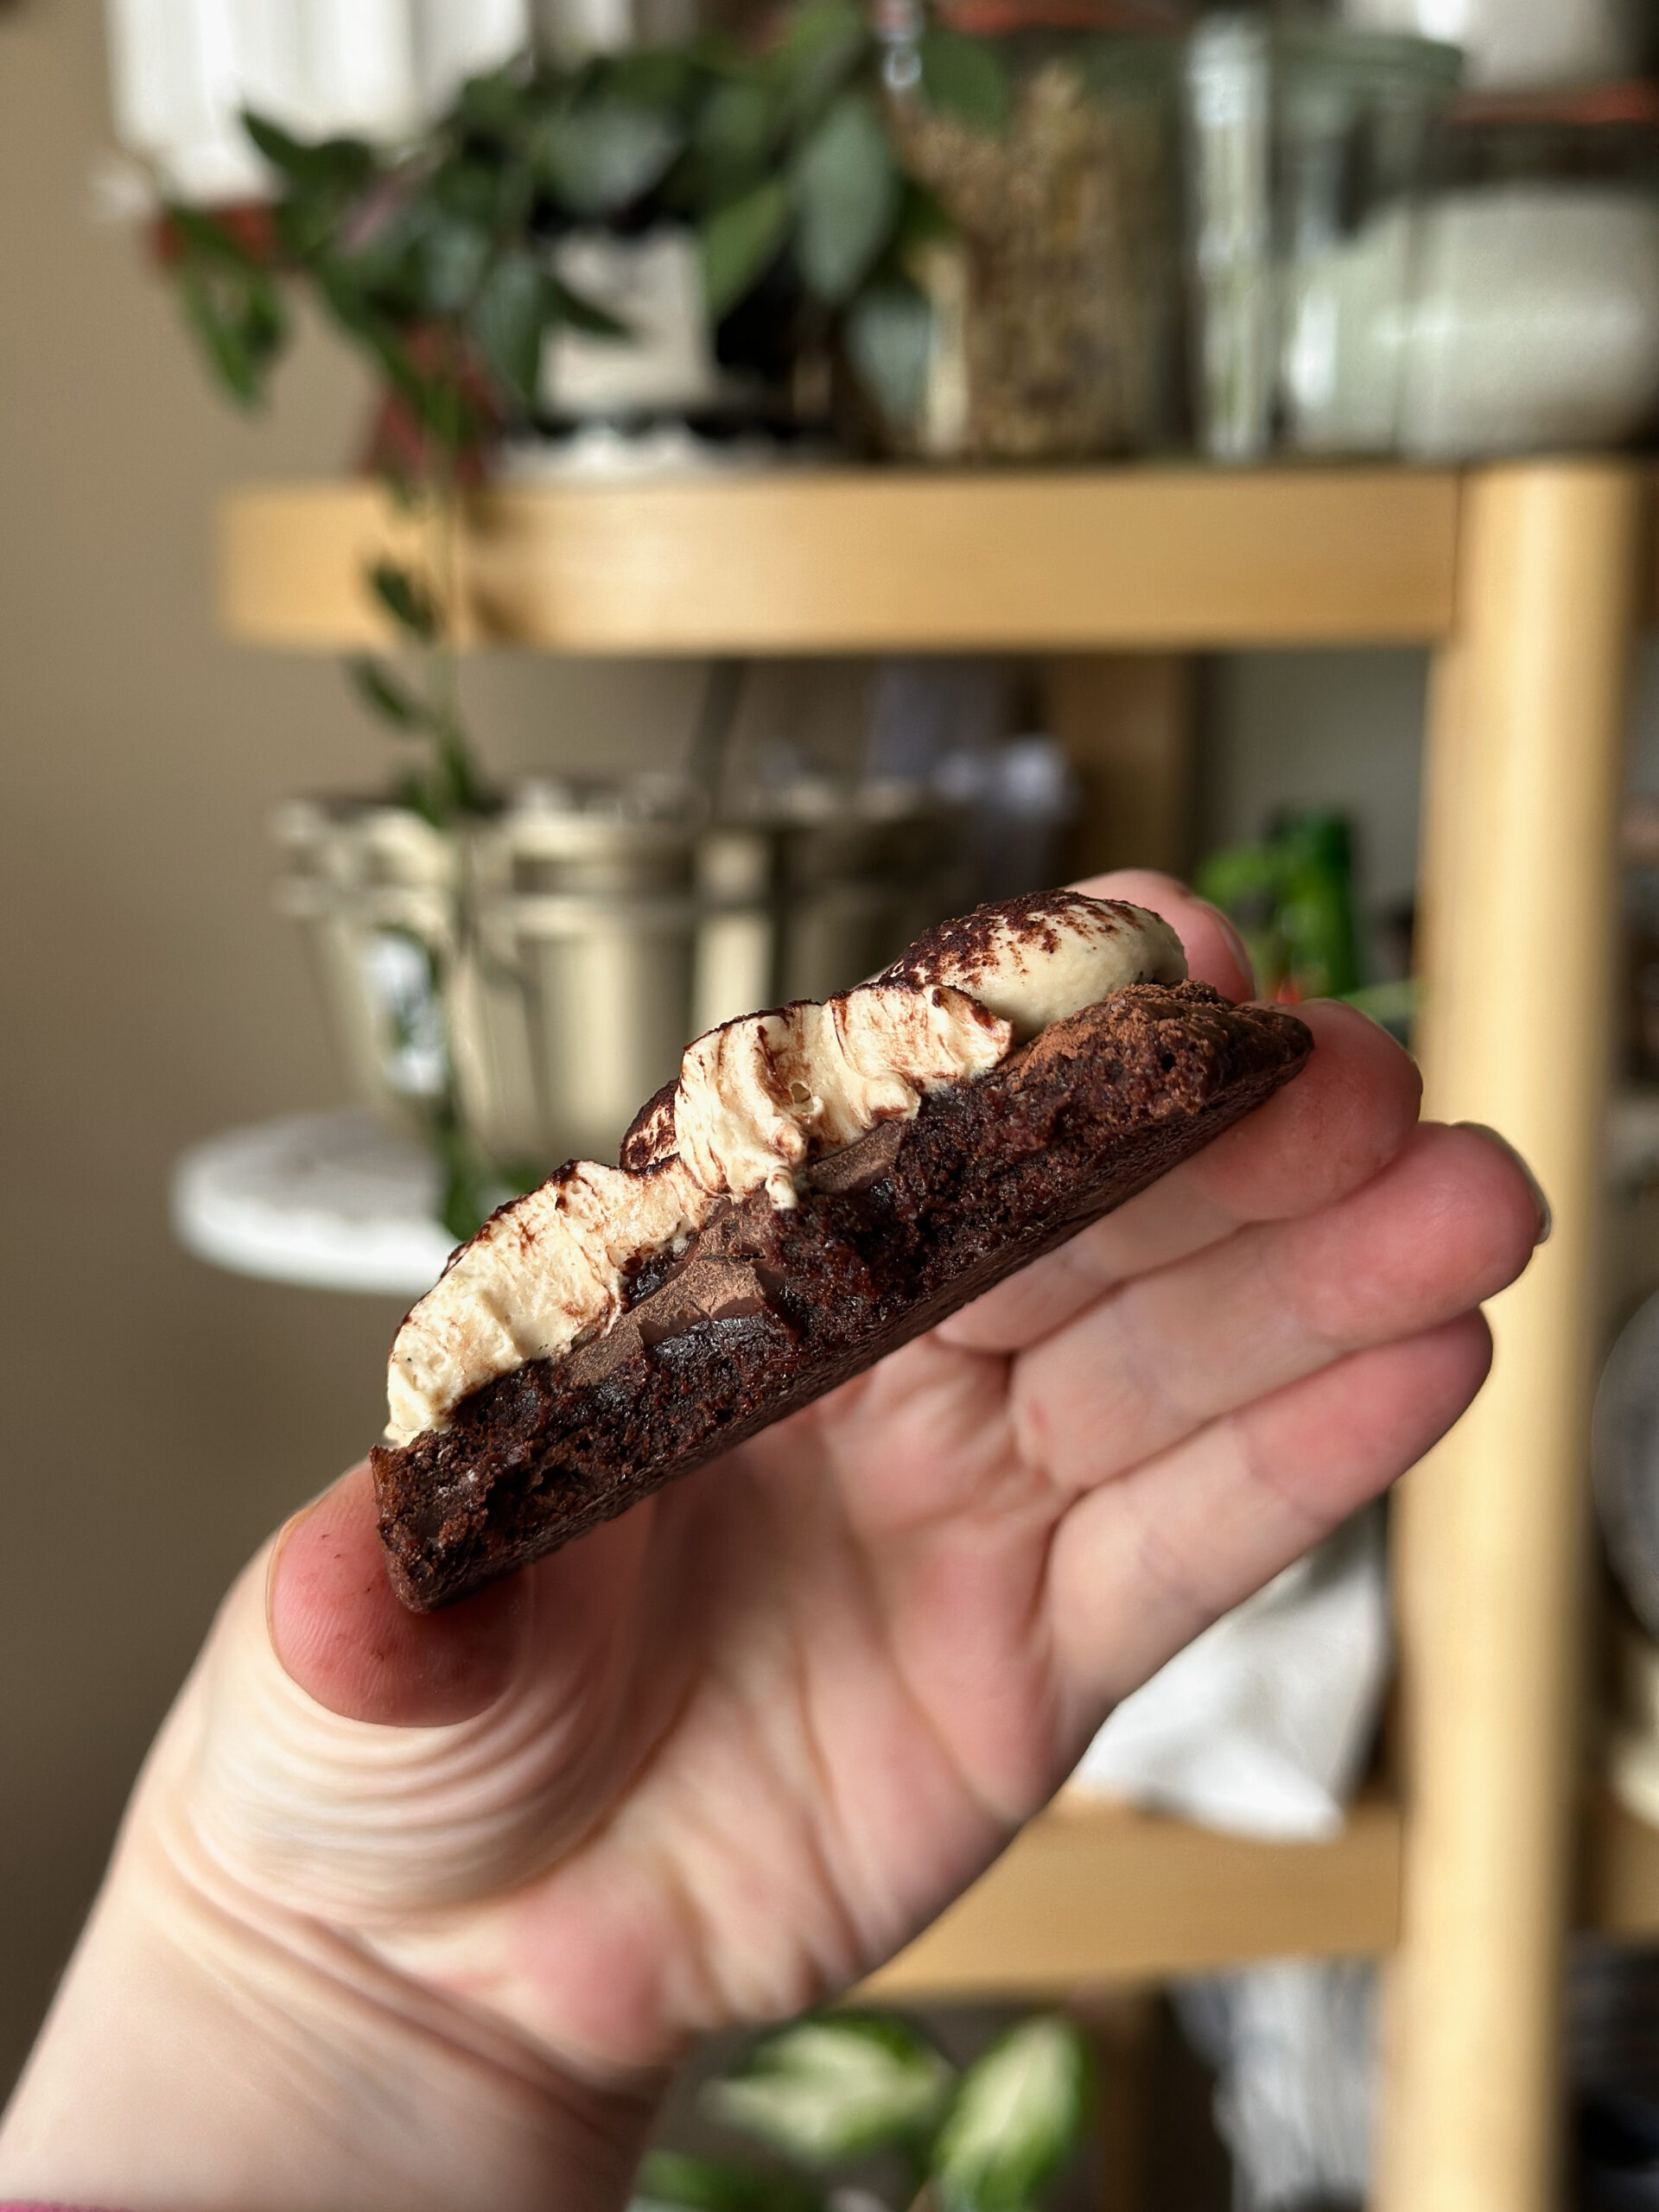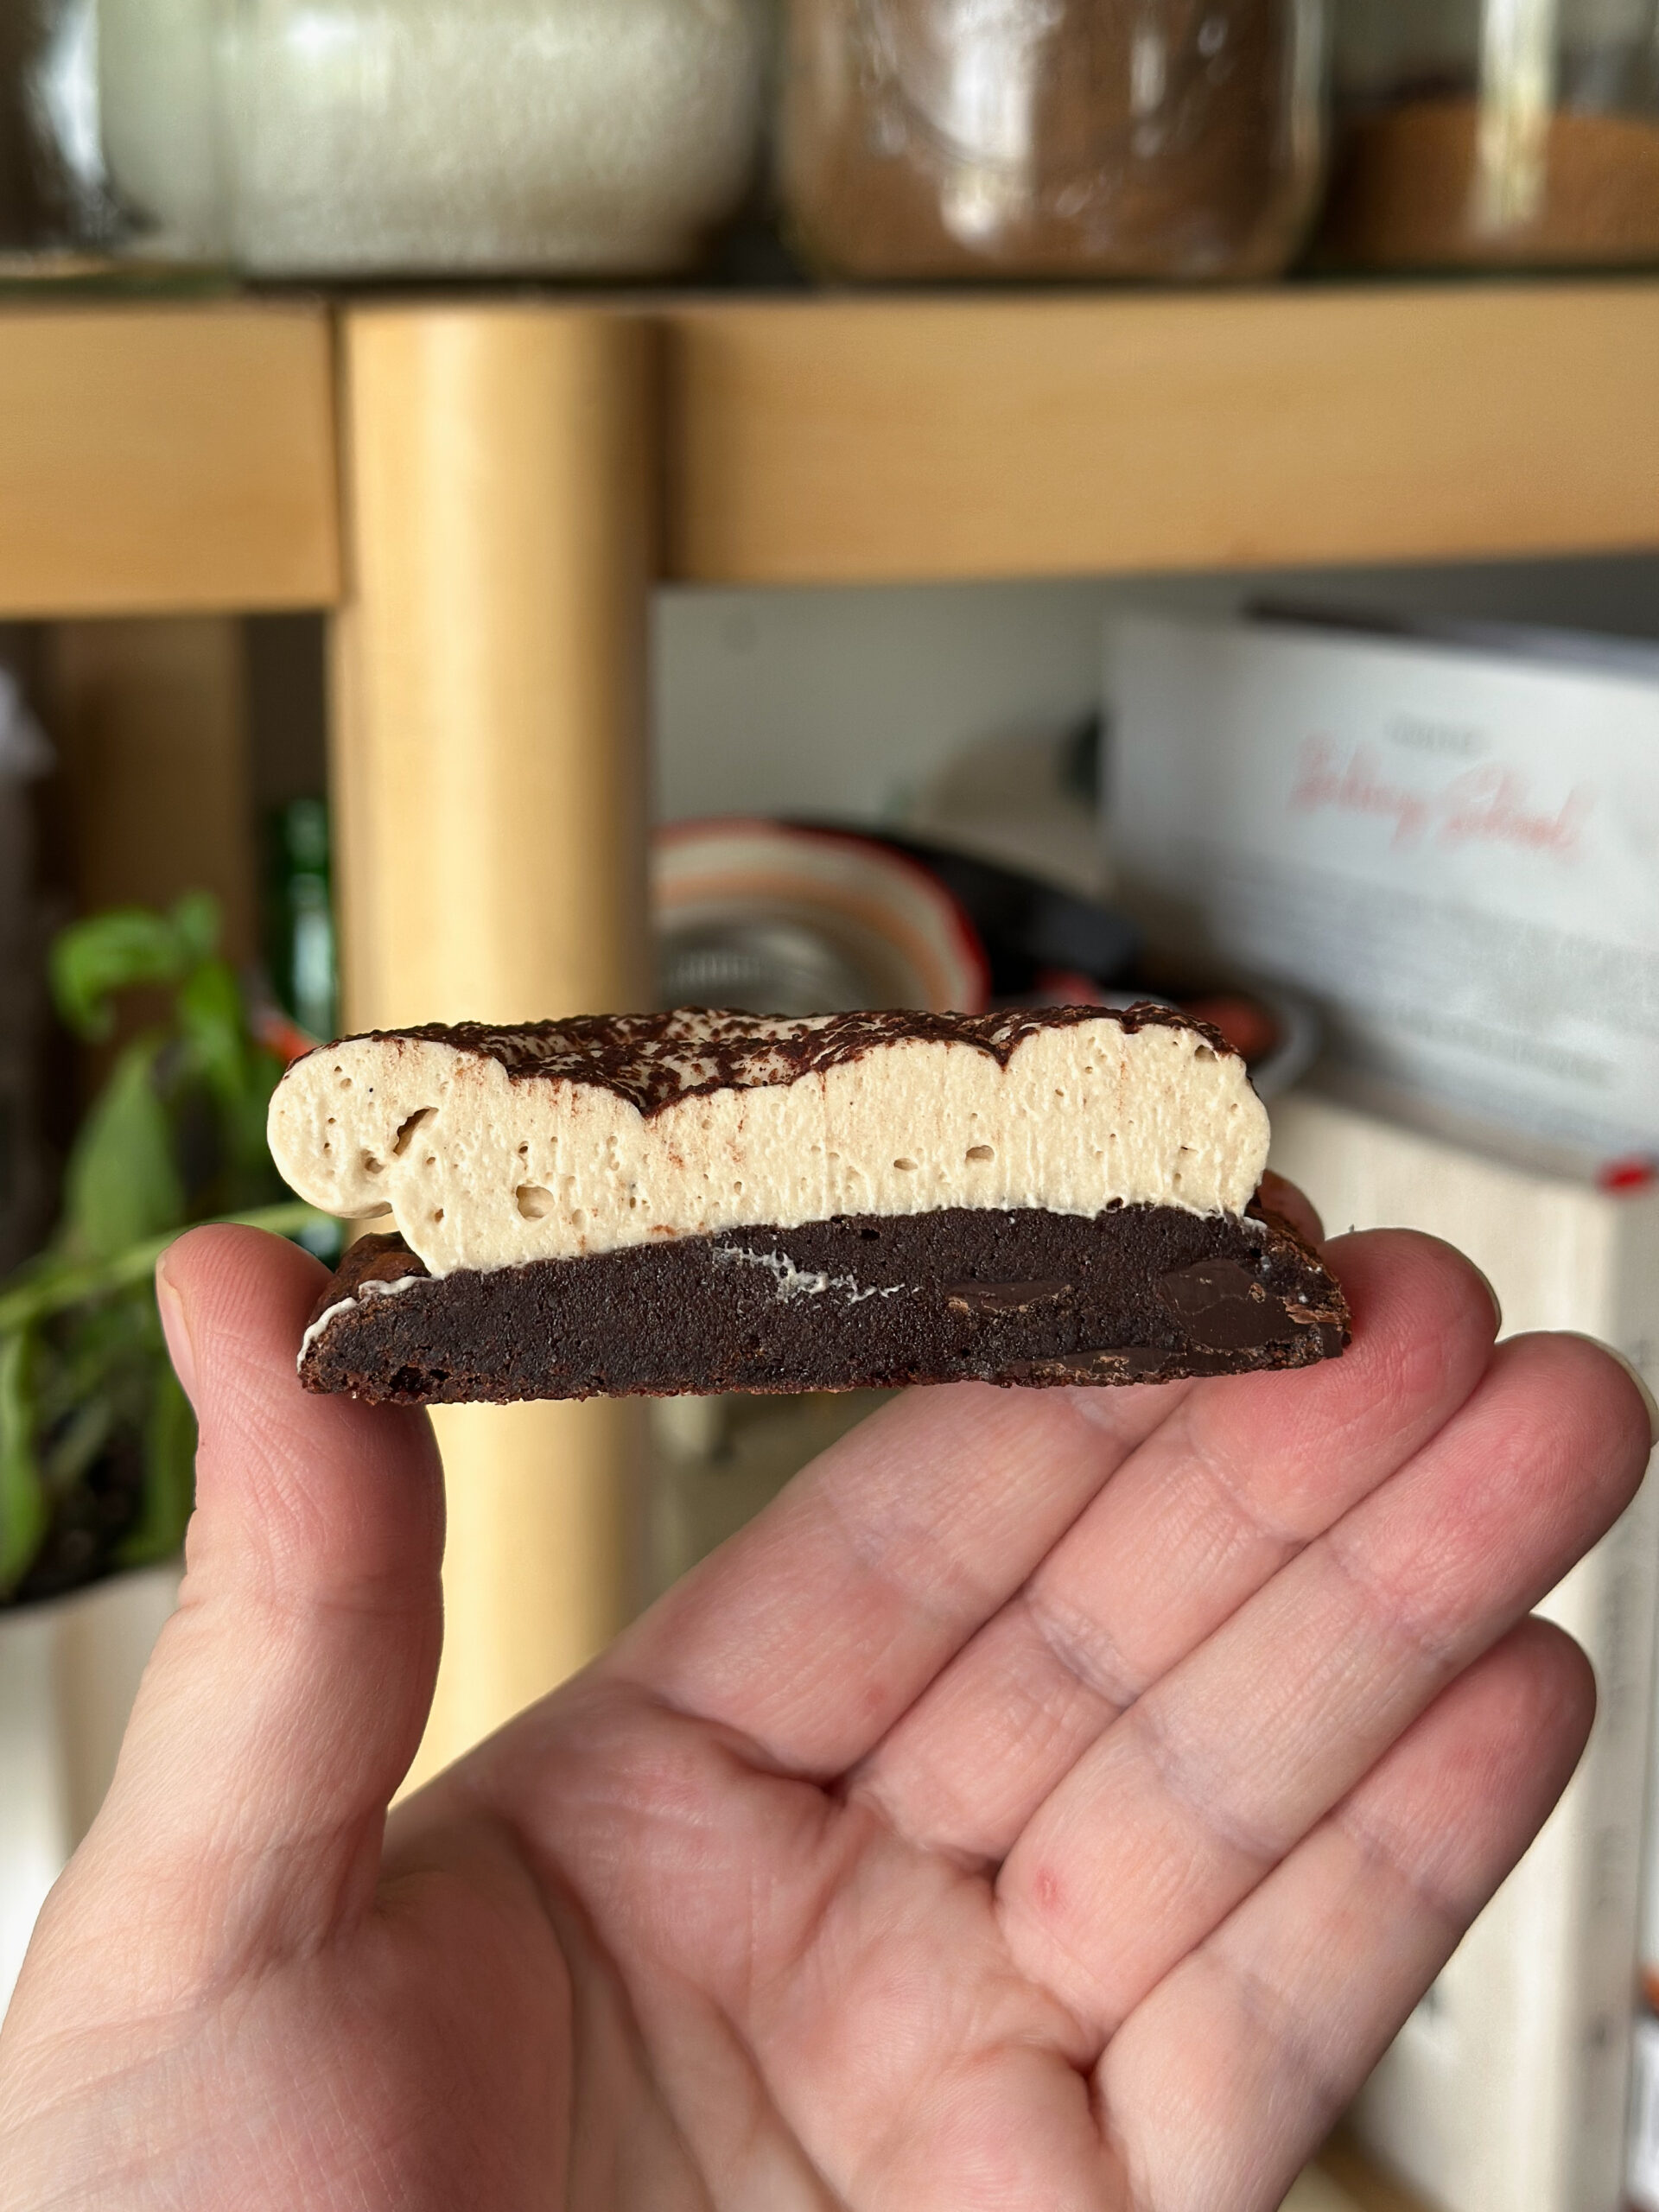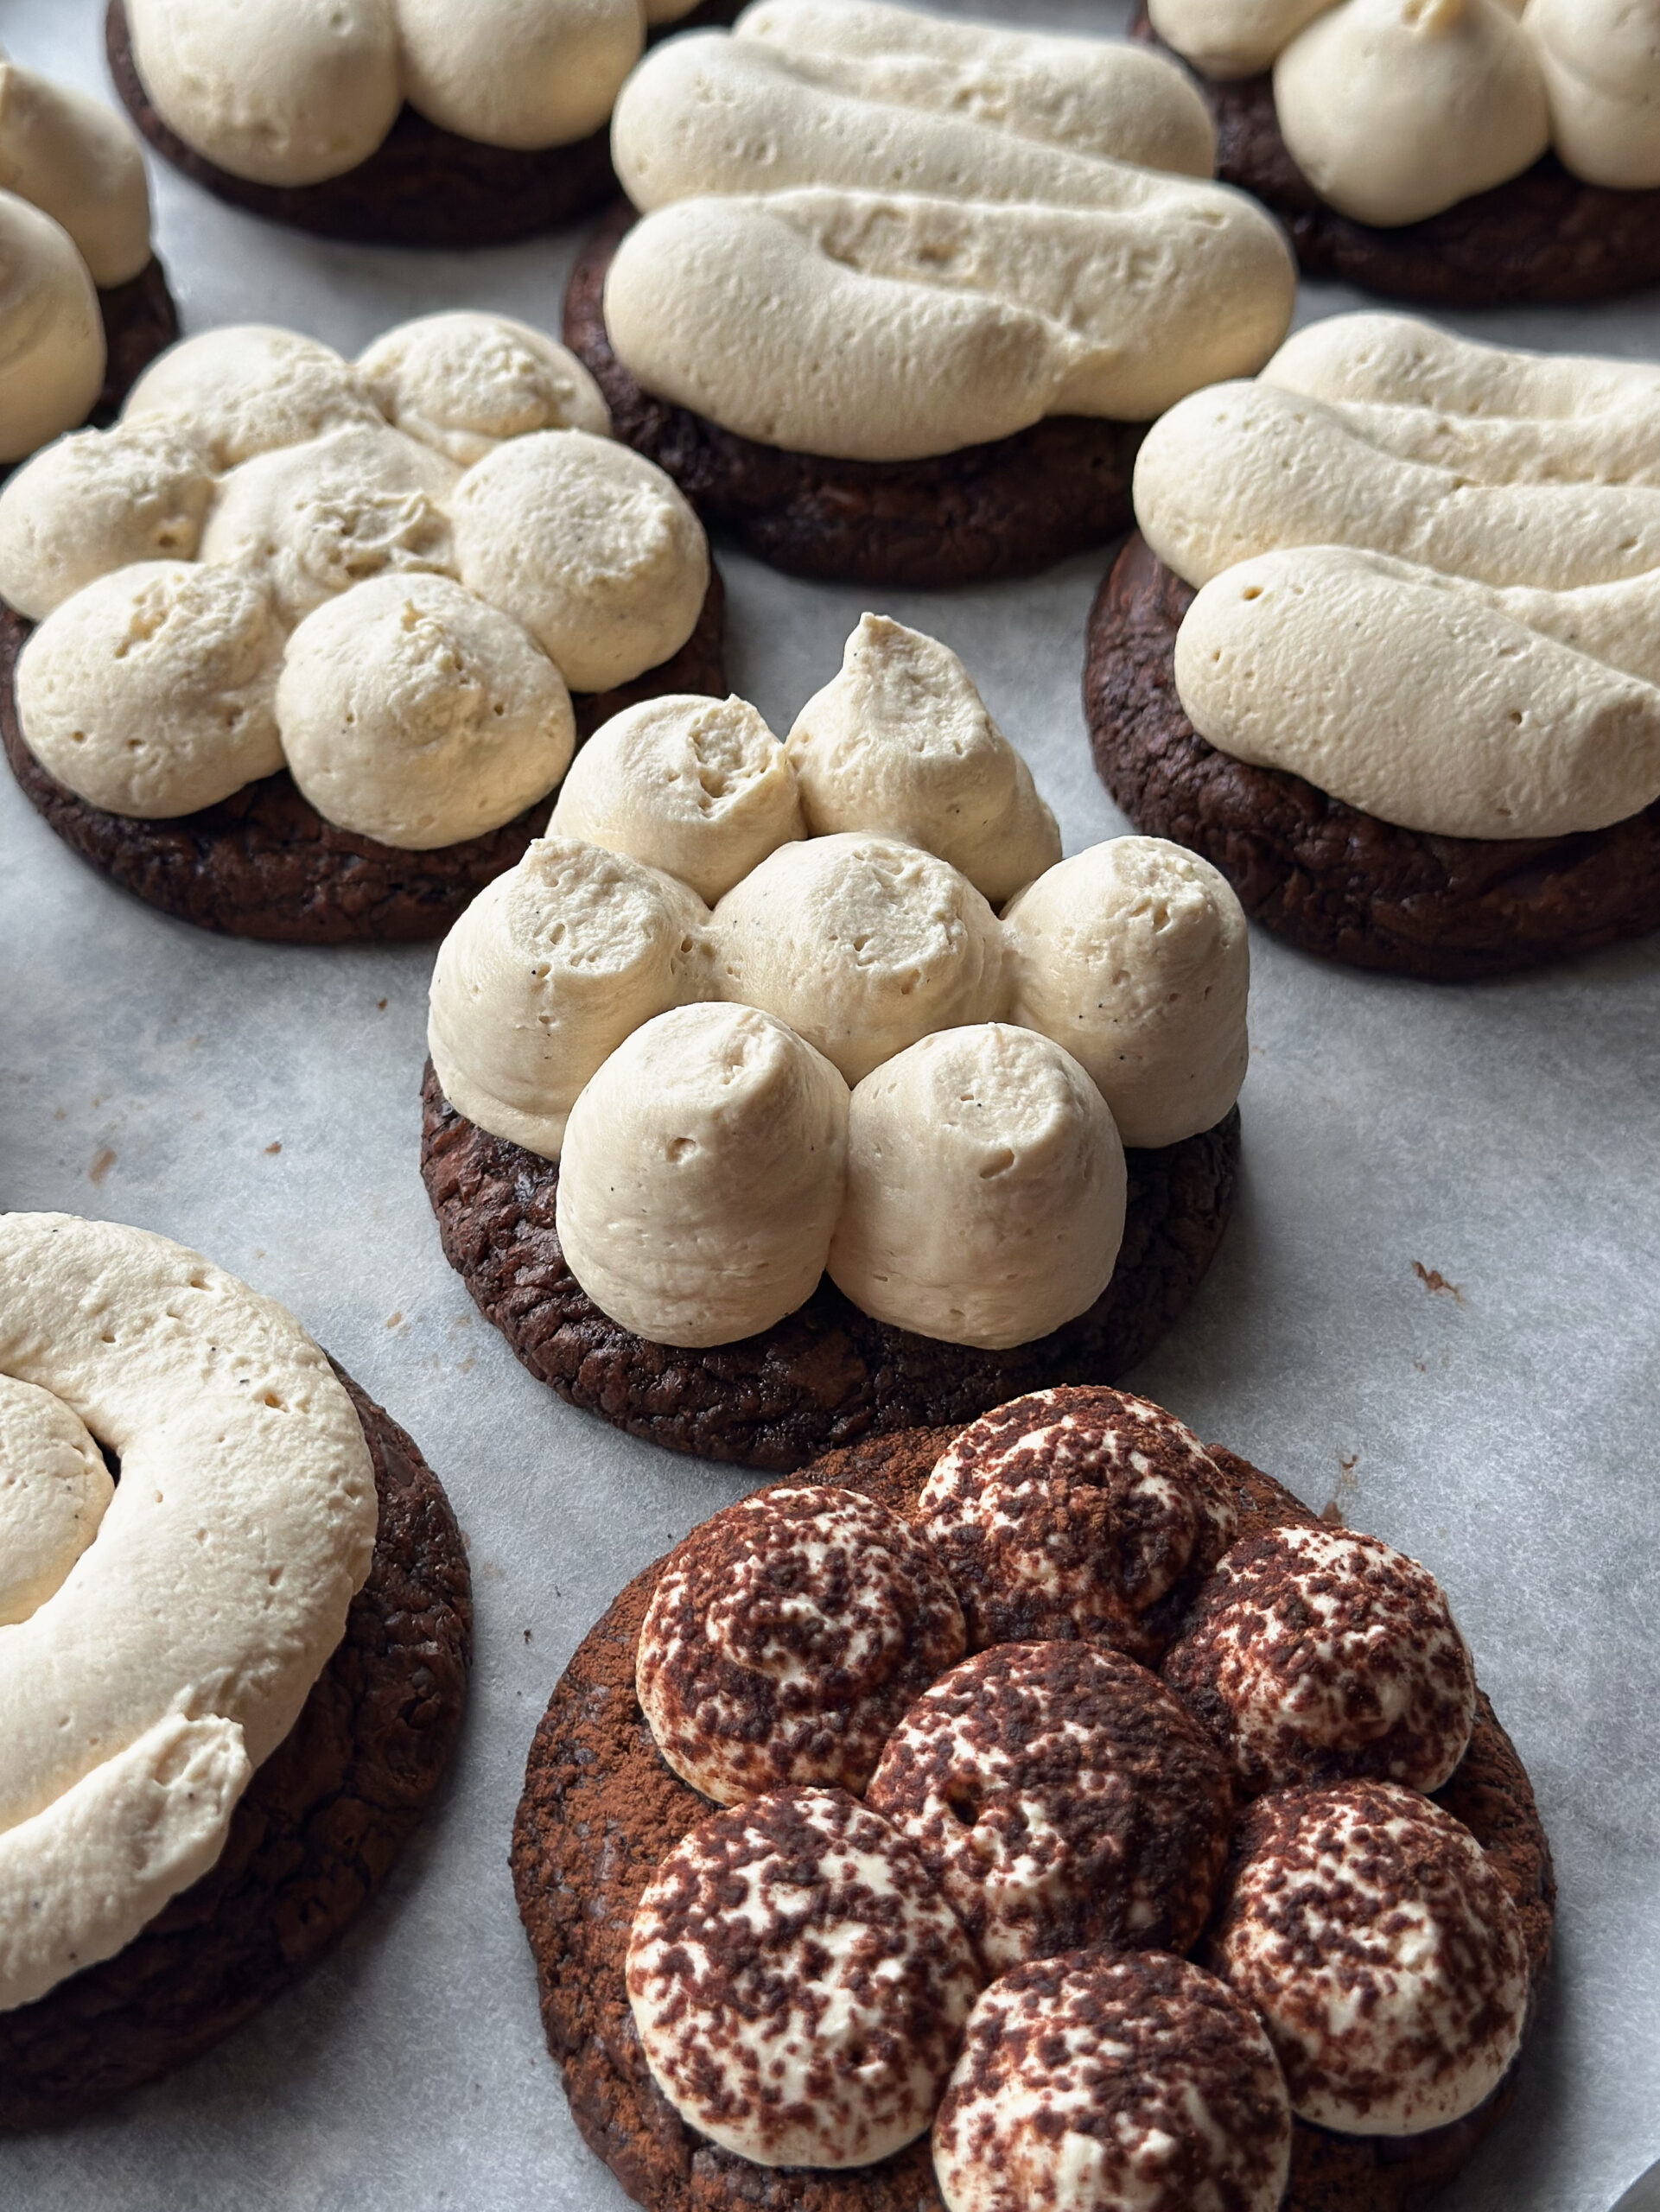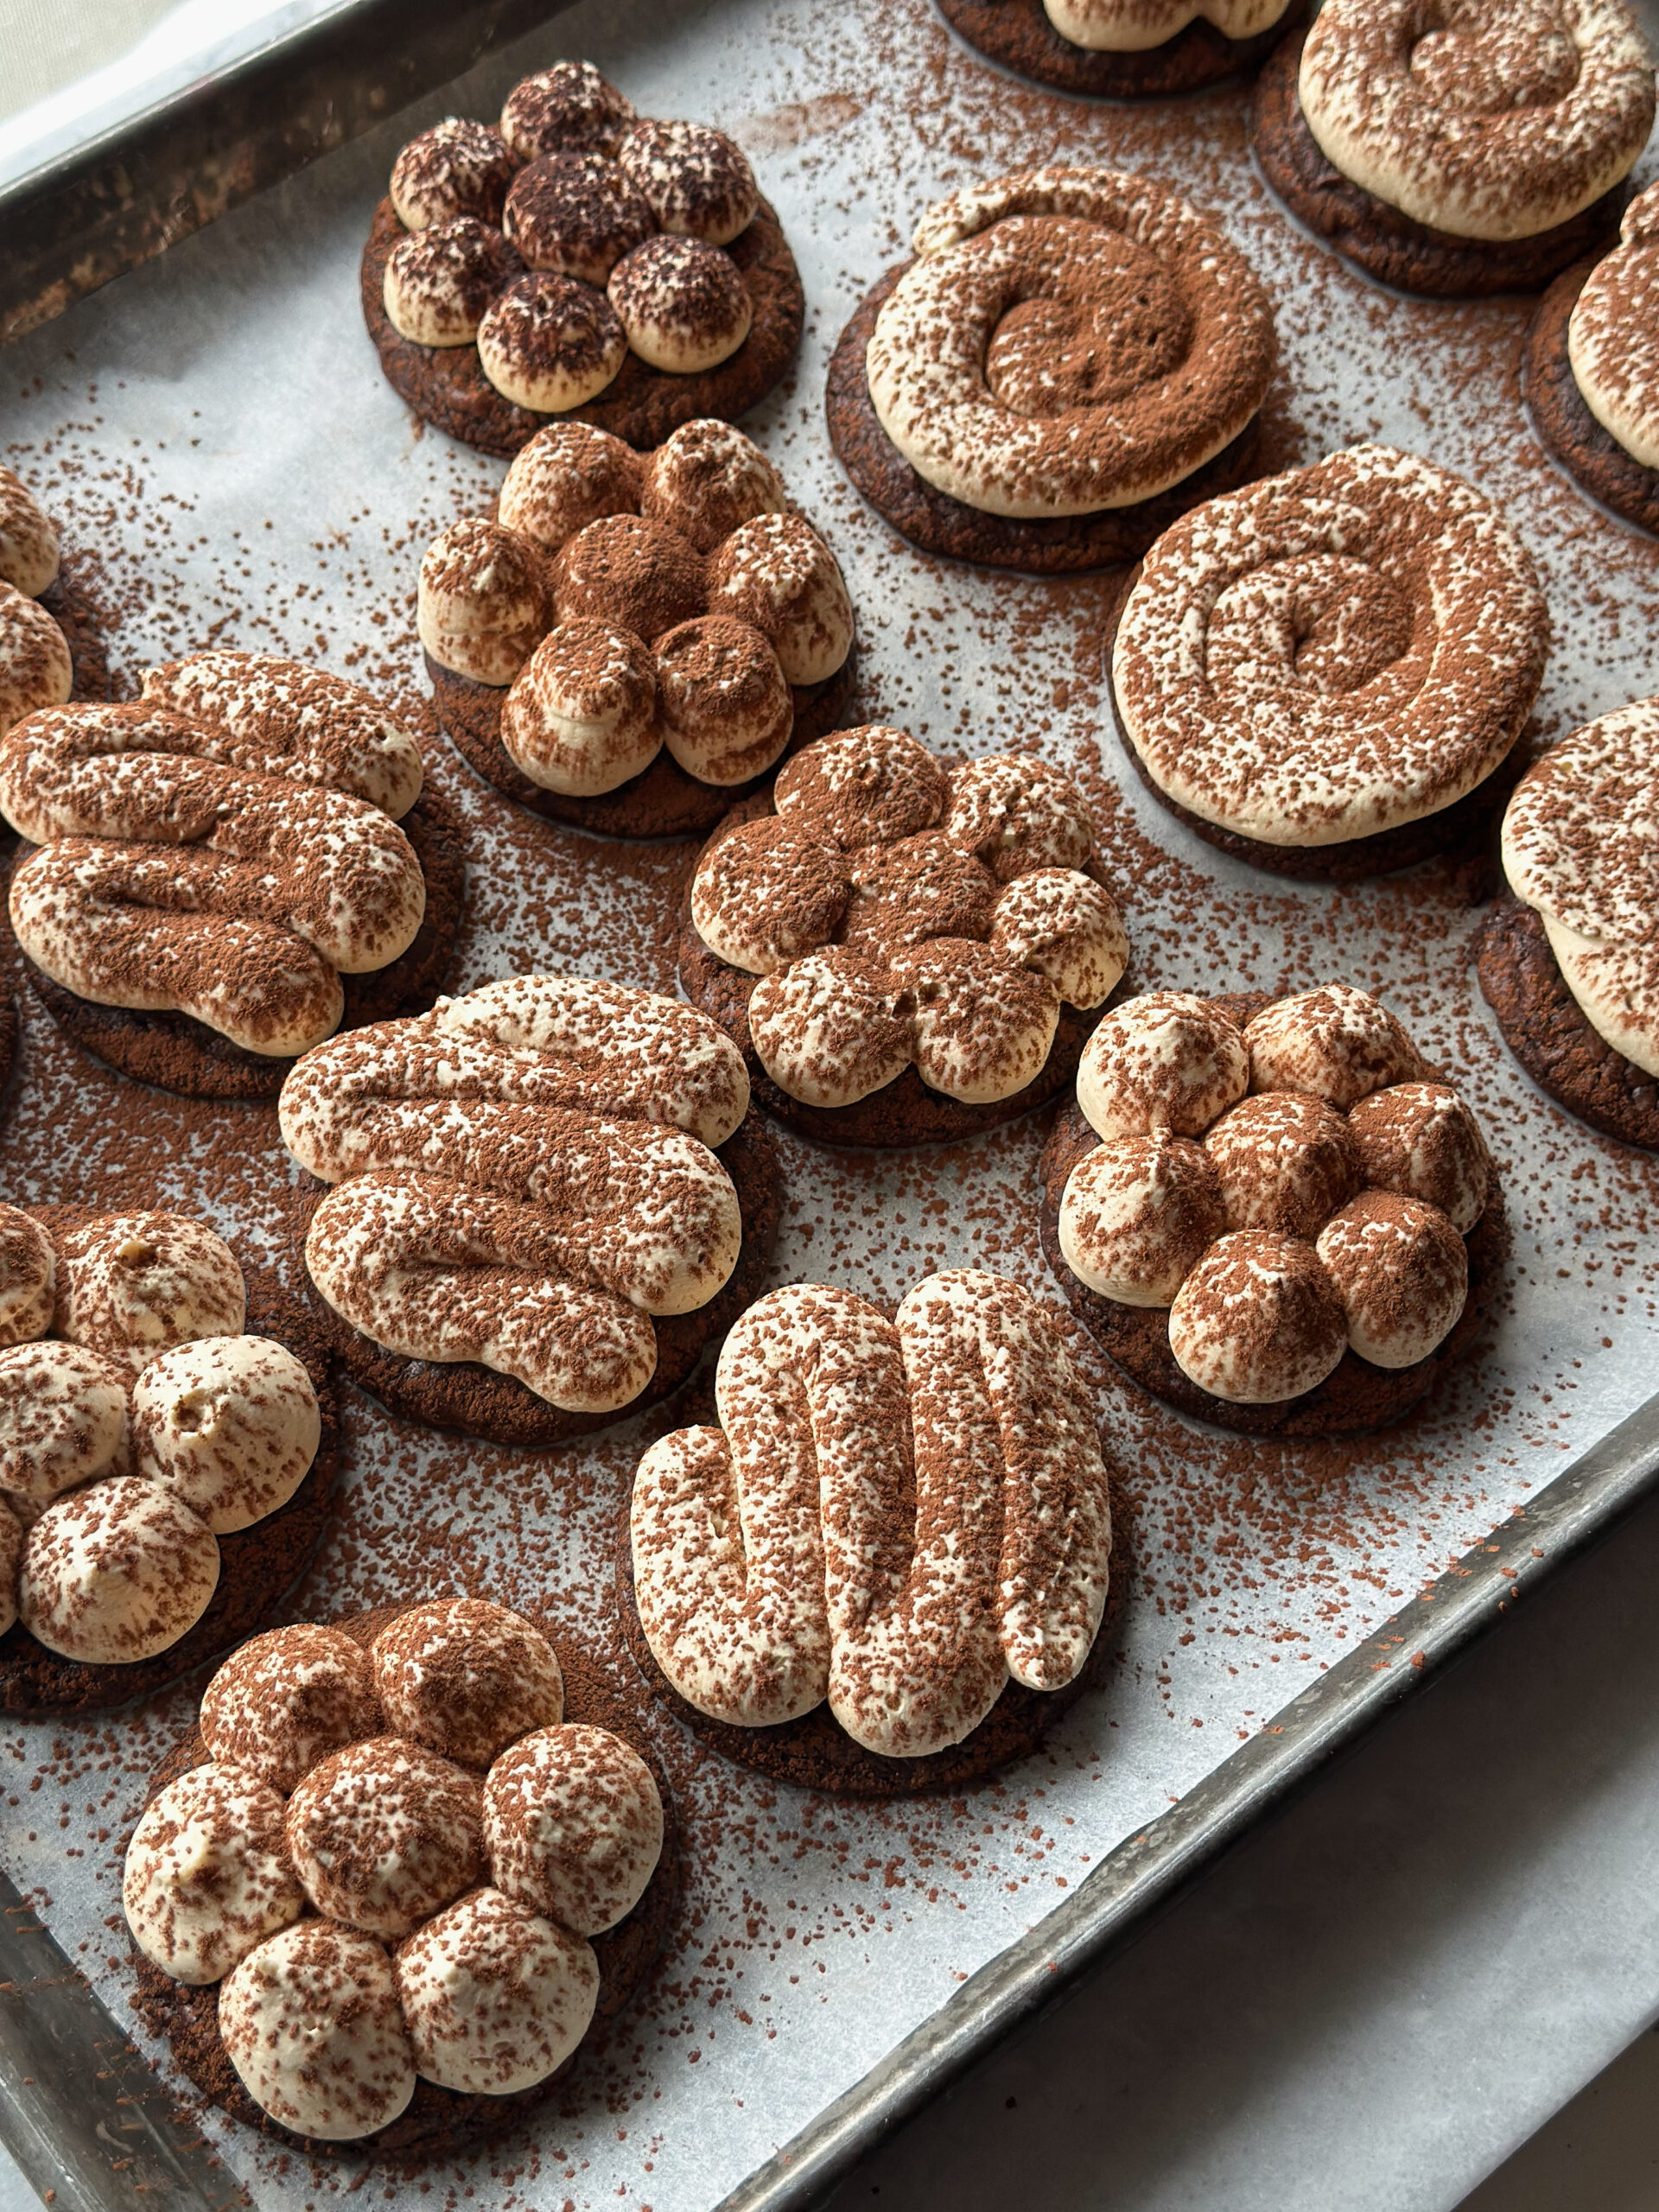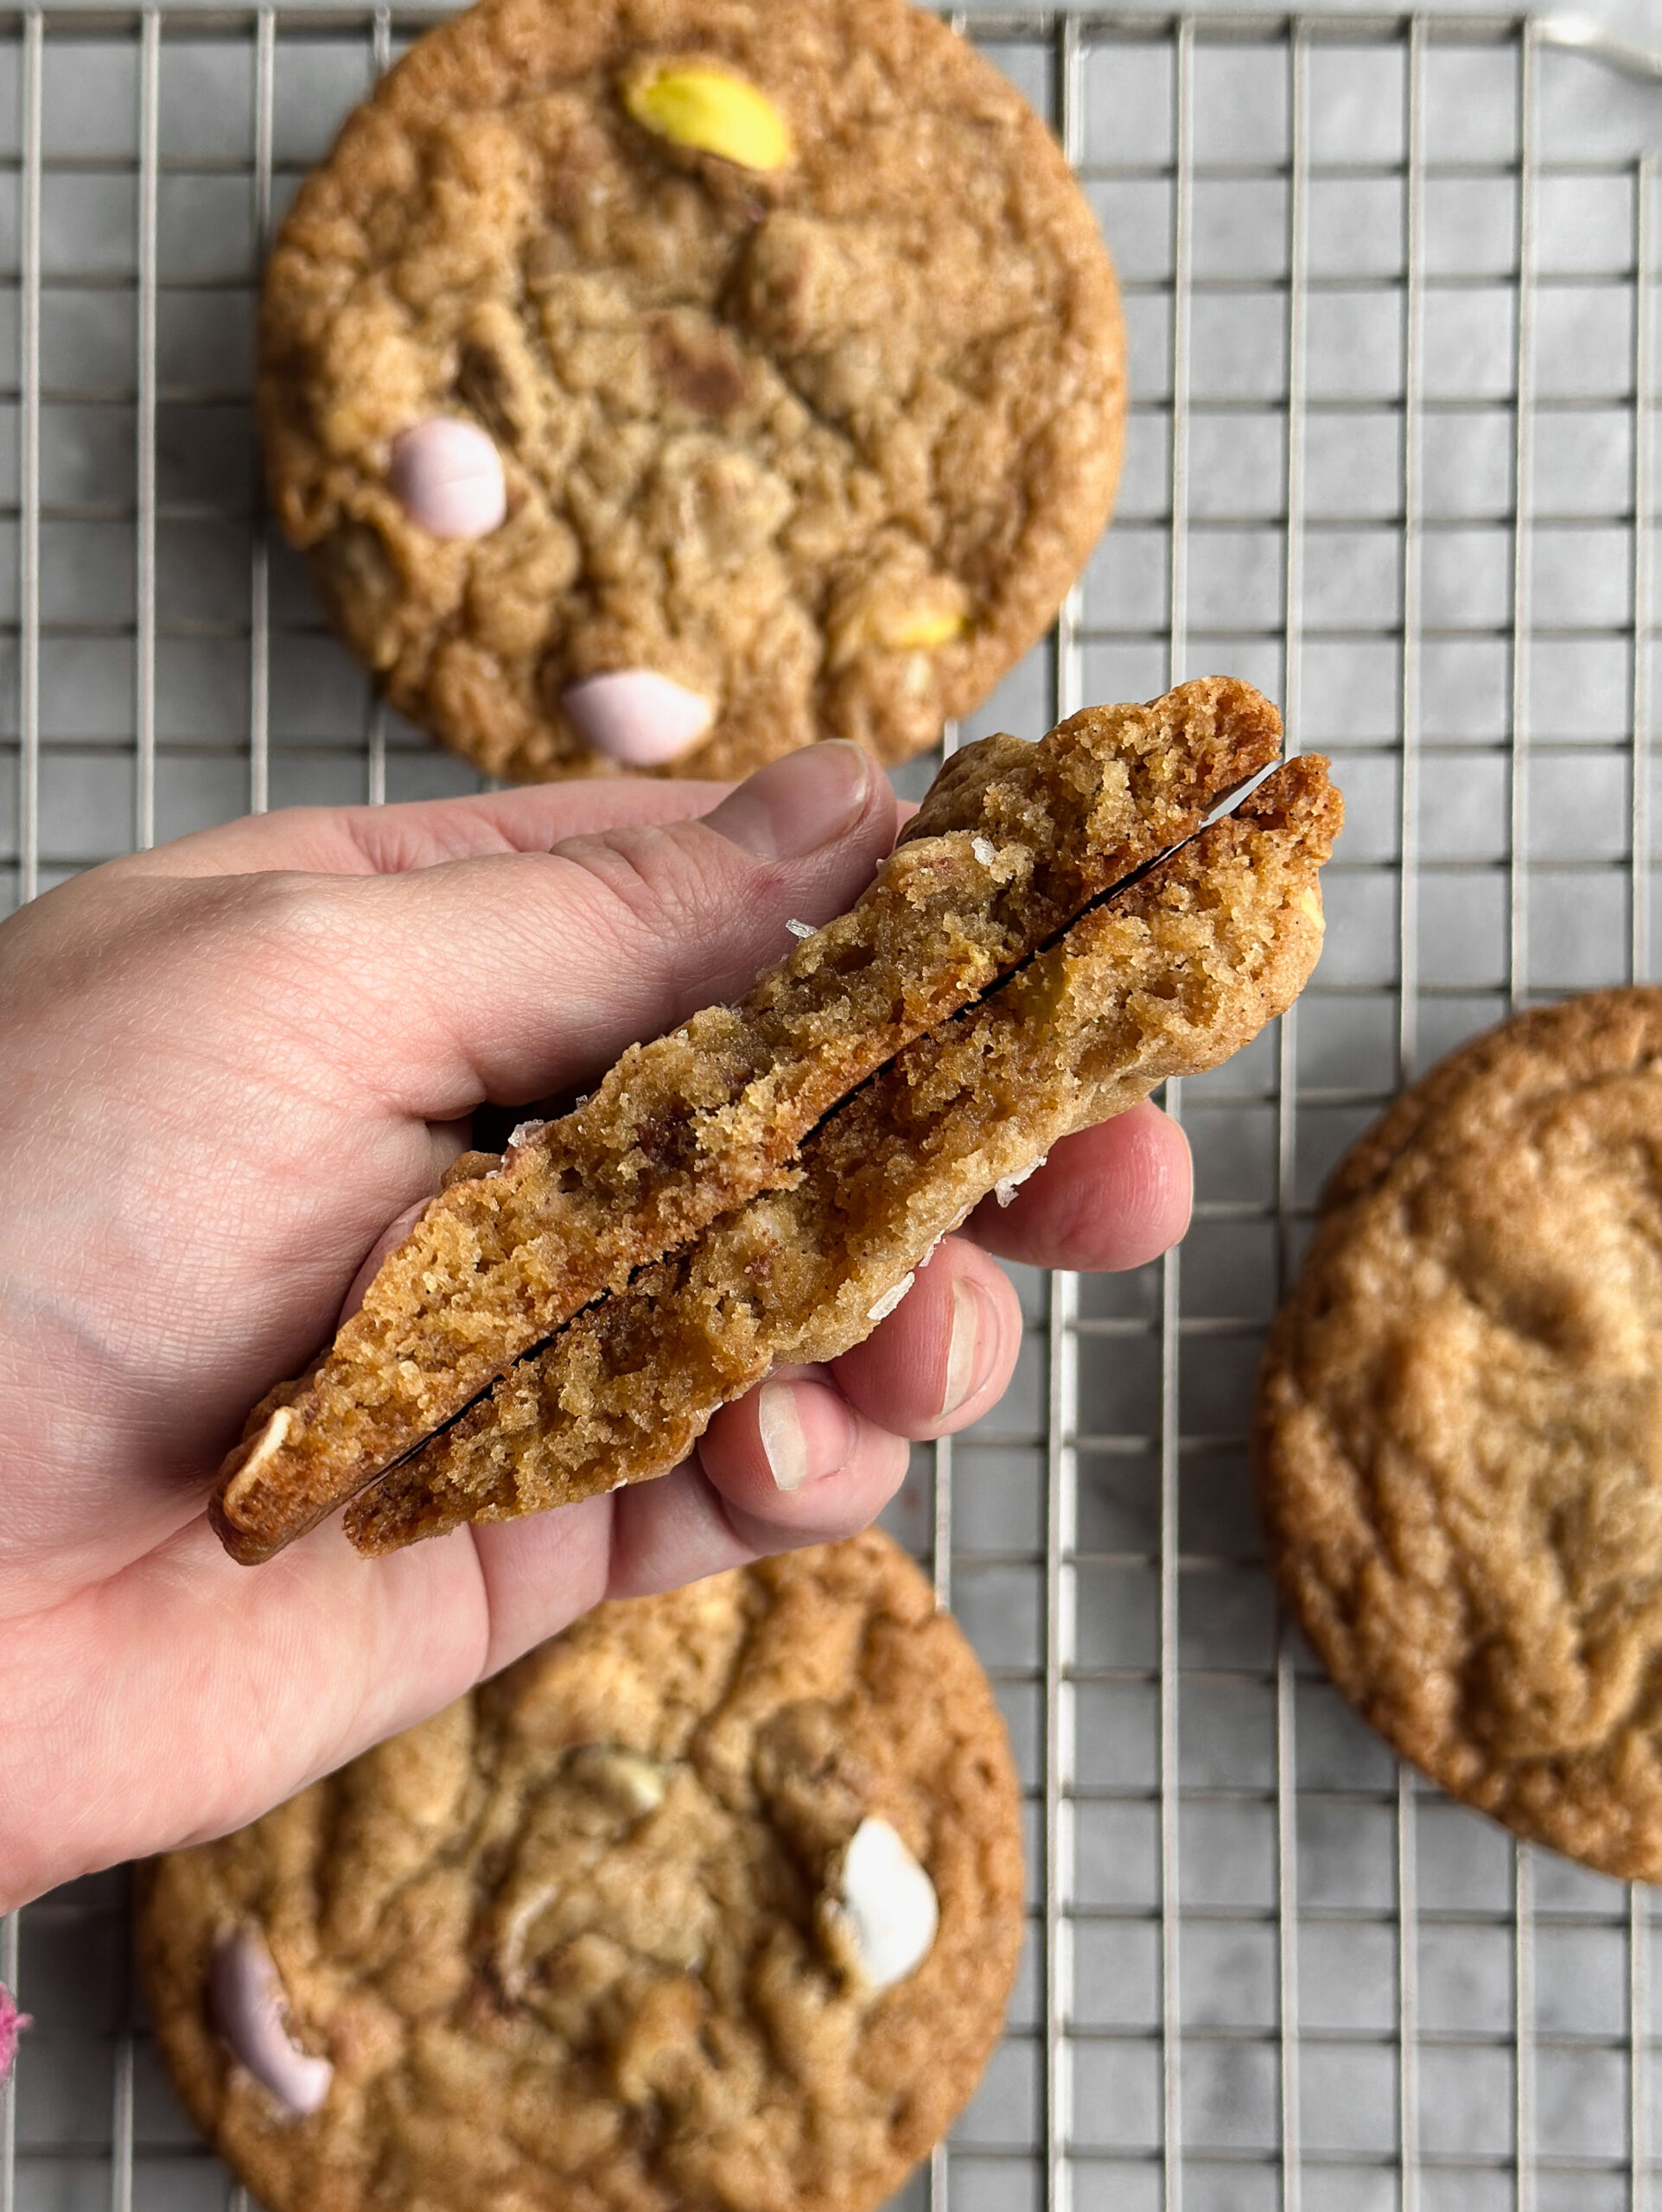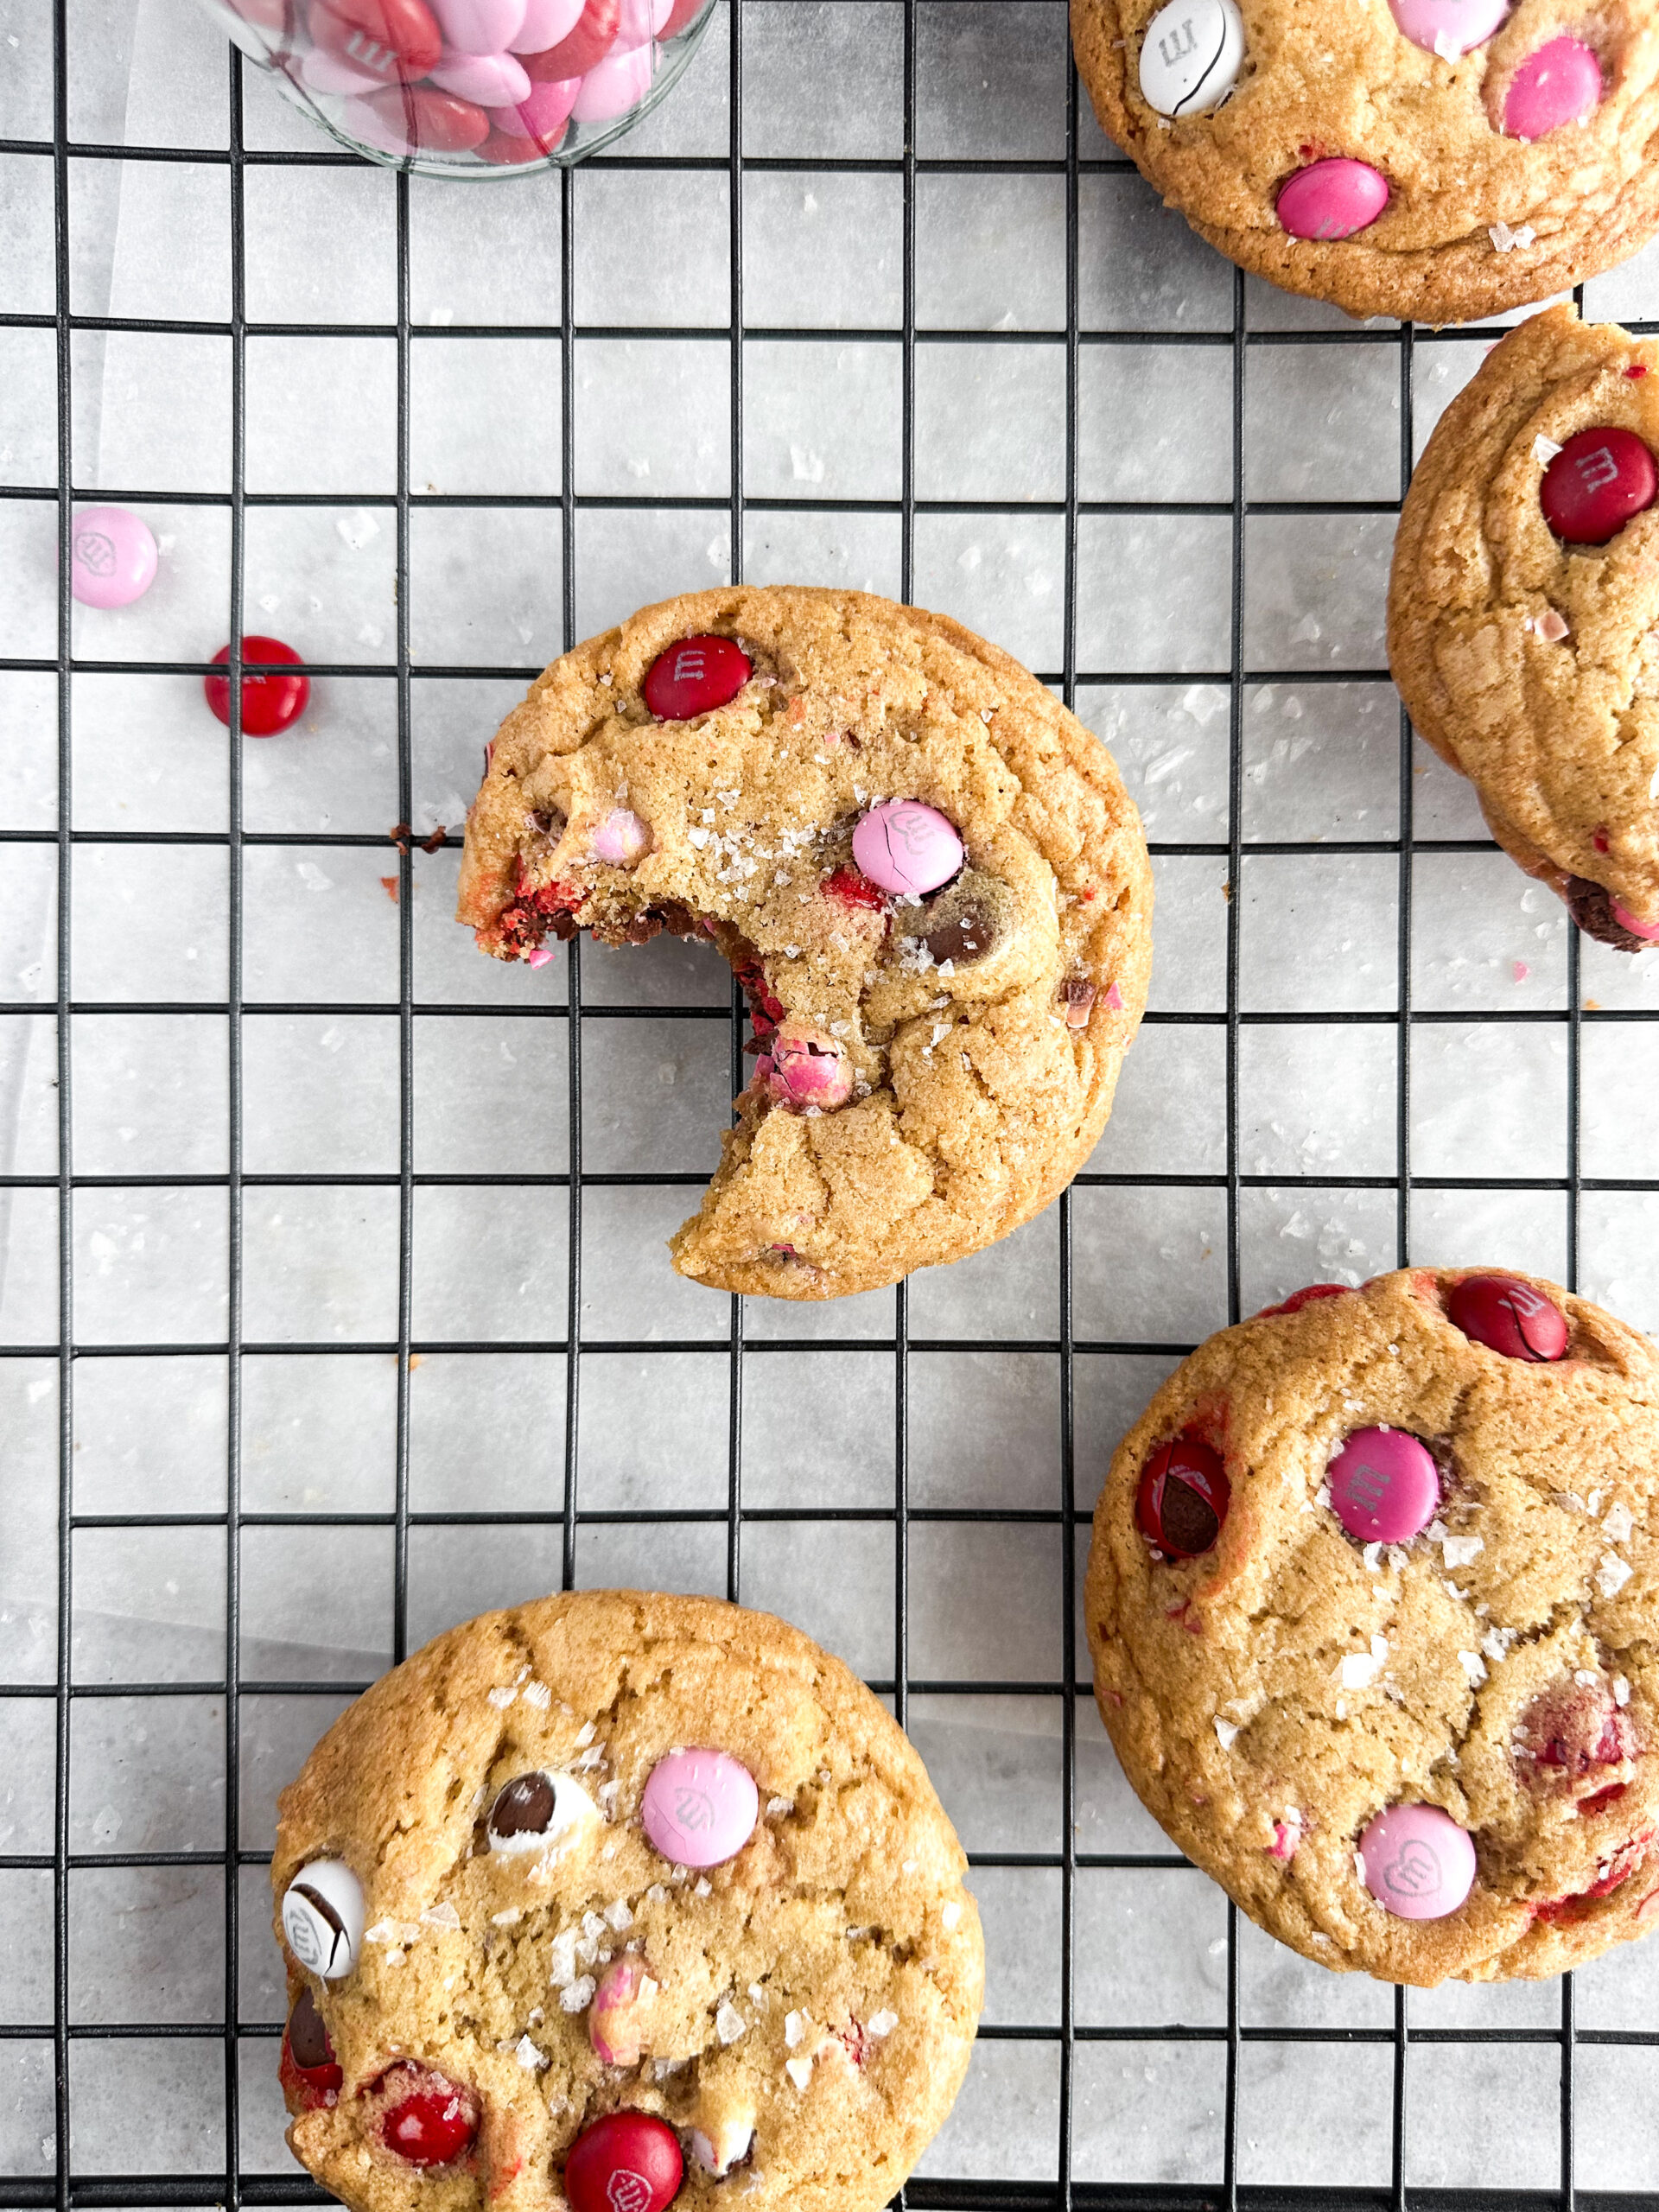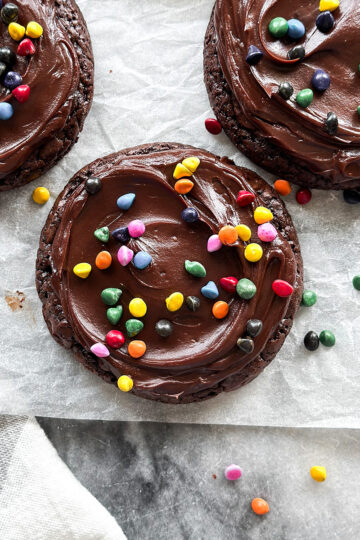
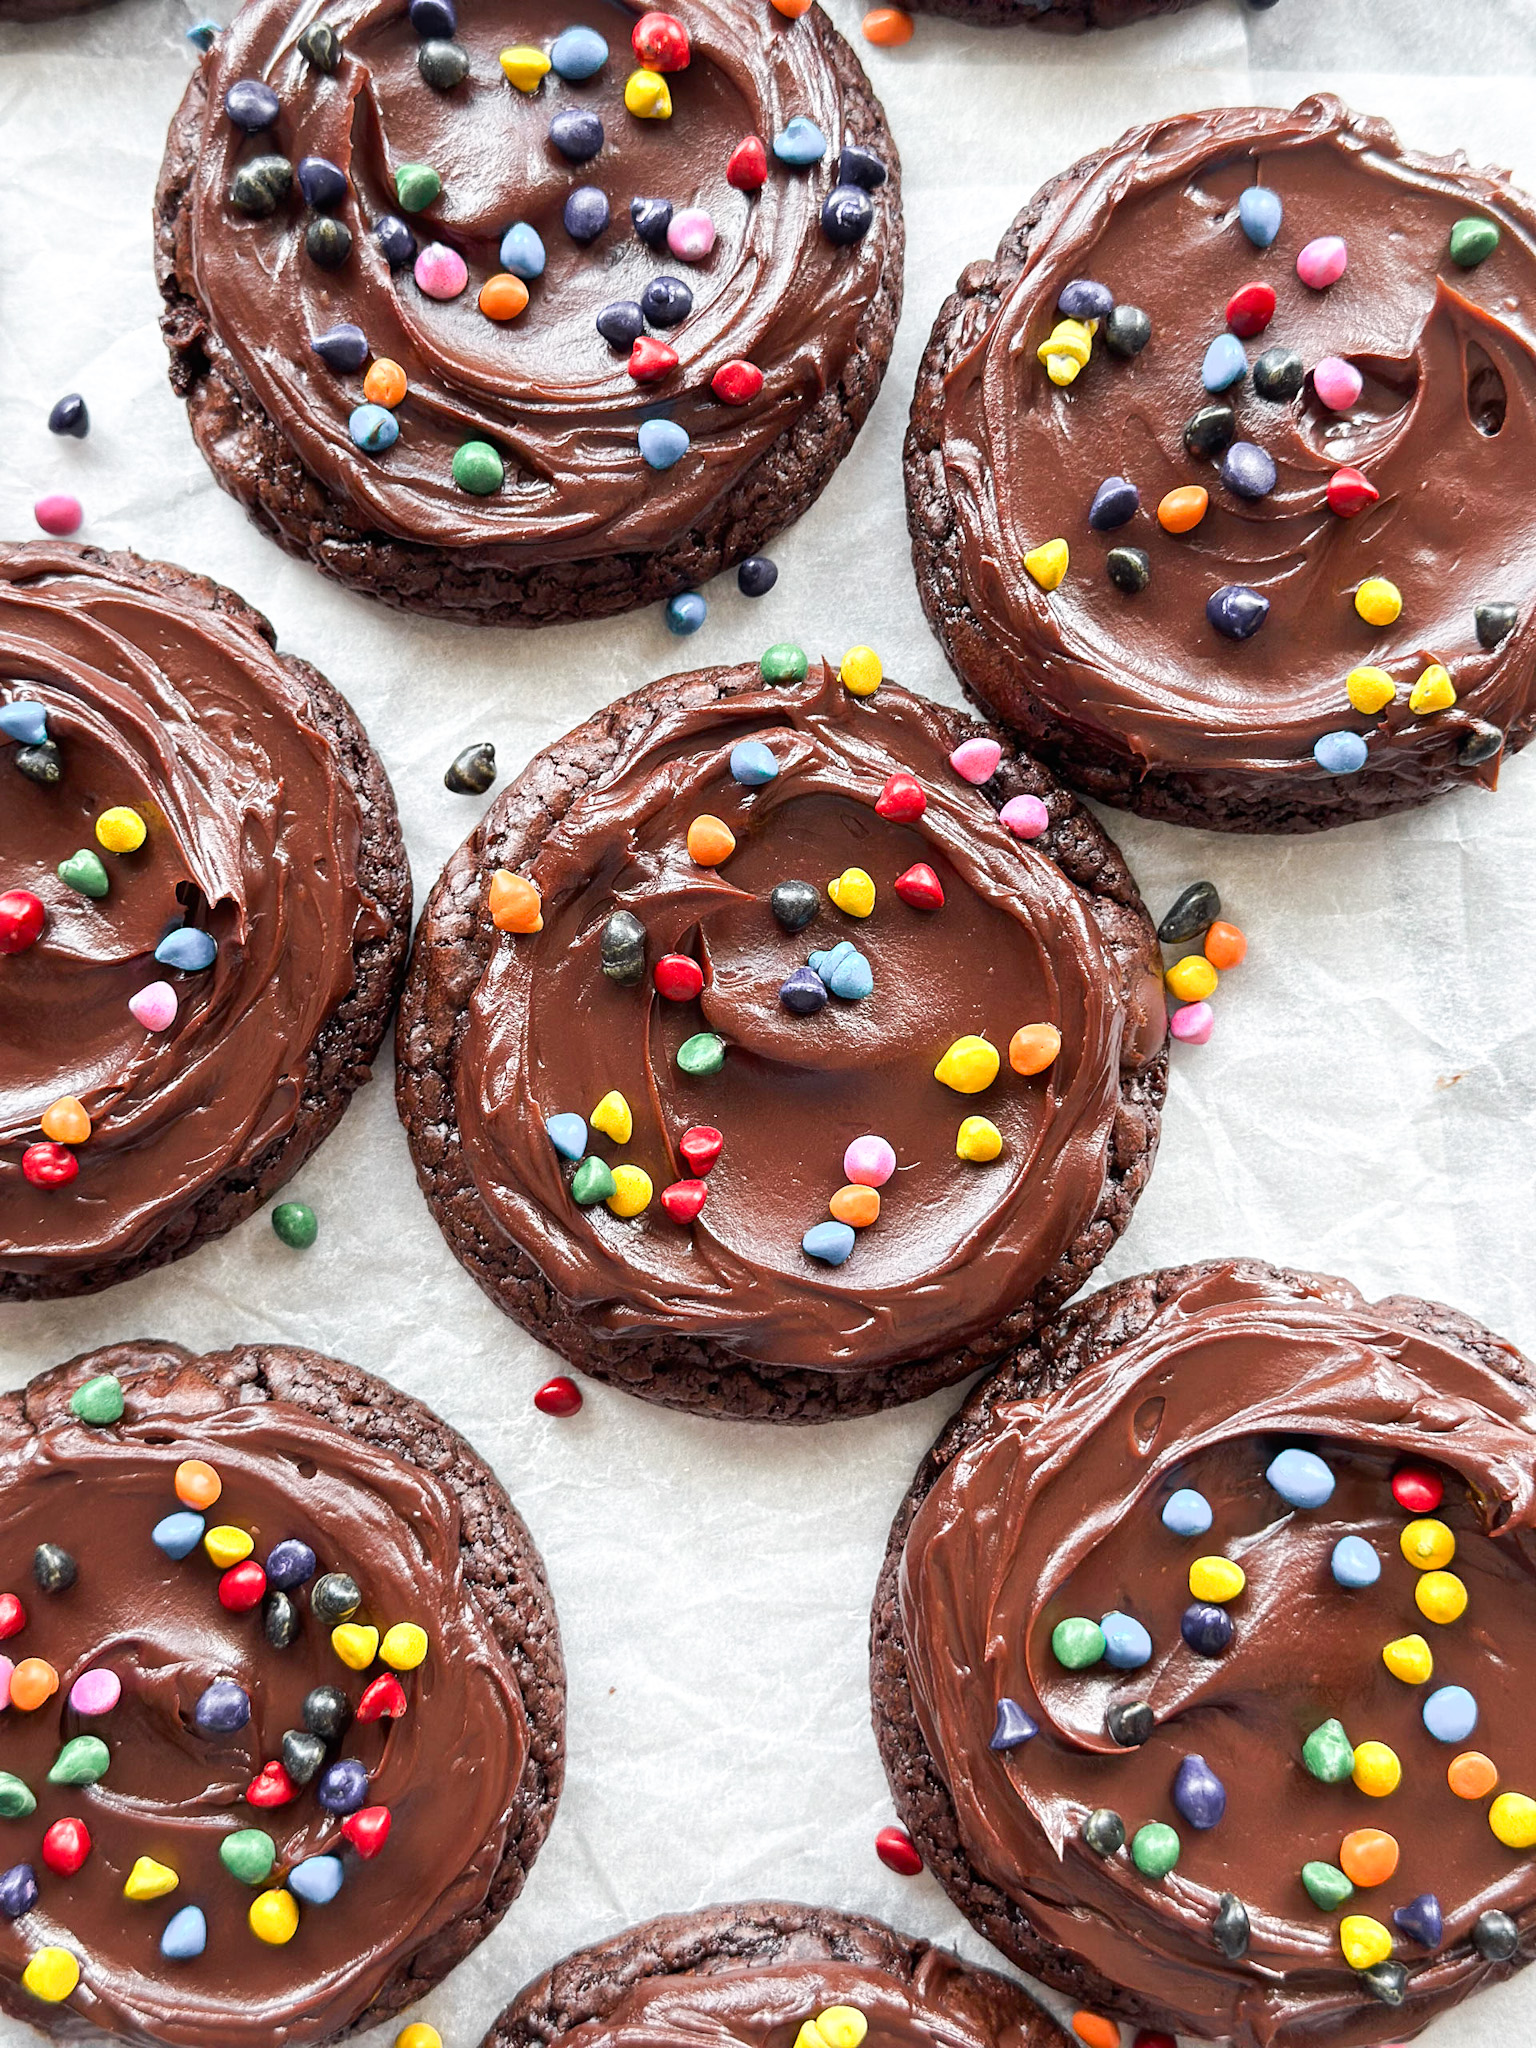
These fudgy brownie cookies are inspired by Little Debbie cosmic brownies, although very loosely inspired. These are incredibly rich and more “grown up”. The cookie is technically a brownie, but it’s spiked with coffee and studded with dark chocolate. The ganache on top is so indulgent and rich with an almost smoky flavor that pairs so well with the brownie. Together it’s the perfect bite.
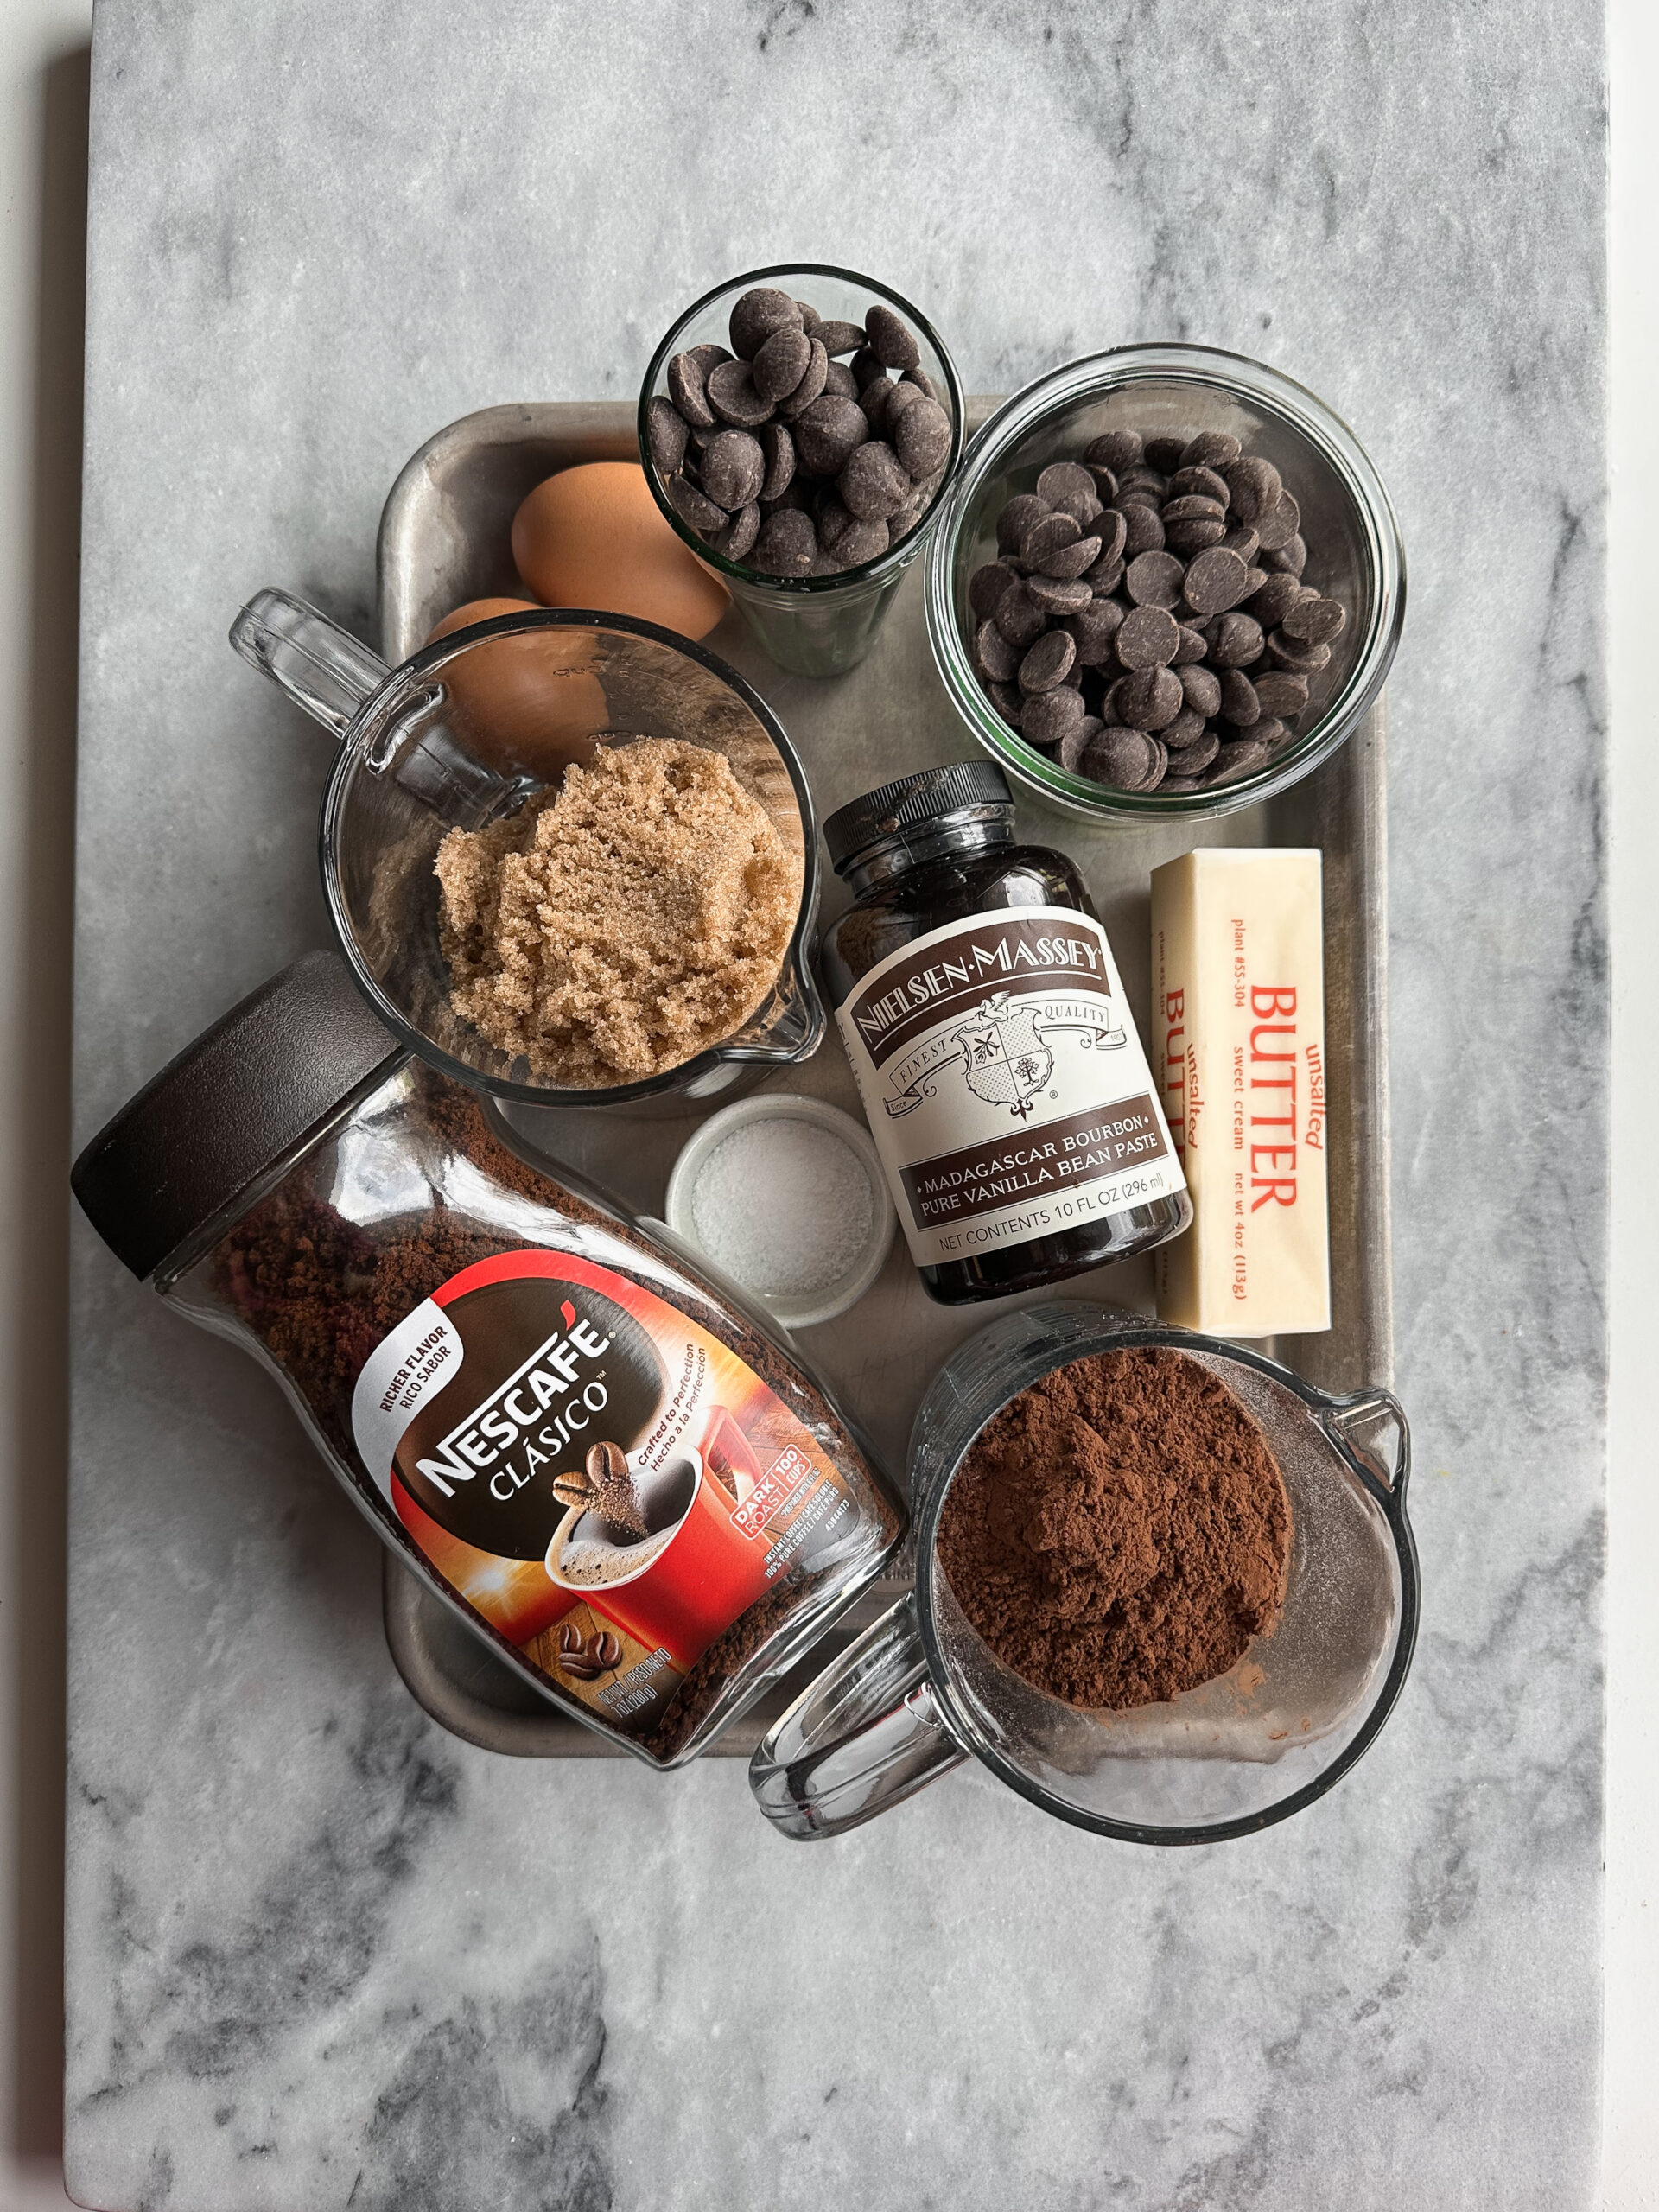
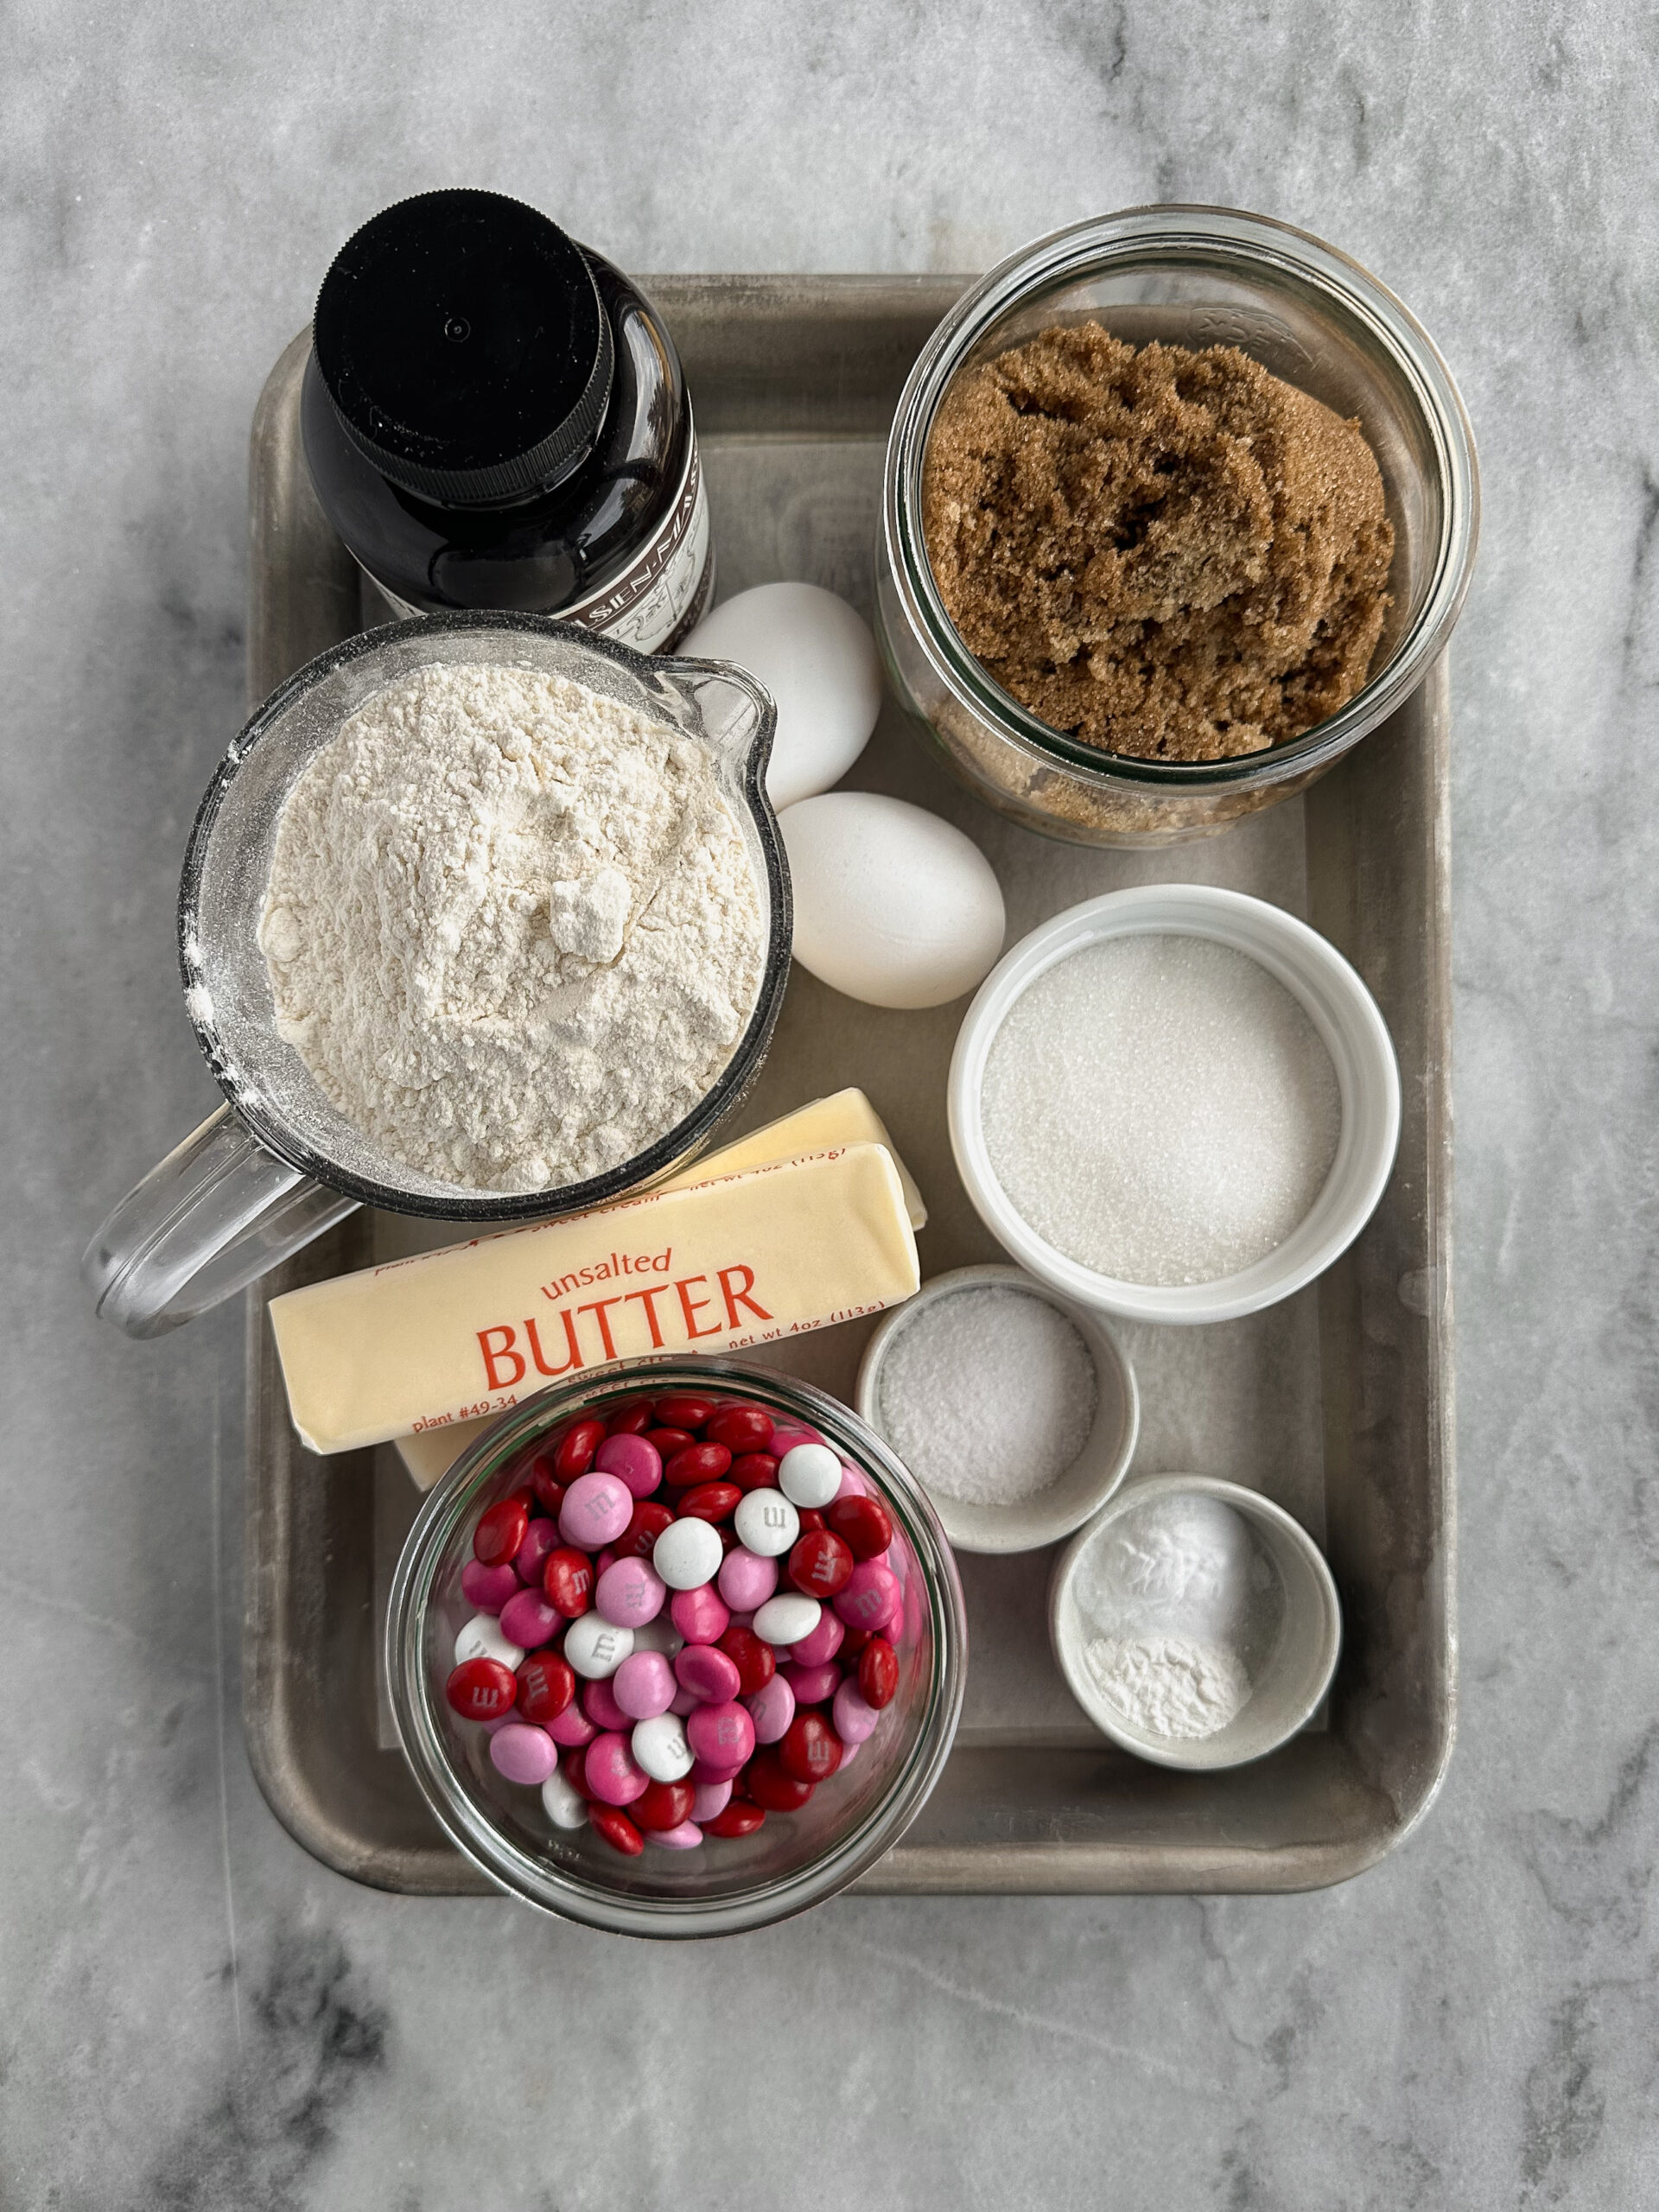
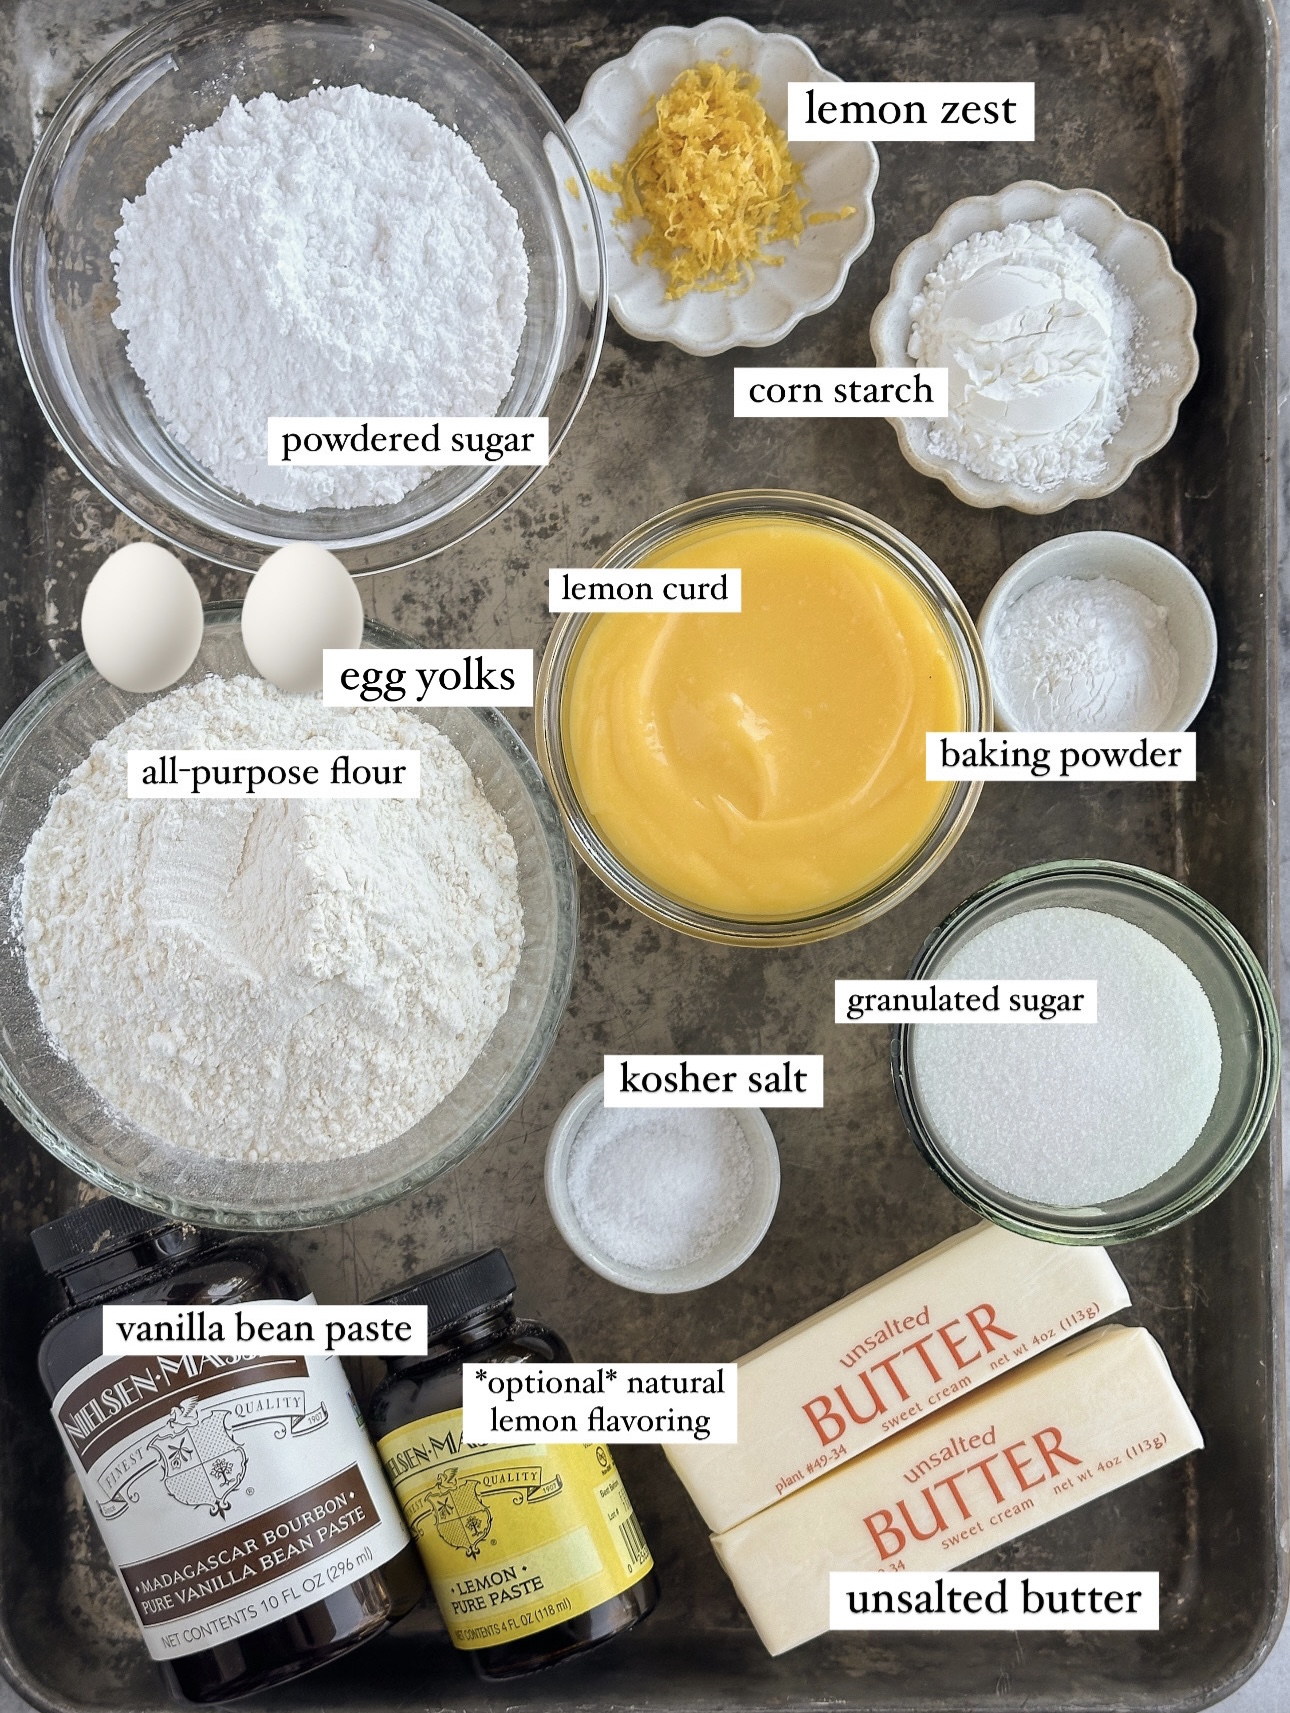
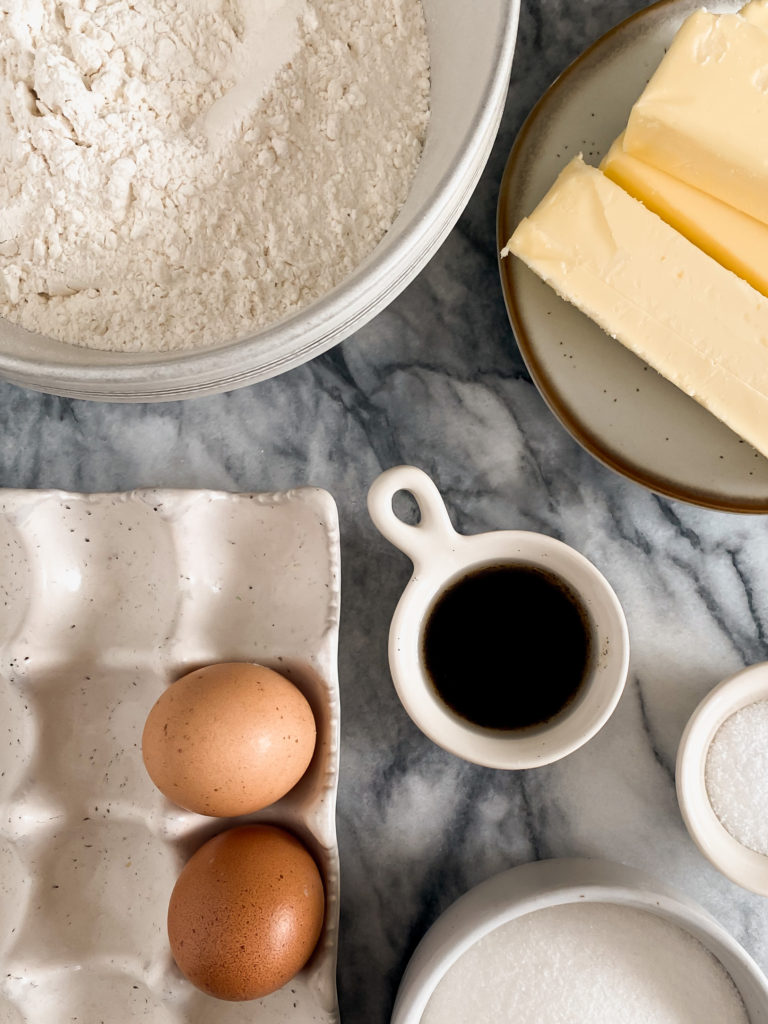
ingredients you’ll need
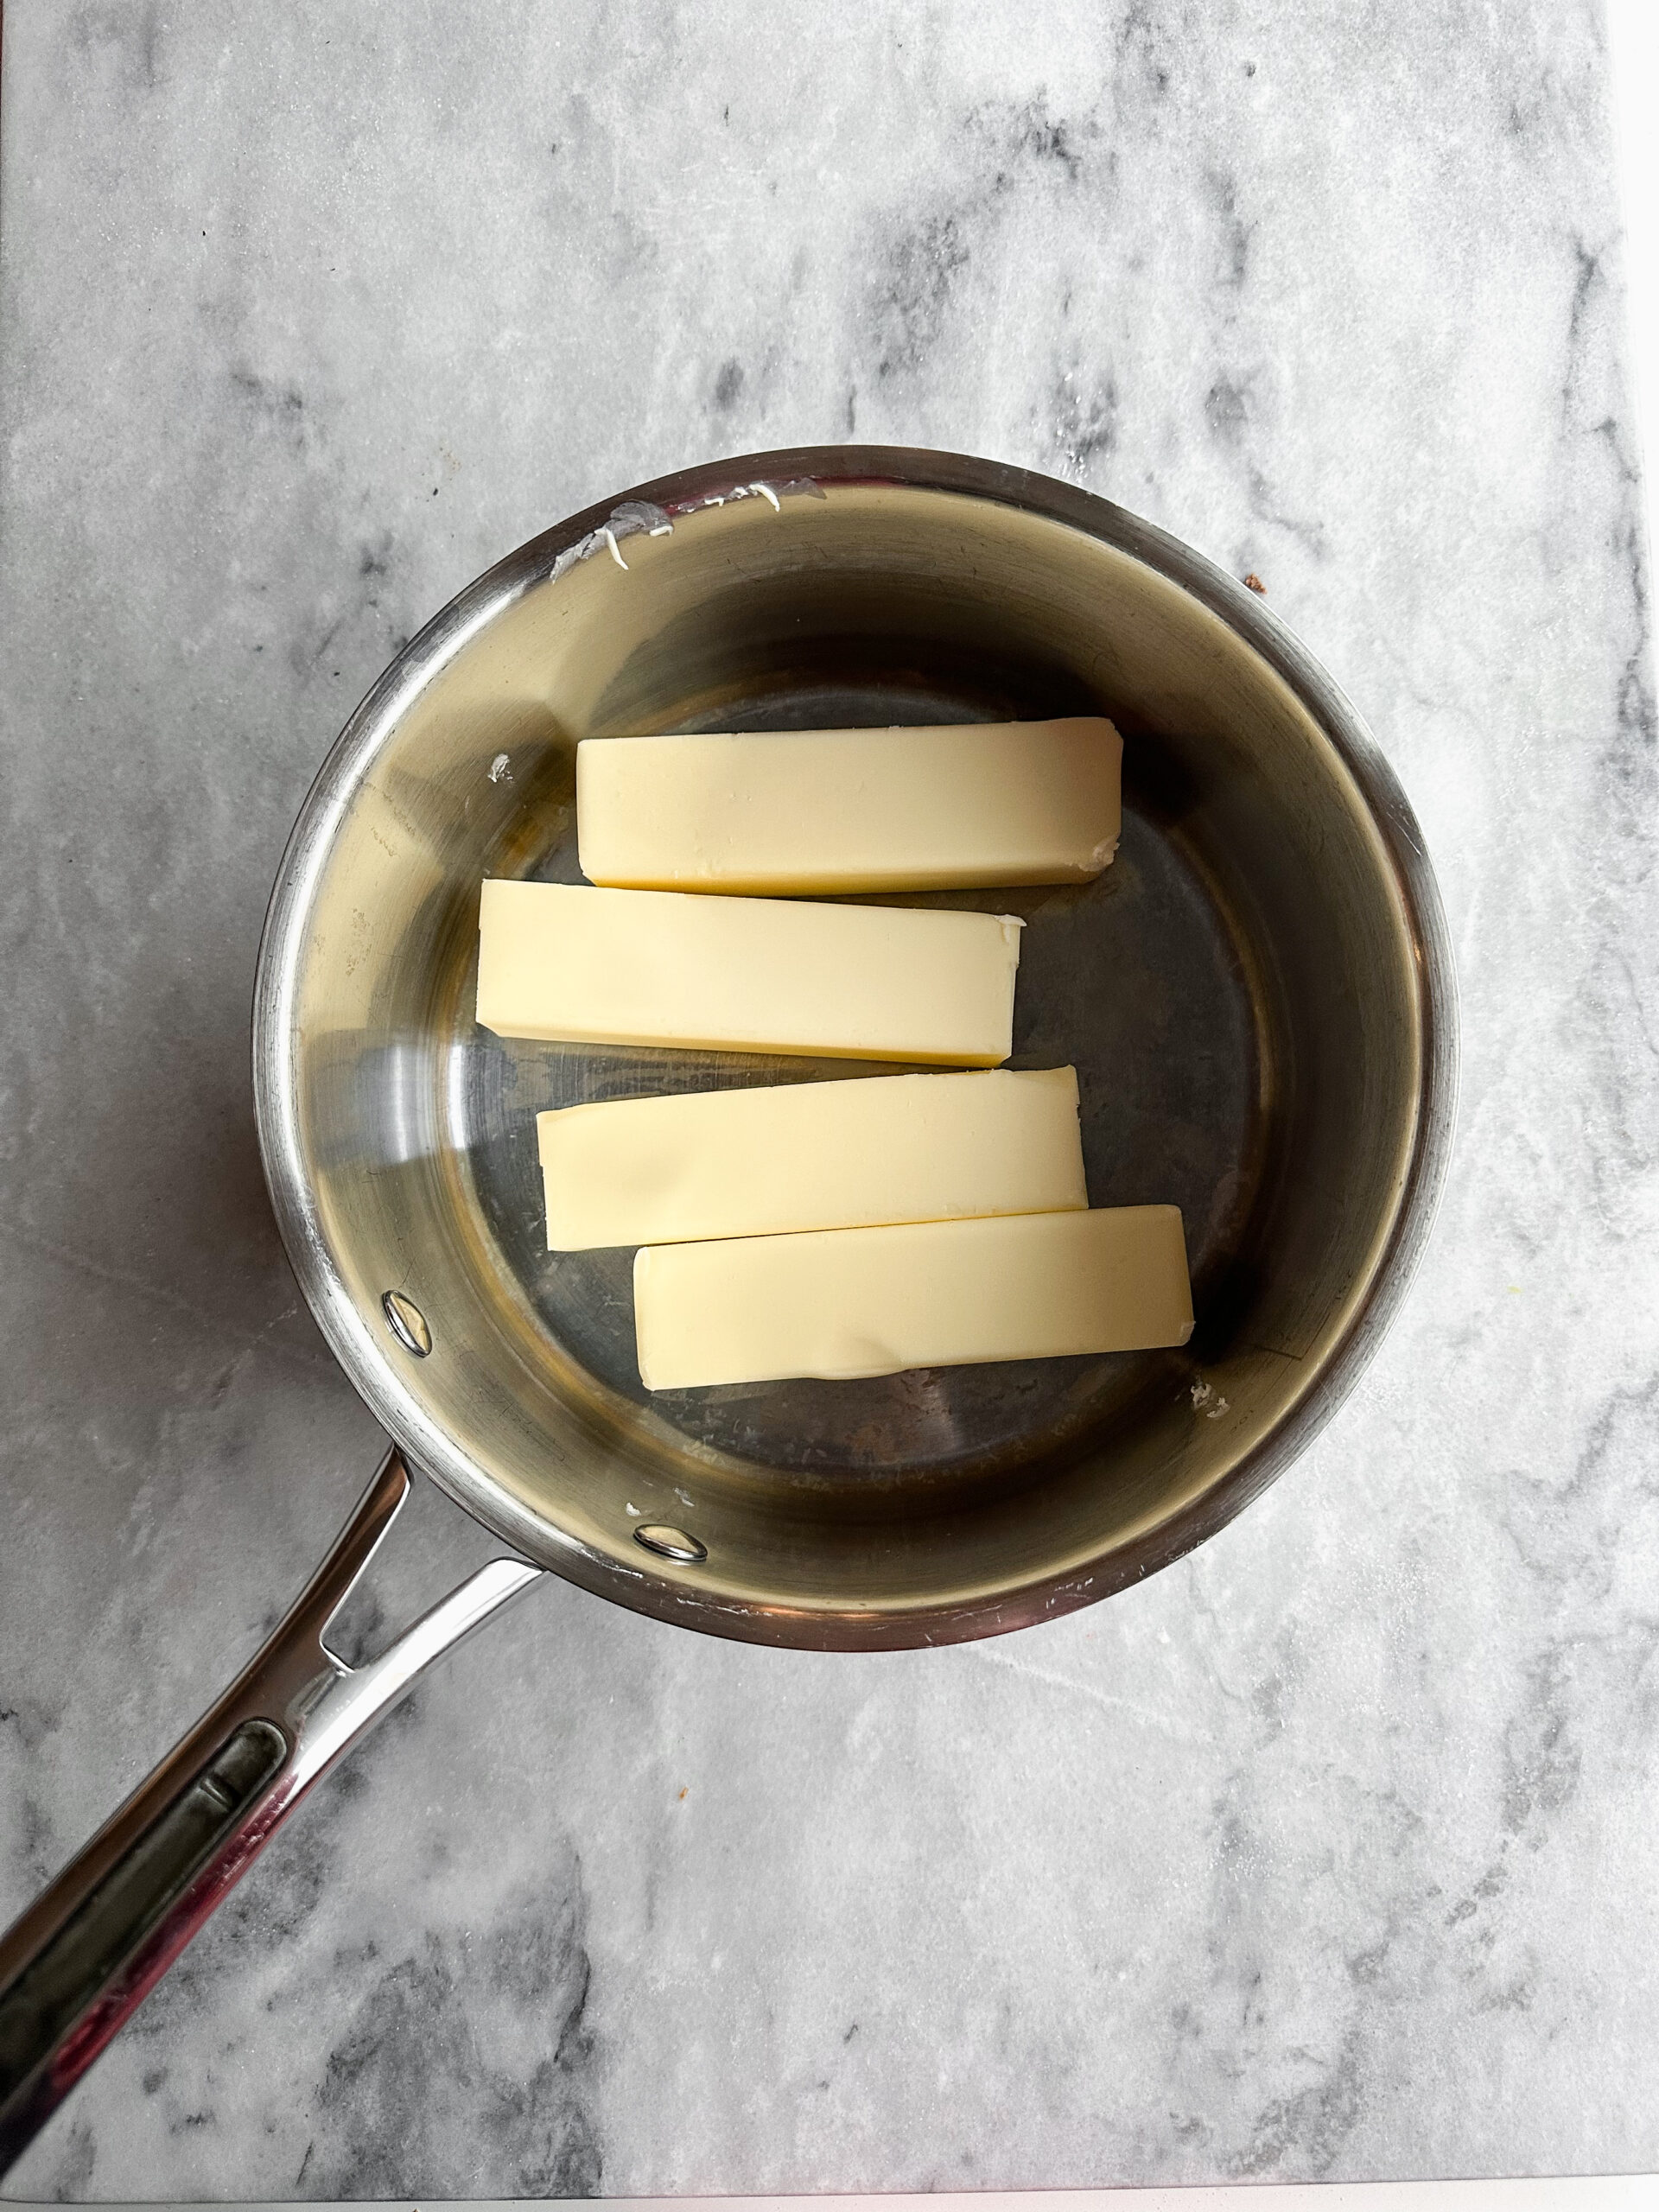
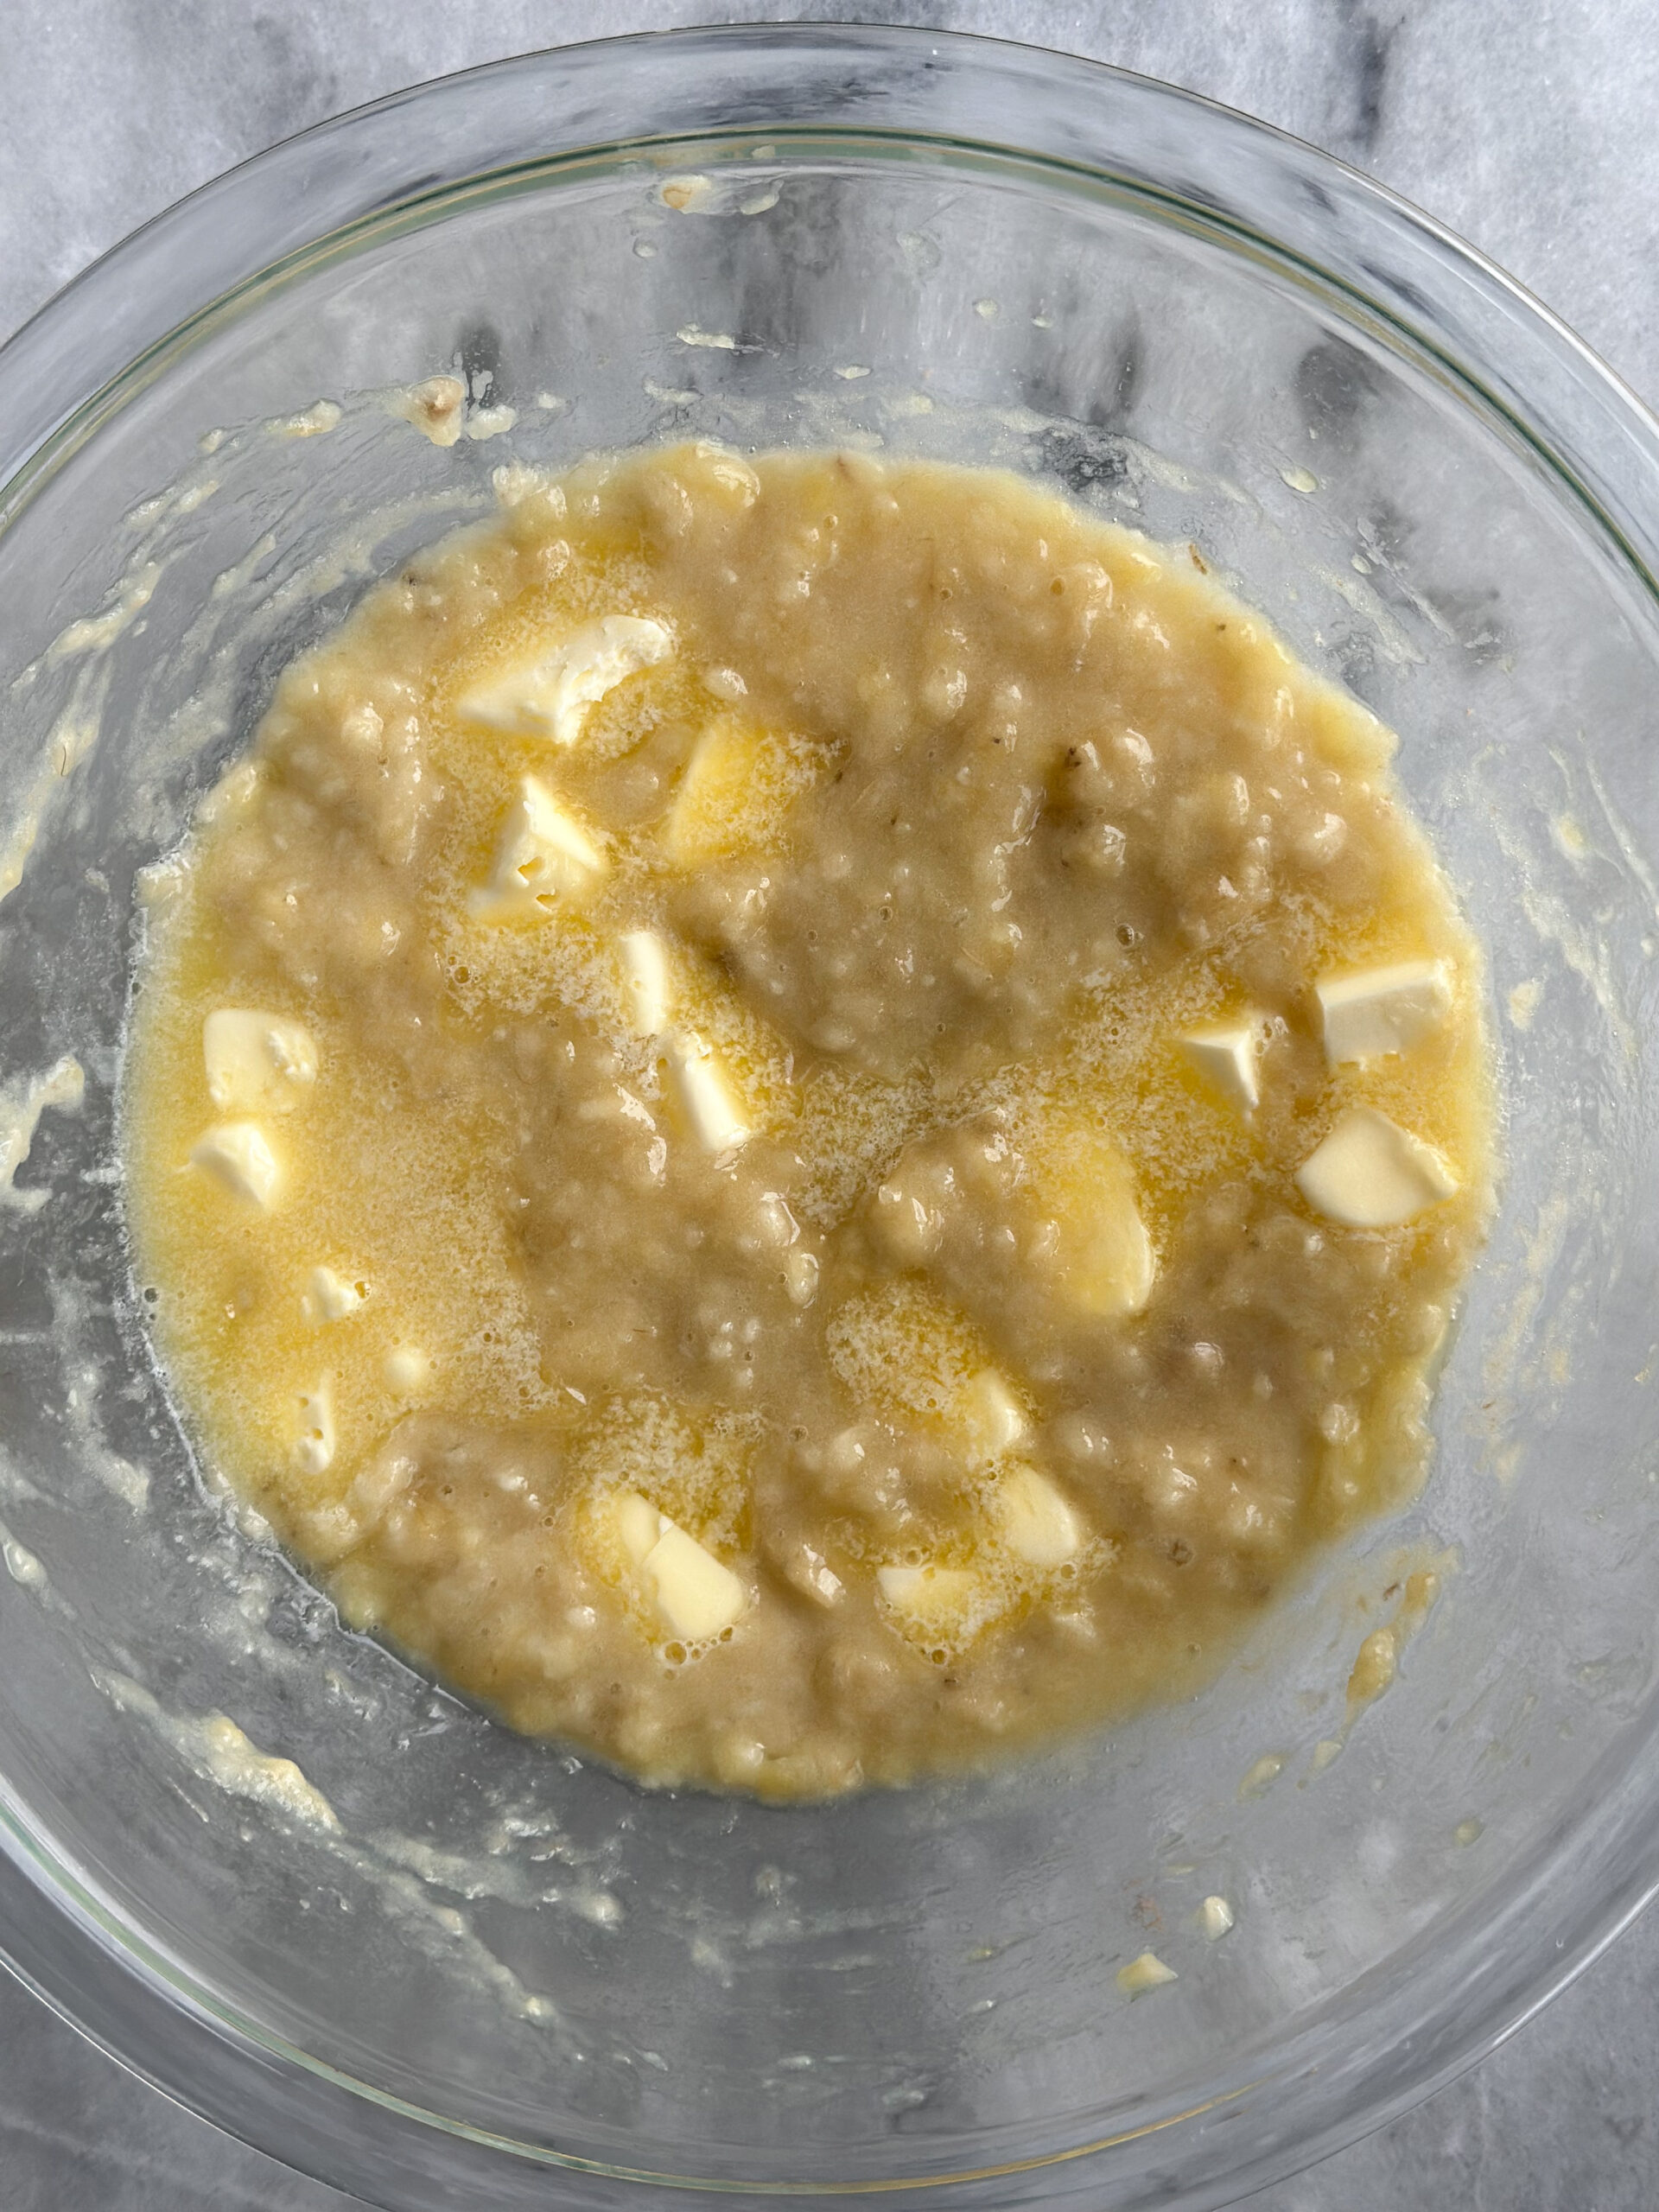
- unsalted butter– Salted butter would work totally fine in this cookie. Since we are melting it, it doesn’t need to be room temp.
- chocolate– The chocolate should be around 60% so that it’s not too dark or too milky. I like using Ghirardelli 60% chocolate bars for this, but I’ve found that the chocolate chip version of that chocolate works just as well. I also add those chocolate chips to the dough, so it is convenient to use them in both ways.
- instant coffee– You can use instant coffee (like Folger’s) or espresso powder. I usually use 1 teaspoon of espresso powder, like this one. If you’re using Folger’s instant coffee, use a little more, like 2 tsp.
- granulated sugar- For sweetness and texture- It’s going to provide the crispy edges and shiny skin on top that brownies are known for.
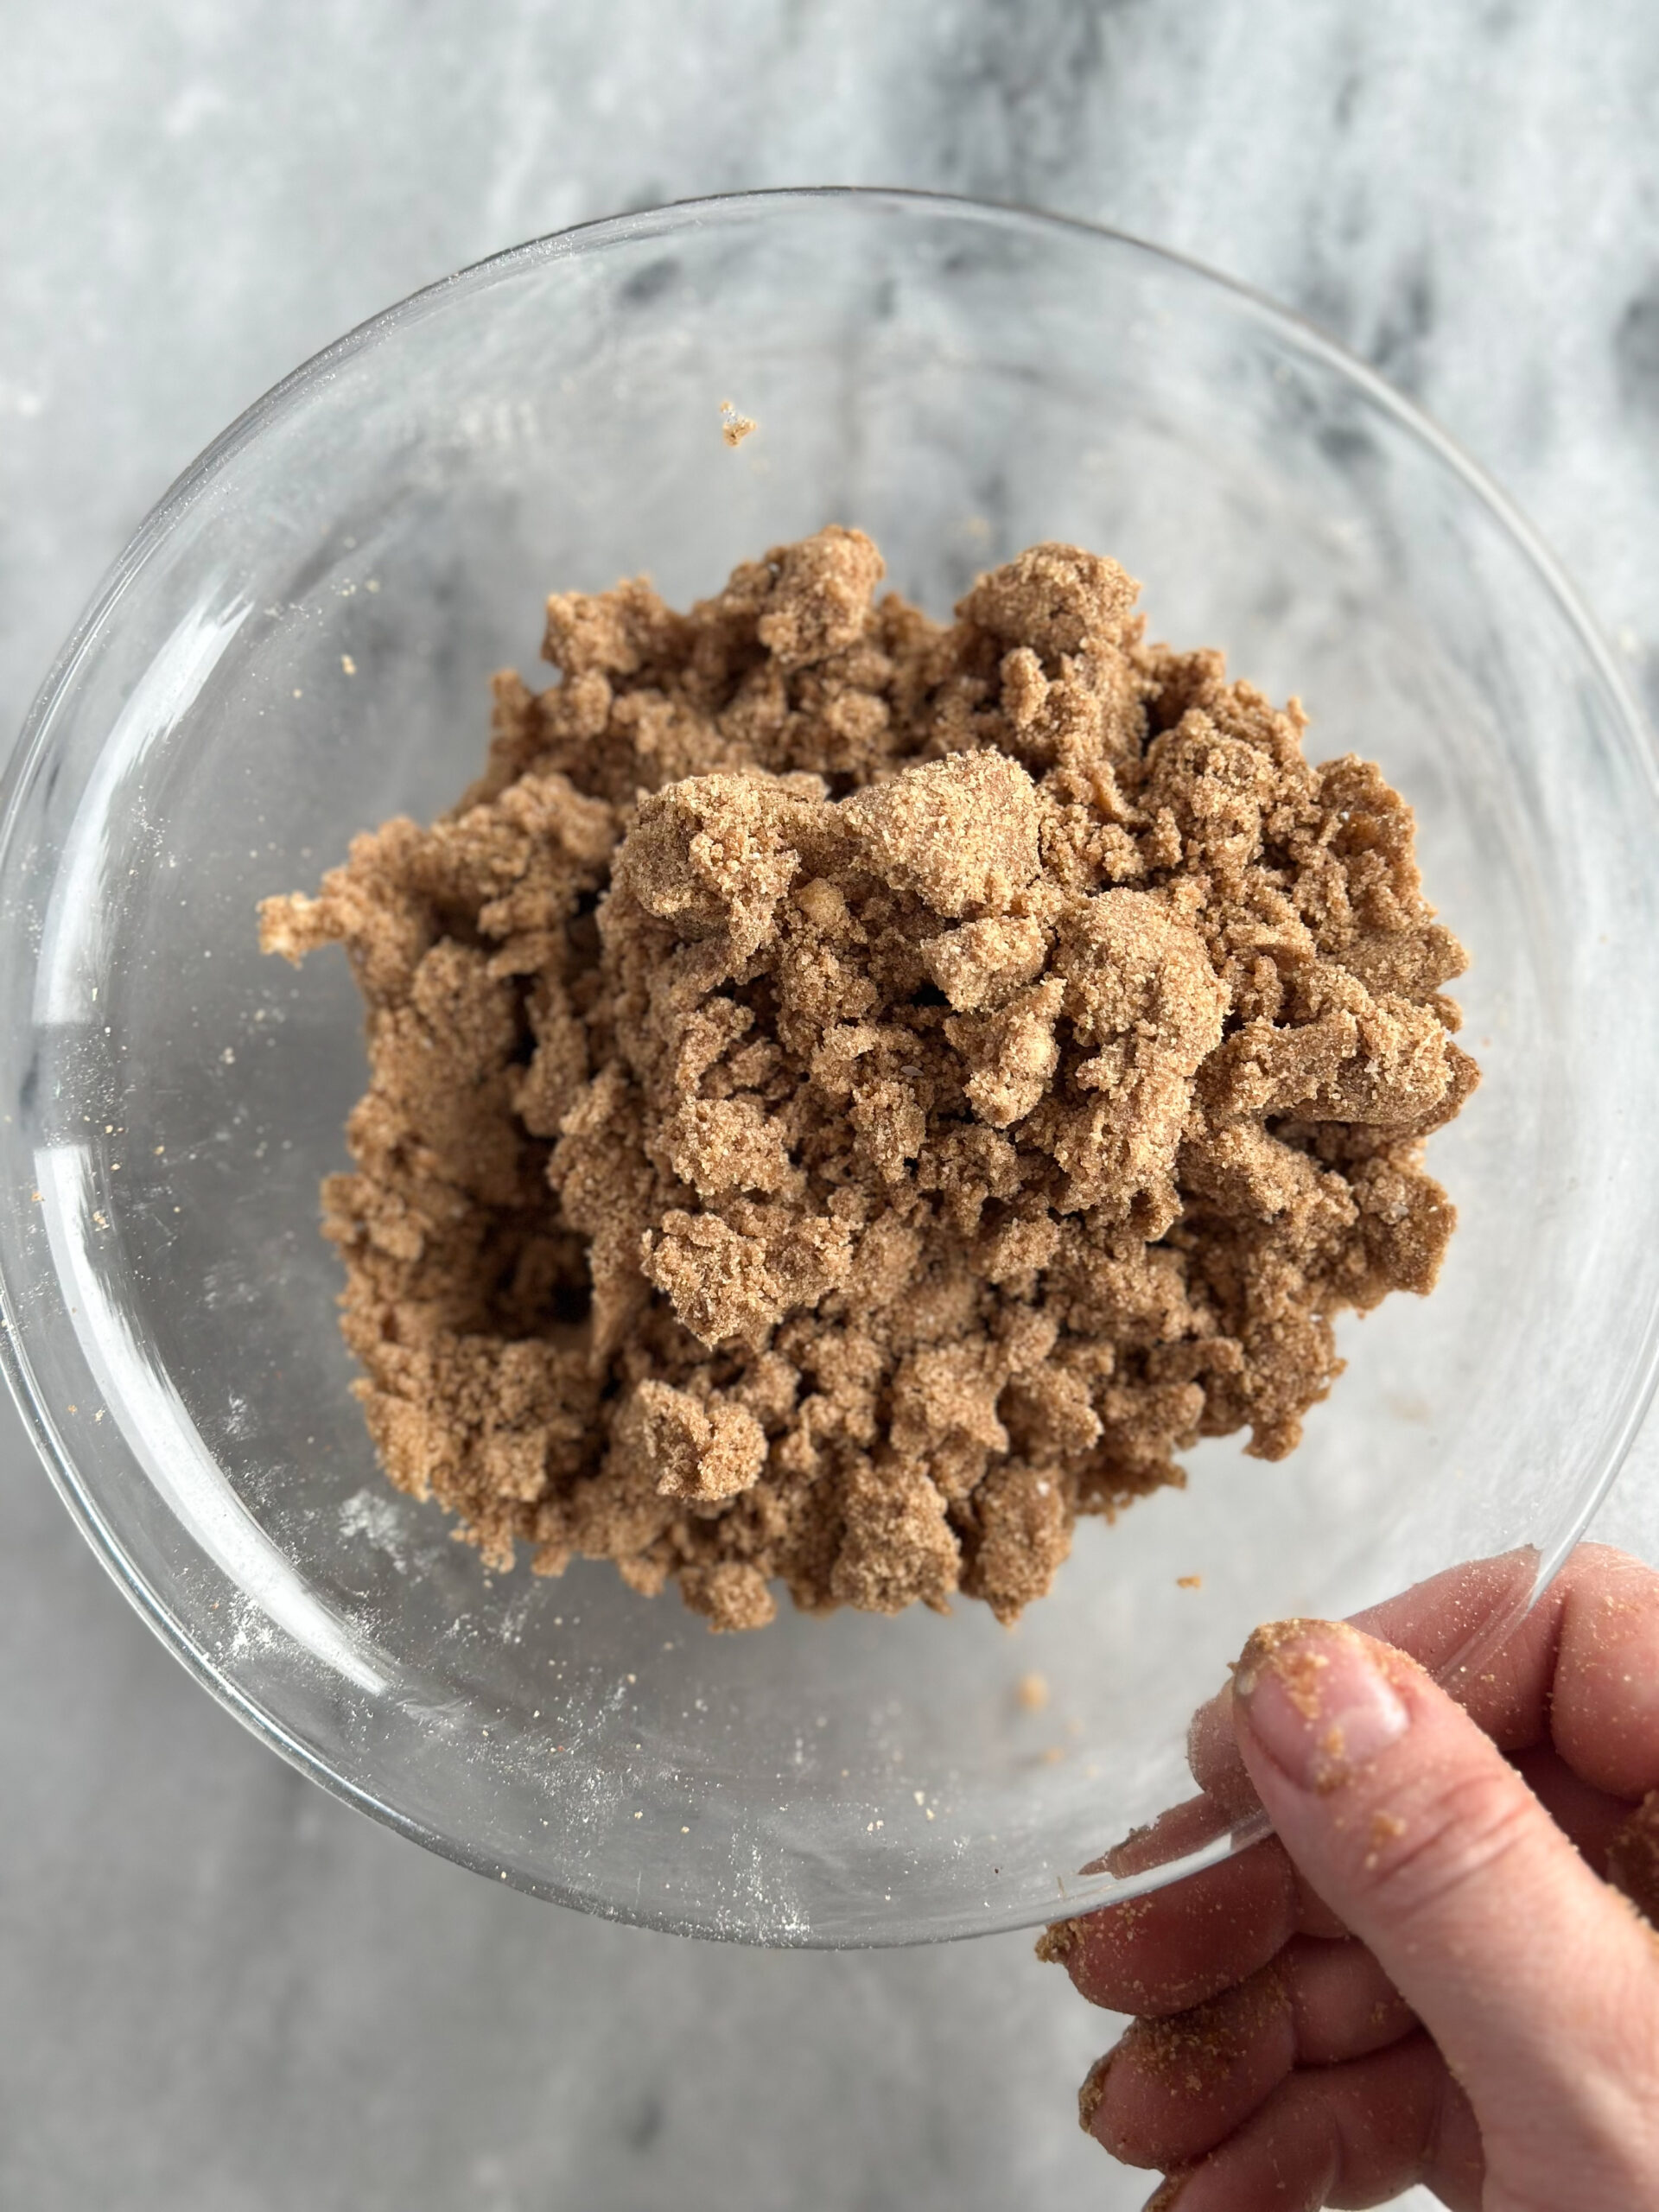
- brown sugar– For sweetness and texture- Brown sugar adds a chewiness to baked goods, but brown sugar also adds a depth of flavor.
- salt– Diamond Crystal is the best salt for baking, but if you just have table salt, then halve the amount of salt called for.
- eggs– Whipping eggs with the sugar will create a light texture as well as that crackly shiny top to the brownie cookies.
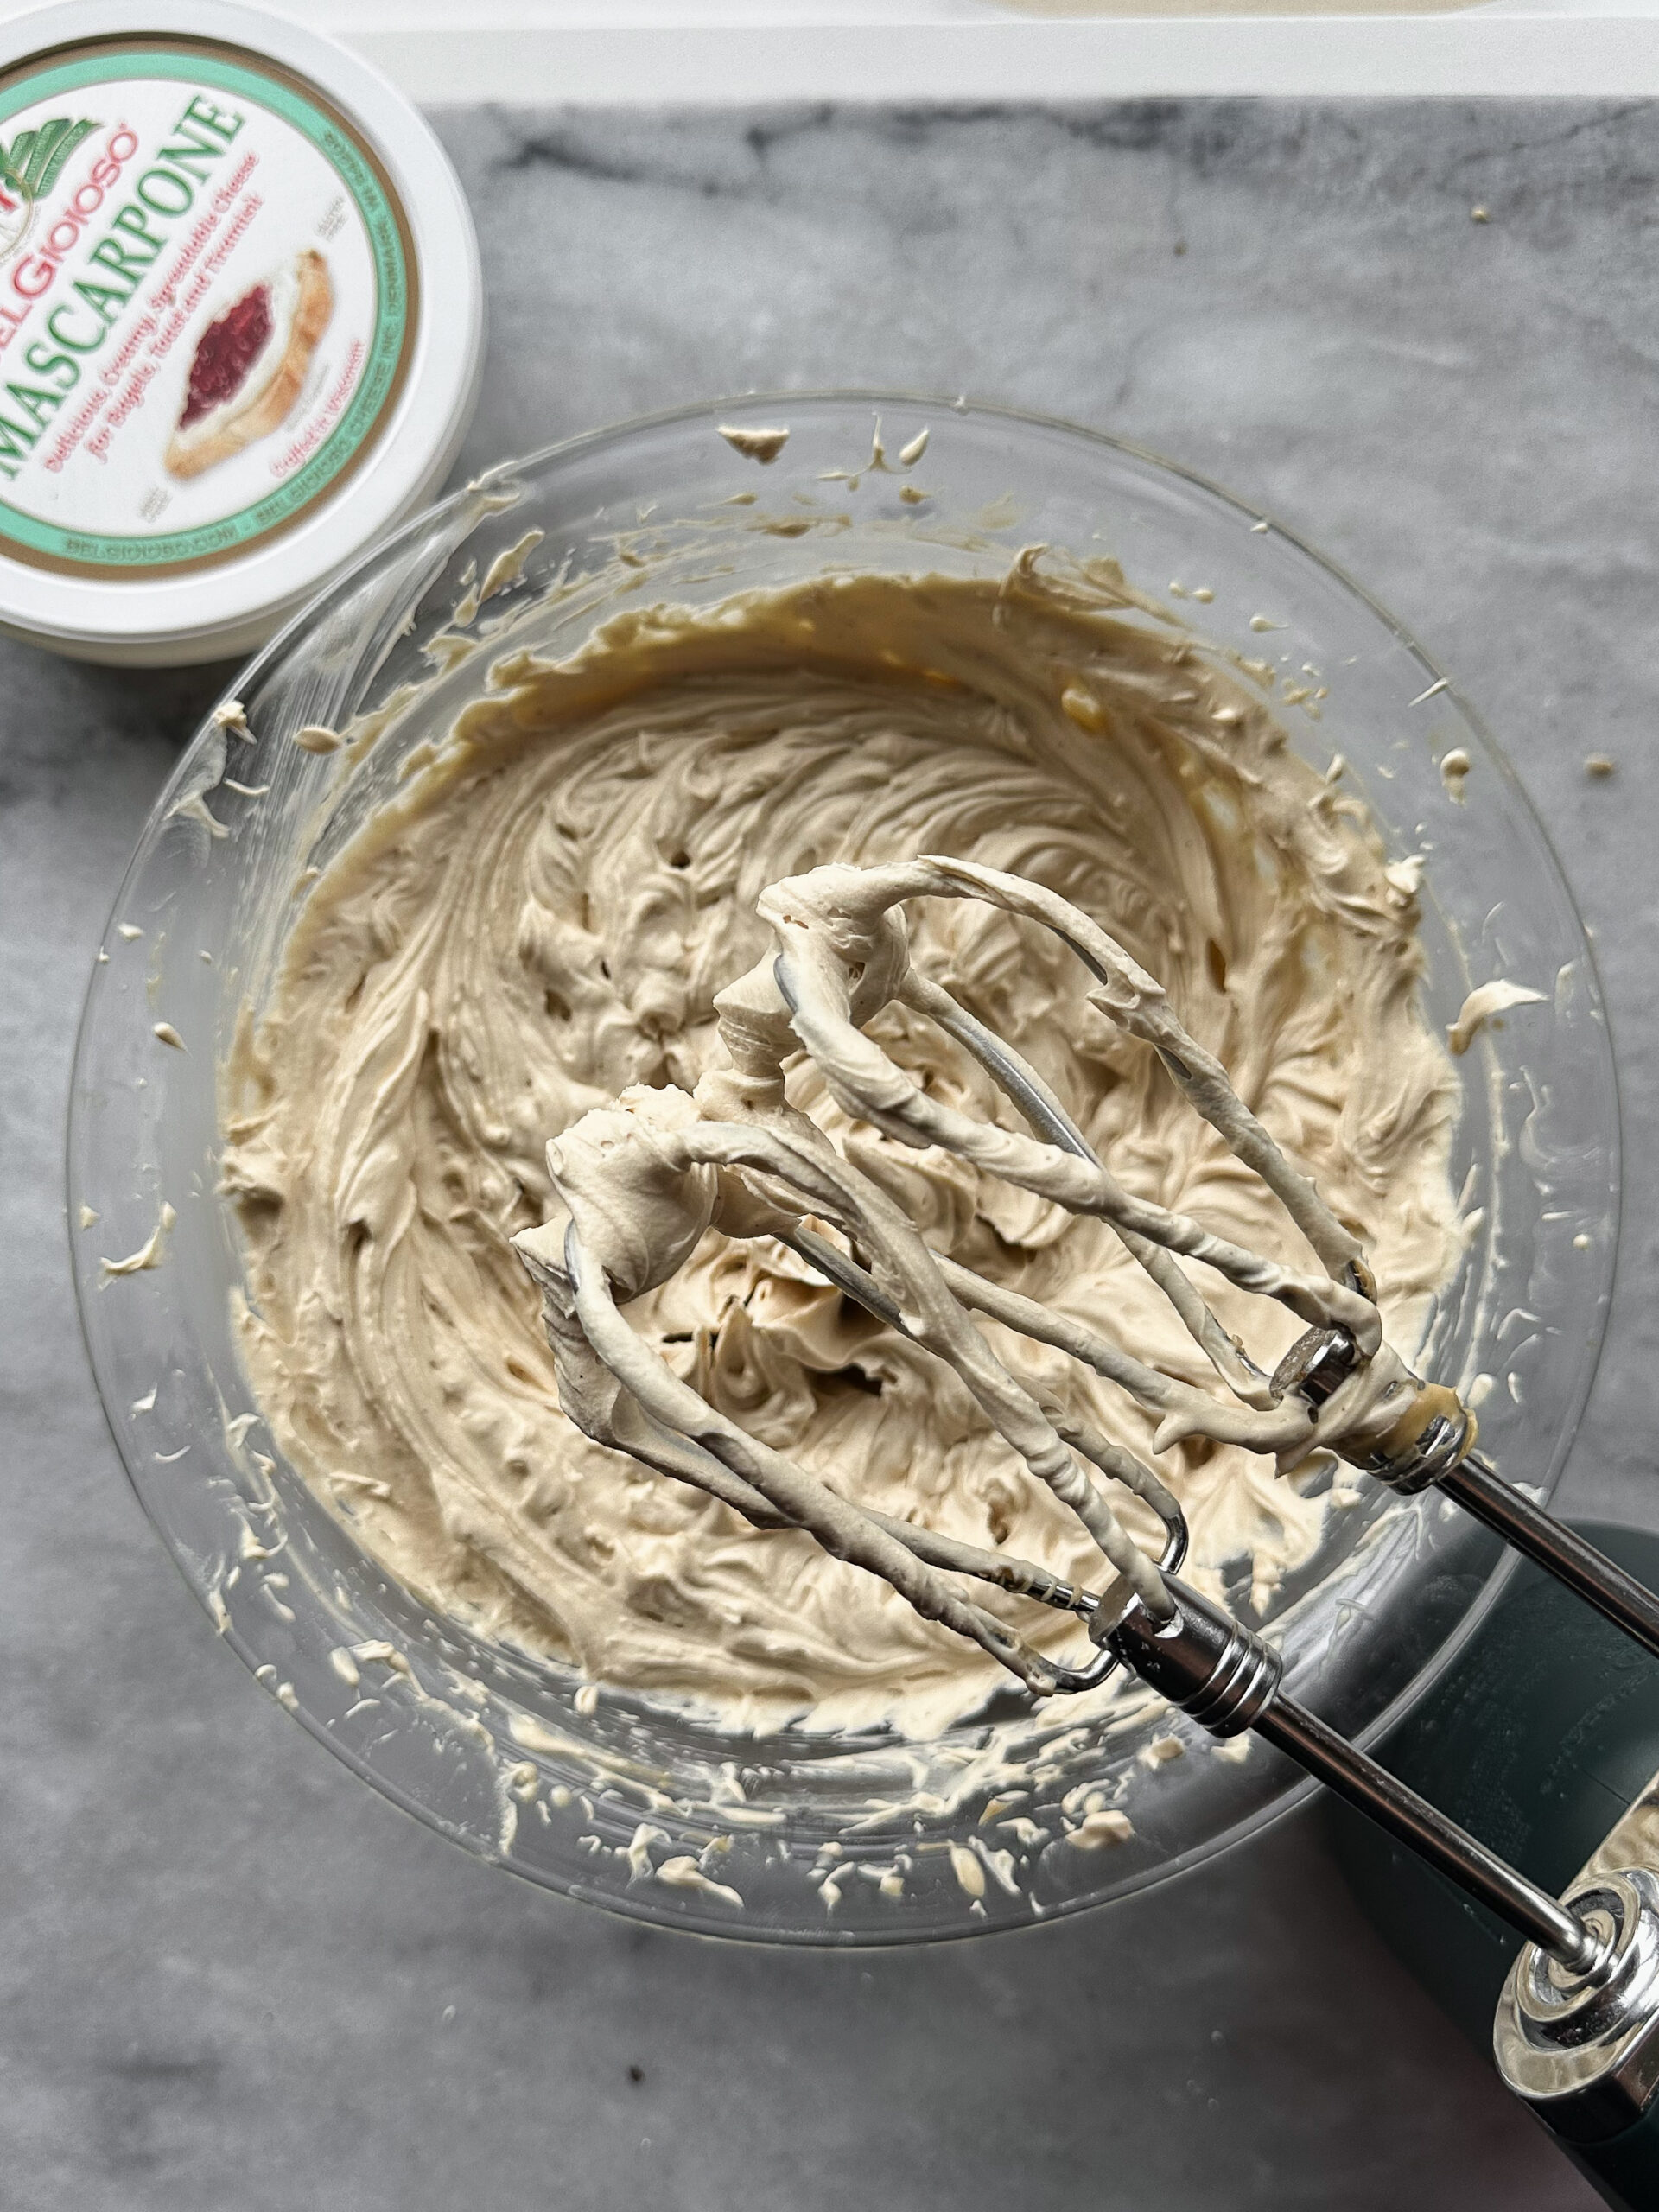
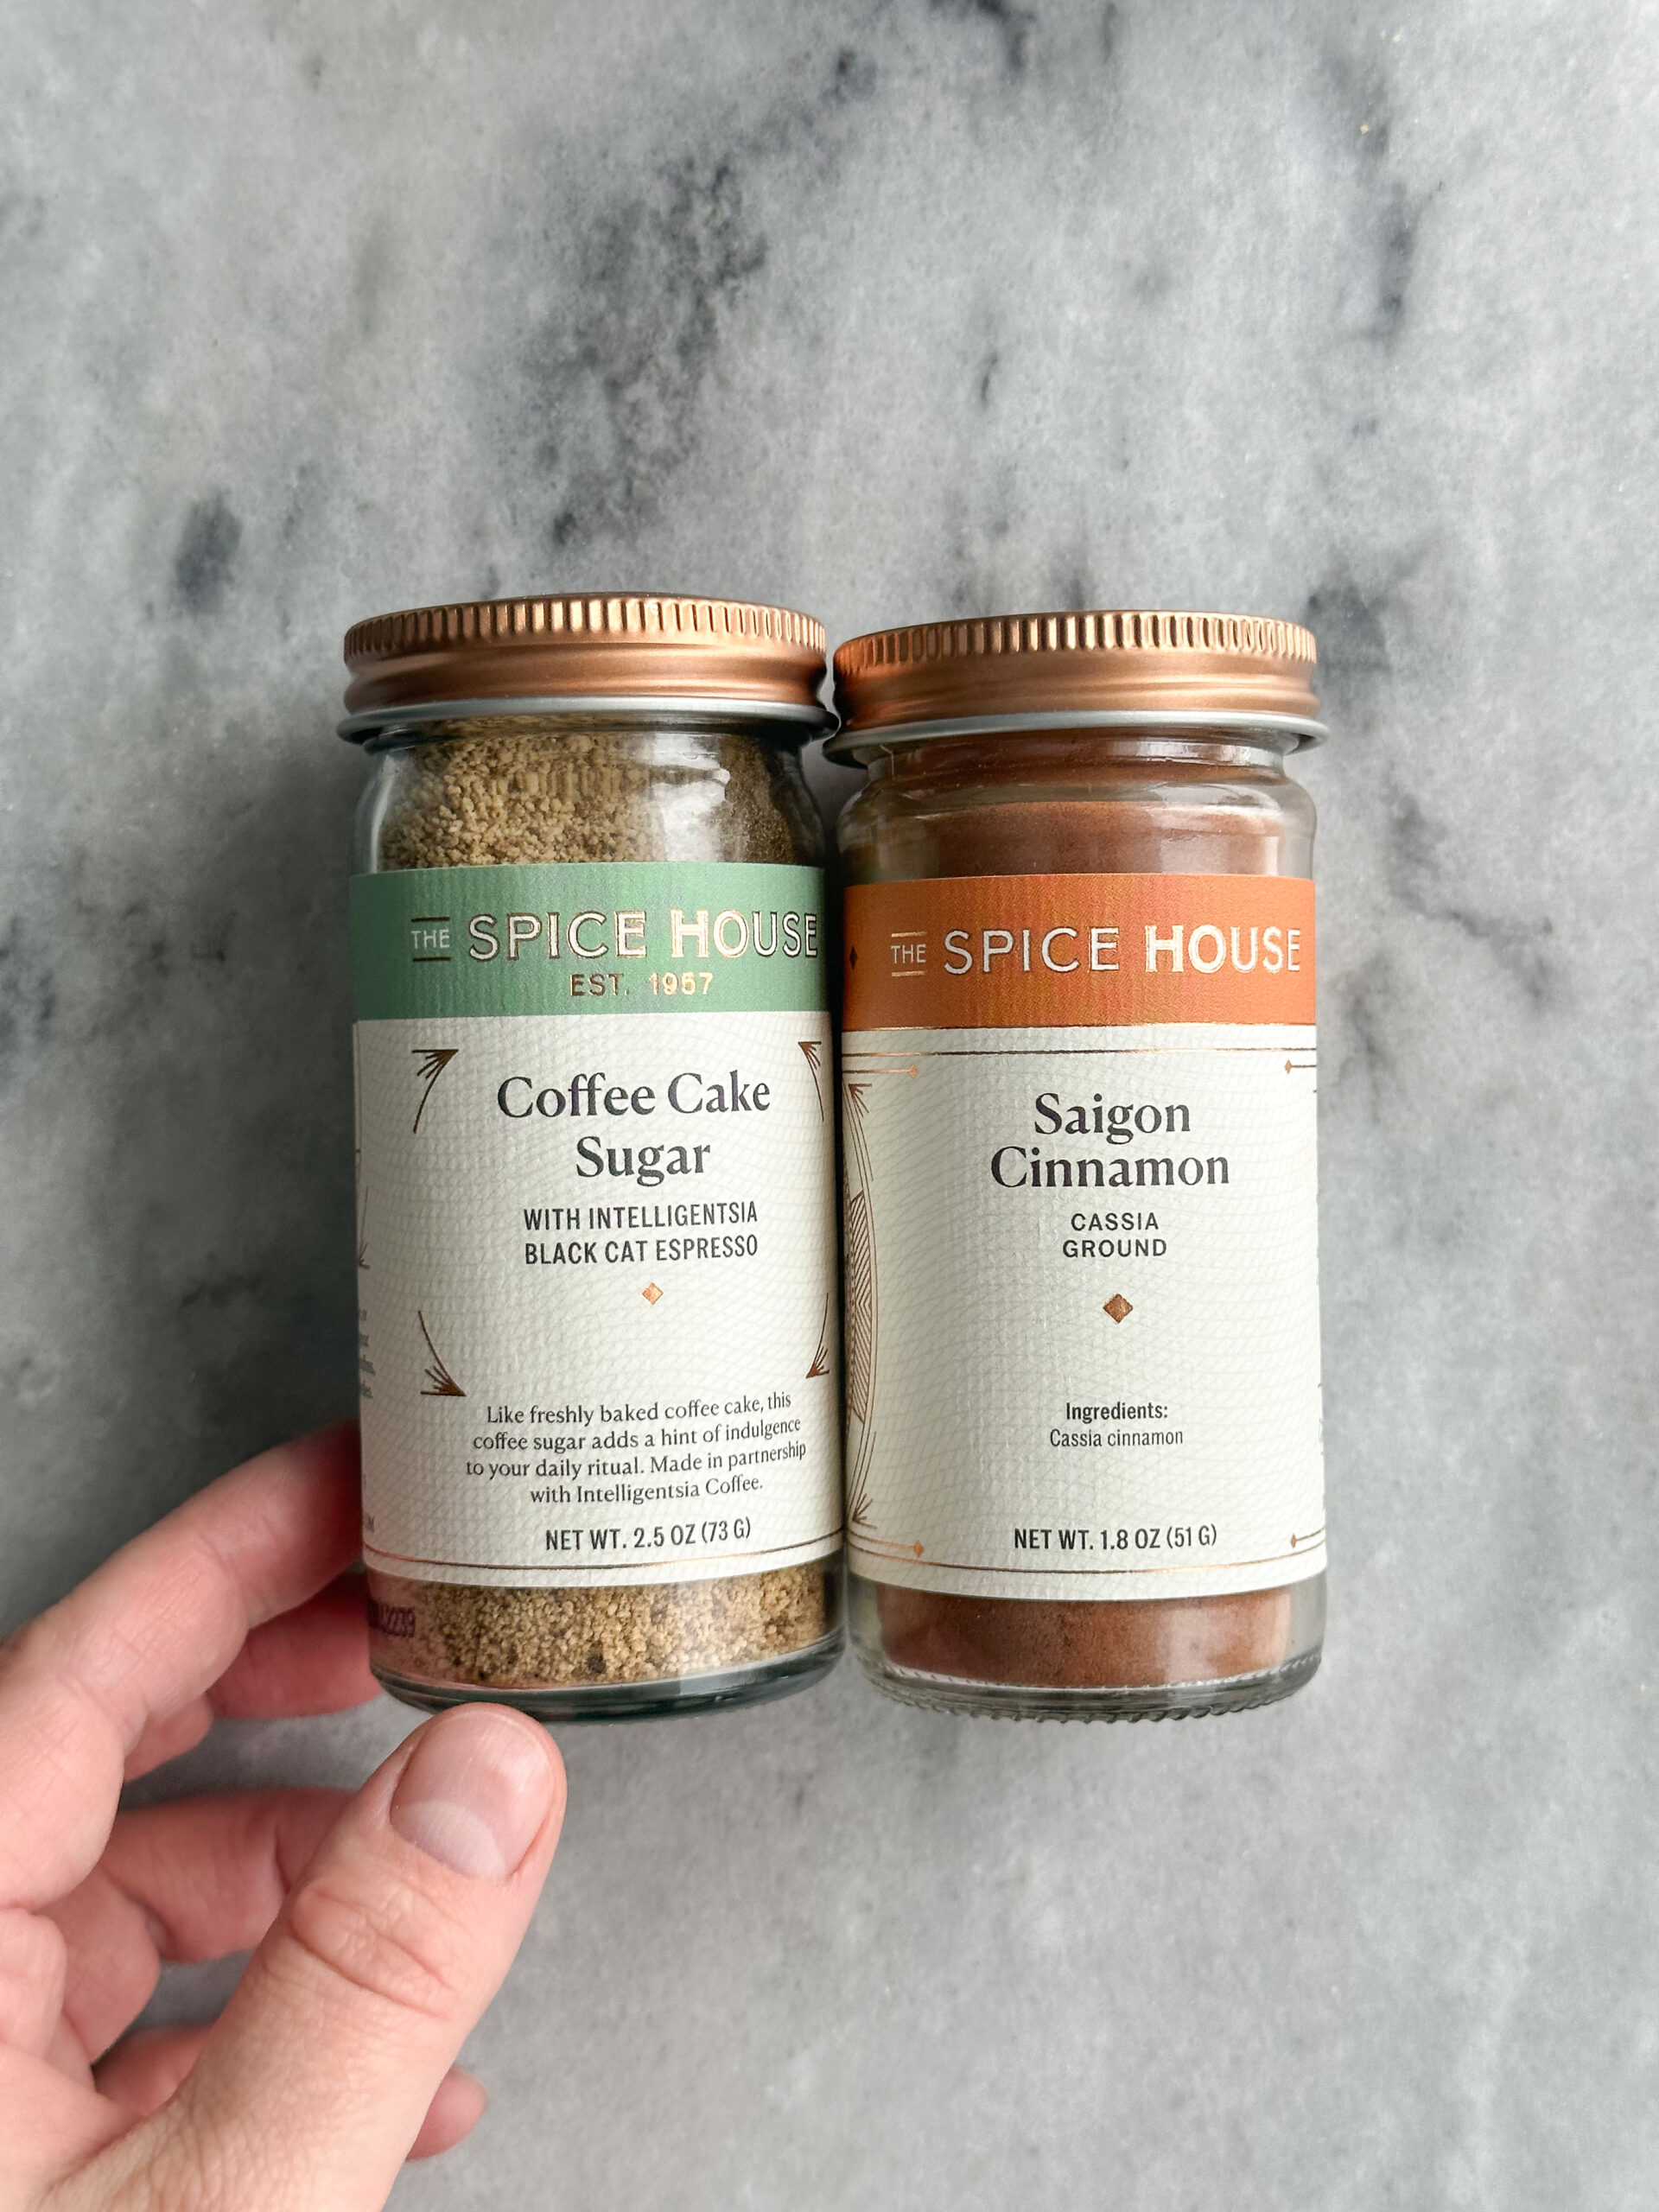
- vanilla– for flavor (I like to use vanilla bean paste because it has a stronger vanilla flavor. Some good ones are Nielsen-Massey, Heilala, The Spice House, and Rodelle.) We’ll also add vanilla bean paste to the mascarpone cream.
- cocoa powder– Use Dutch process cocoa powder rather than natural cocoa powder. The flavor is richer and more chocolate-y. I use Rodelle Dutch process cocoa powder.
- all purpose flour– the base of the dough
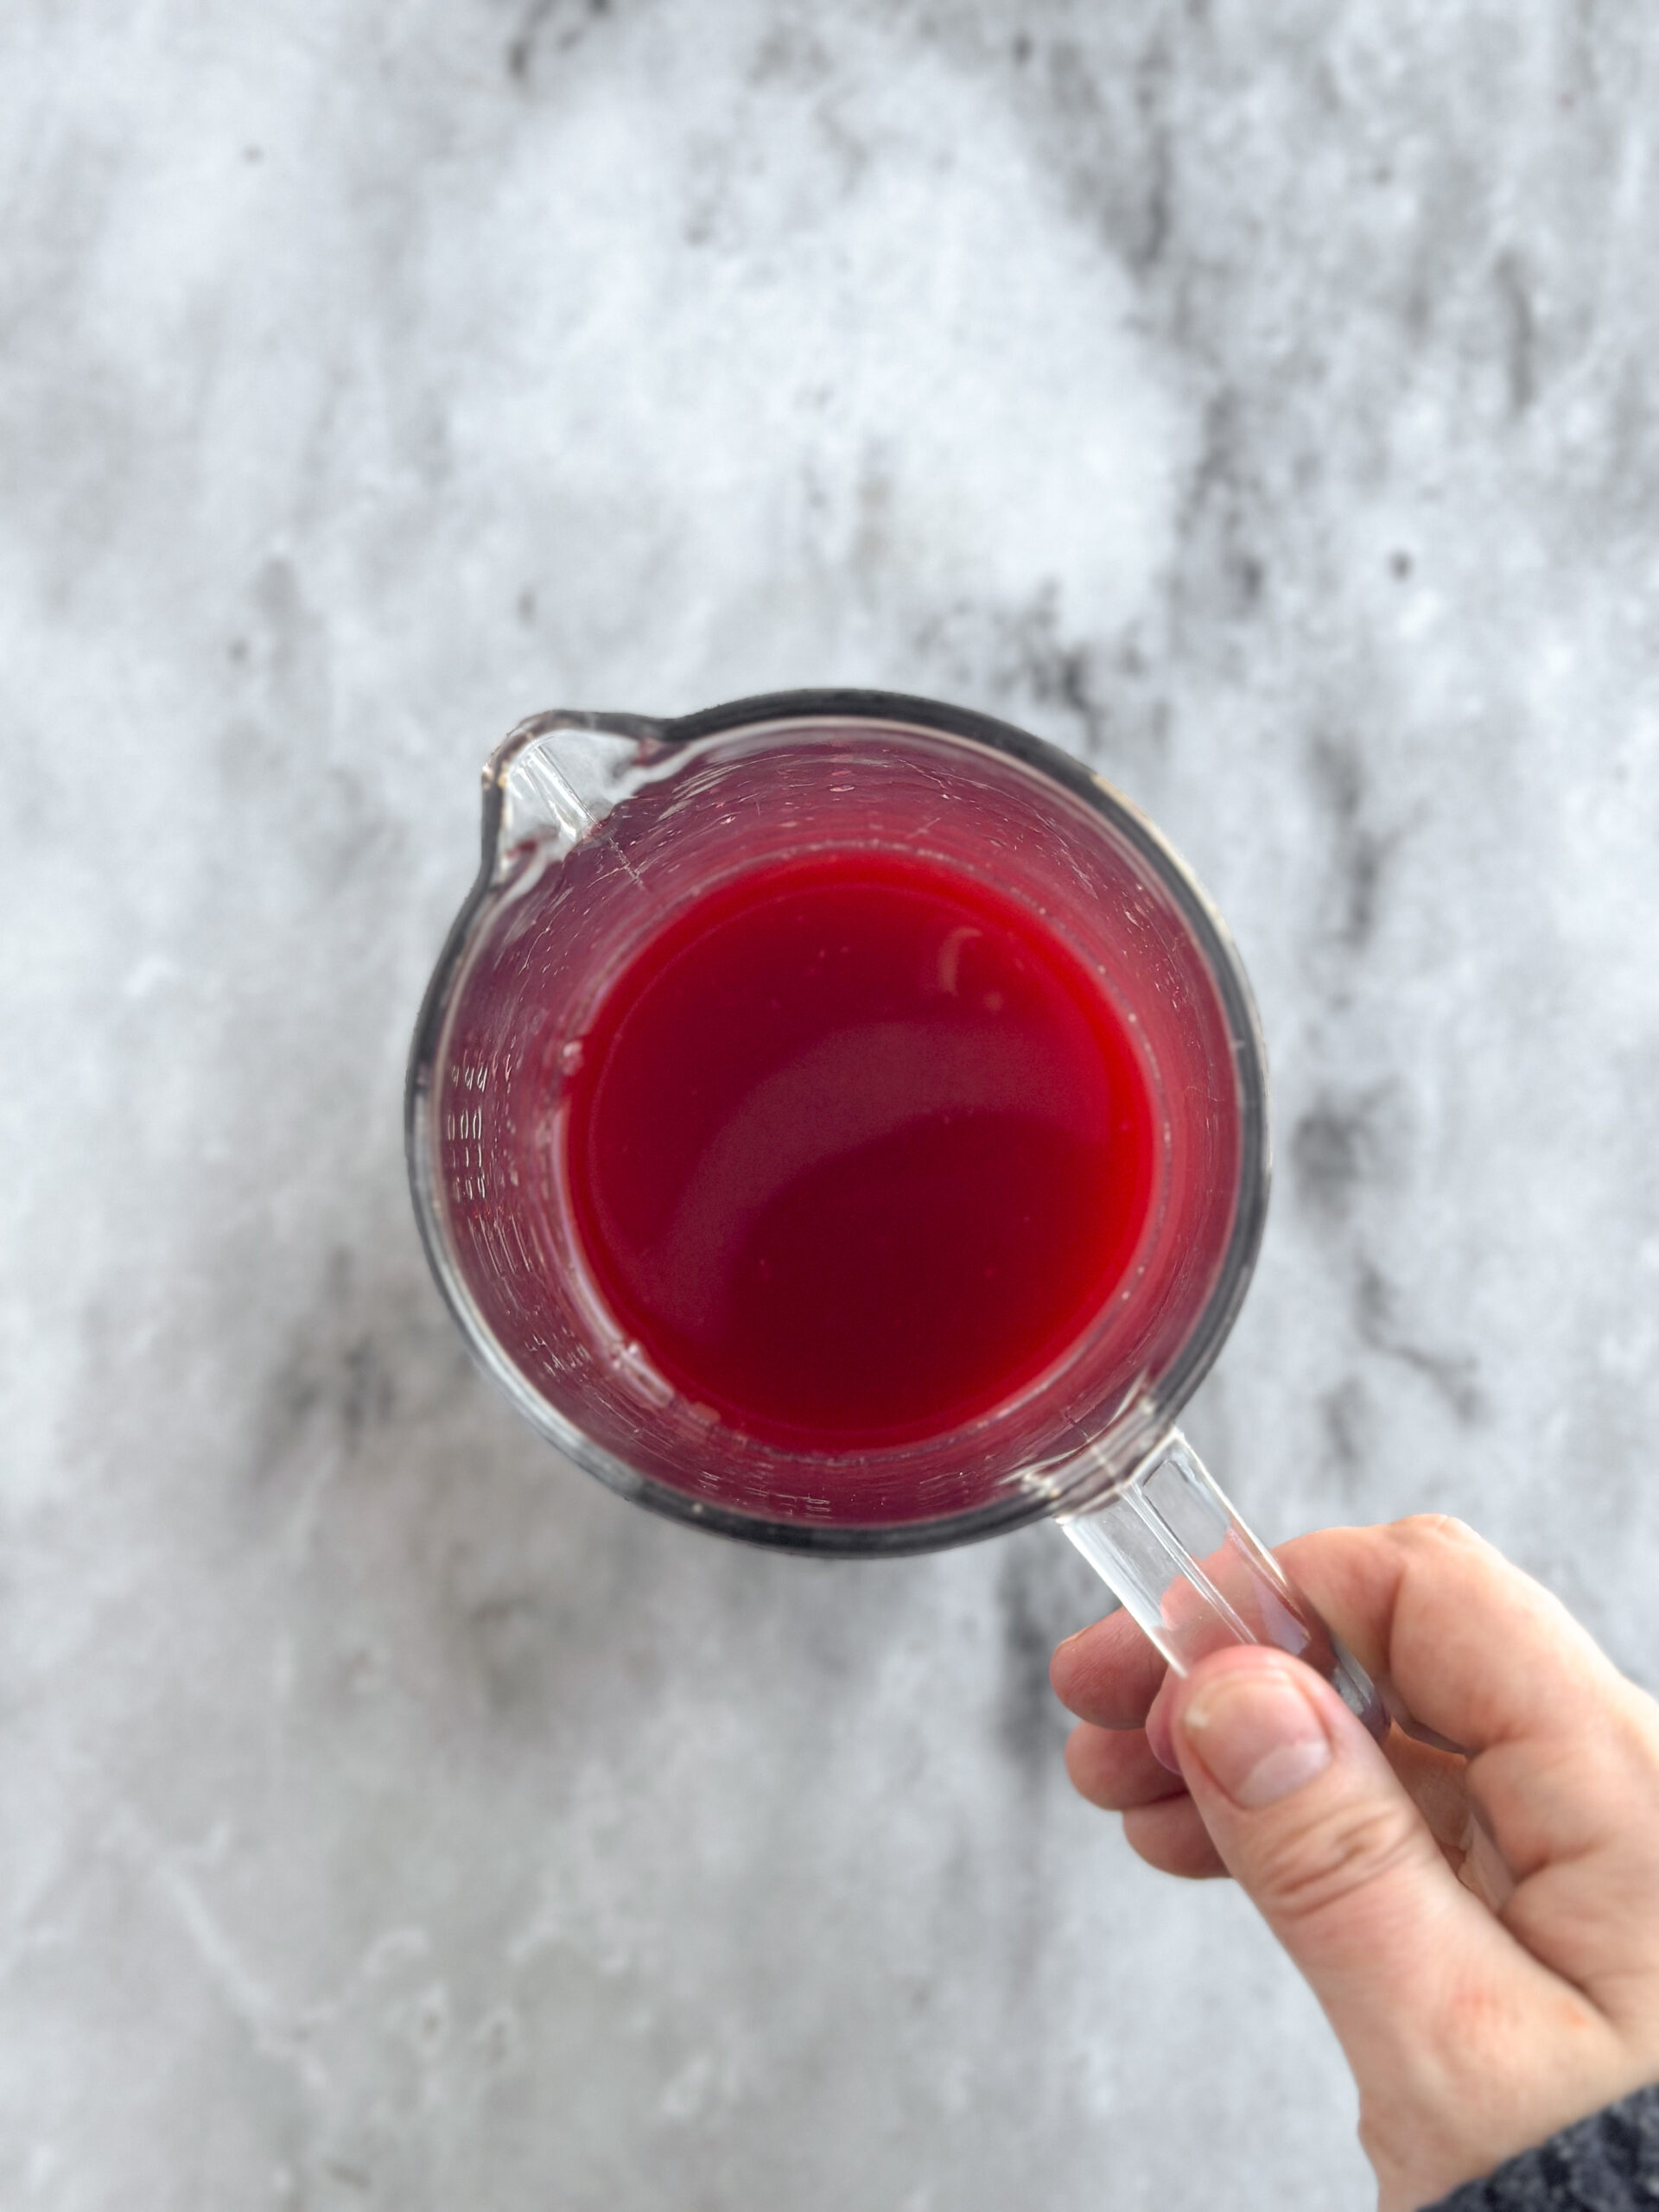
- heavy whipping cream– to make the ganache
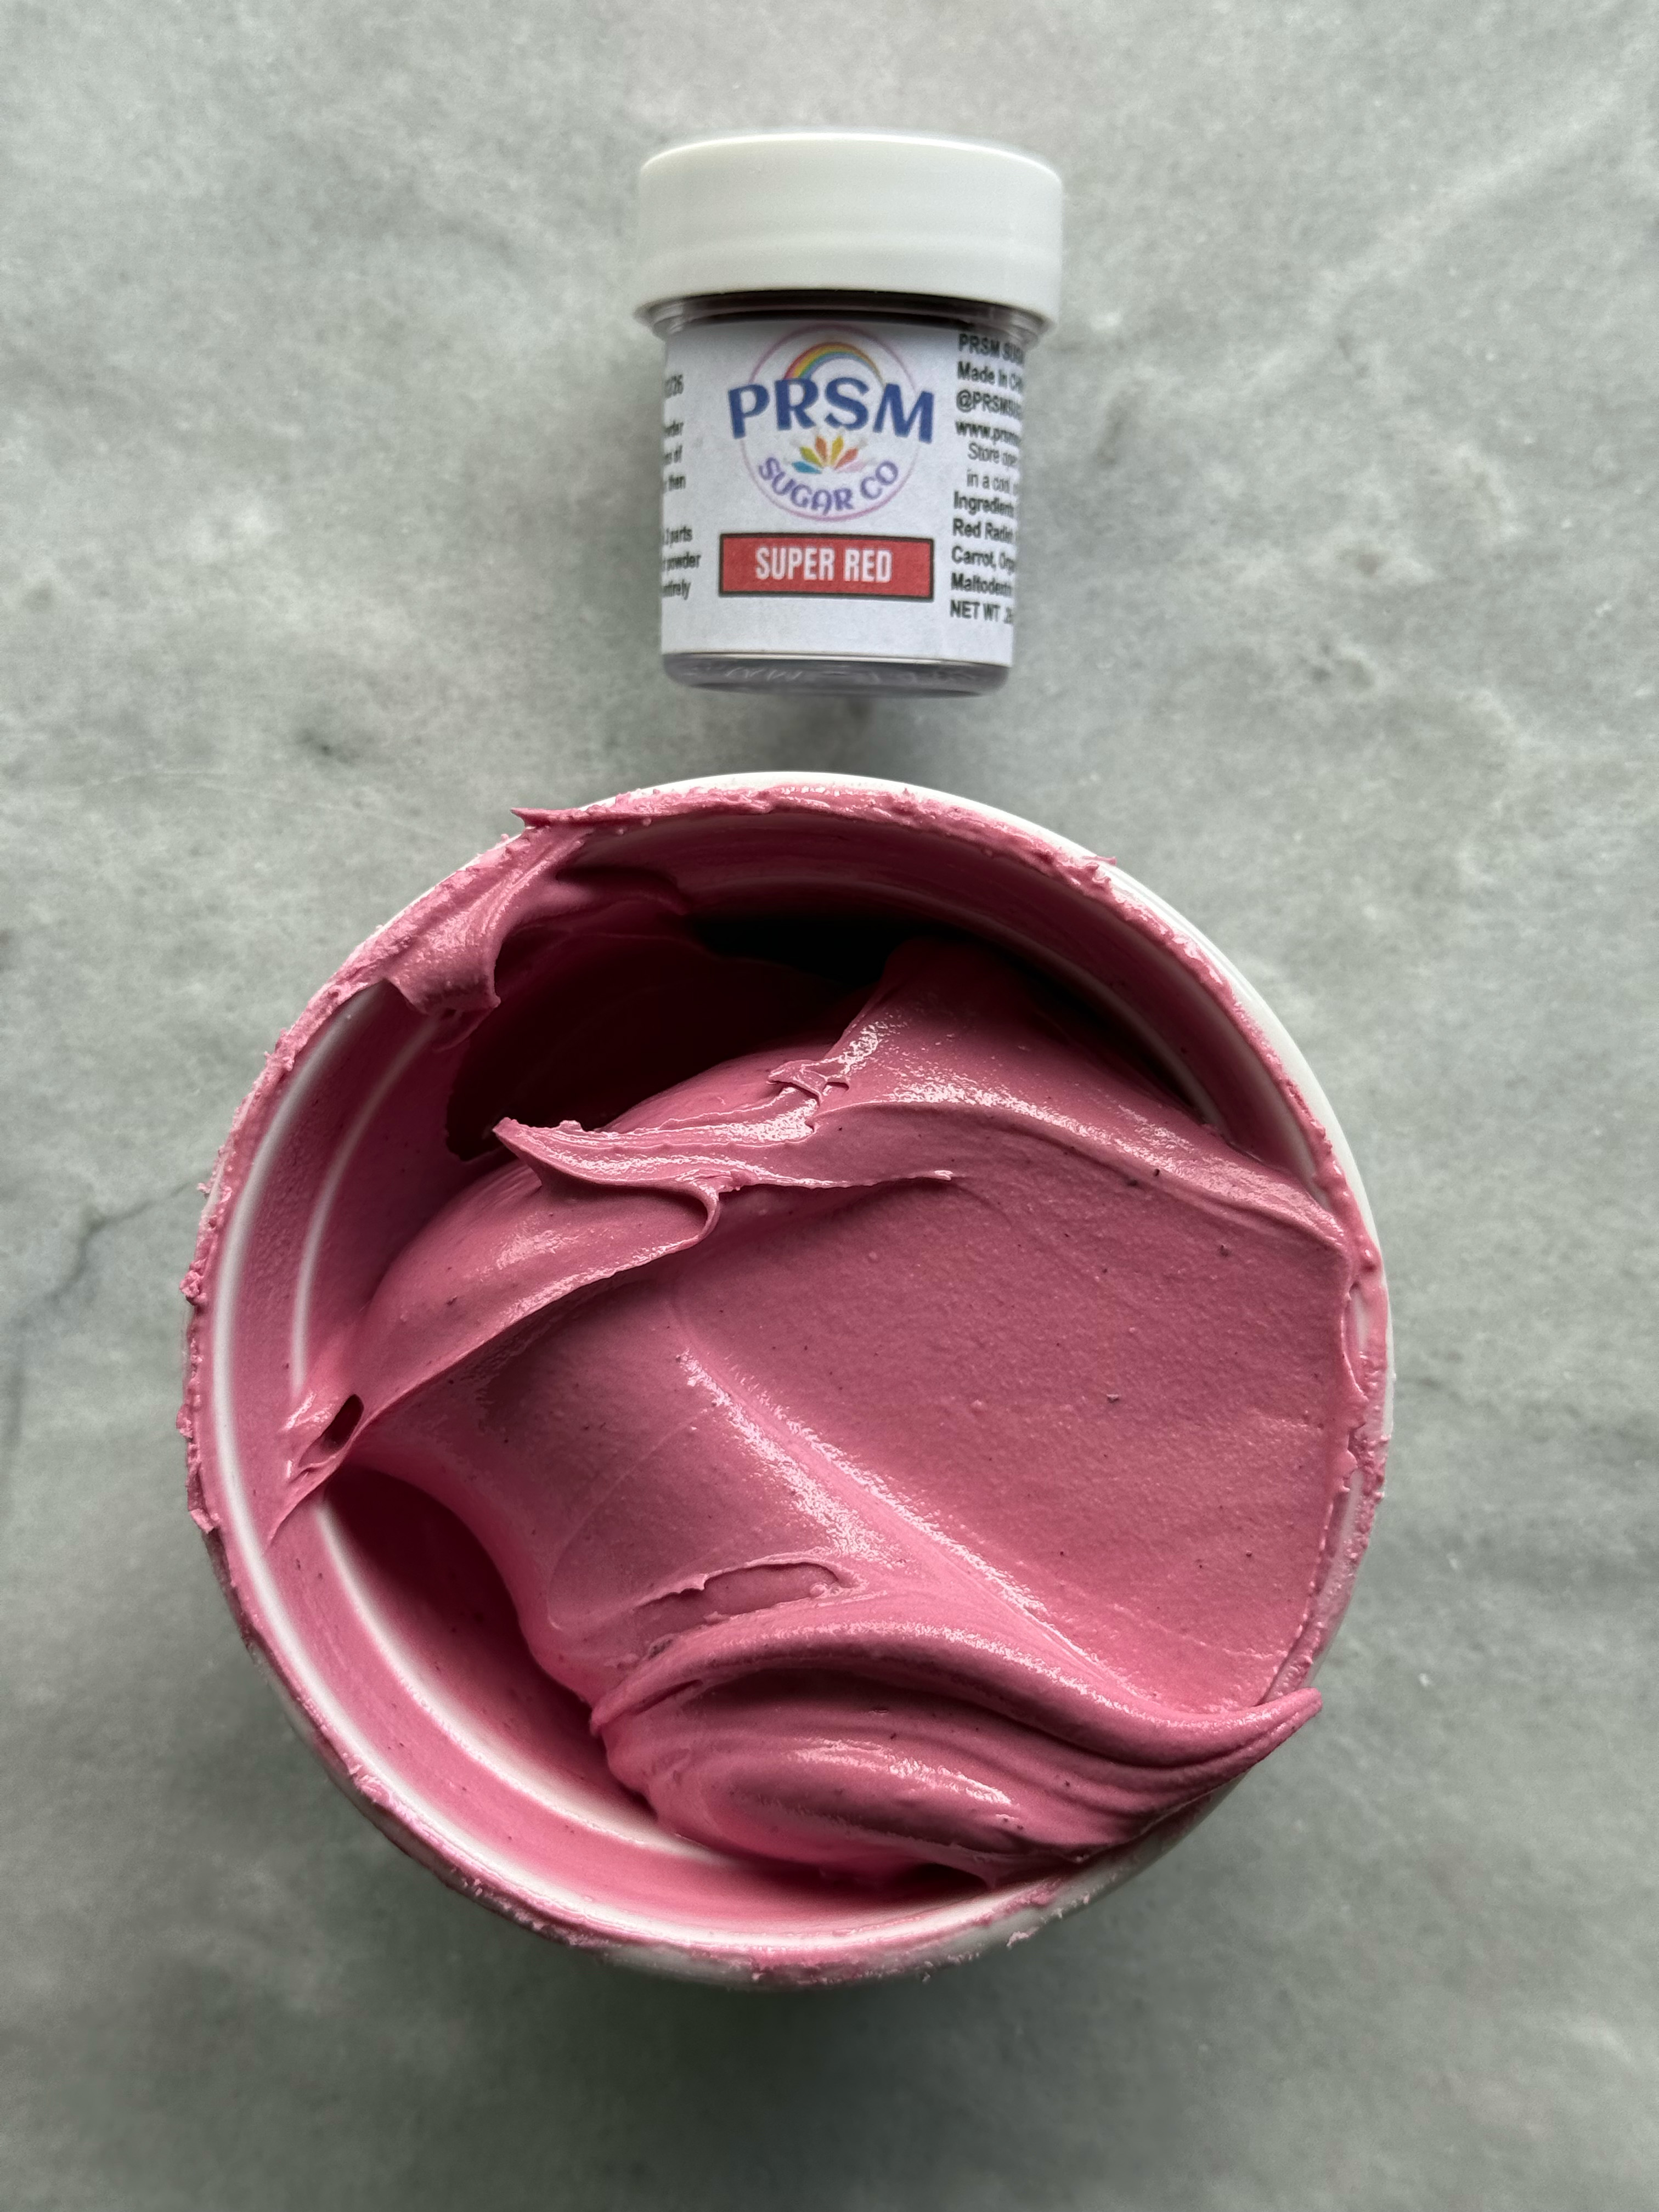
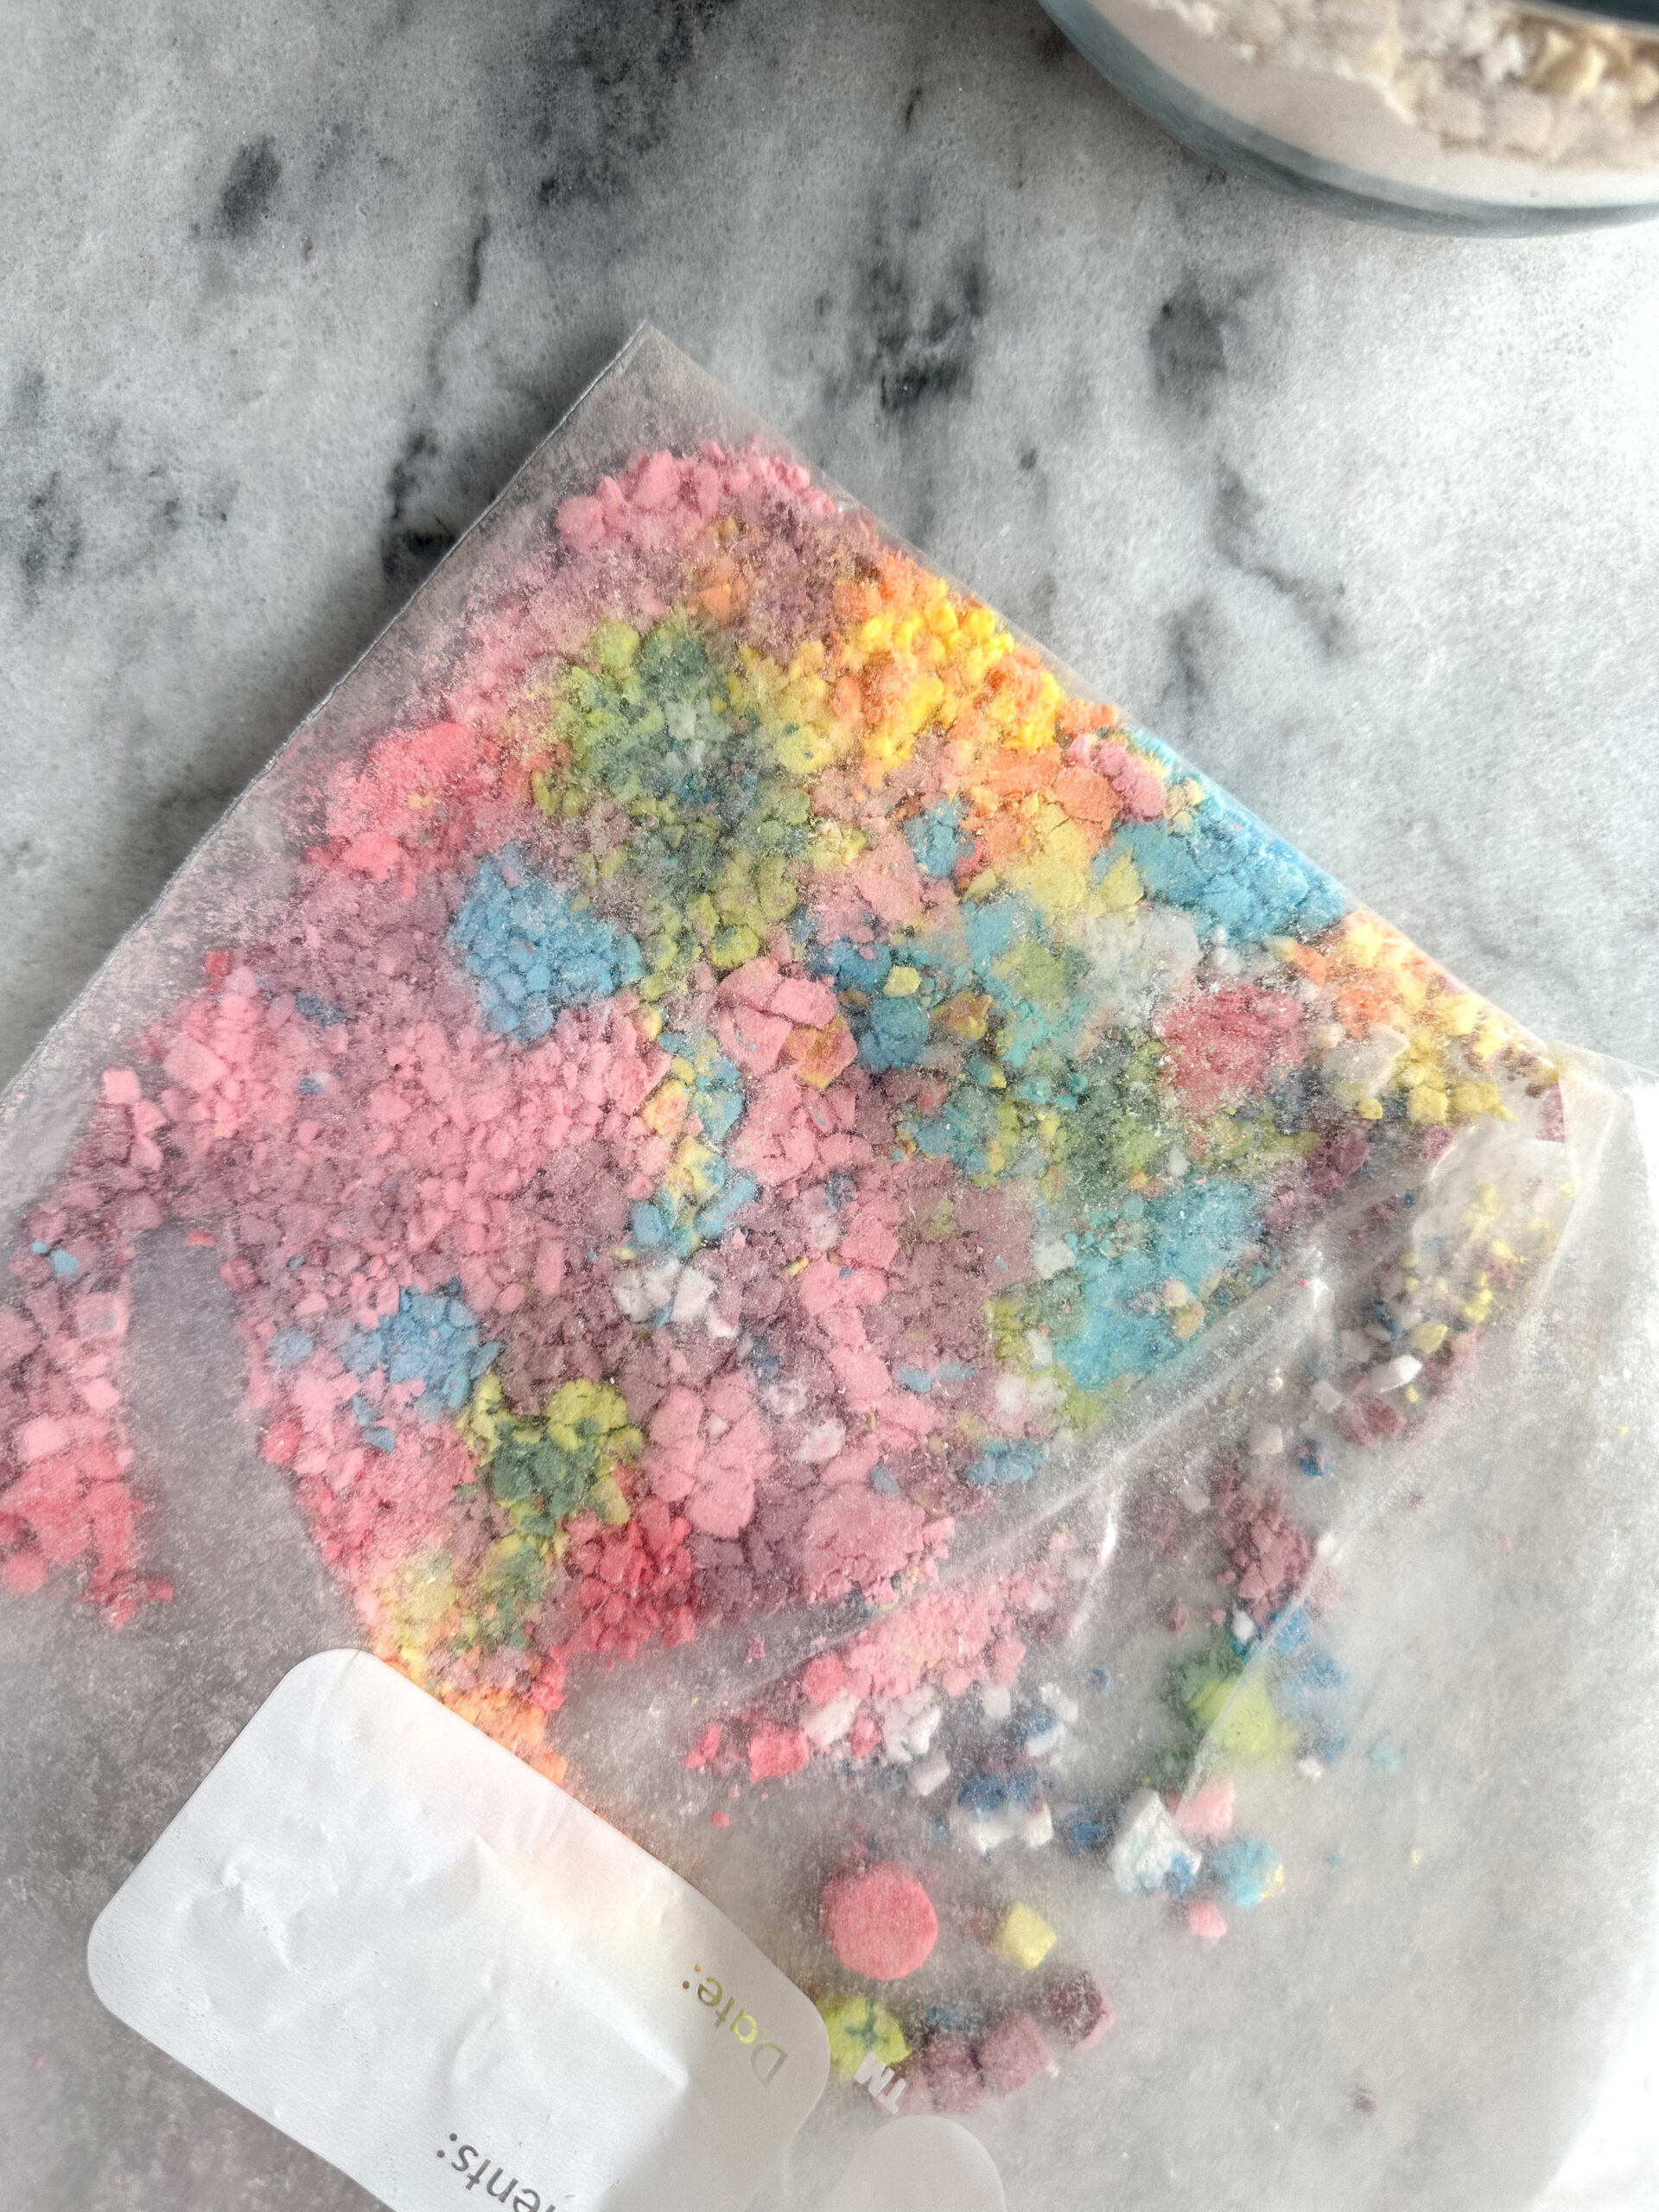
- rainbow chips– I get mine from Nuts.com
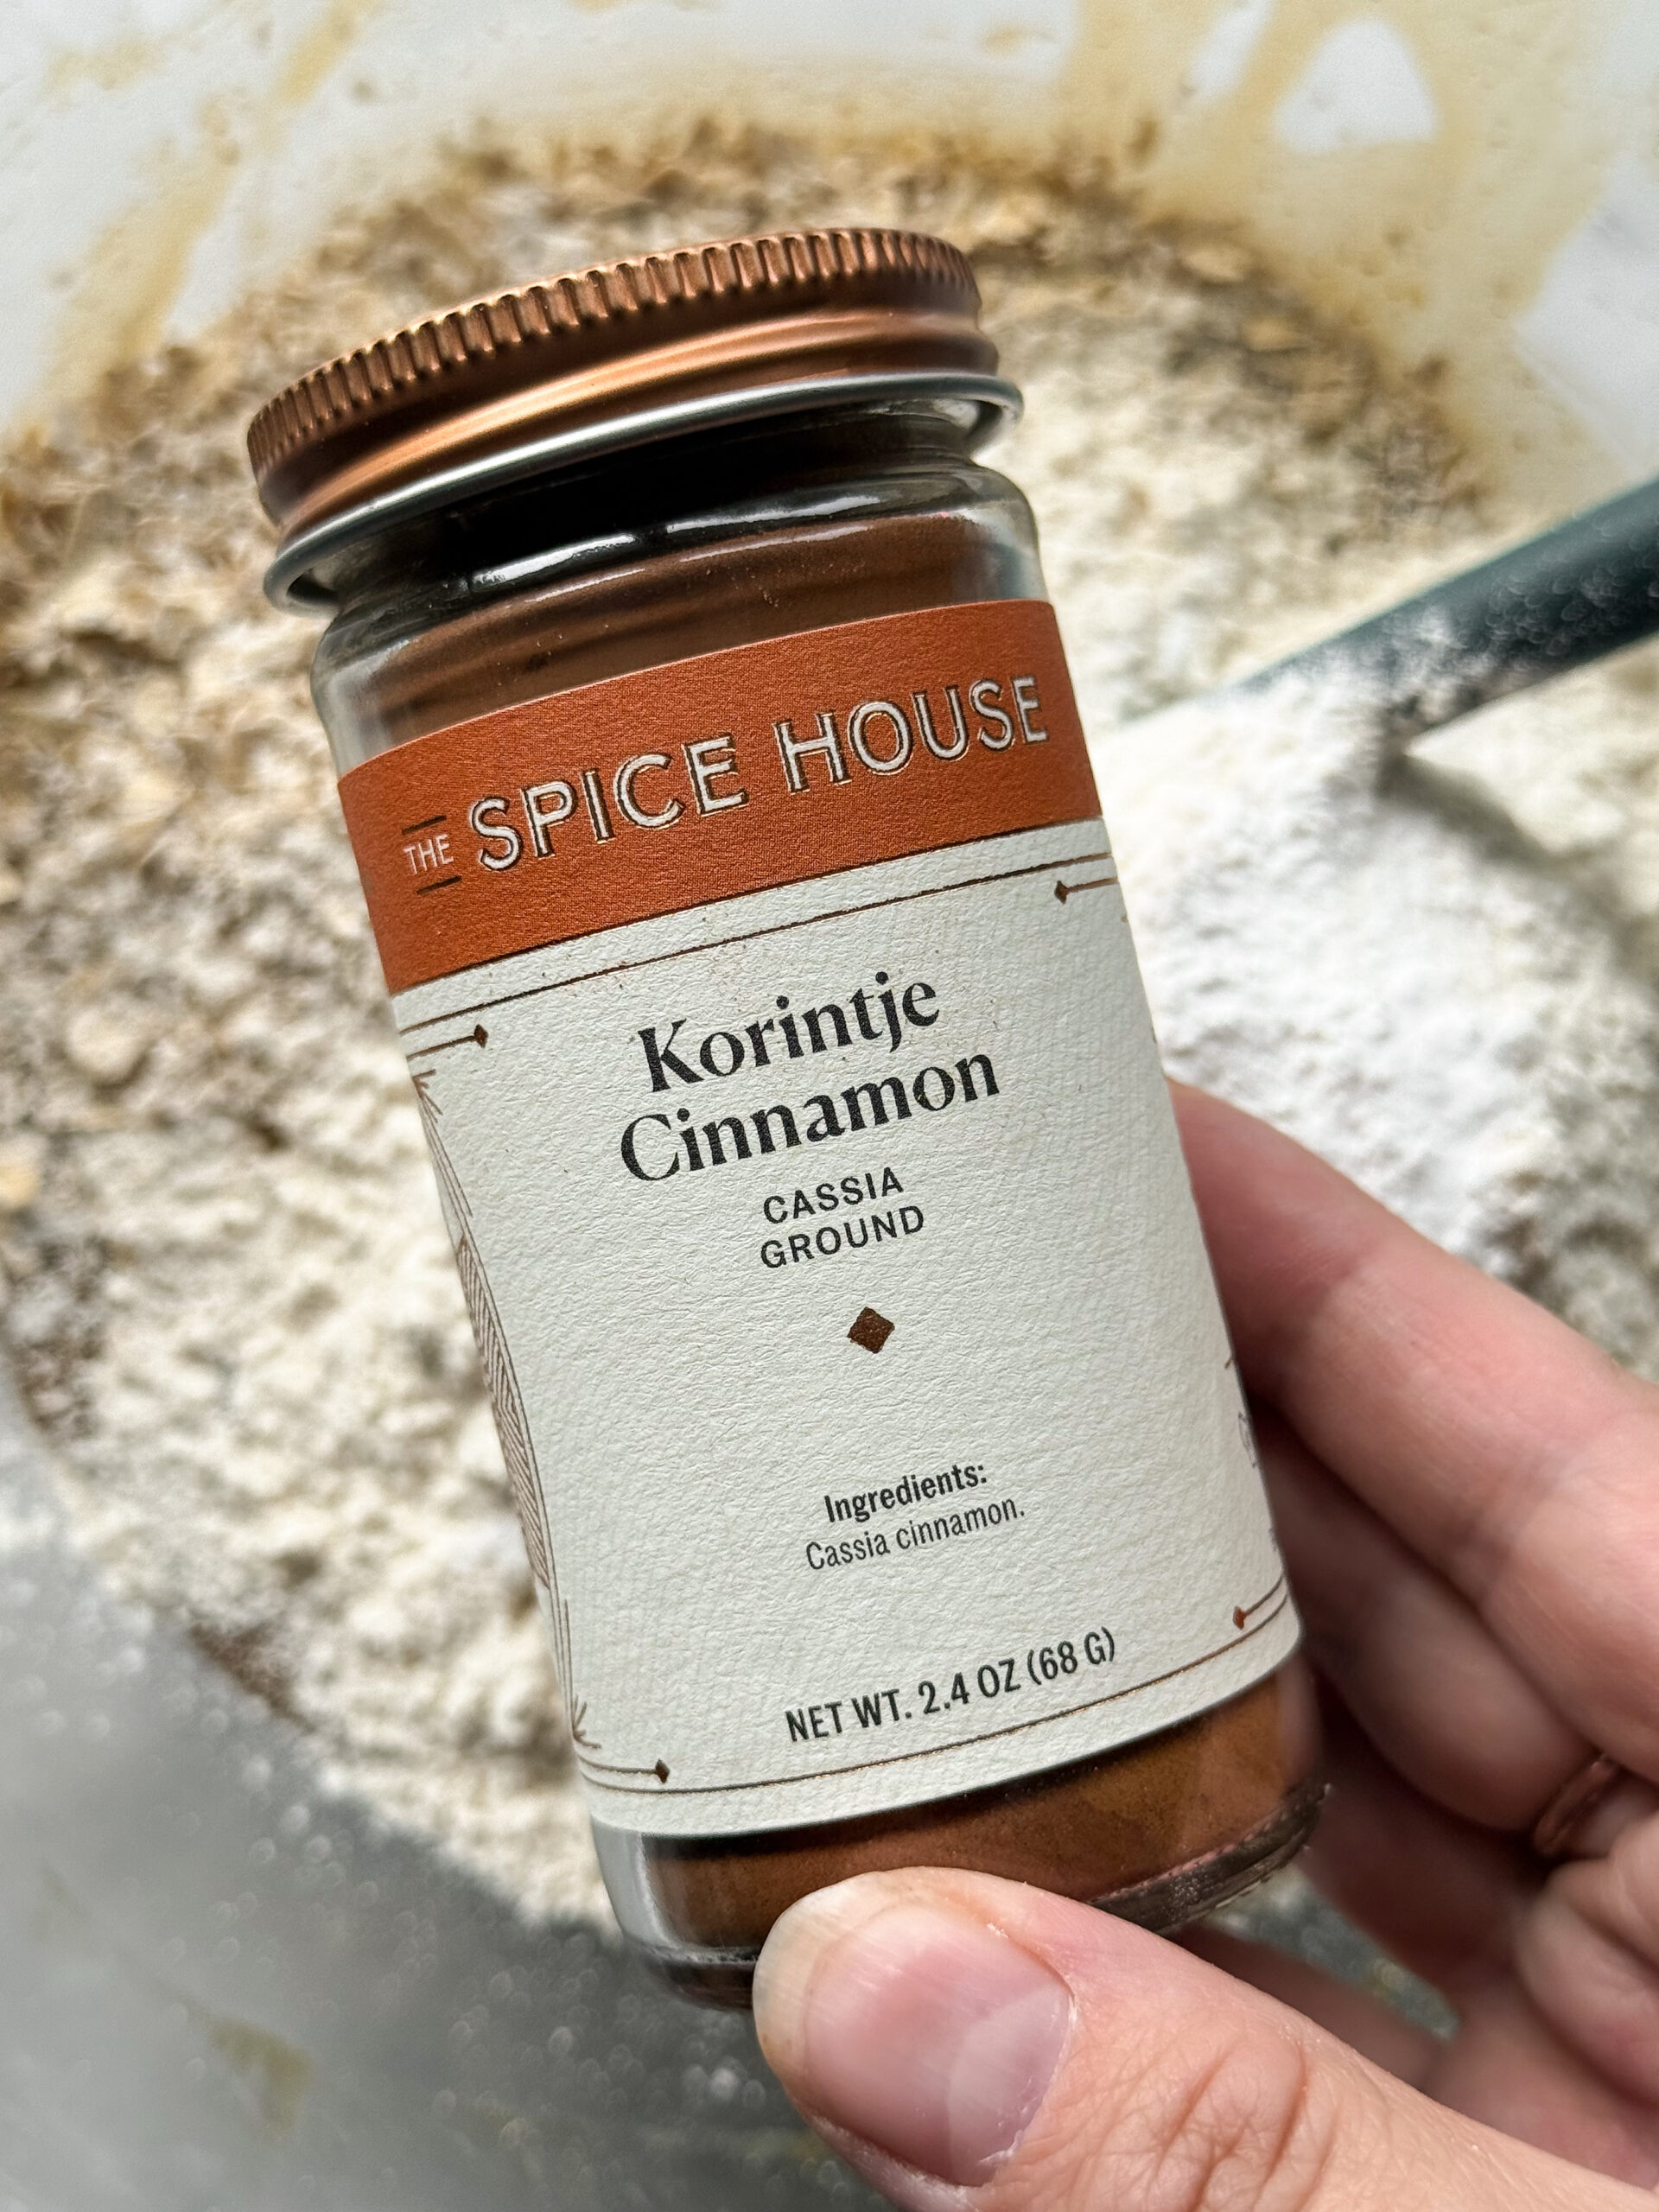
*You can use my code EMILYLOGGANS for 10% at The Spice House. I love to get my vanilla, almond, salt, and spices there!
supplies you’ll need
- #30 cookie scoop
- wire mesh sieve
- hand mixer or stand mixer– I use a hand mixer for this cookie.
- spatula– A spatula is essential to scrape down the bowl throughout the process. Without scraping, you’ll end up with an unevenly mixed dough and cookies that are inconsistent.
- scale– If there’s one thing I can convince you of, please let it be a kitchen scale. 🙏🏻Using a scale makes everything easier with baking, and it ensures you get the same results every time. Flour is so easy to over-add with volume measurements, and a scale solves that problem.
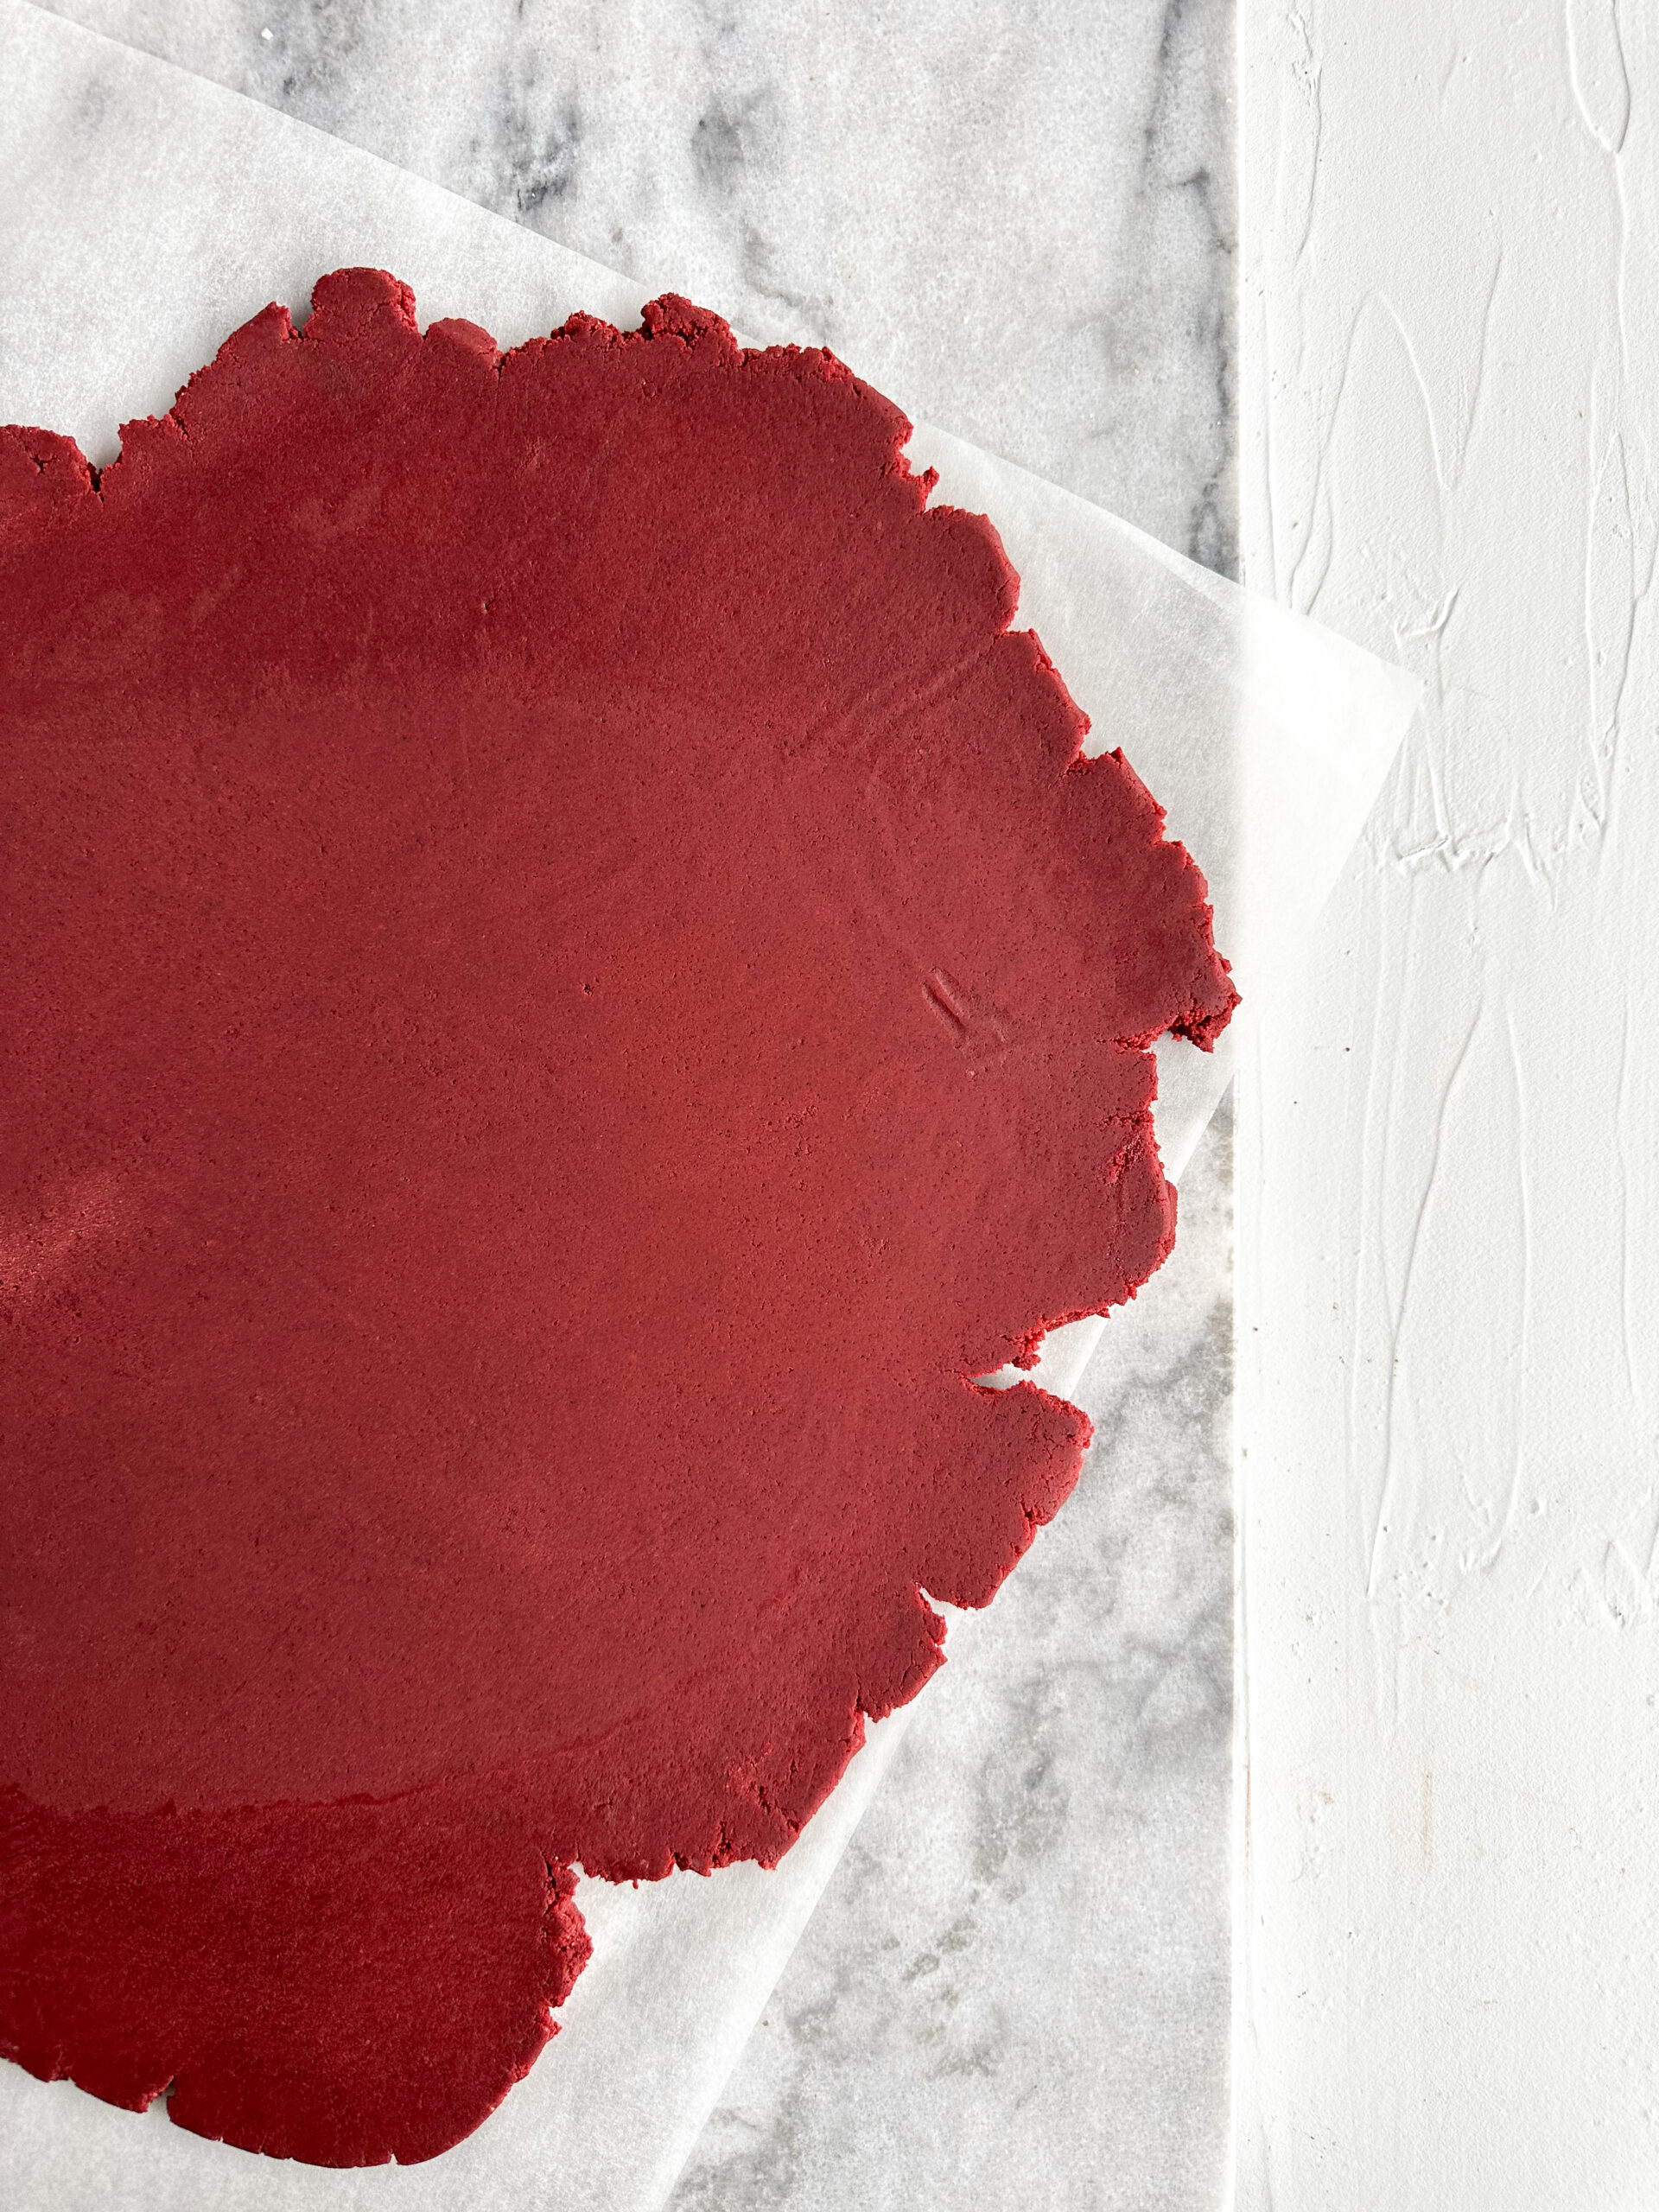
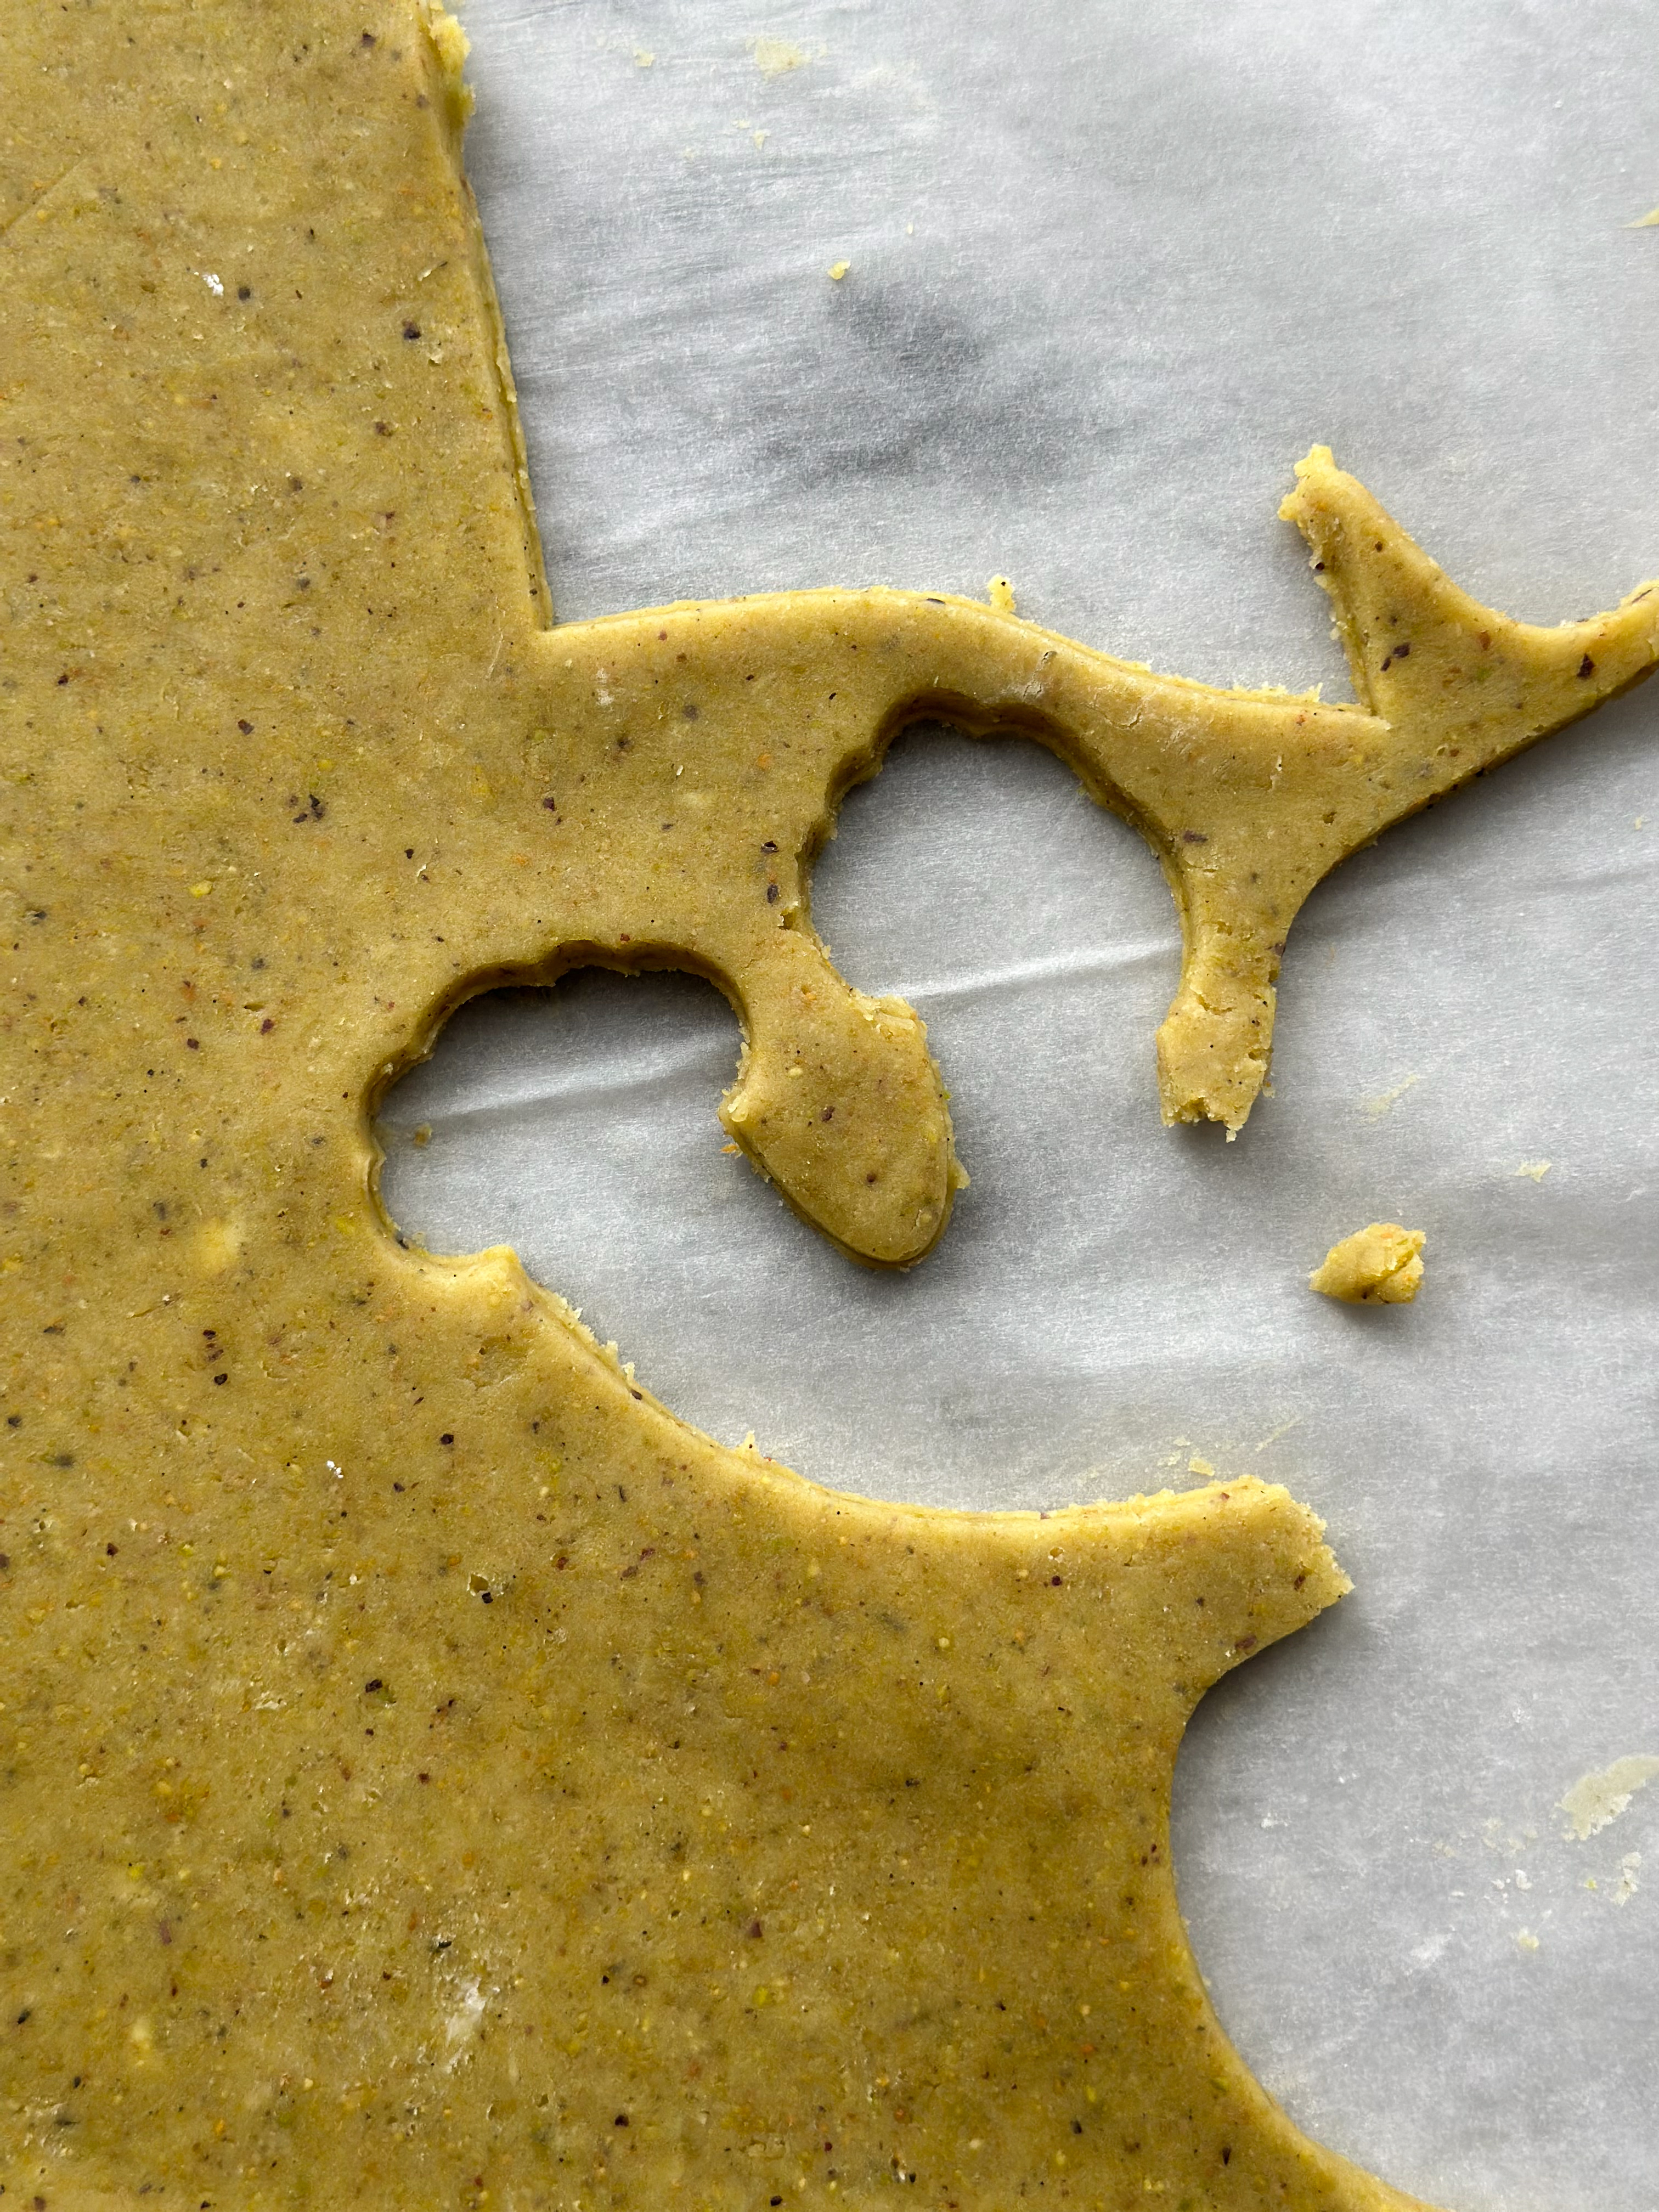
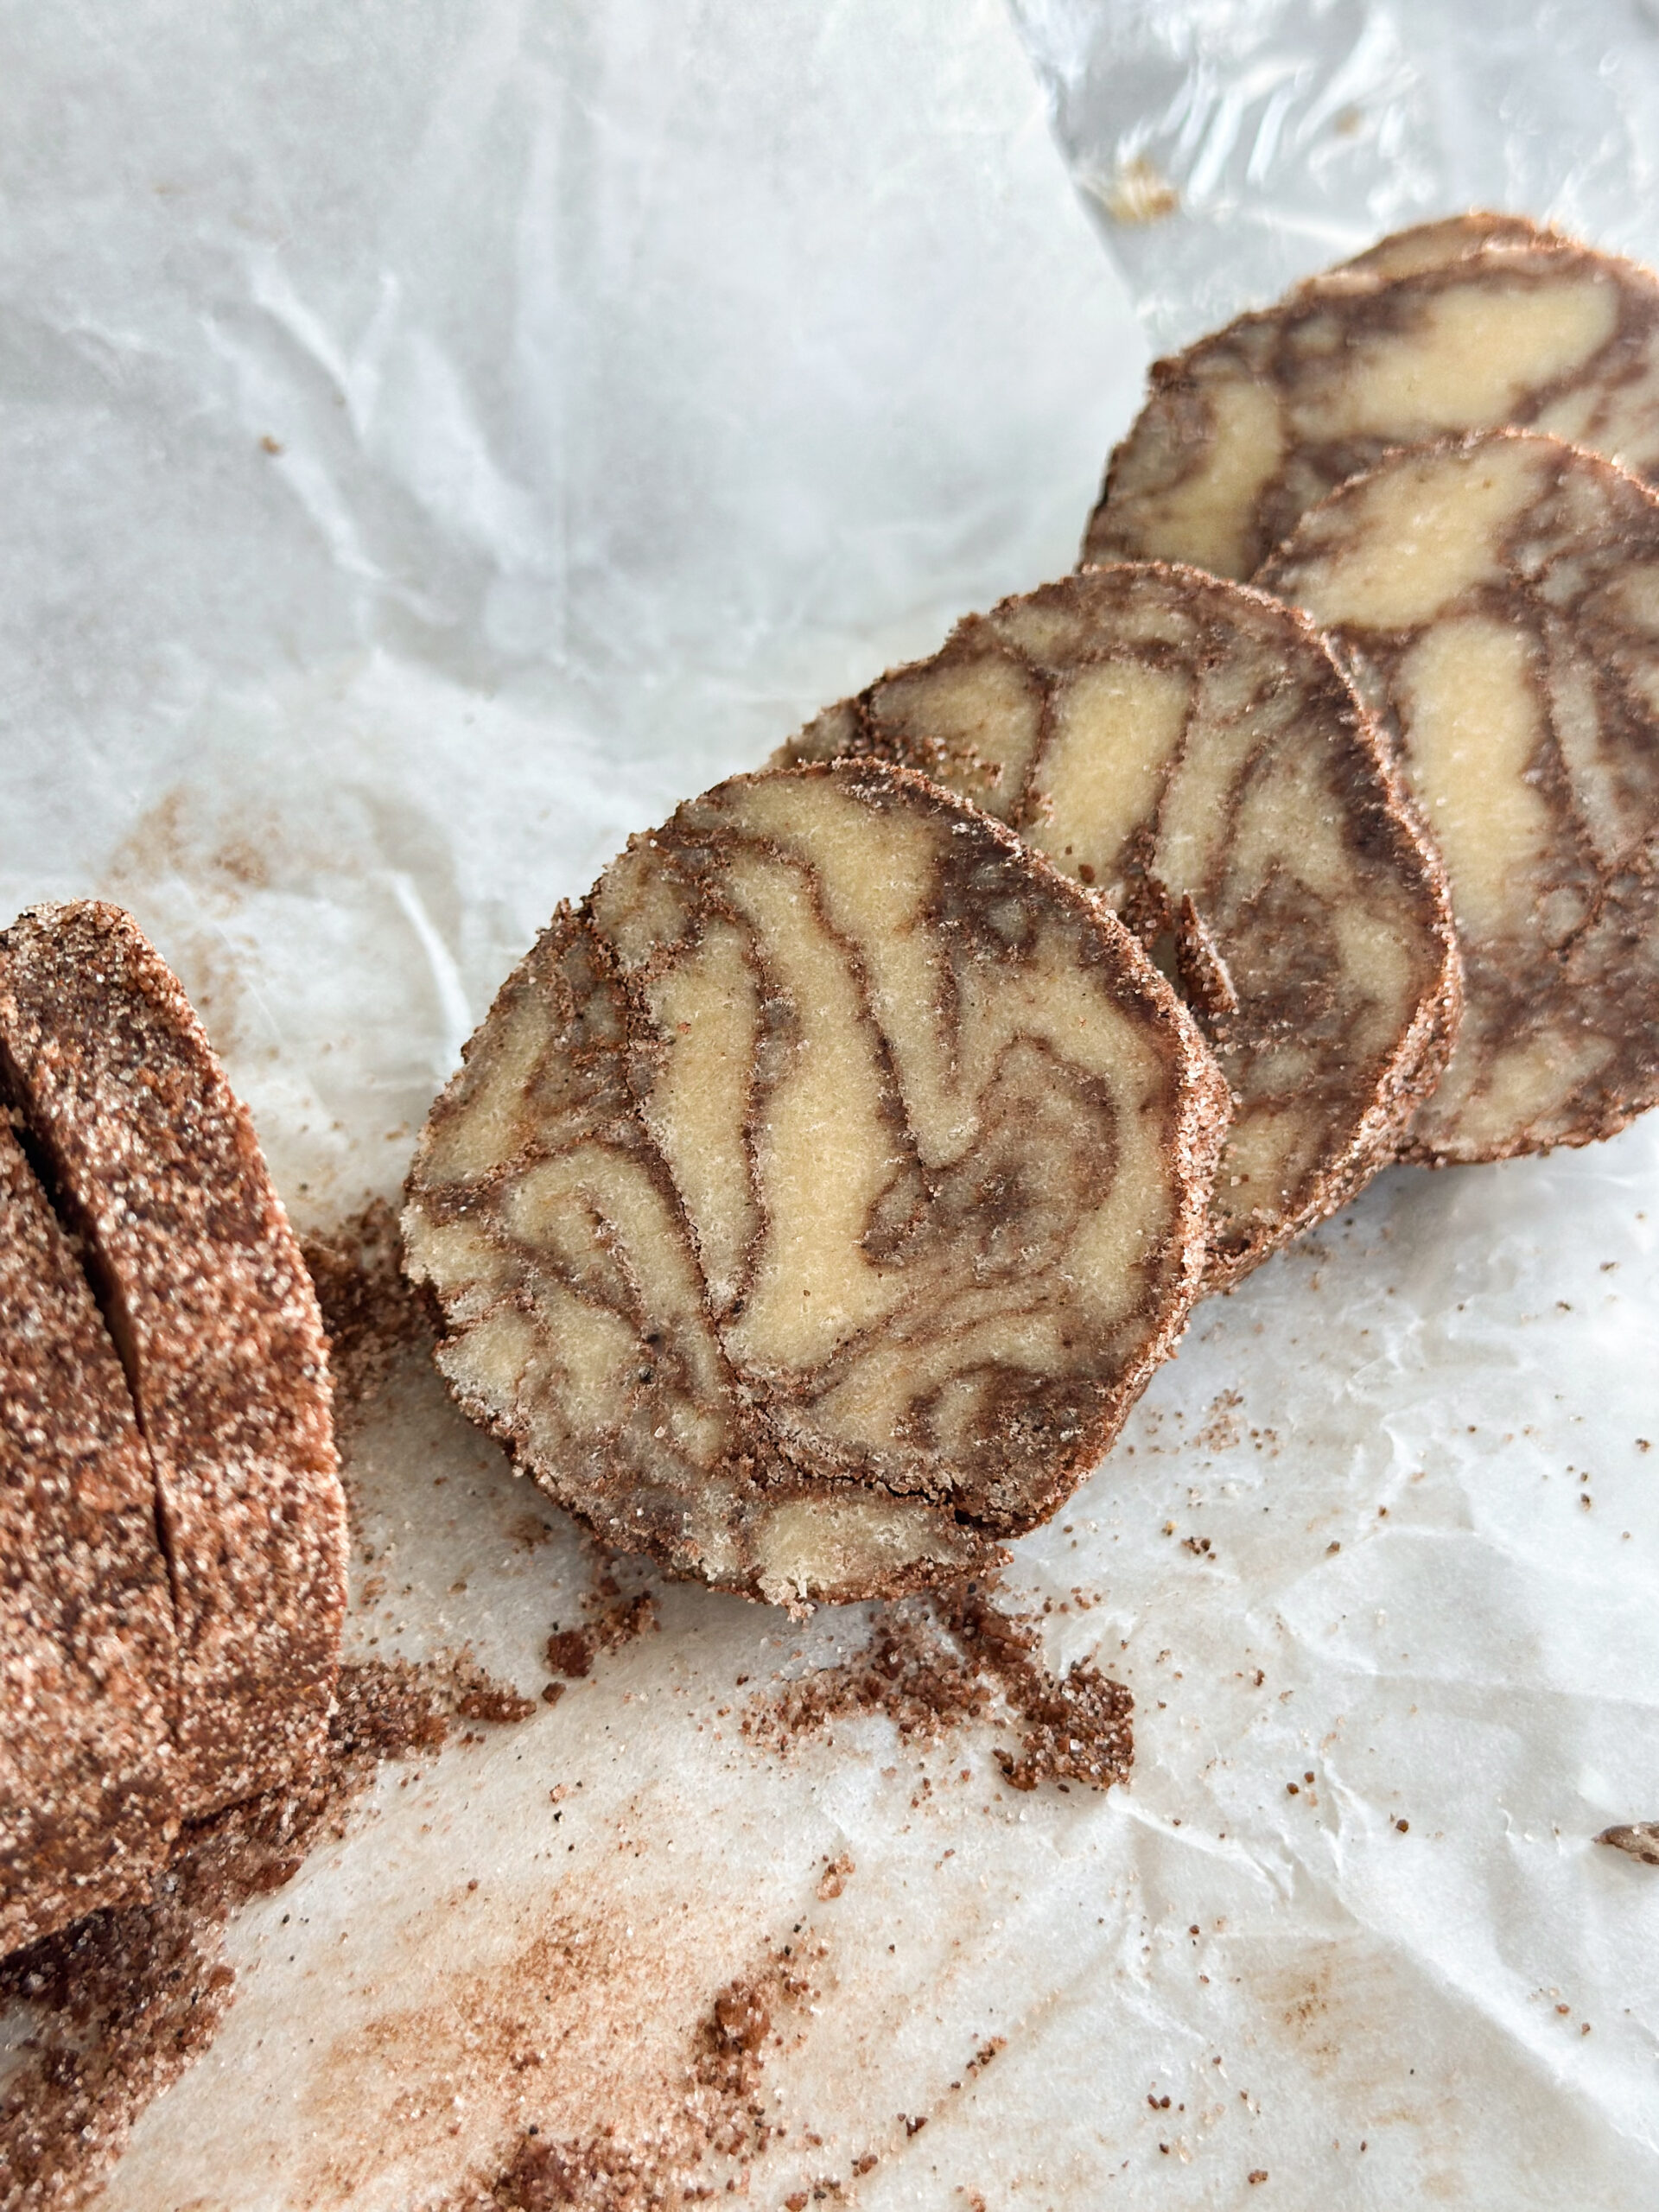
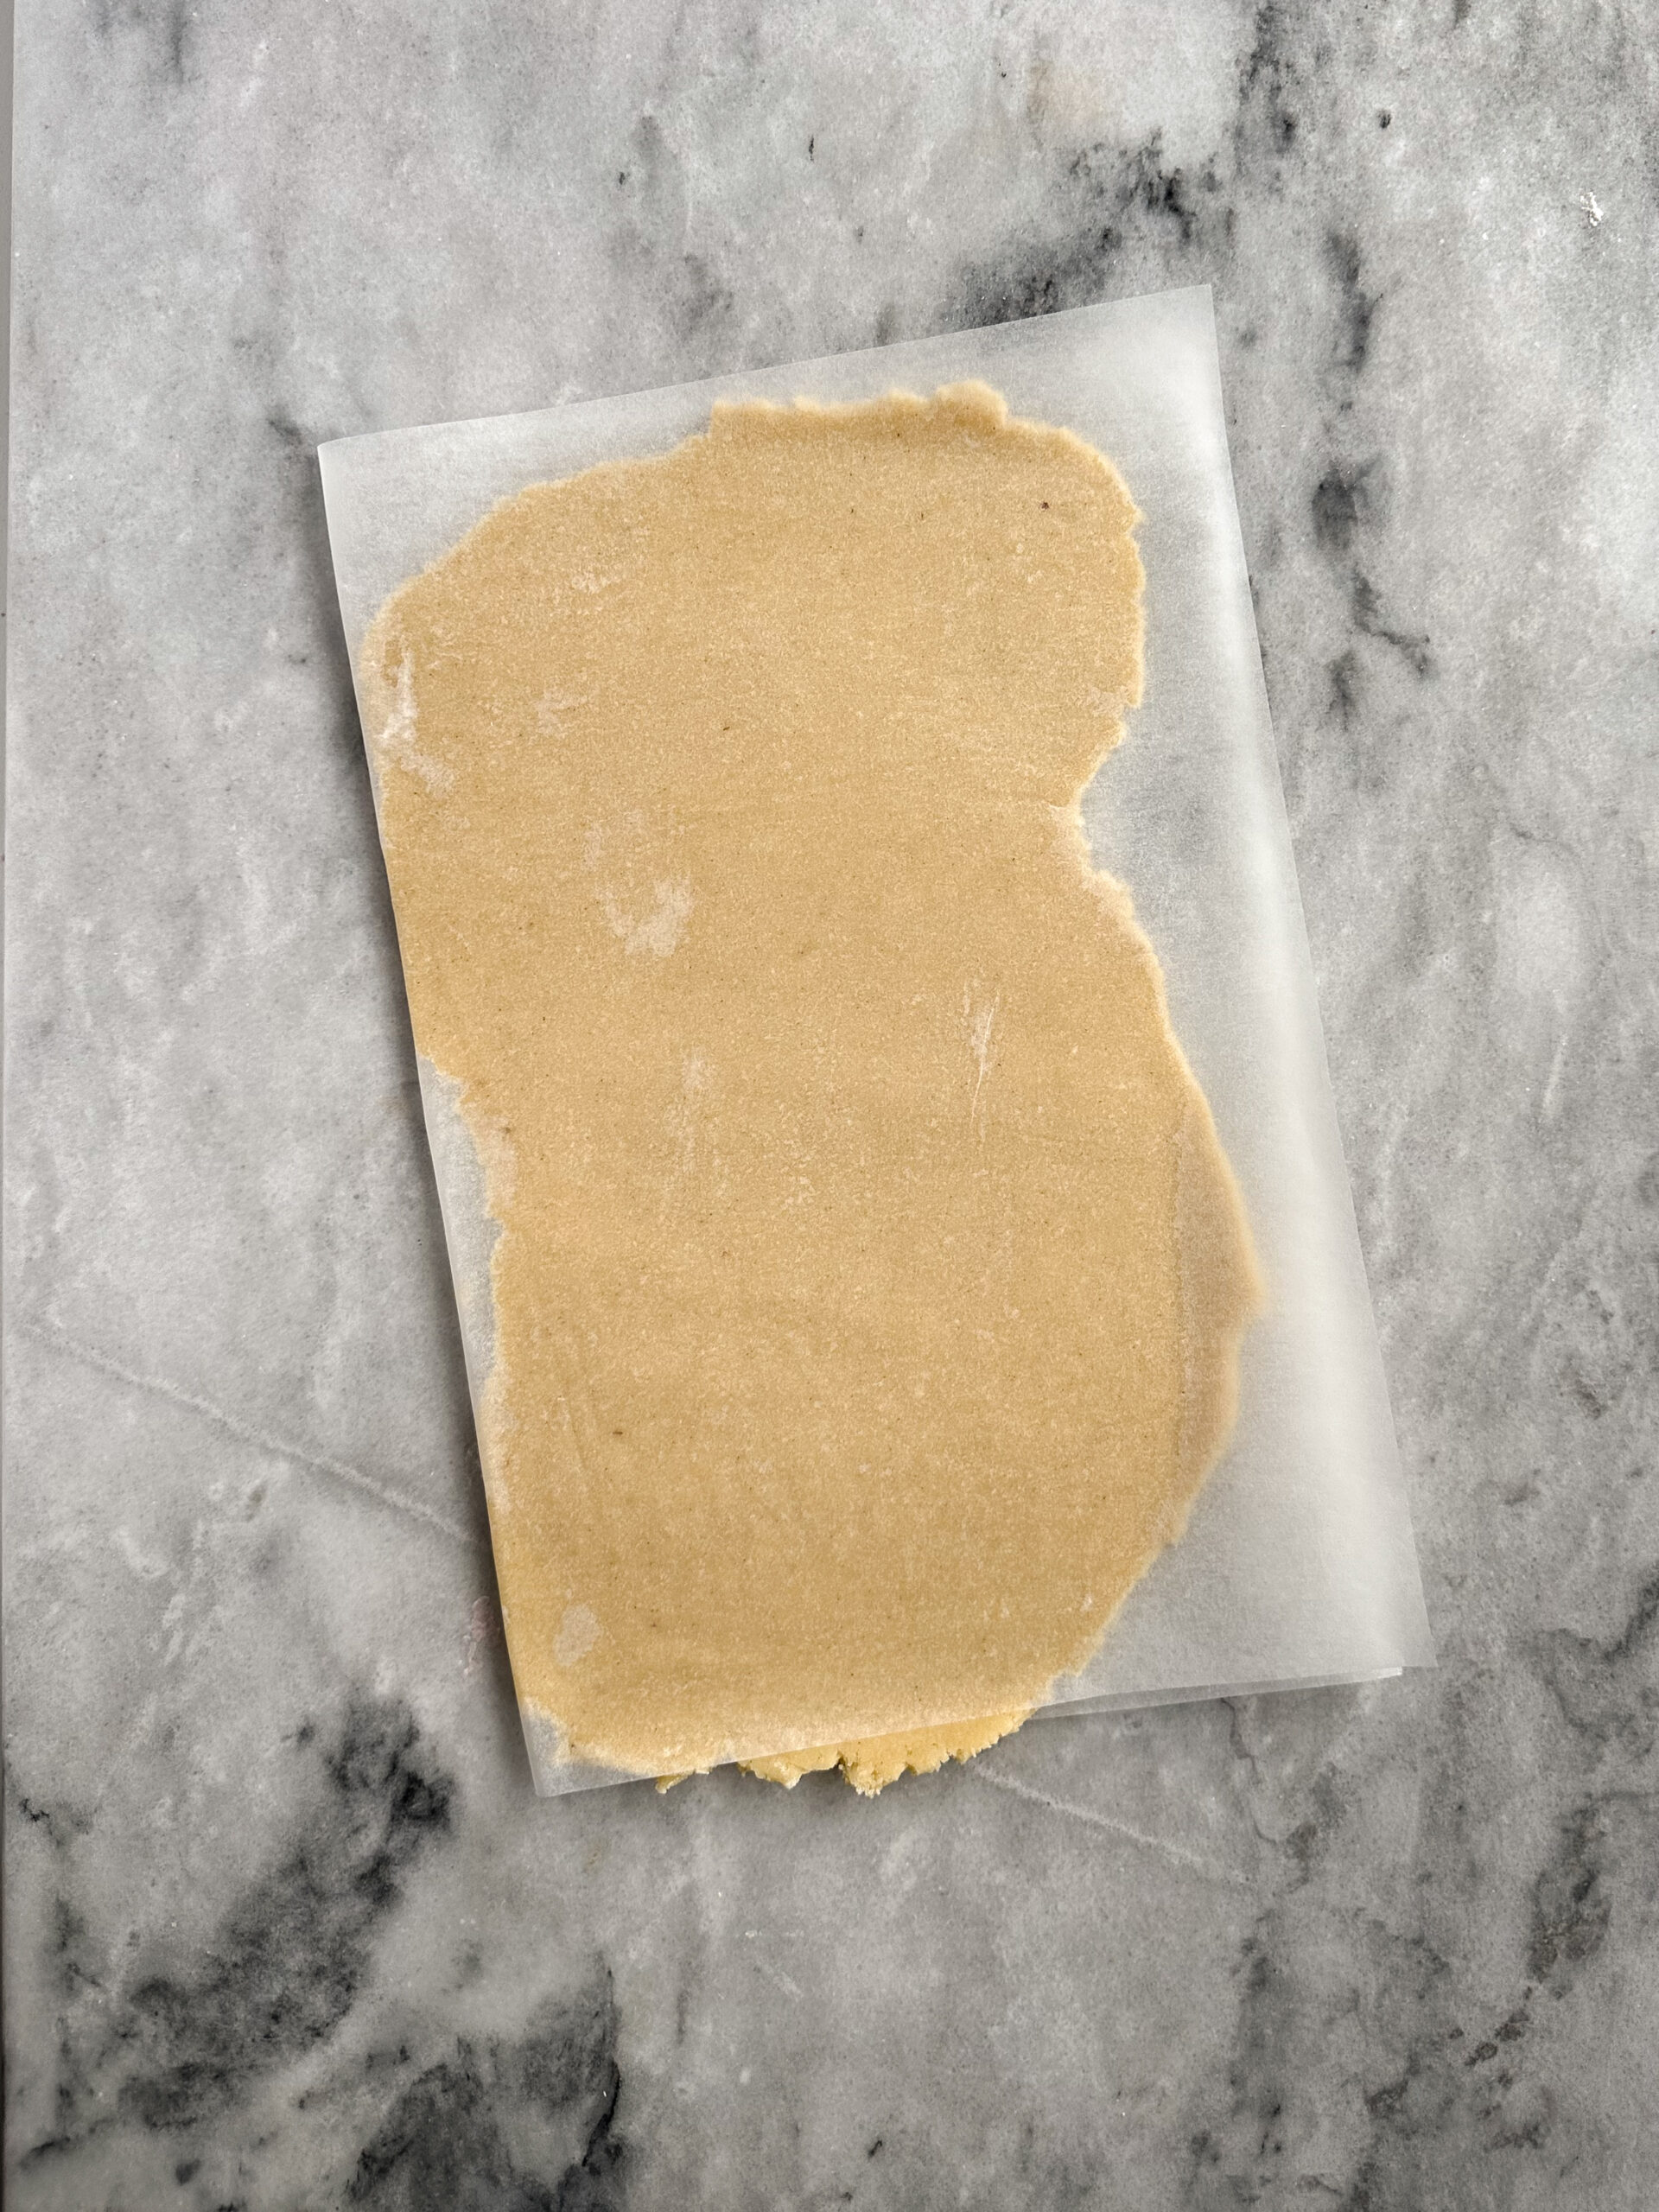
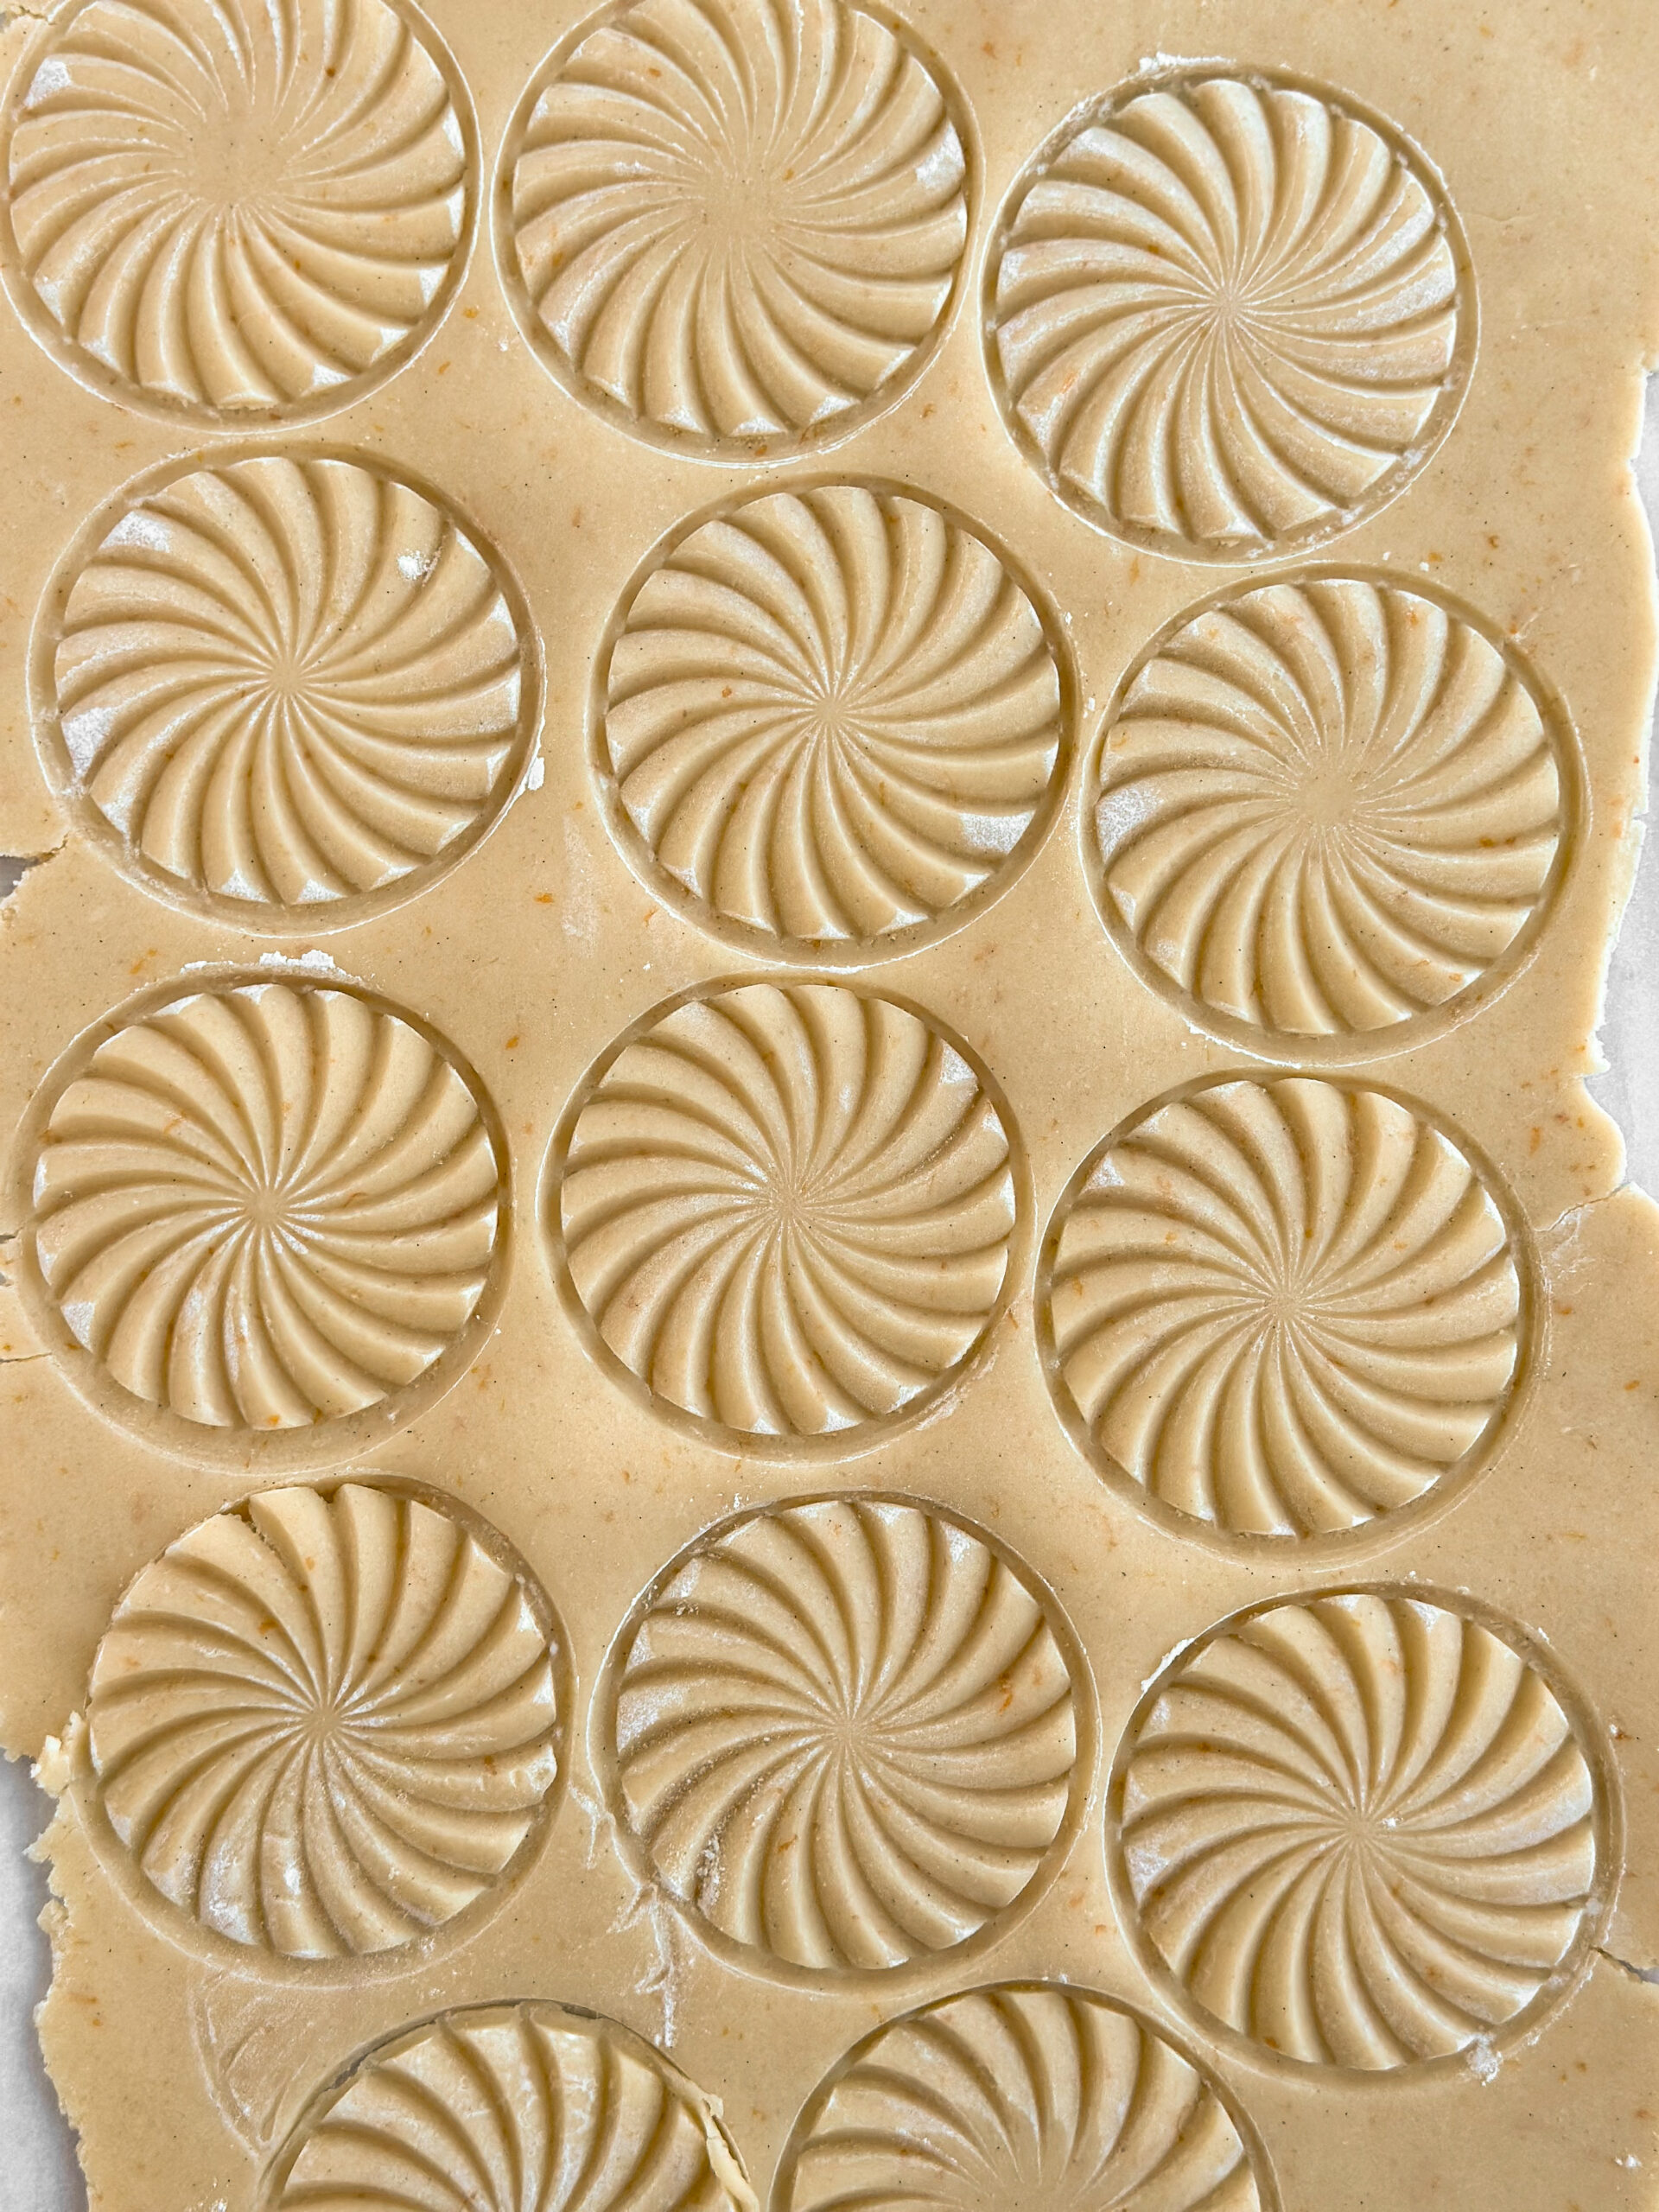
- parchment paper– I always roll my dough between two sheets of pre-cut parchment paper, which is by far the best way to roll out dough.
- guided rolling pin– Rolling dough evenly is tricky with a regular rolling pin, but with a guided rolling pin, dough comes out evenly every time. It’s such a time saver and one of my favorite kitchen tools.
- baking sheets– I use these cookie sheets for years, and they are amazing.
how to make cosmic brownie cookies
These brownie cookies are divided into two parts: the brownie cookie base and the ganache. Start with the brownie cookies, and make the ganache while the cookies bake and cool.
make the brownie cookies
Preheat the oven to 350 F.
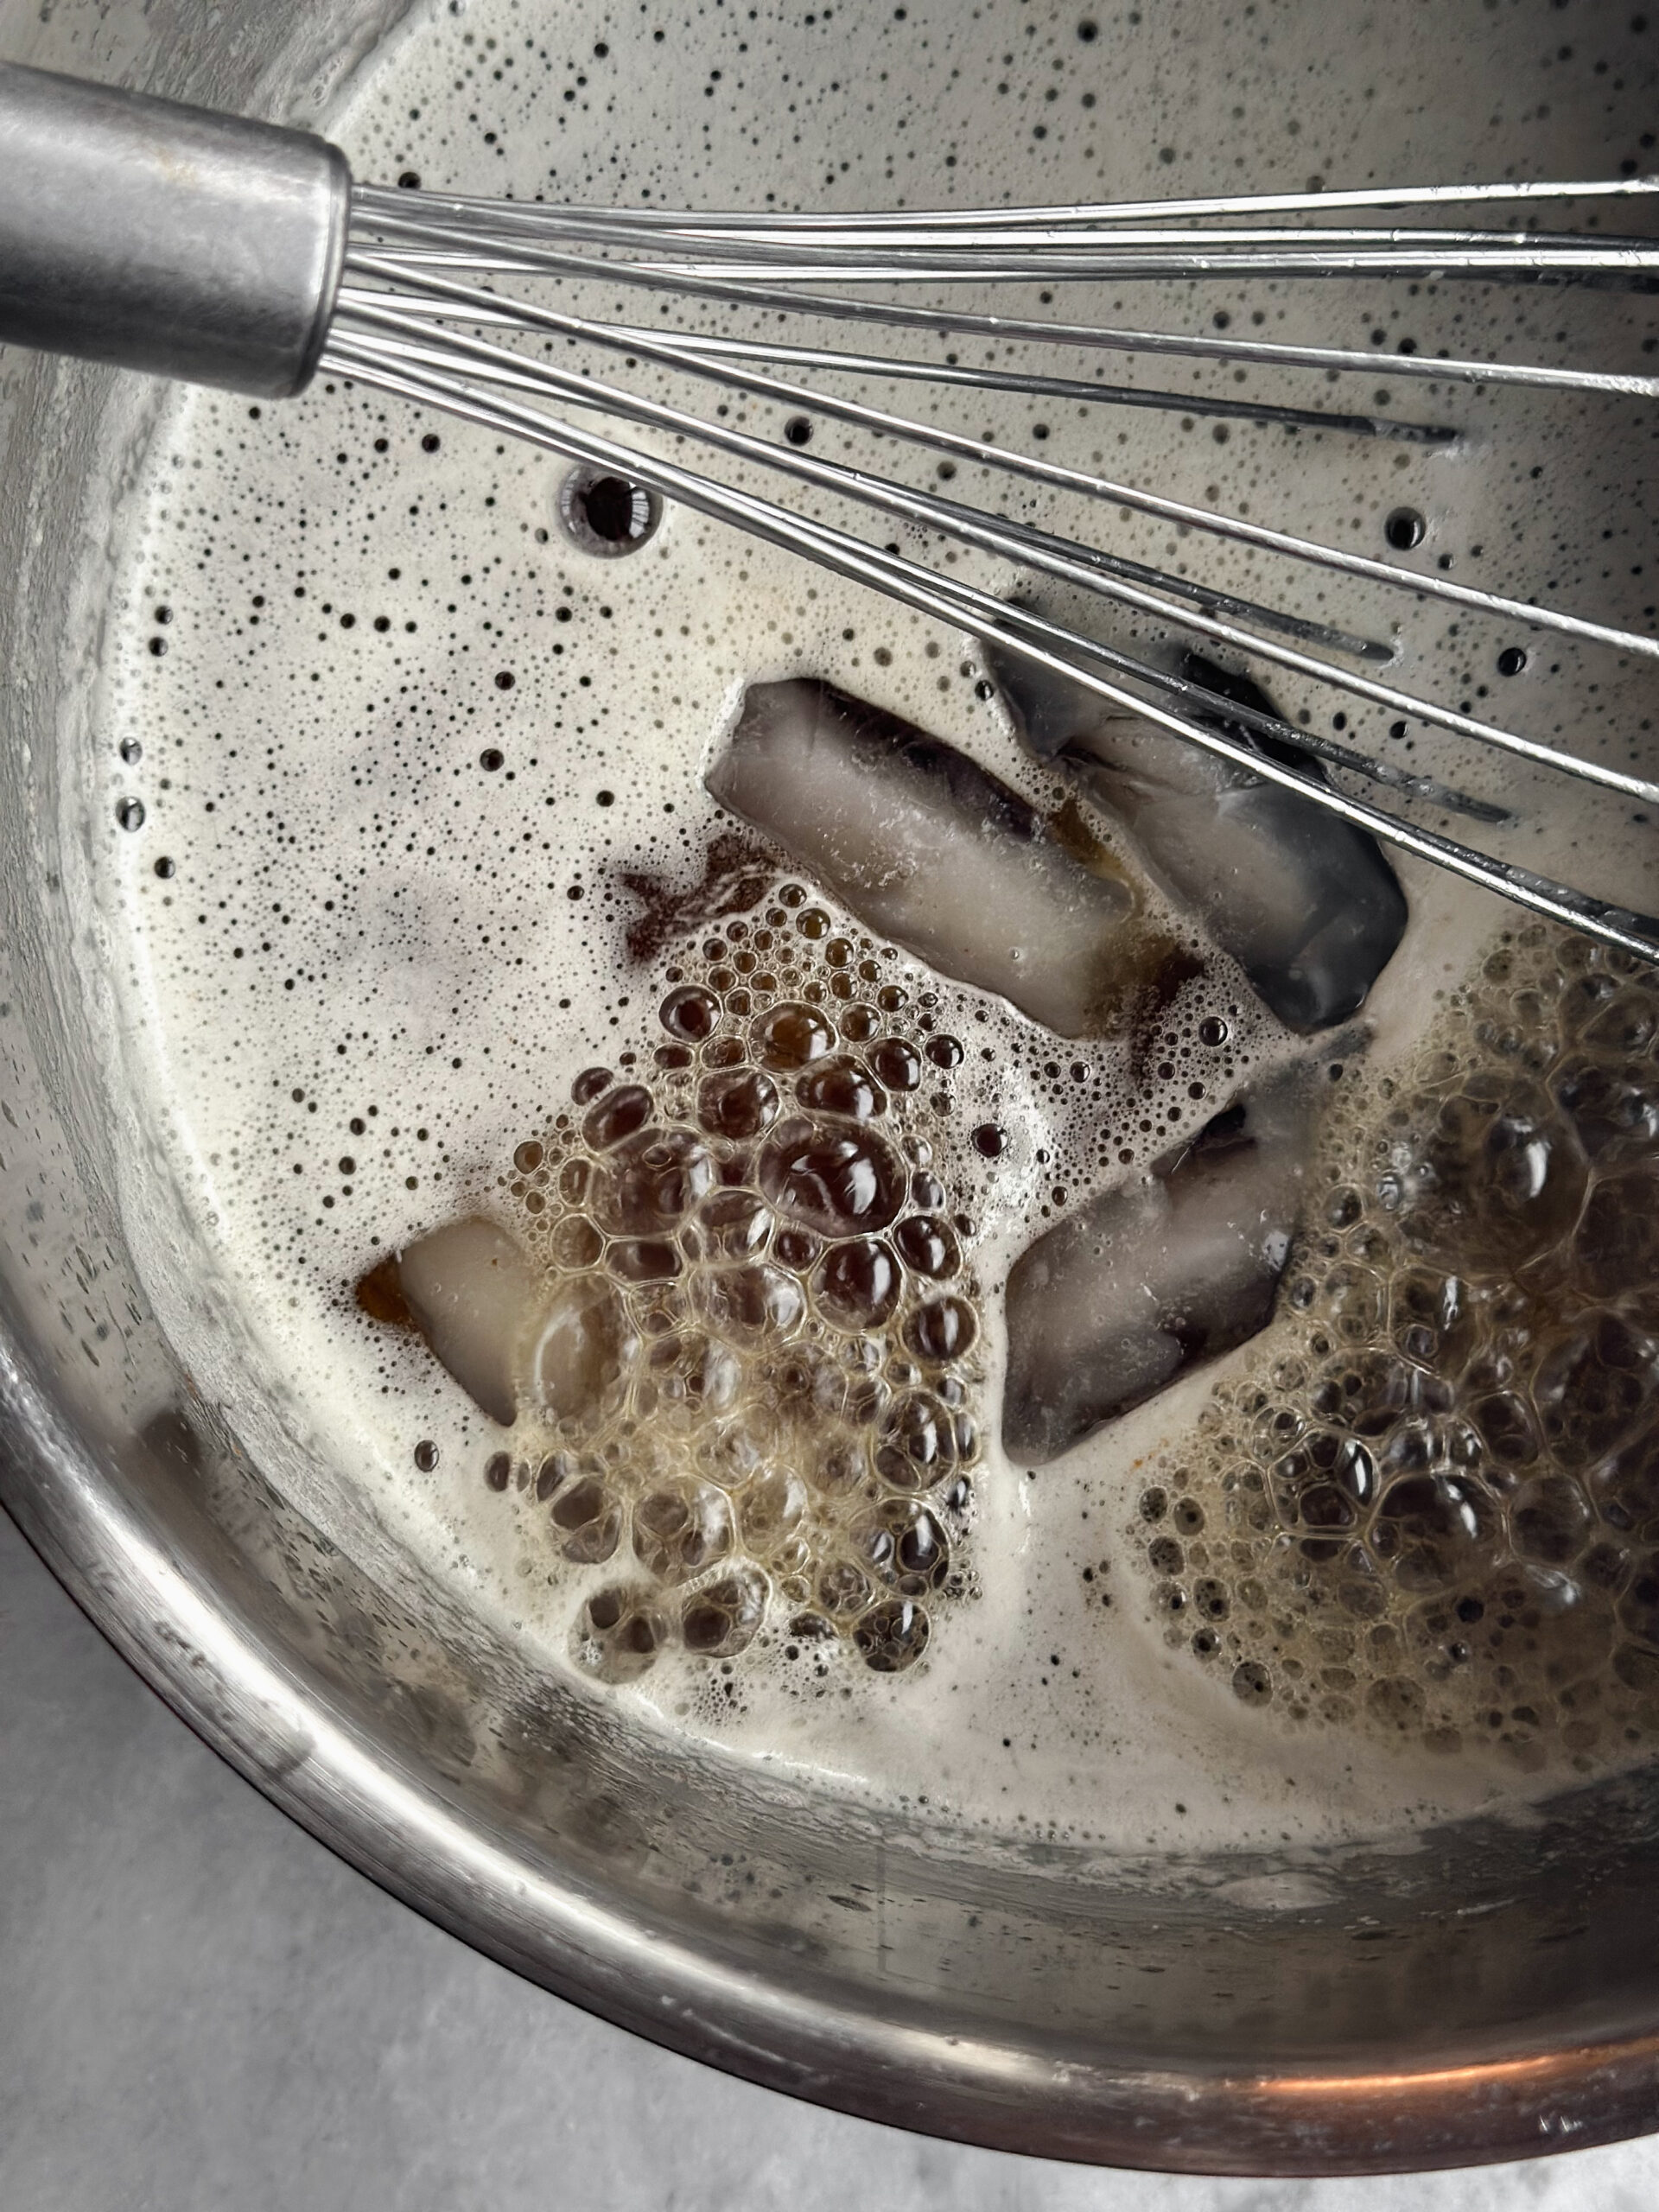
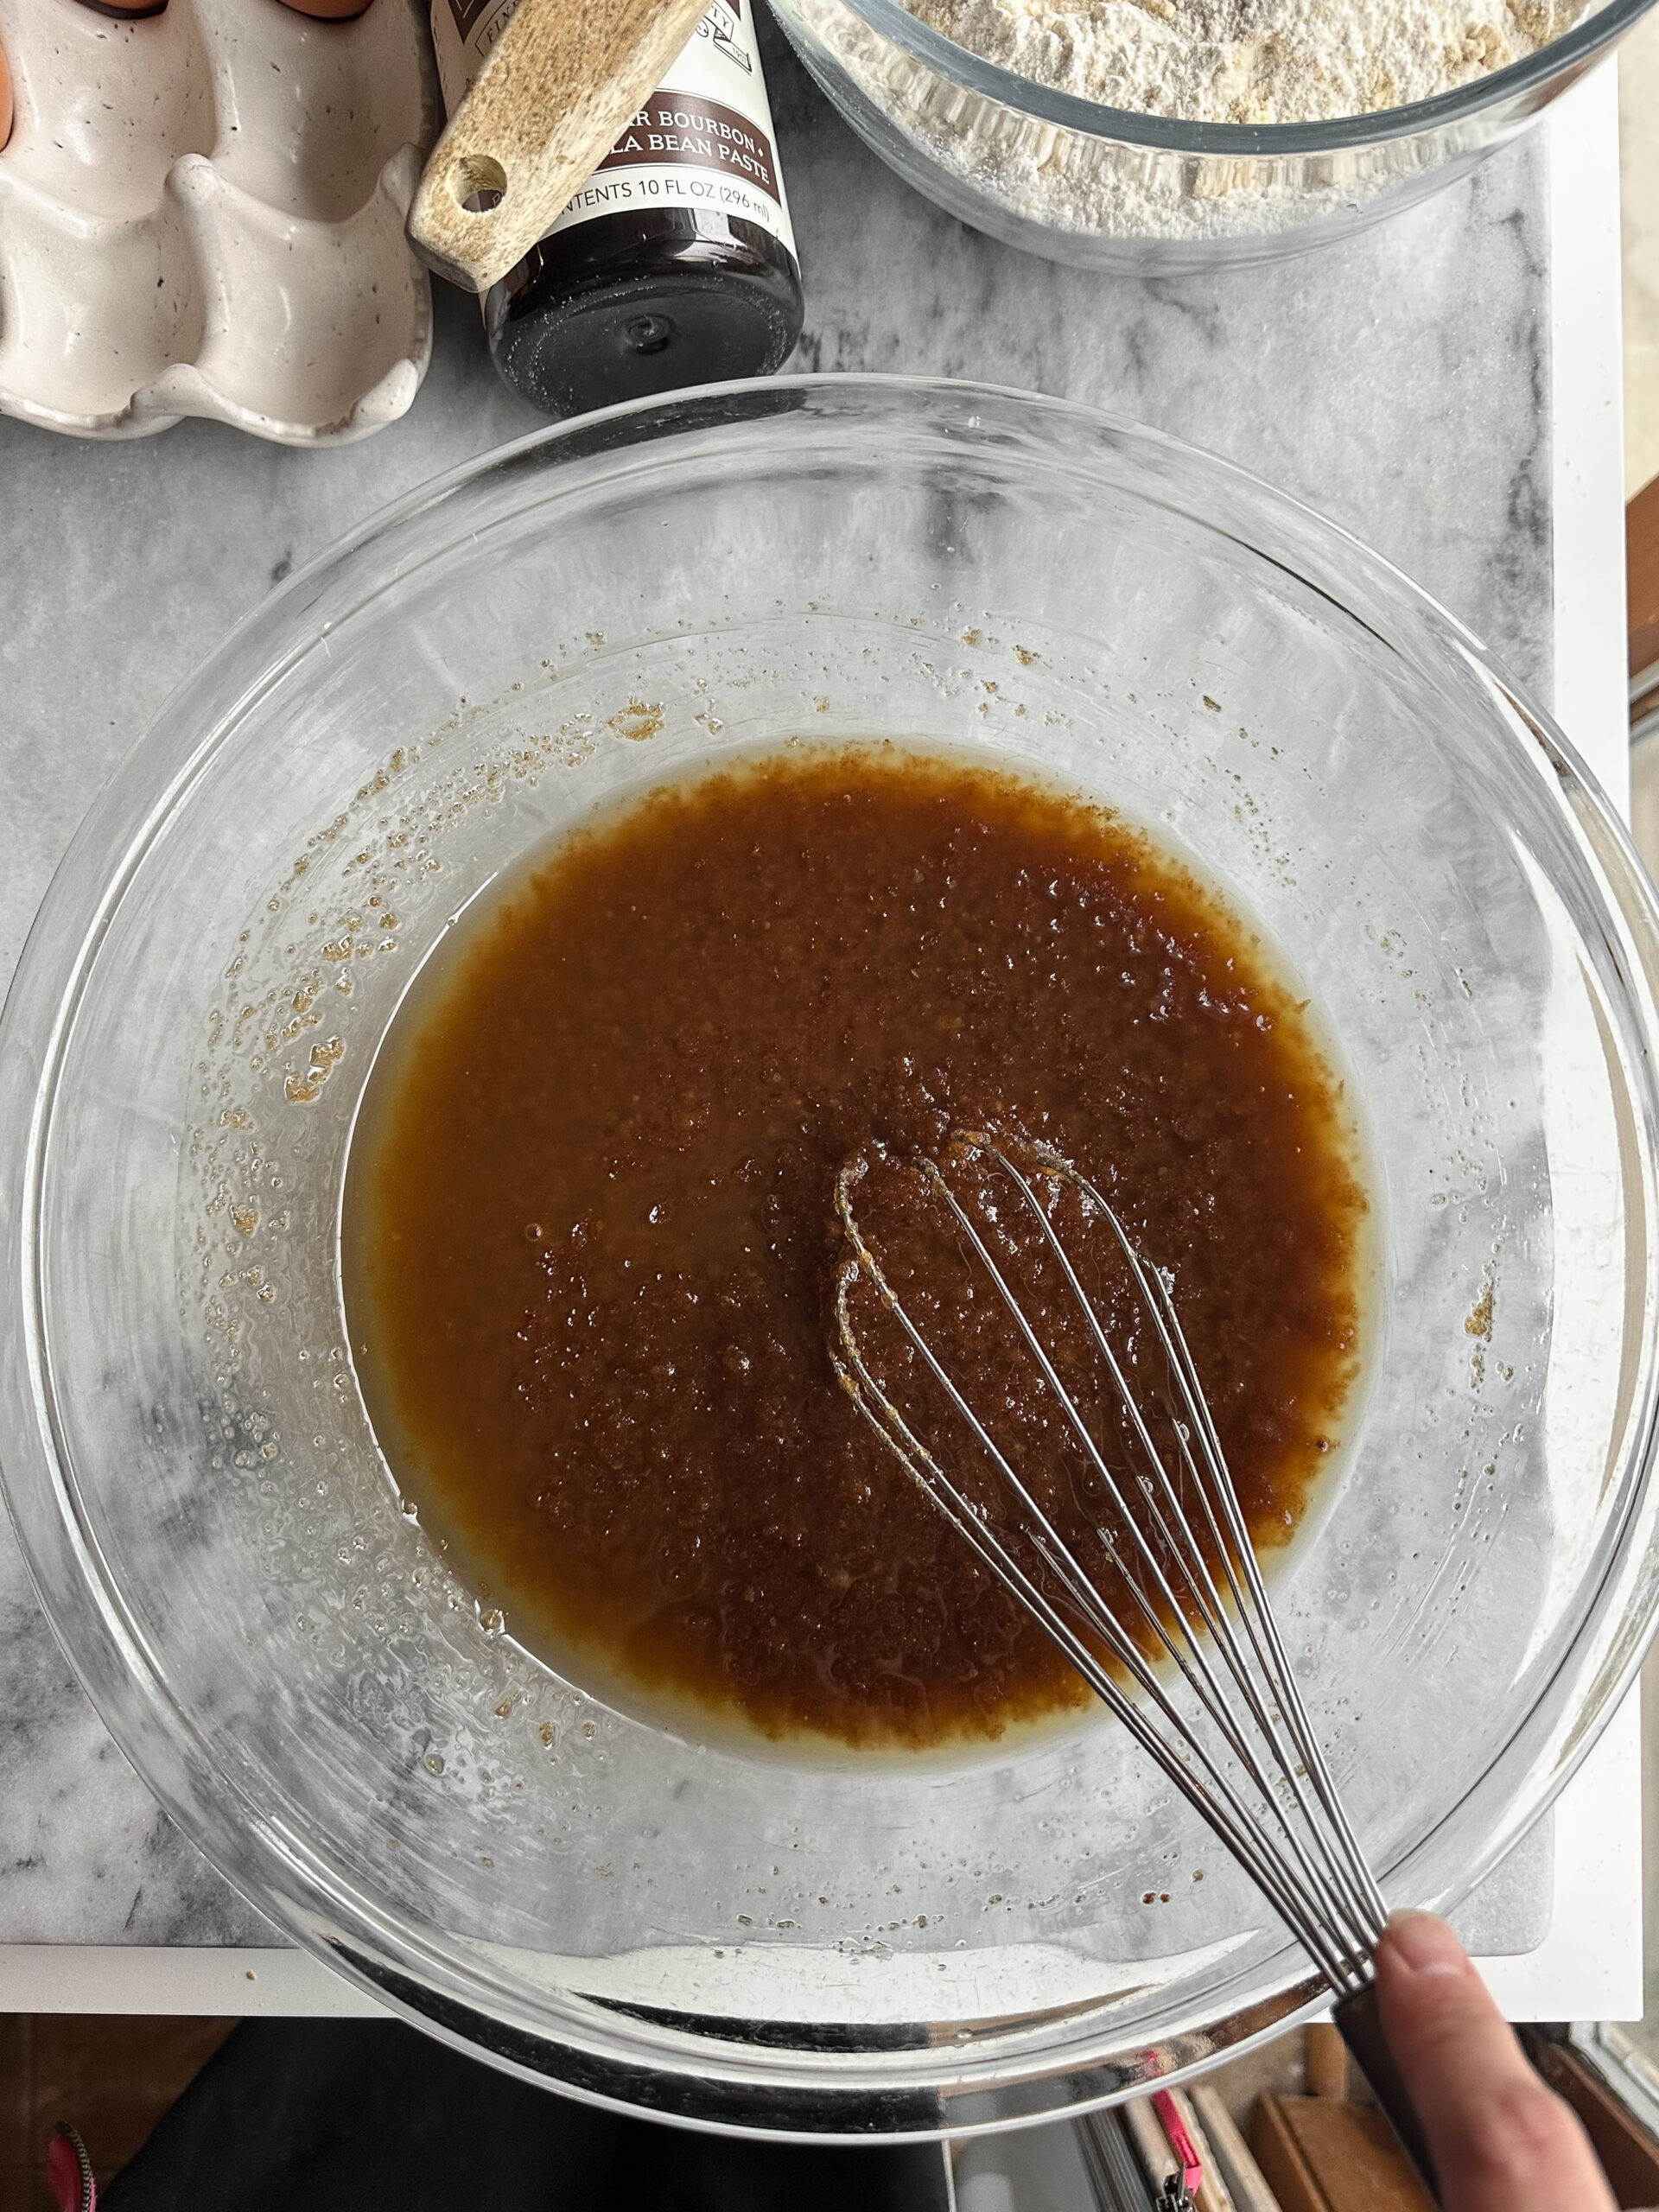
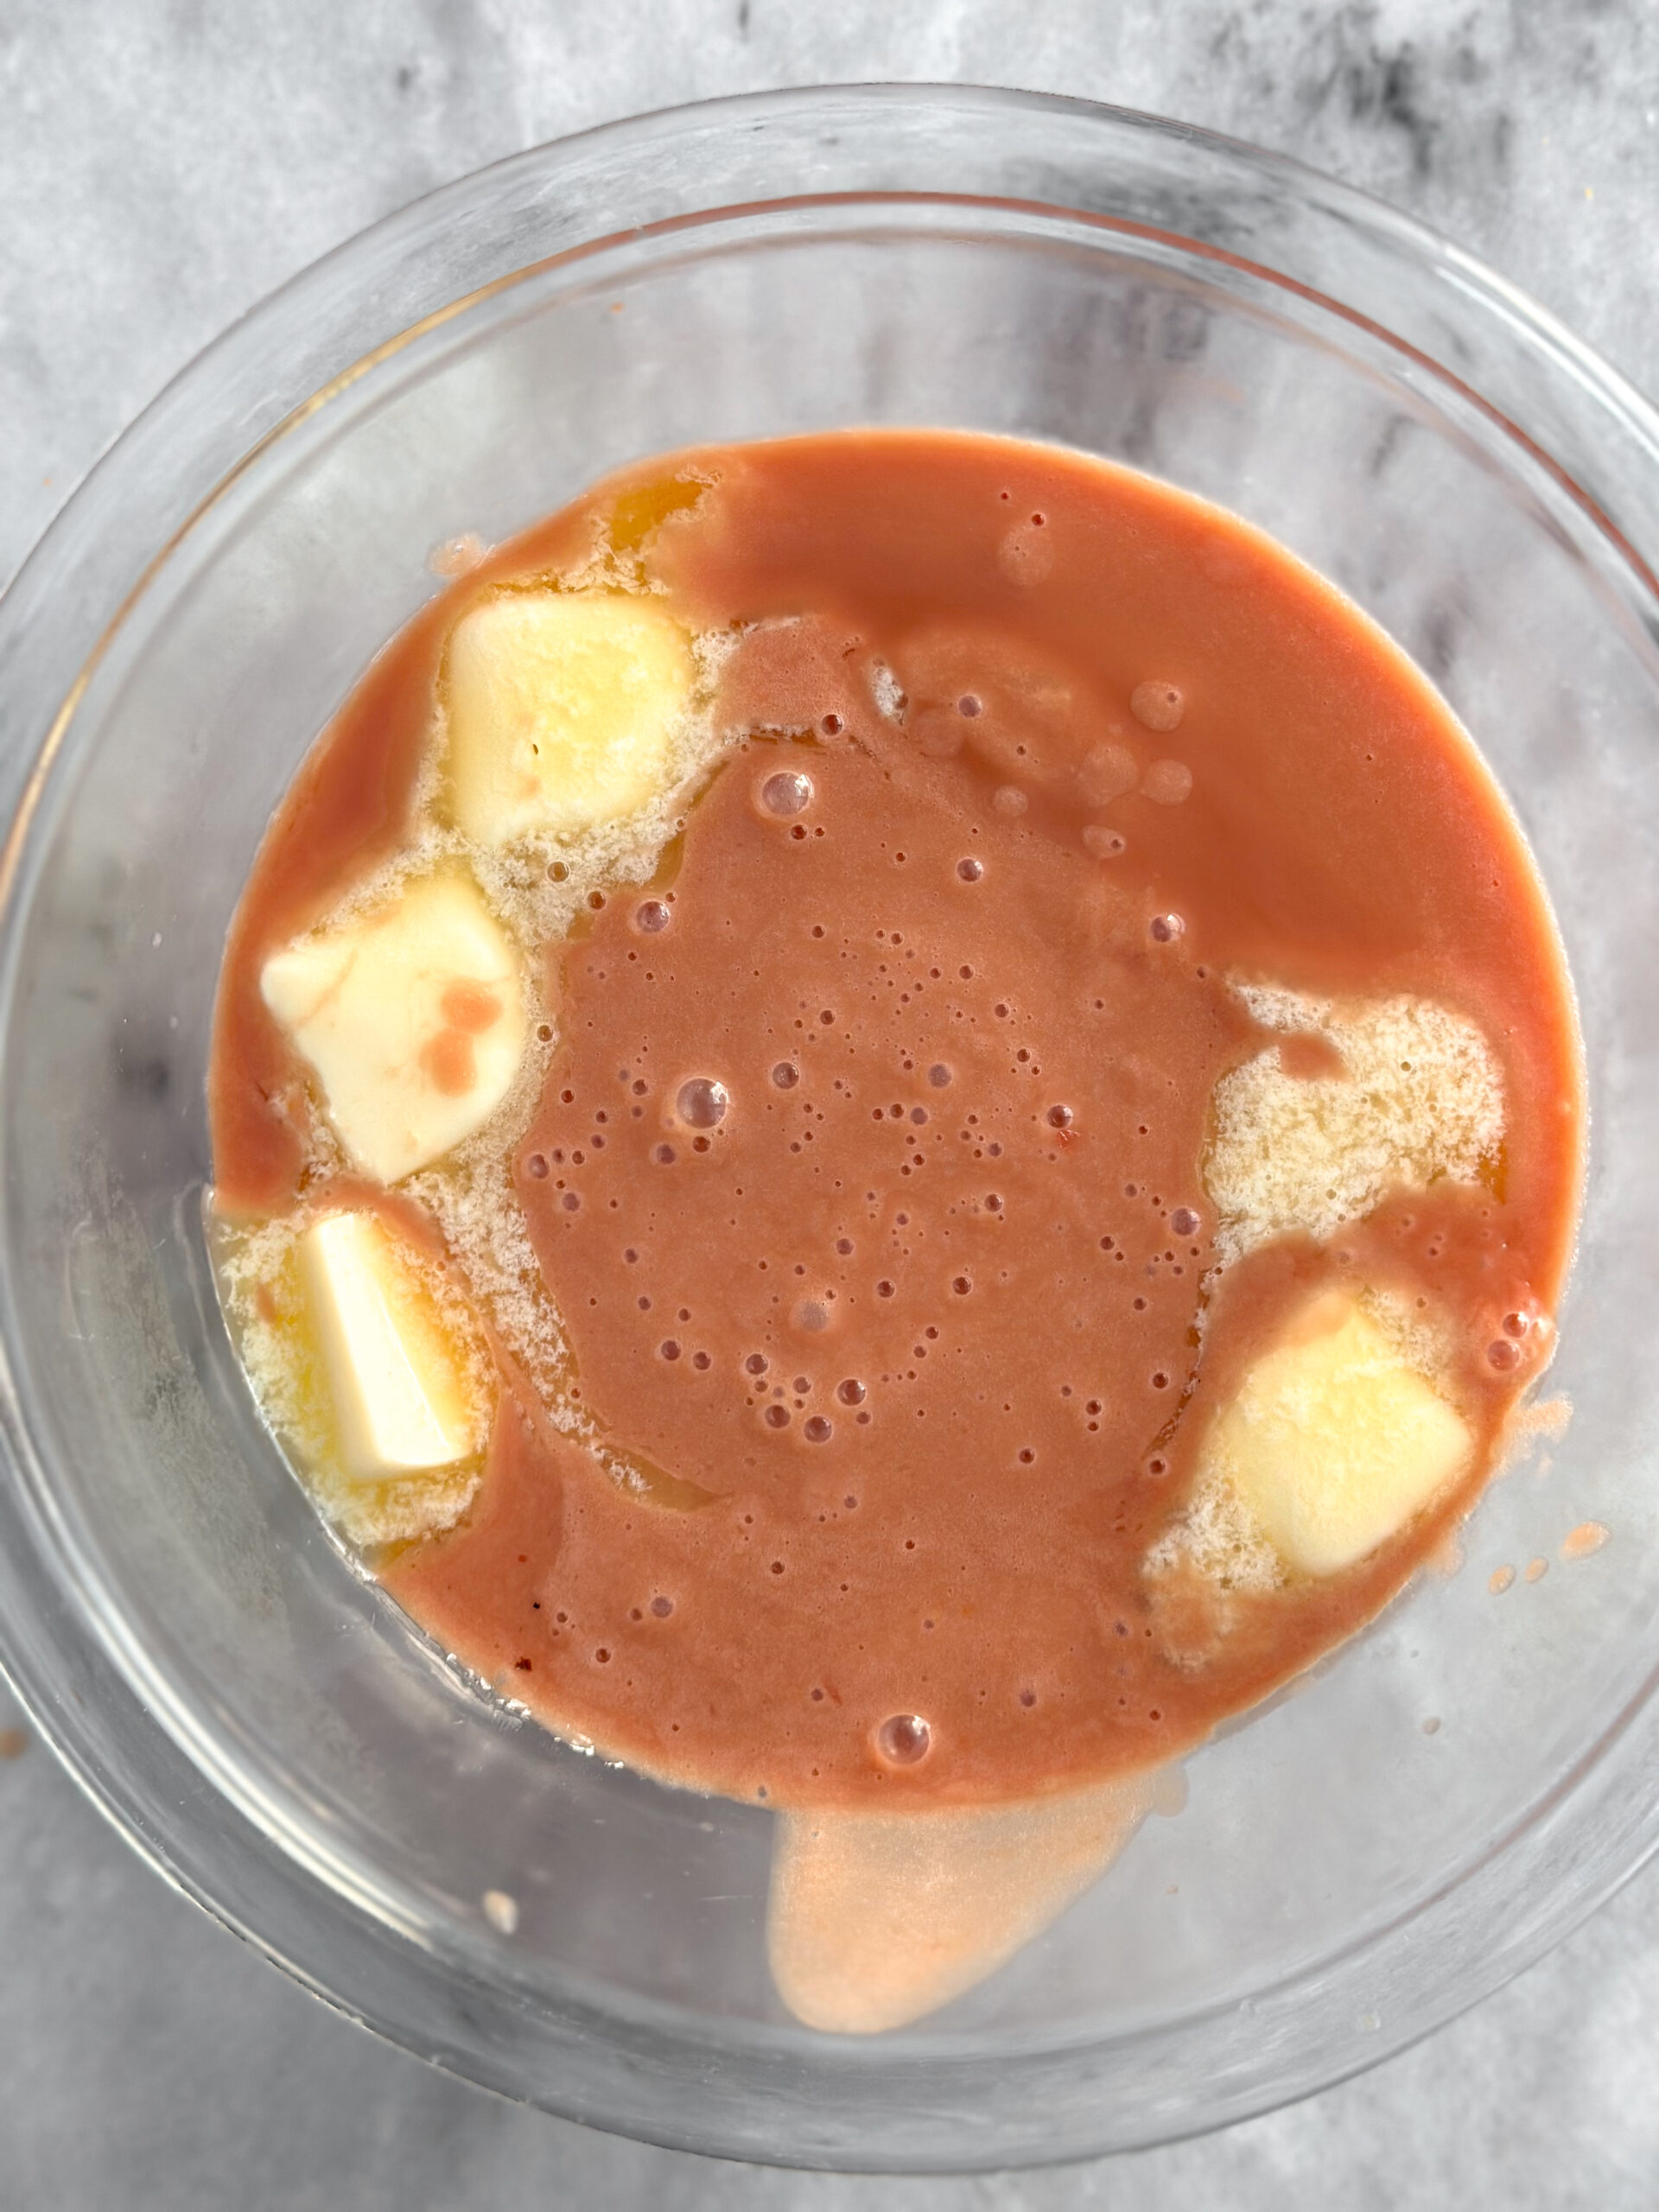
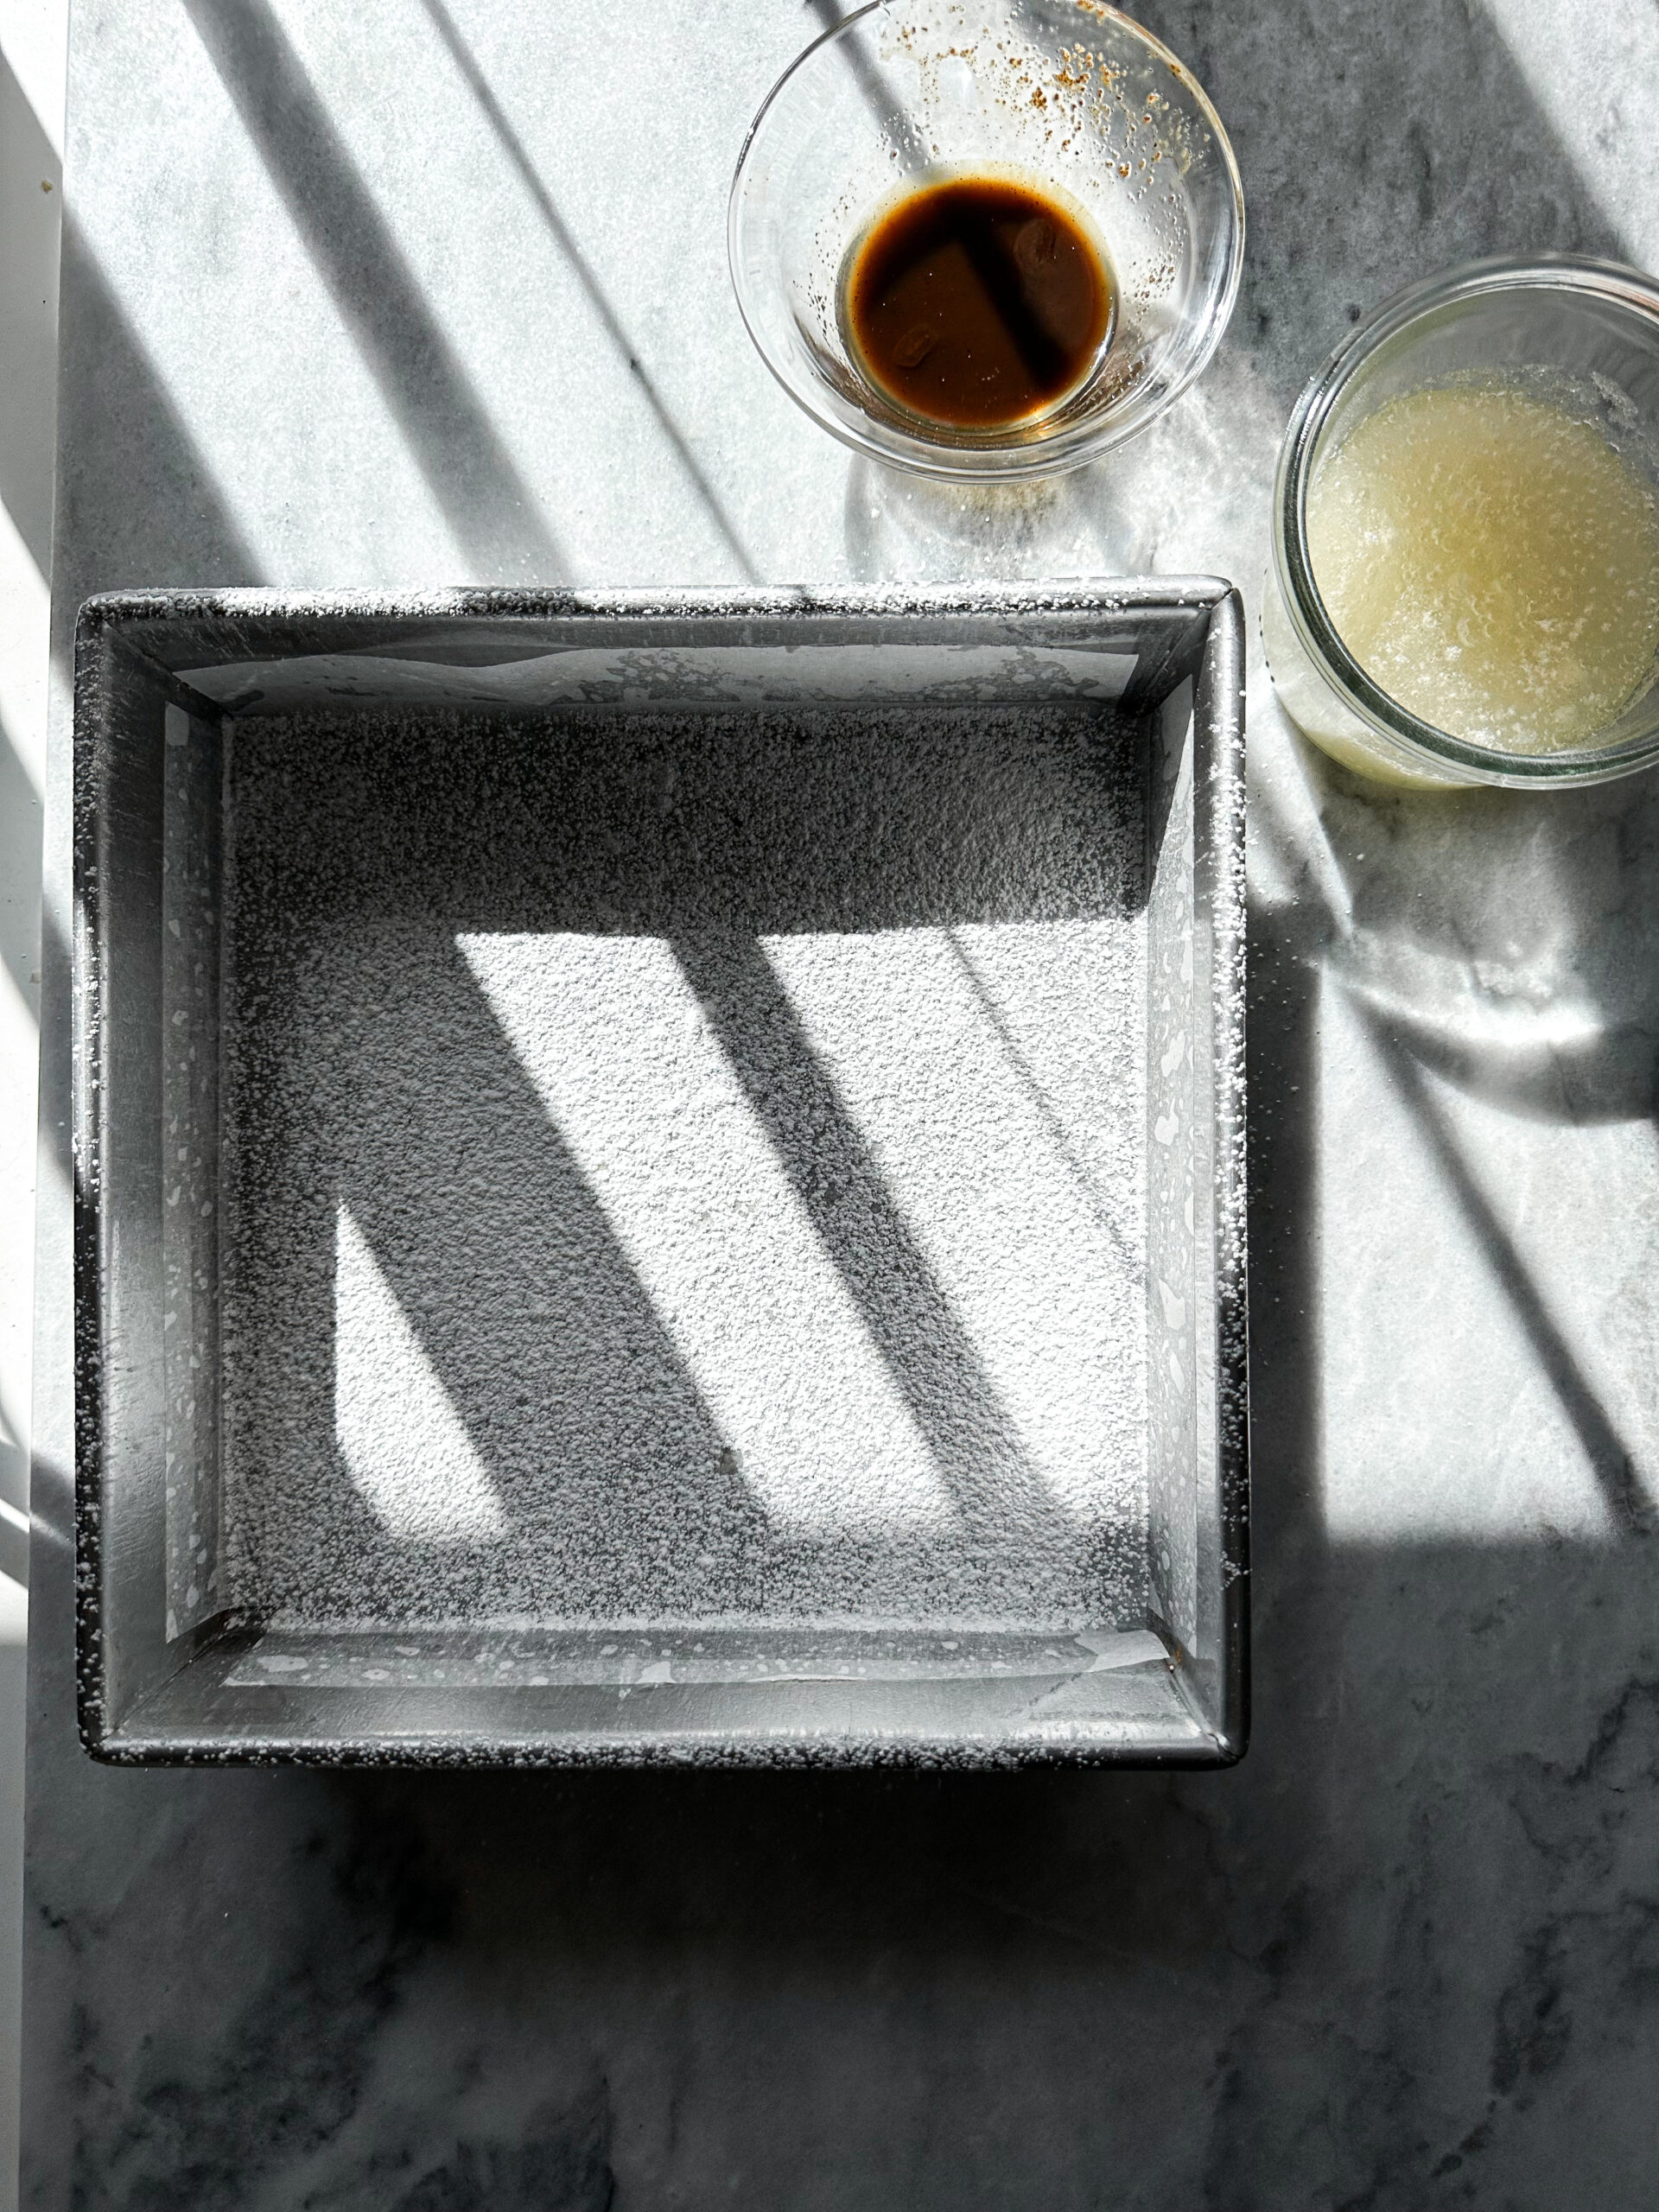
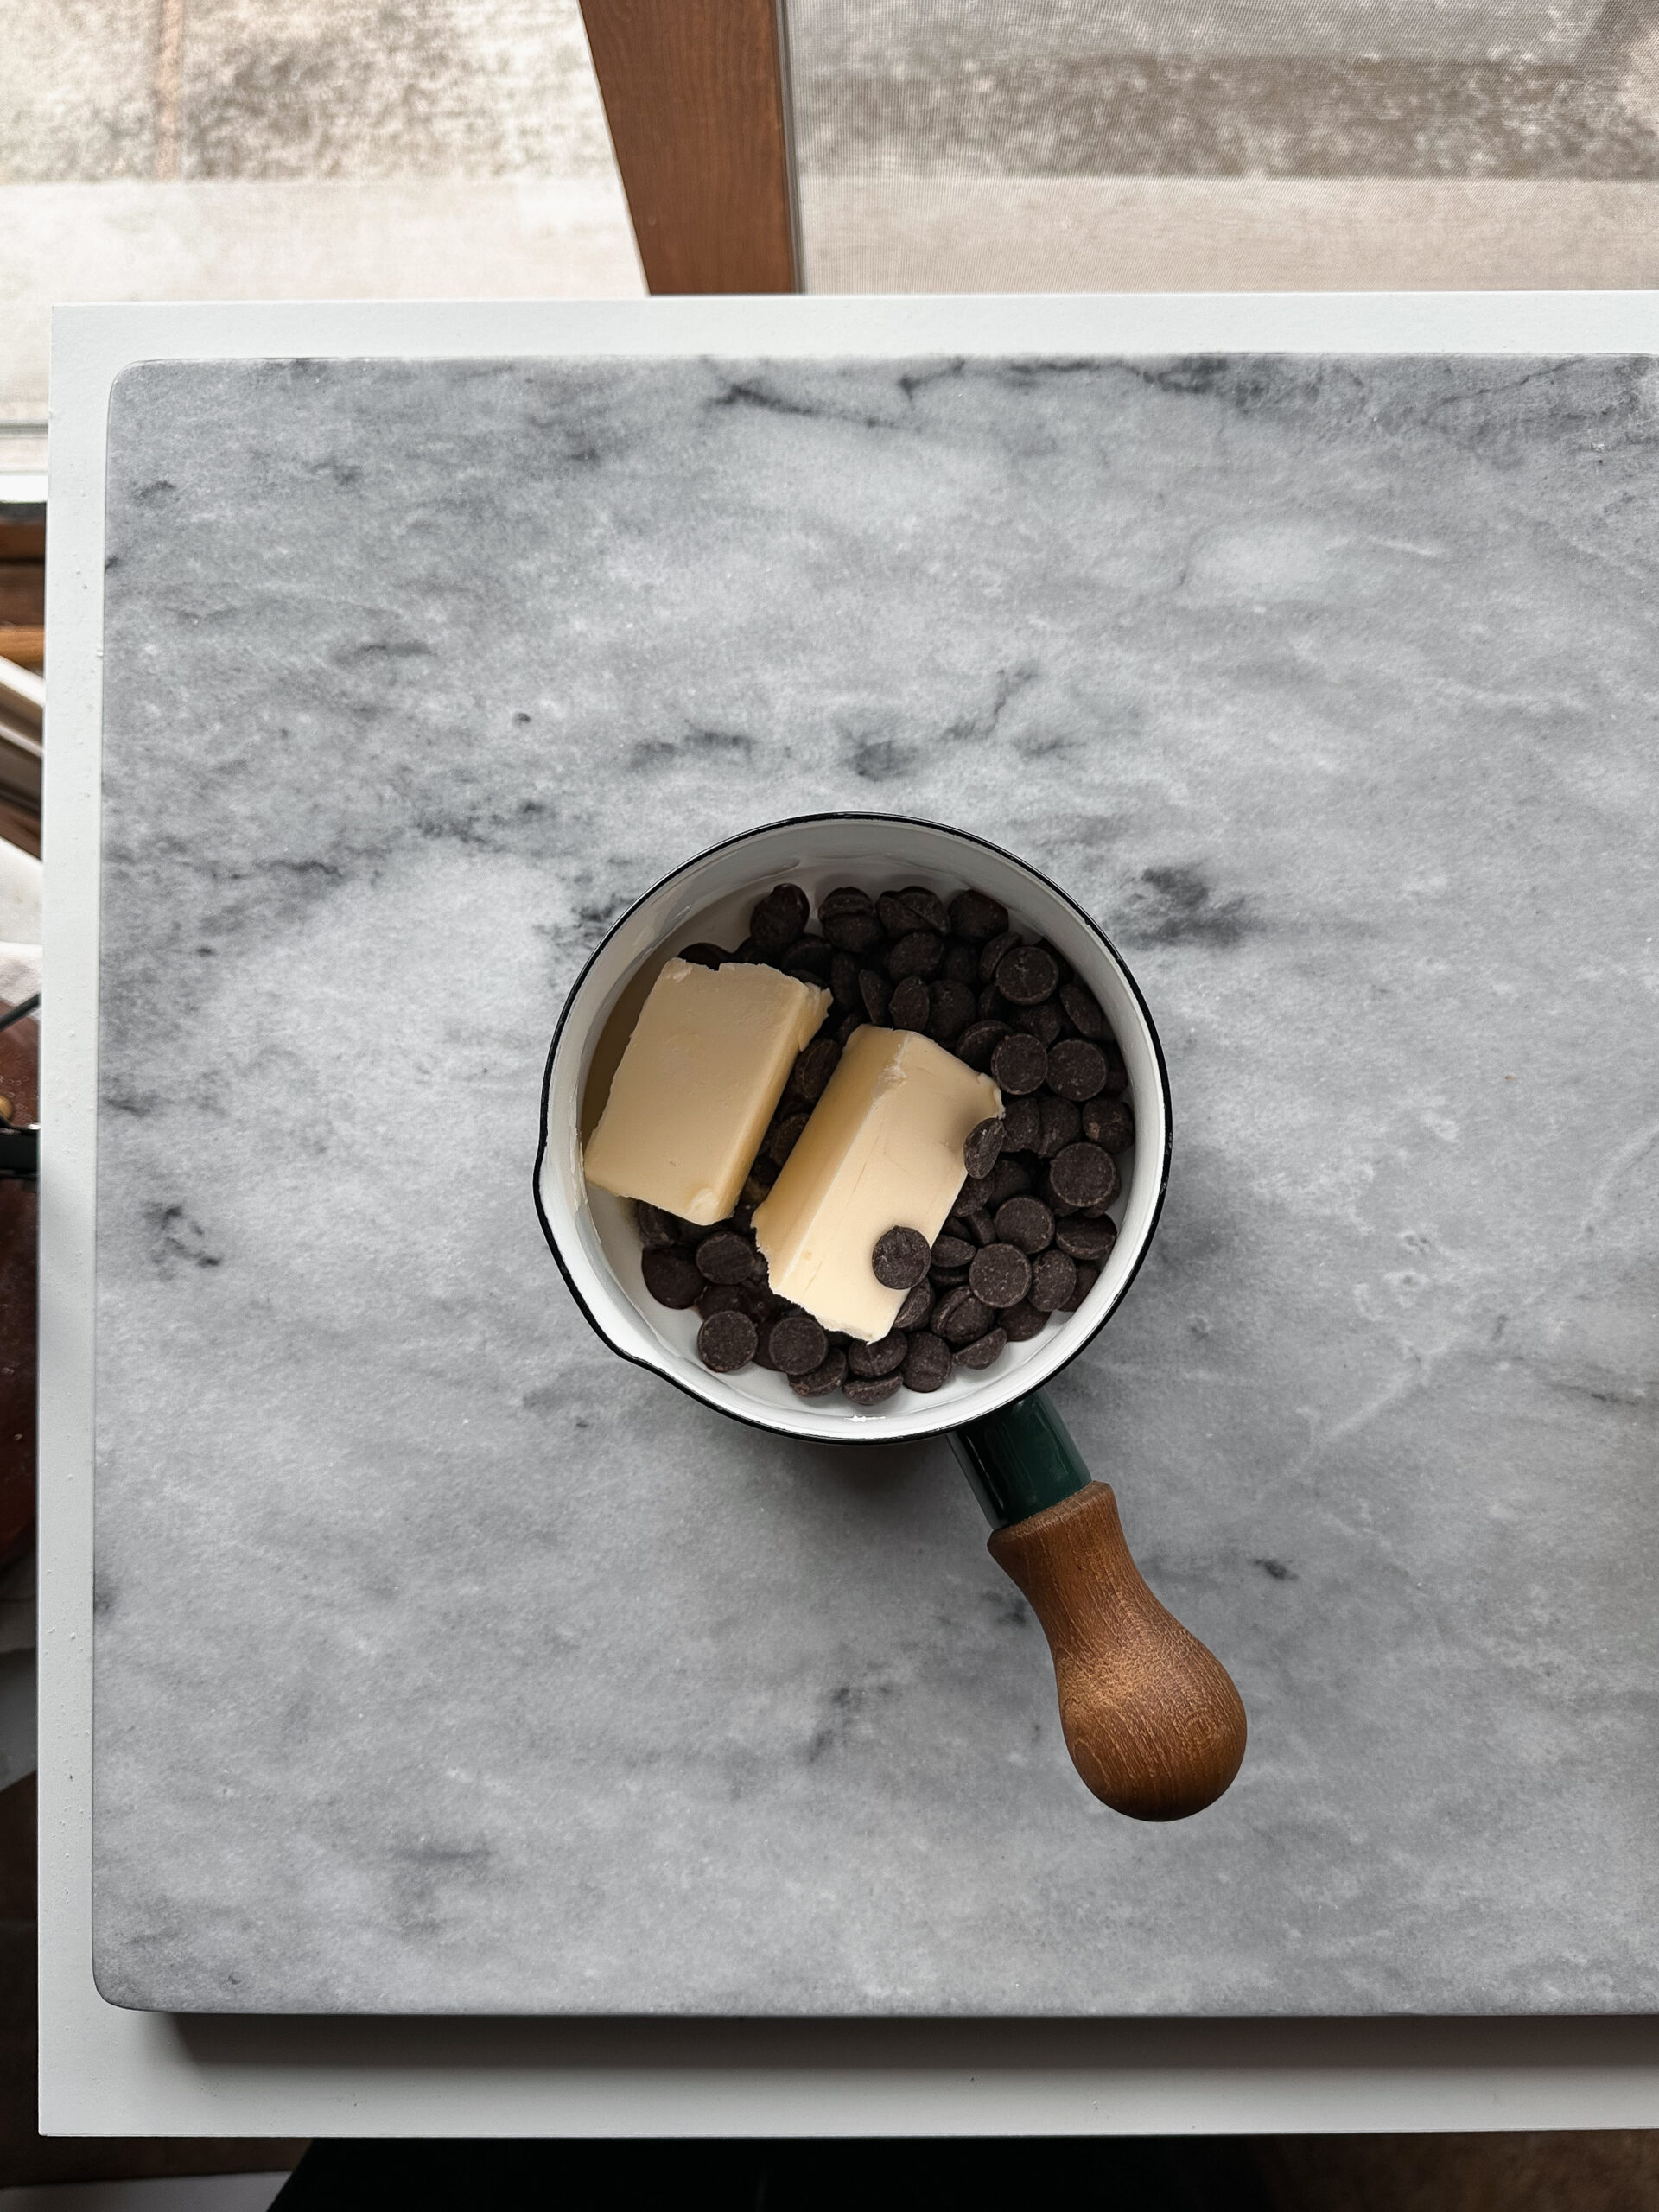
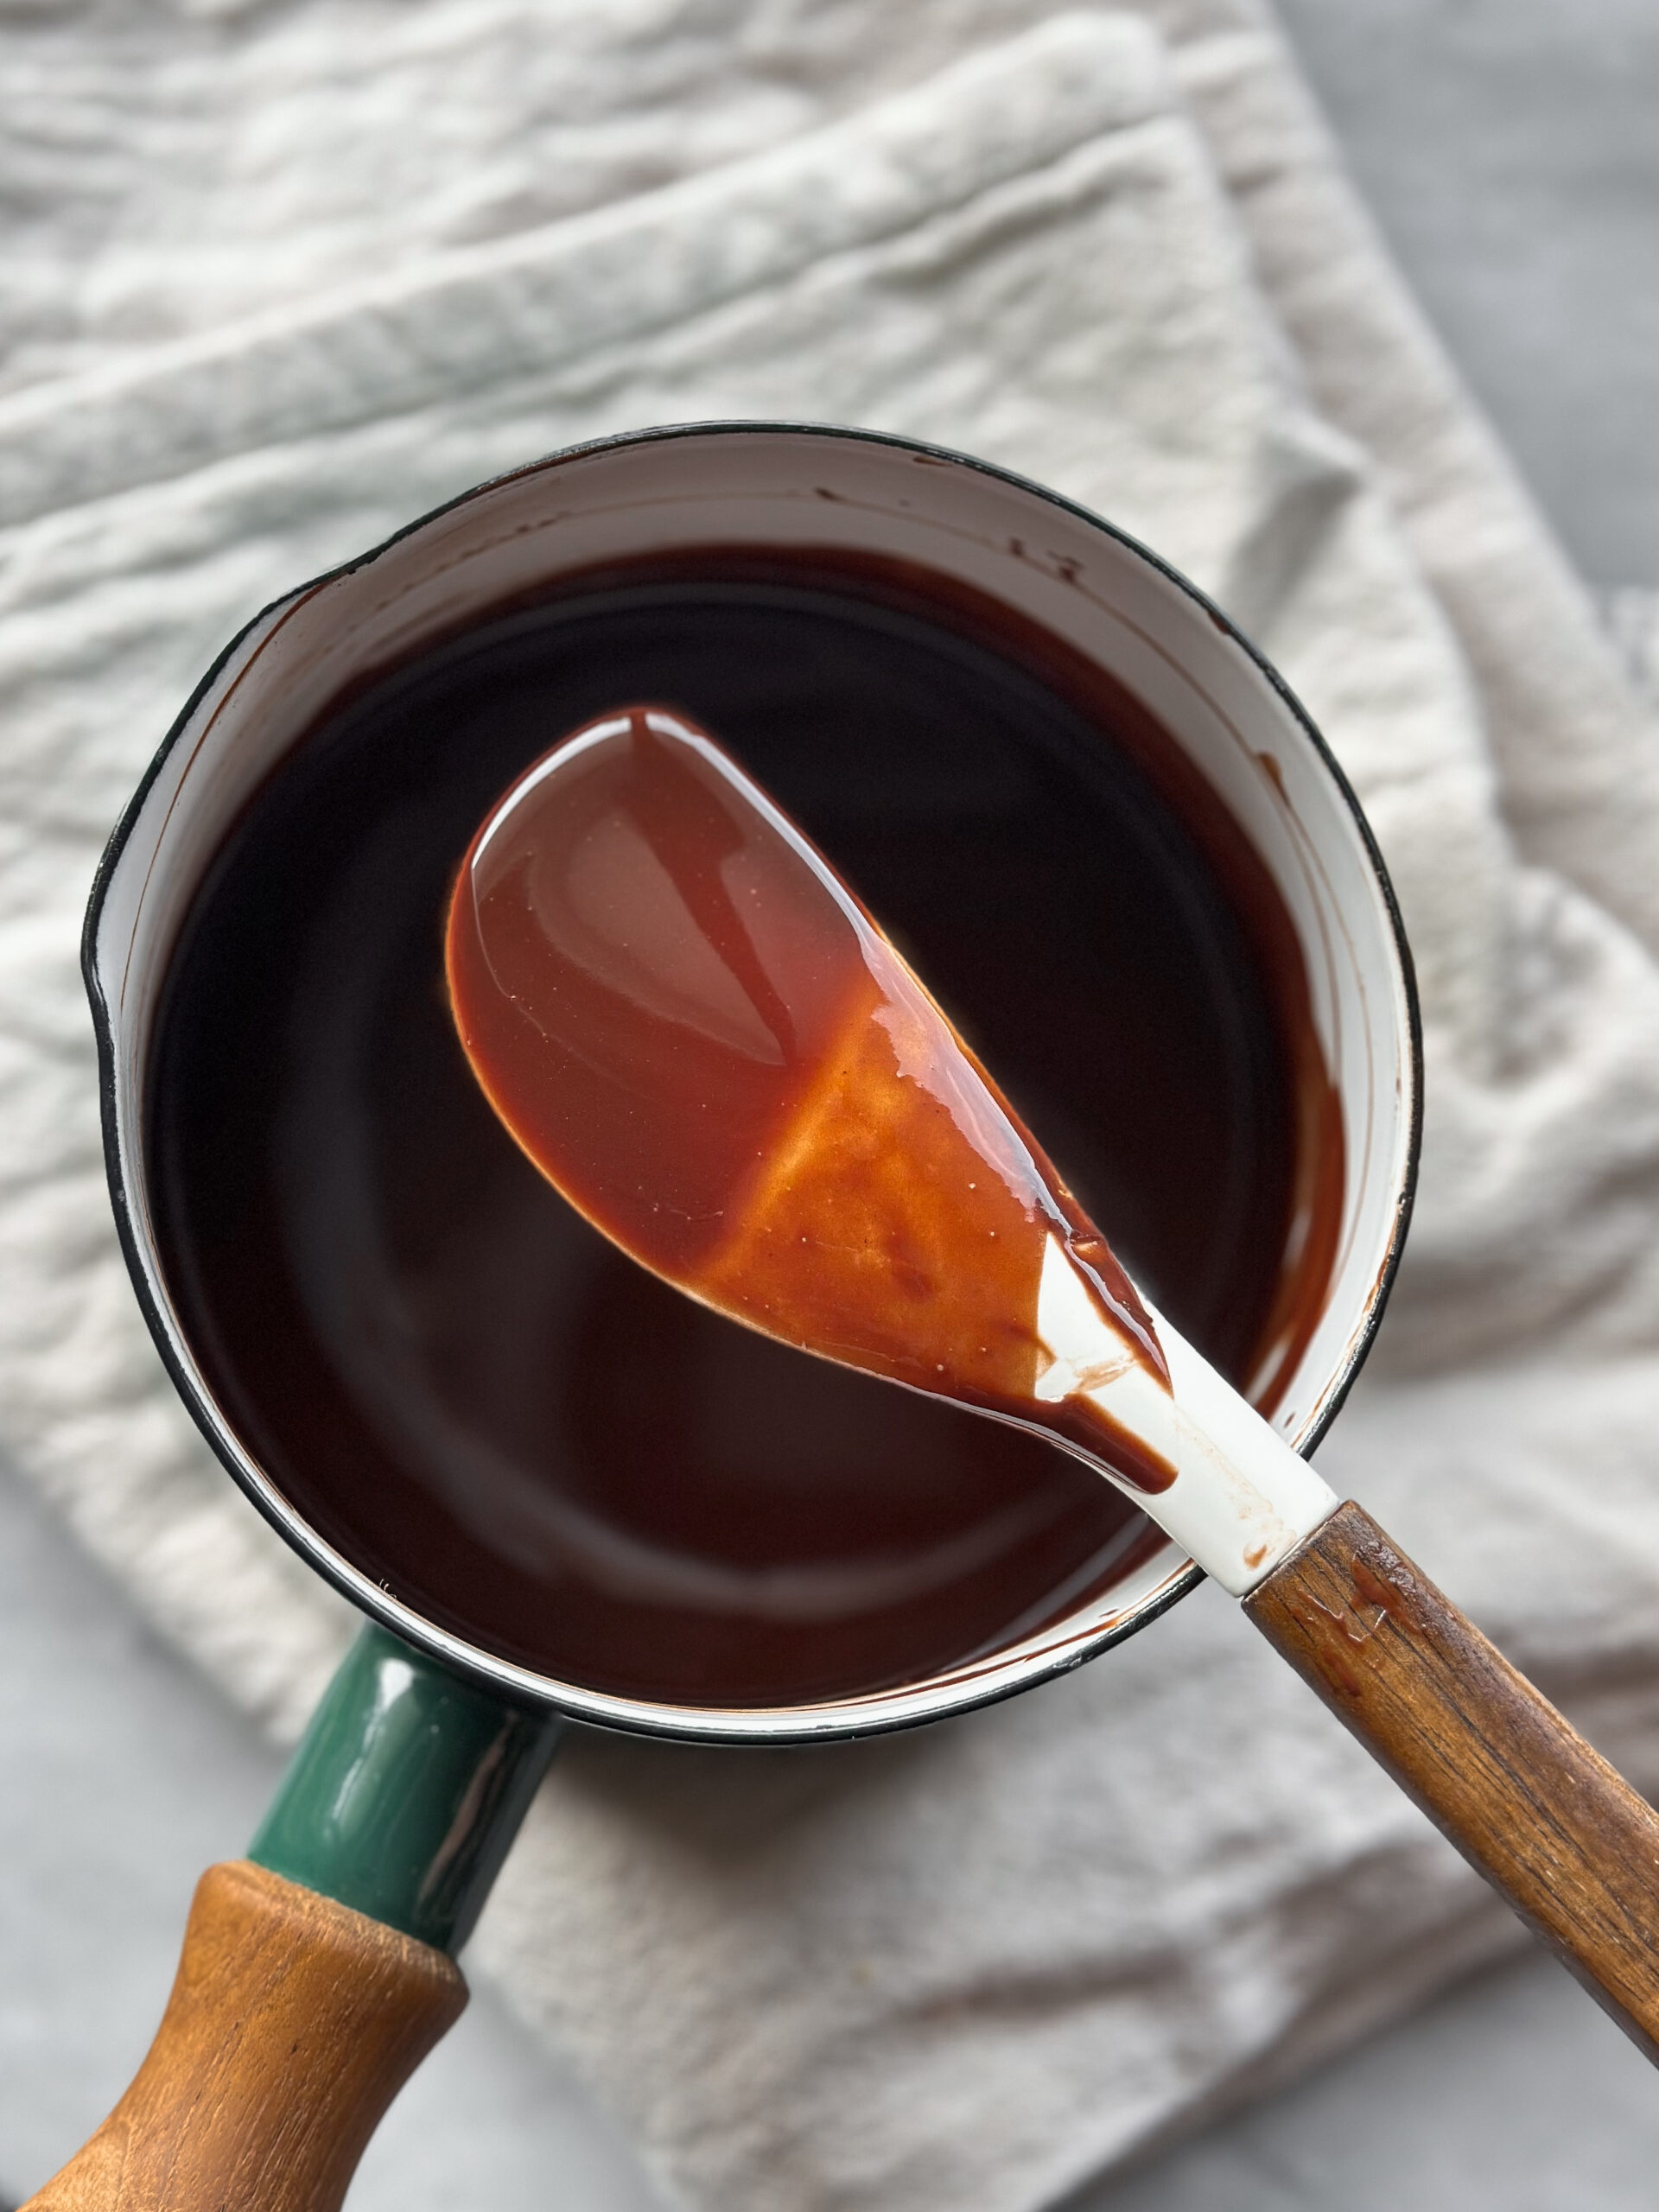
To a small saucepan, add the butter and the chocolate chips. Melt on a low heat, stirring and being careful not to overheat the chocolate. The butter will melt more quickly, and once it’s melted, take it off the heat and stir until the rest of the chocolate is melted. Stir in the instant coffee. Set this aside.
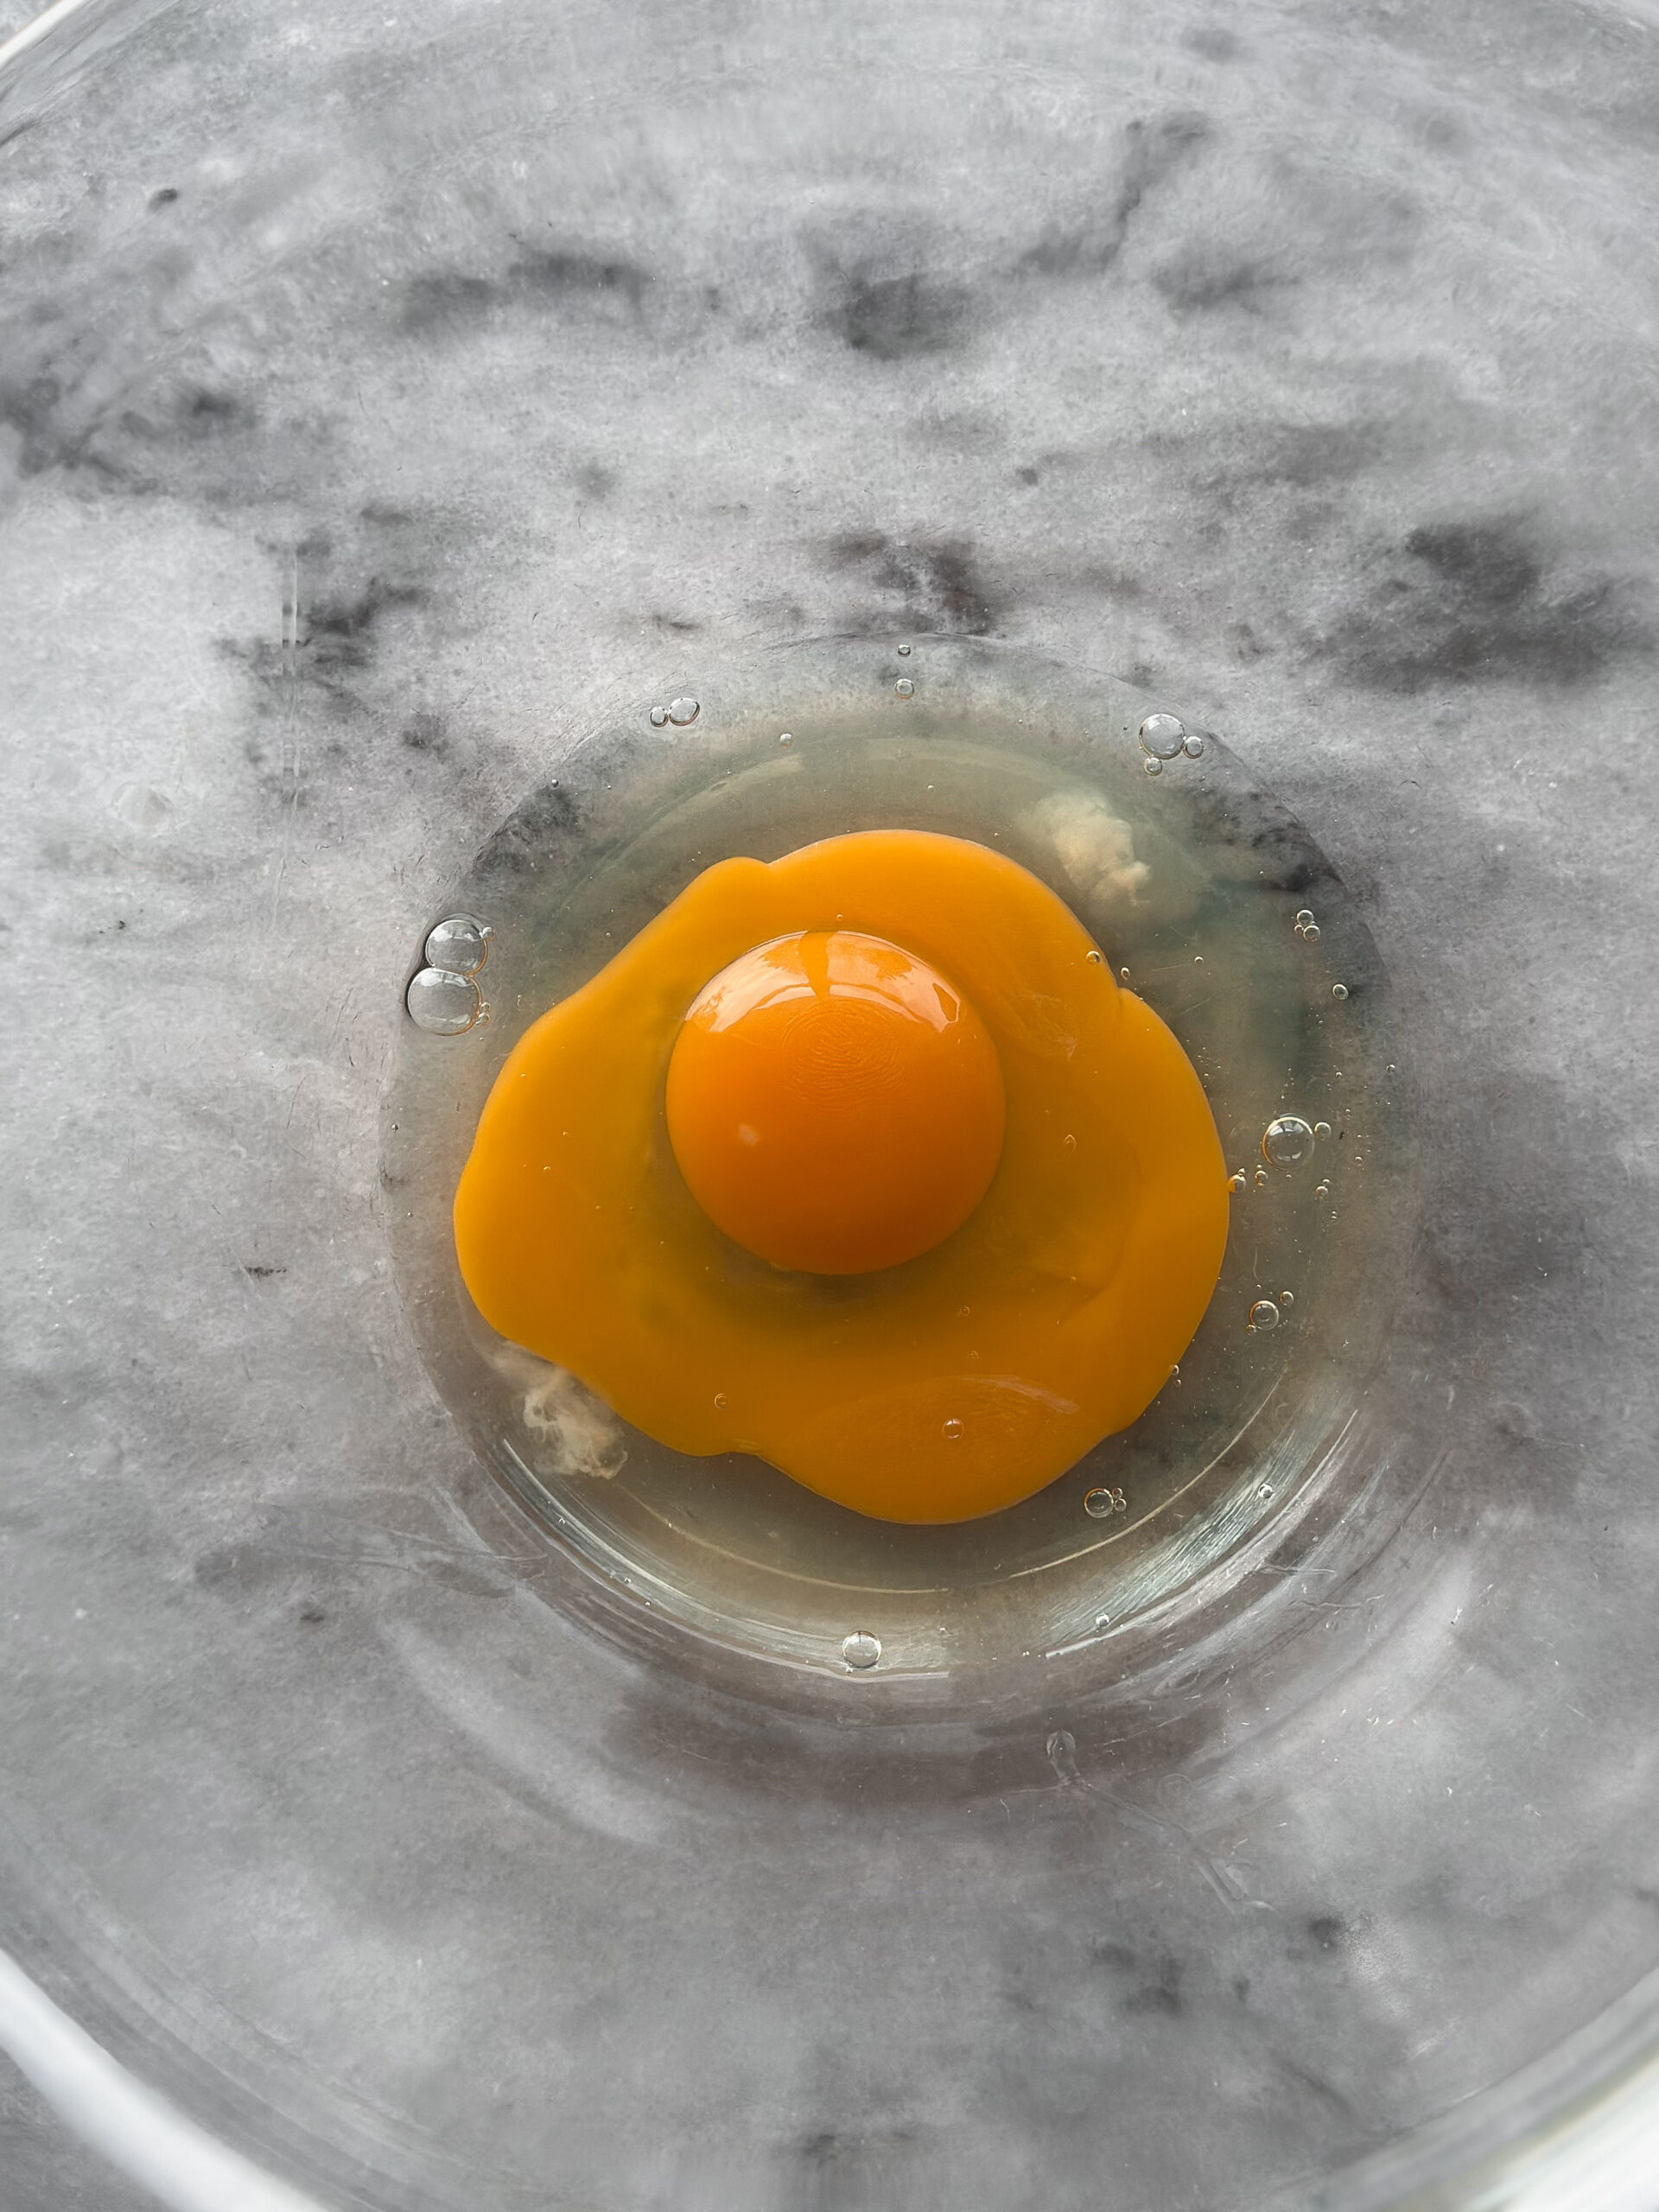
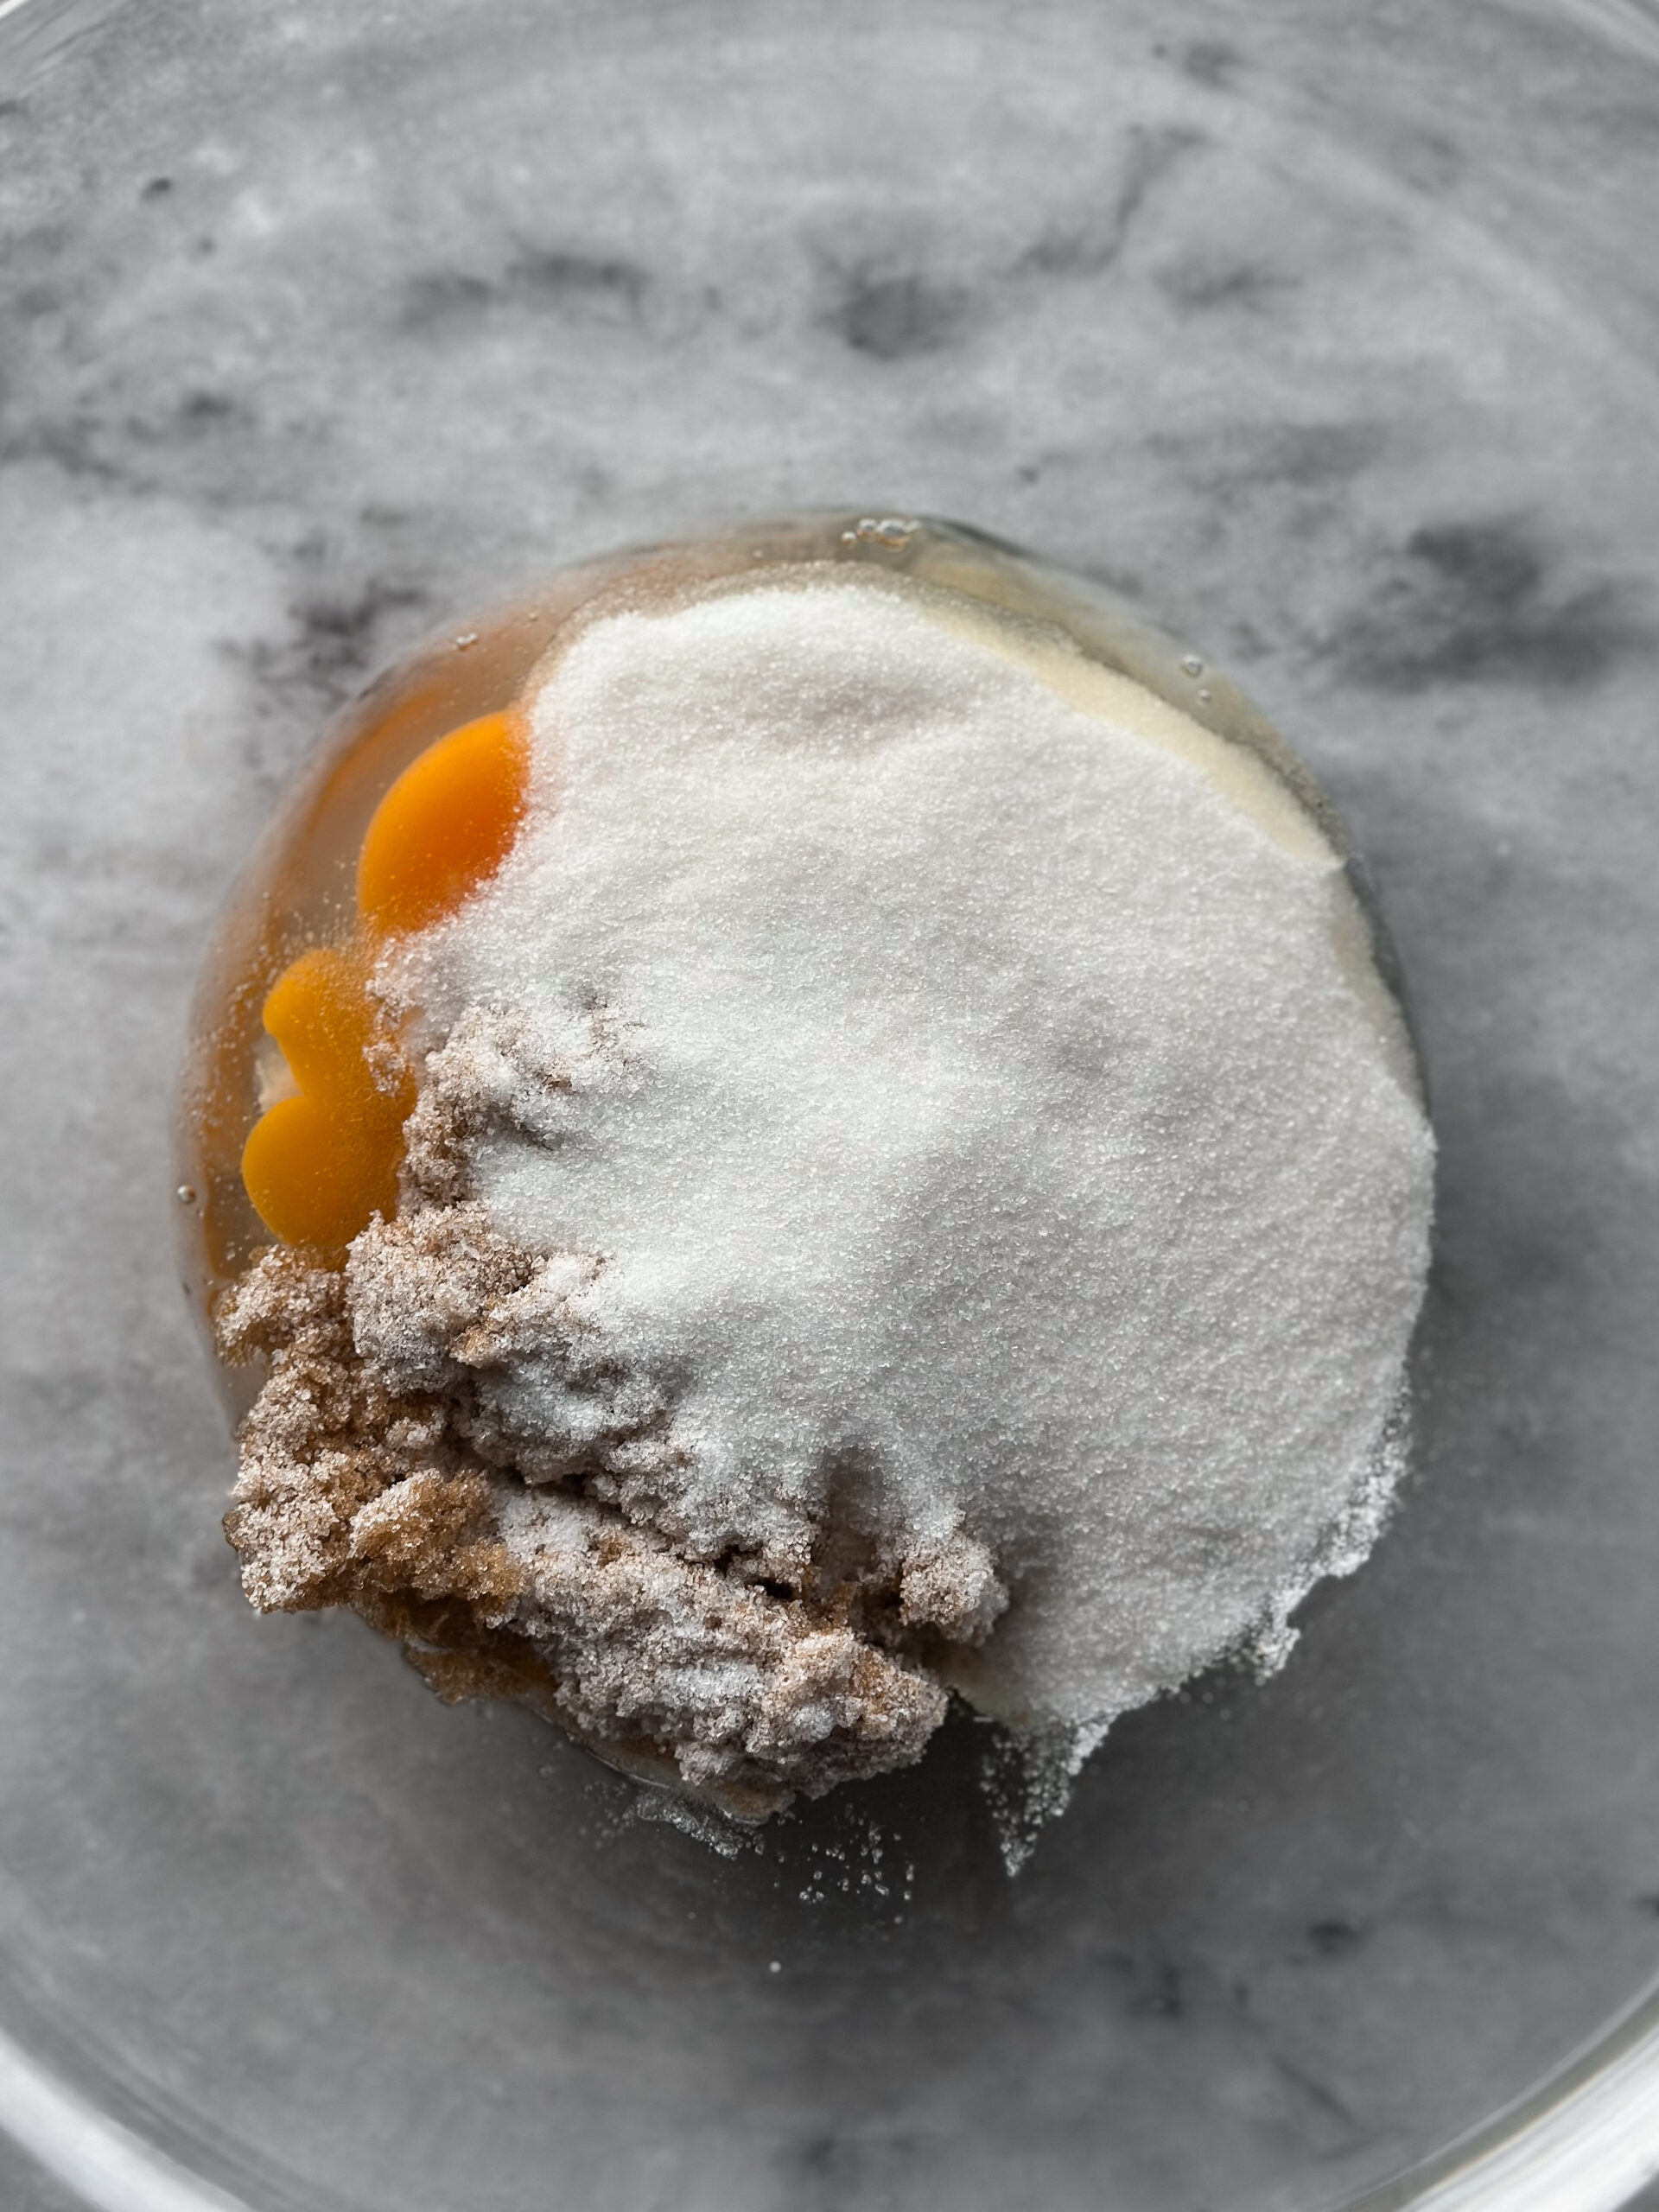
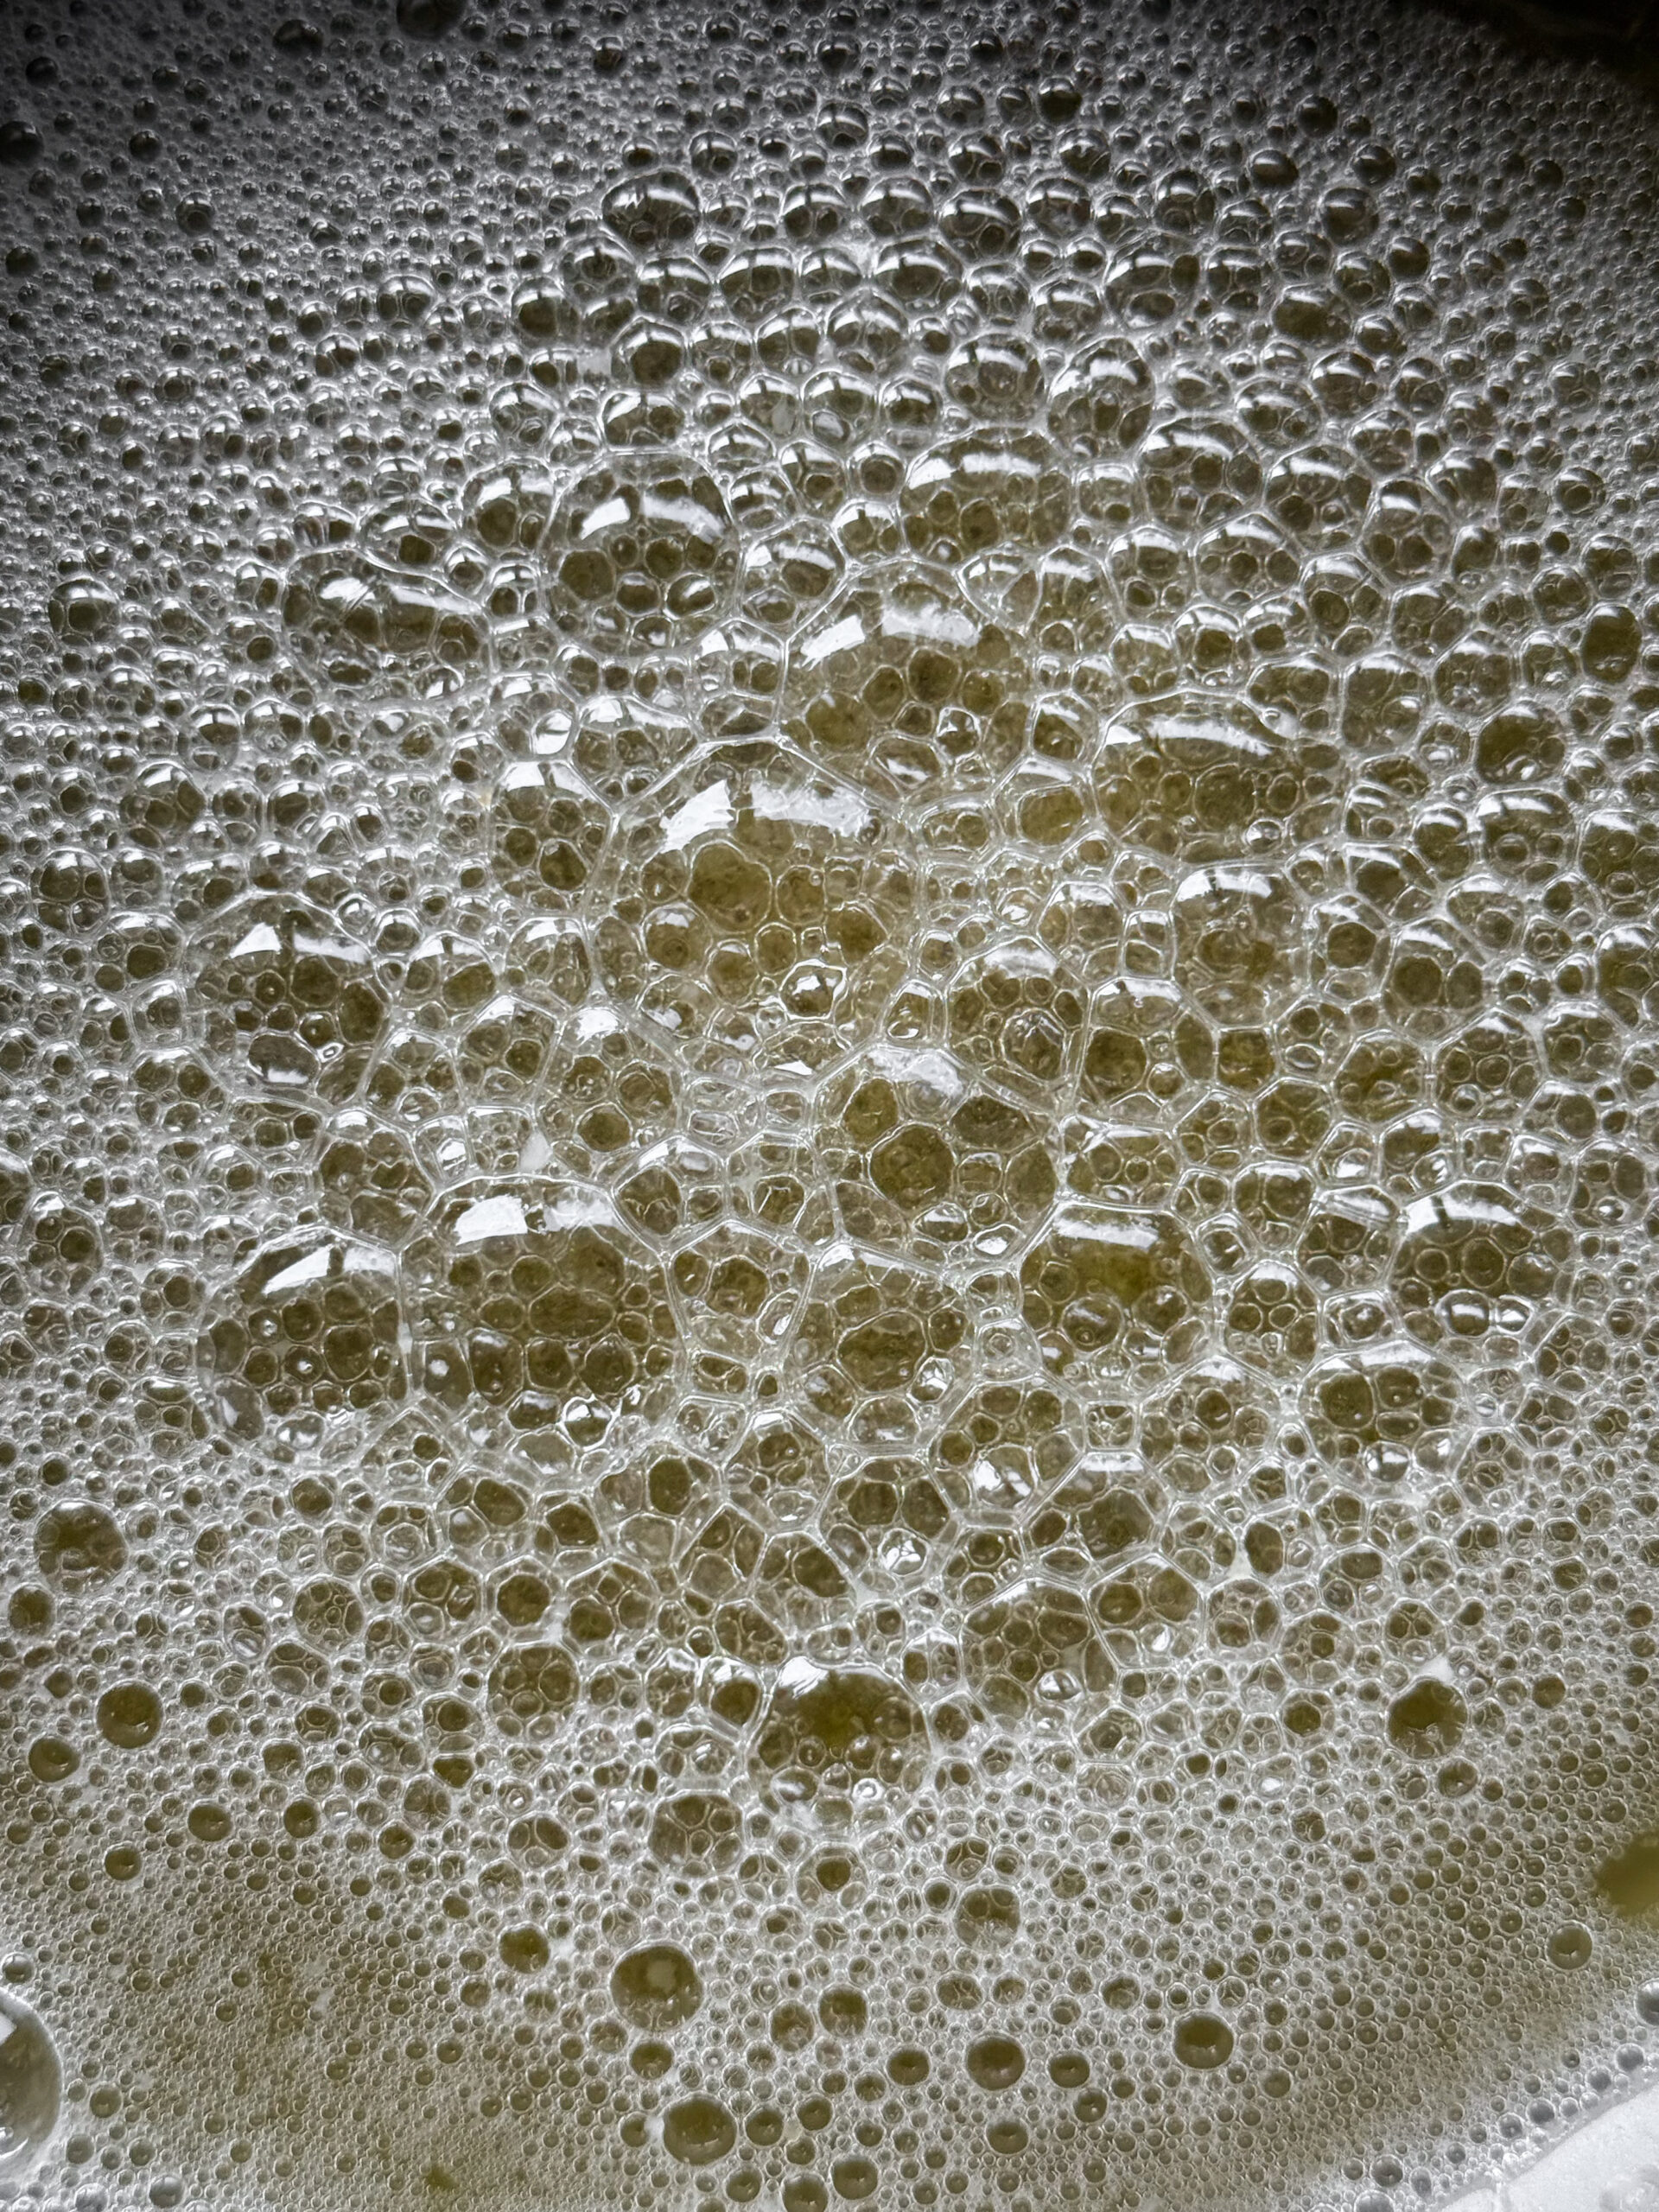
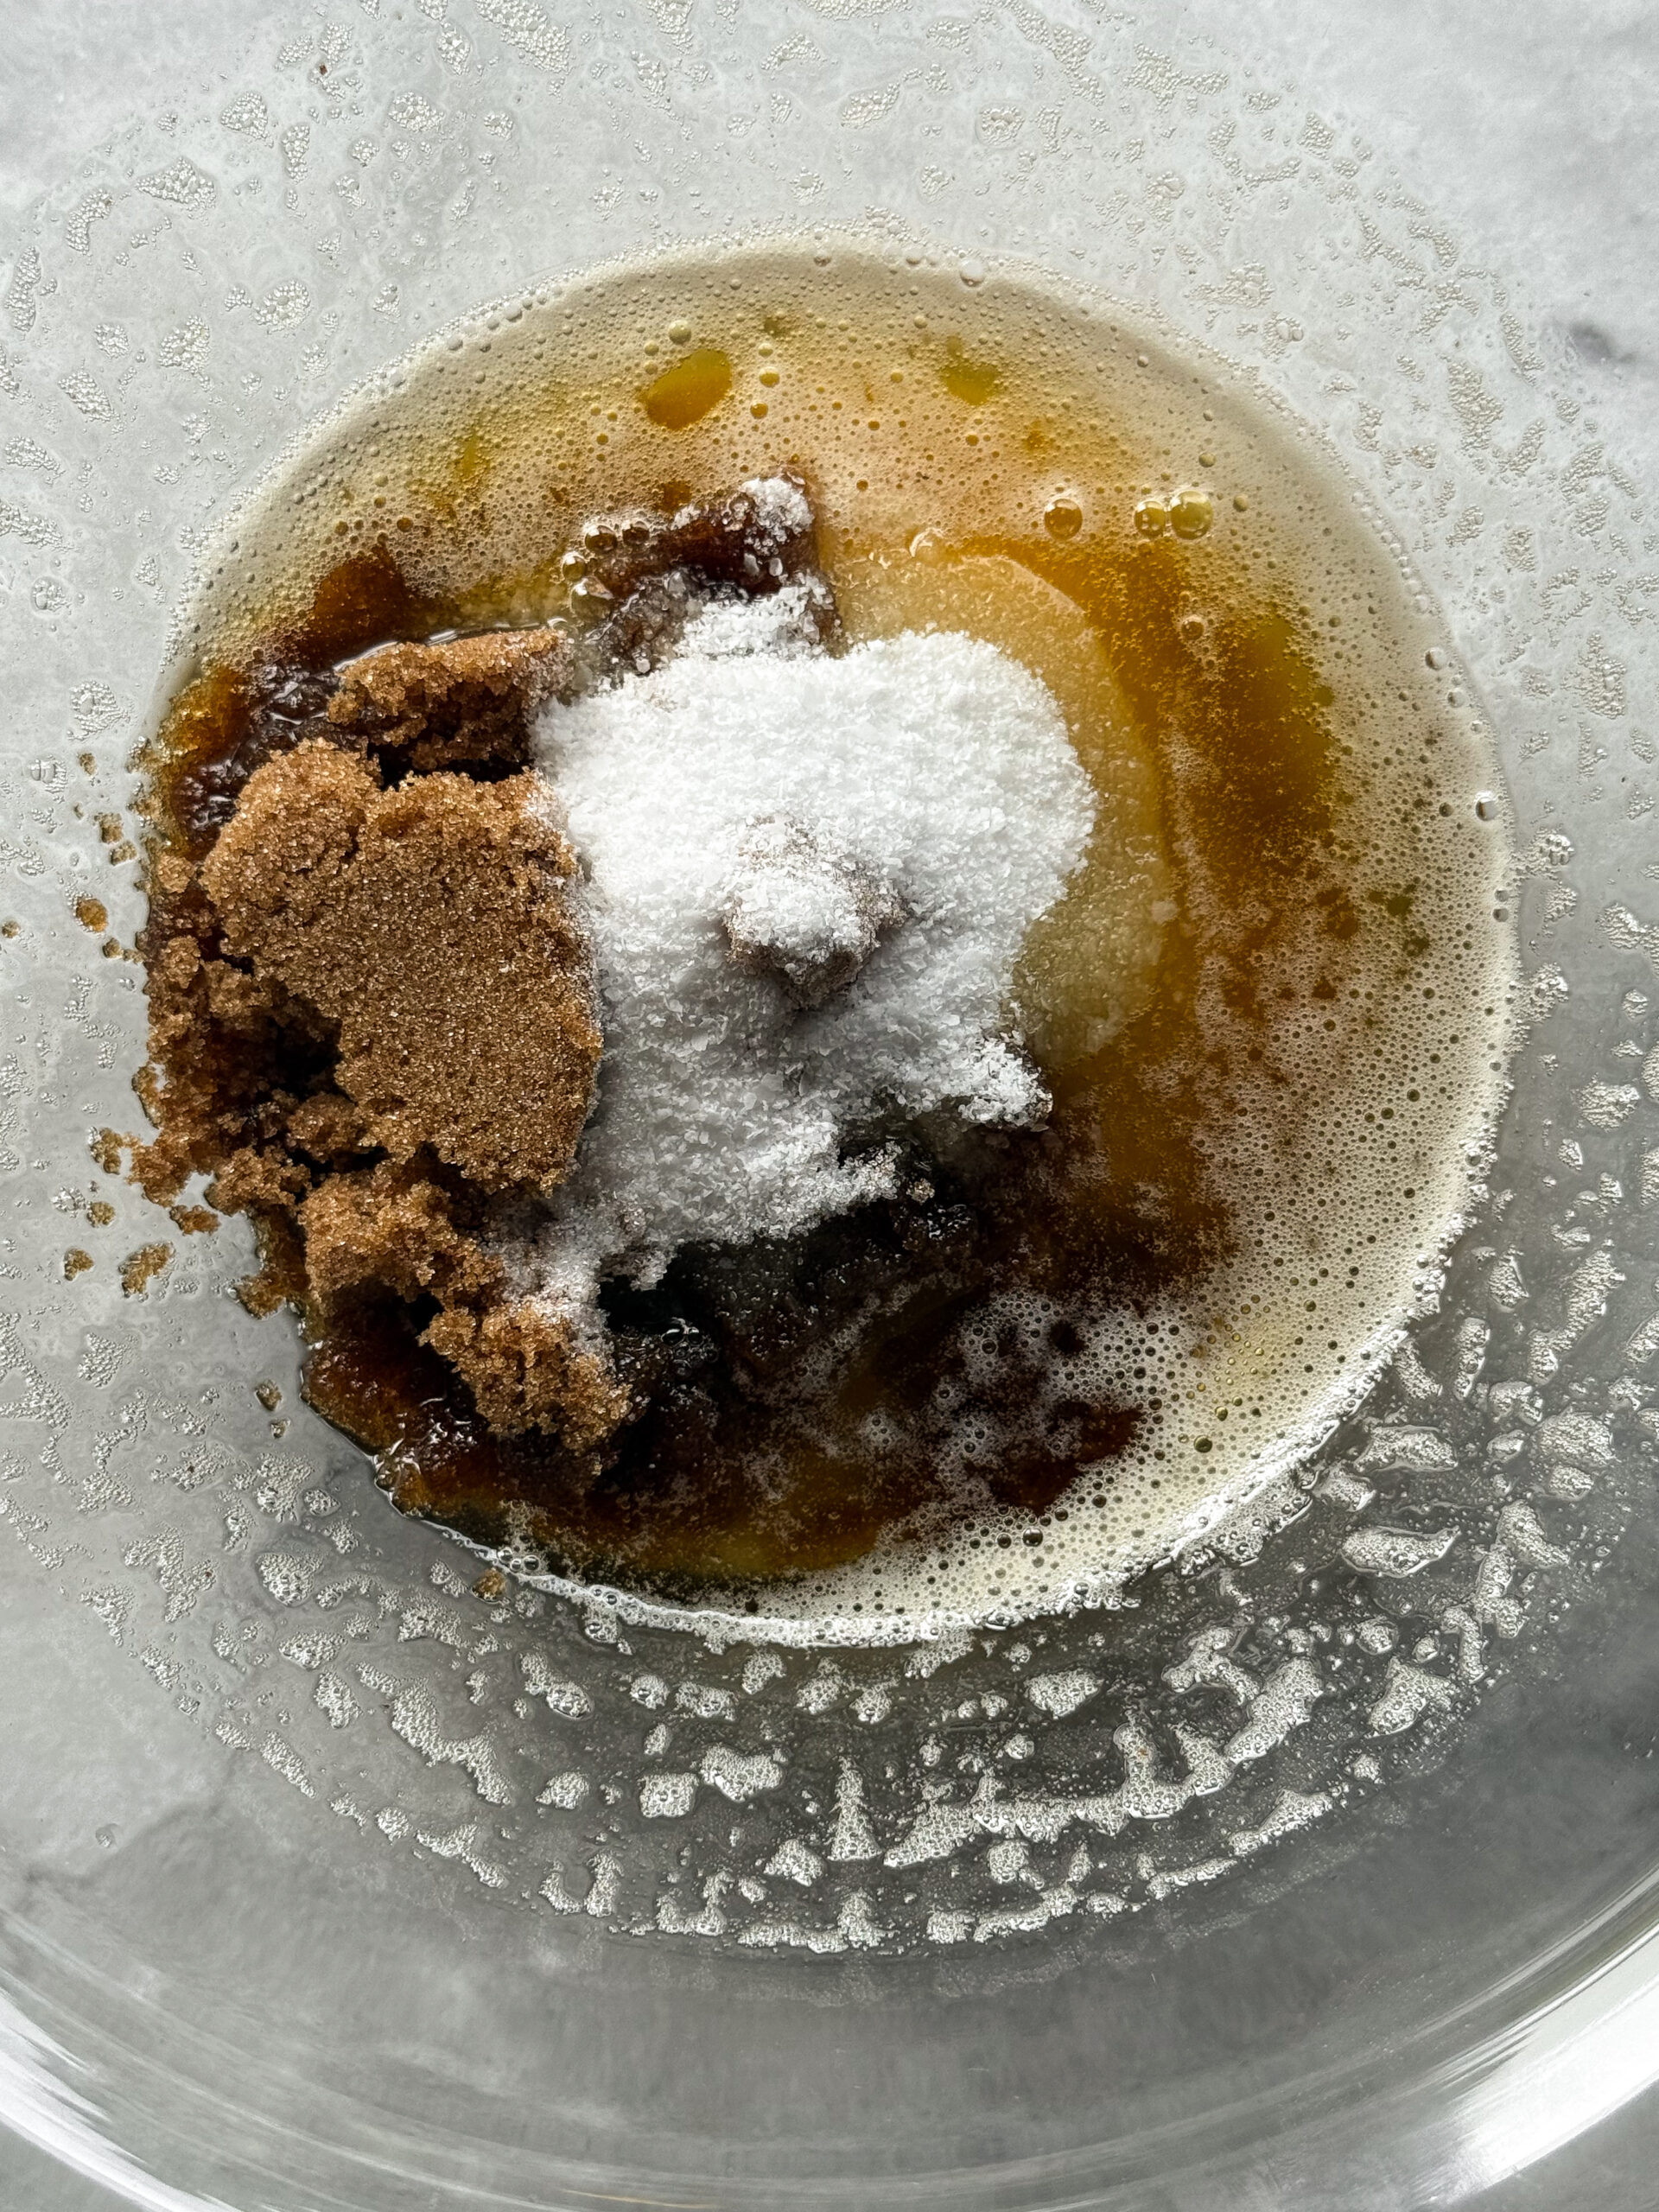
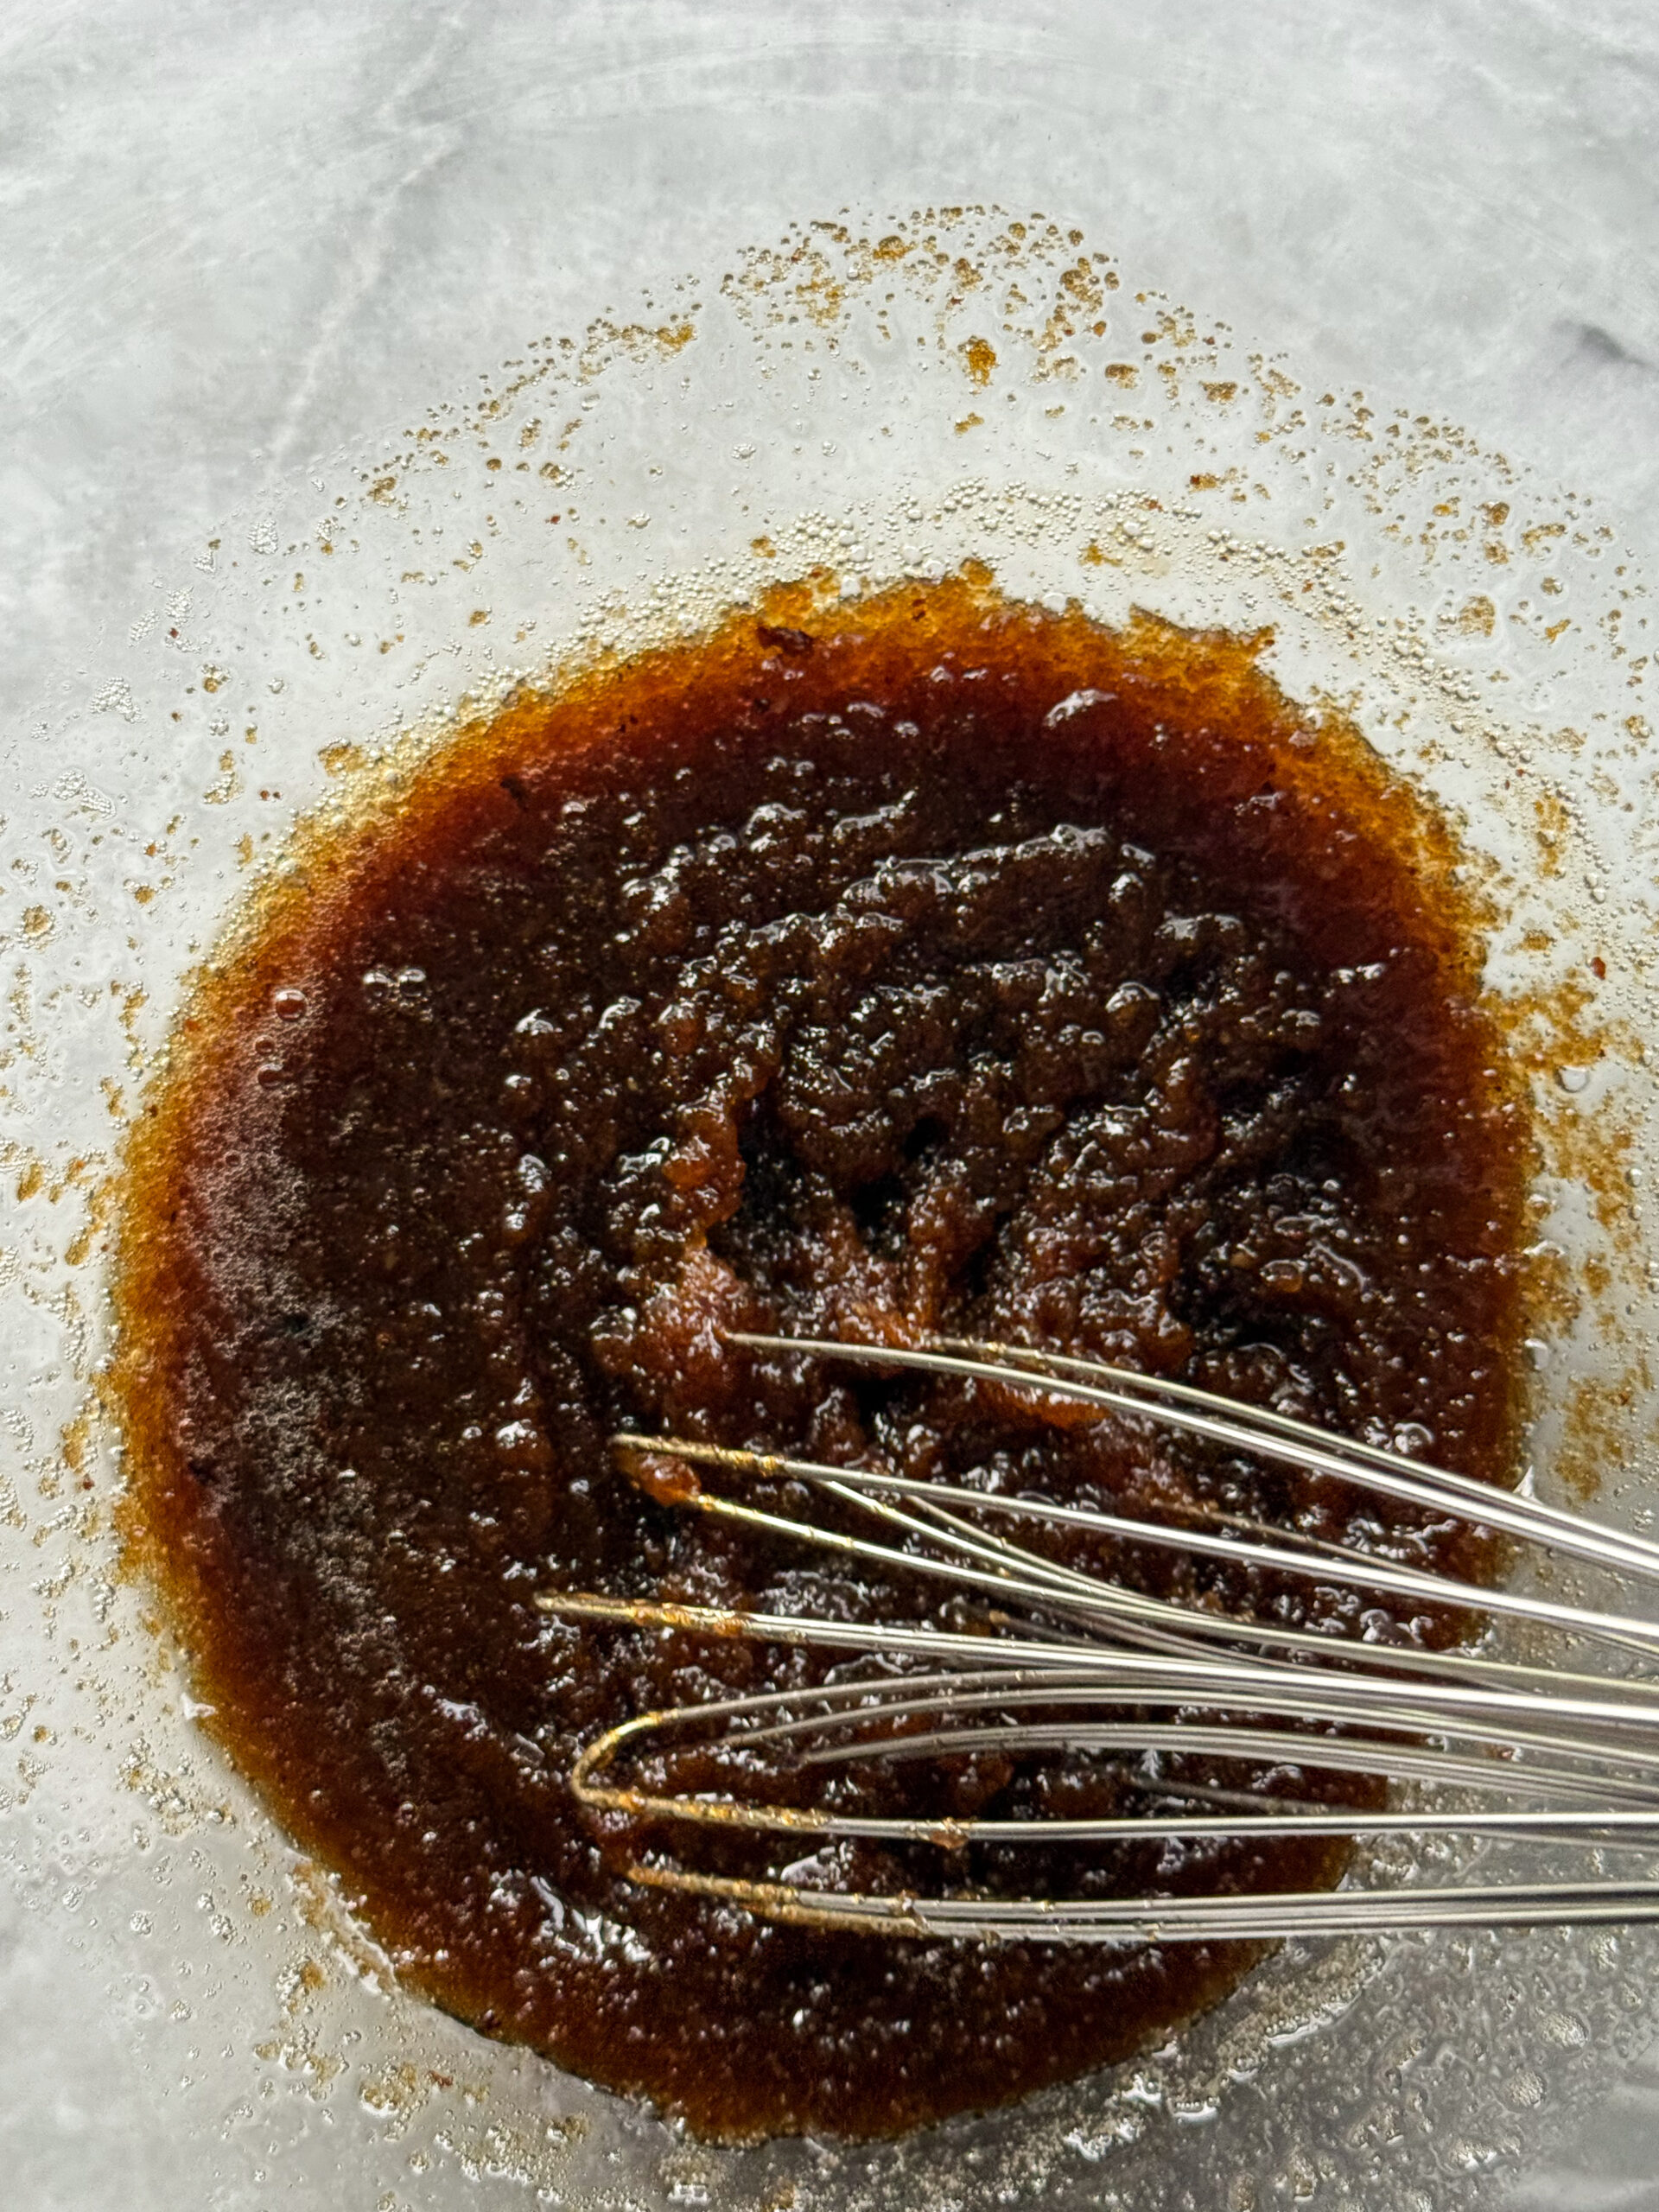
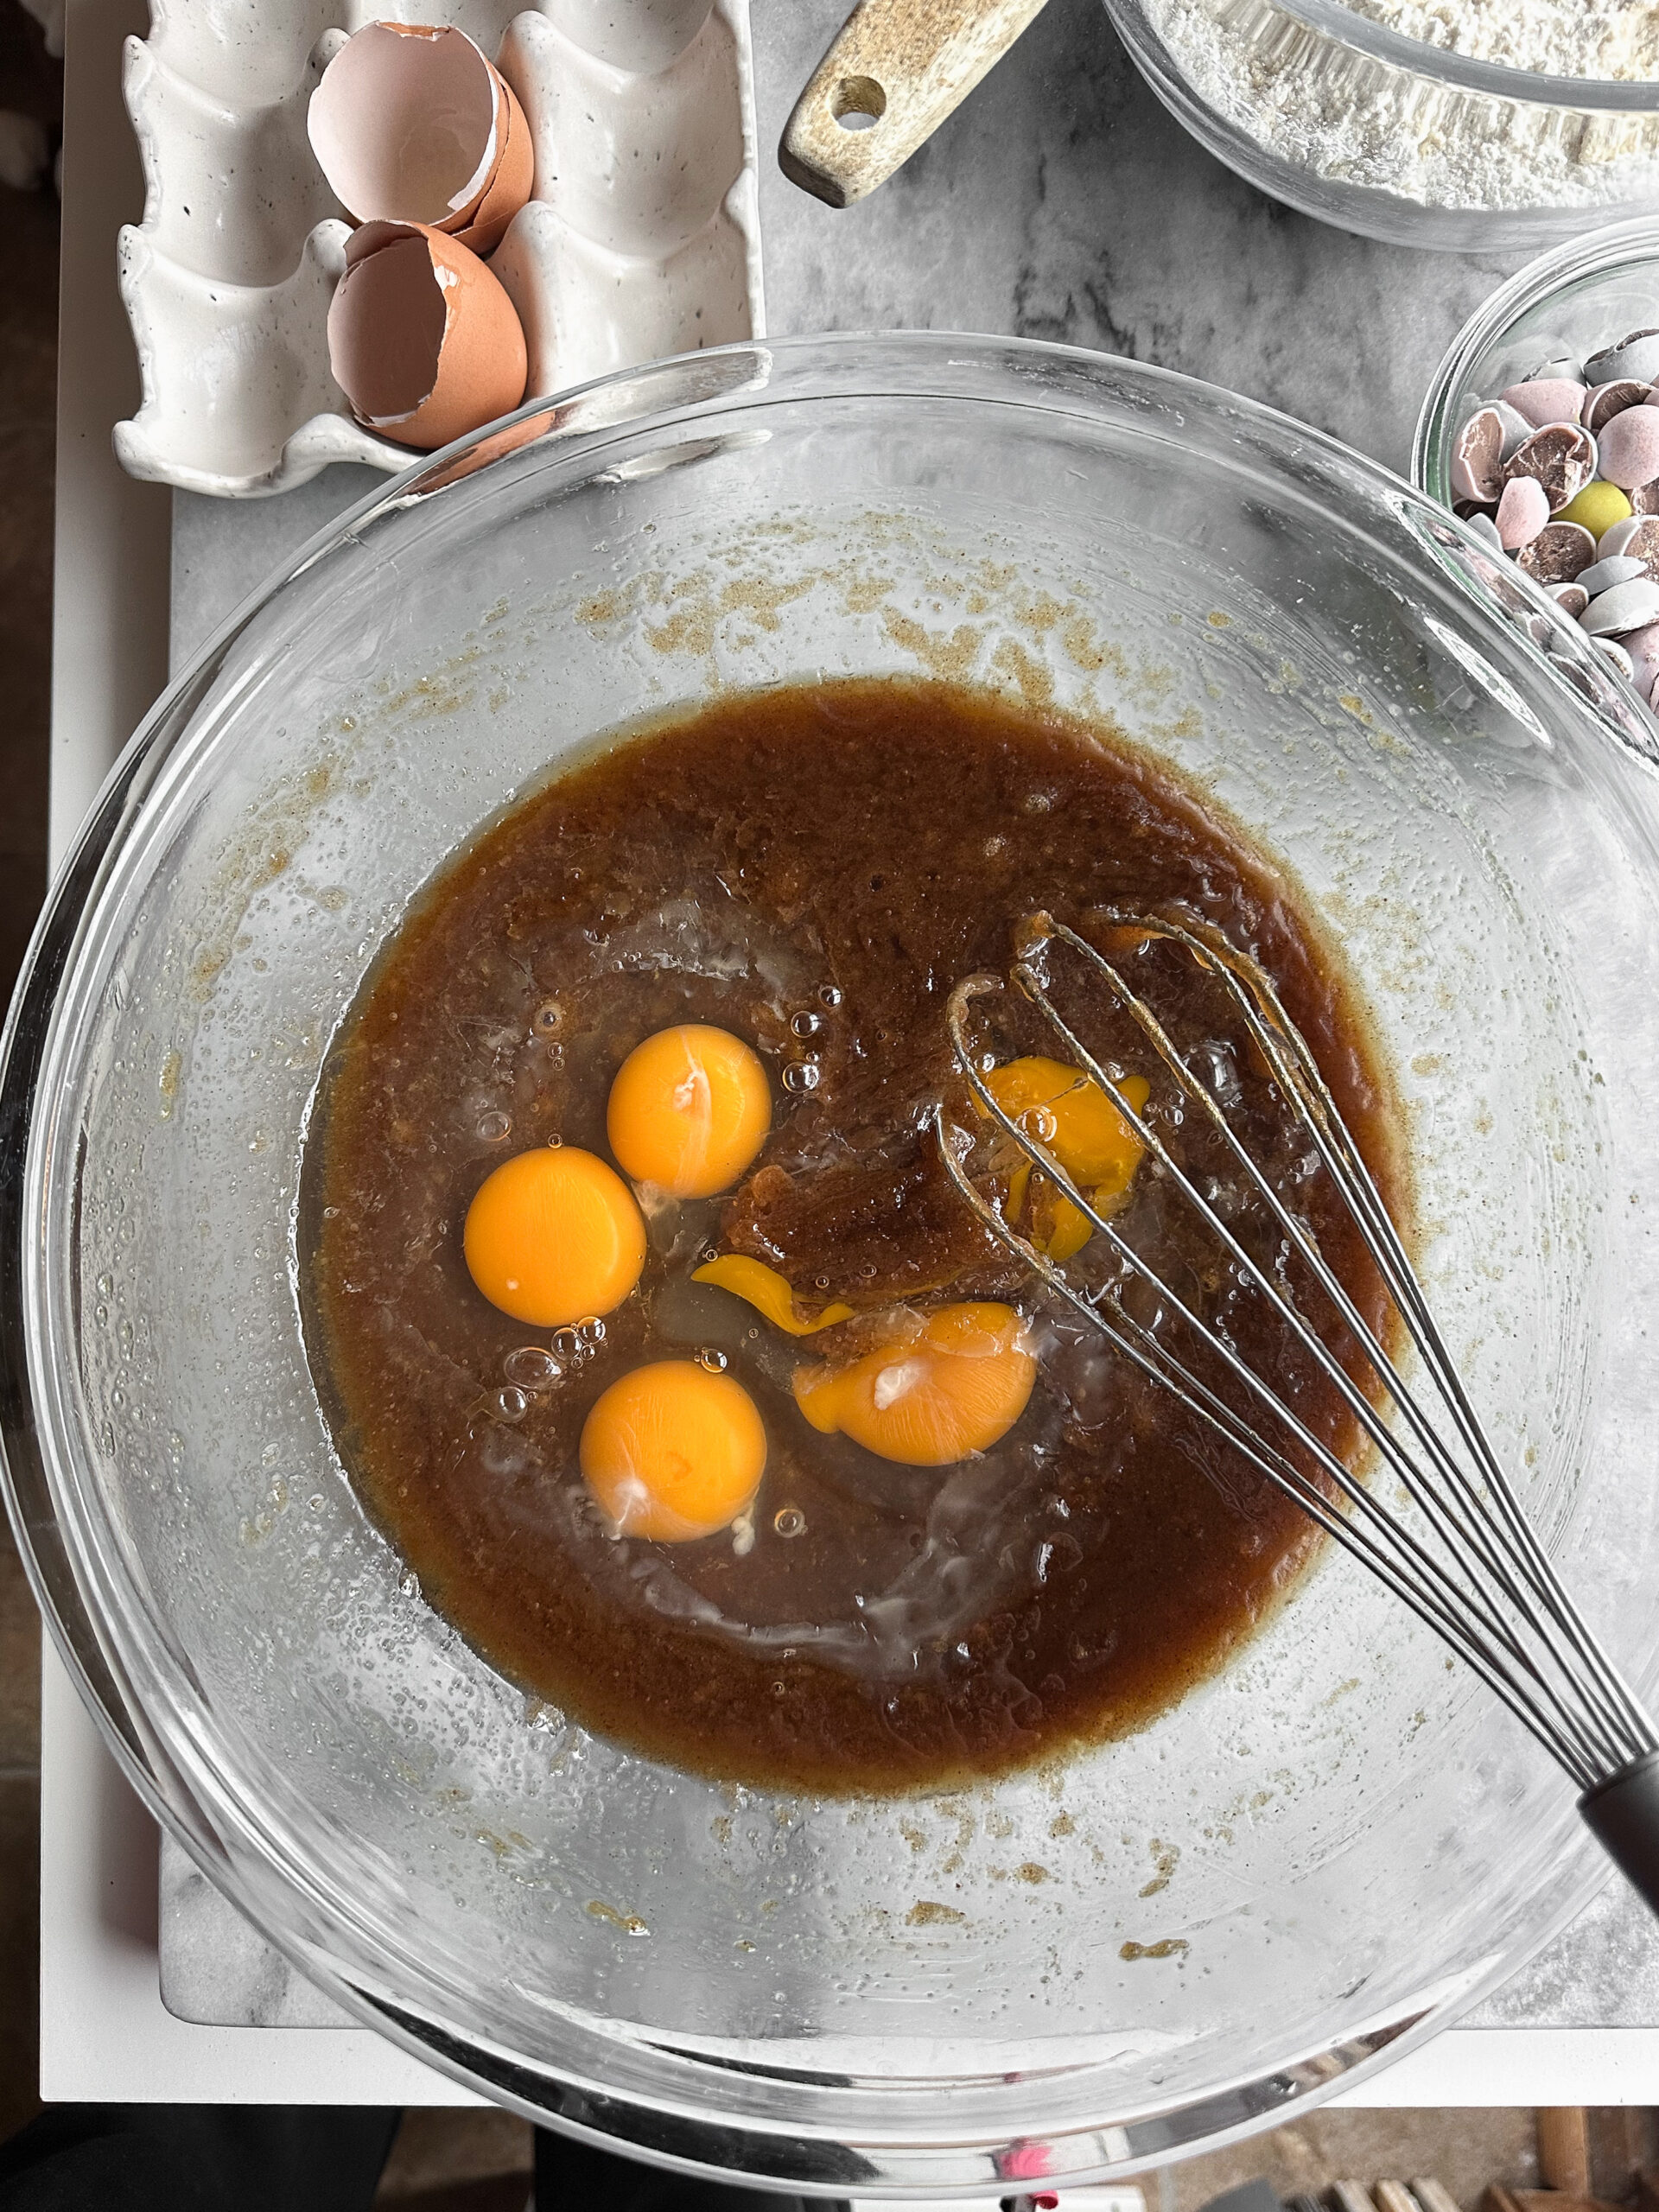
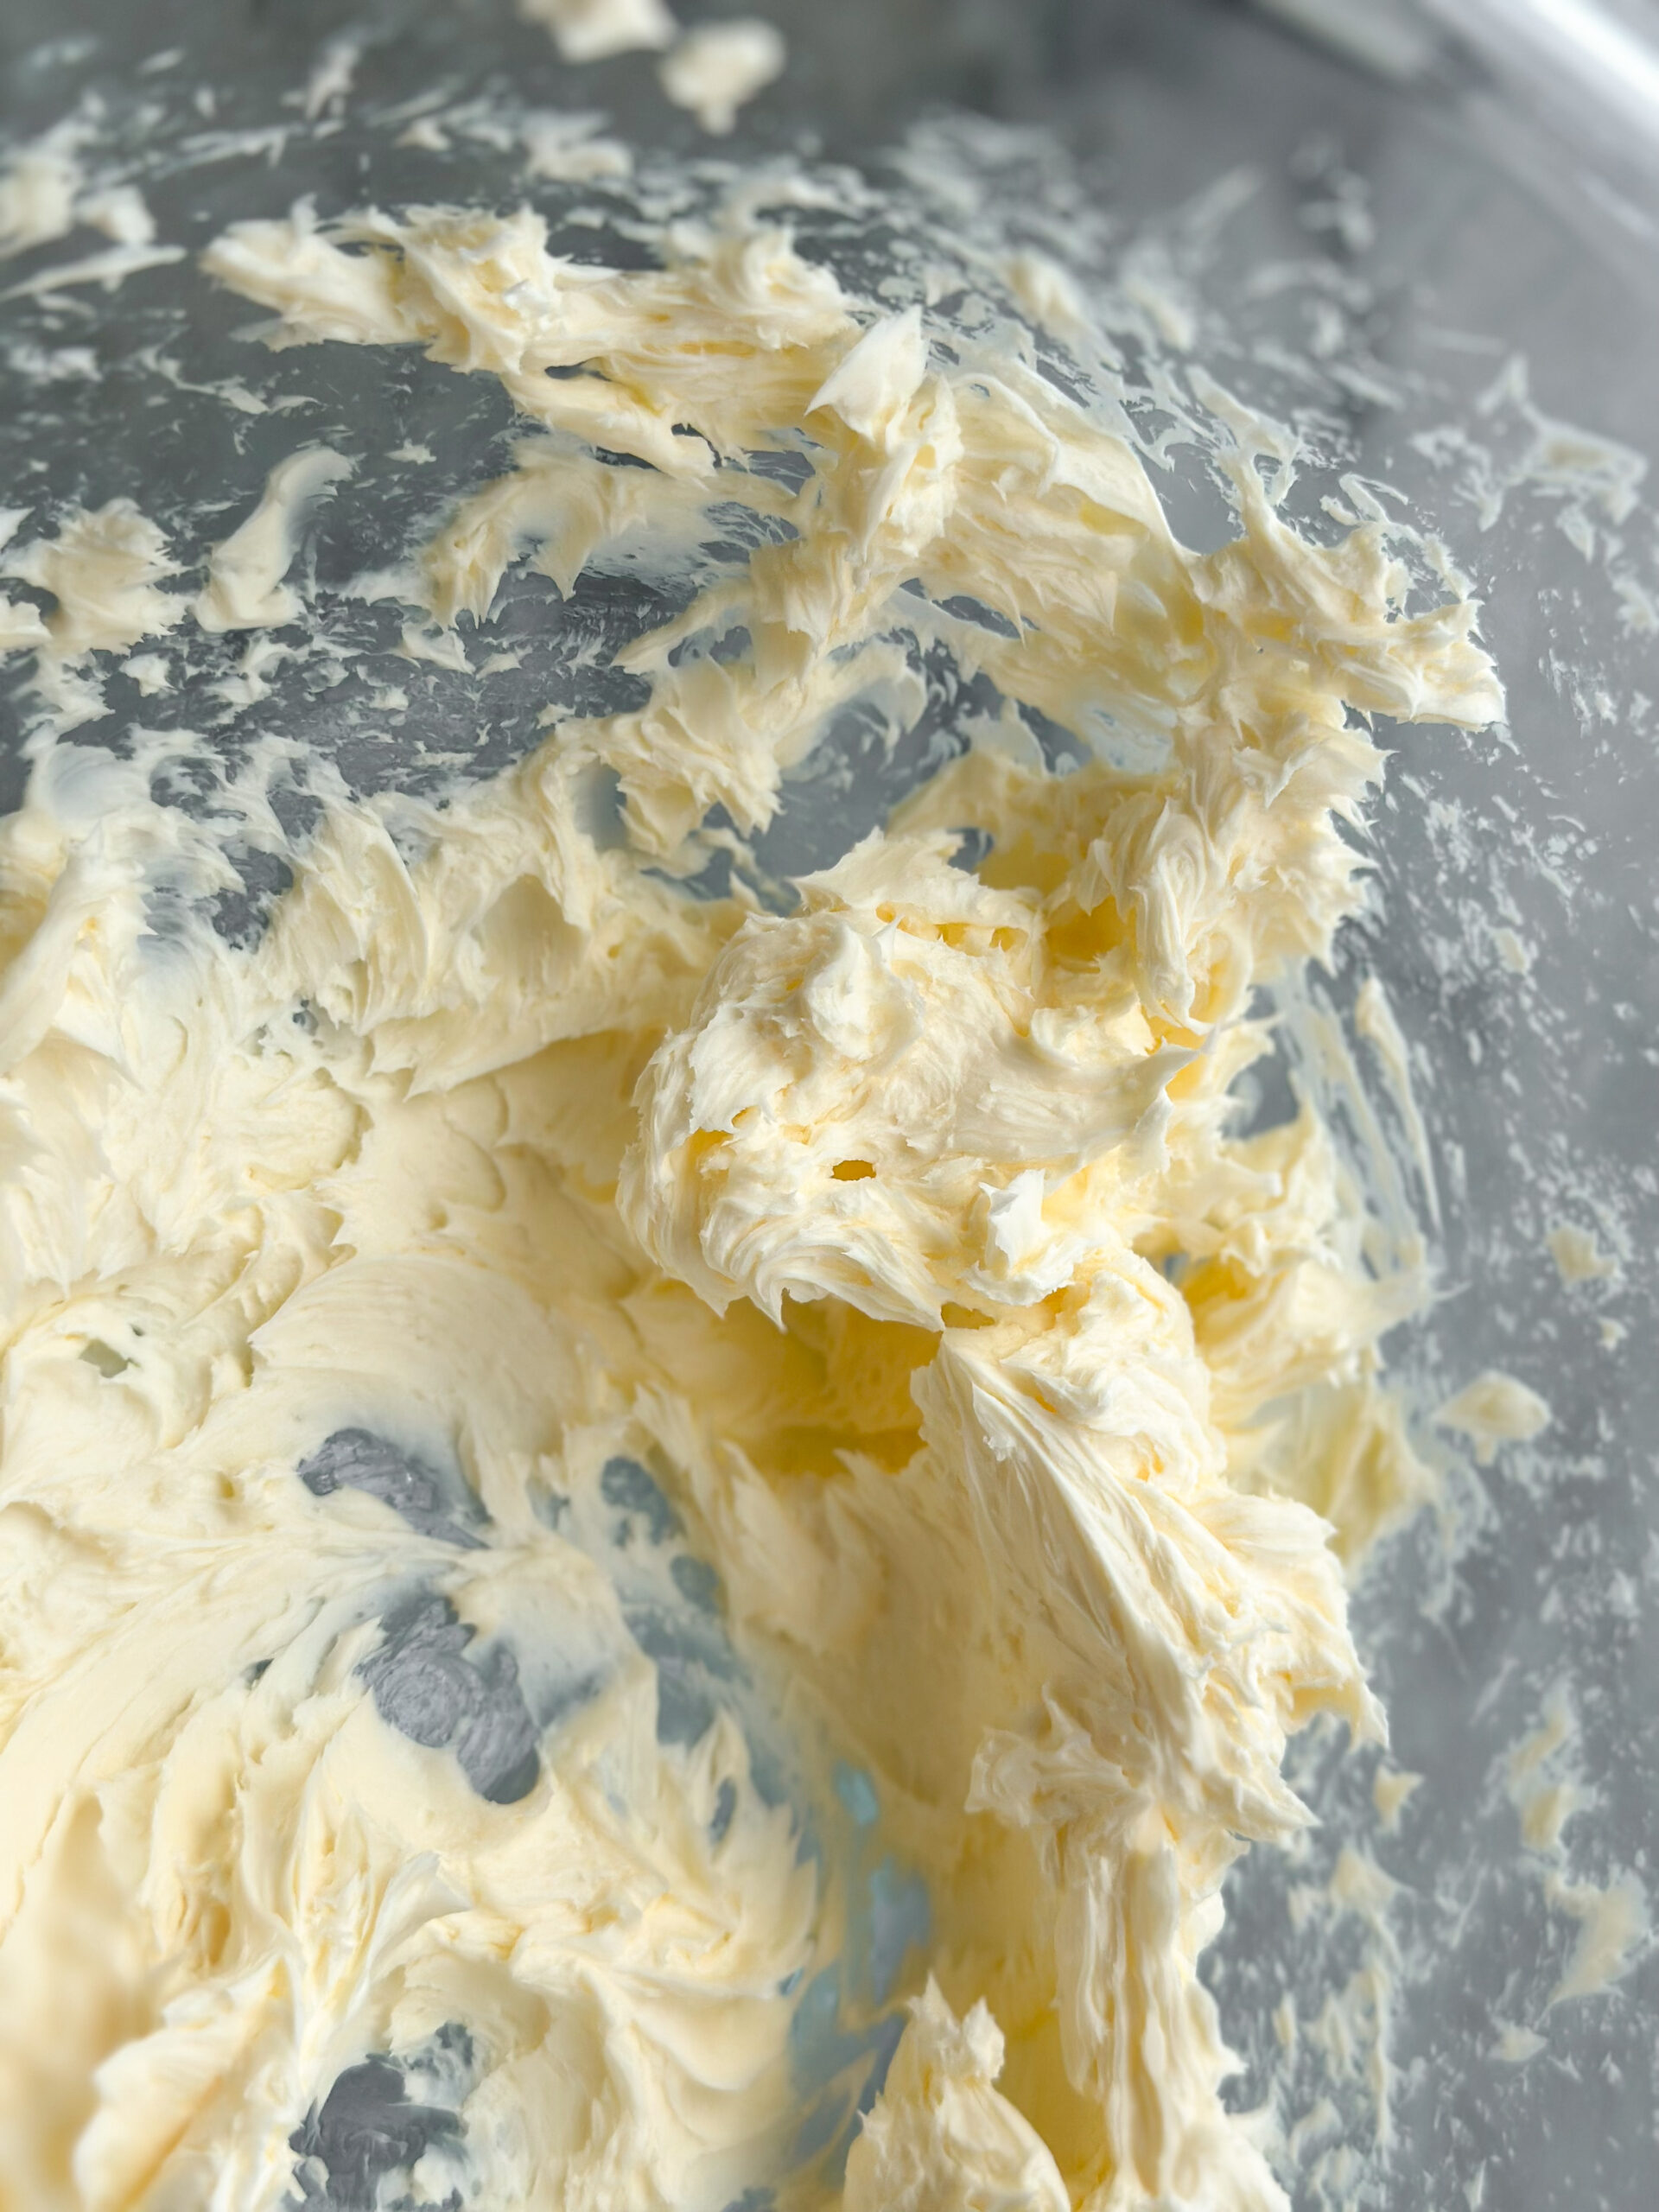
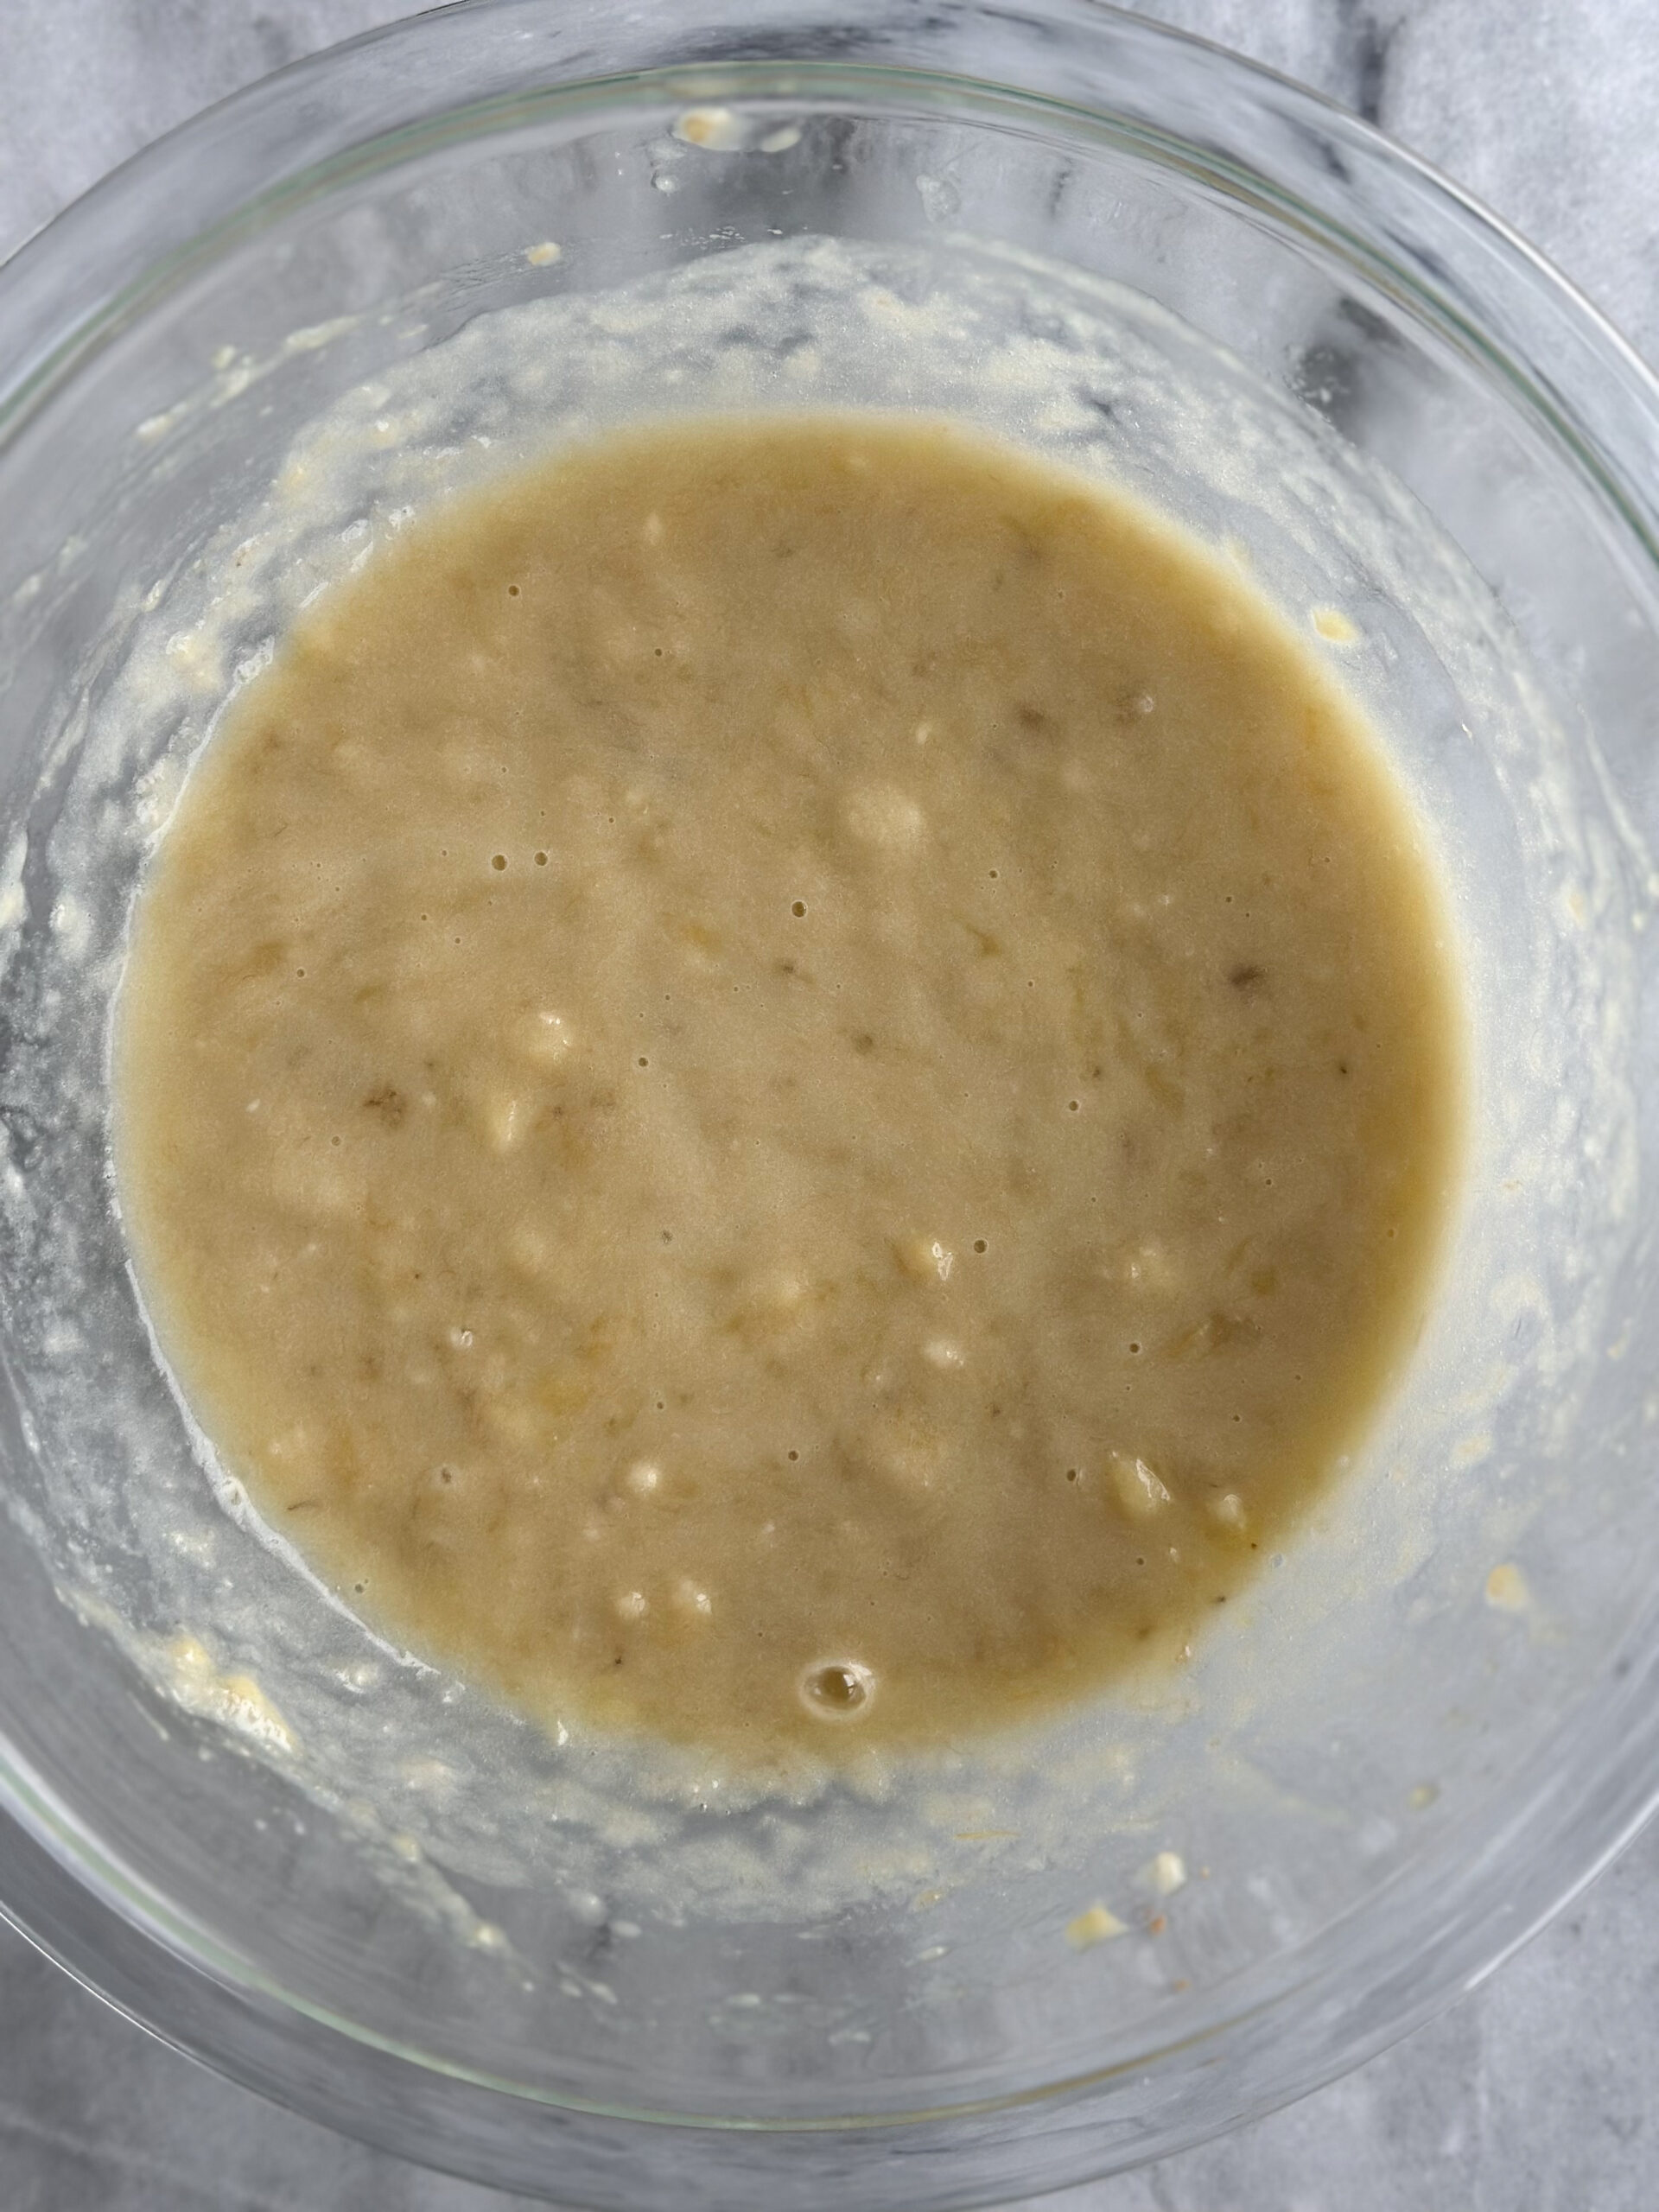
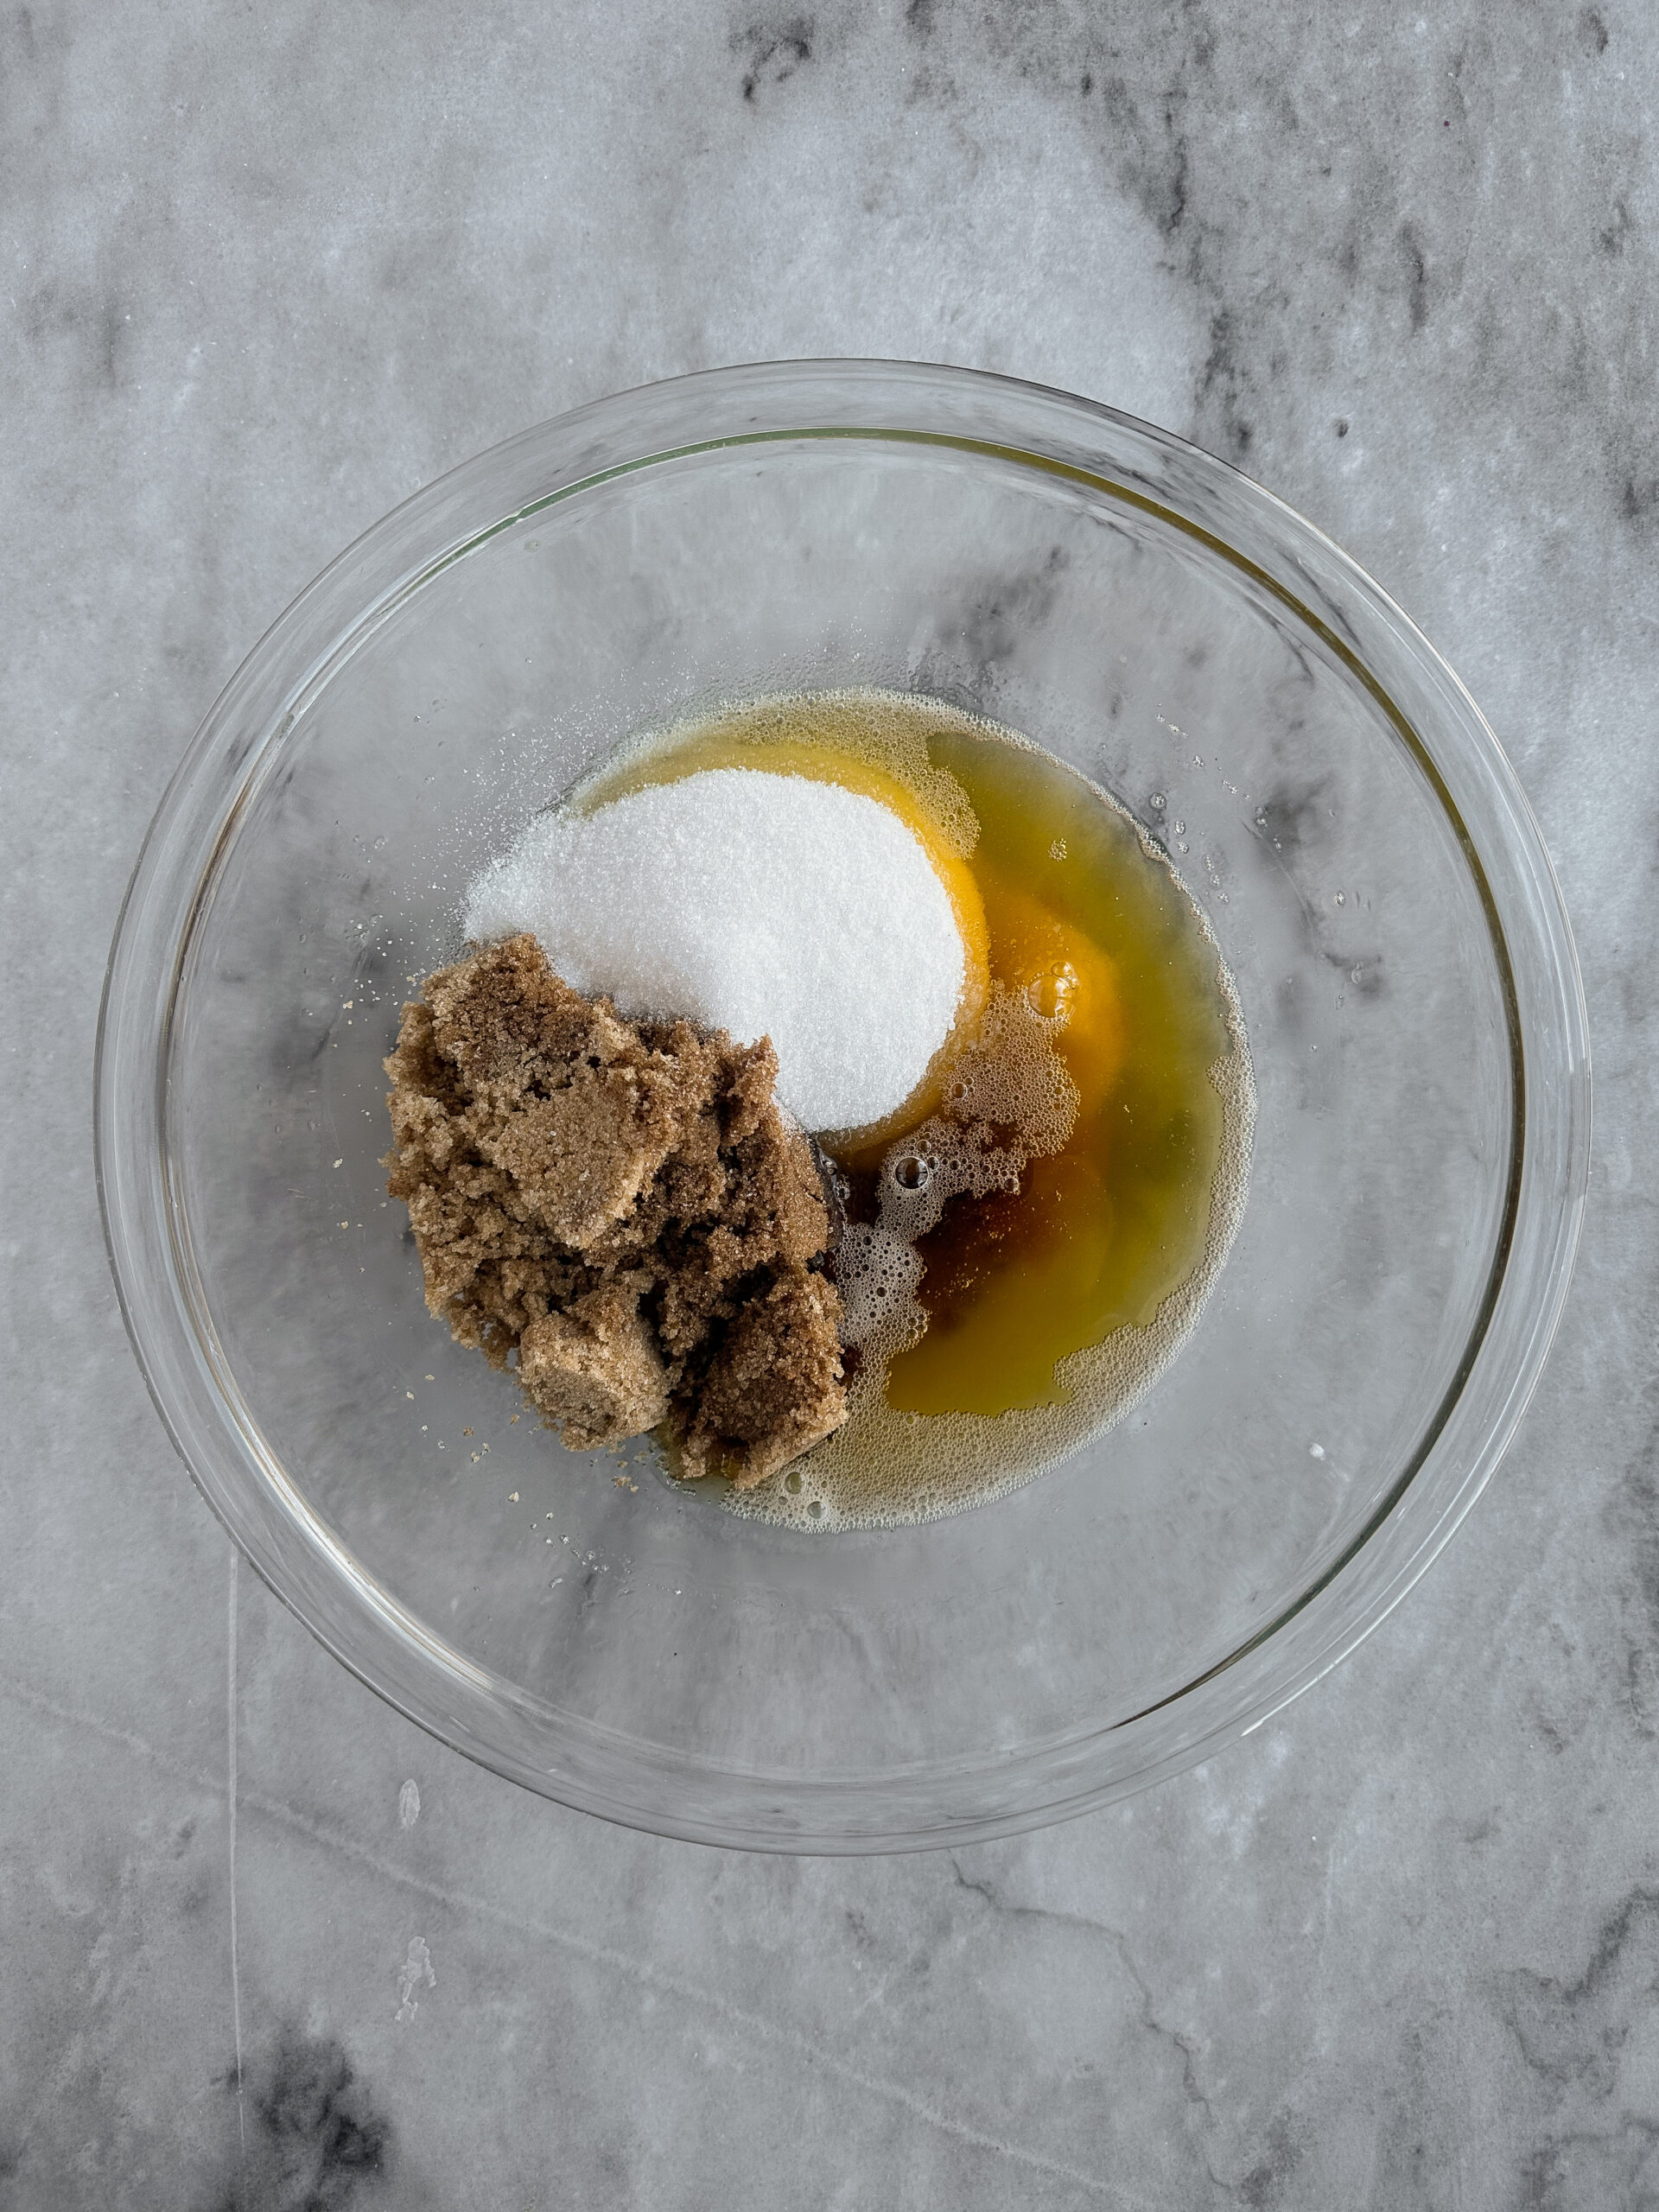
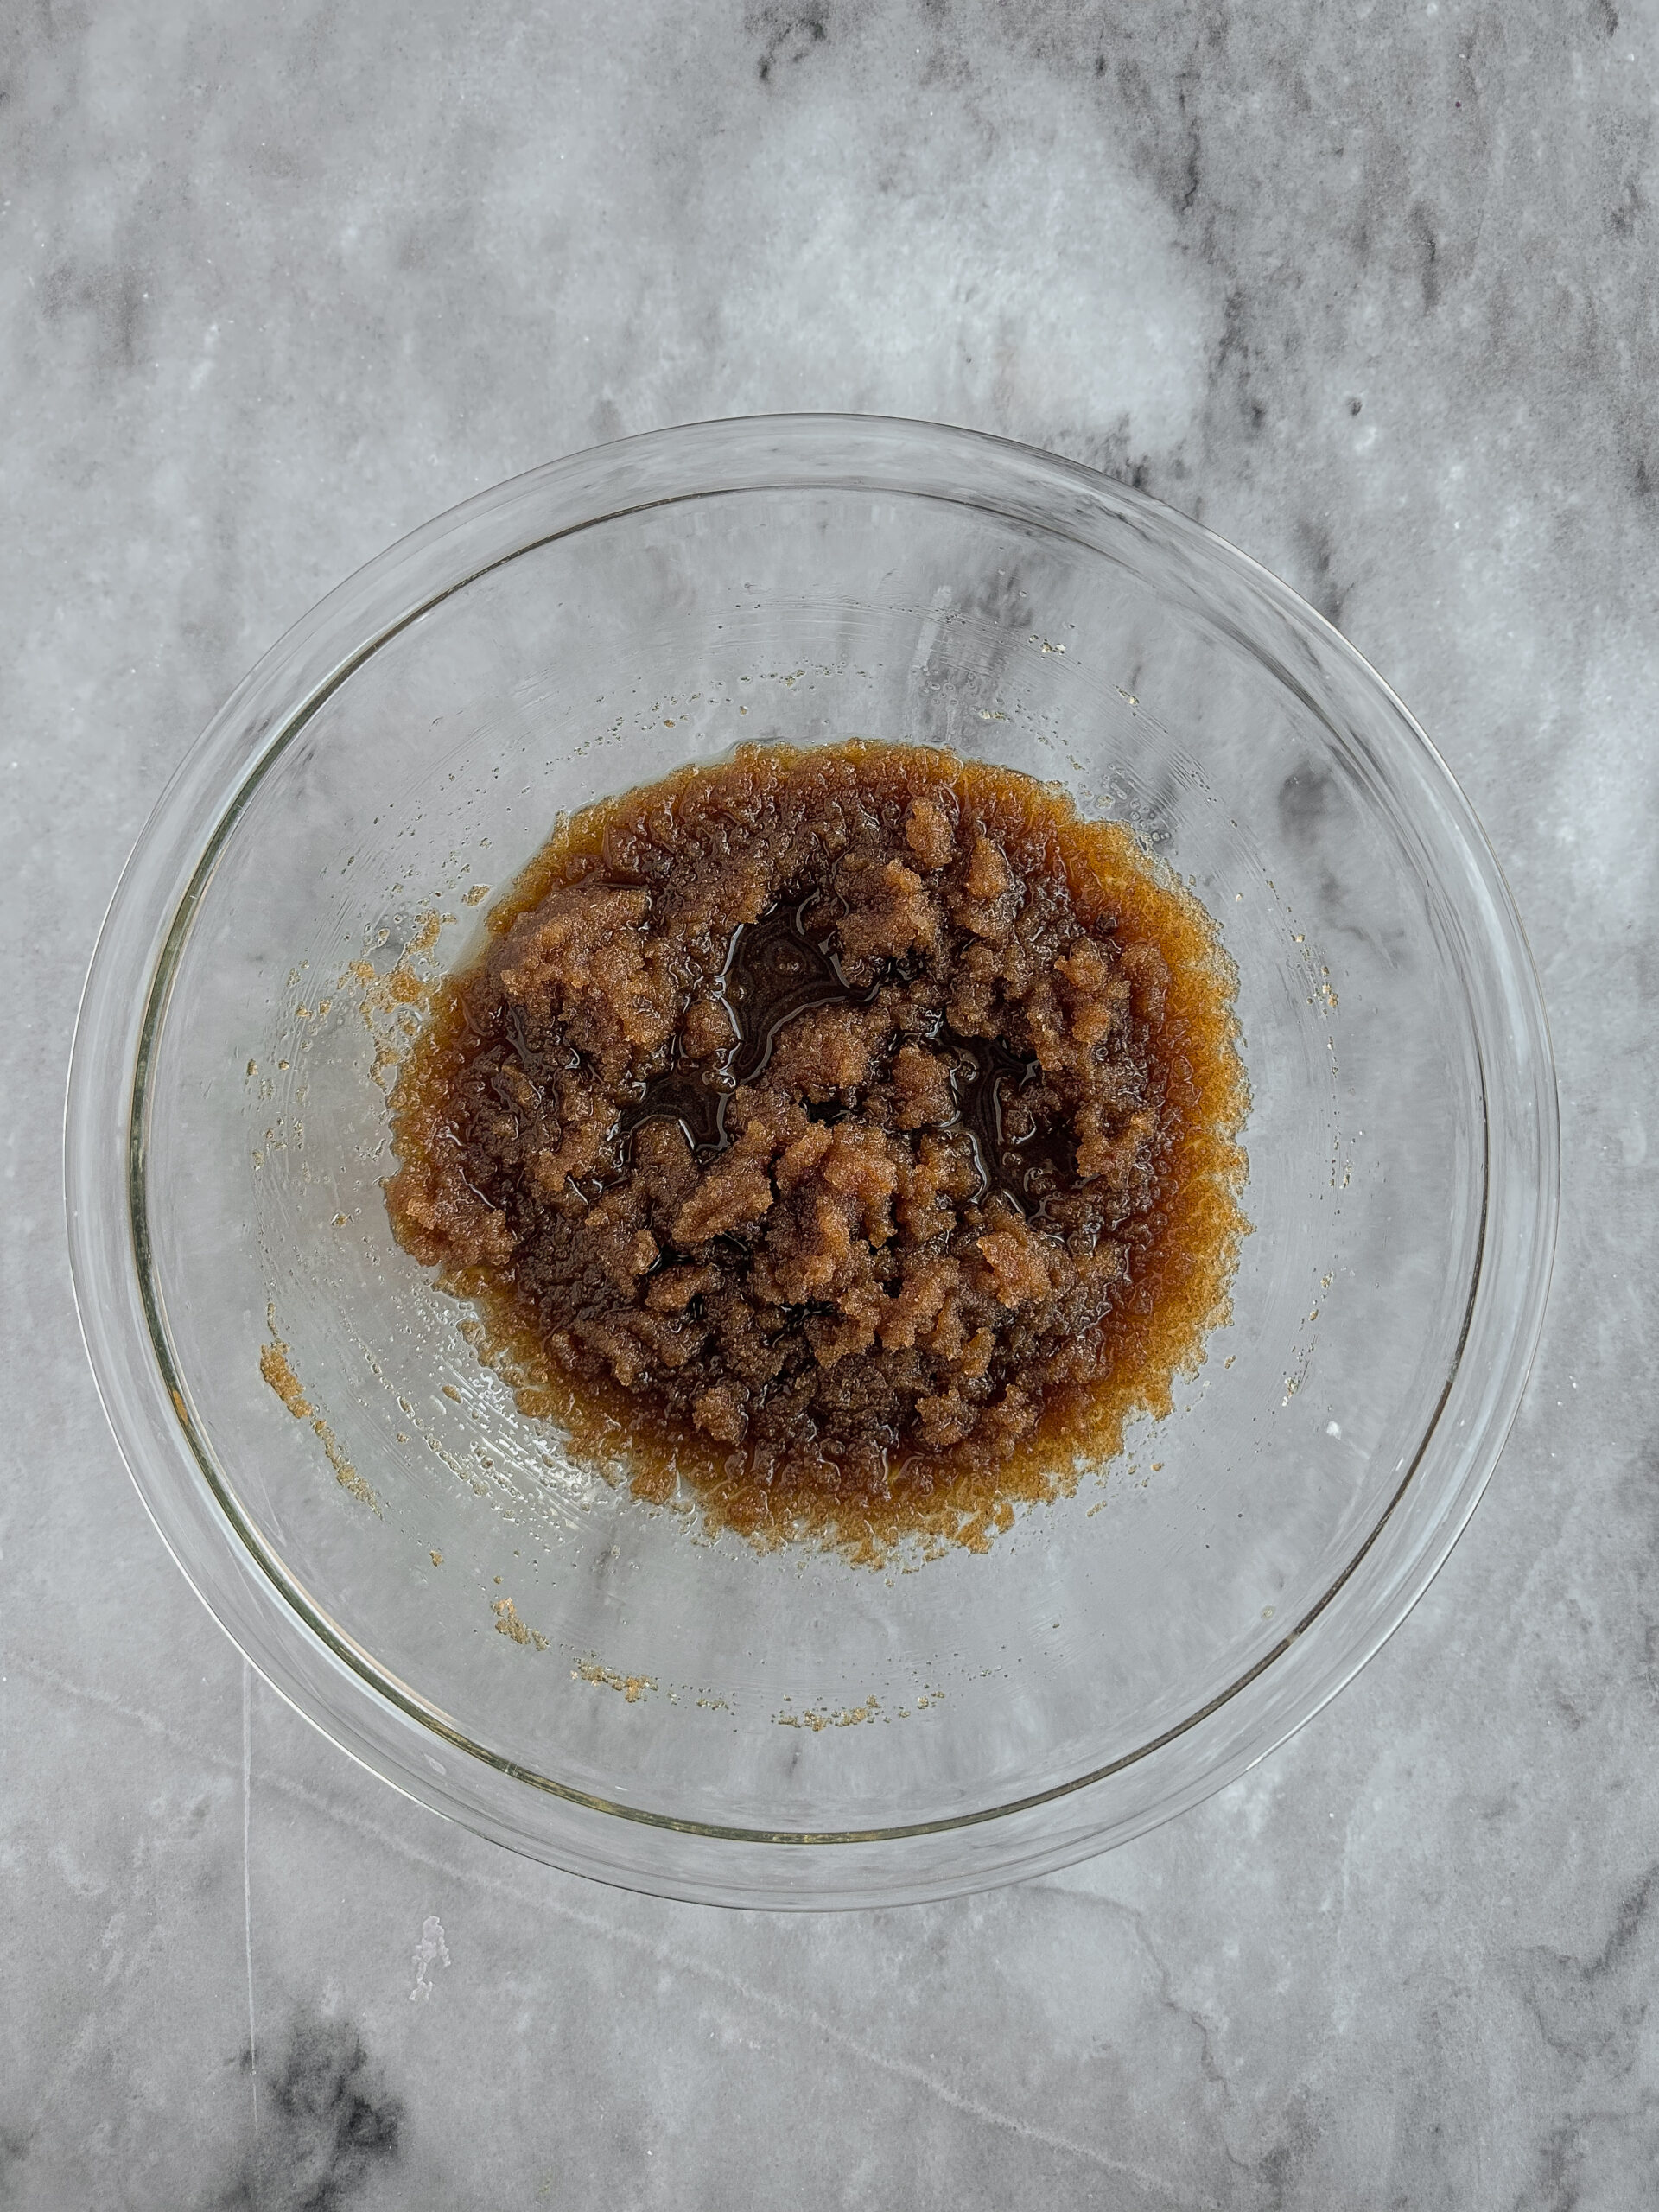
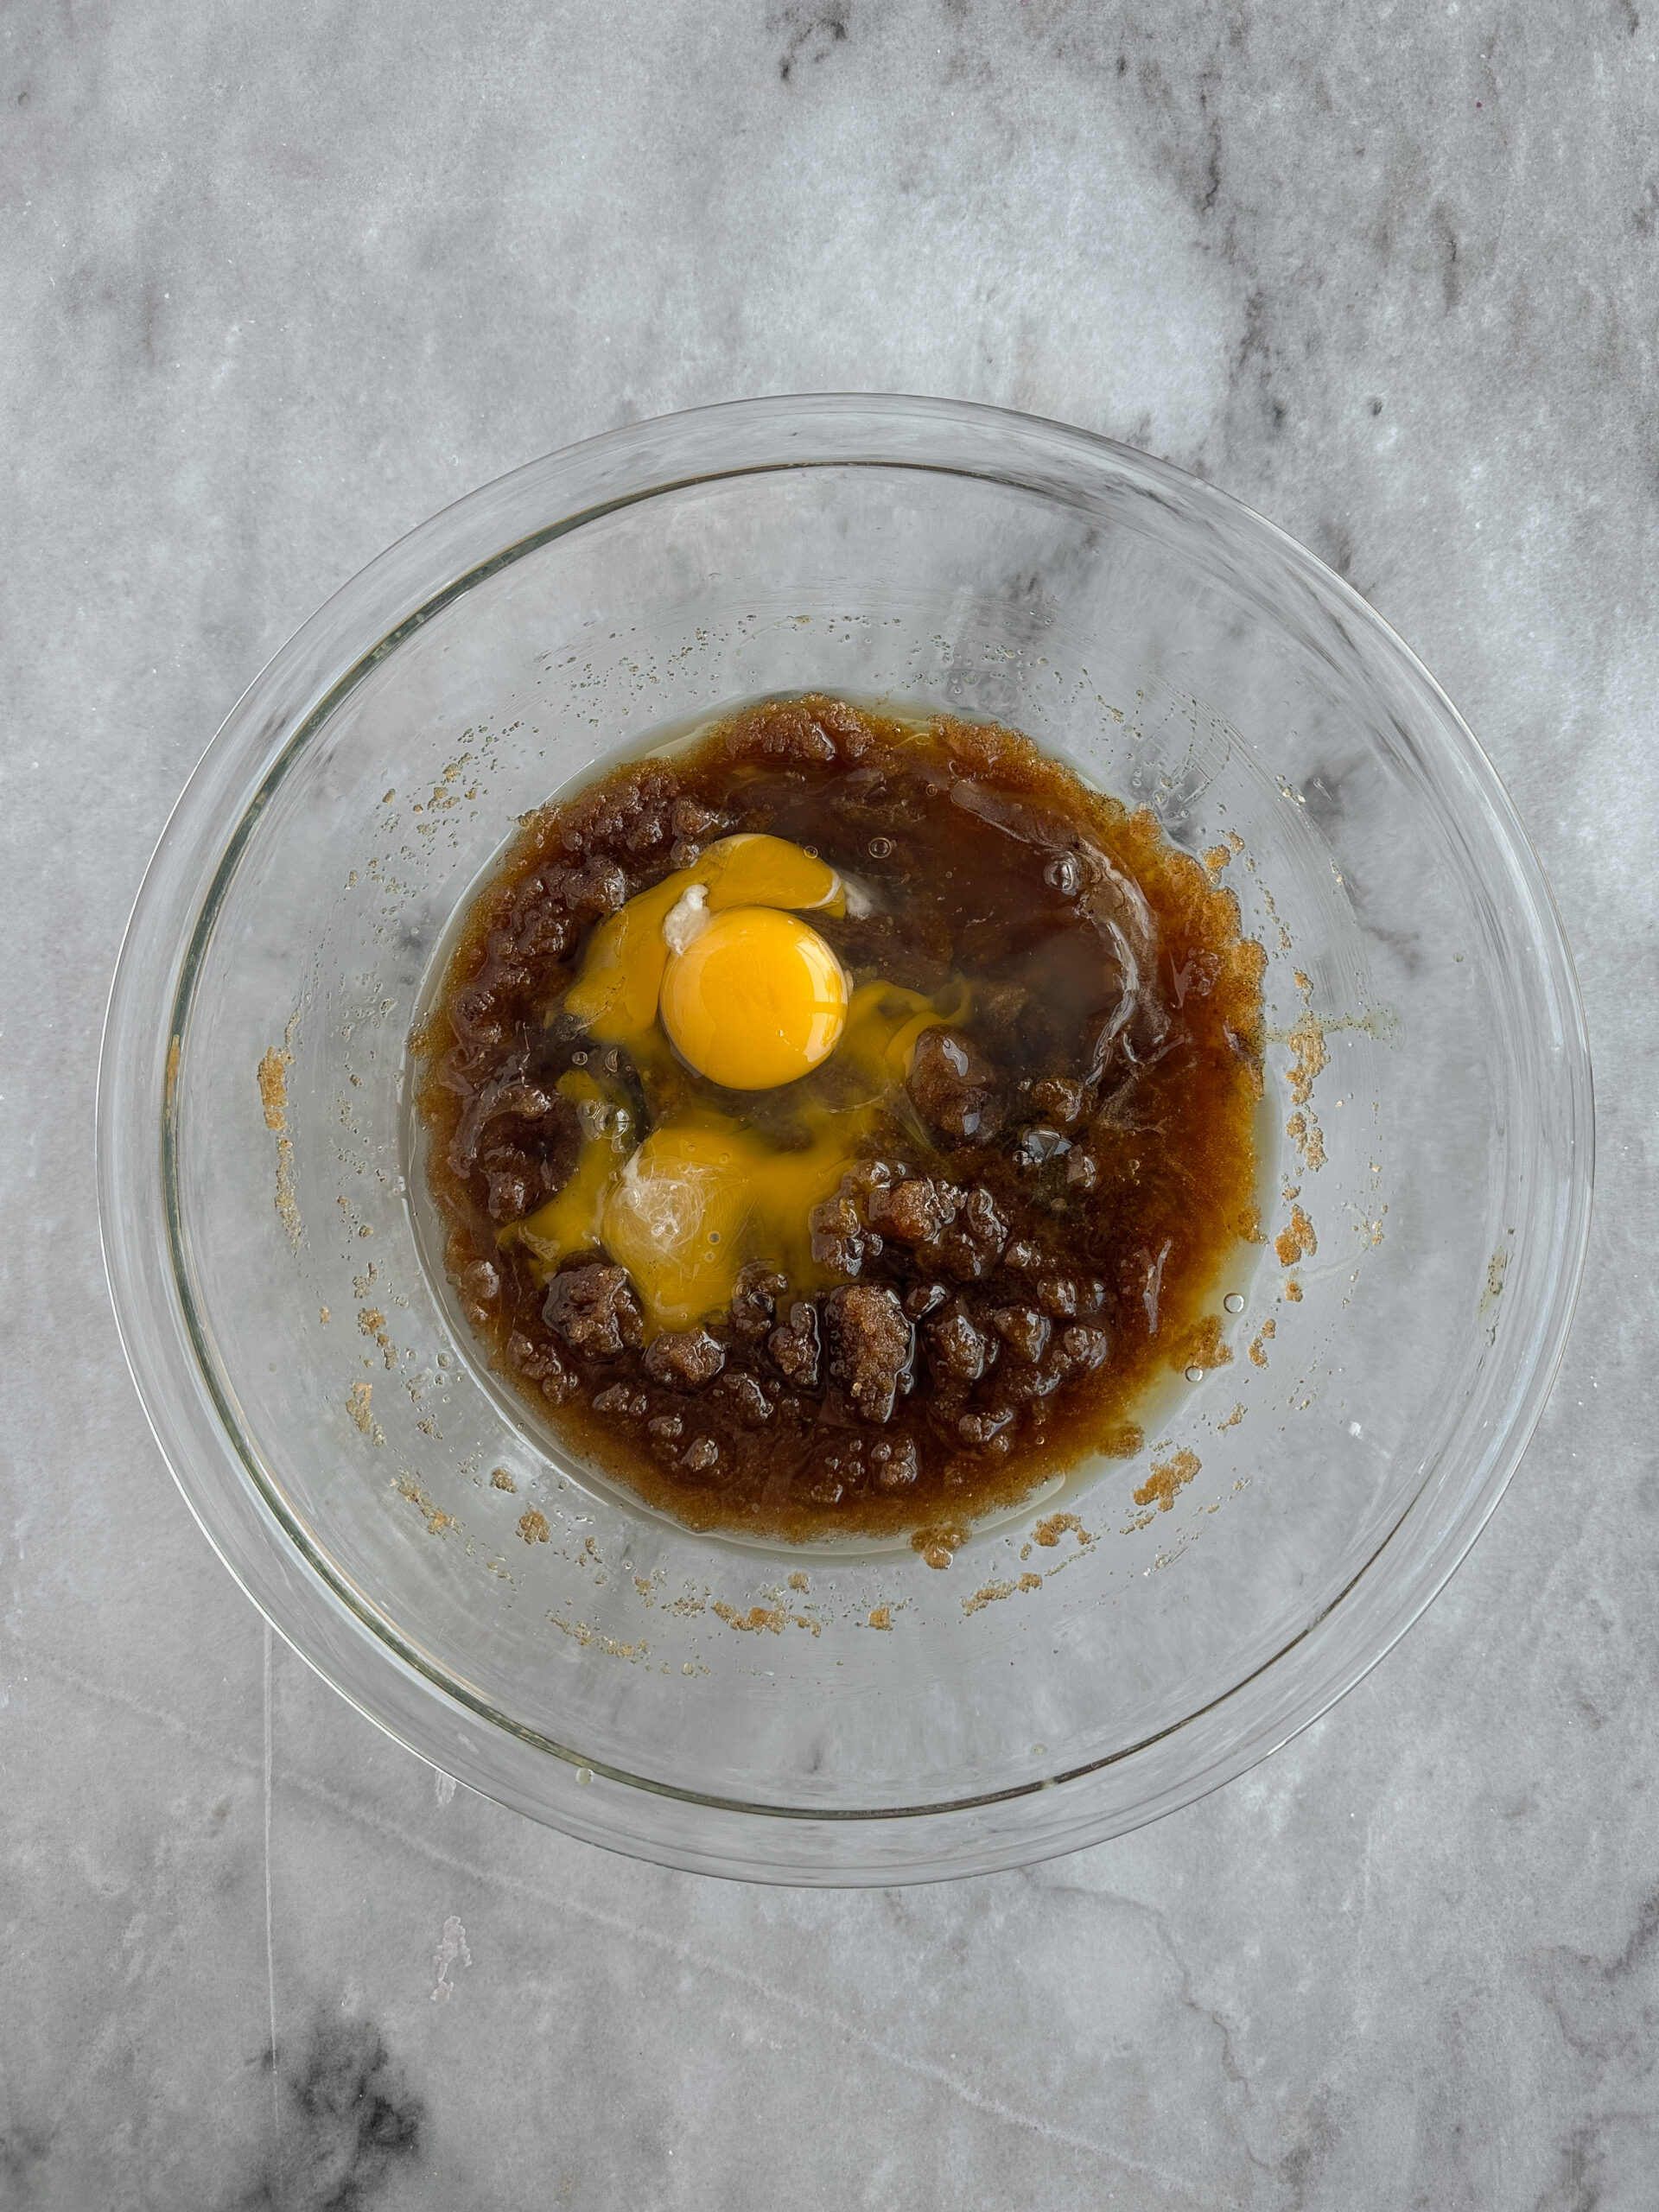
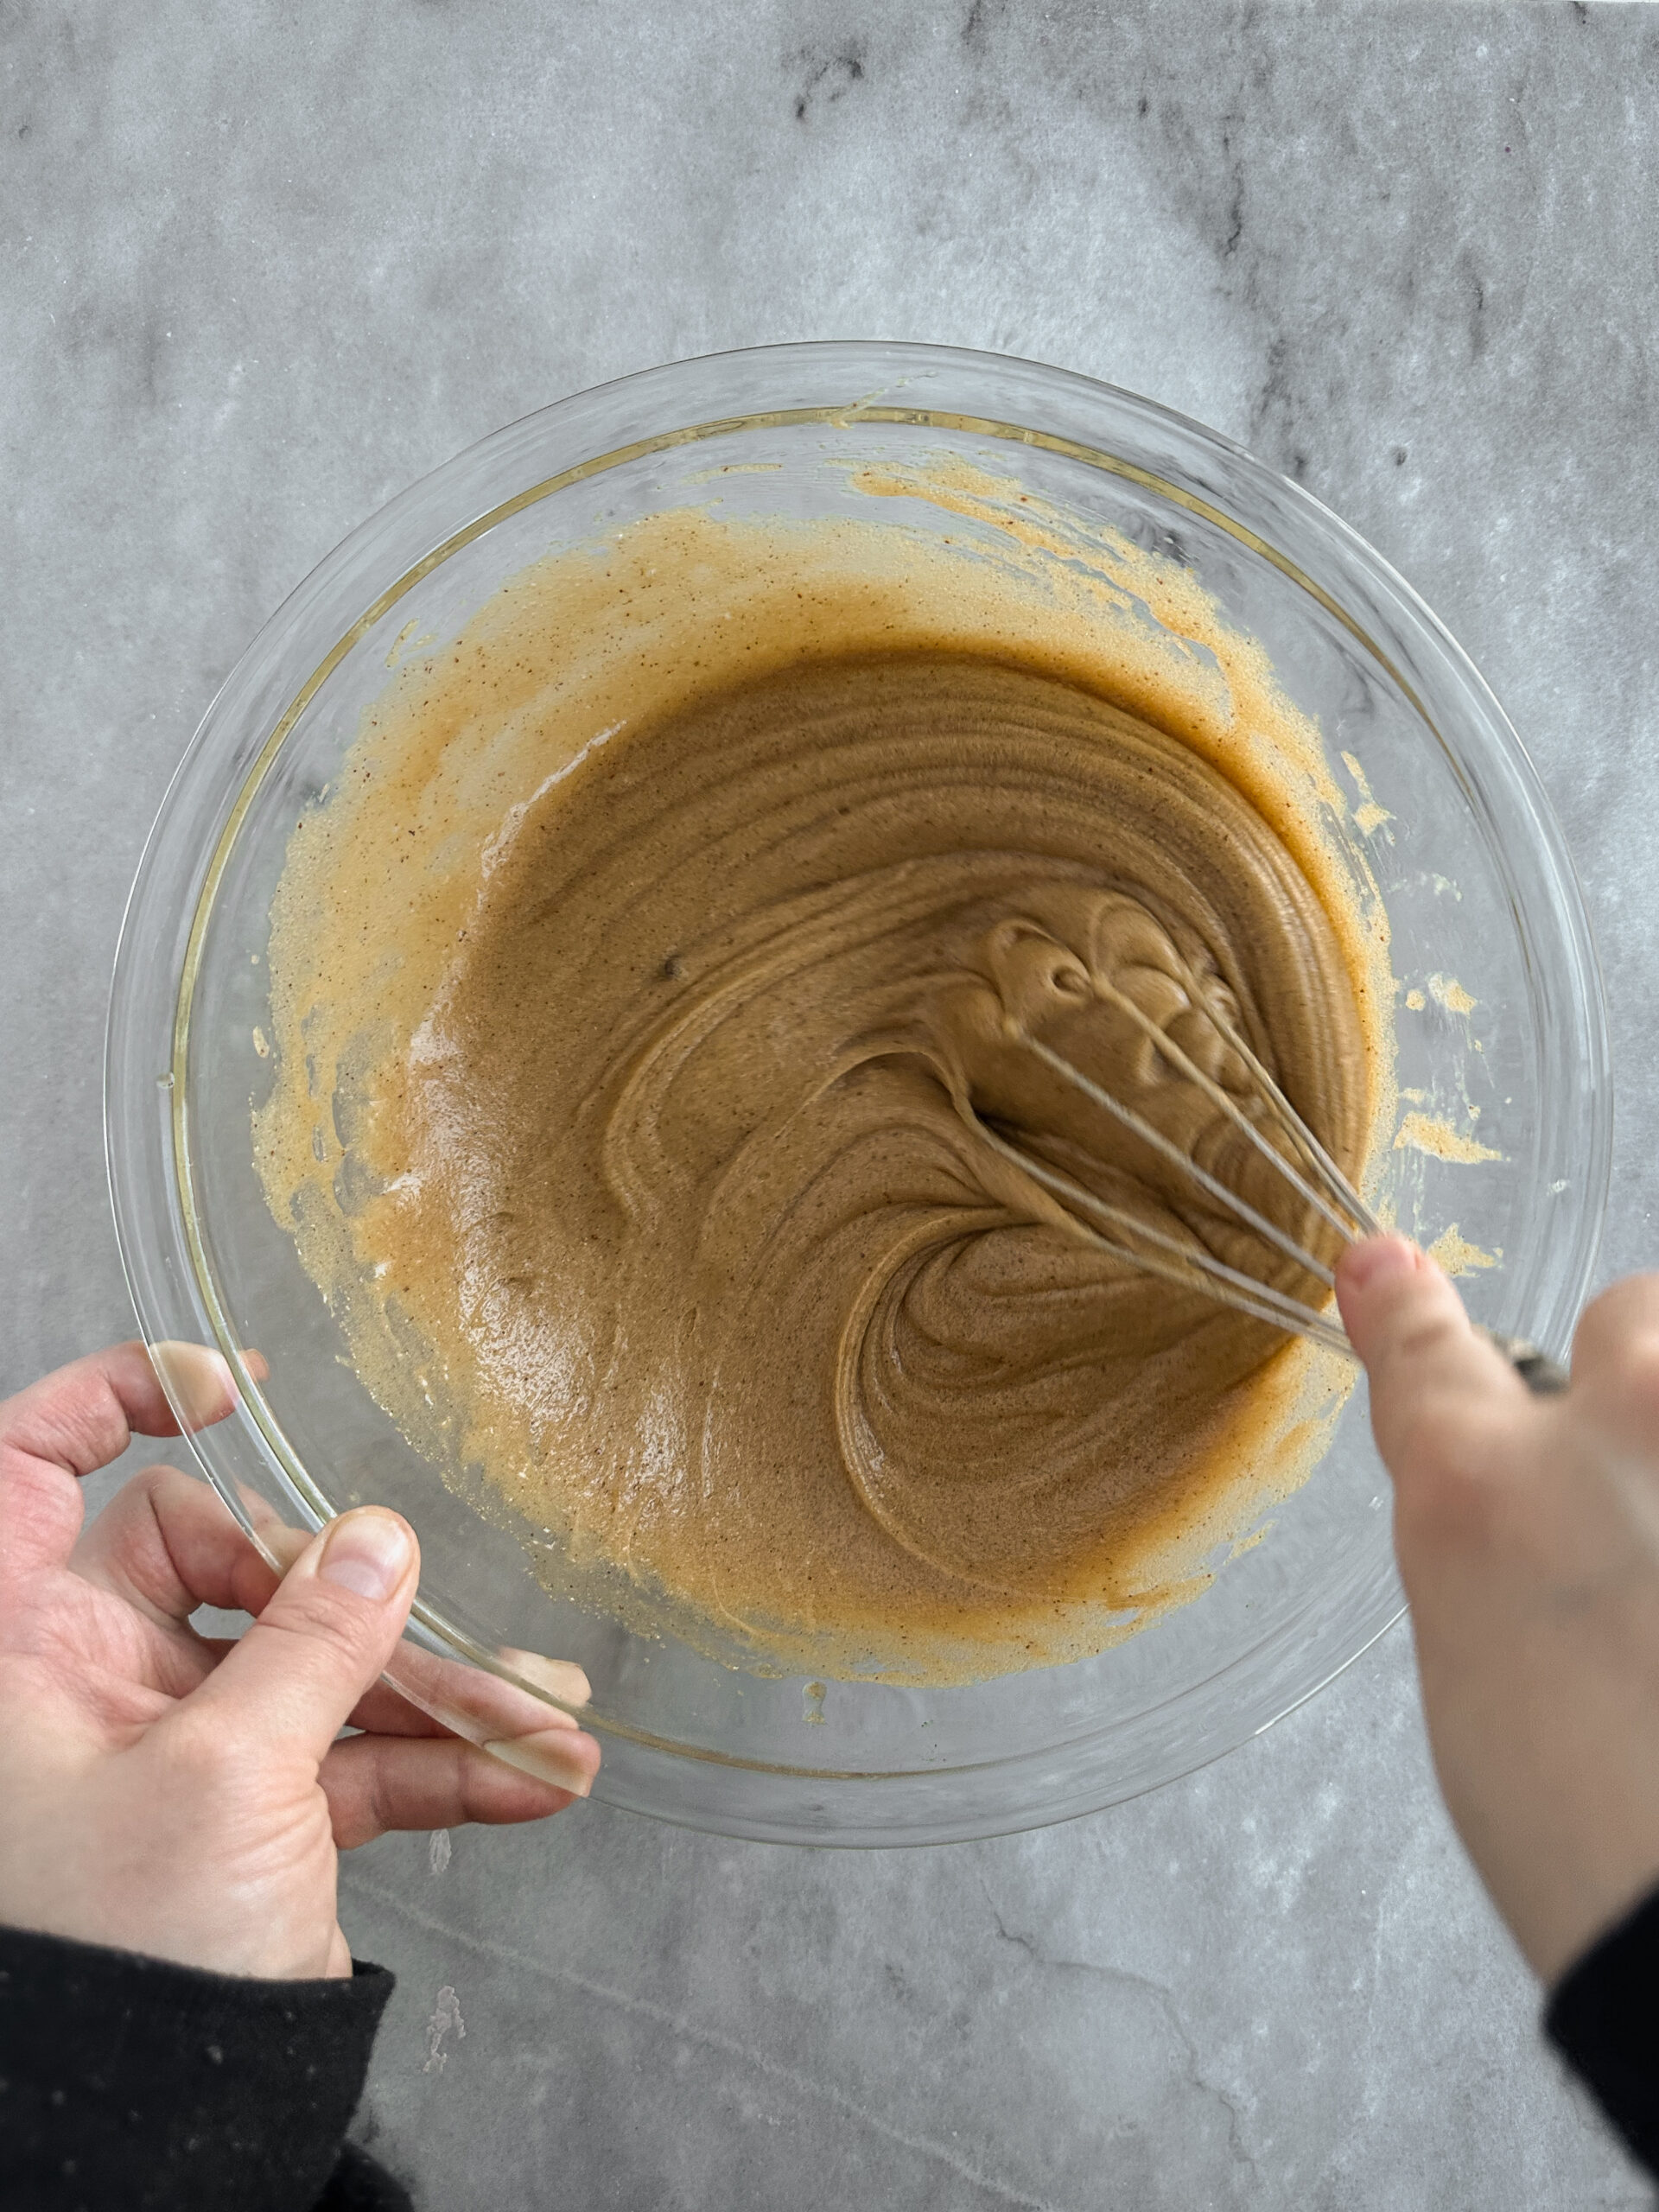
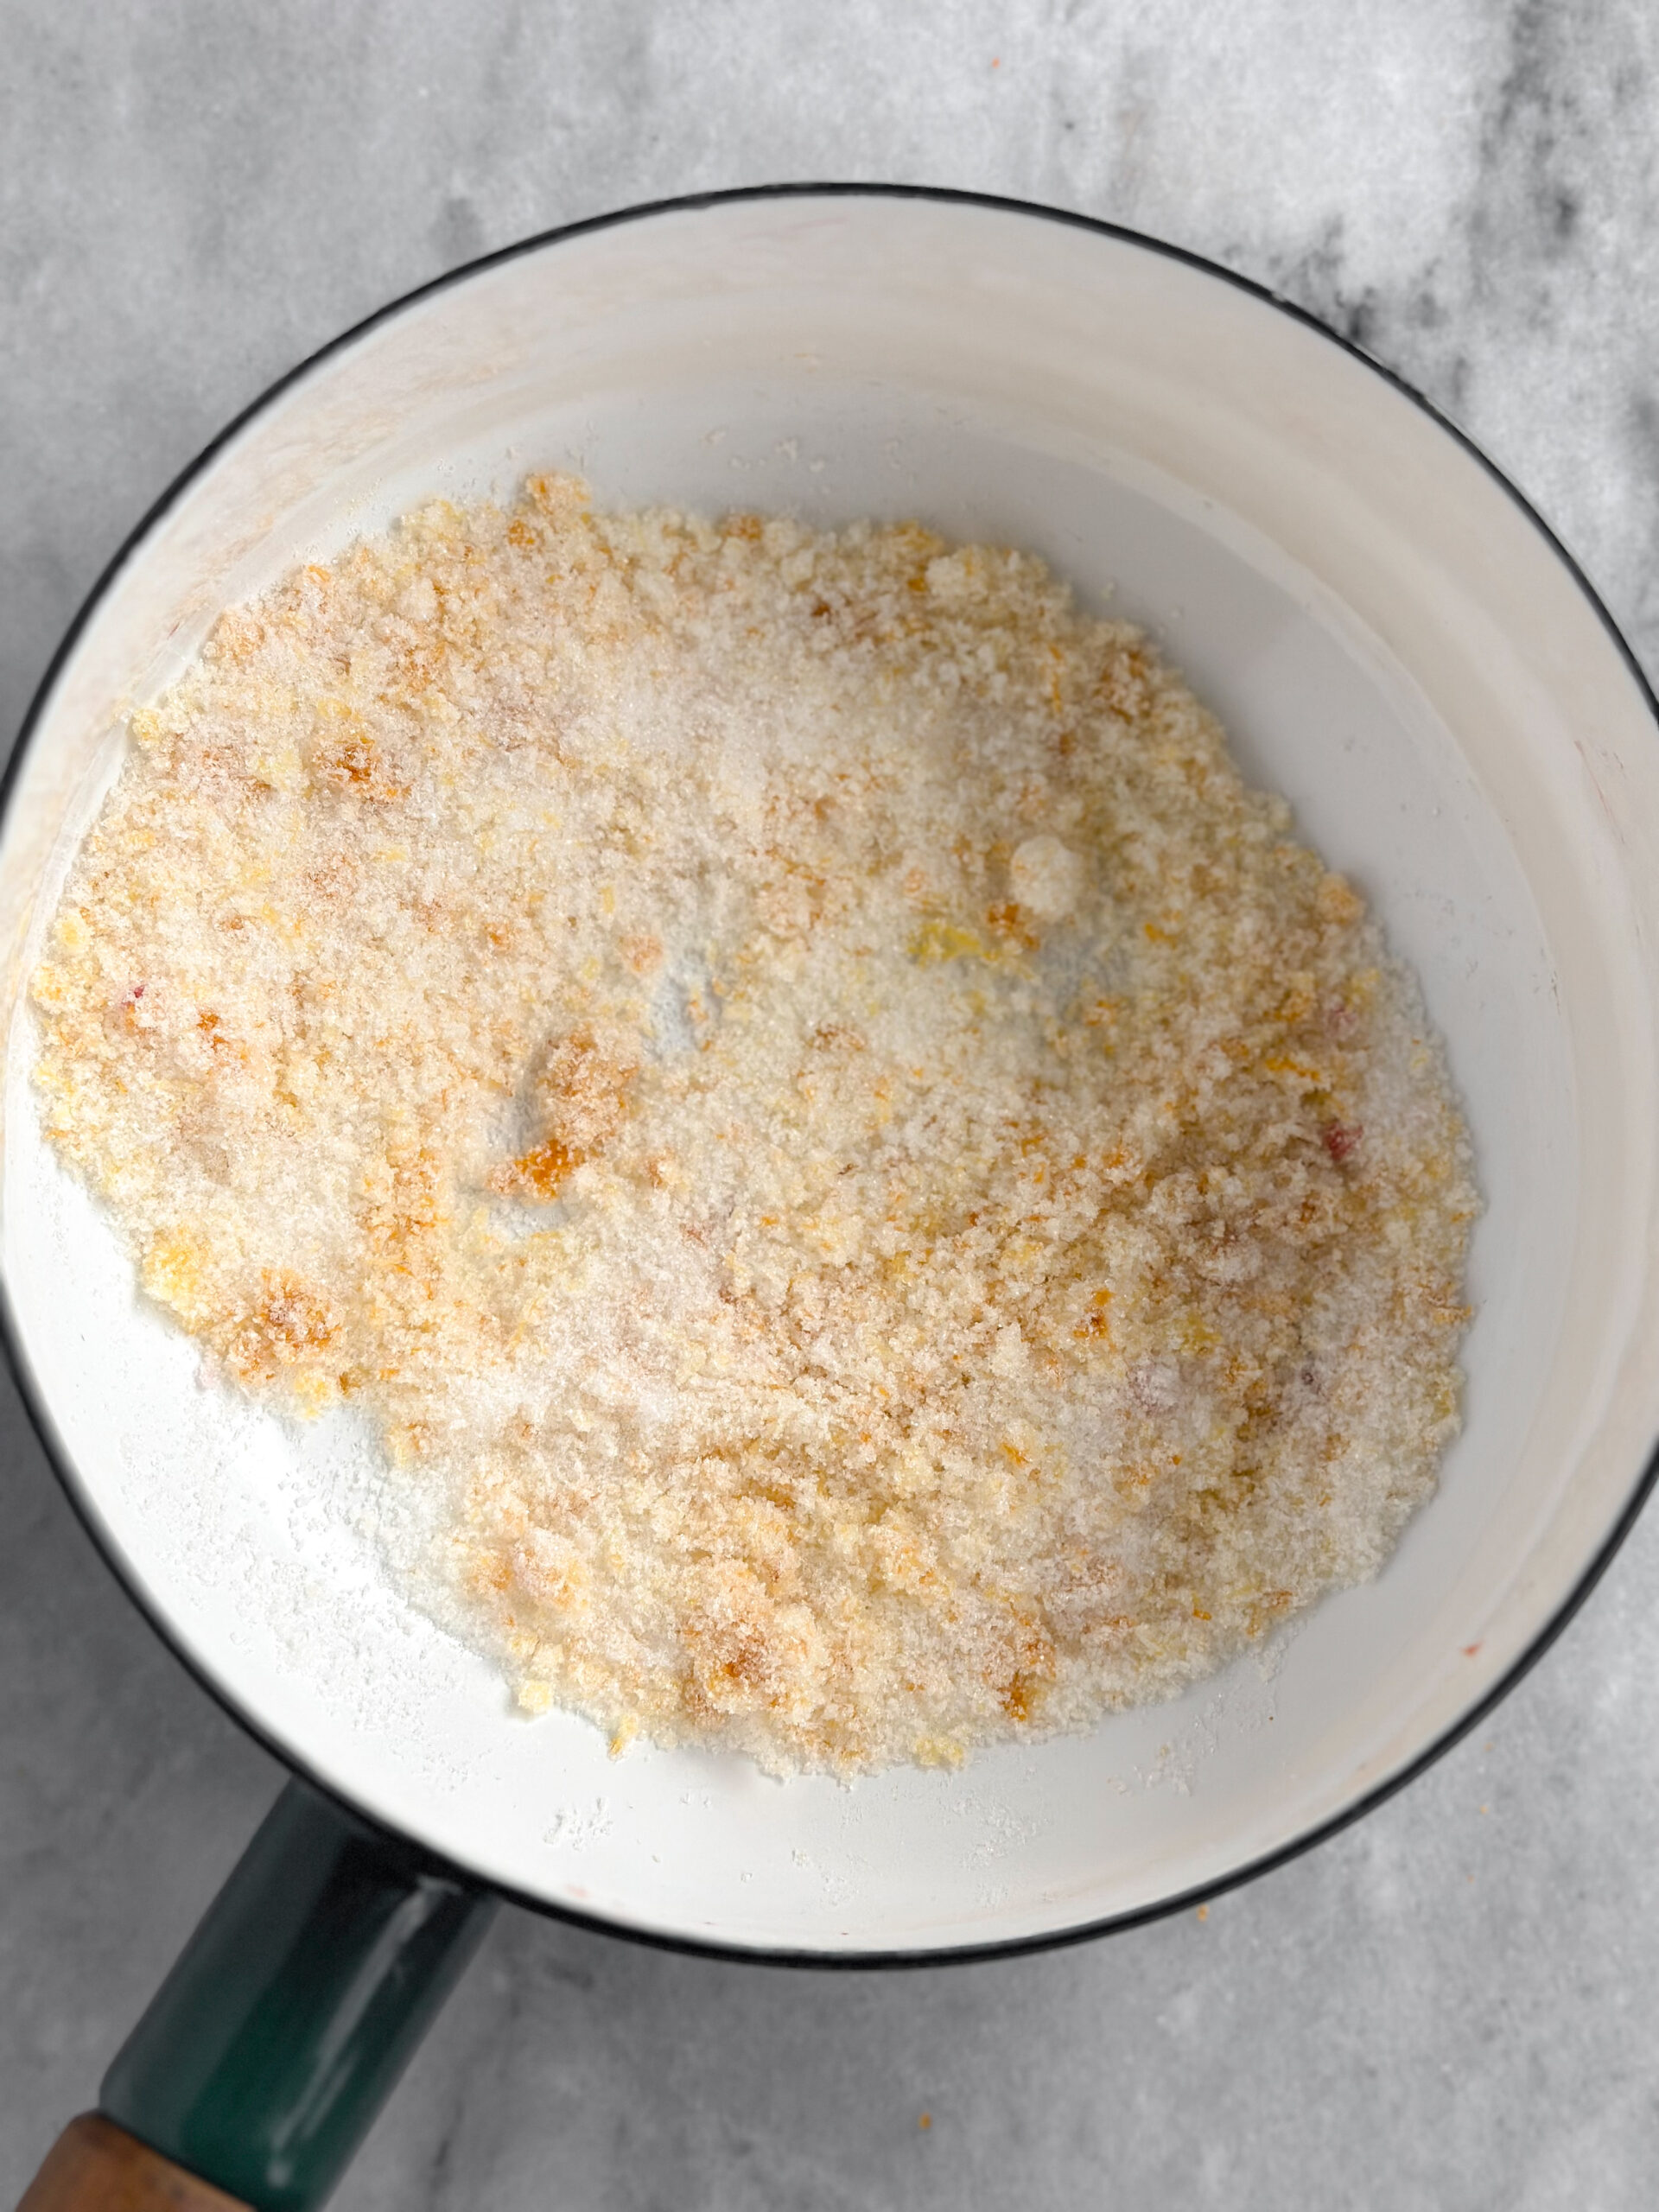
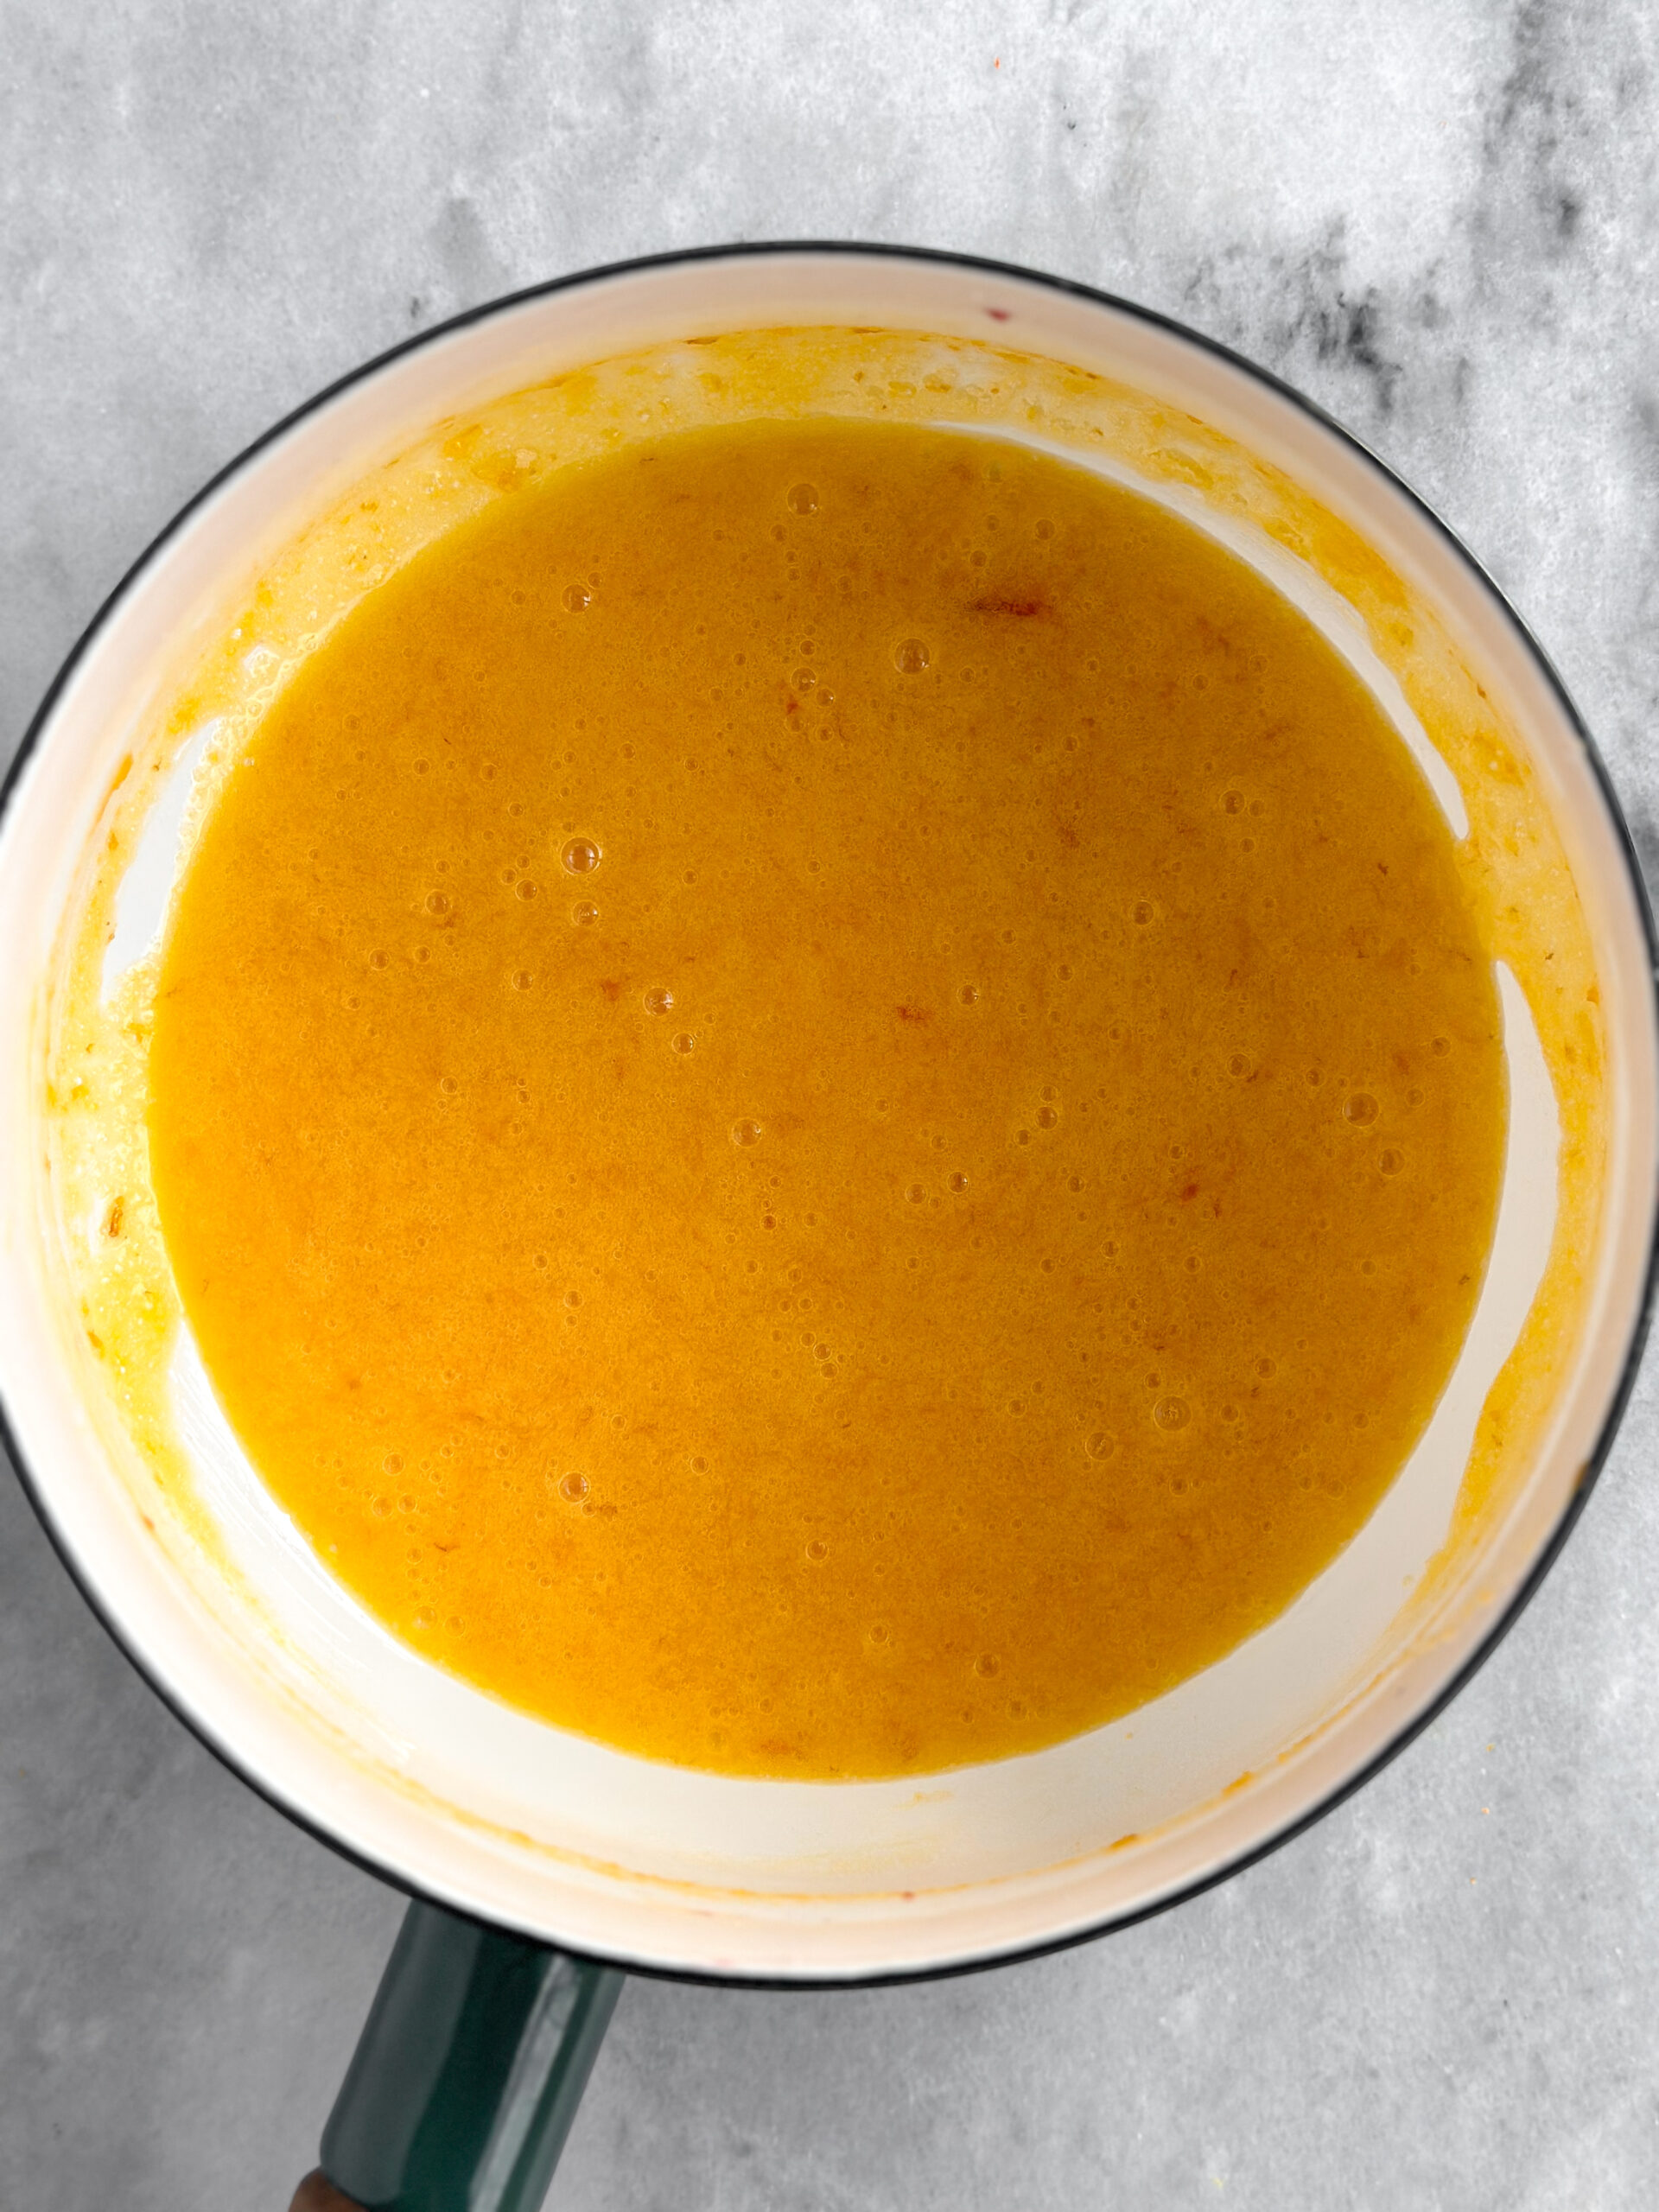
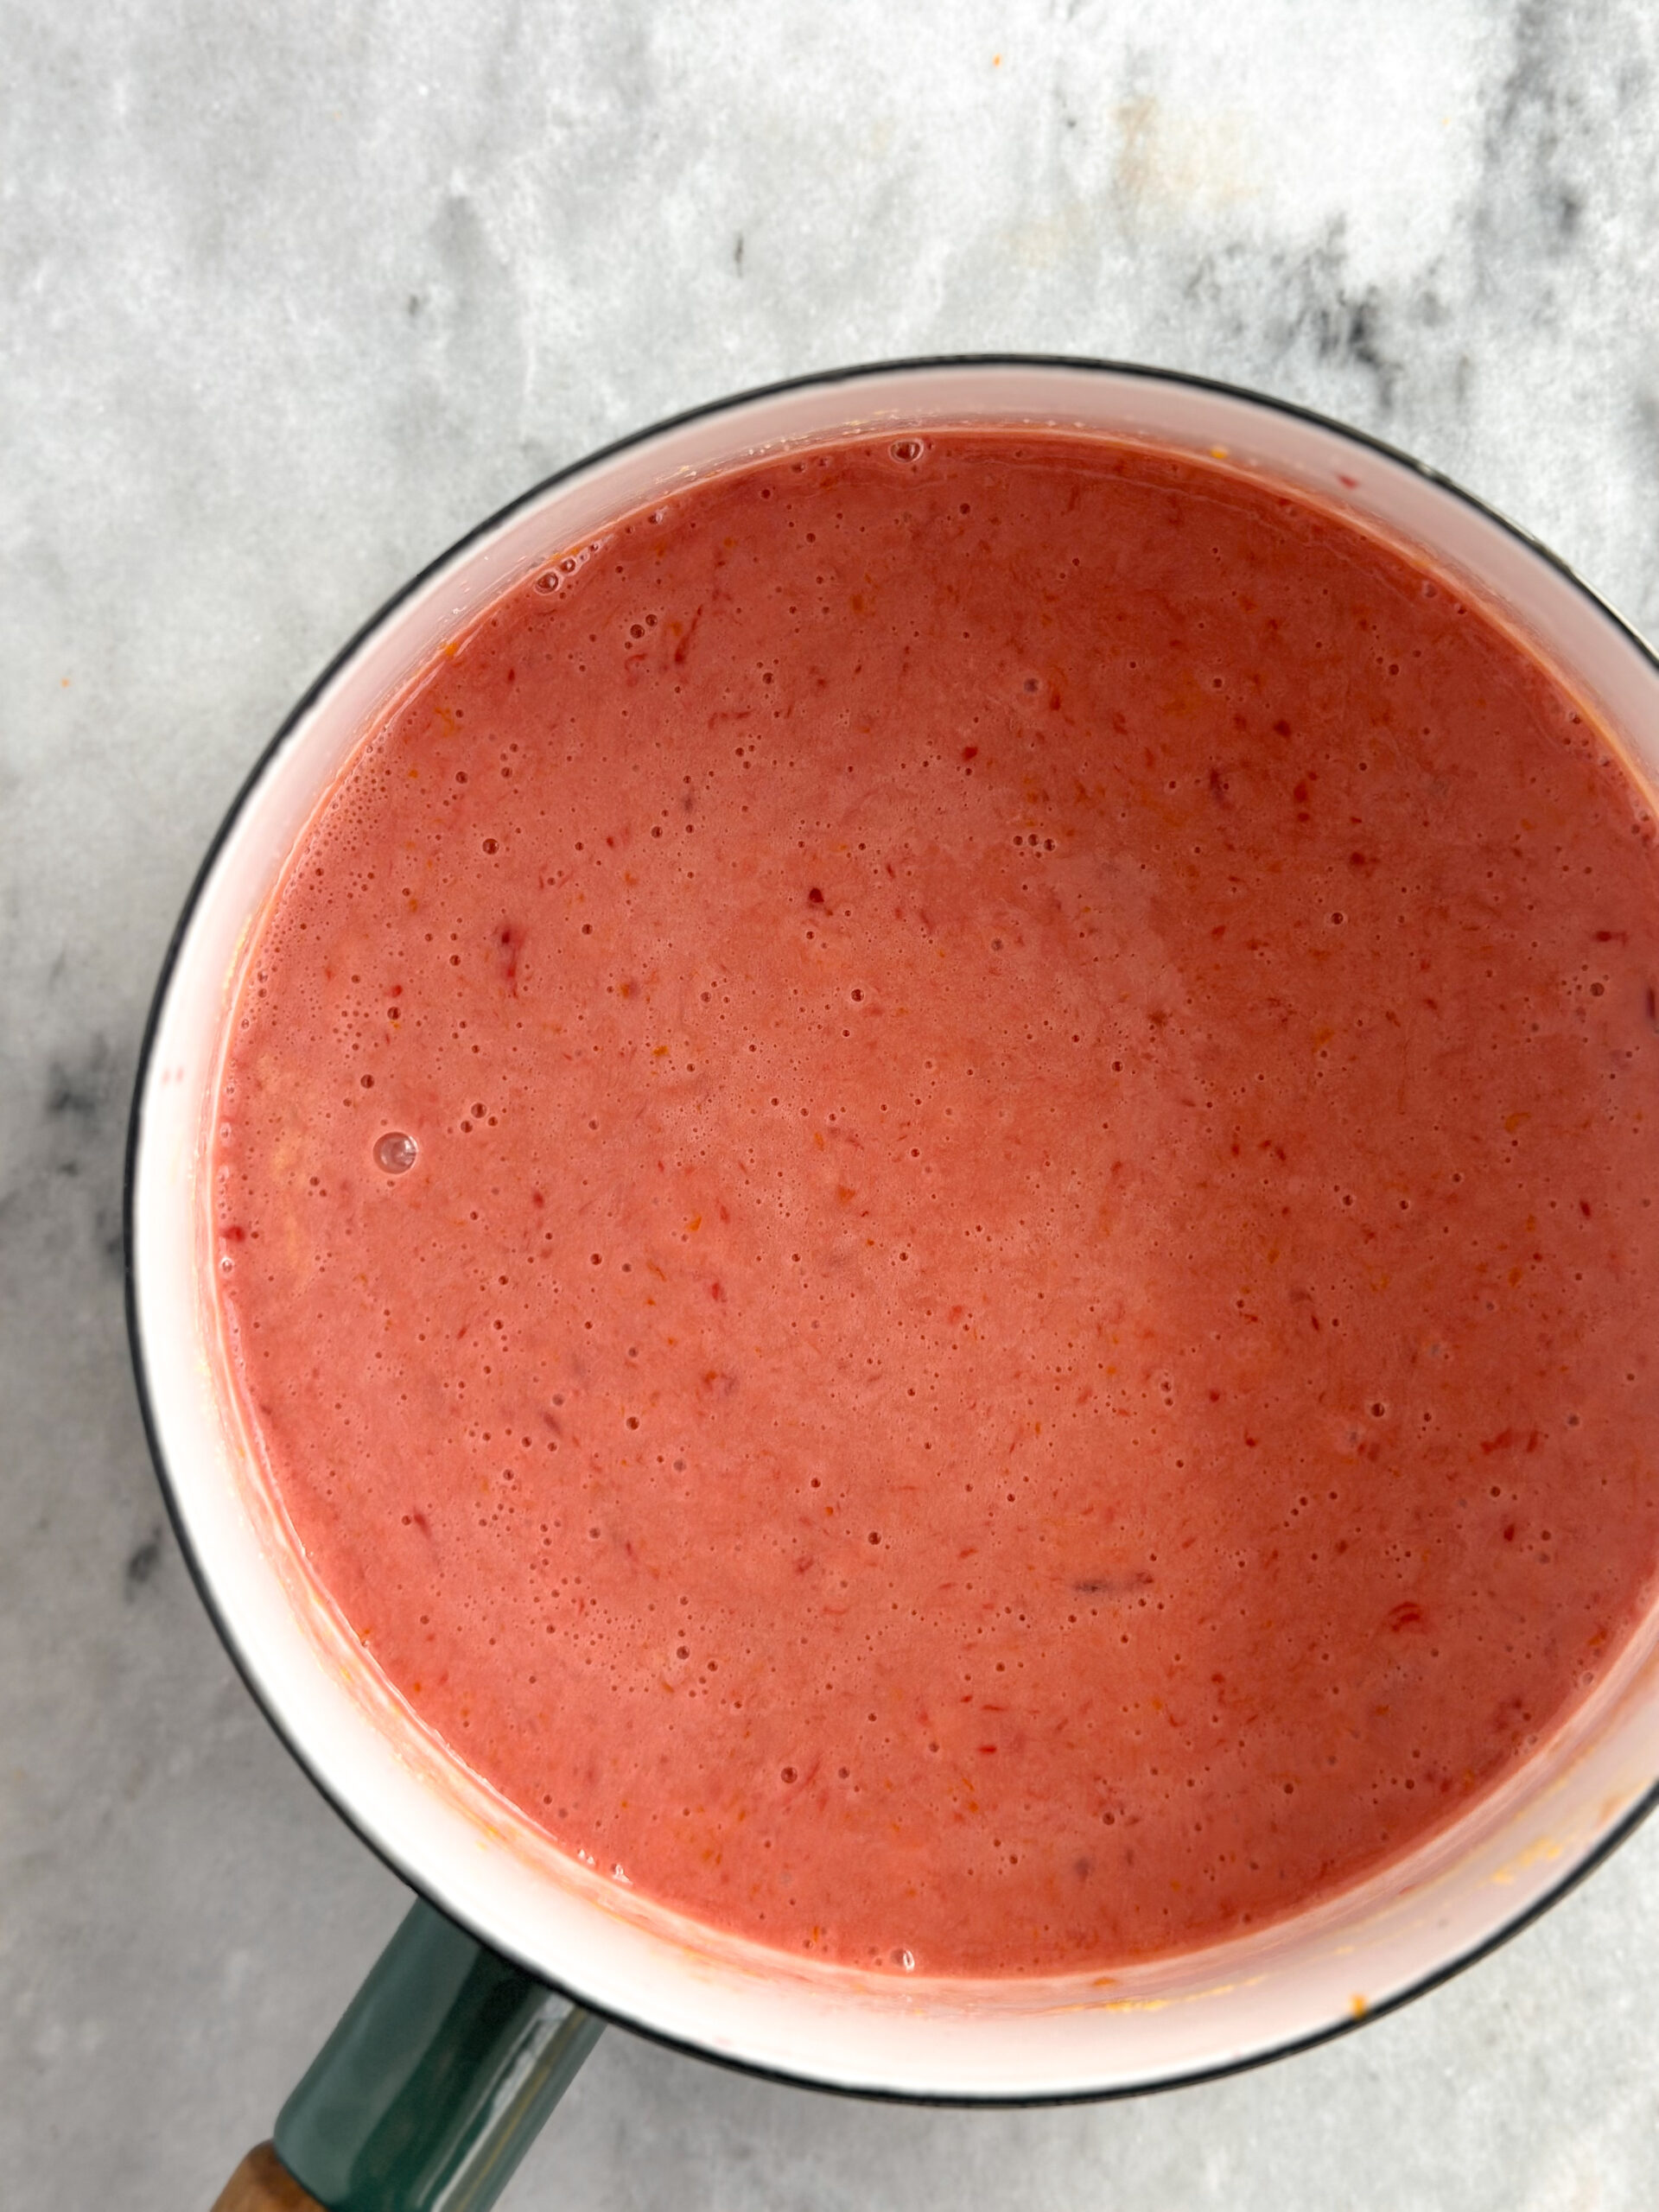
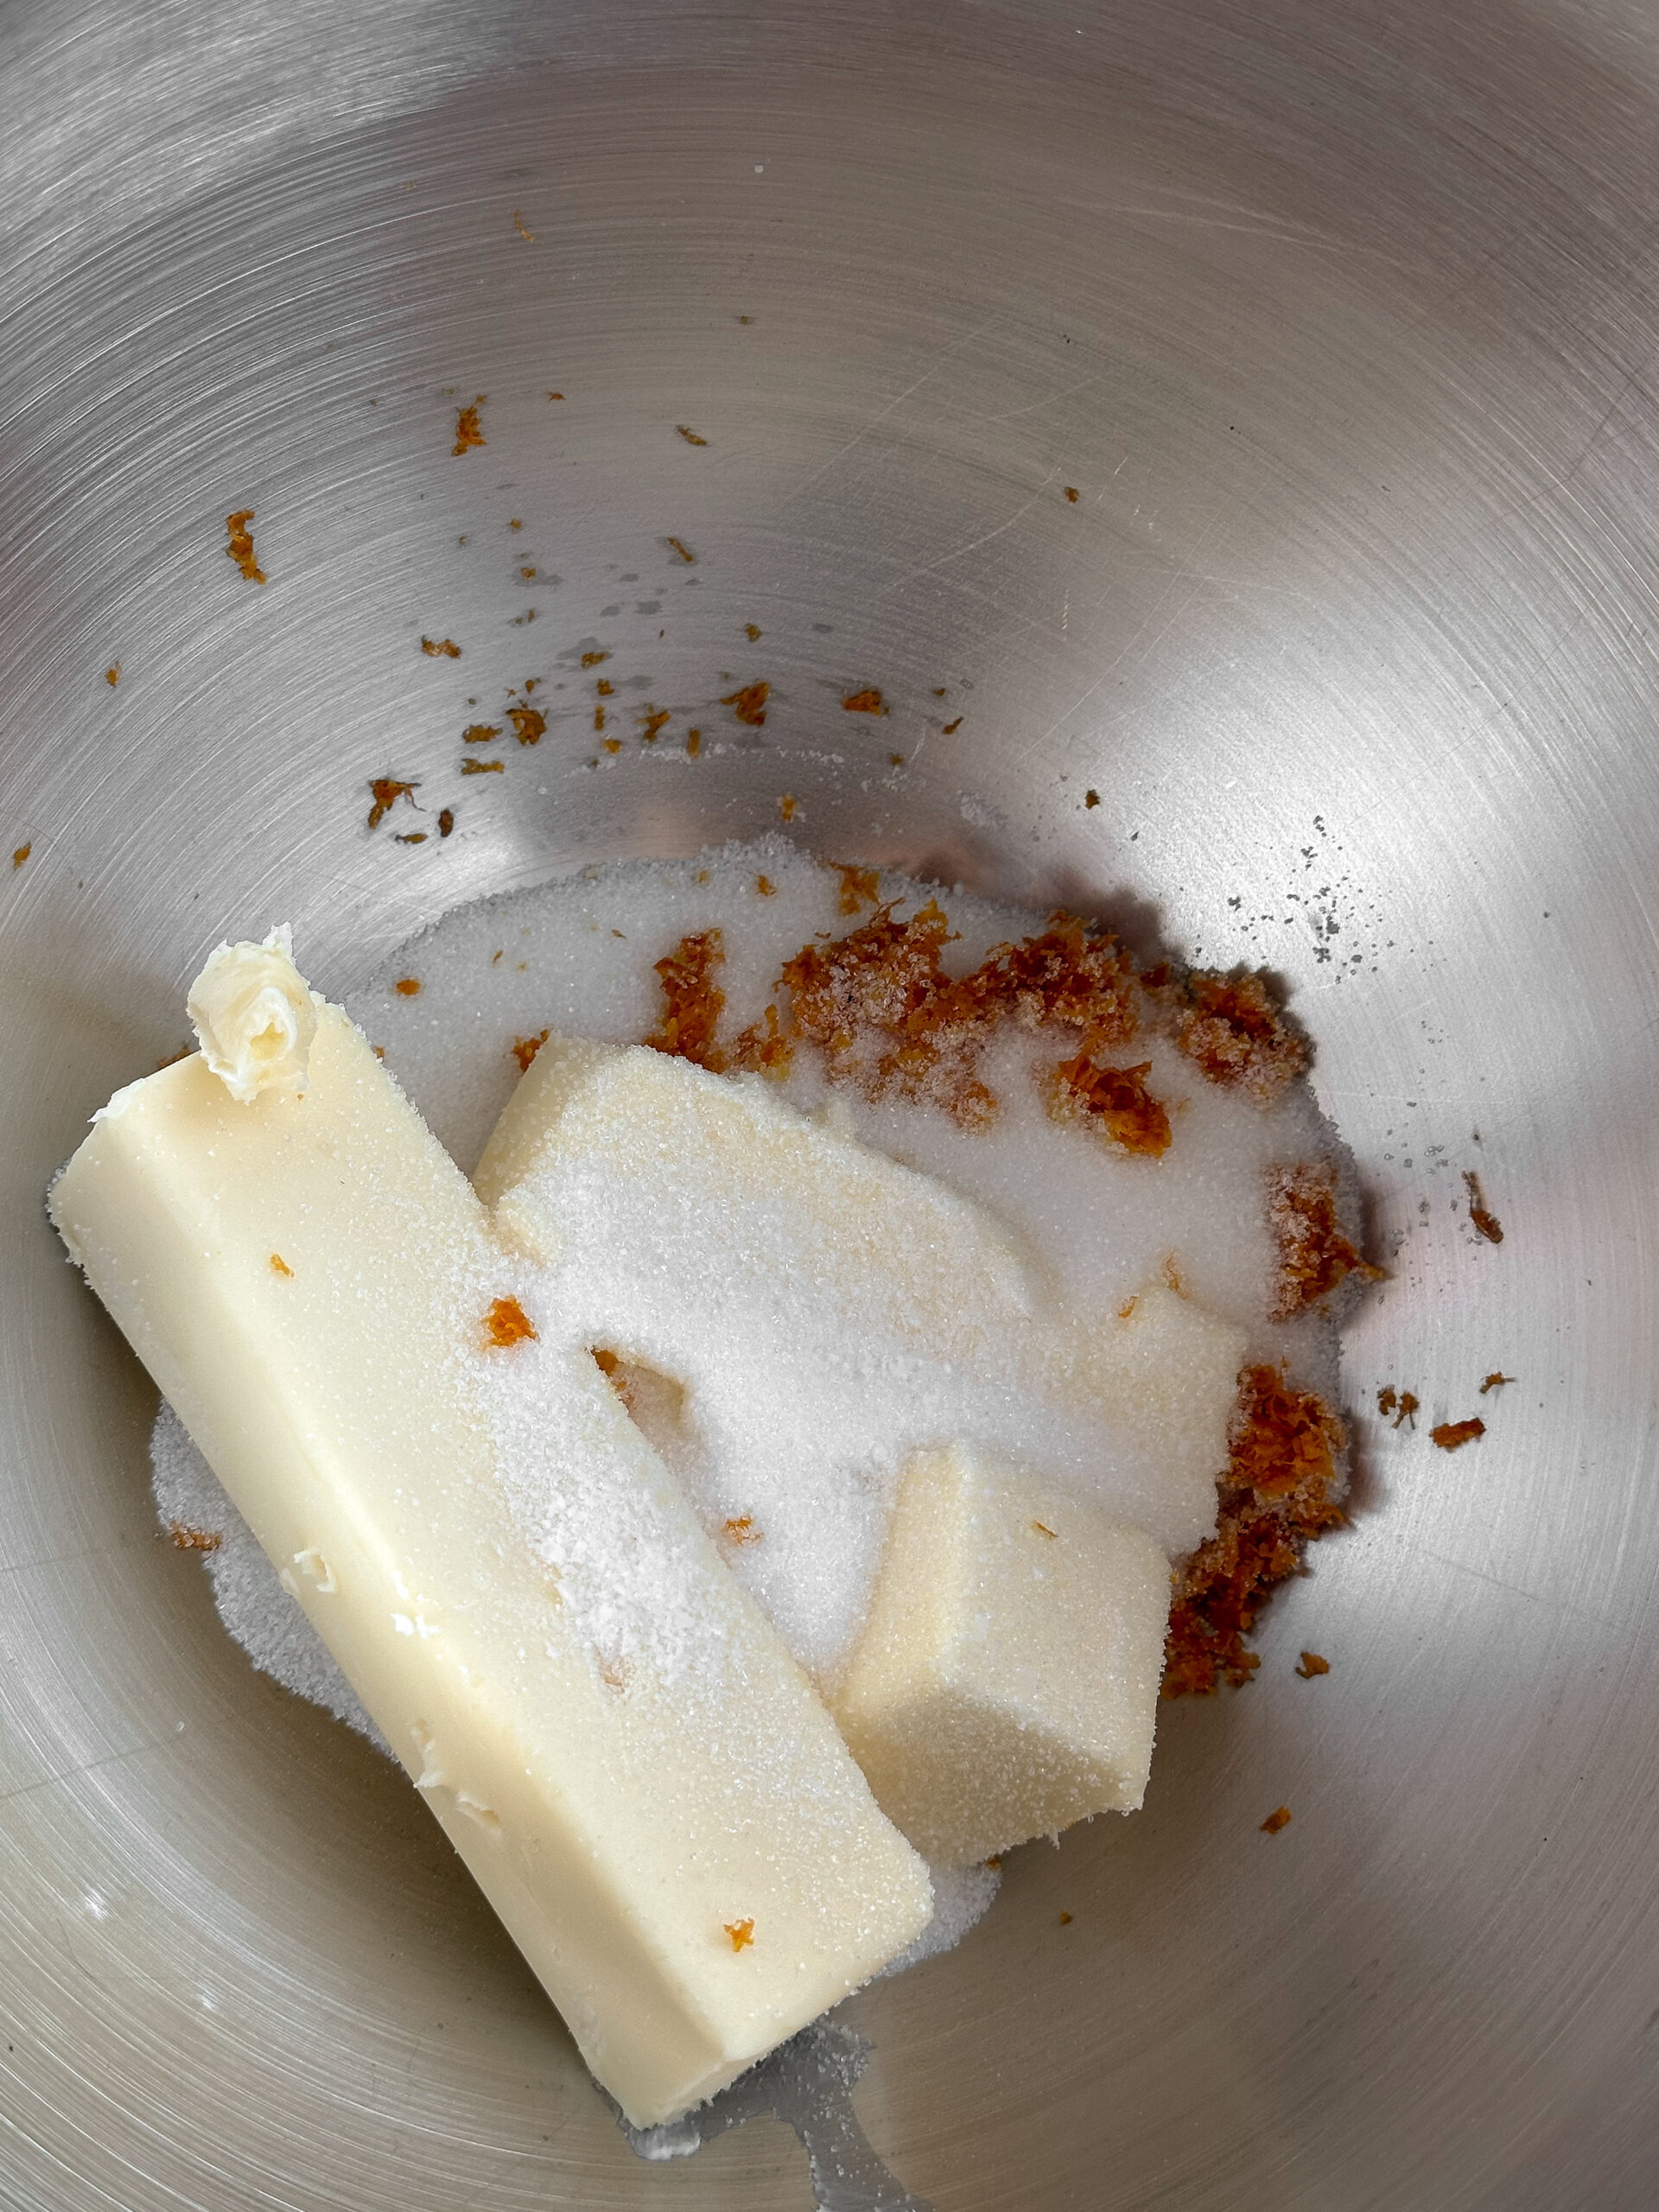
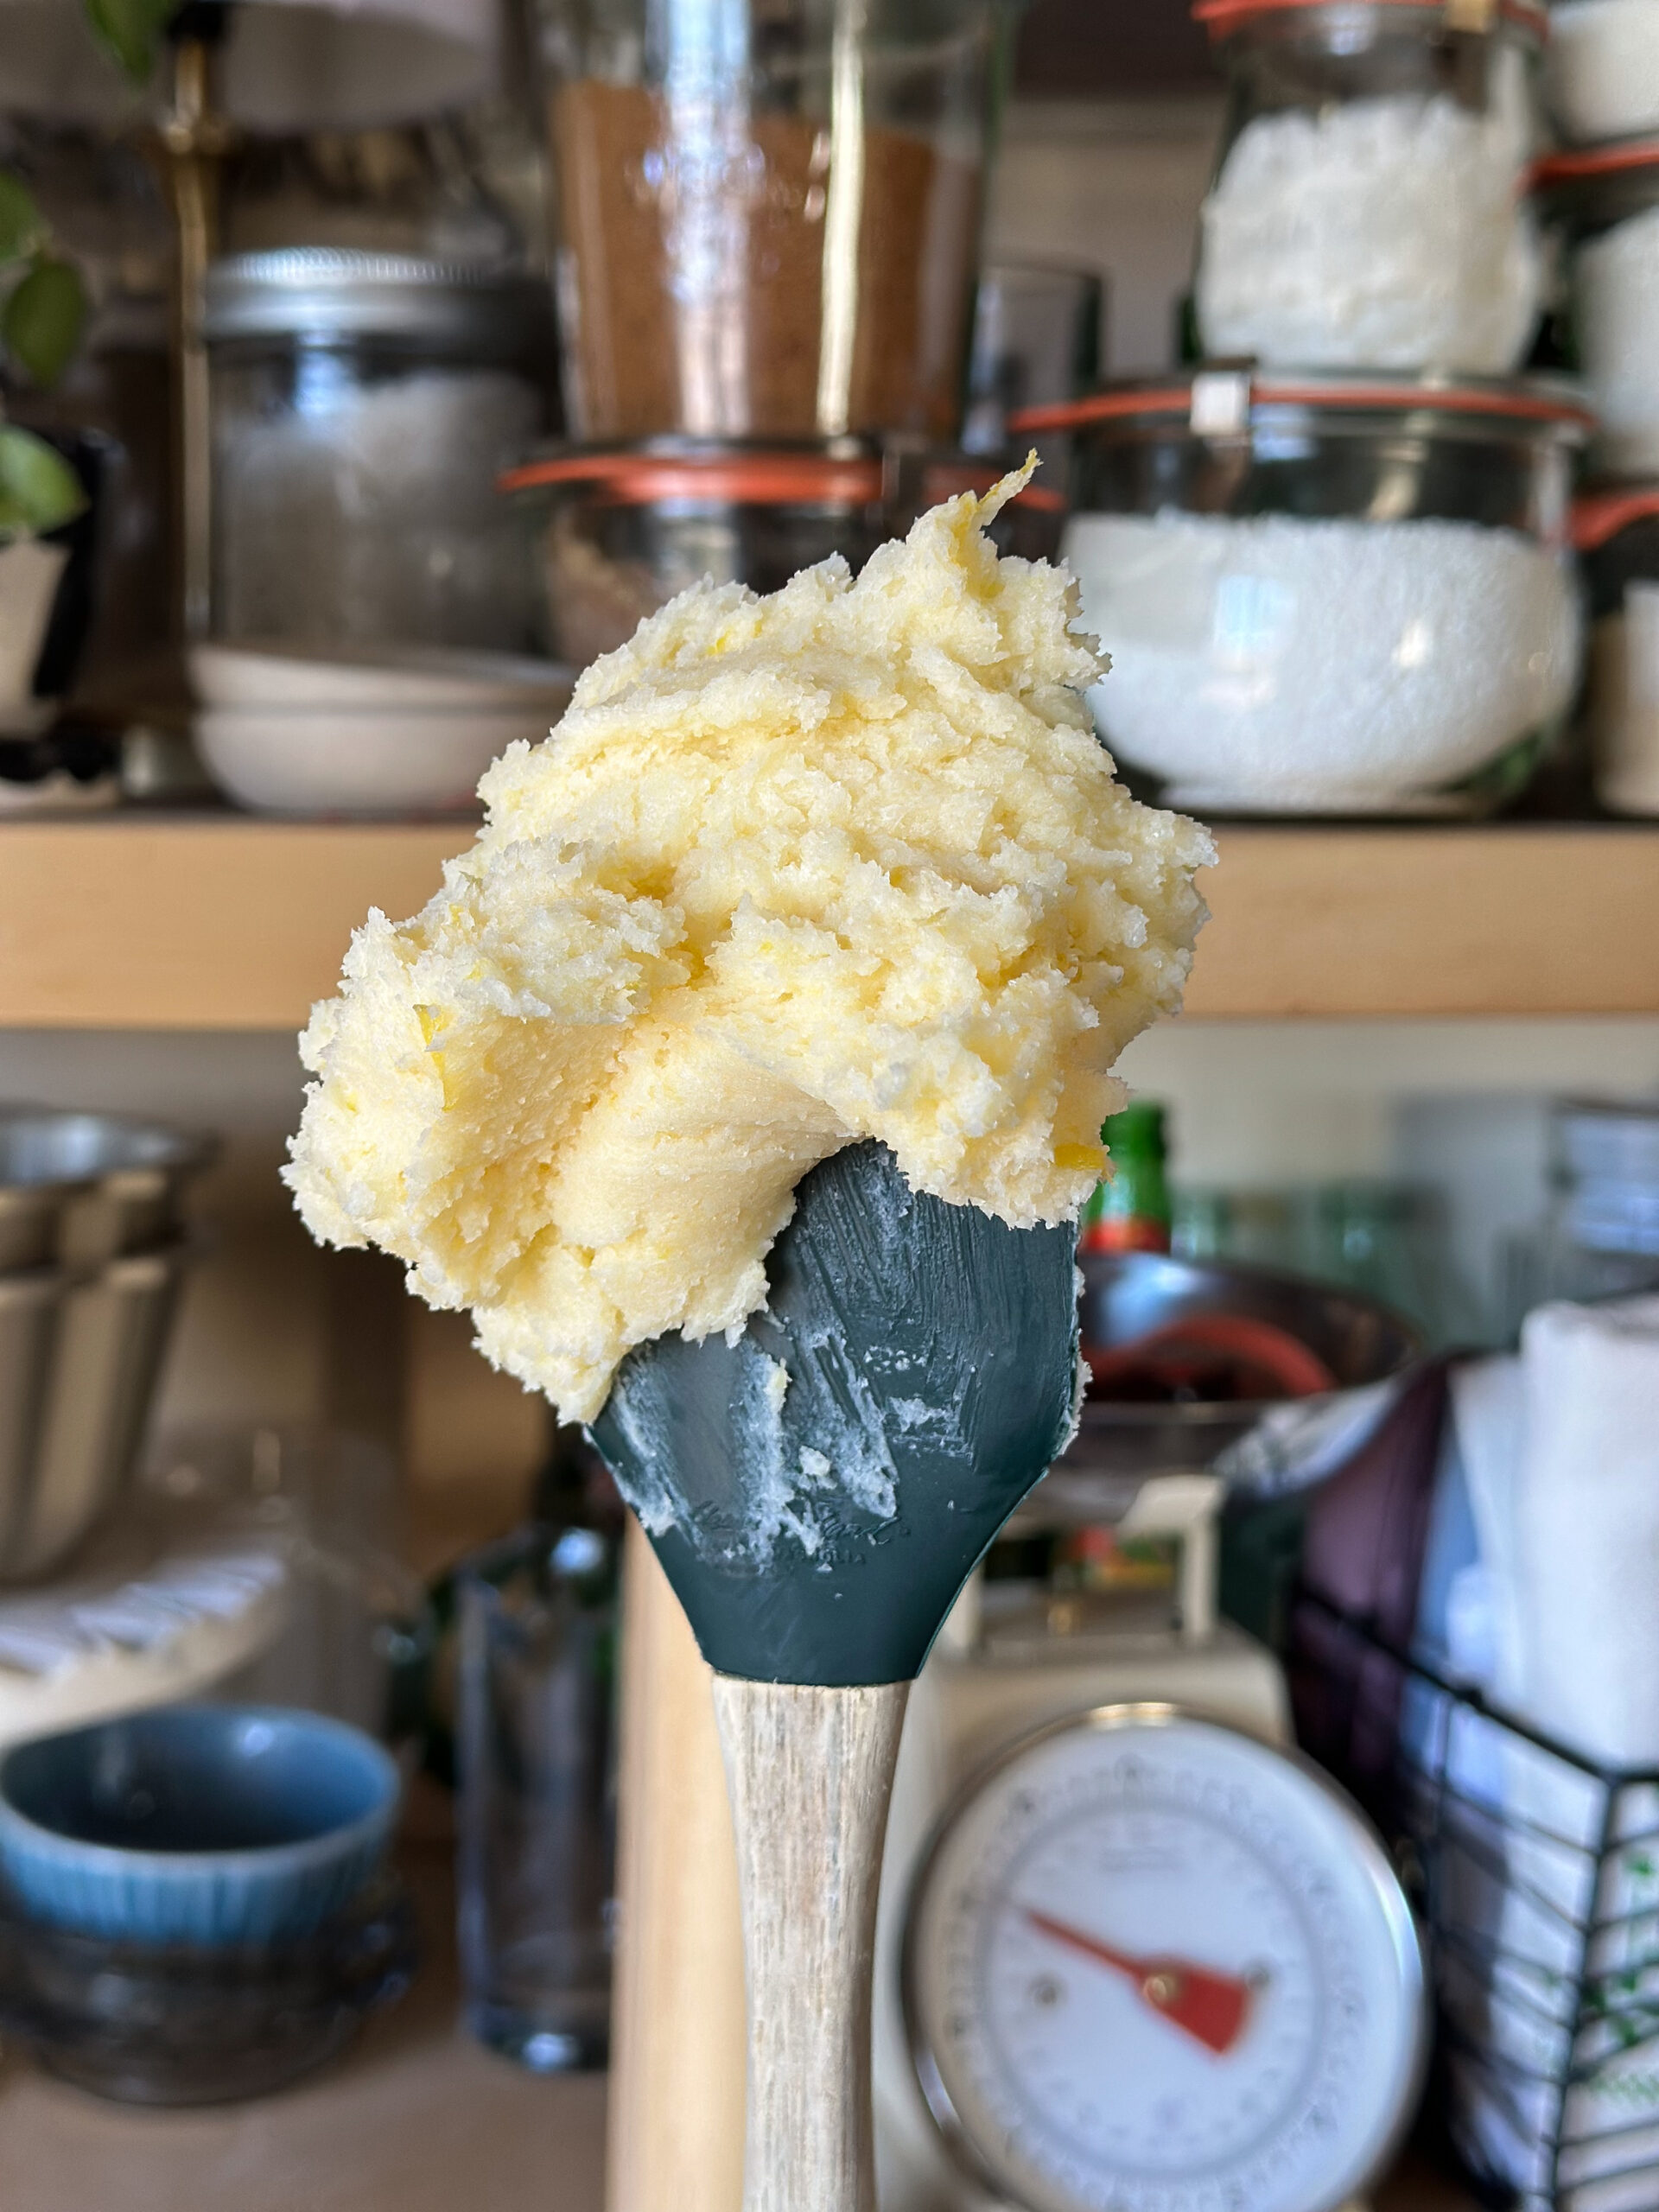
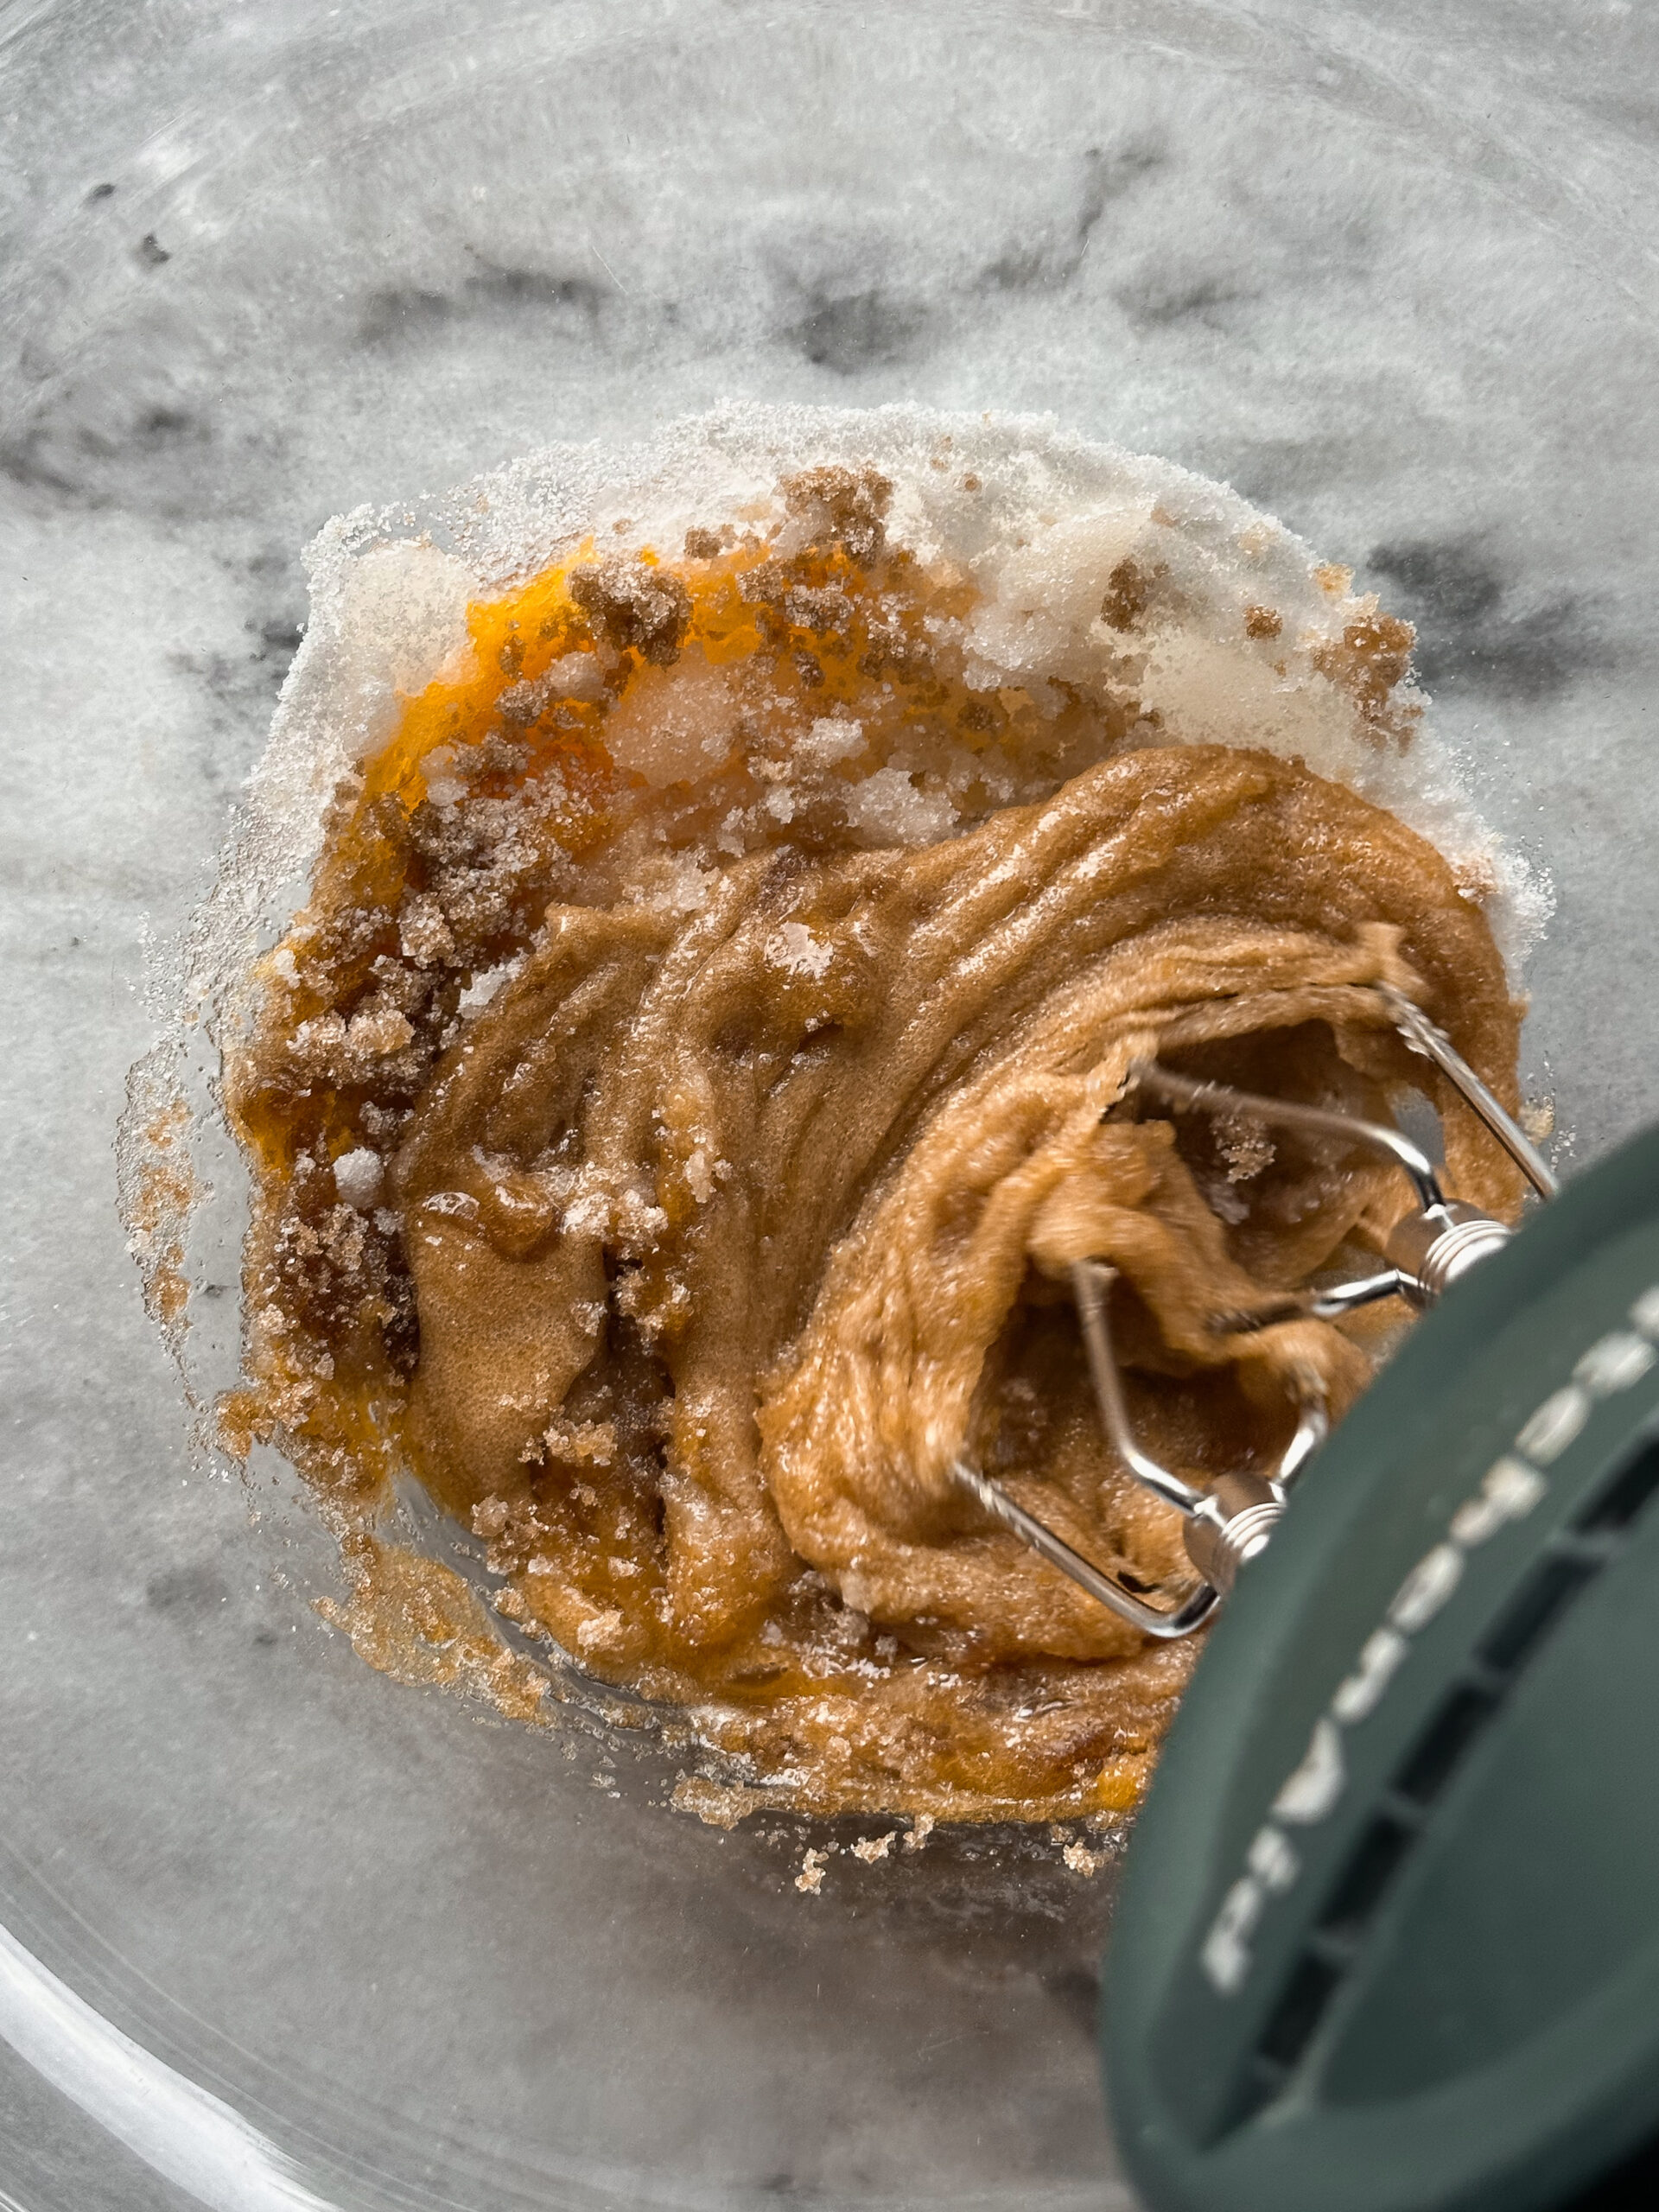
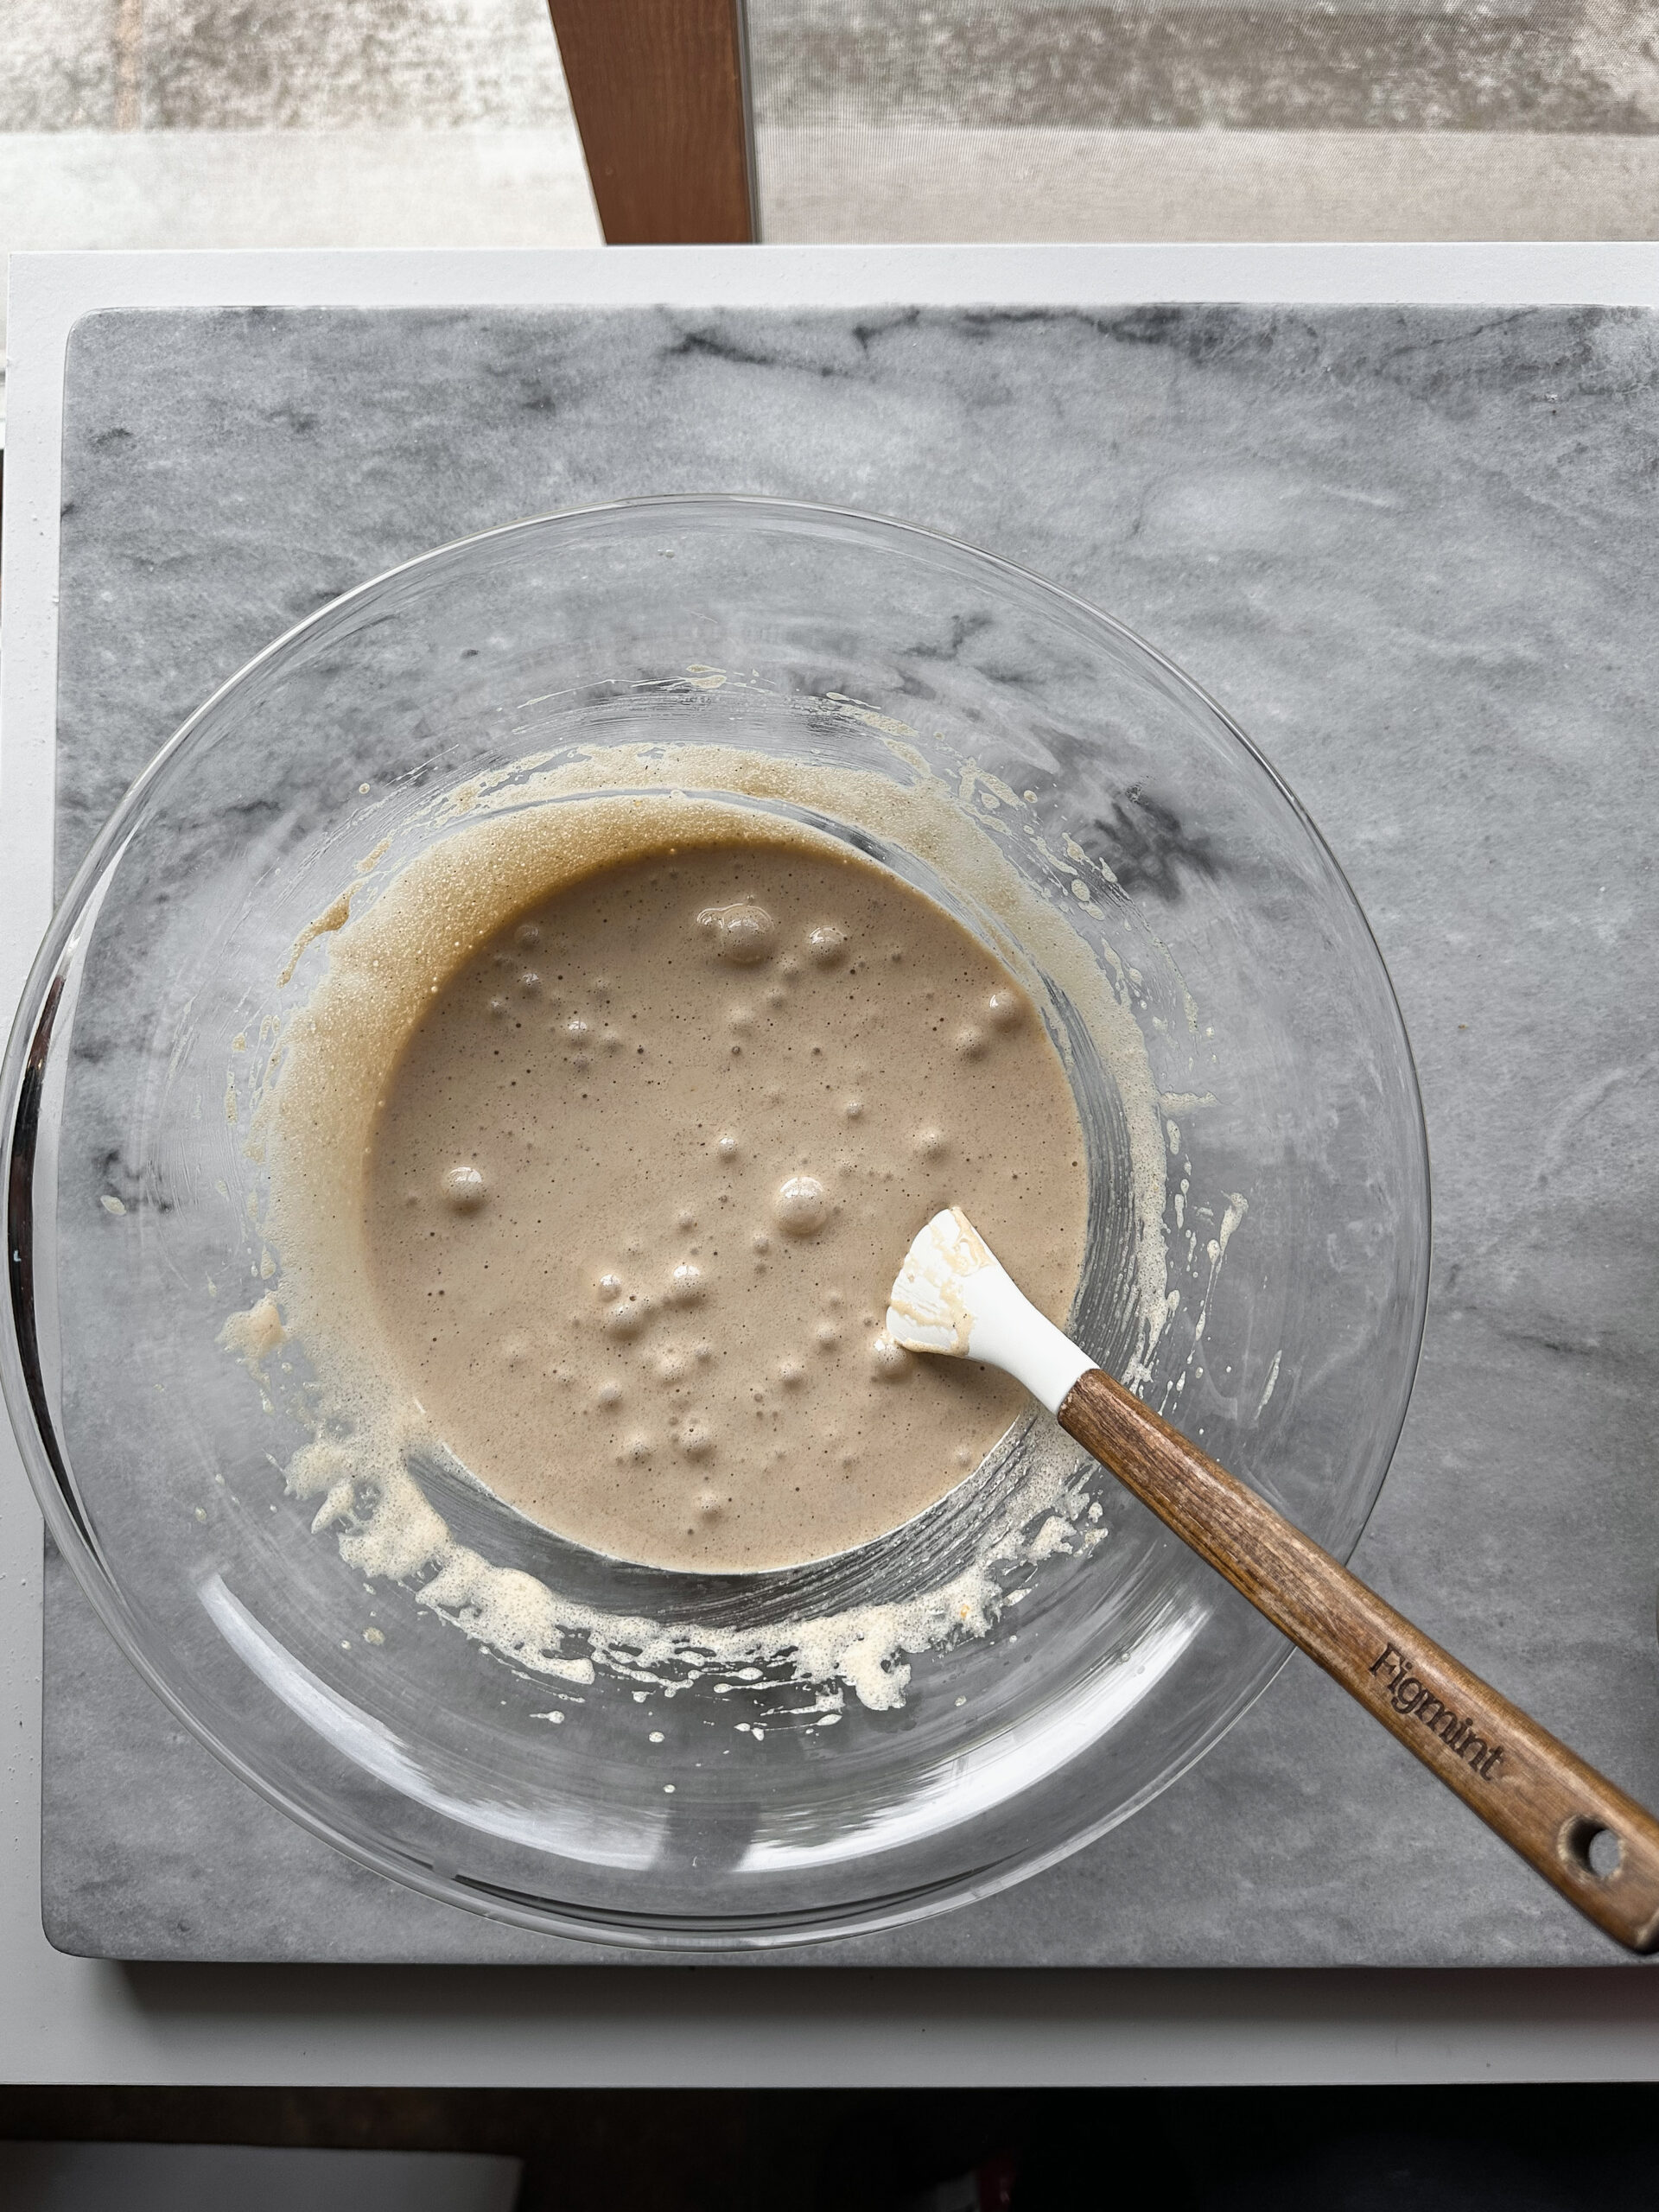
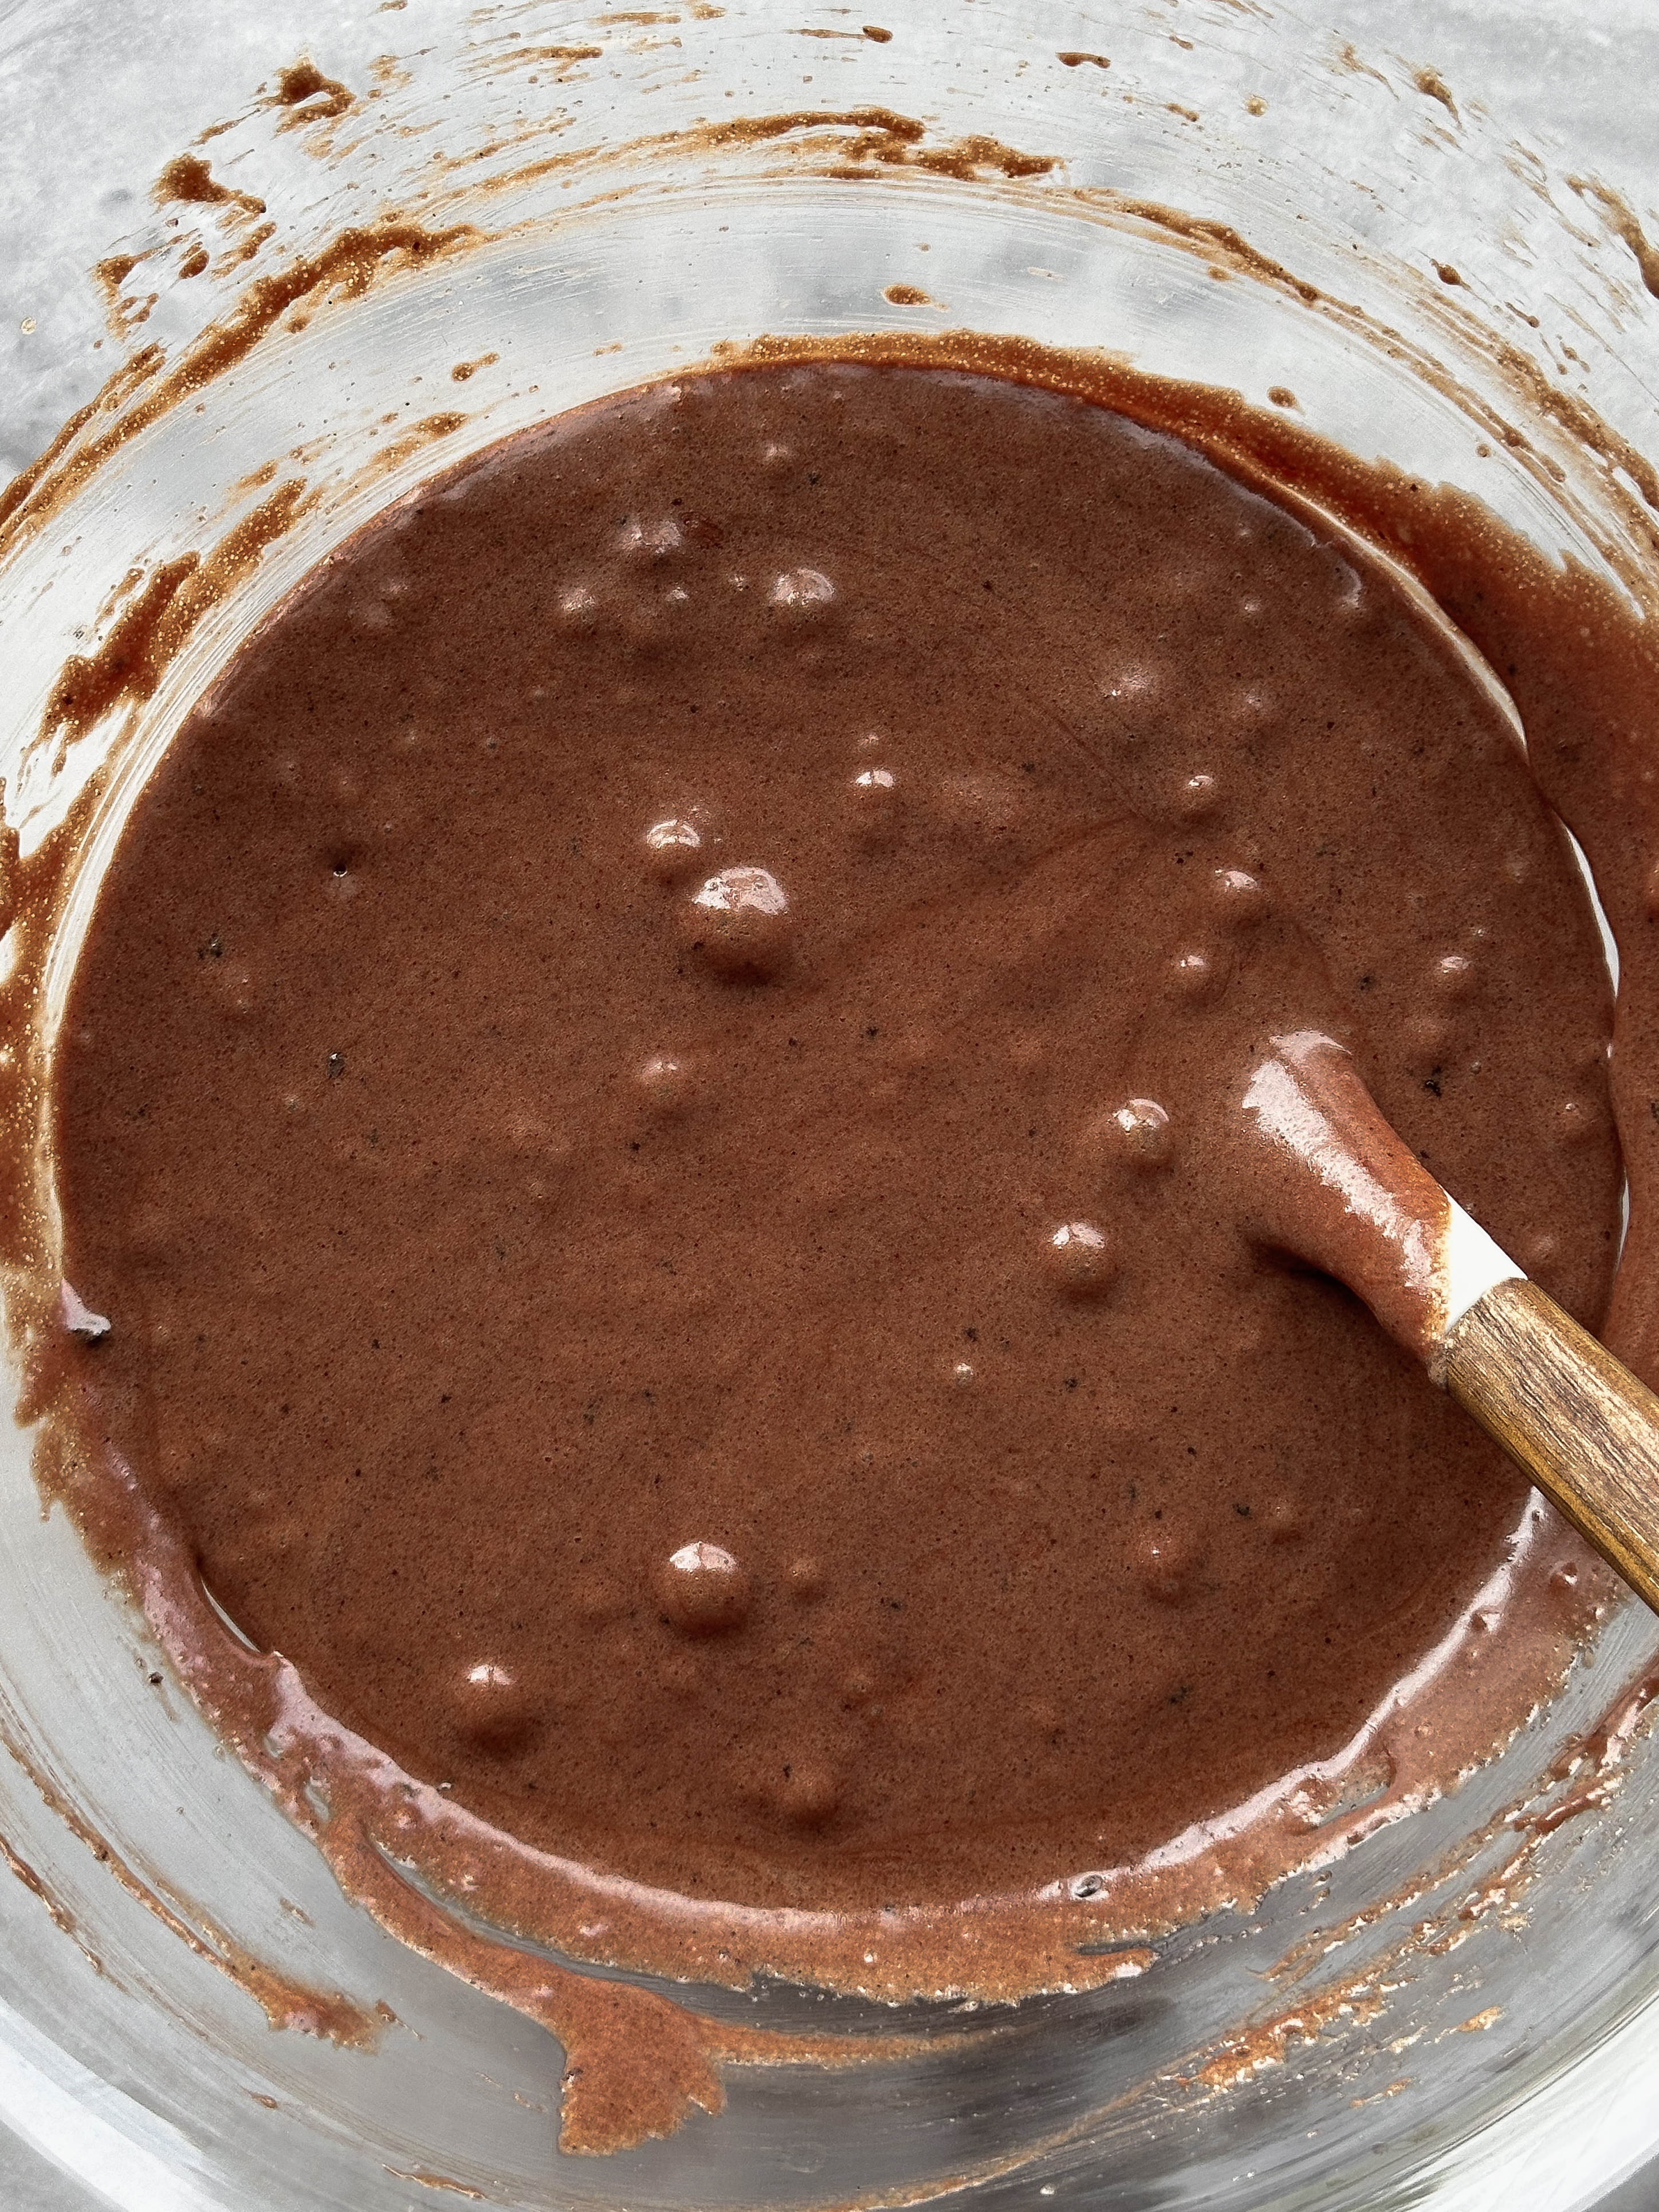
To a mixing bowl, add the eggs, sugars, and salt. Mix with a hand mixer on medium-high speed until it is thick and mousse-y, about three minutes.
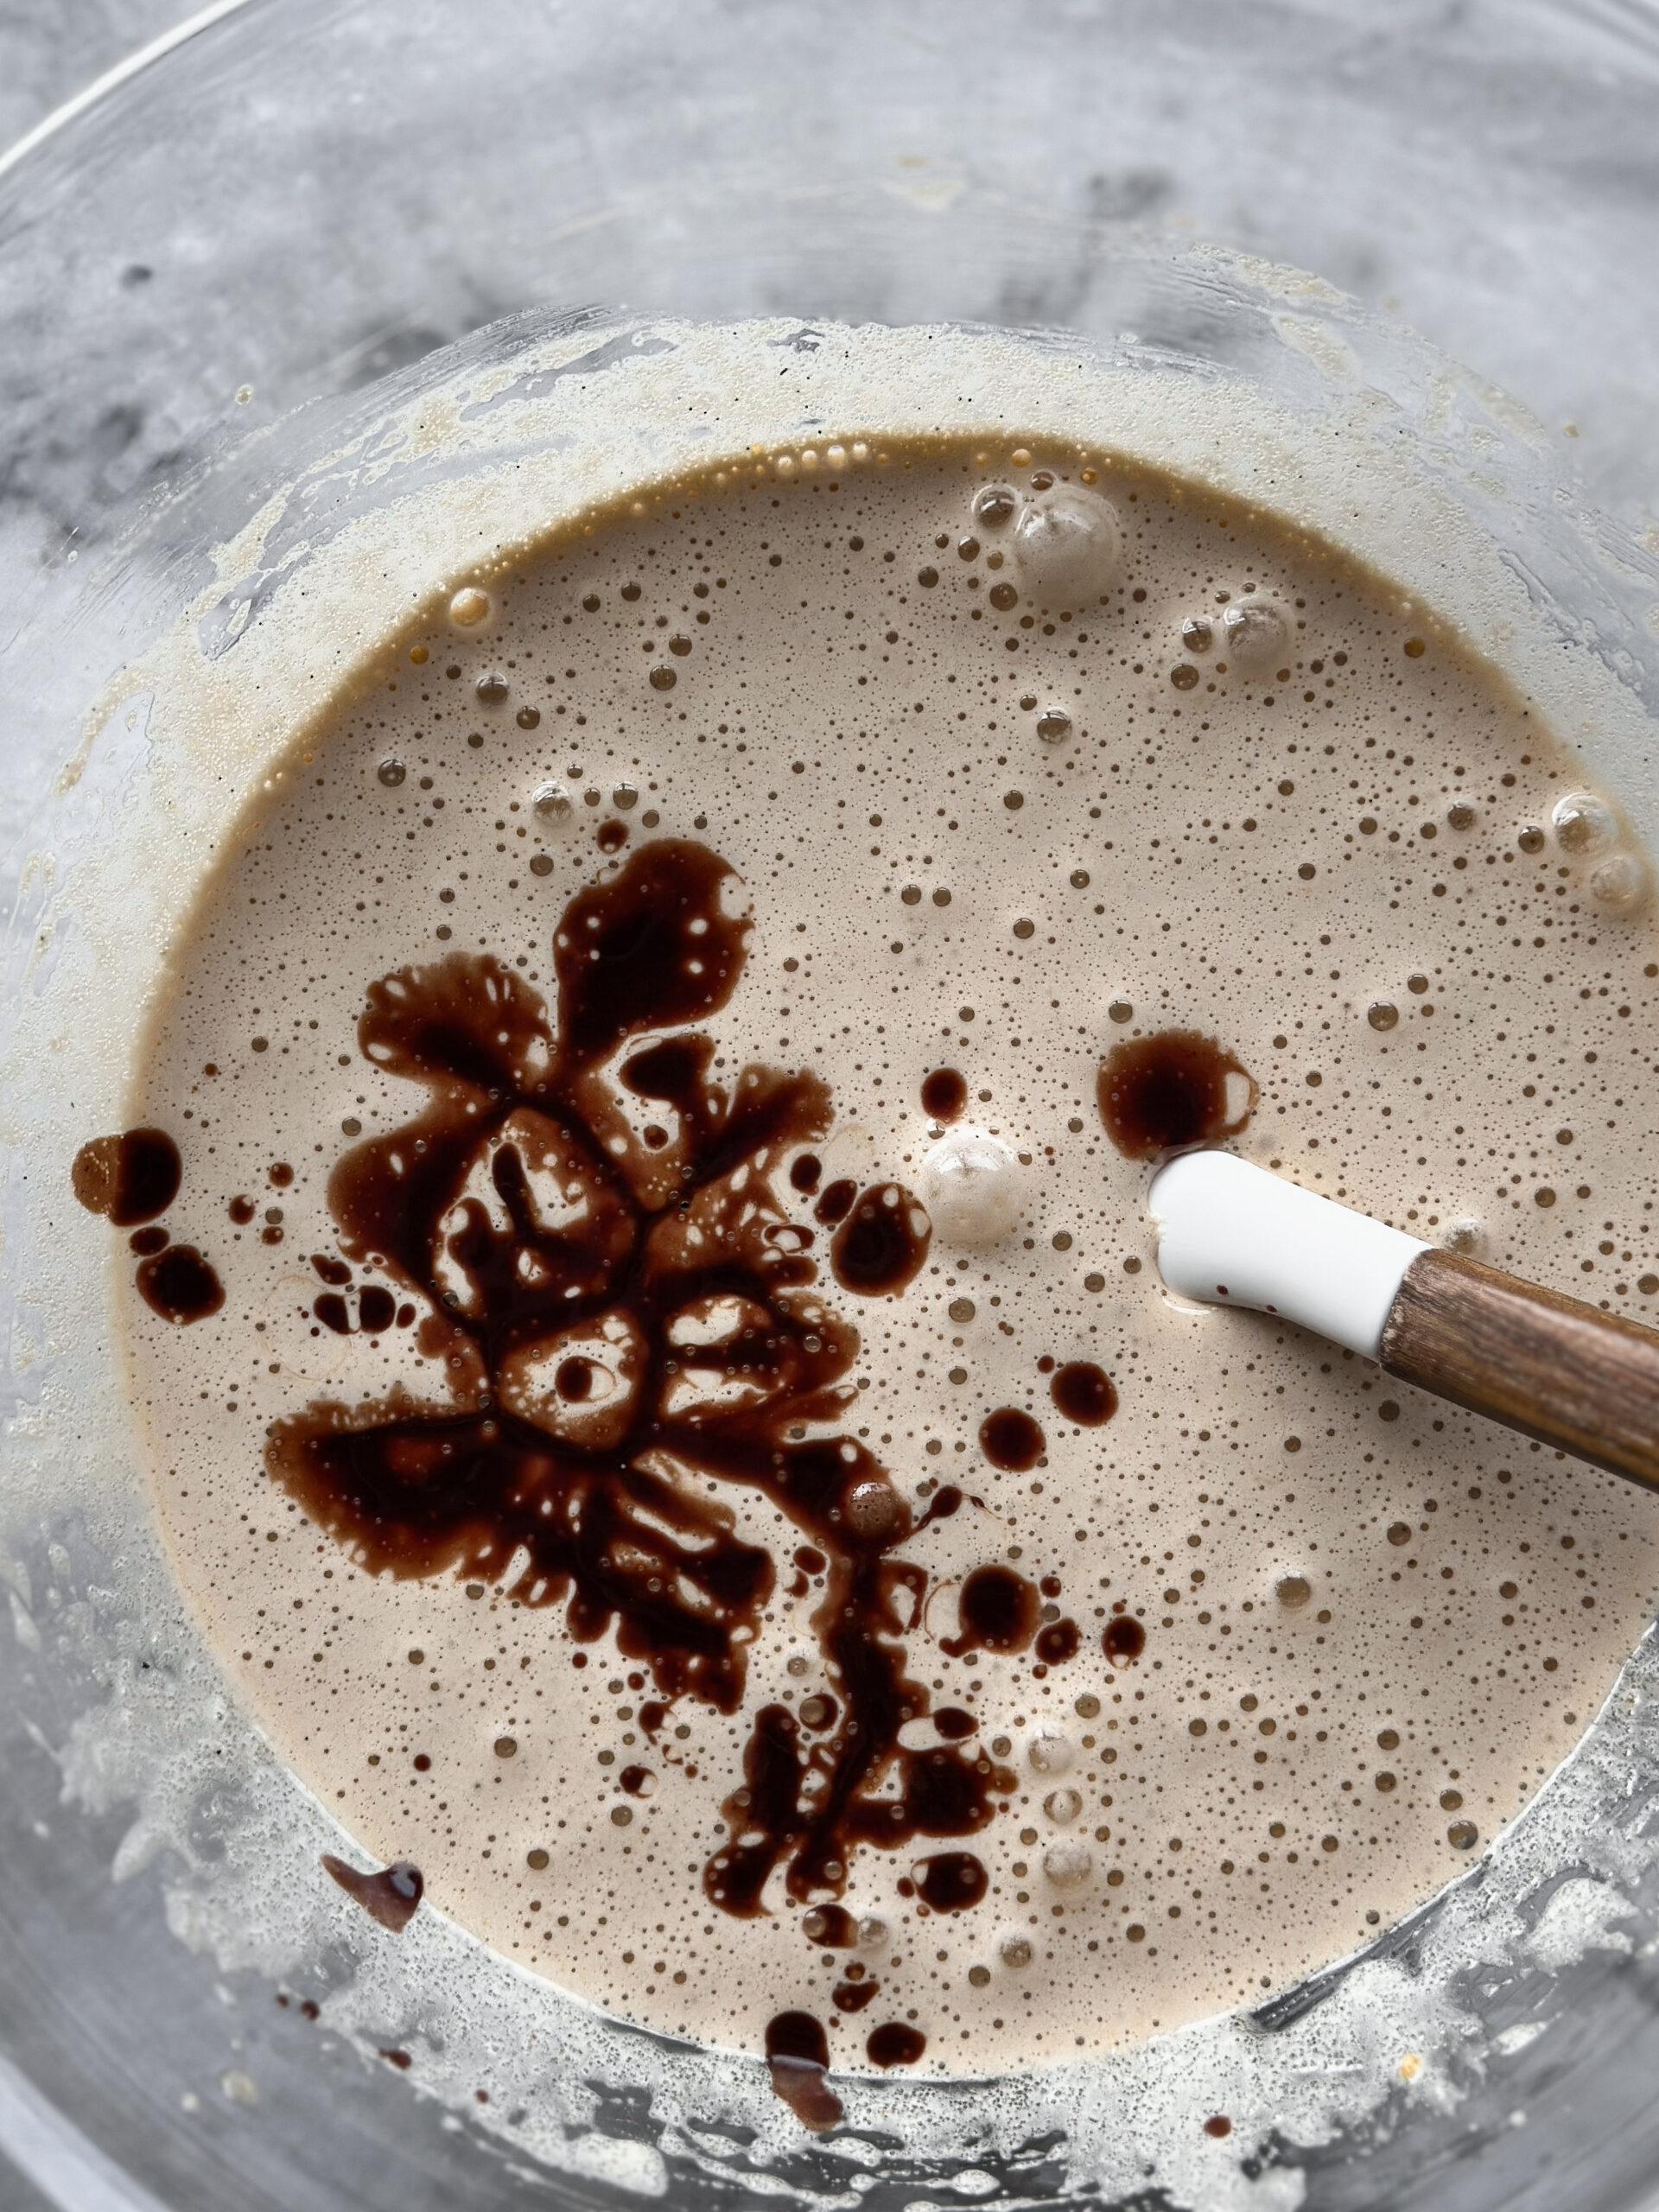
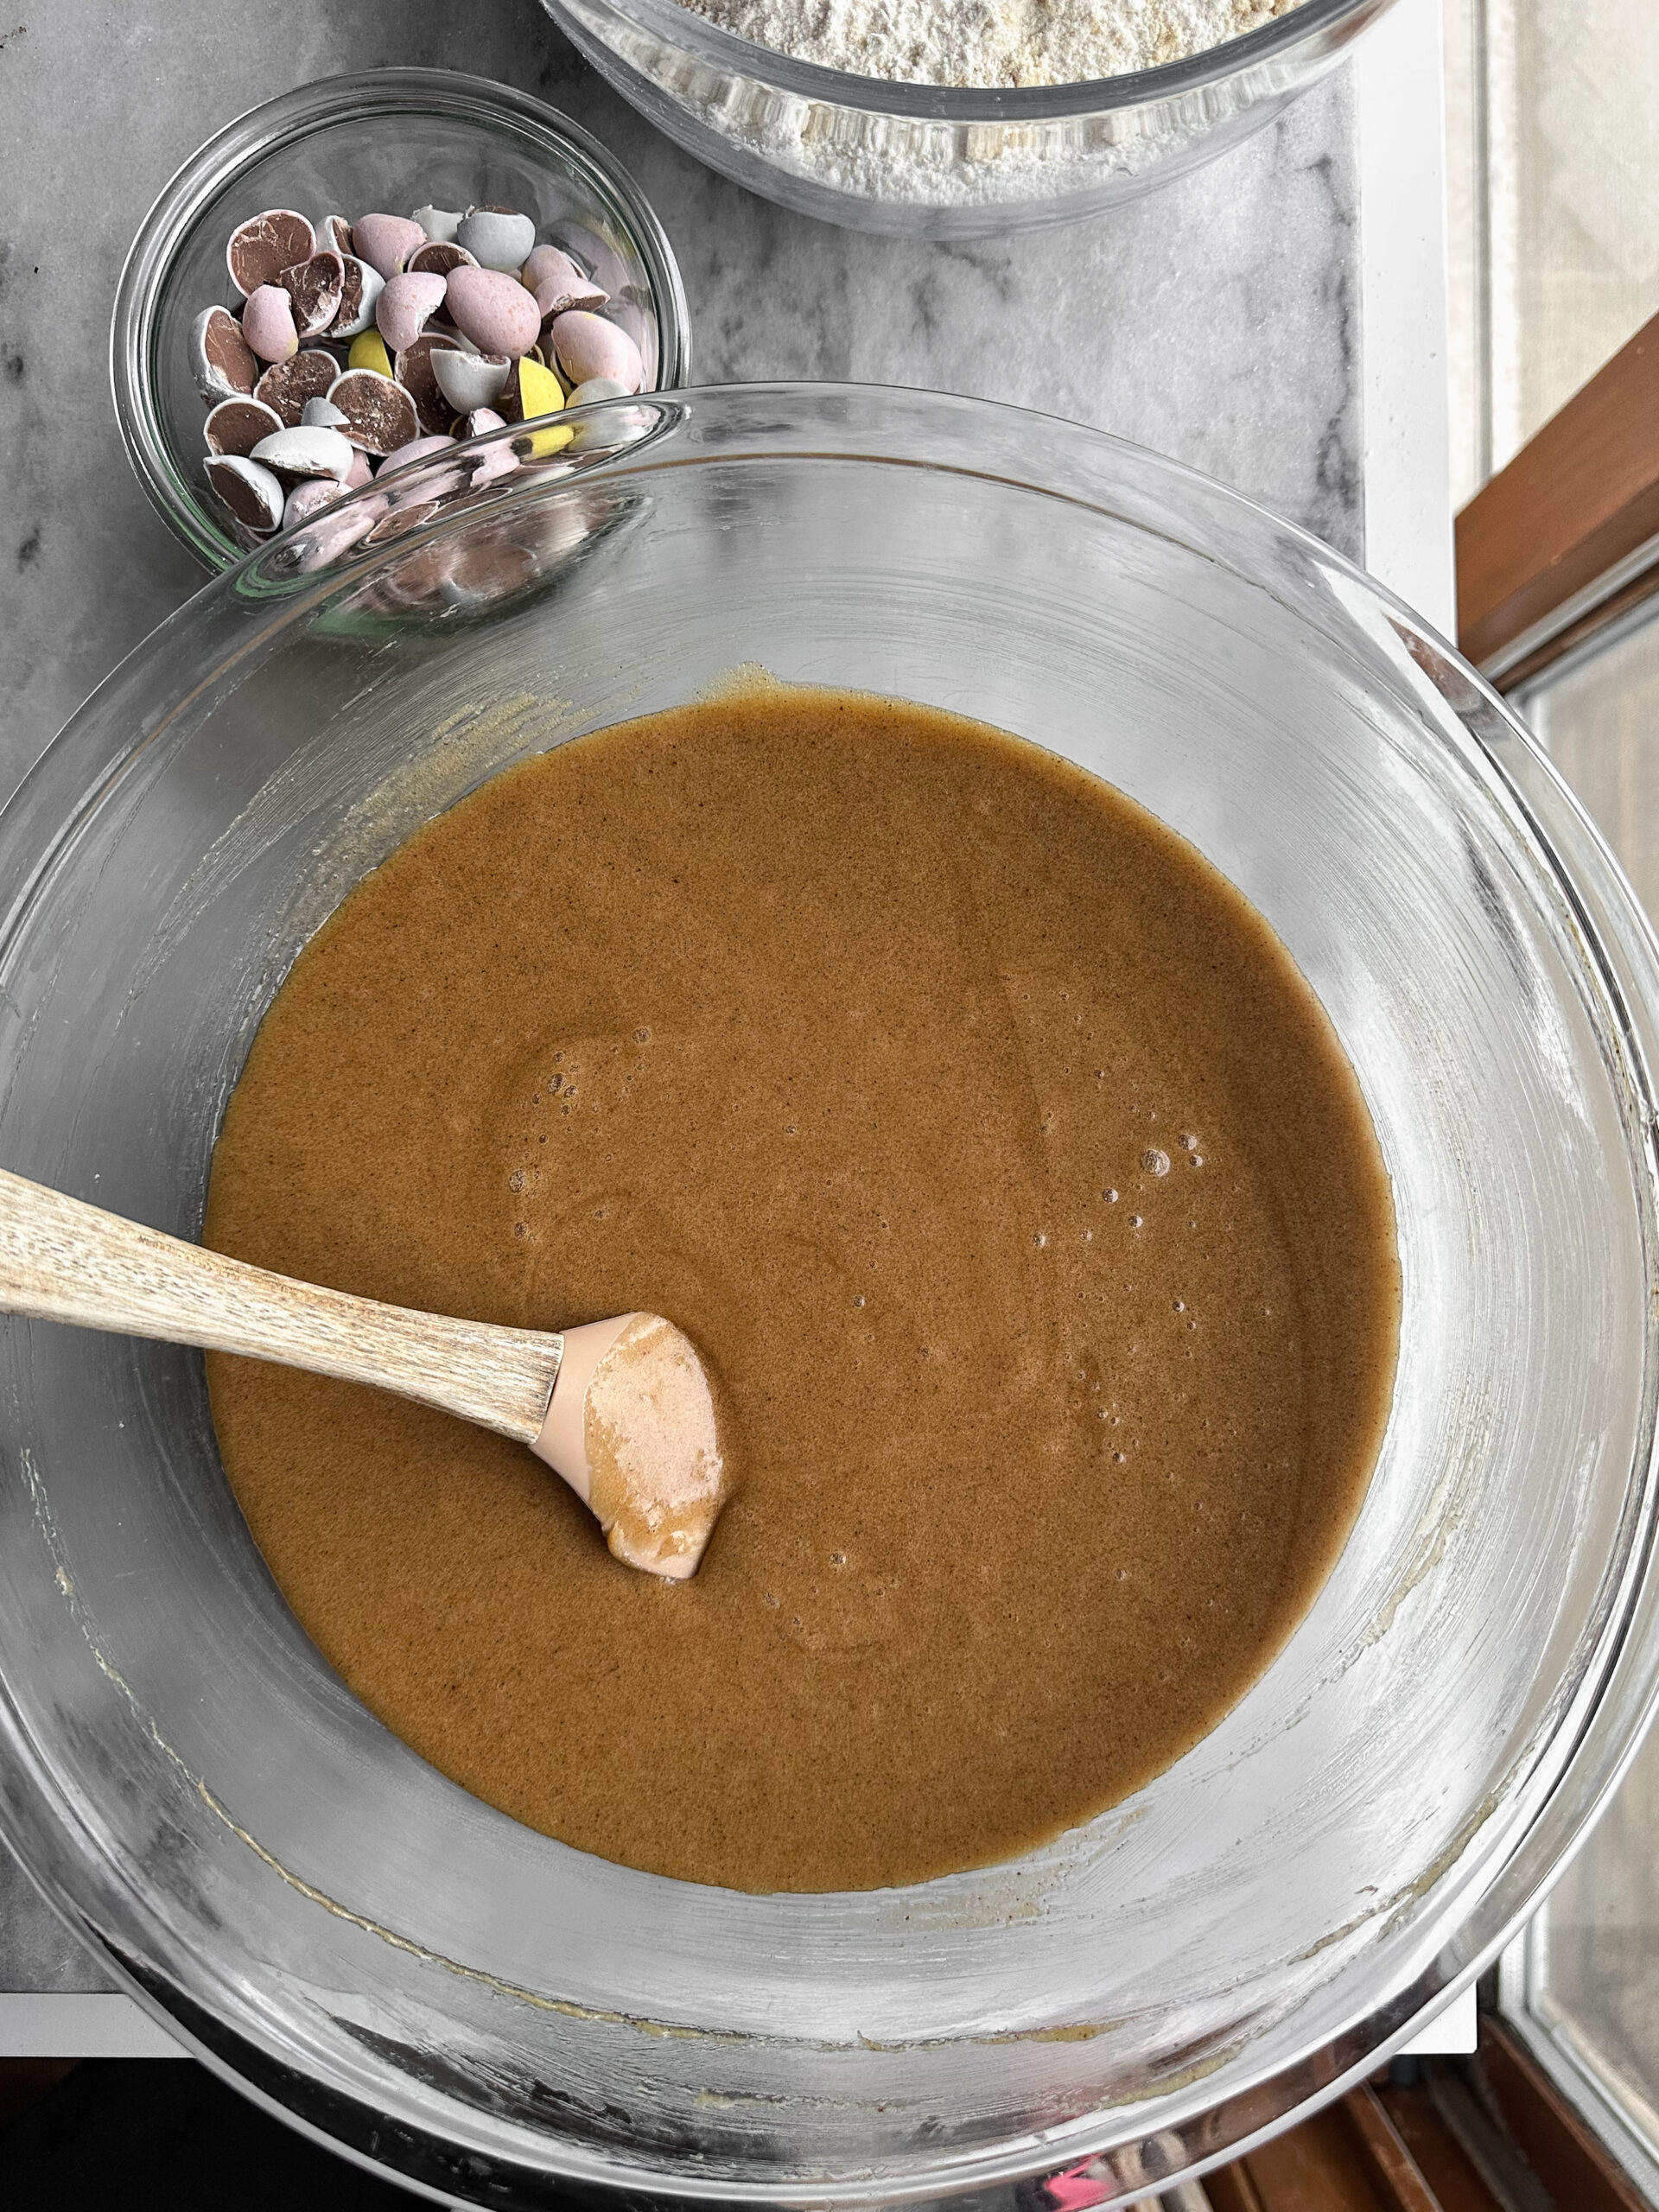
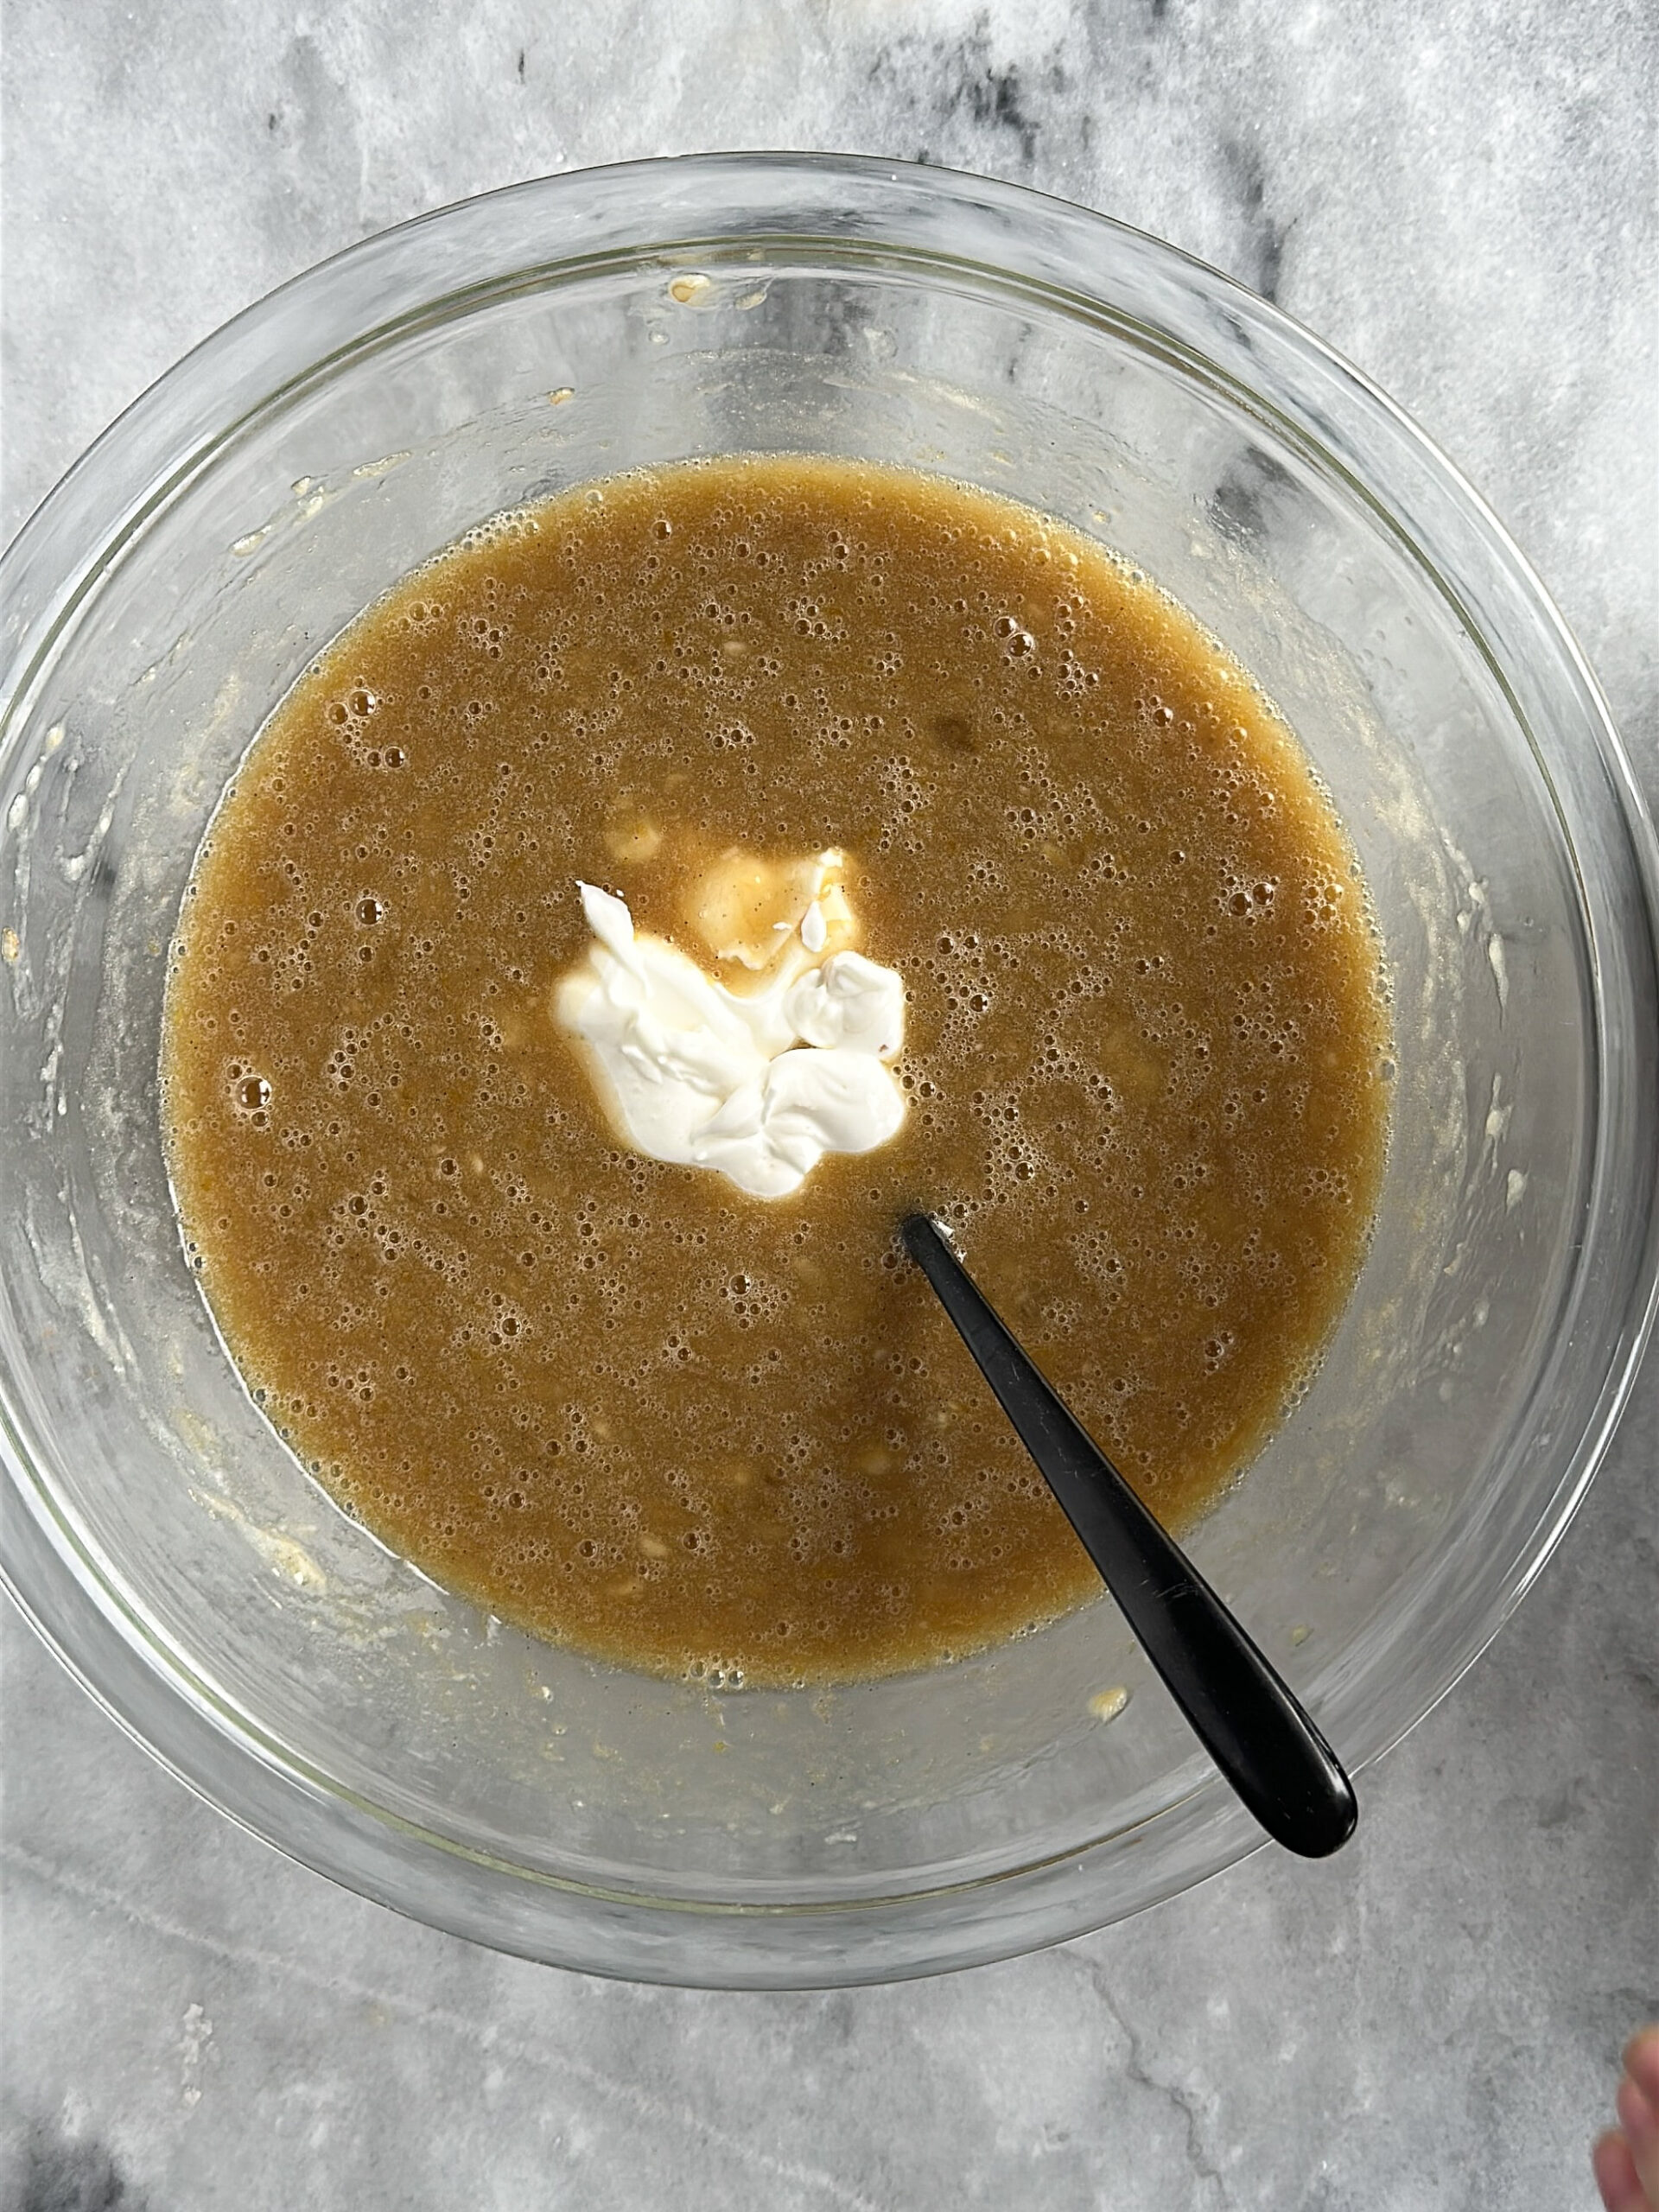
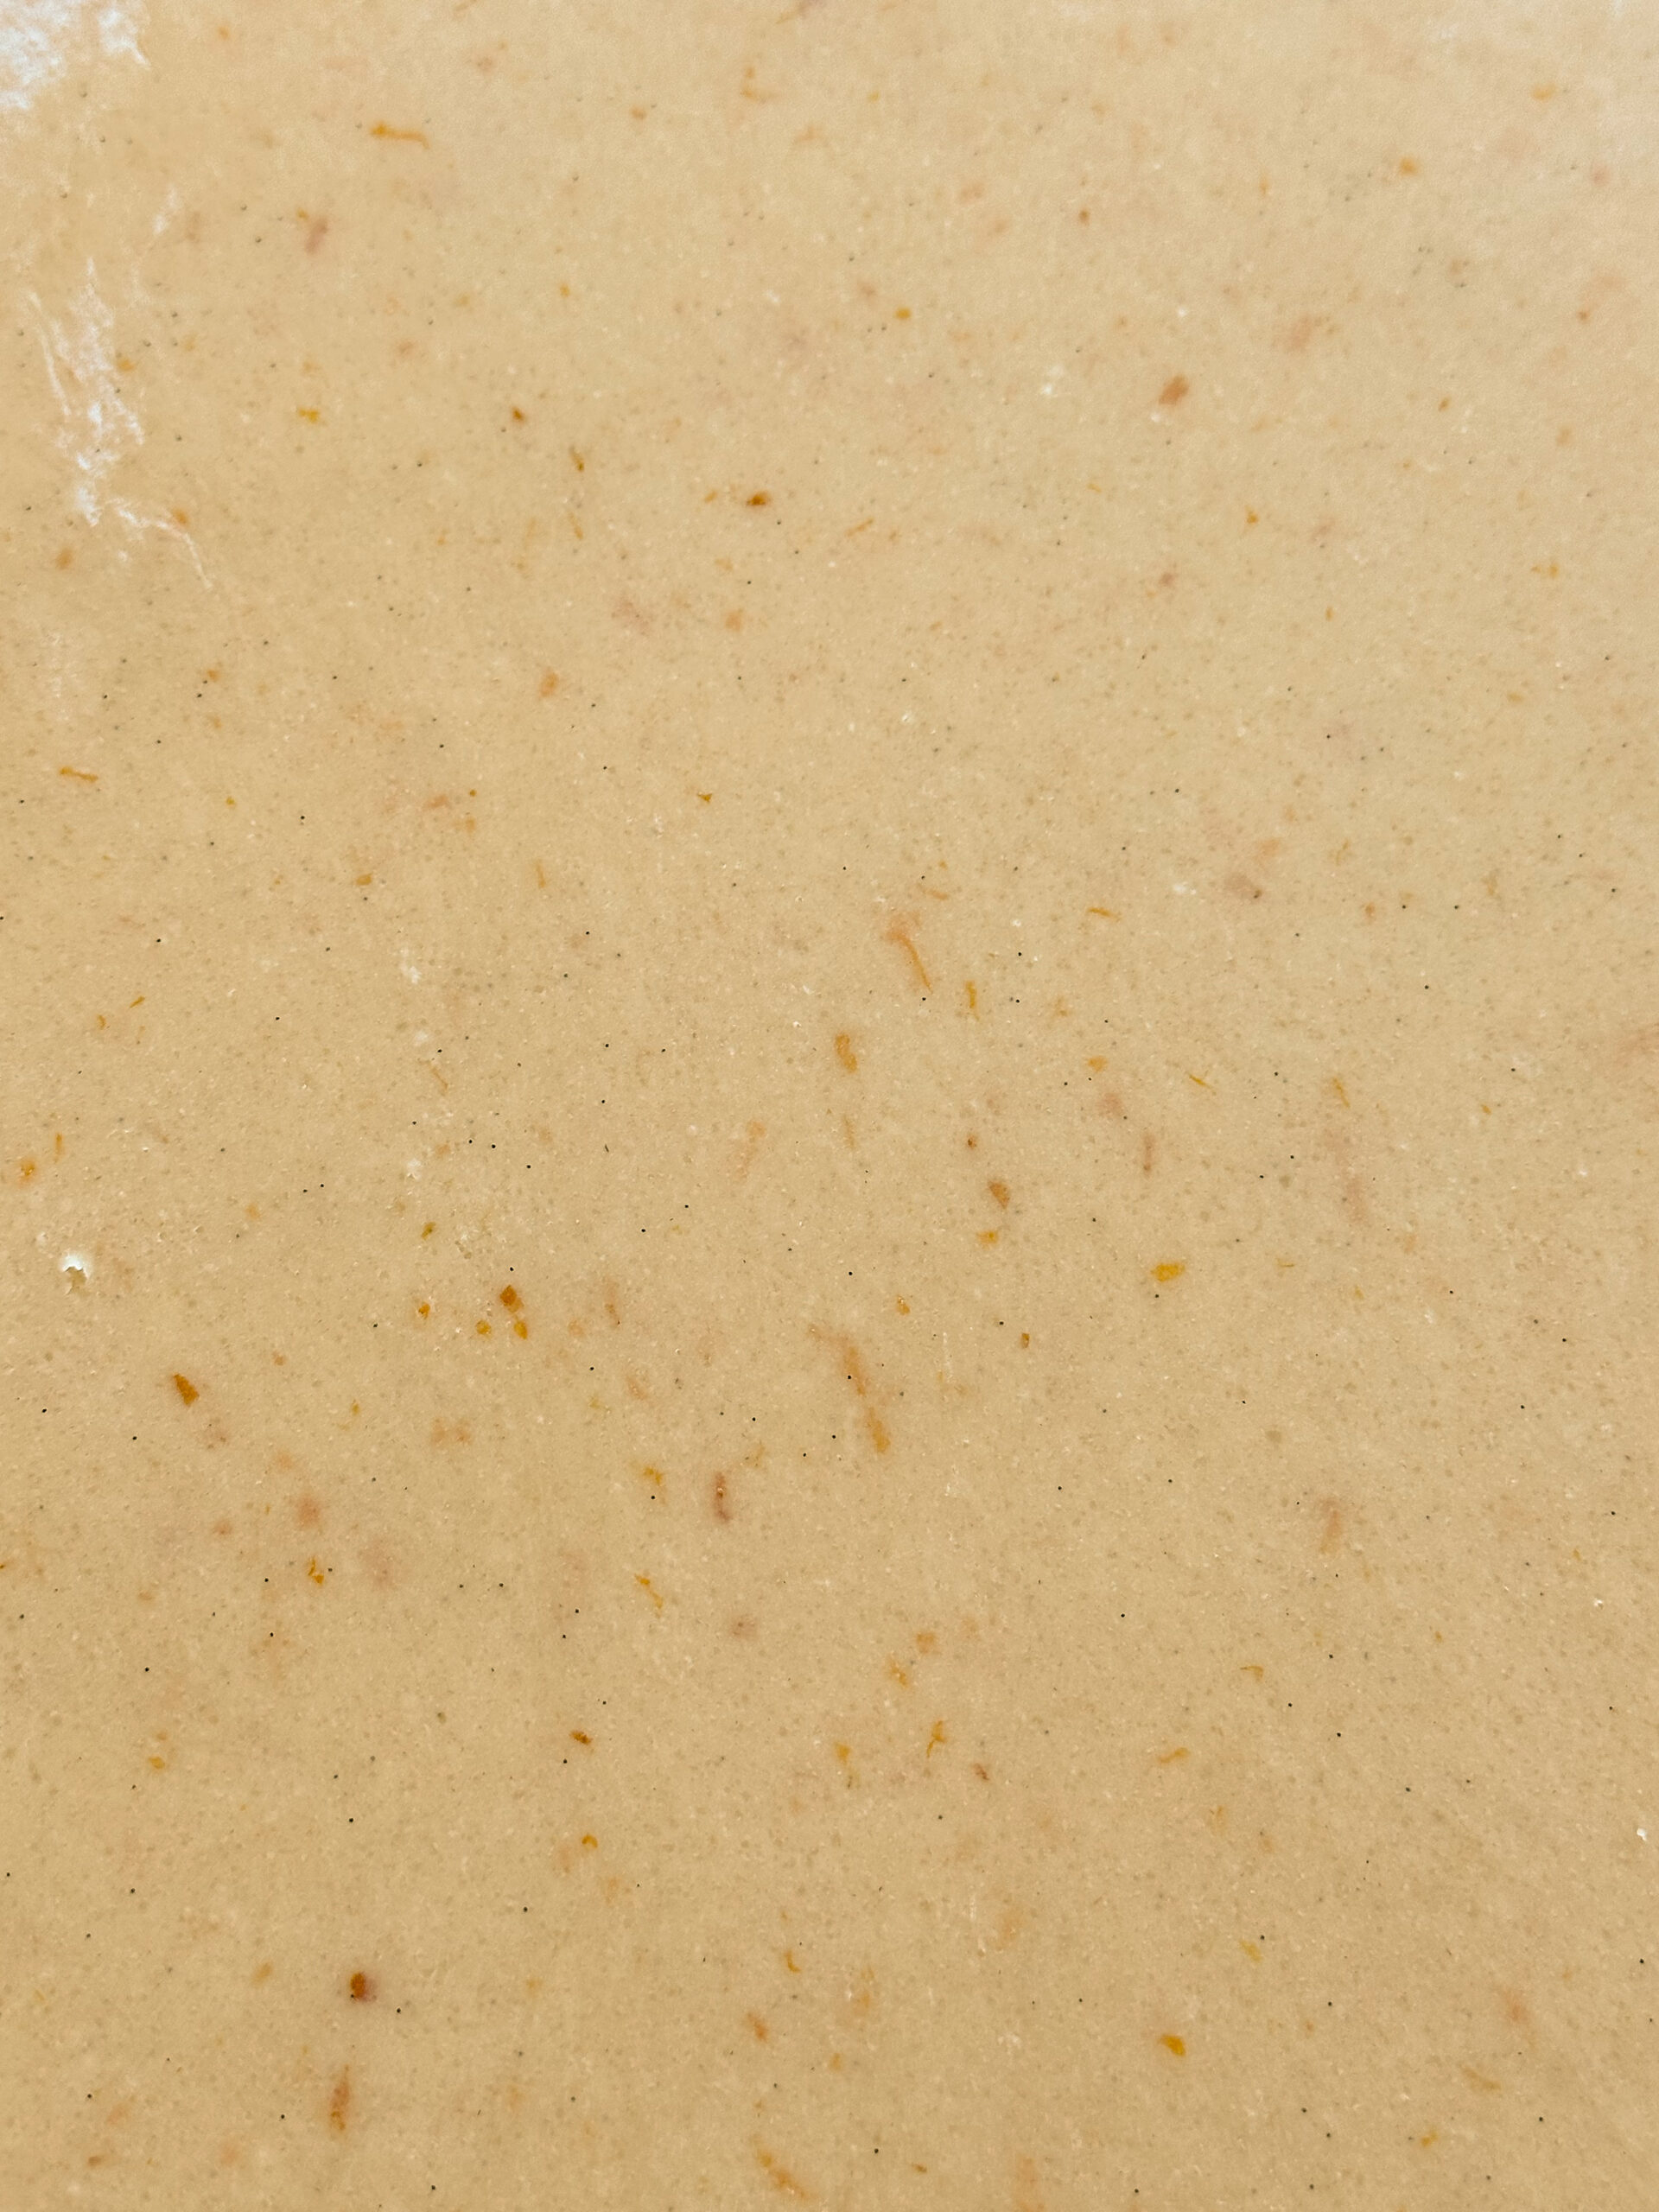
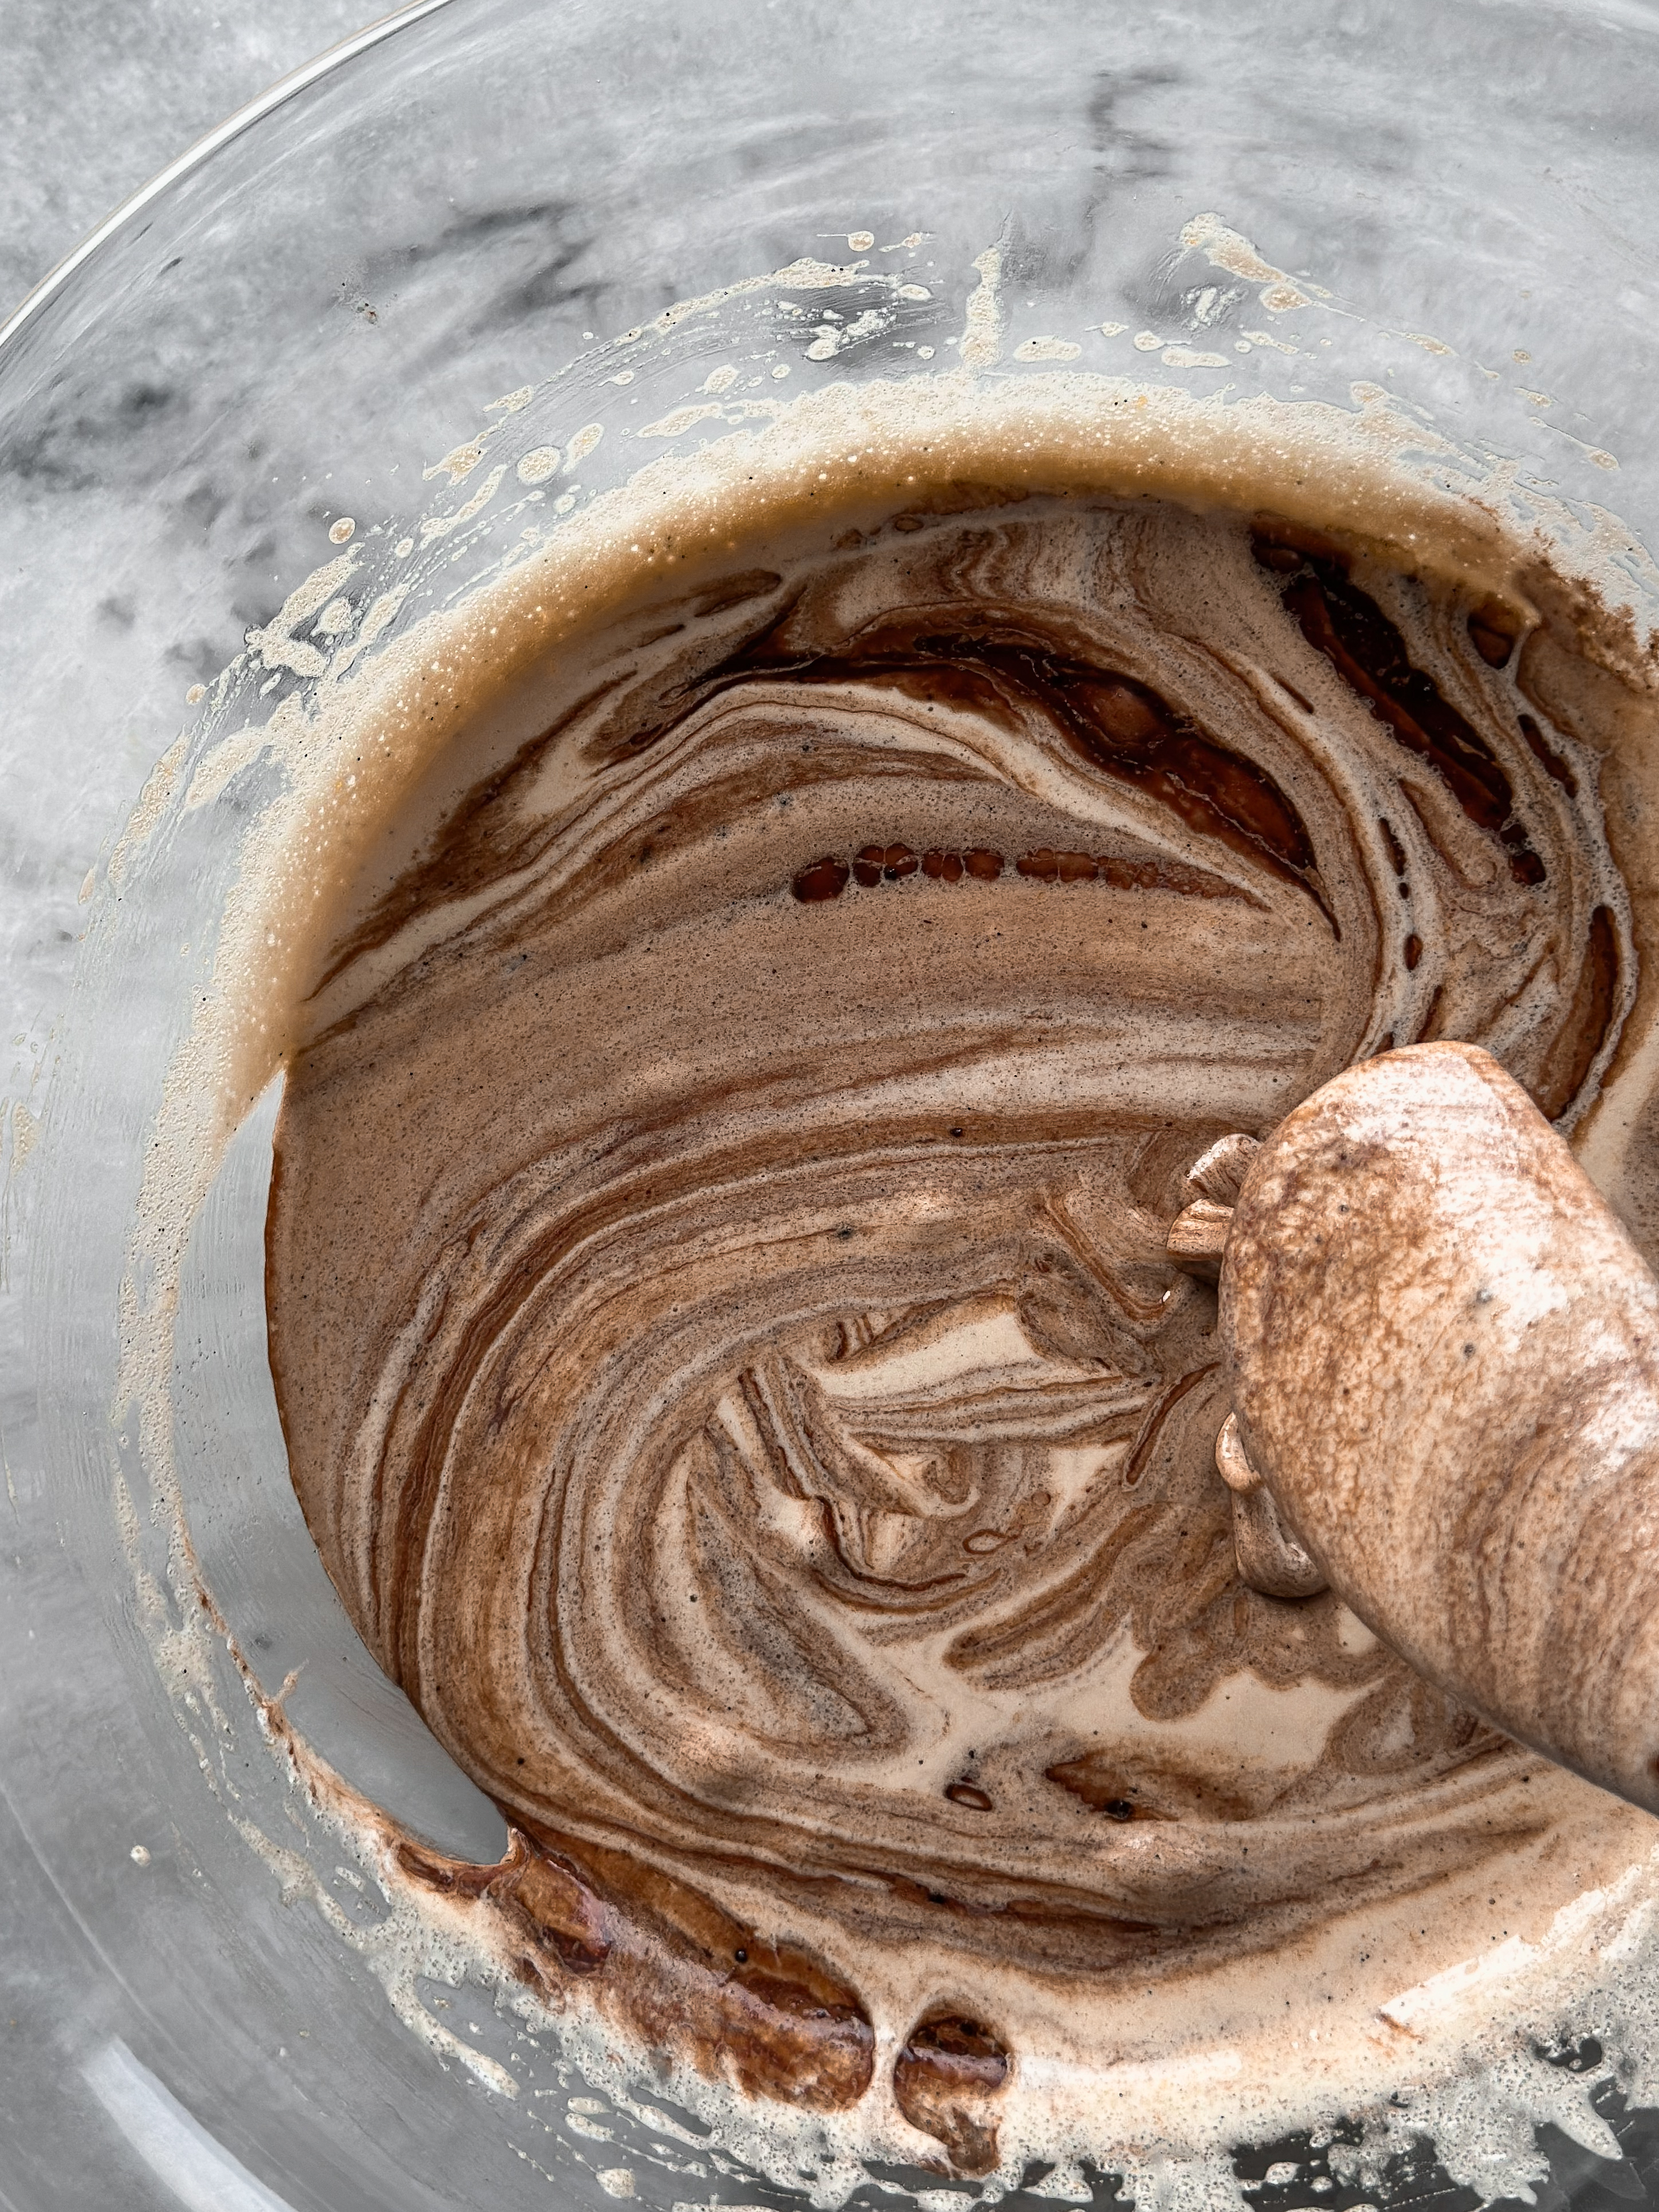
Pour the chocolate/butter mixture into the whipped eggs and fold gently until the chocolate and eggs are combined.
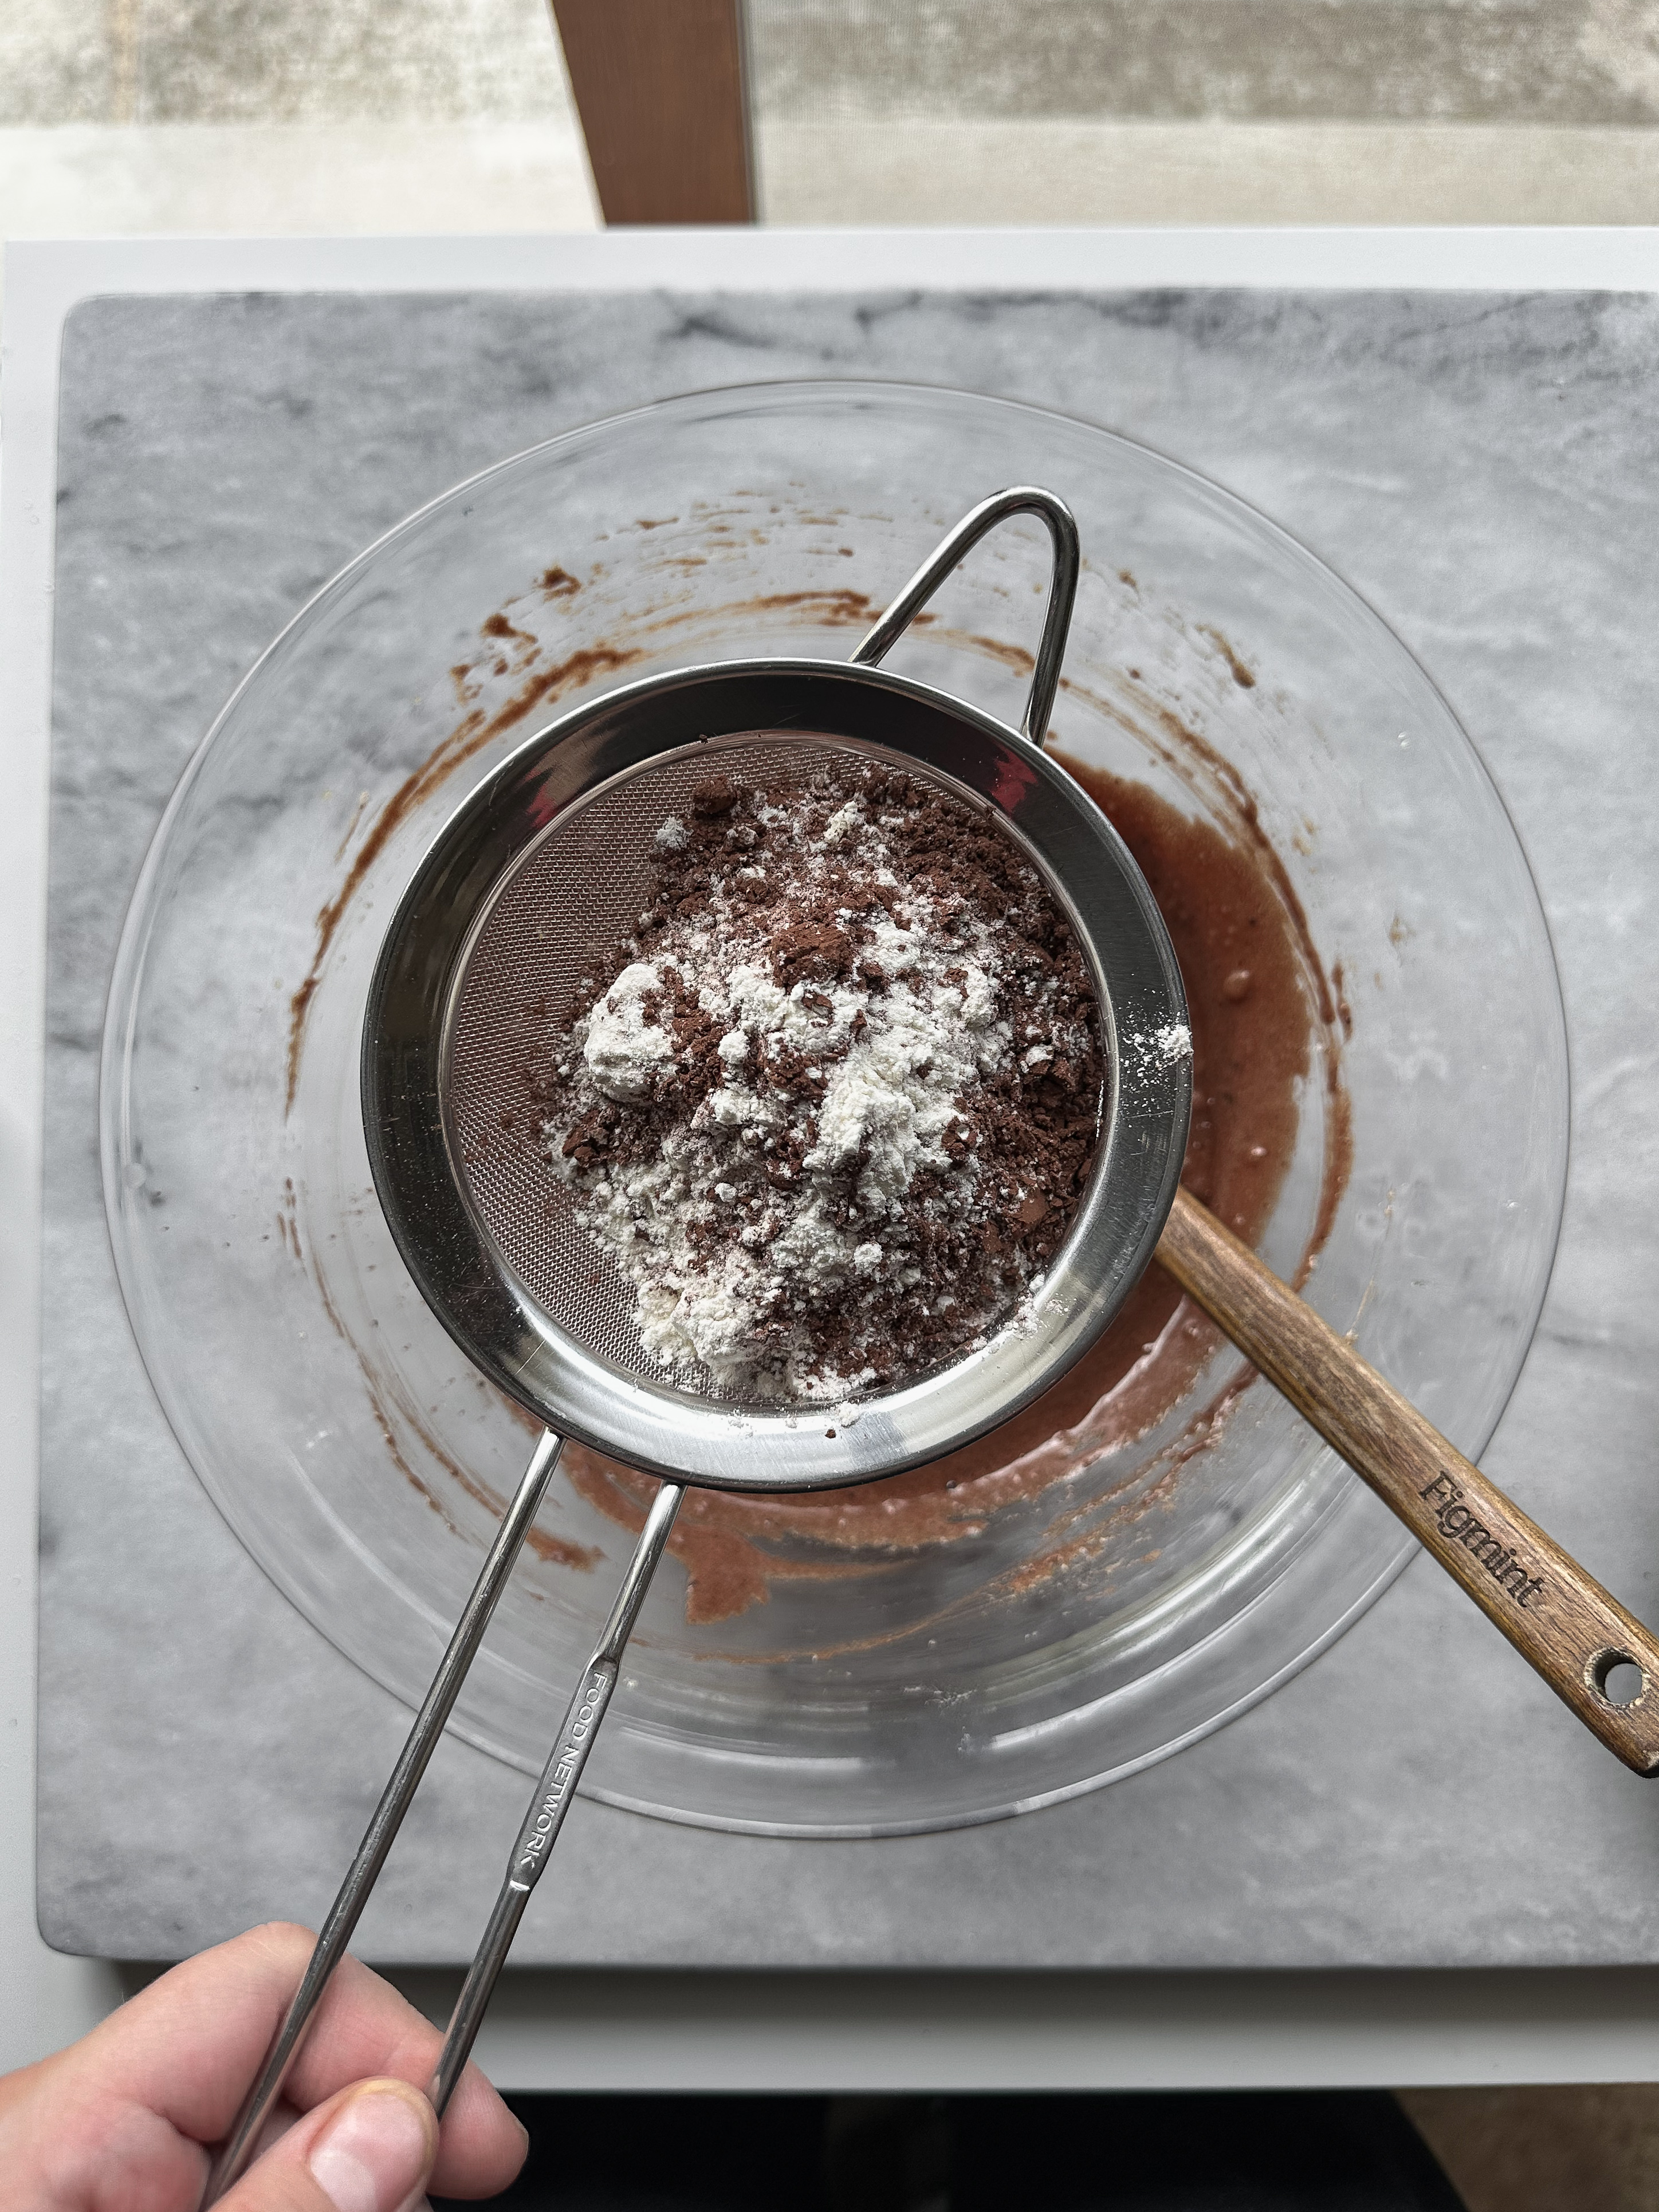
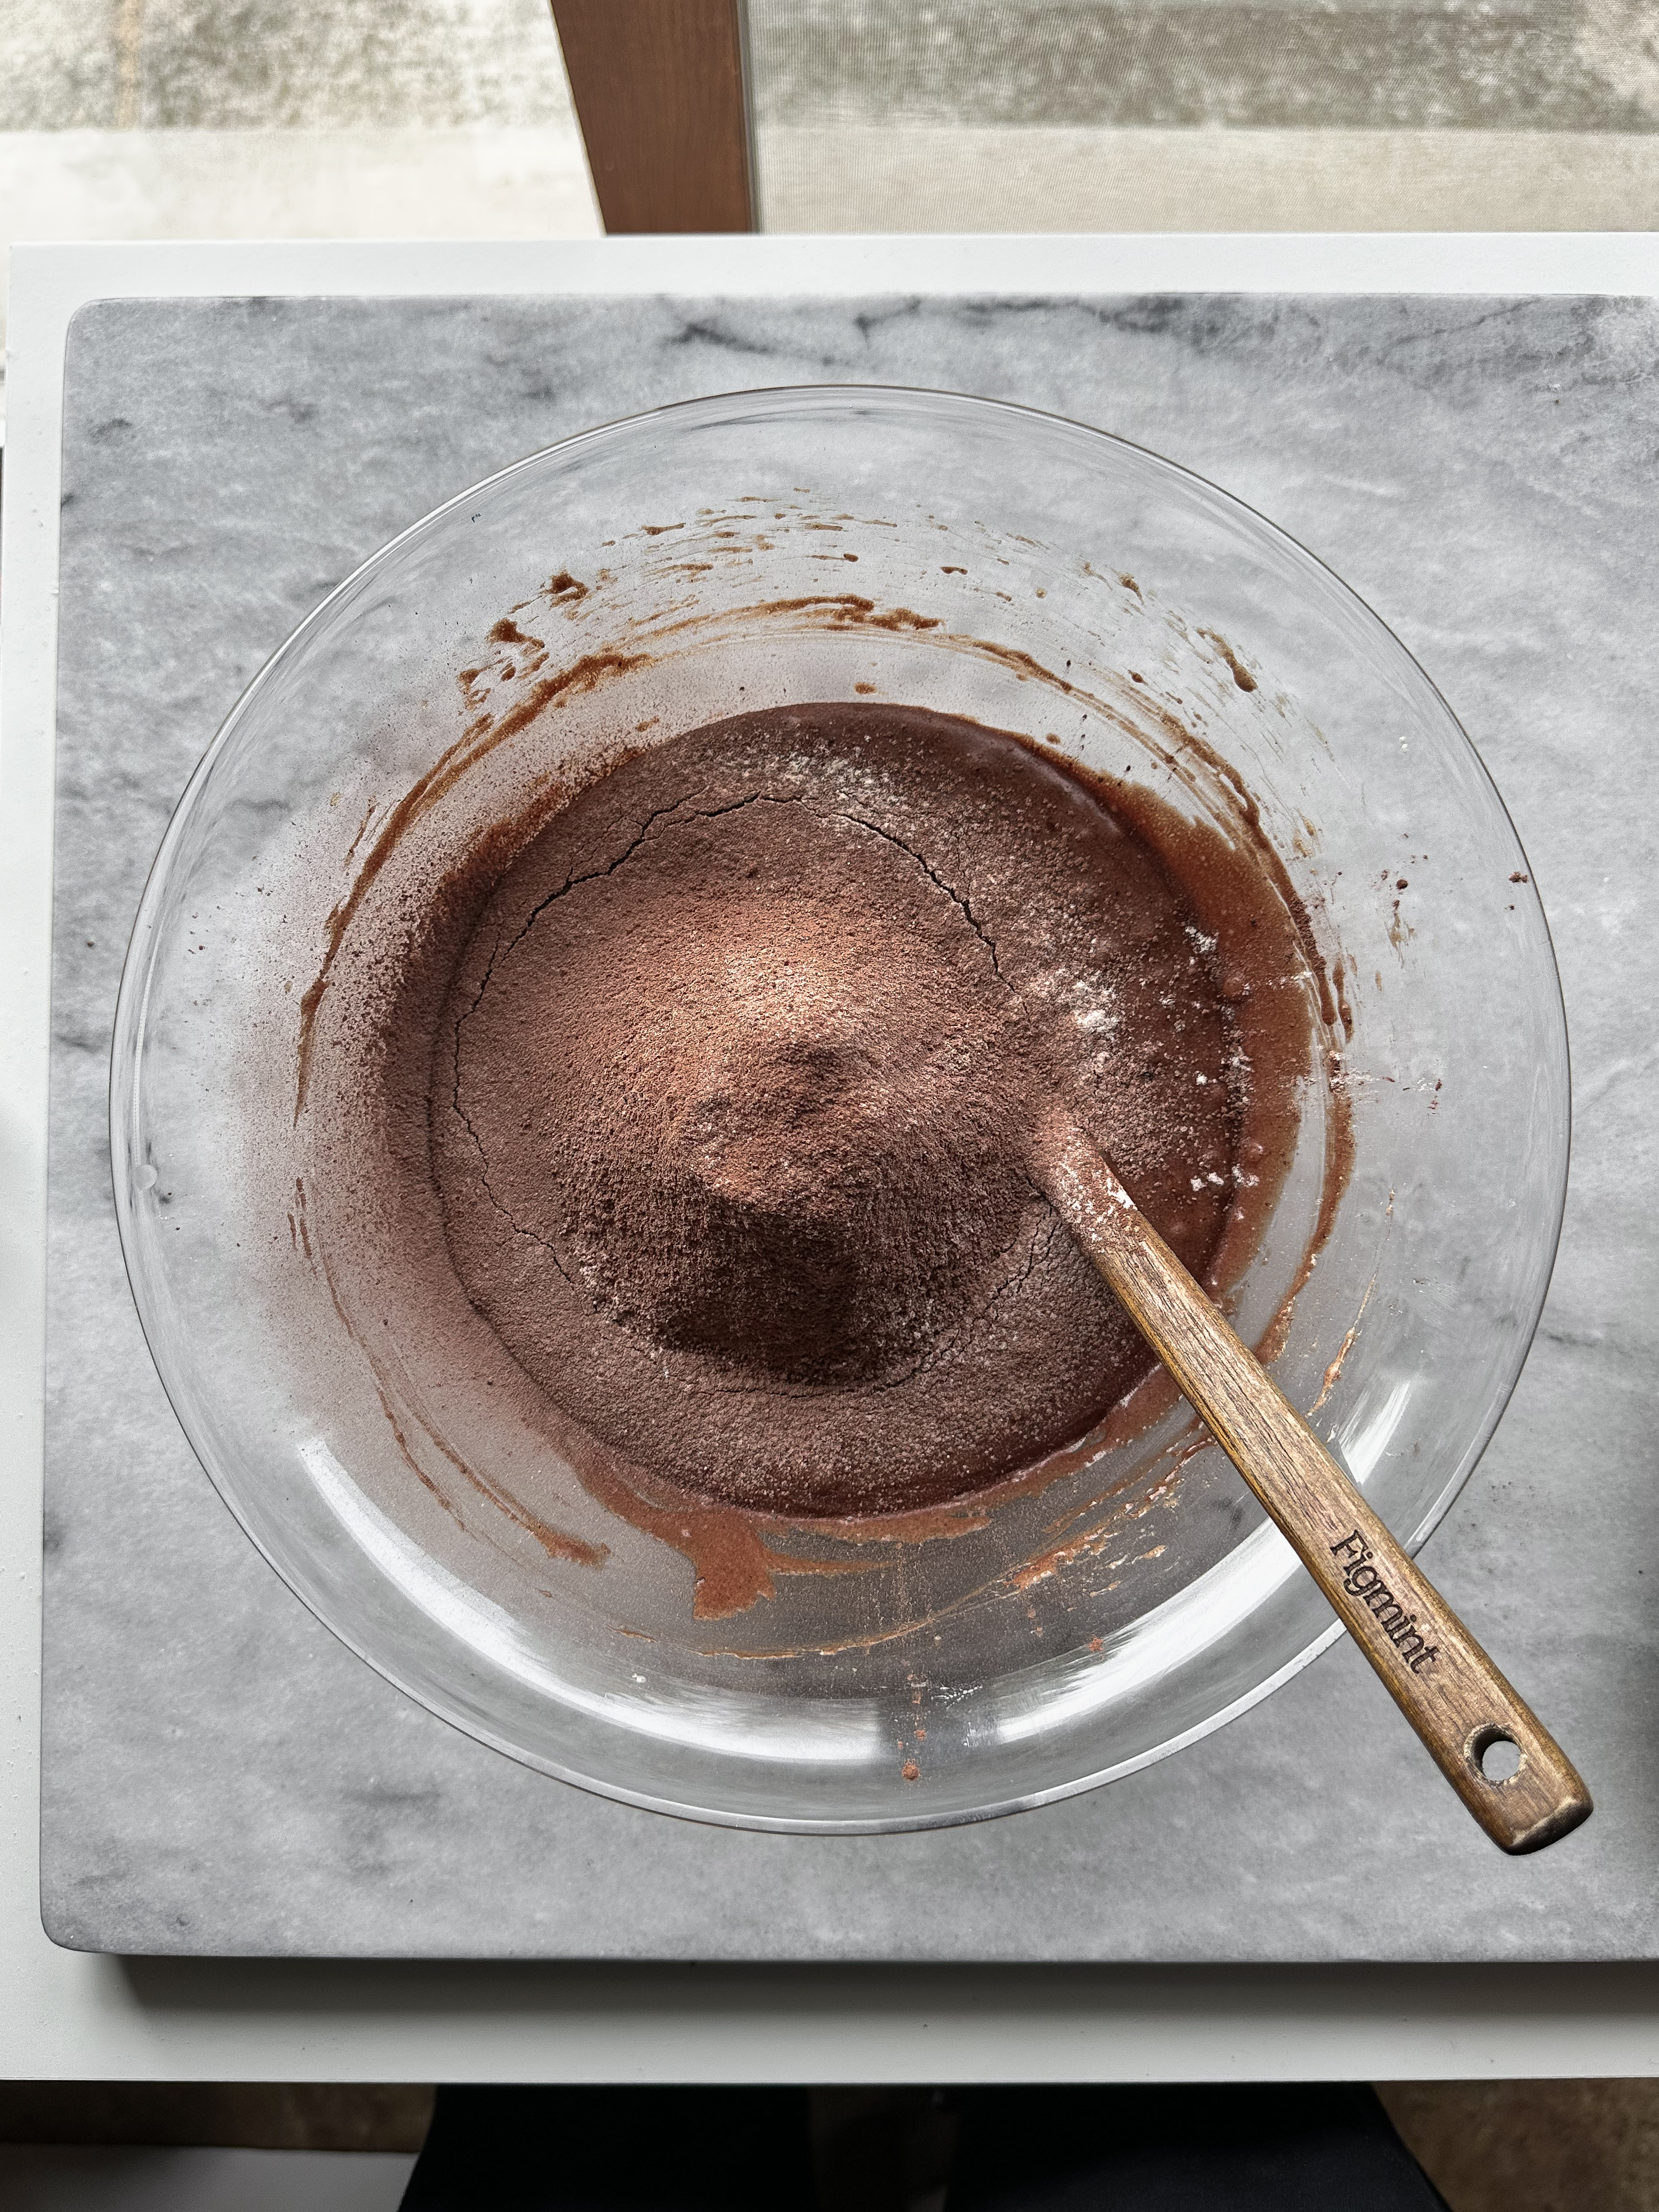
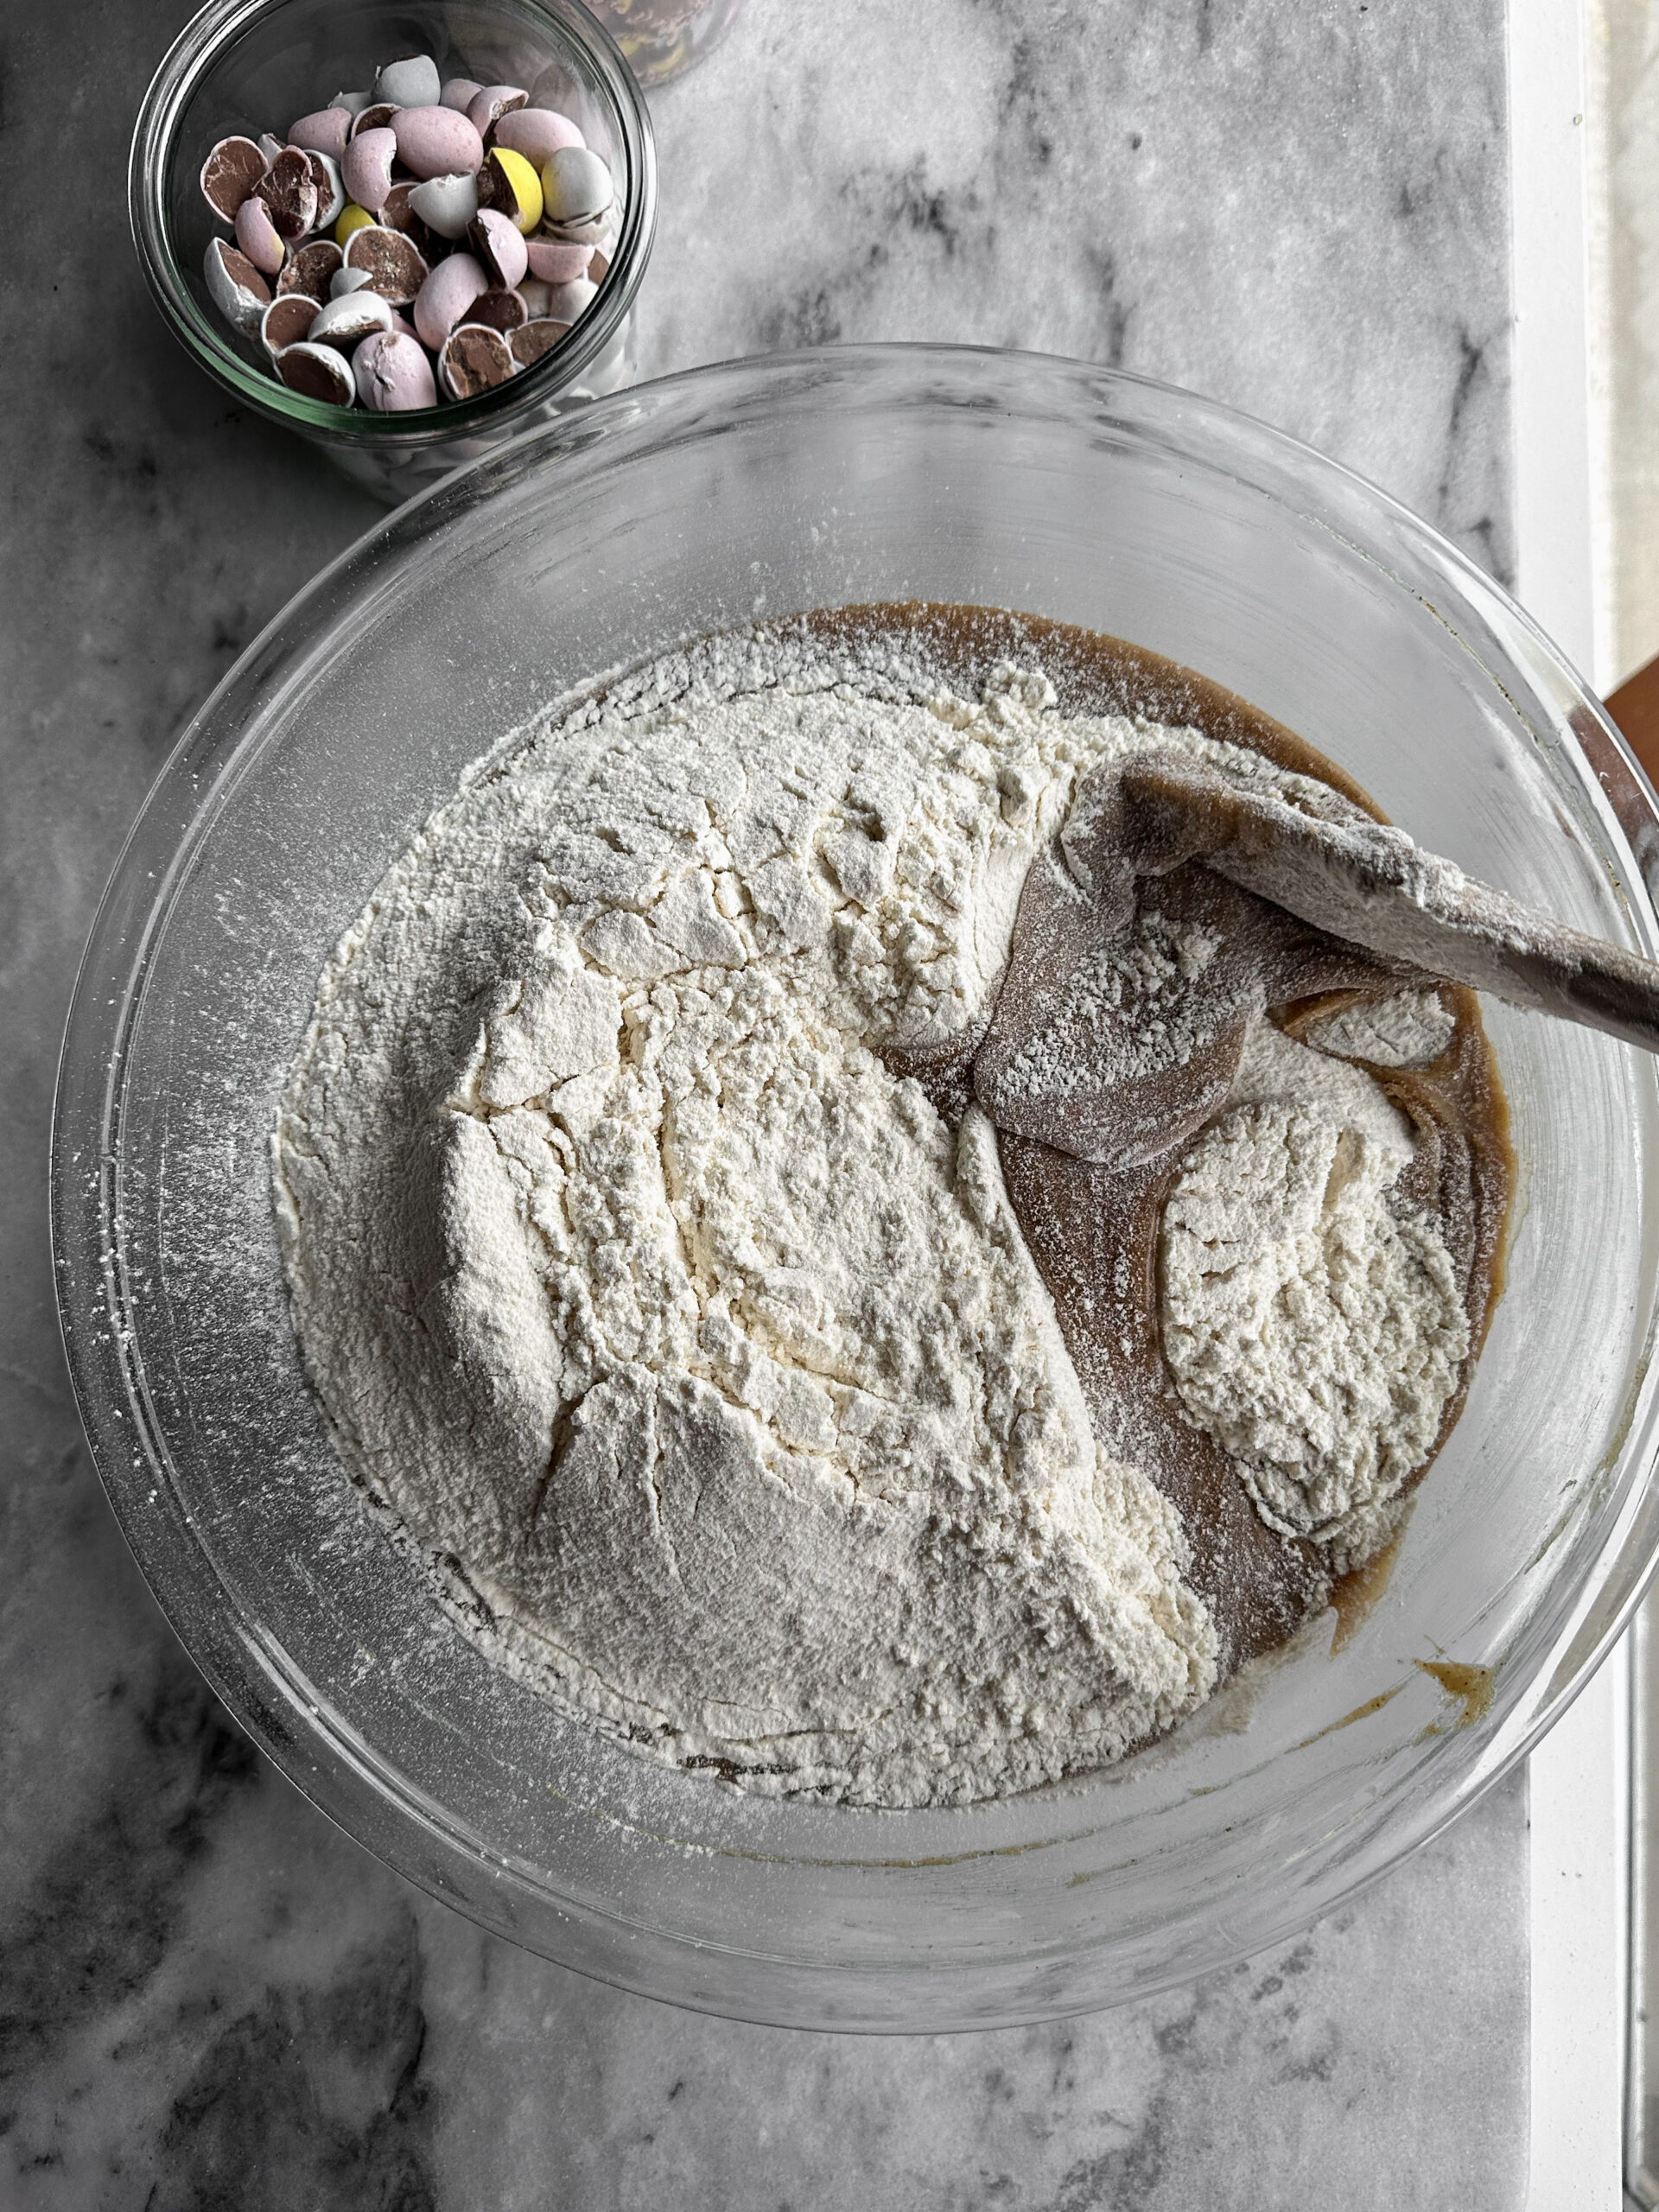
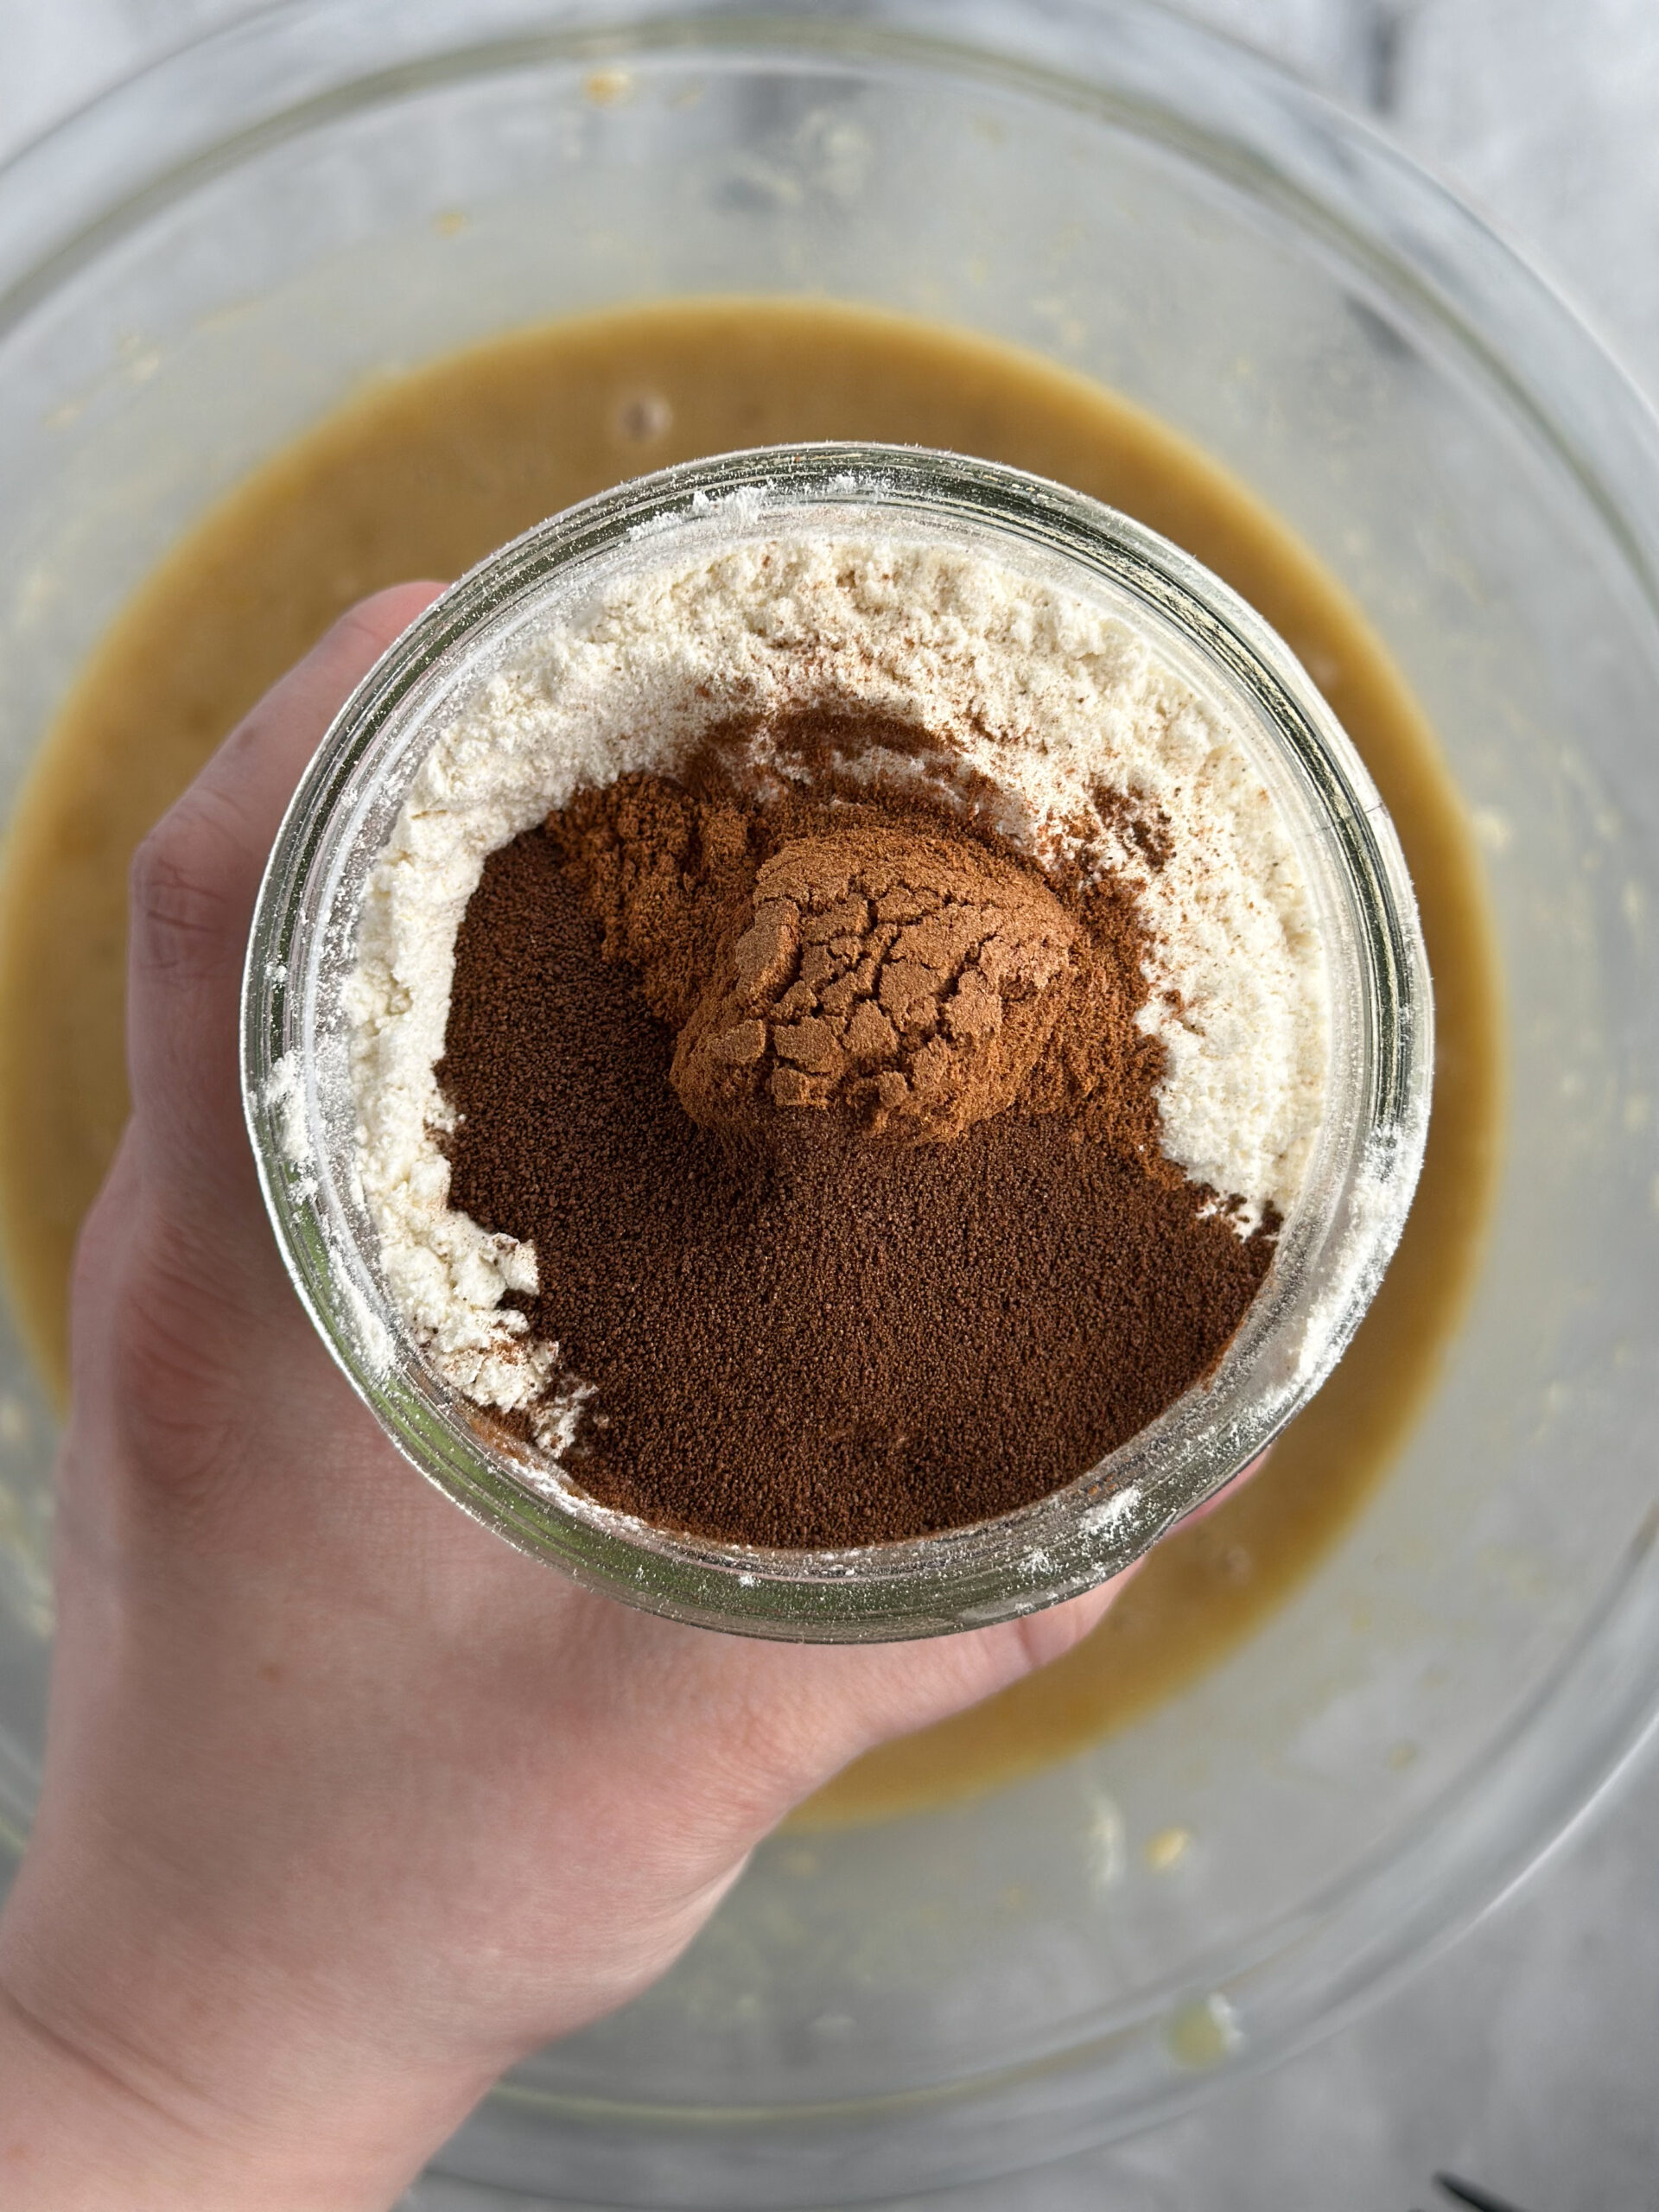
Using a fine mesh sieve, sift the cocoa powder and the flour into the mixture. It’s very important to sift cocoa powder, because it almost always has a lot of lumps.
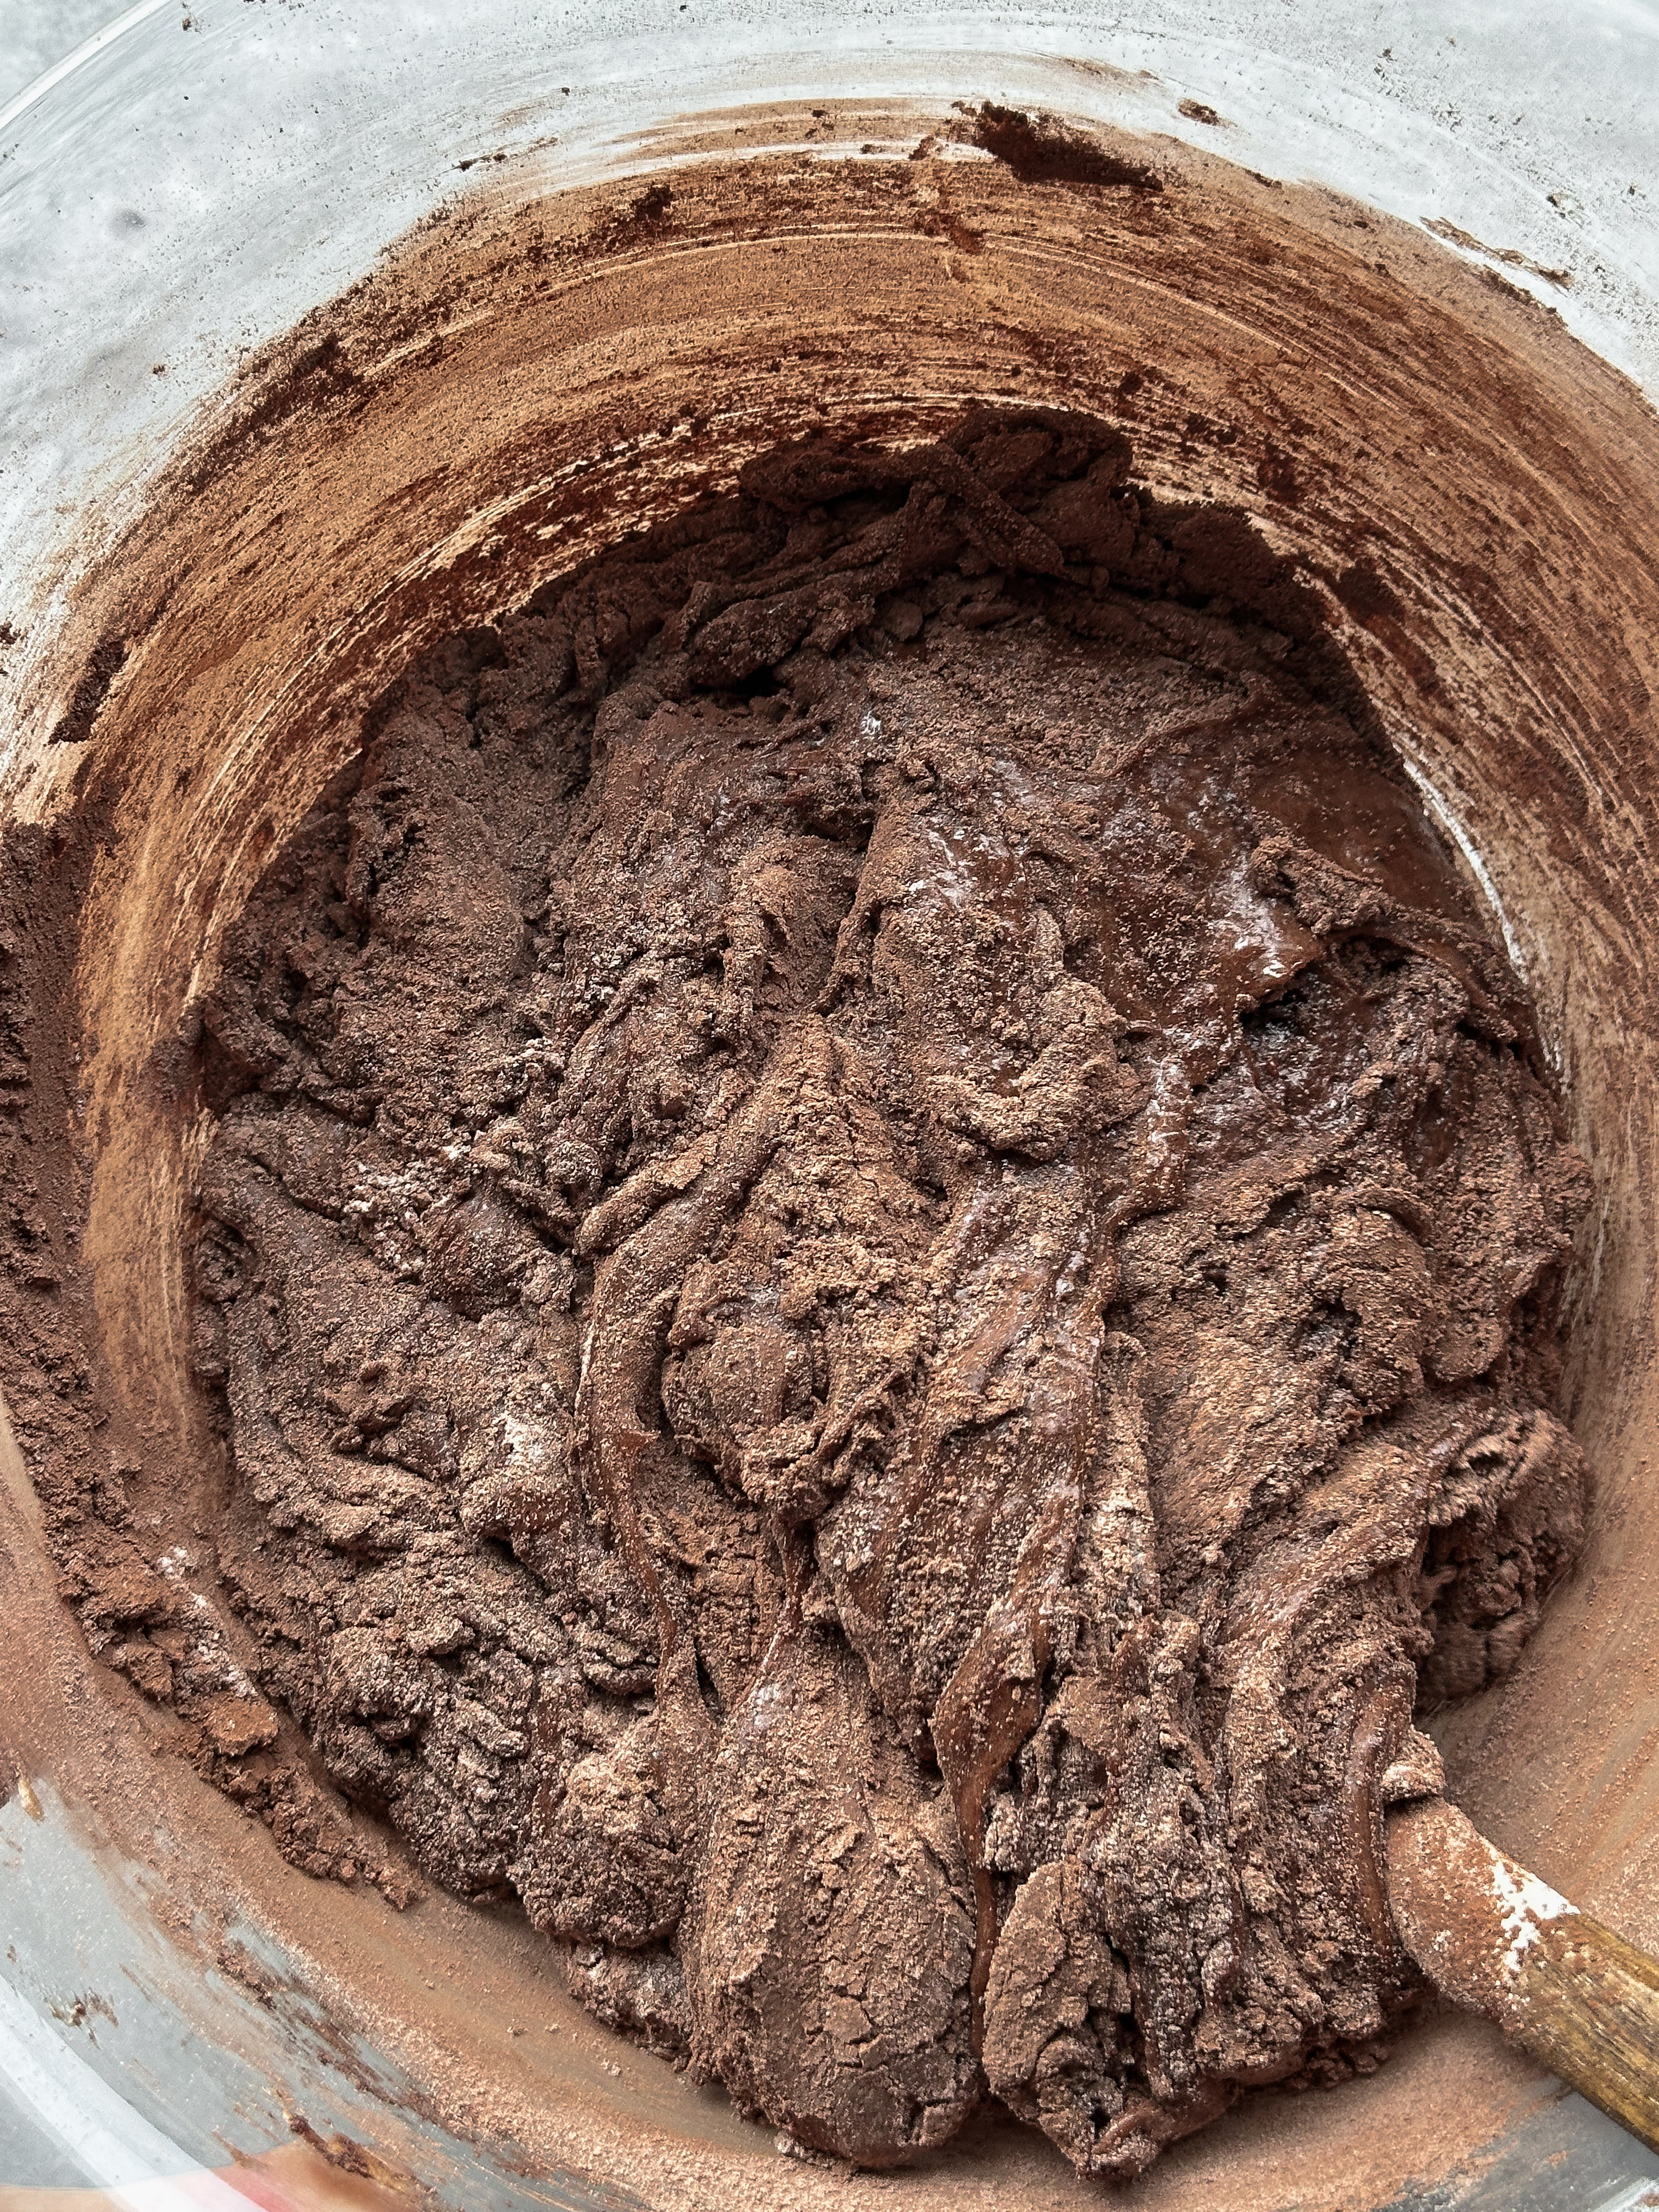
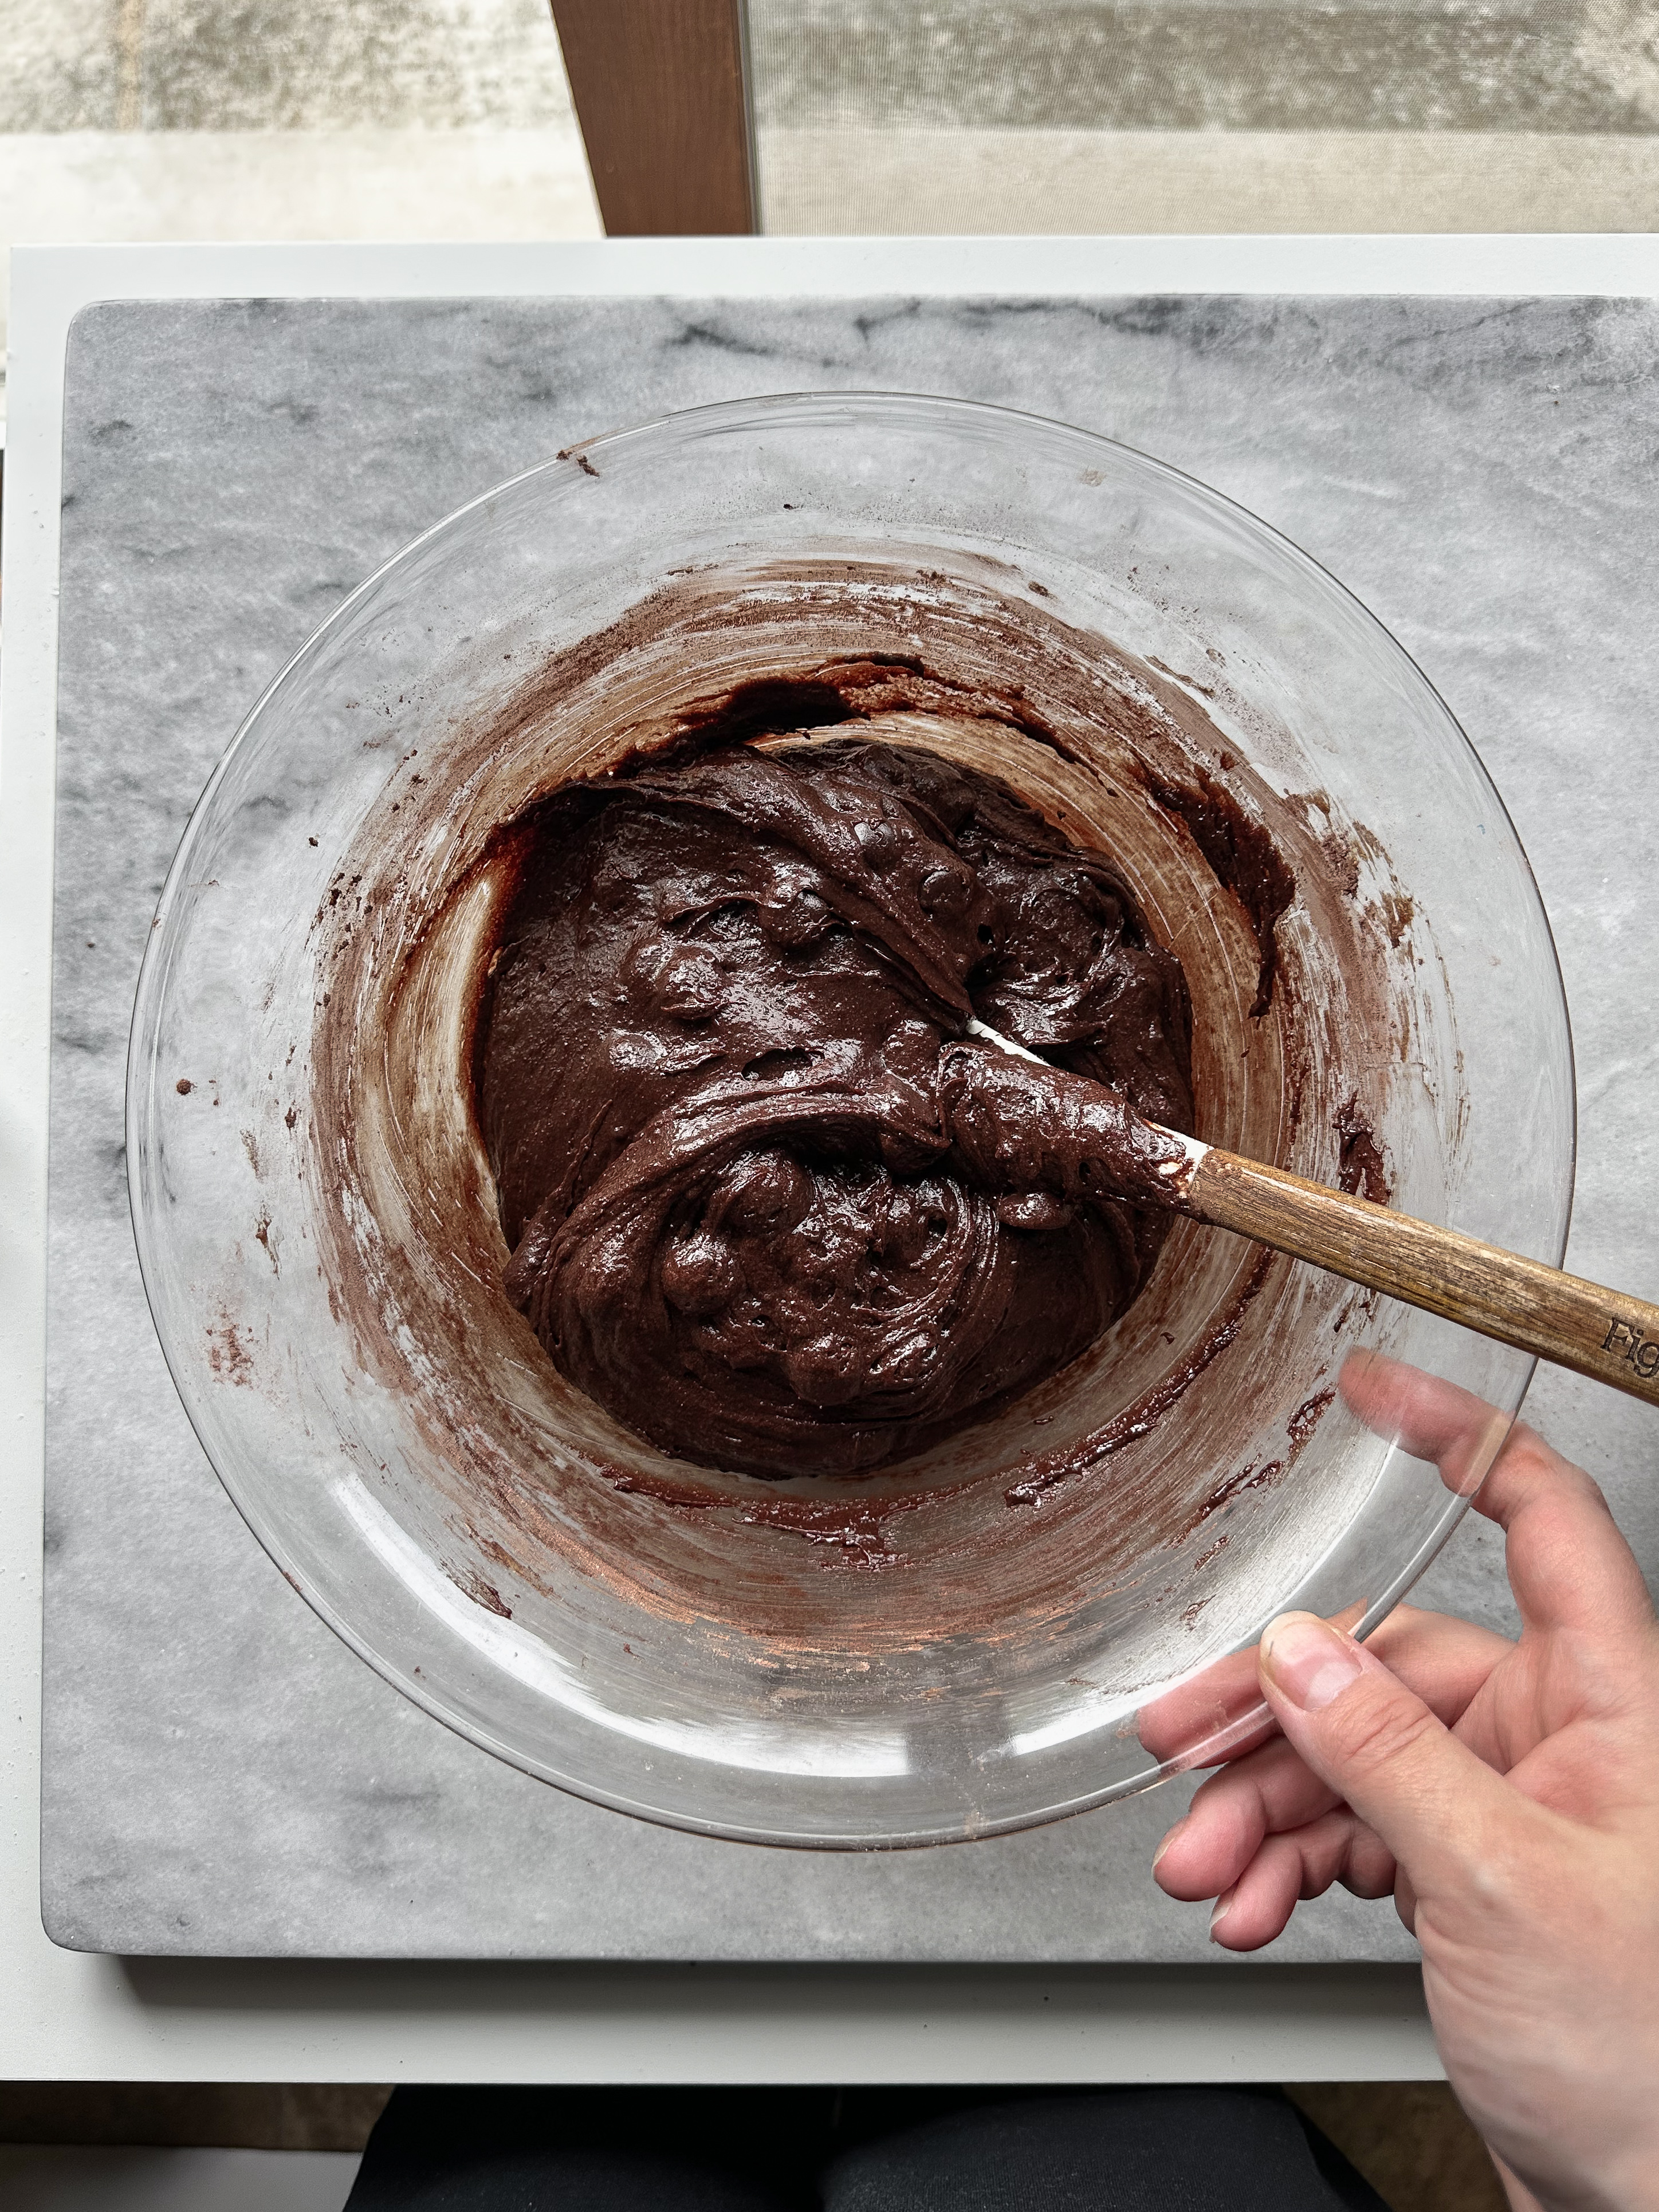
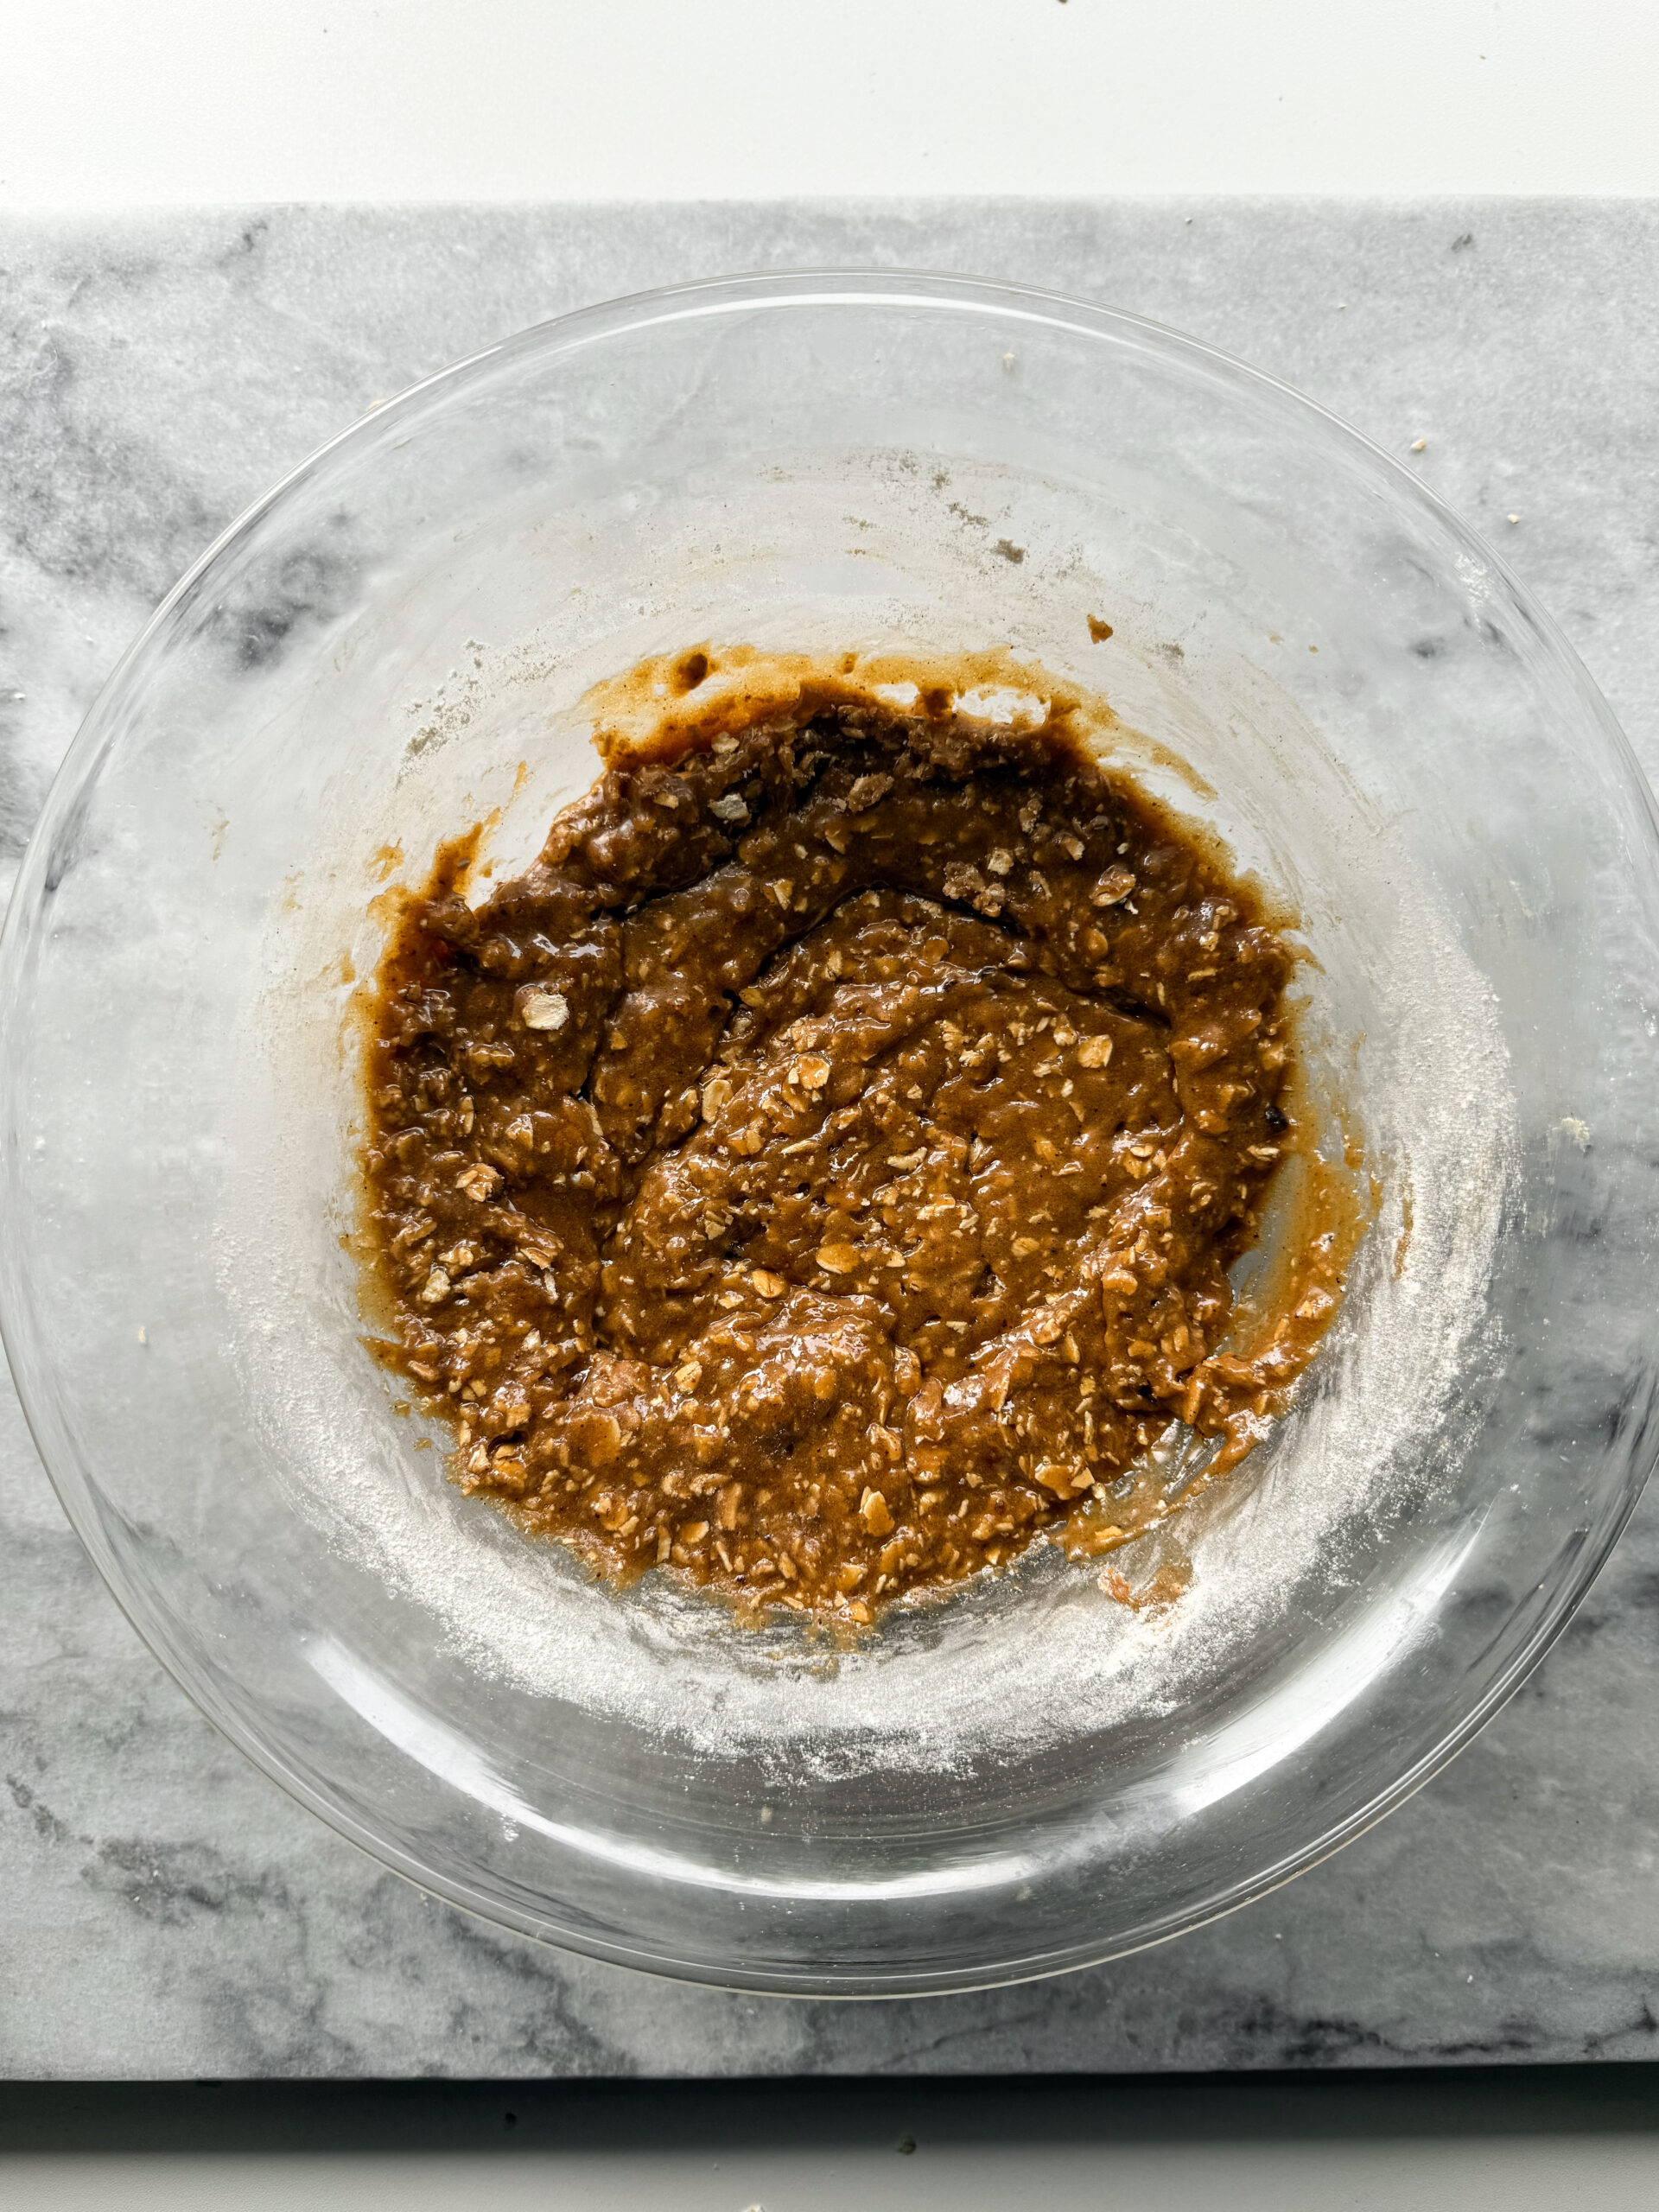
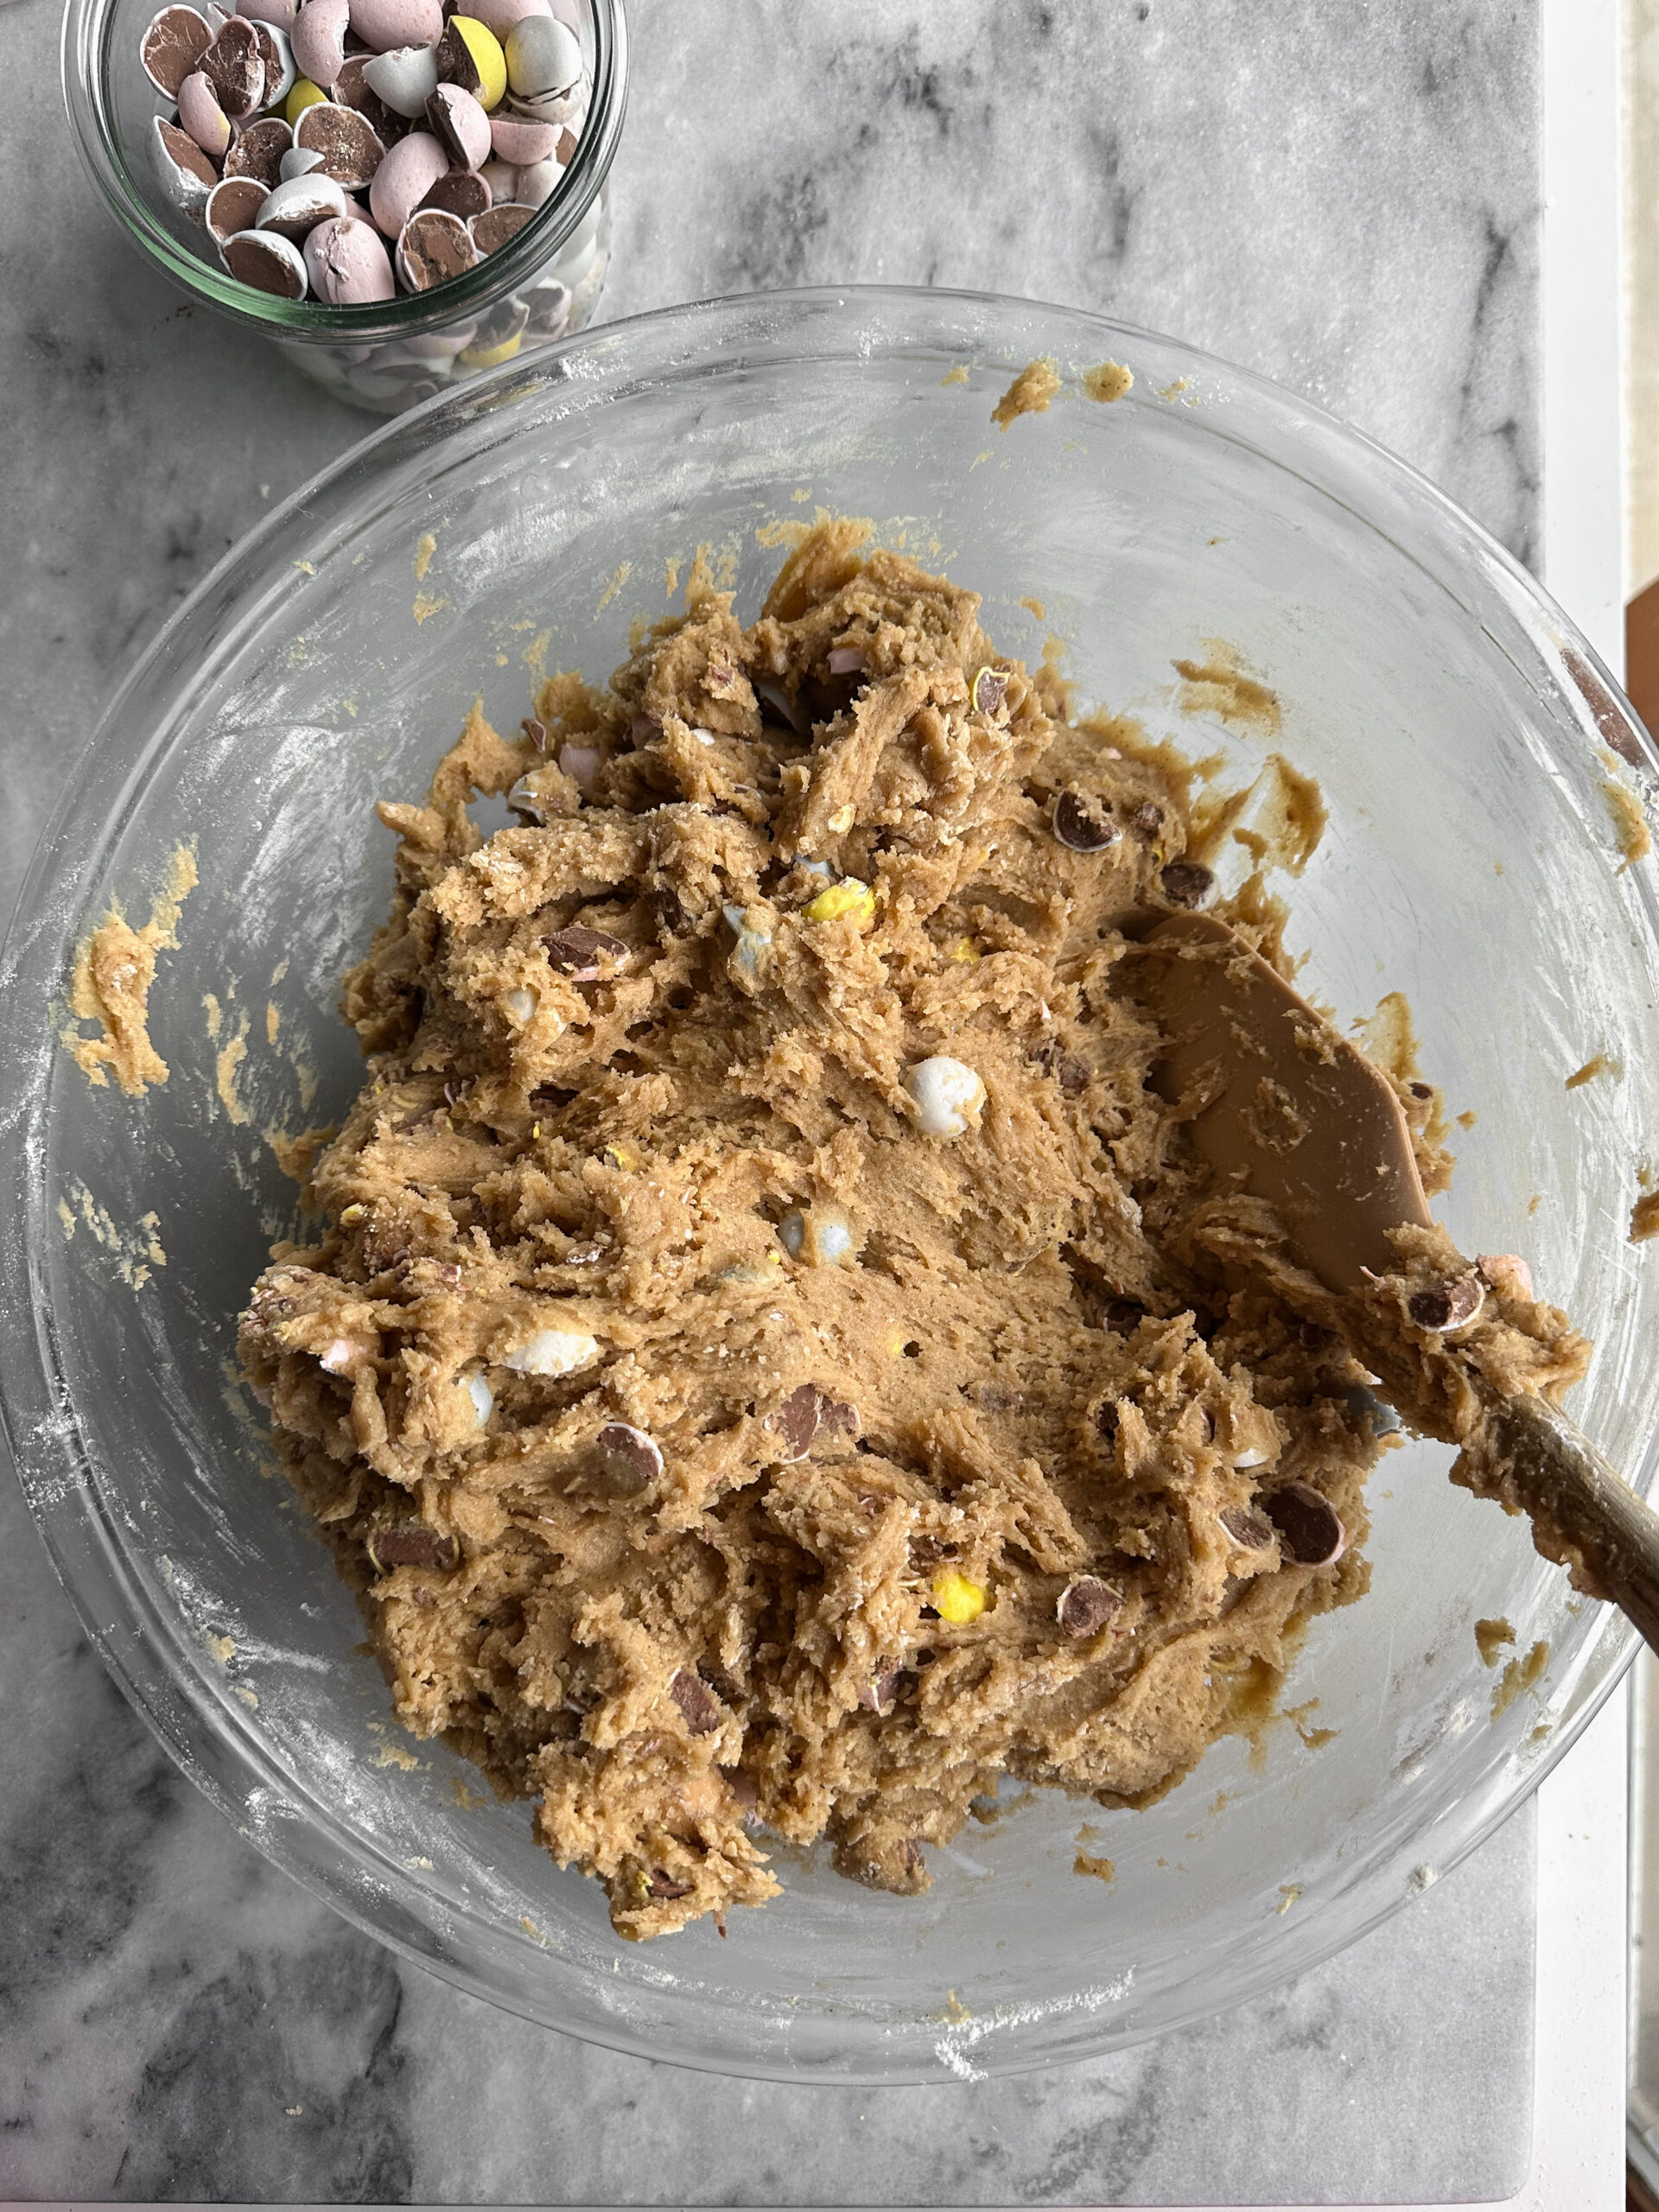
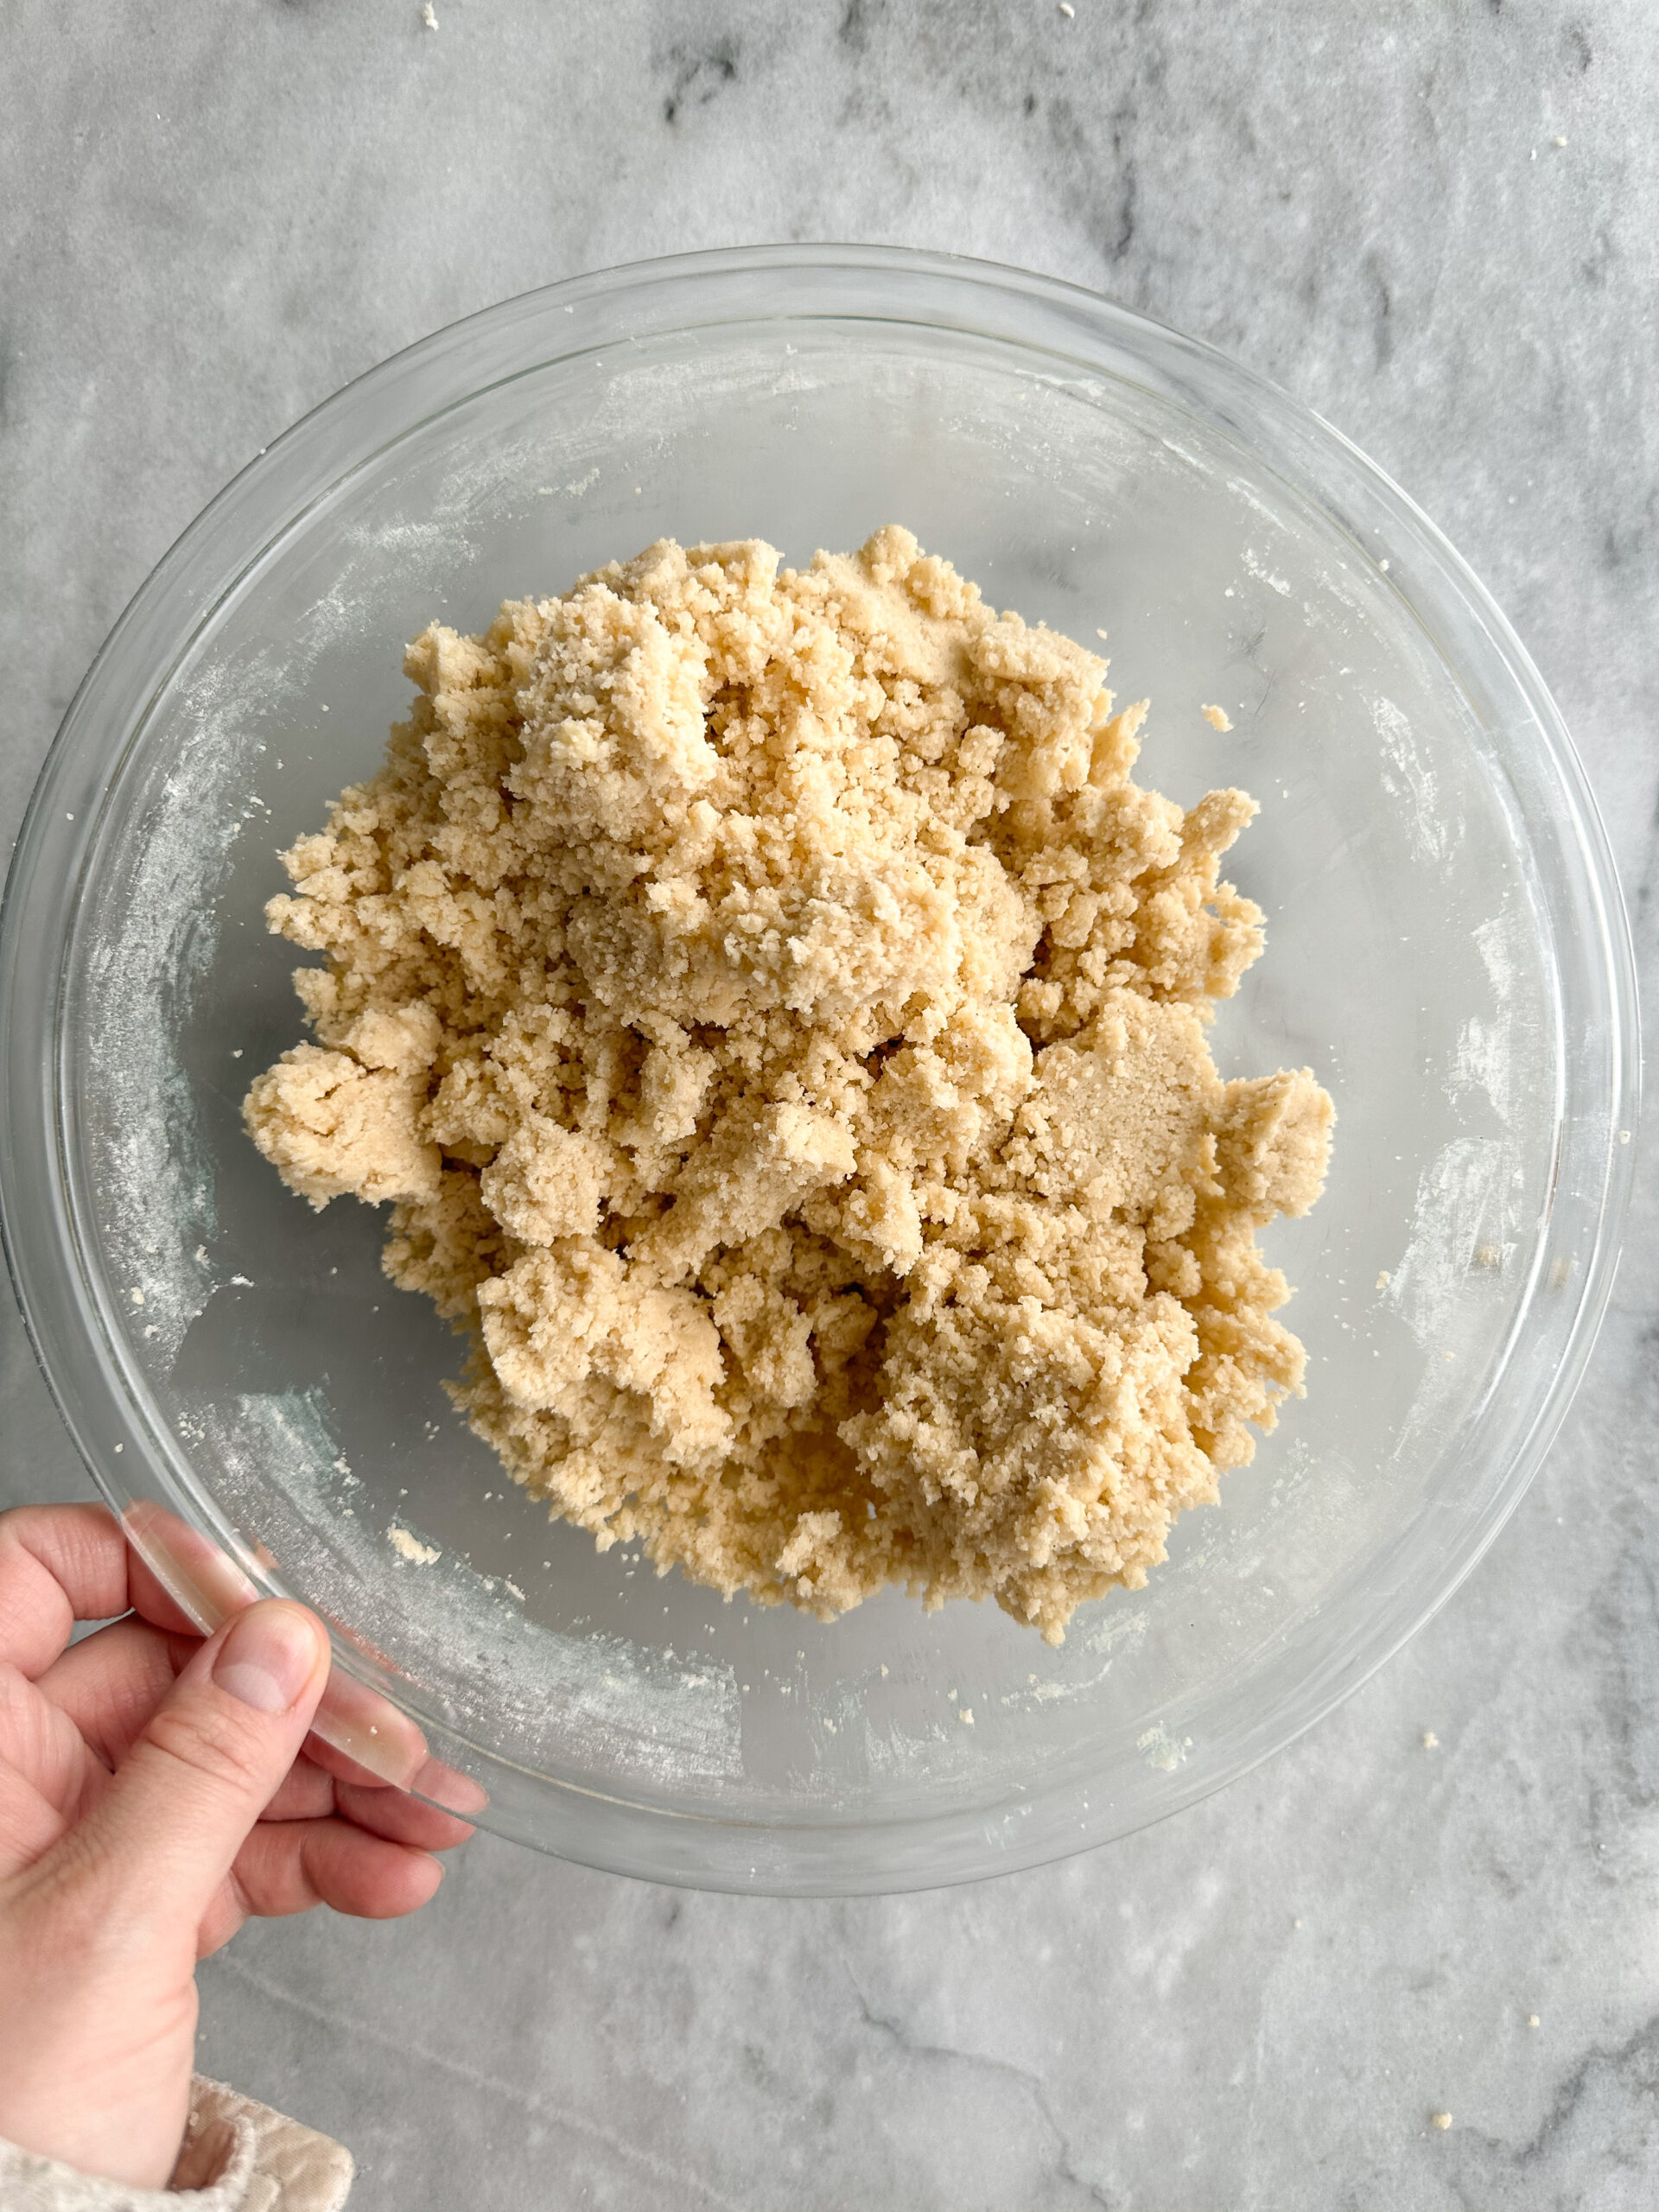
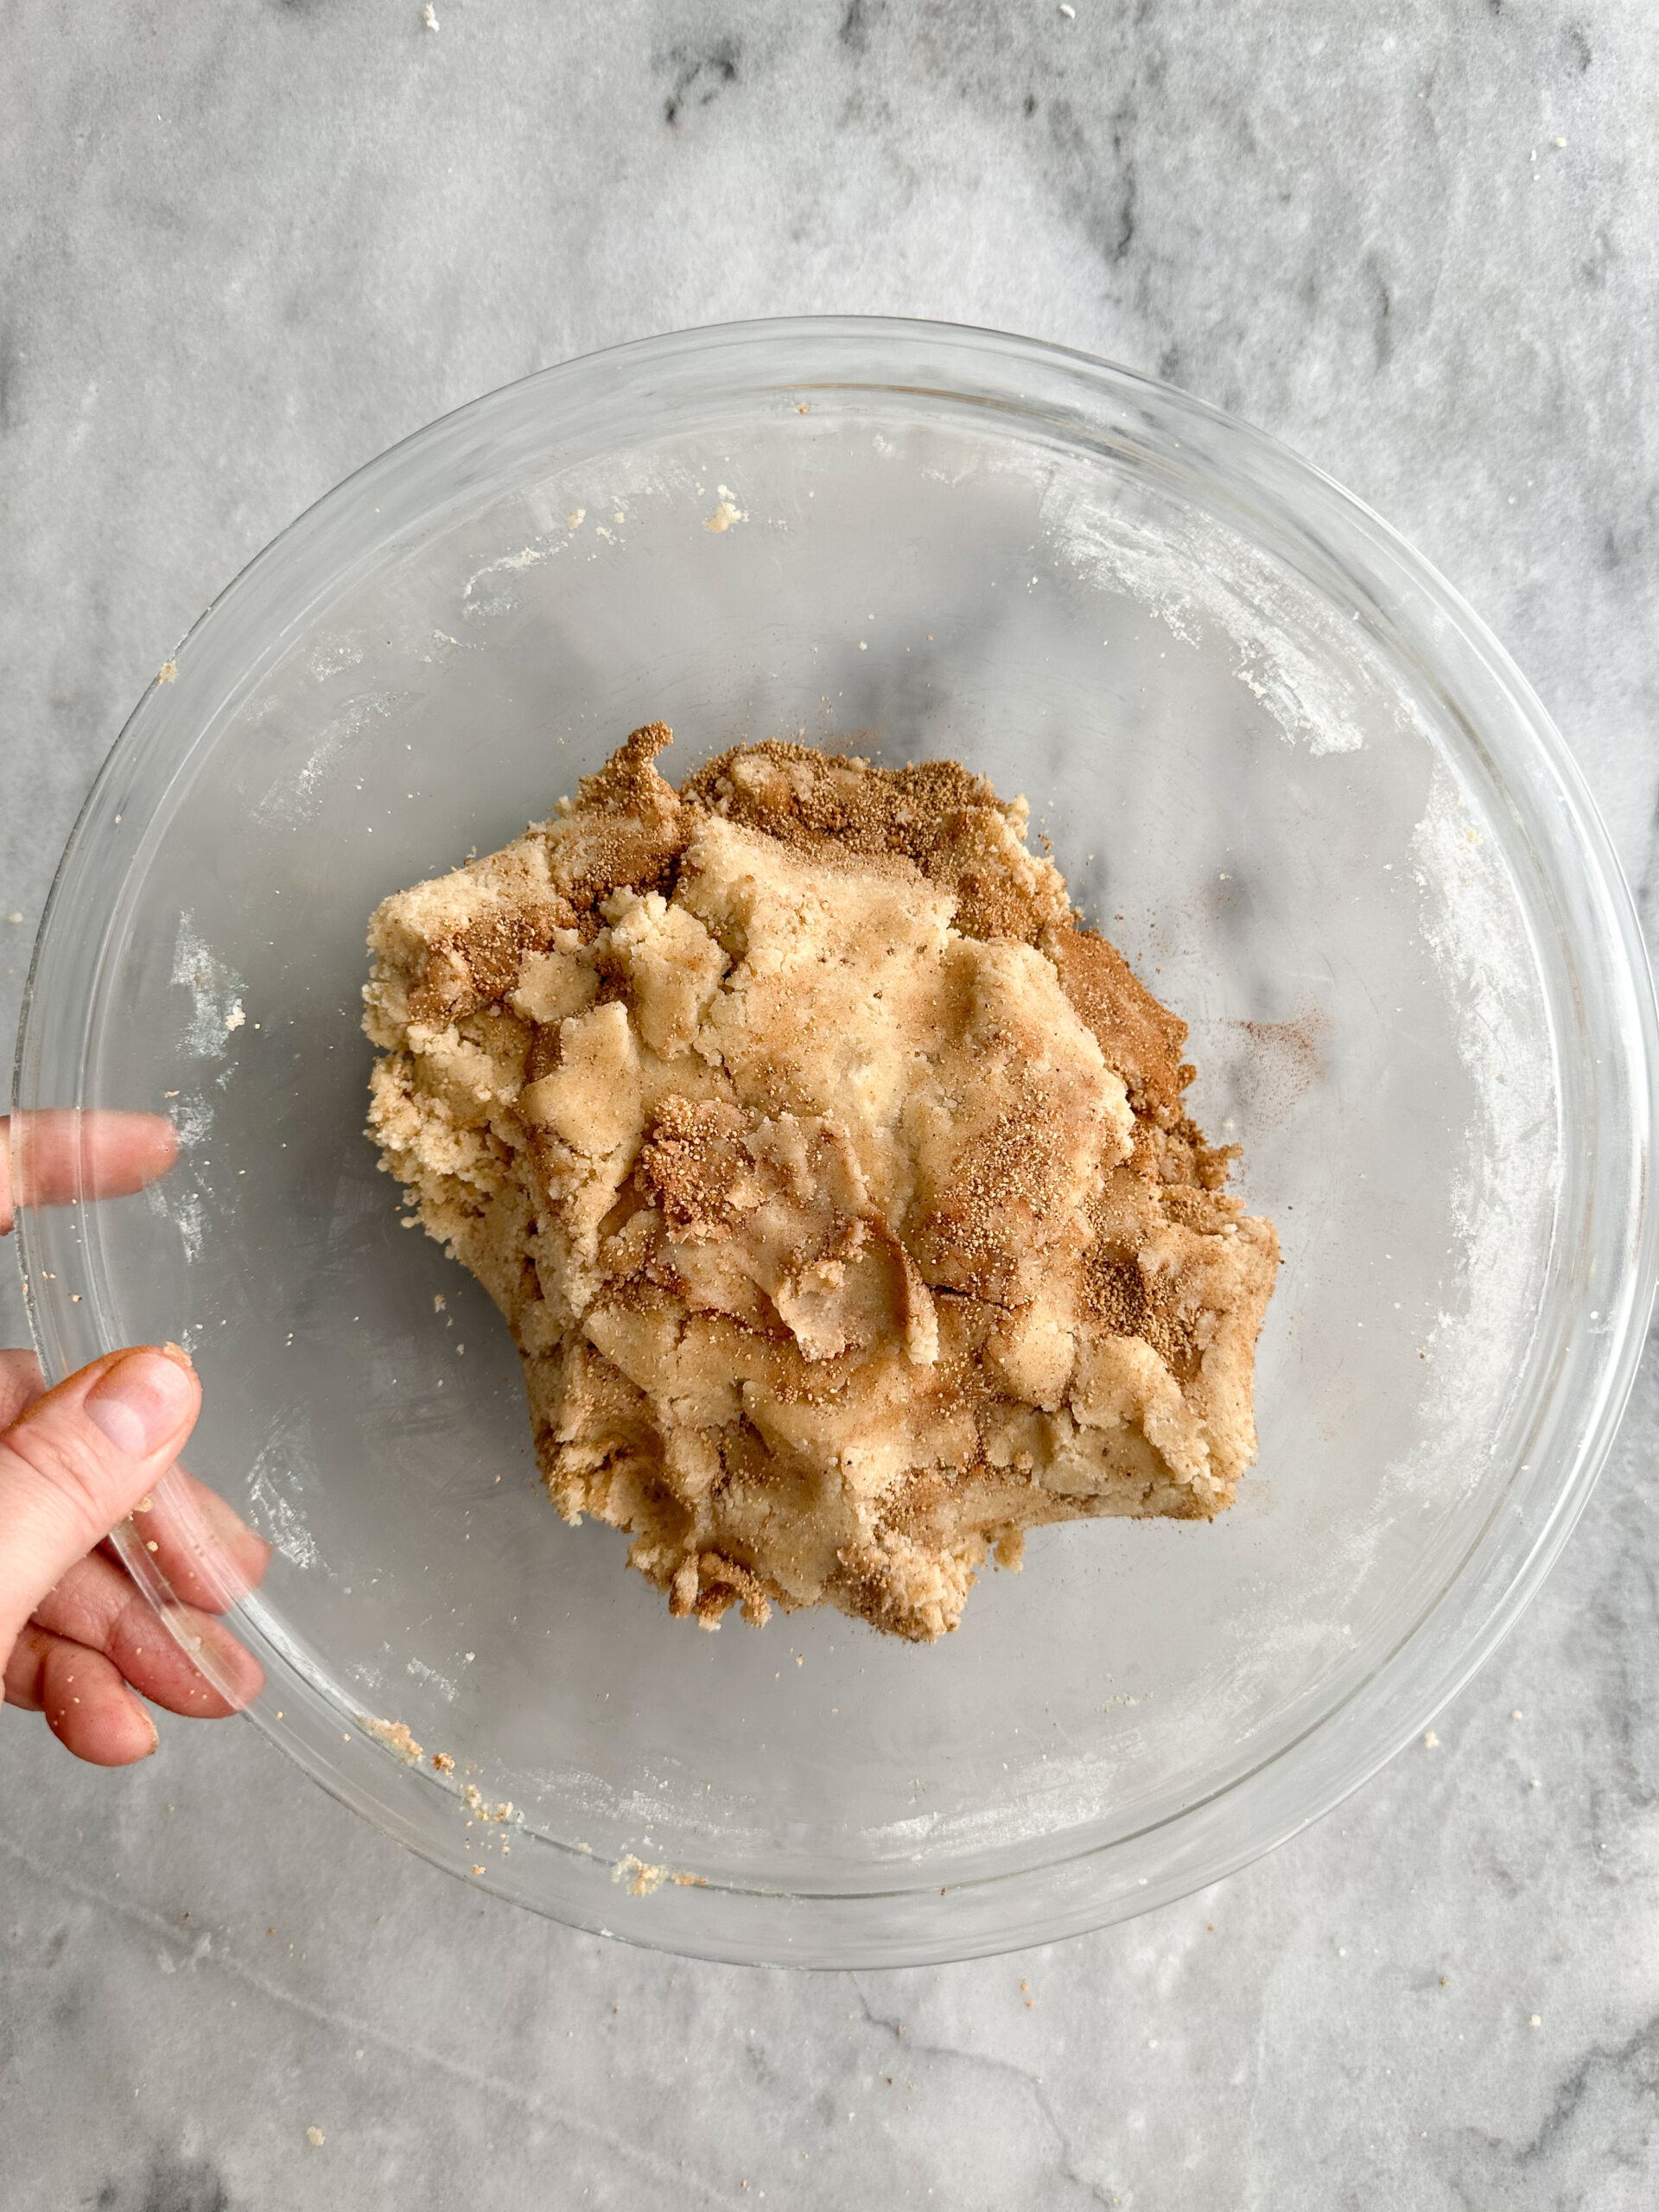
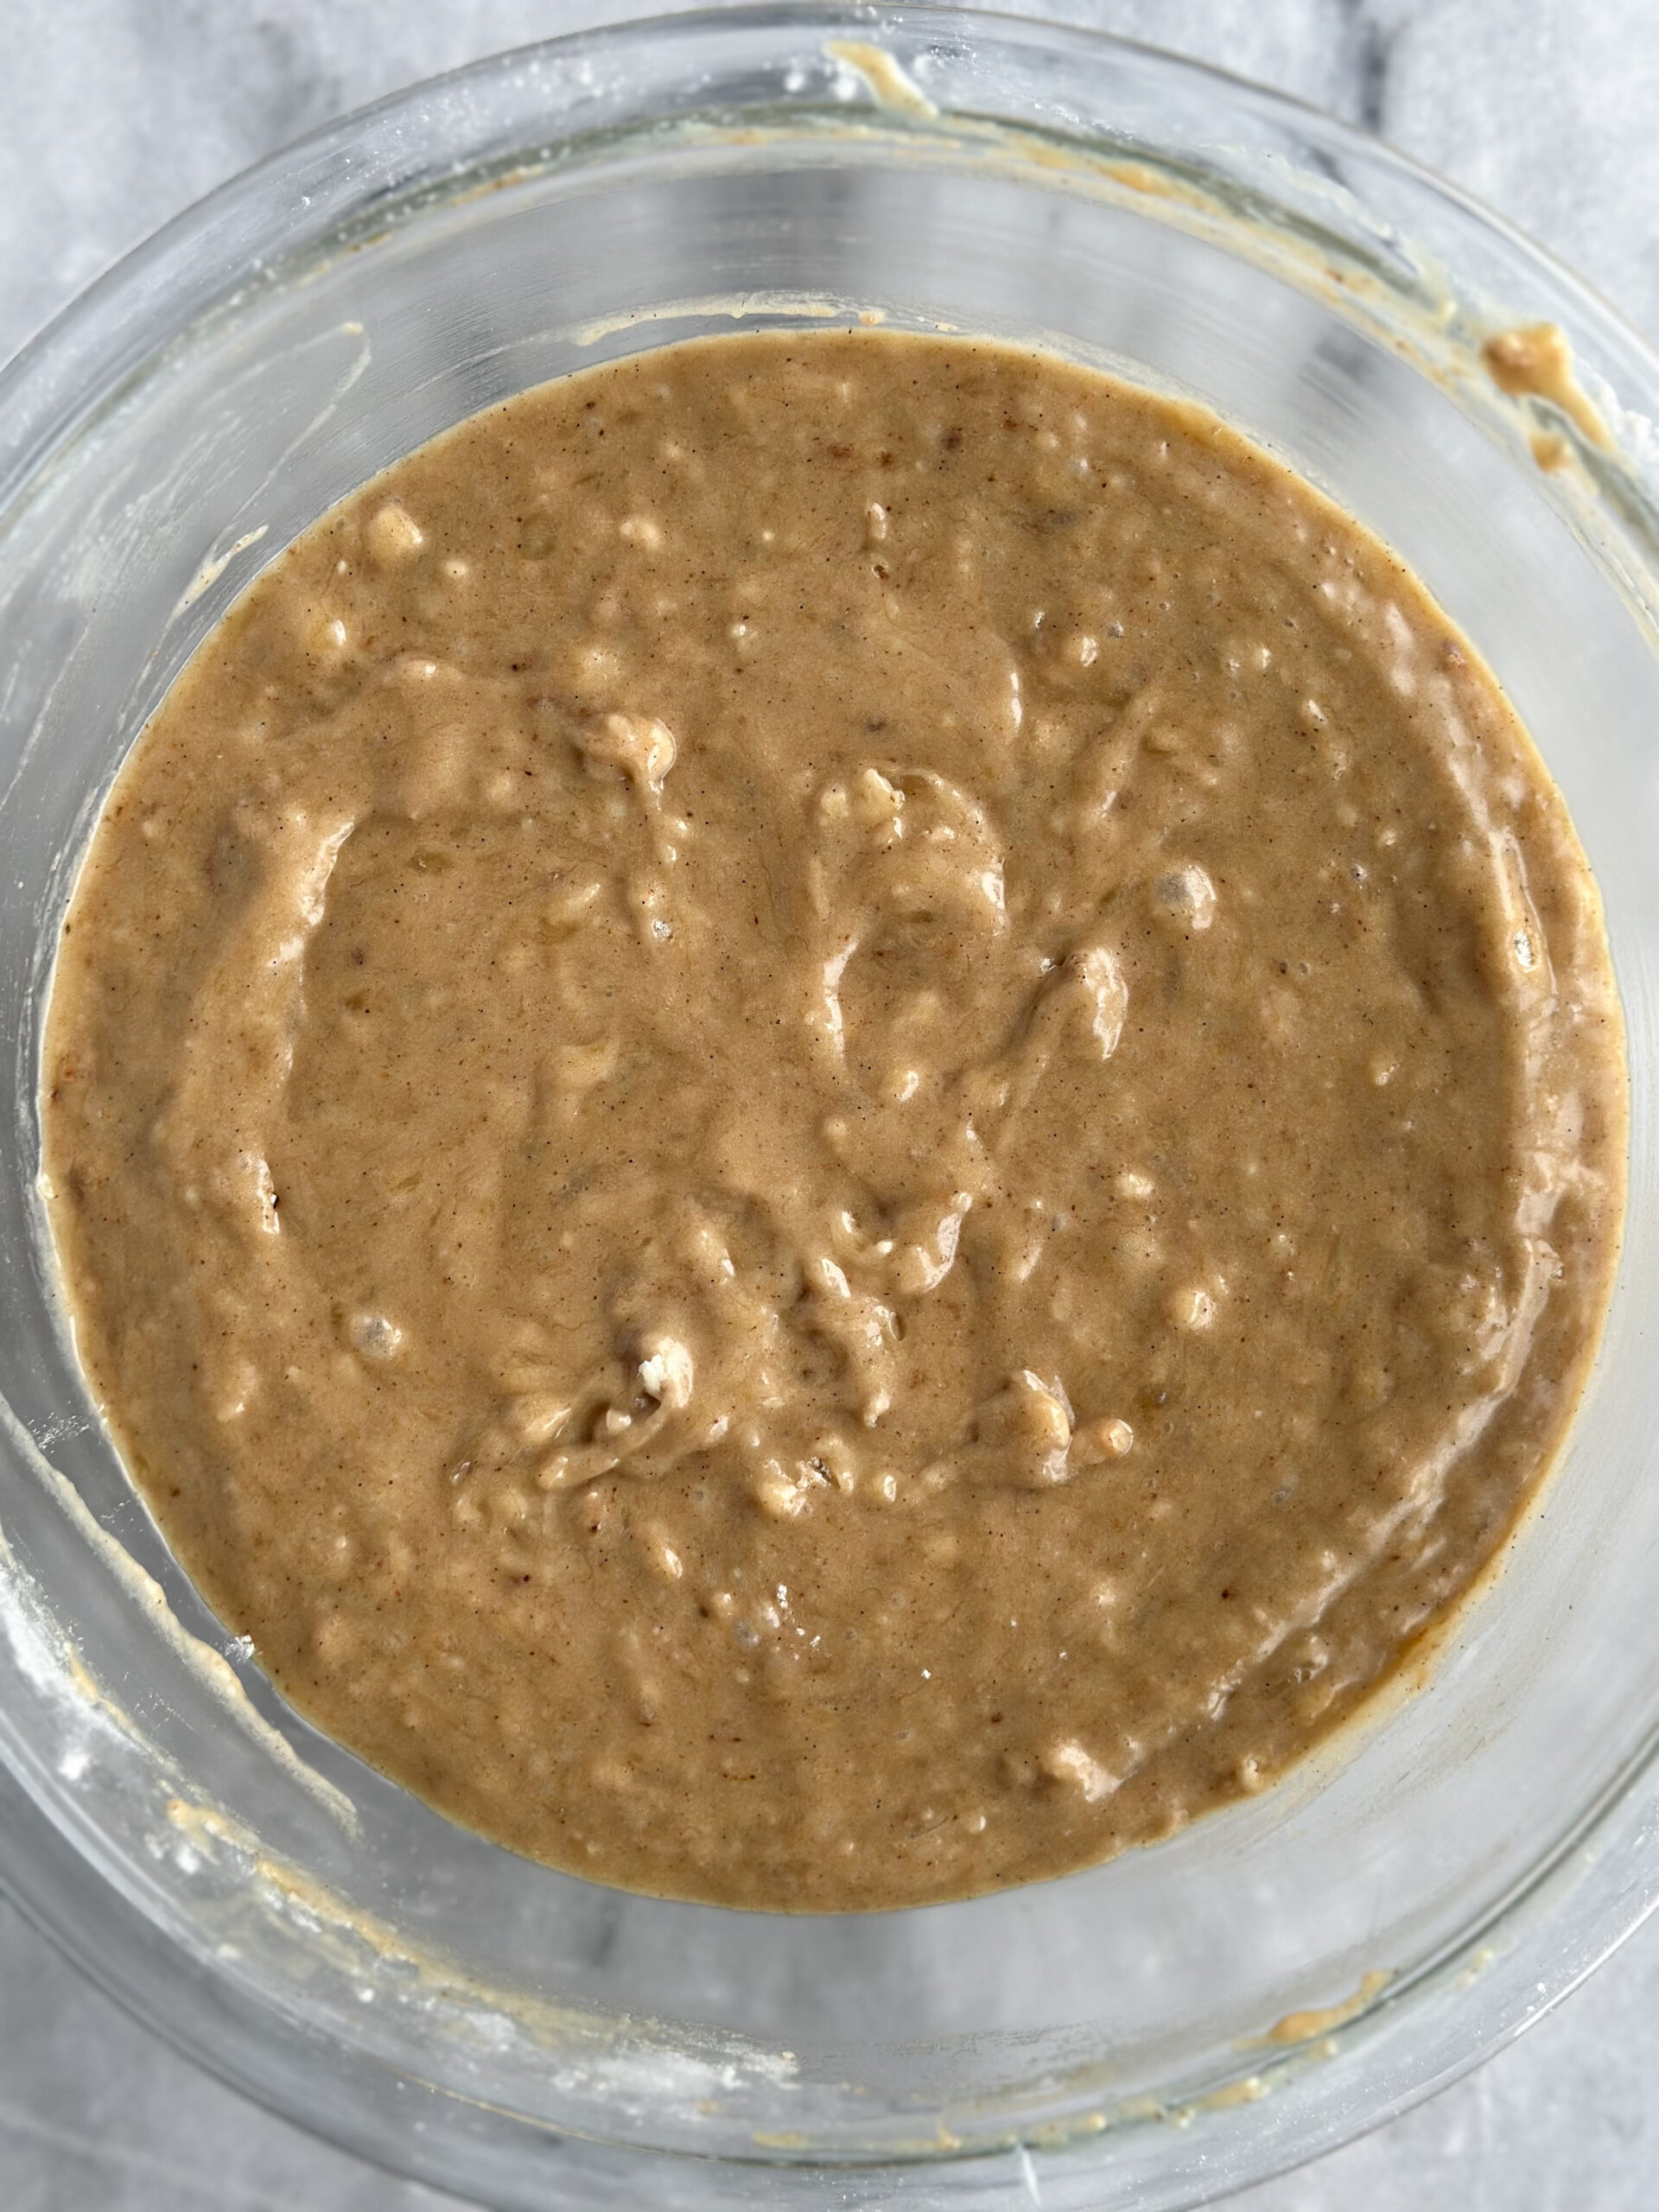
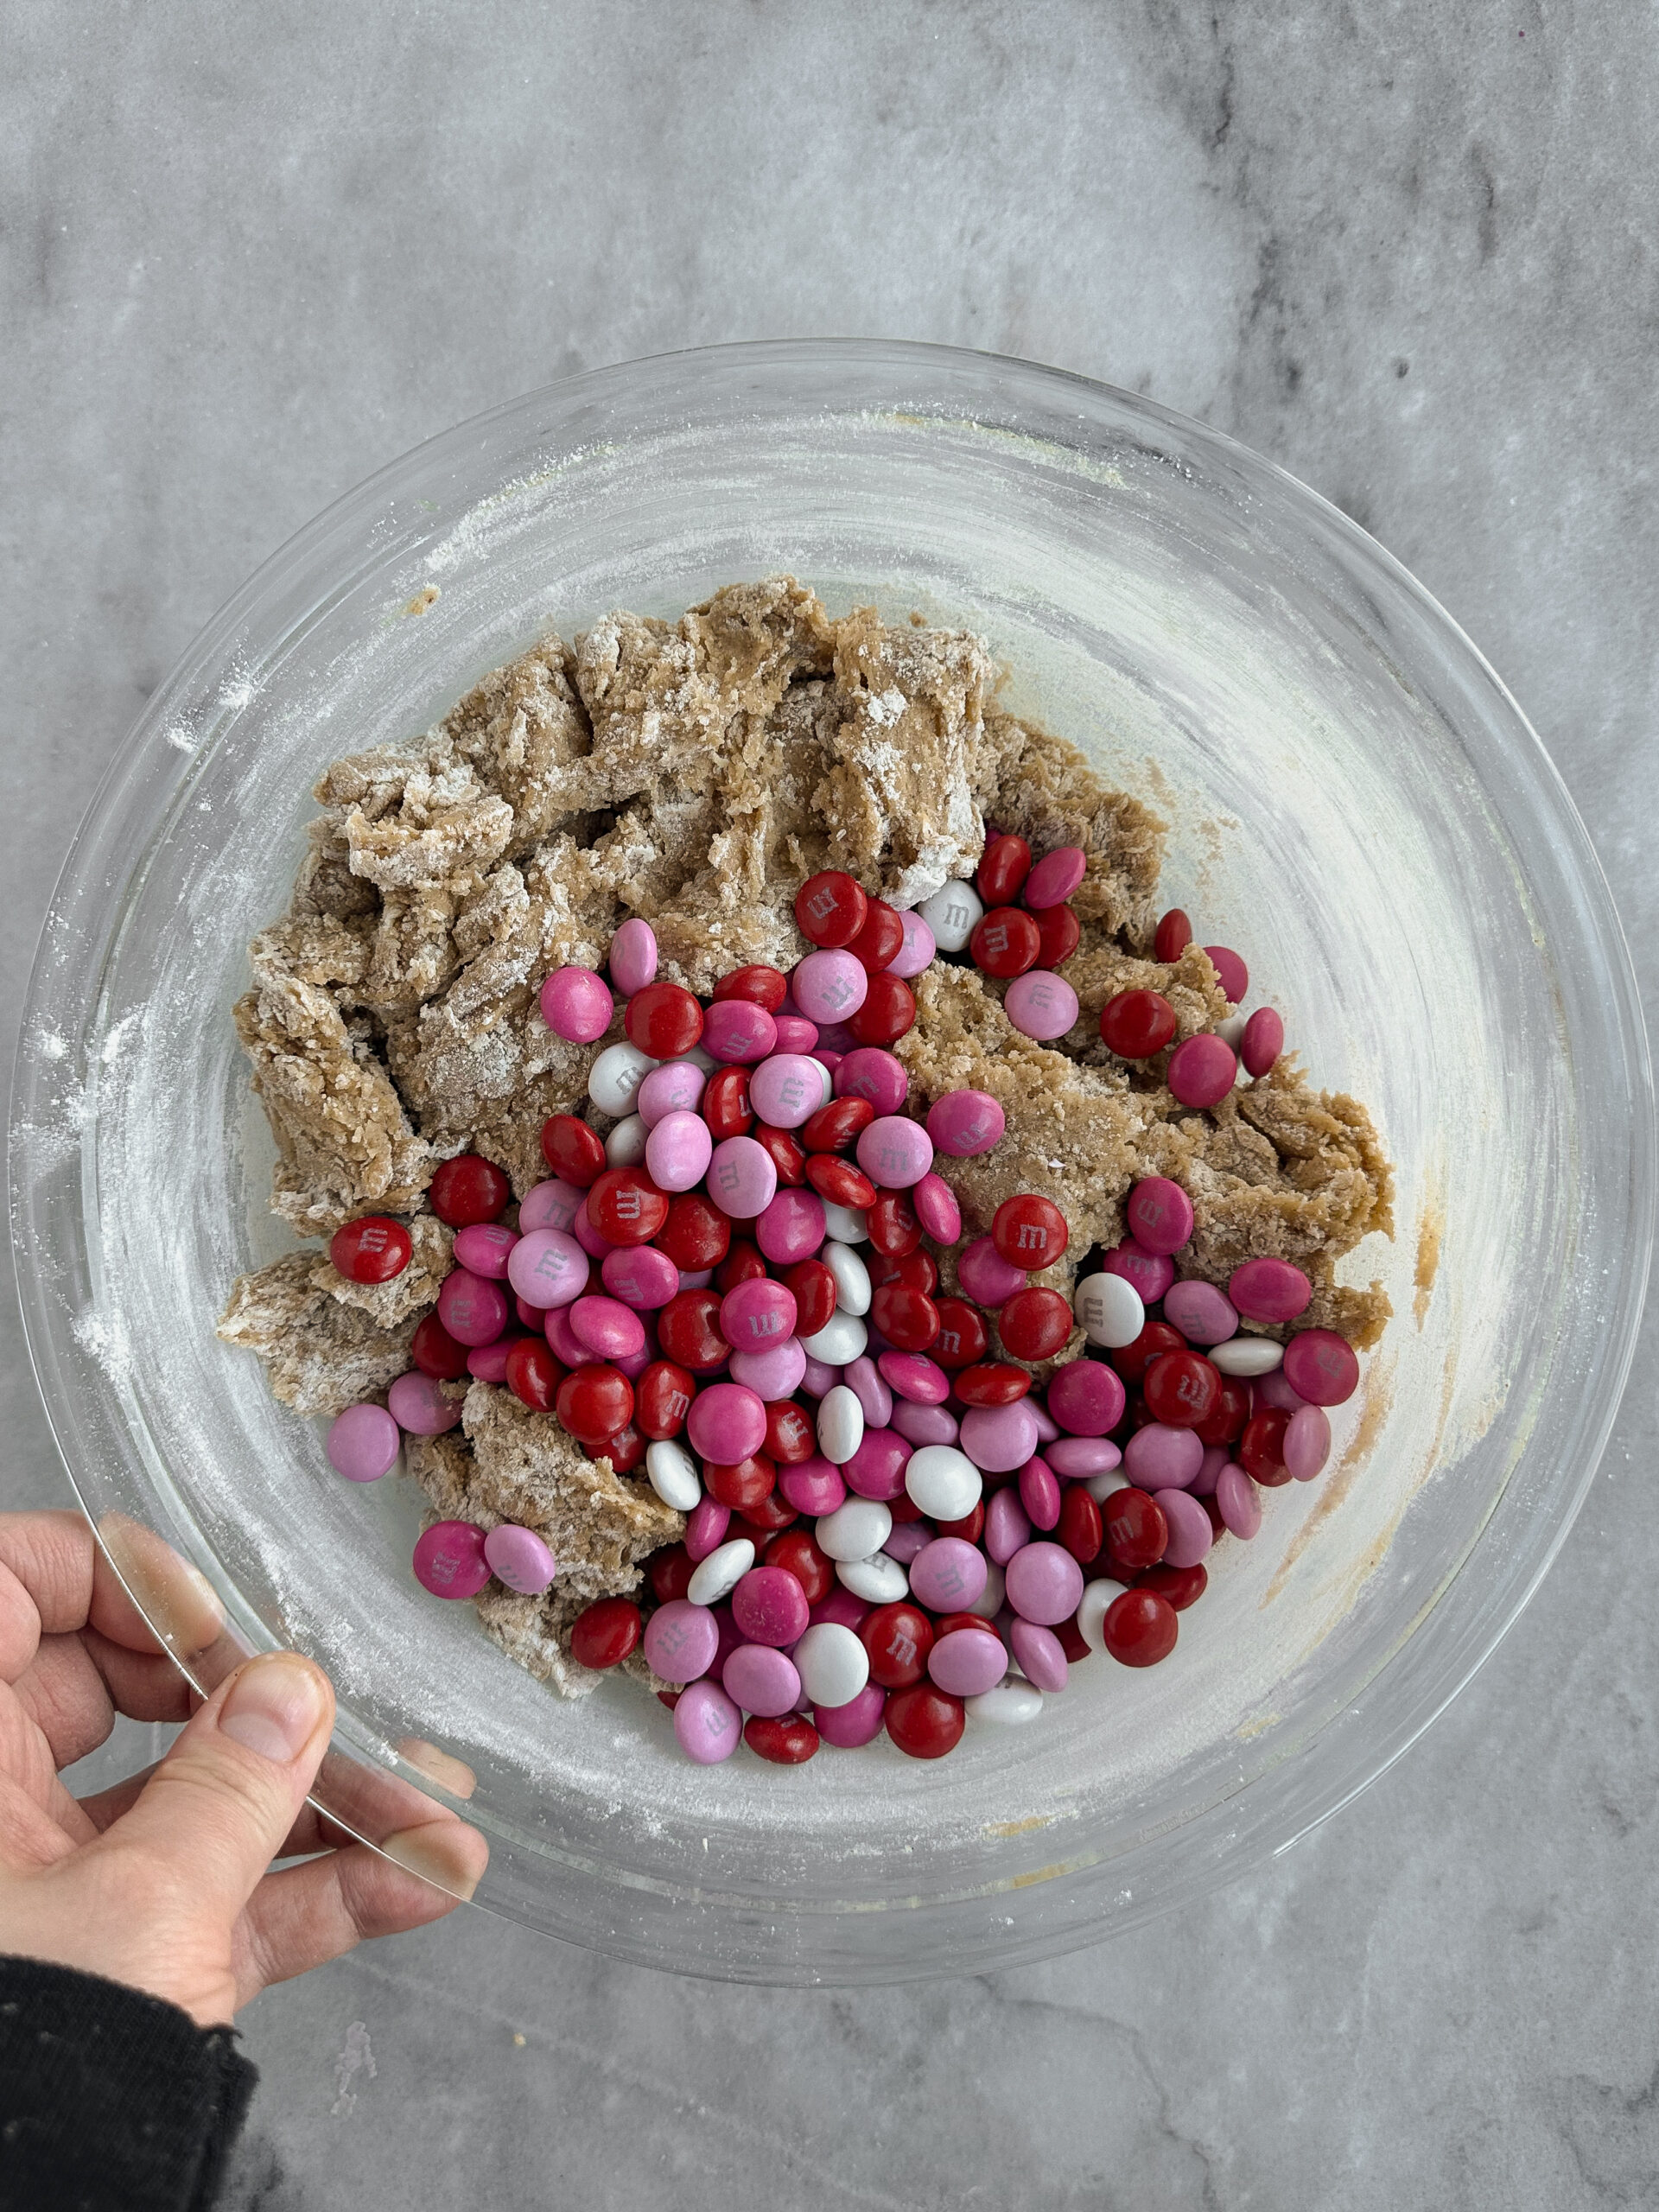
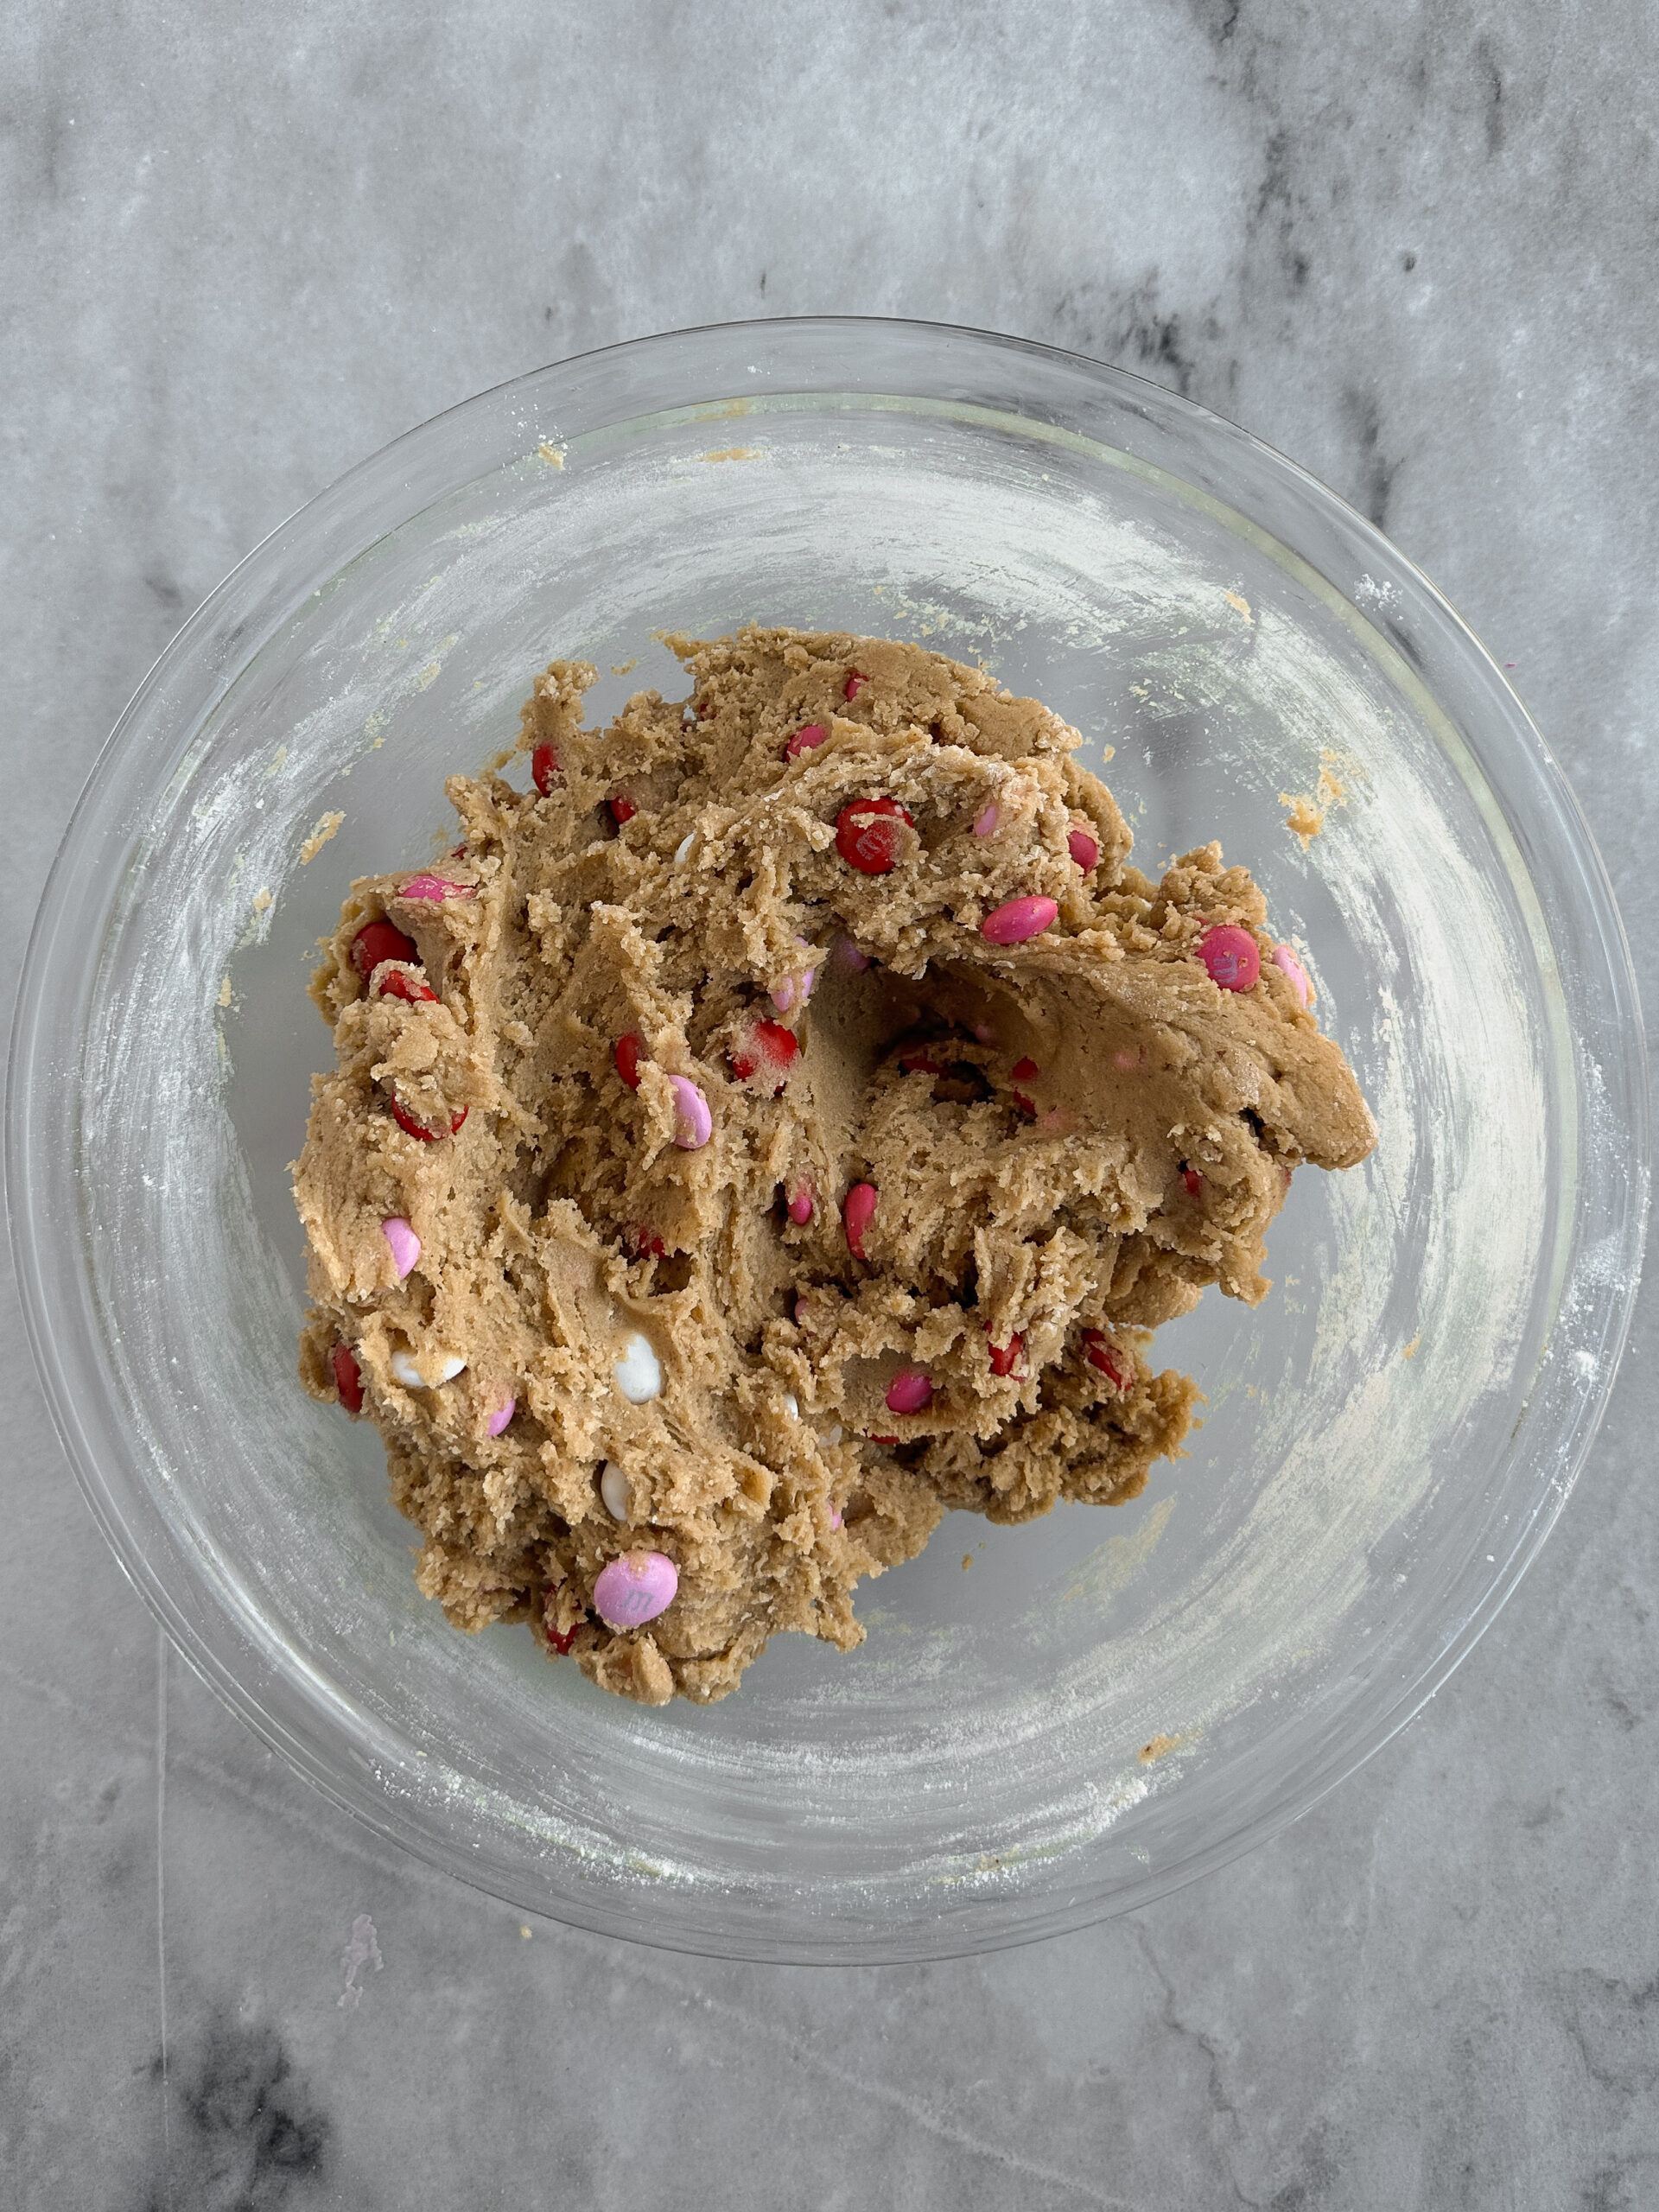
Fold the dry ingredients in gently, adding the chocolate chips to the mixture before it’s fully combined. Finish folding the batter together until no more dry bits remain.
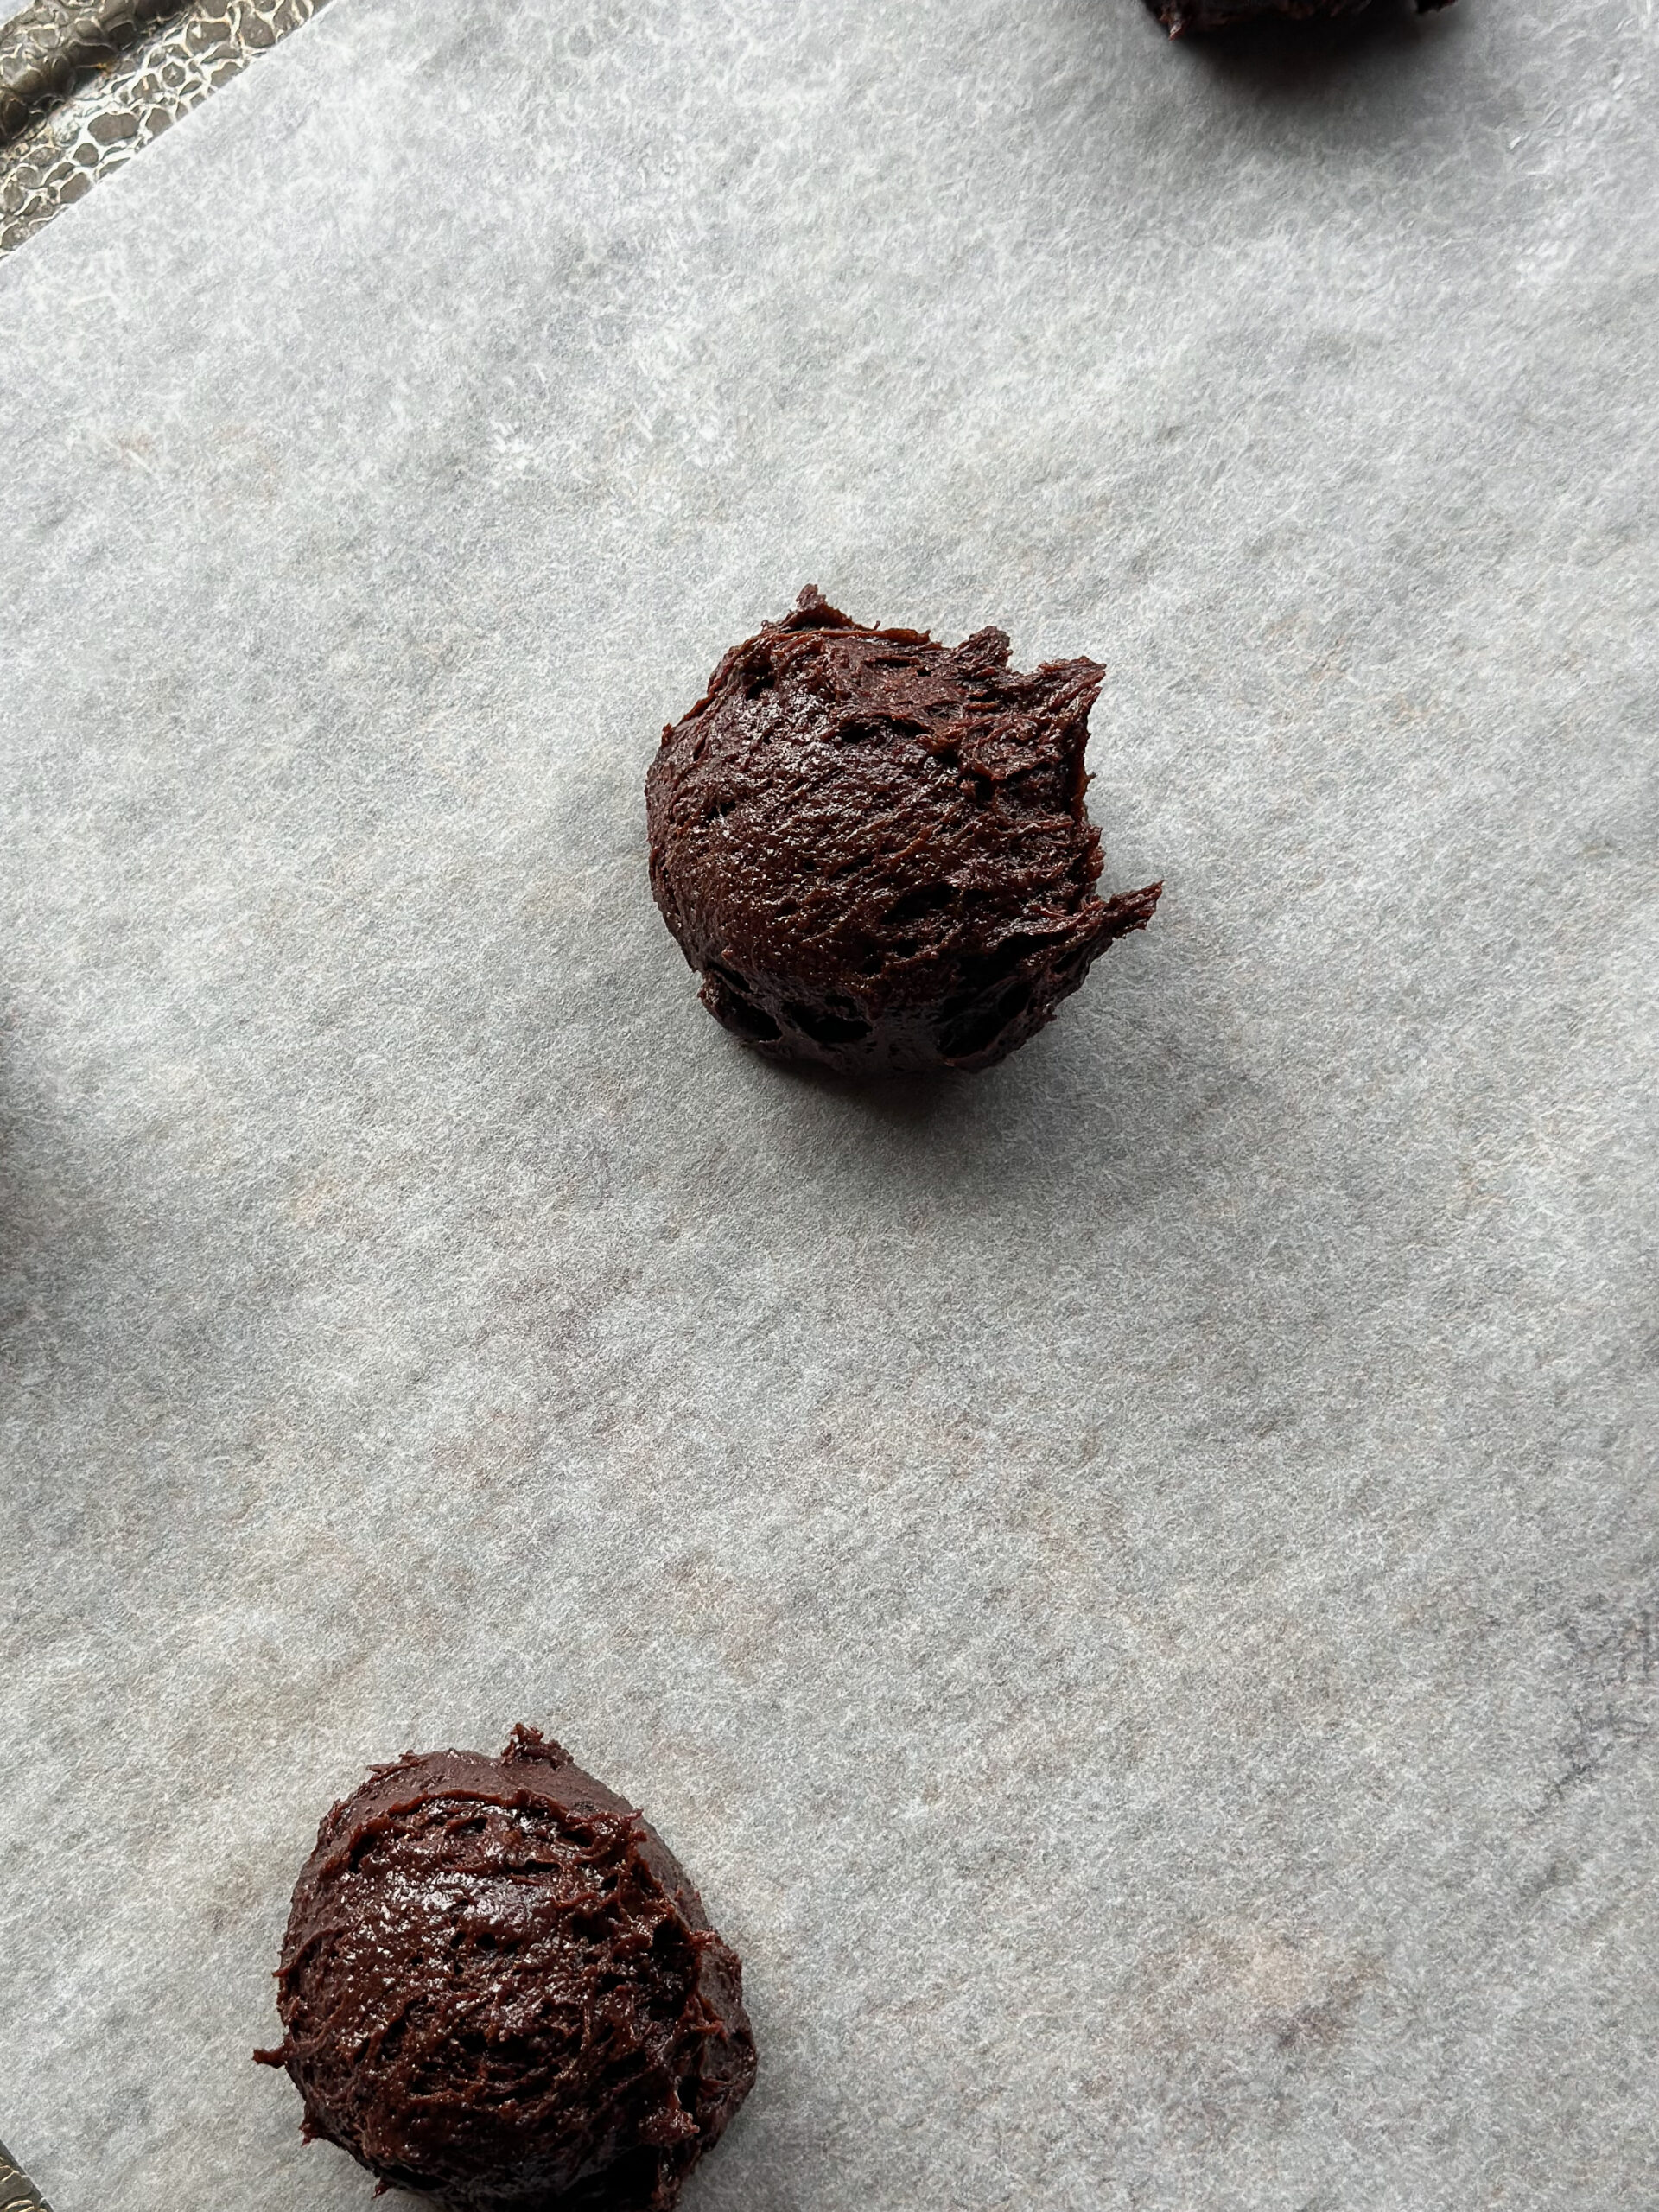
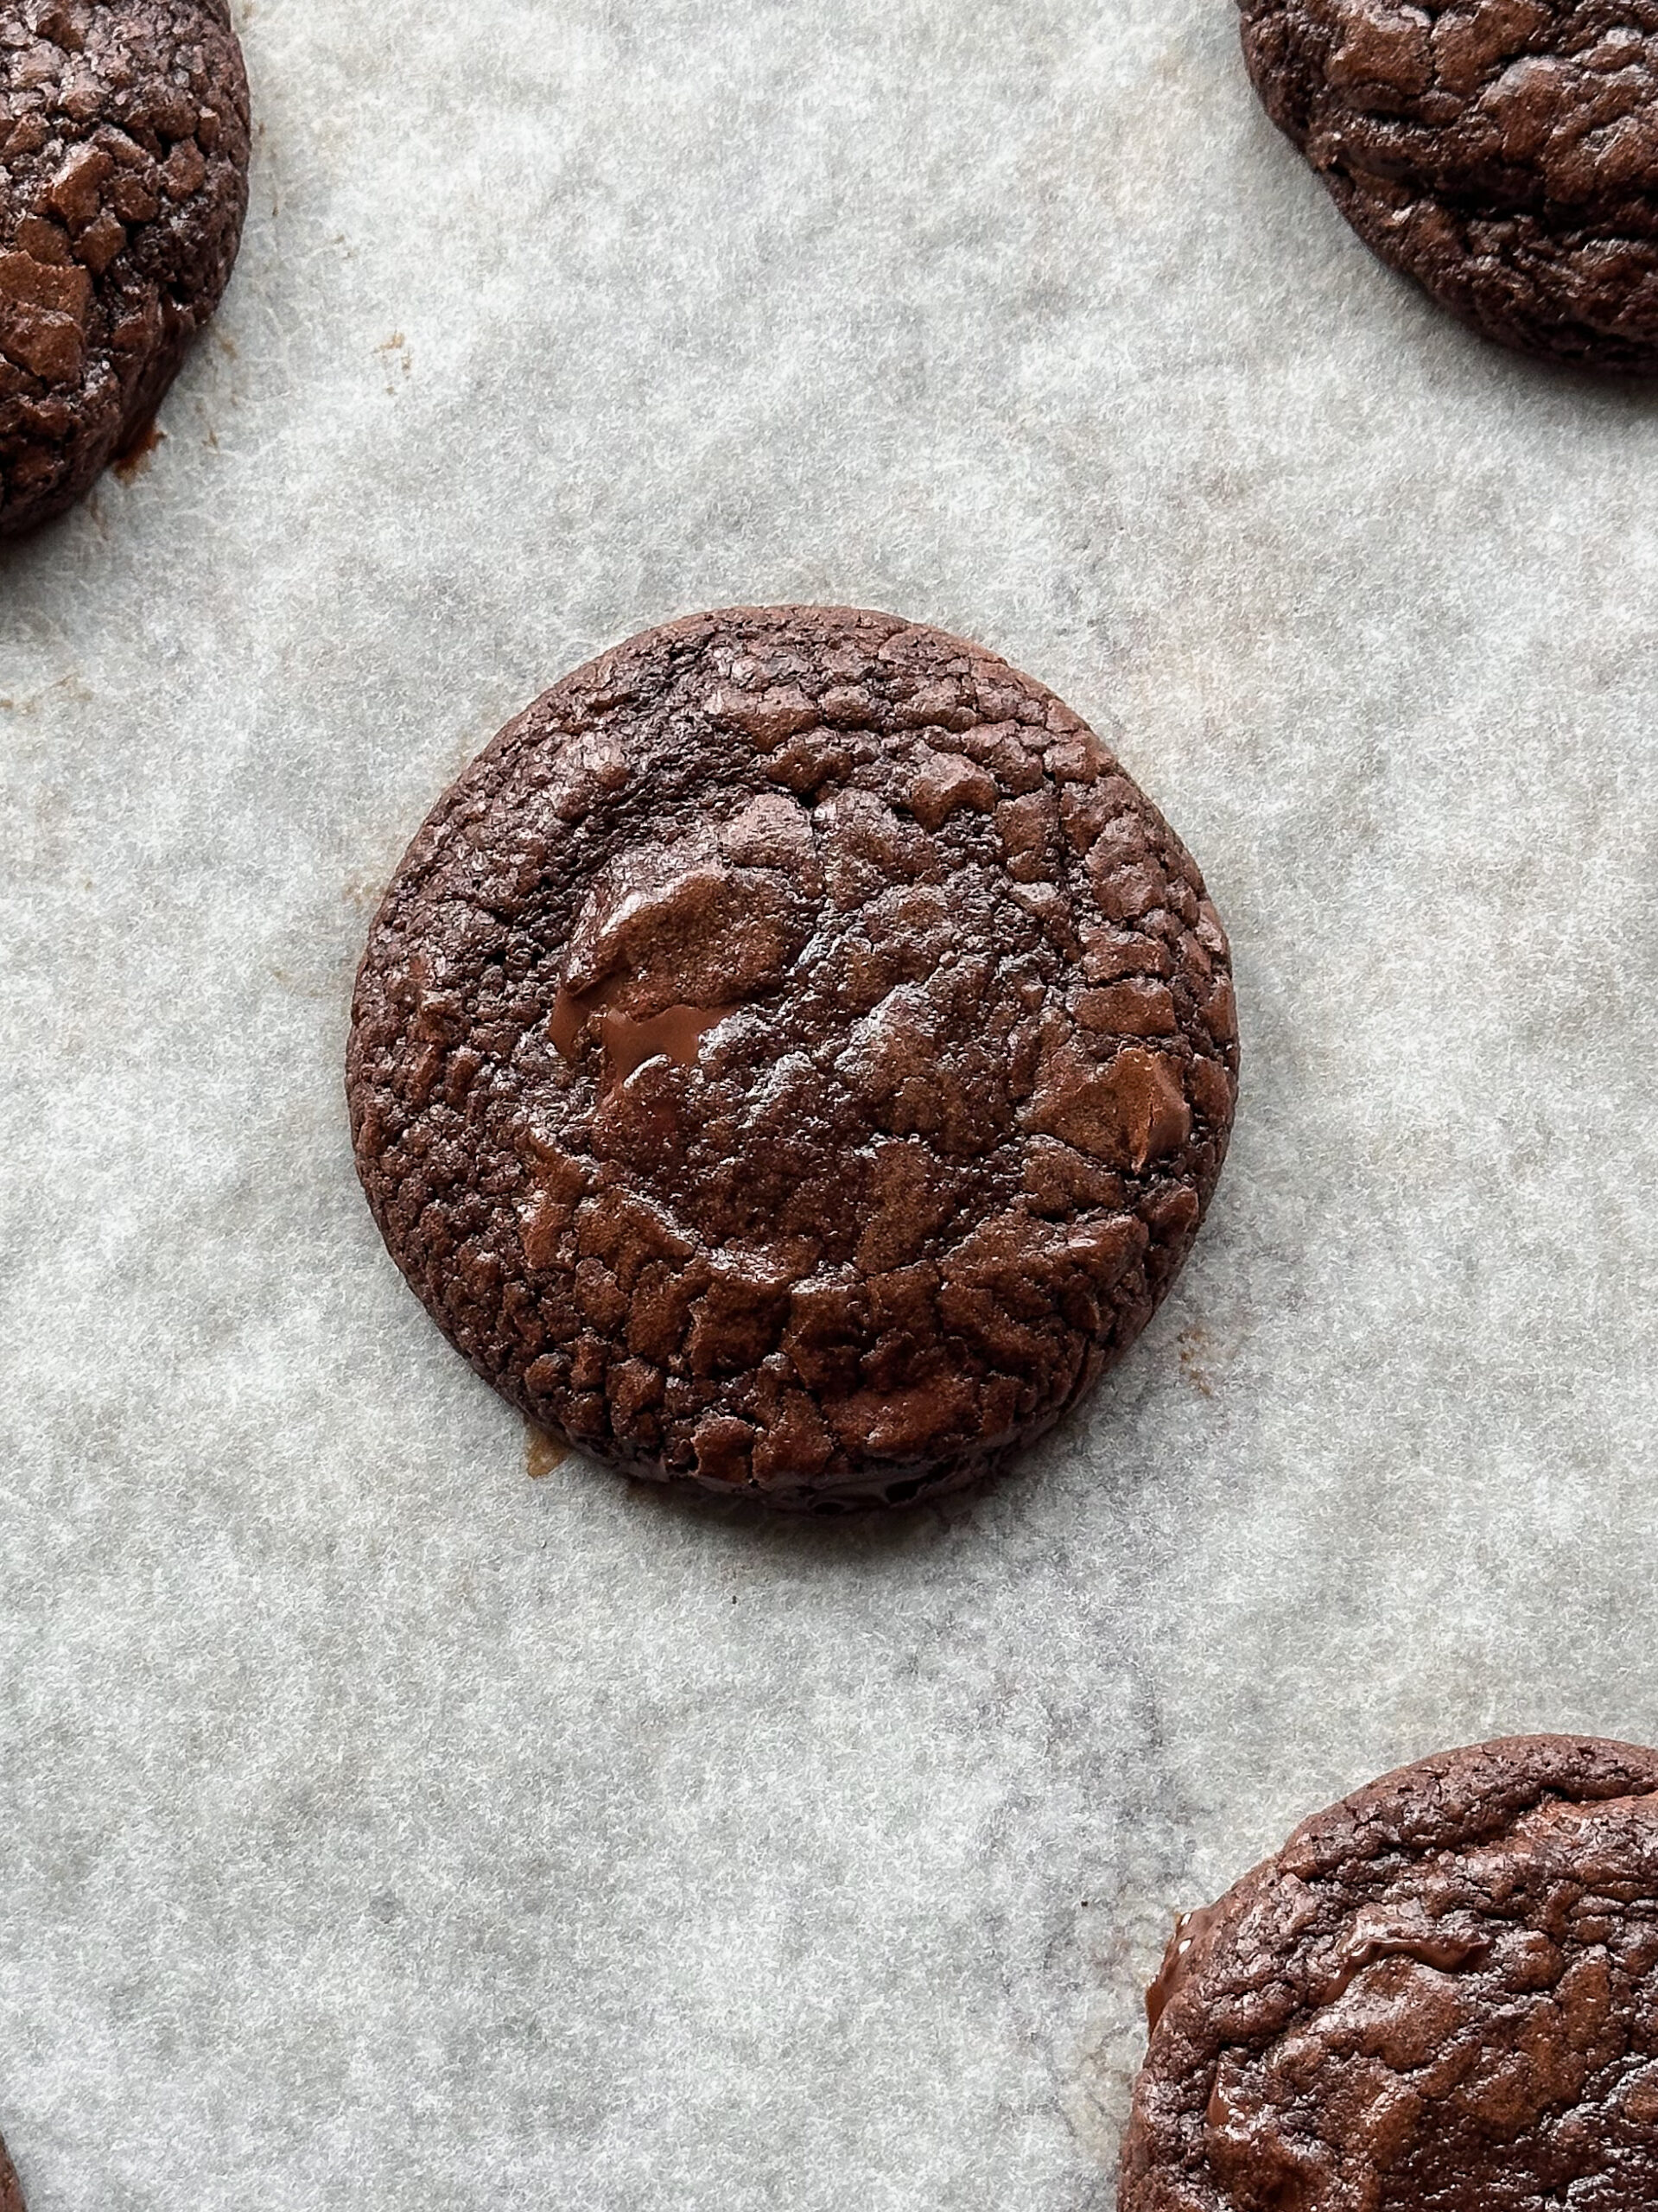
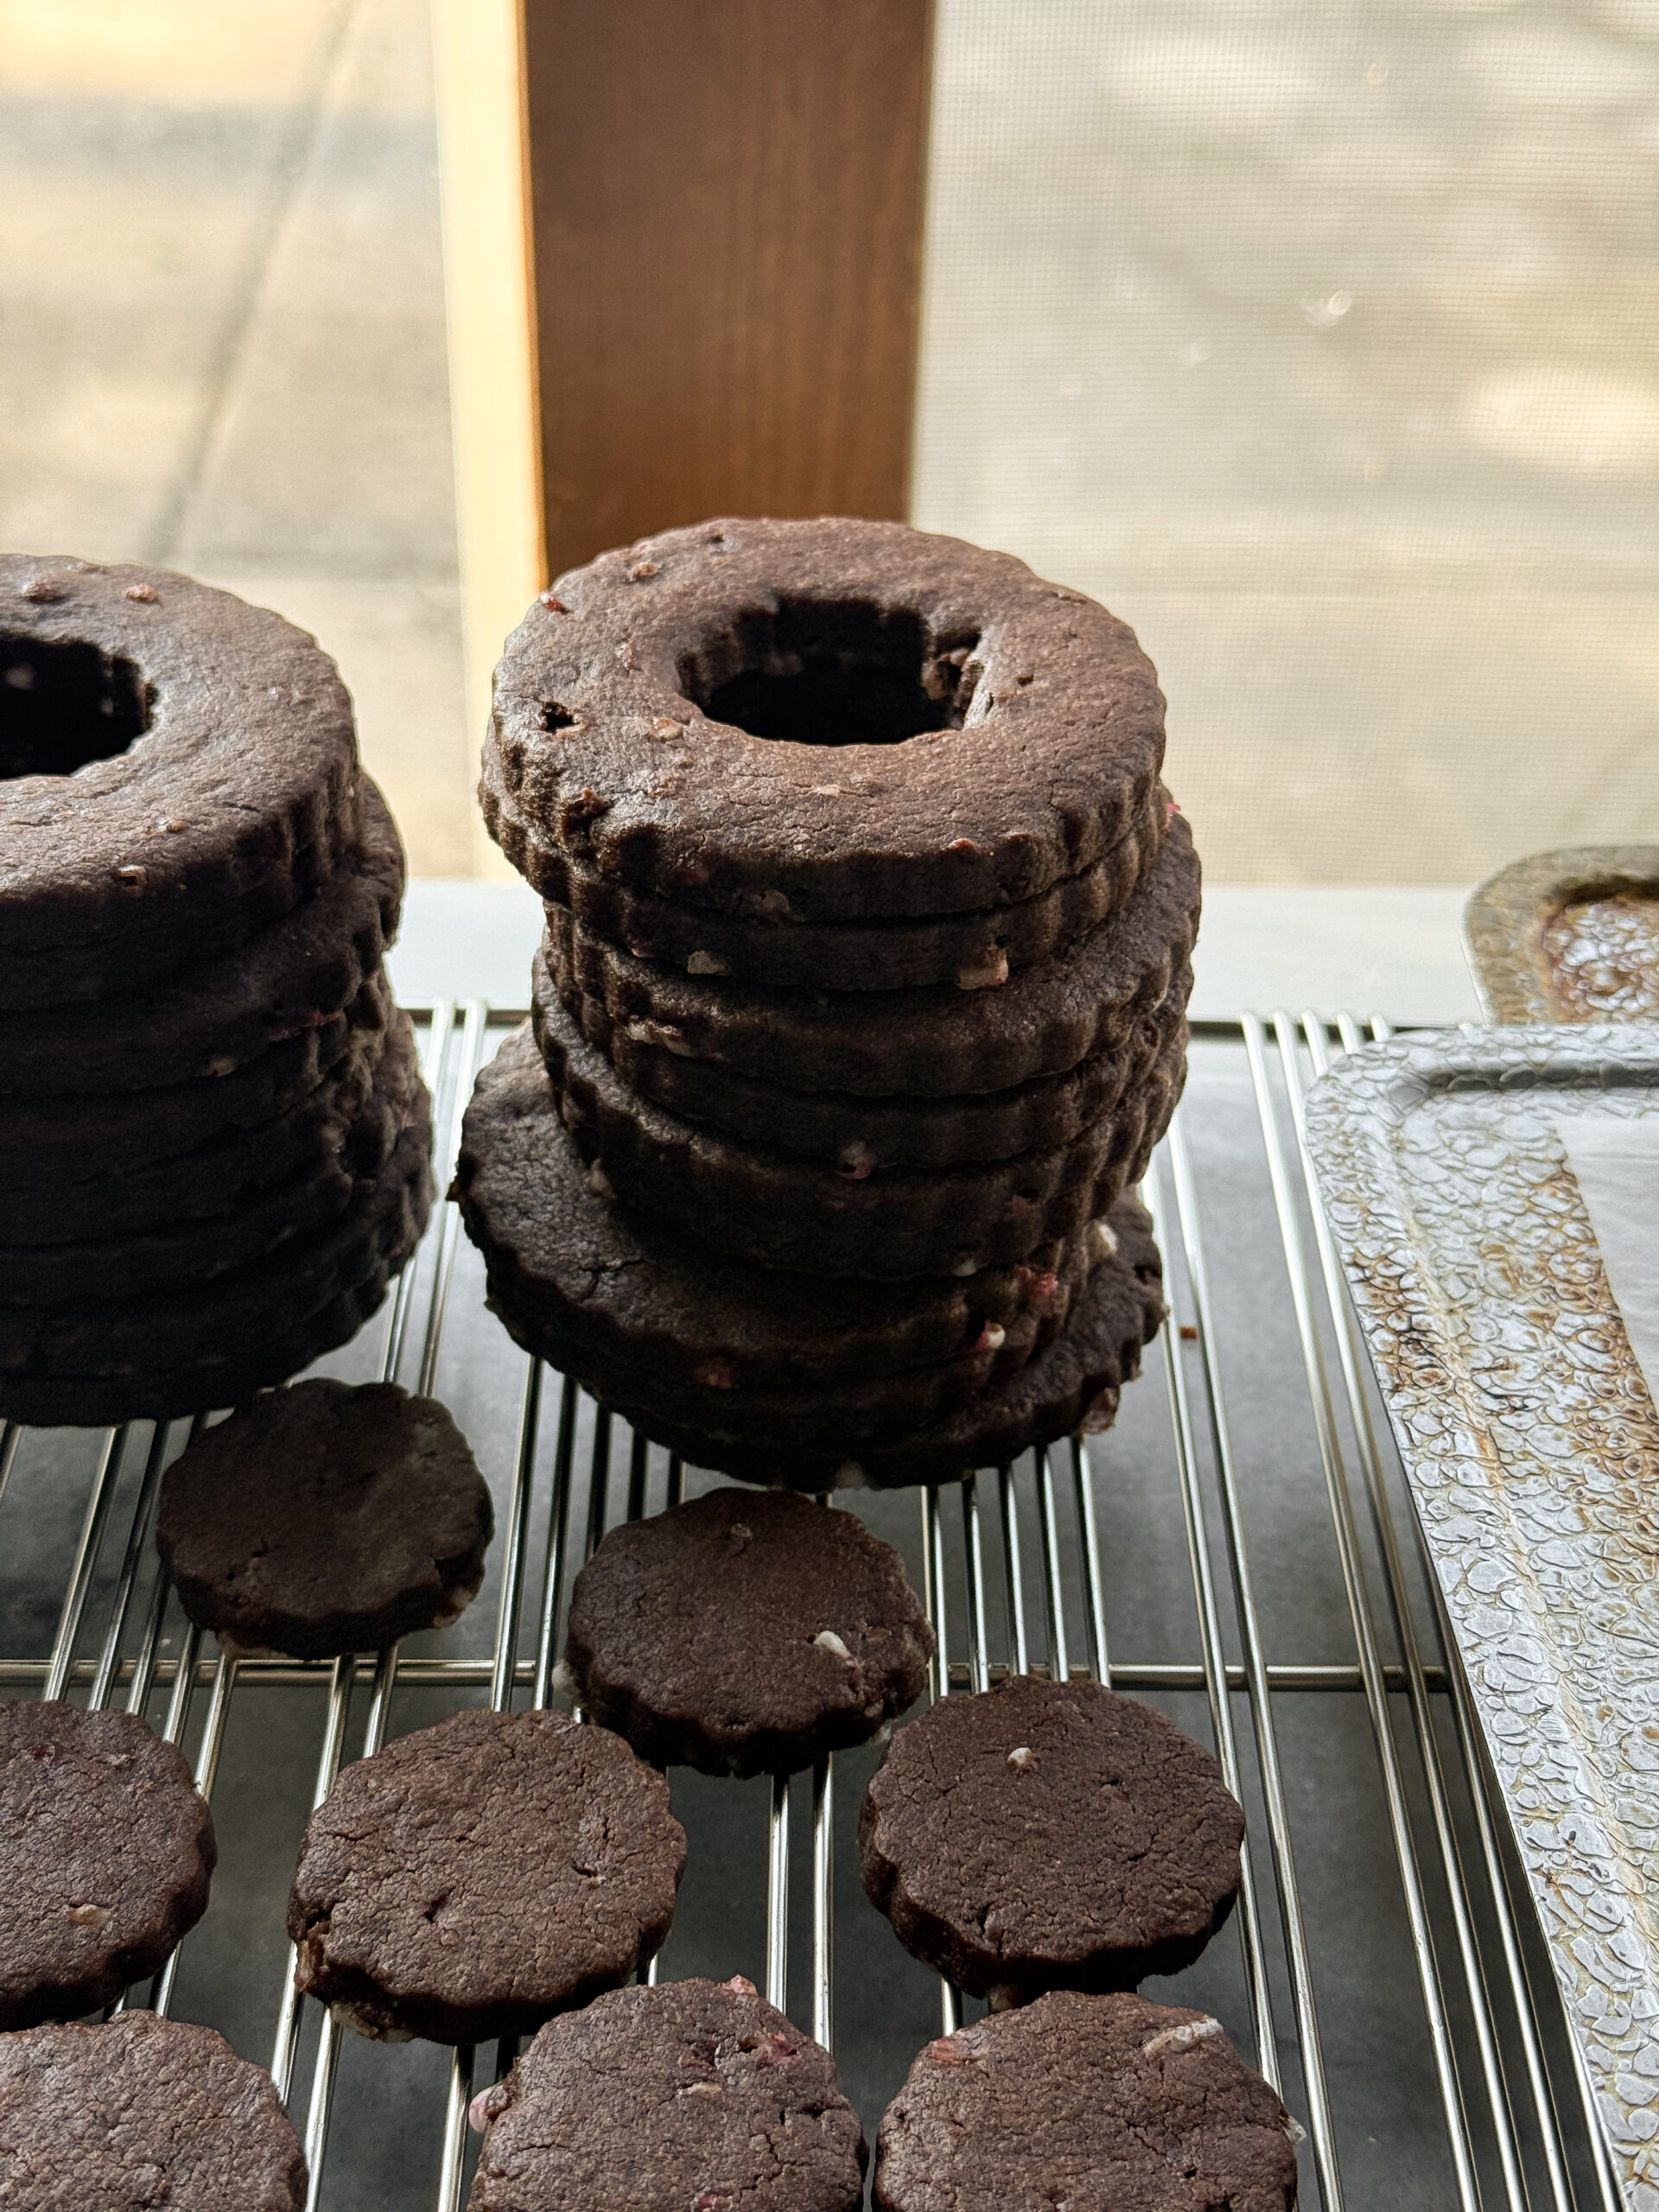
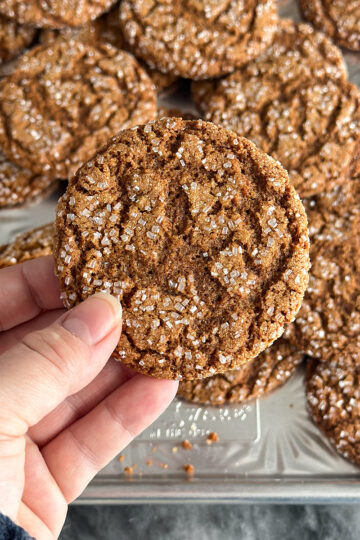
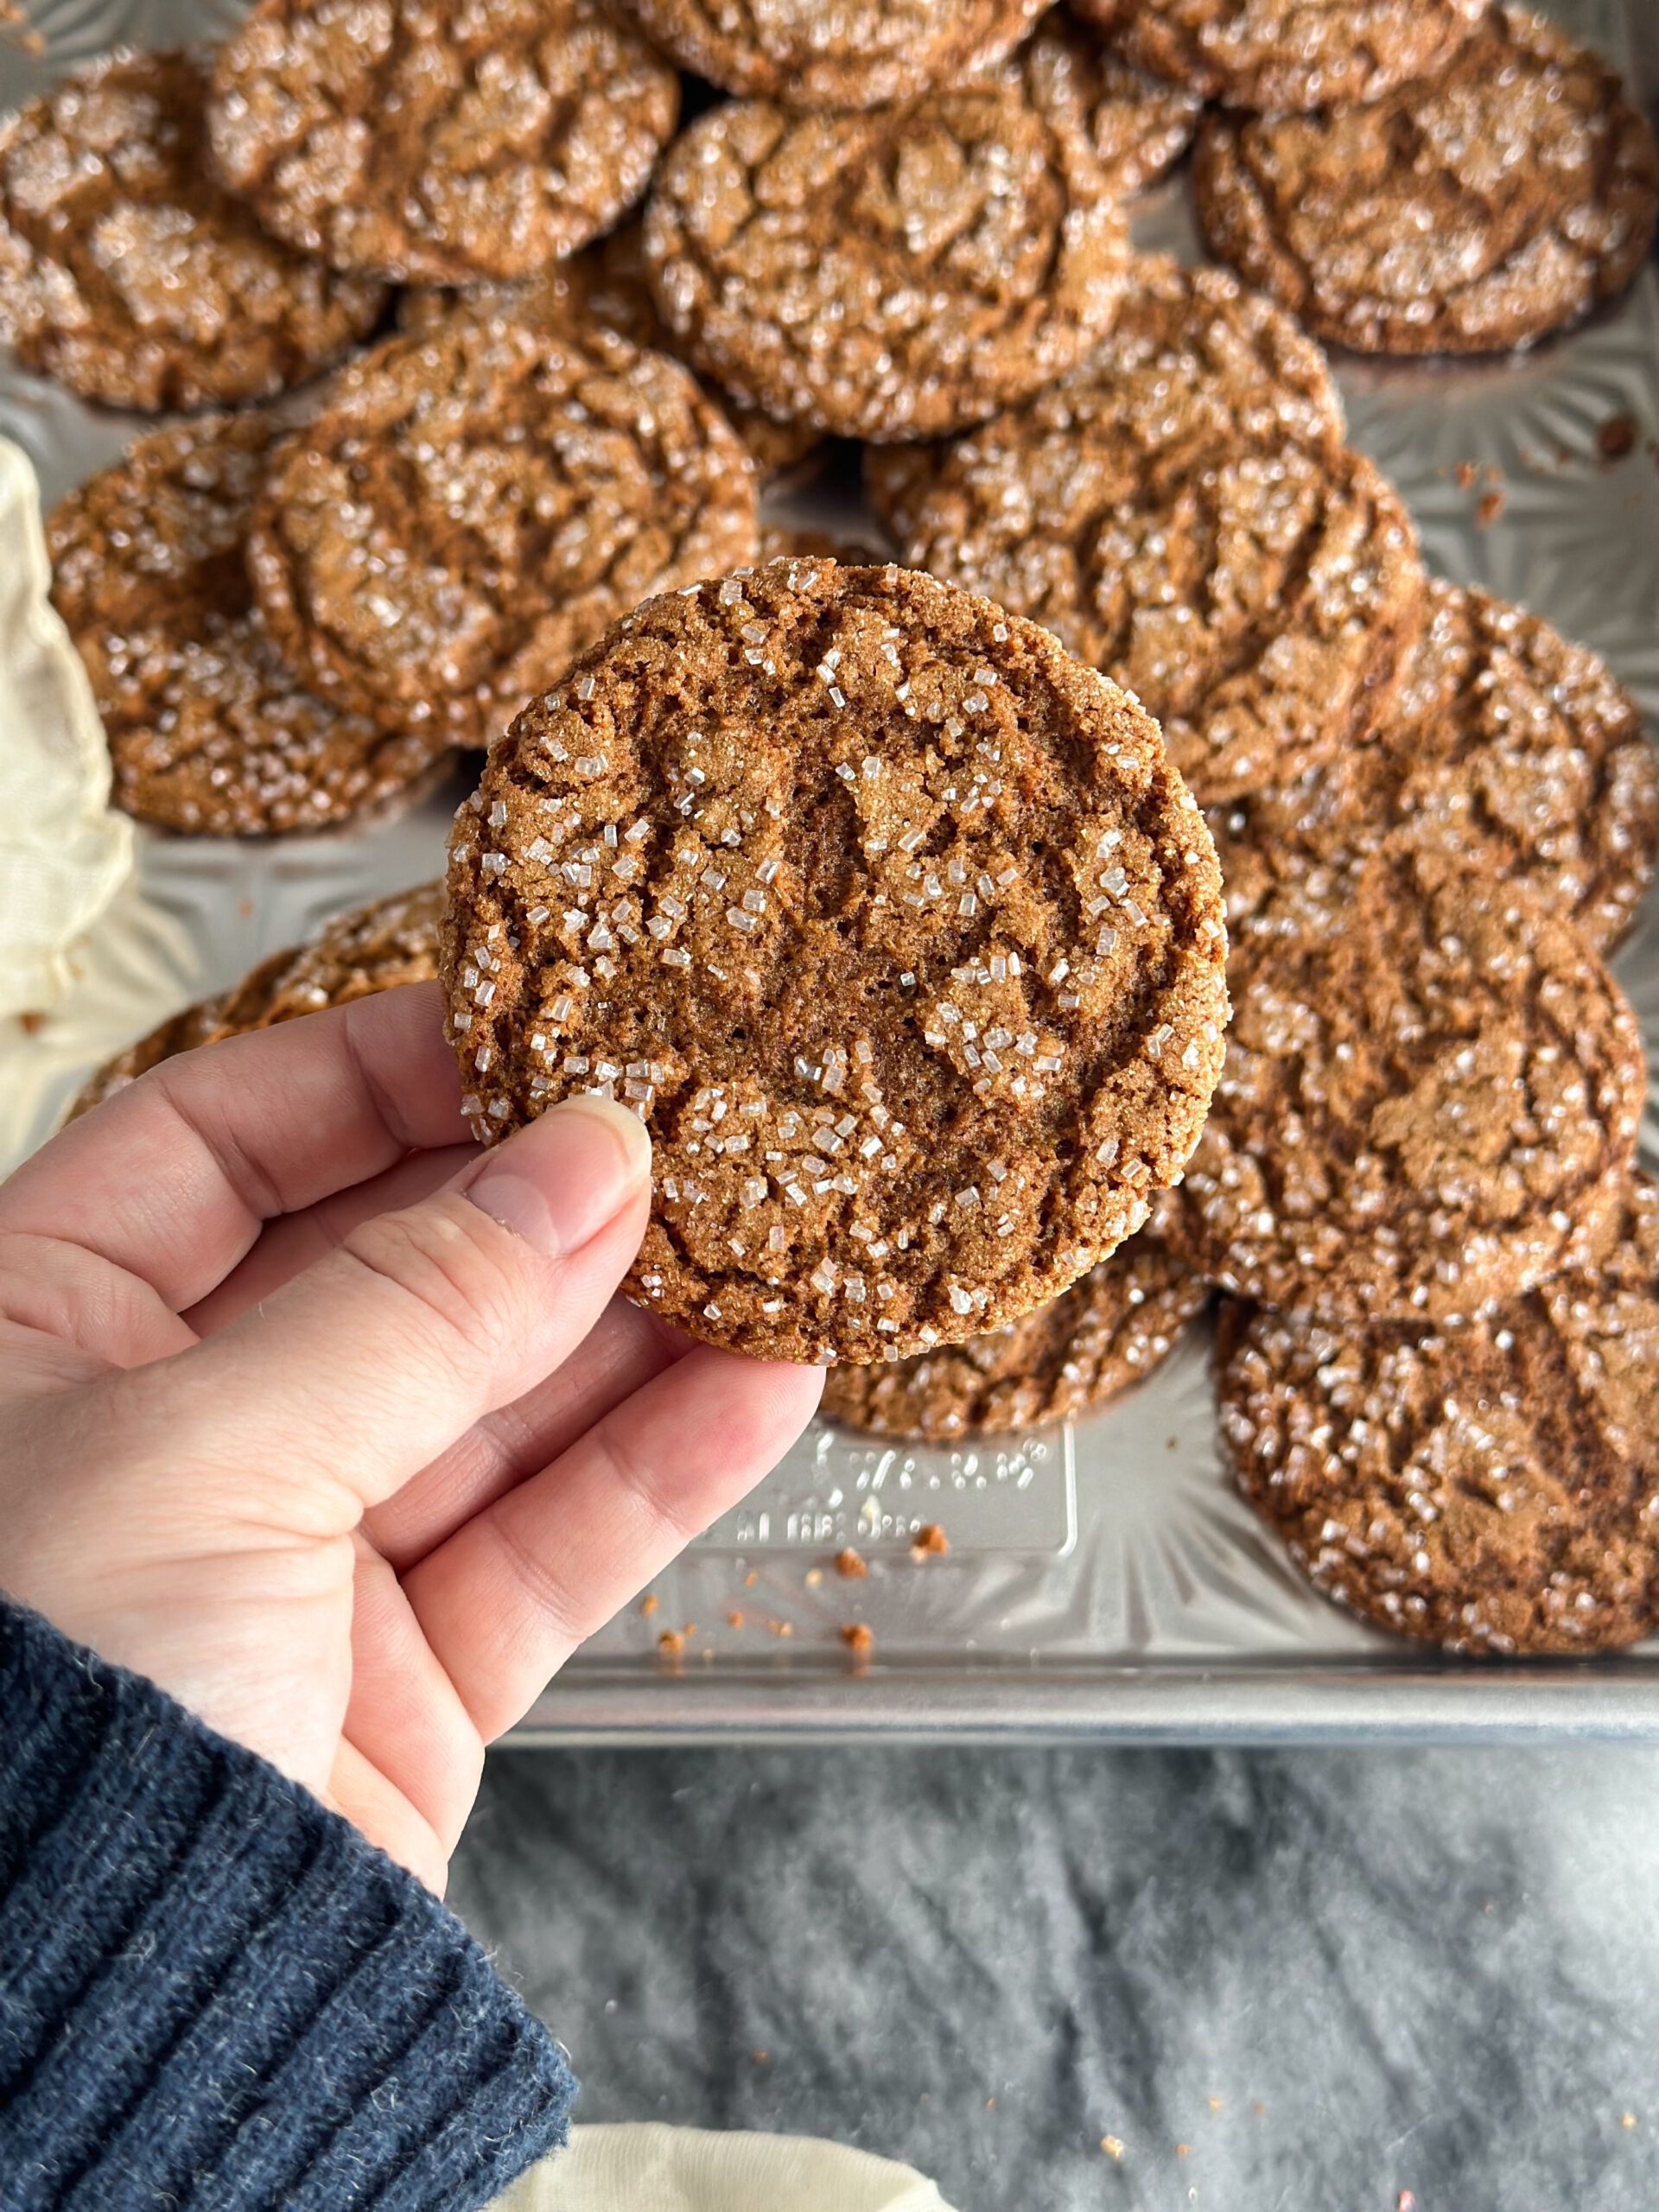
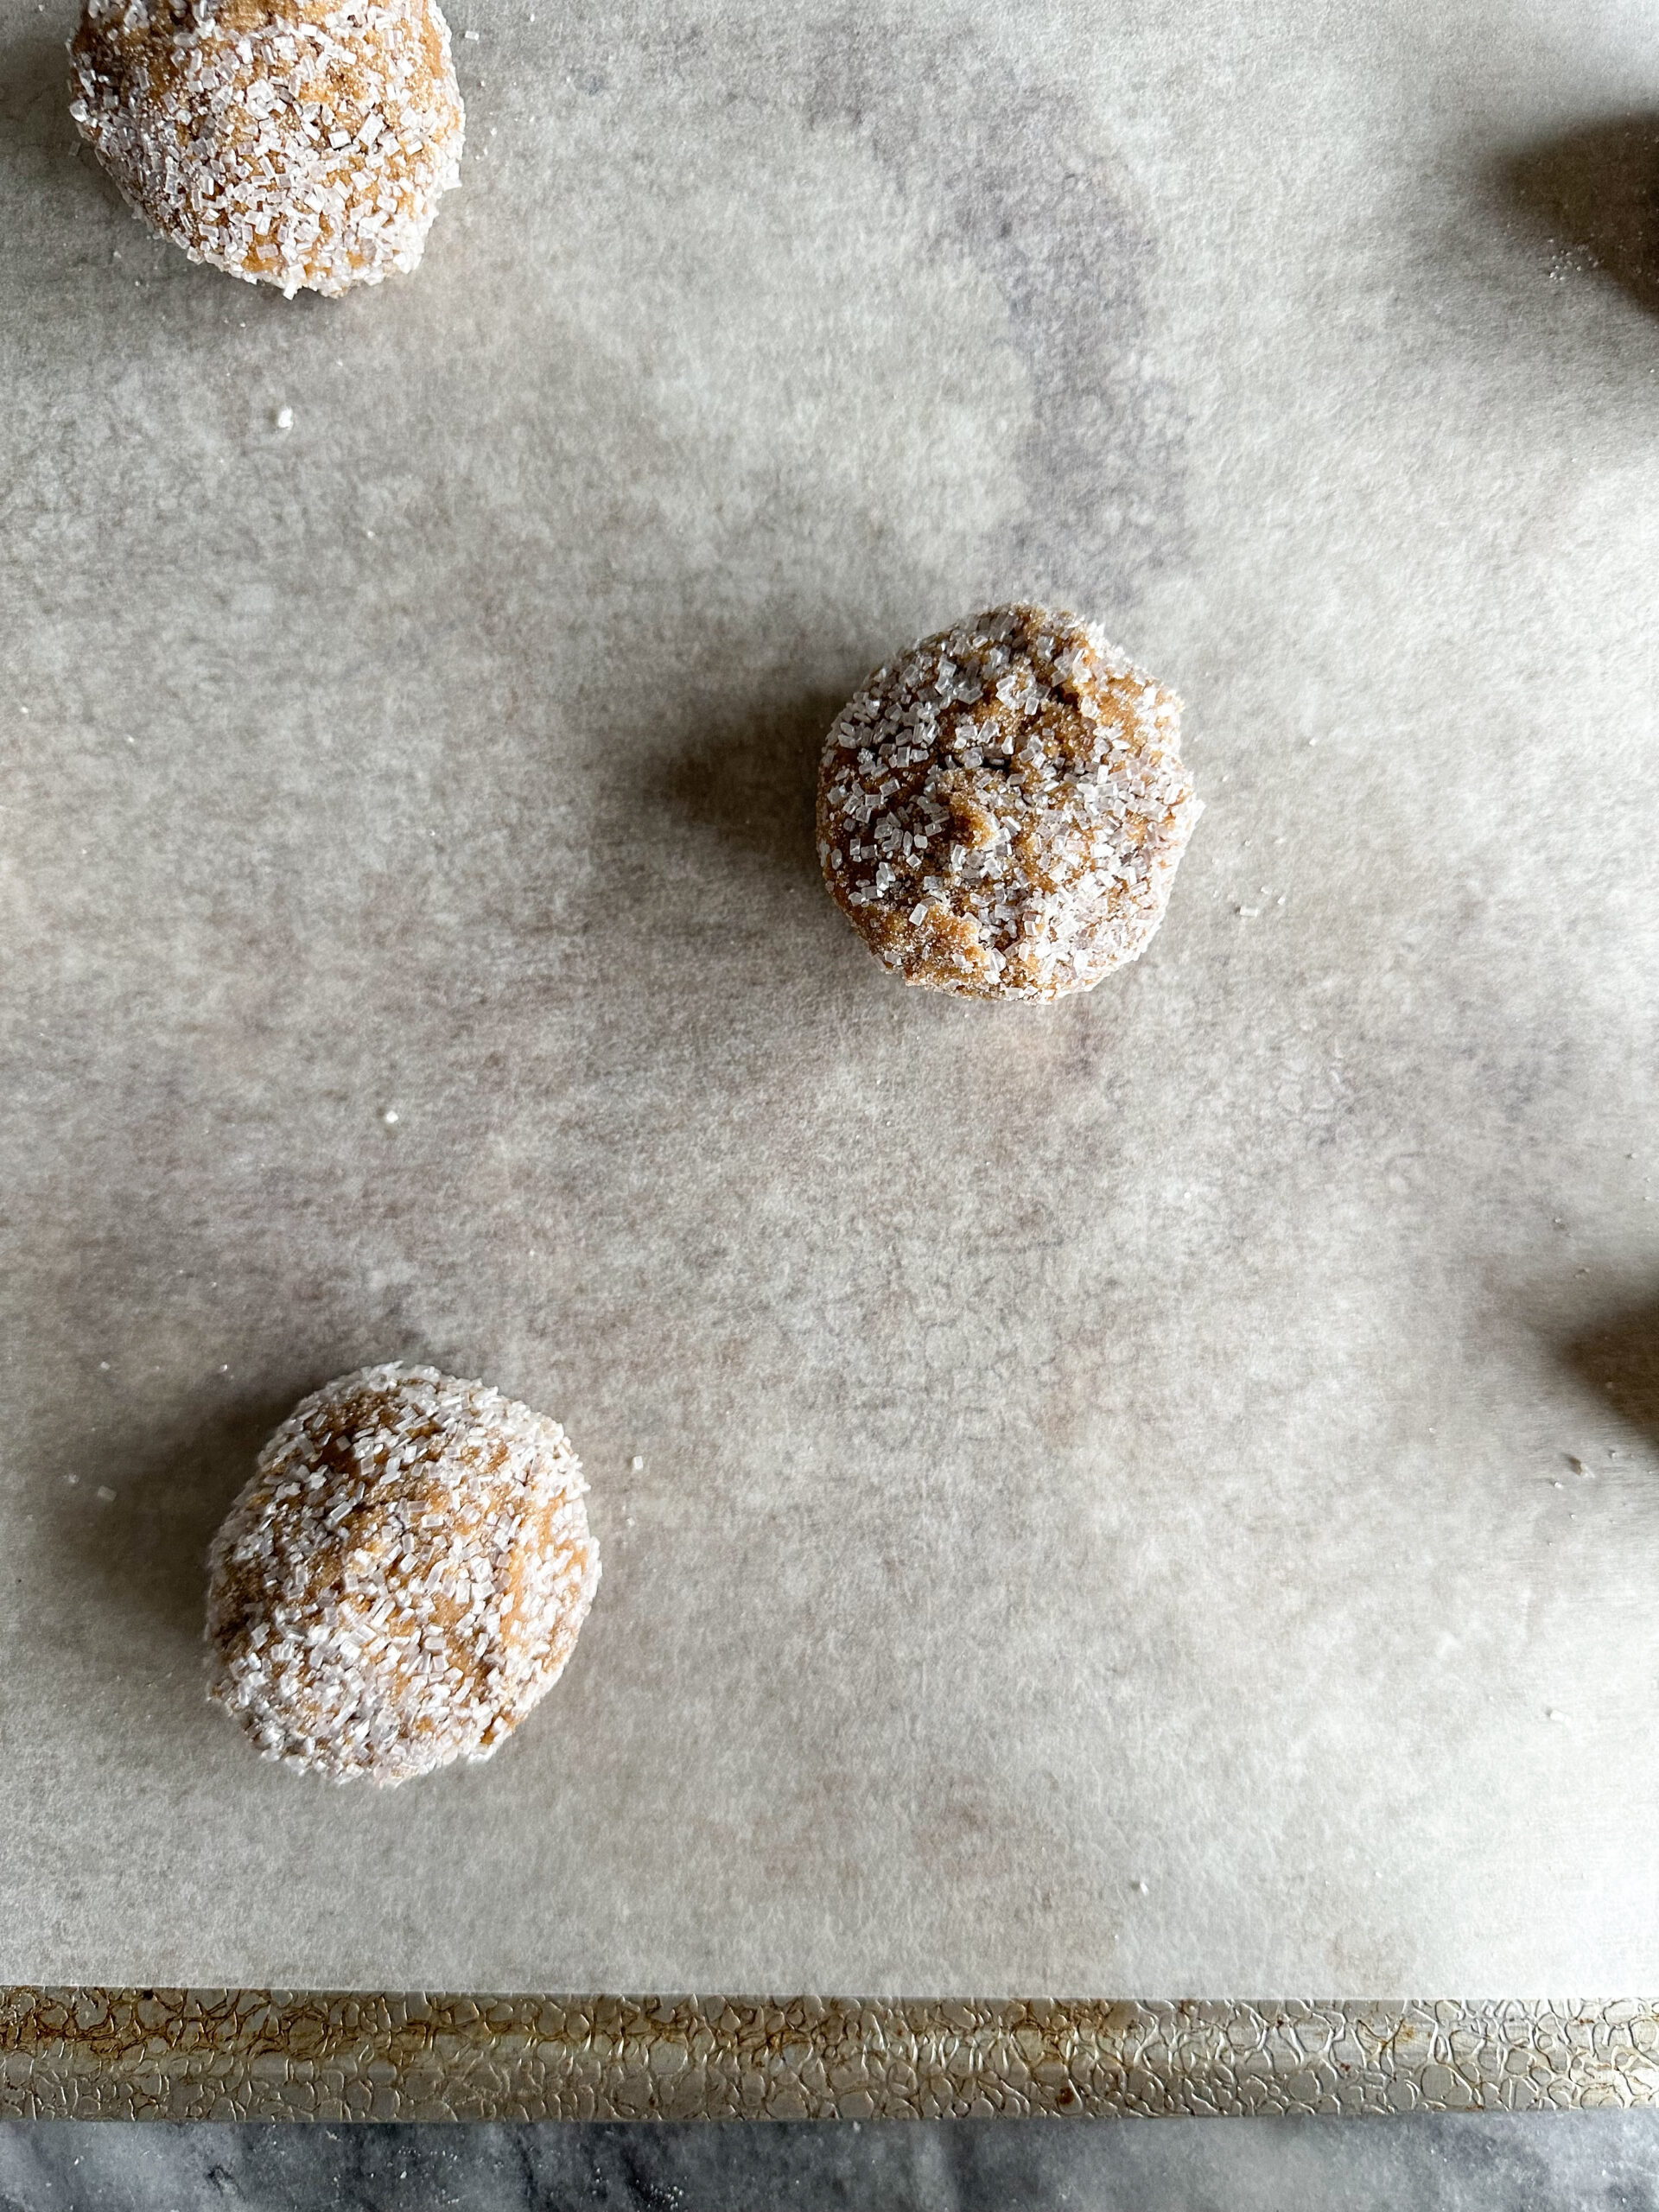
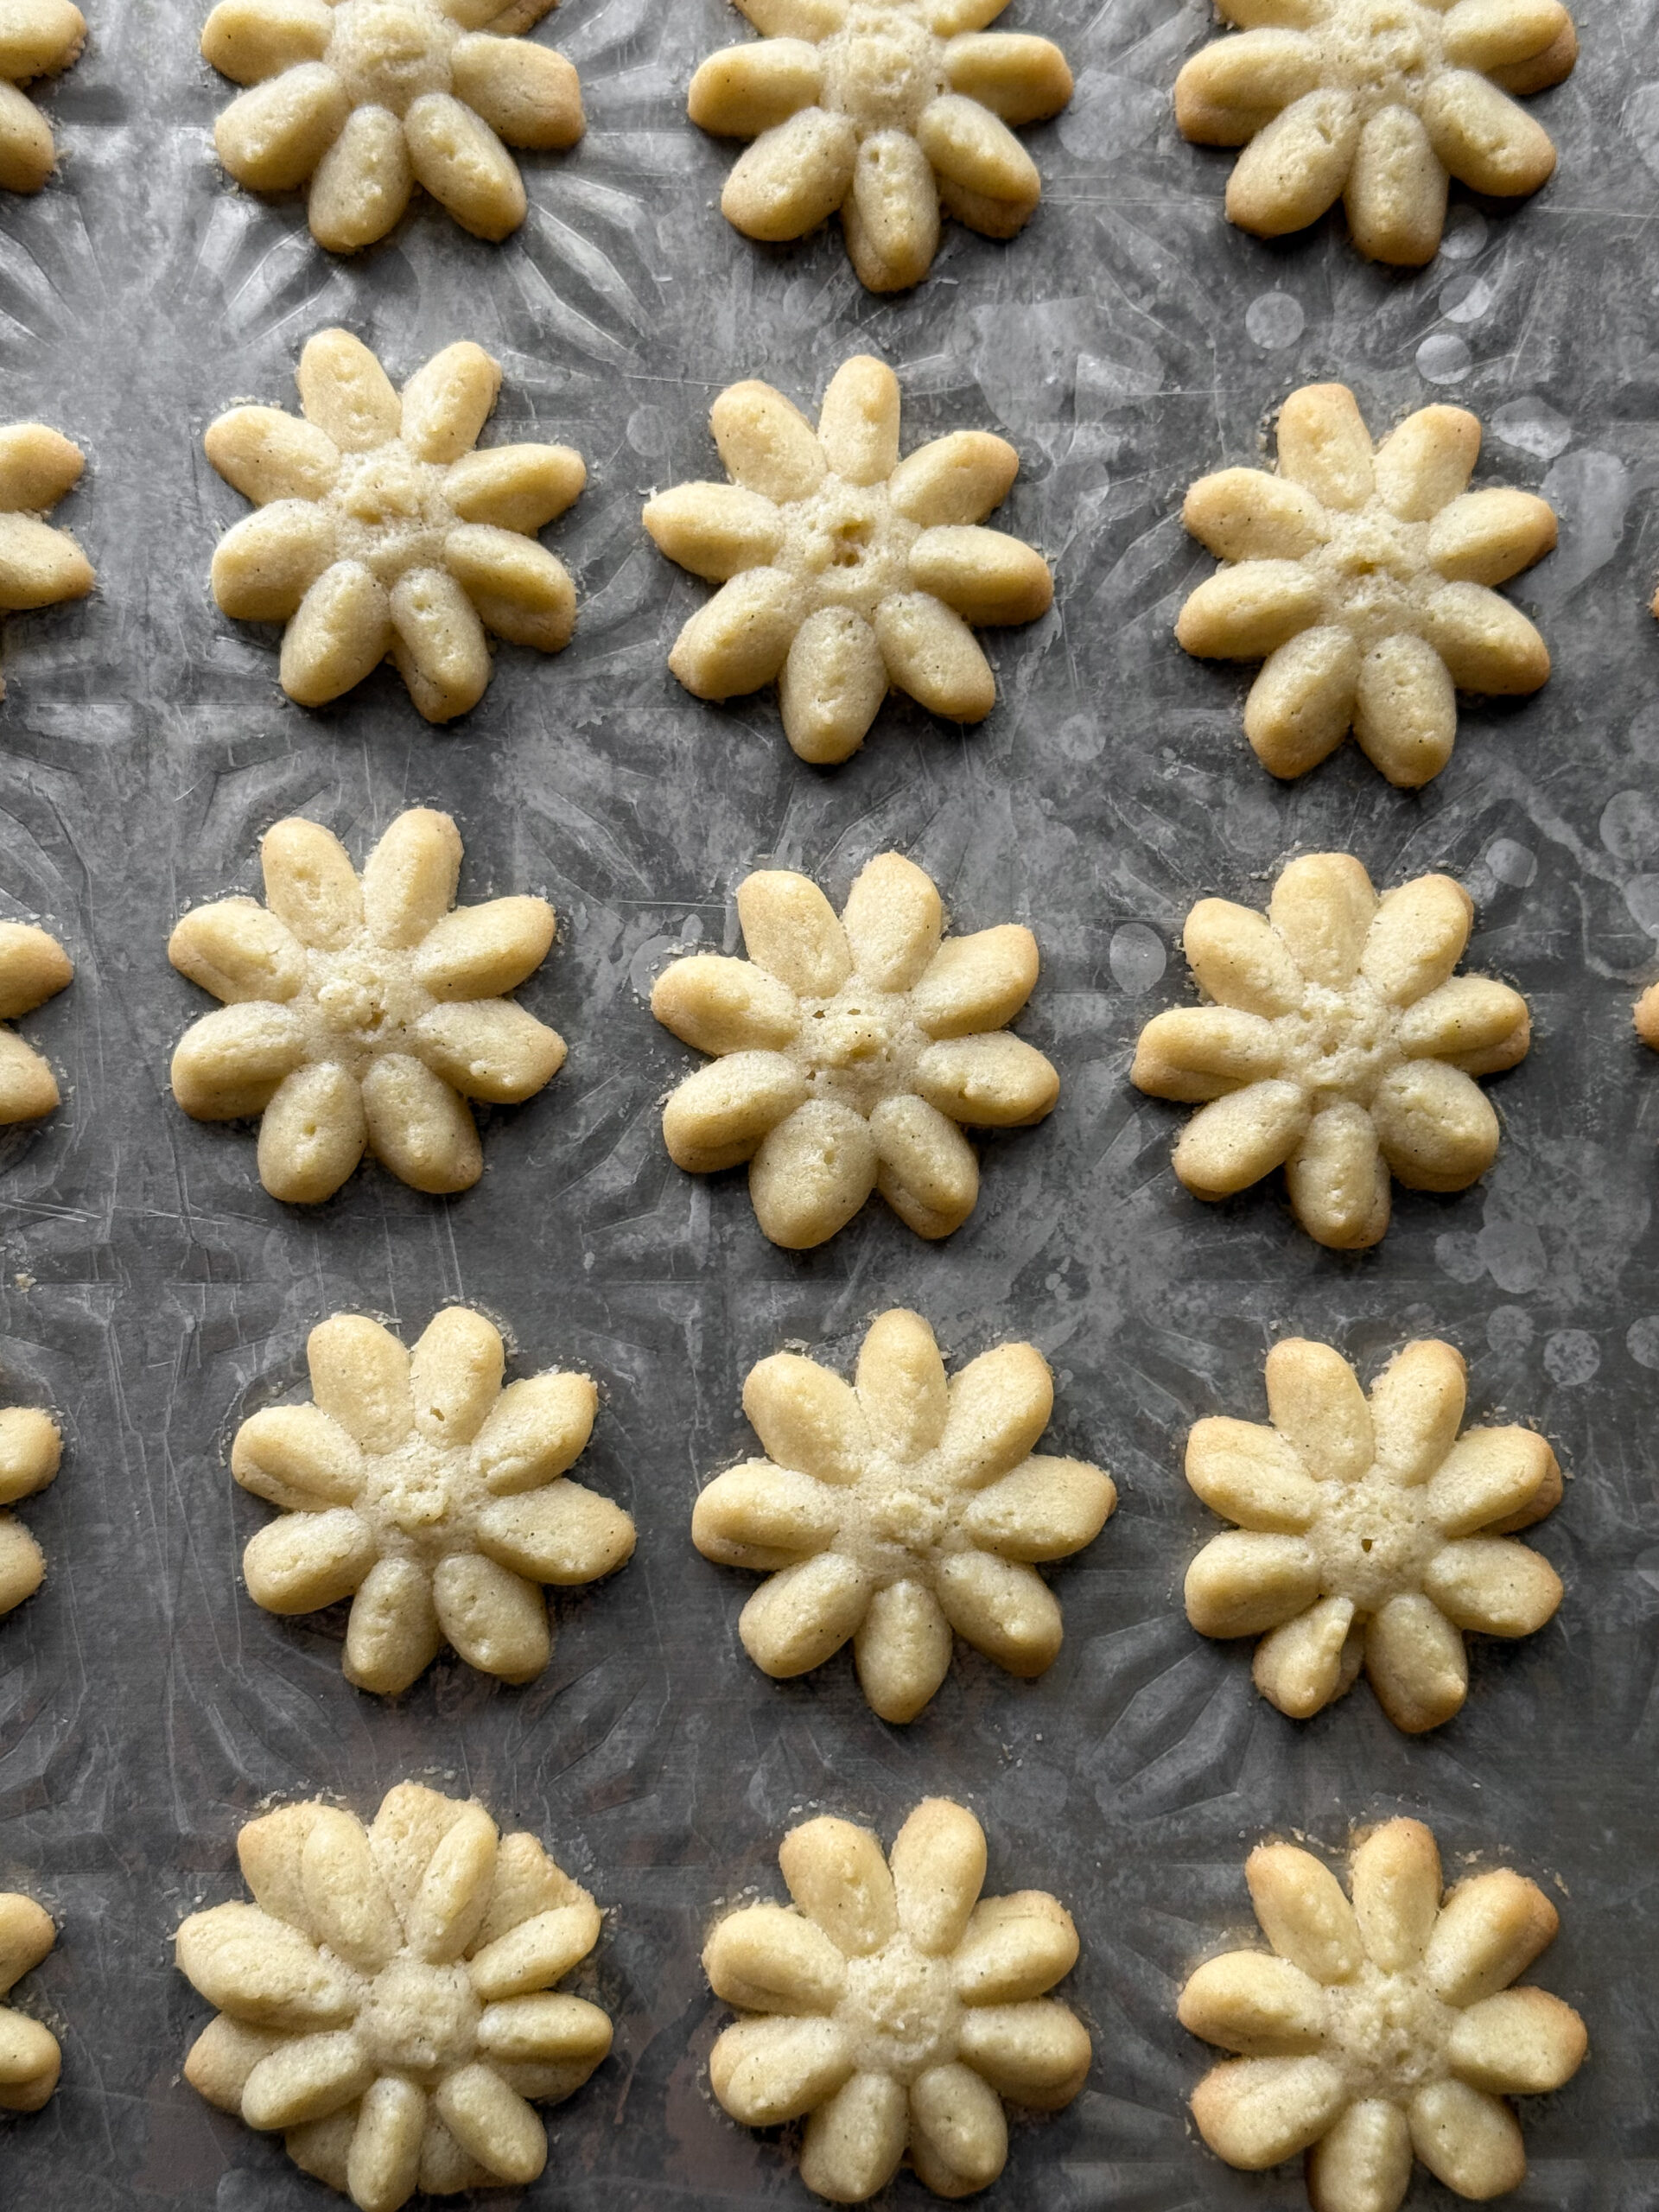
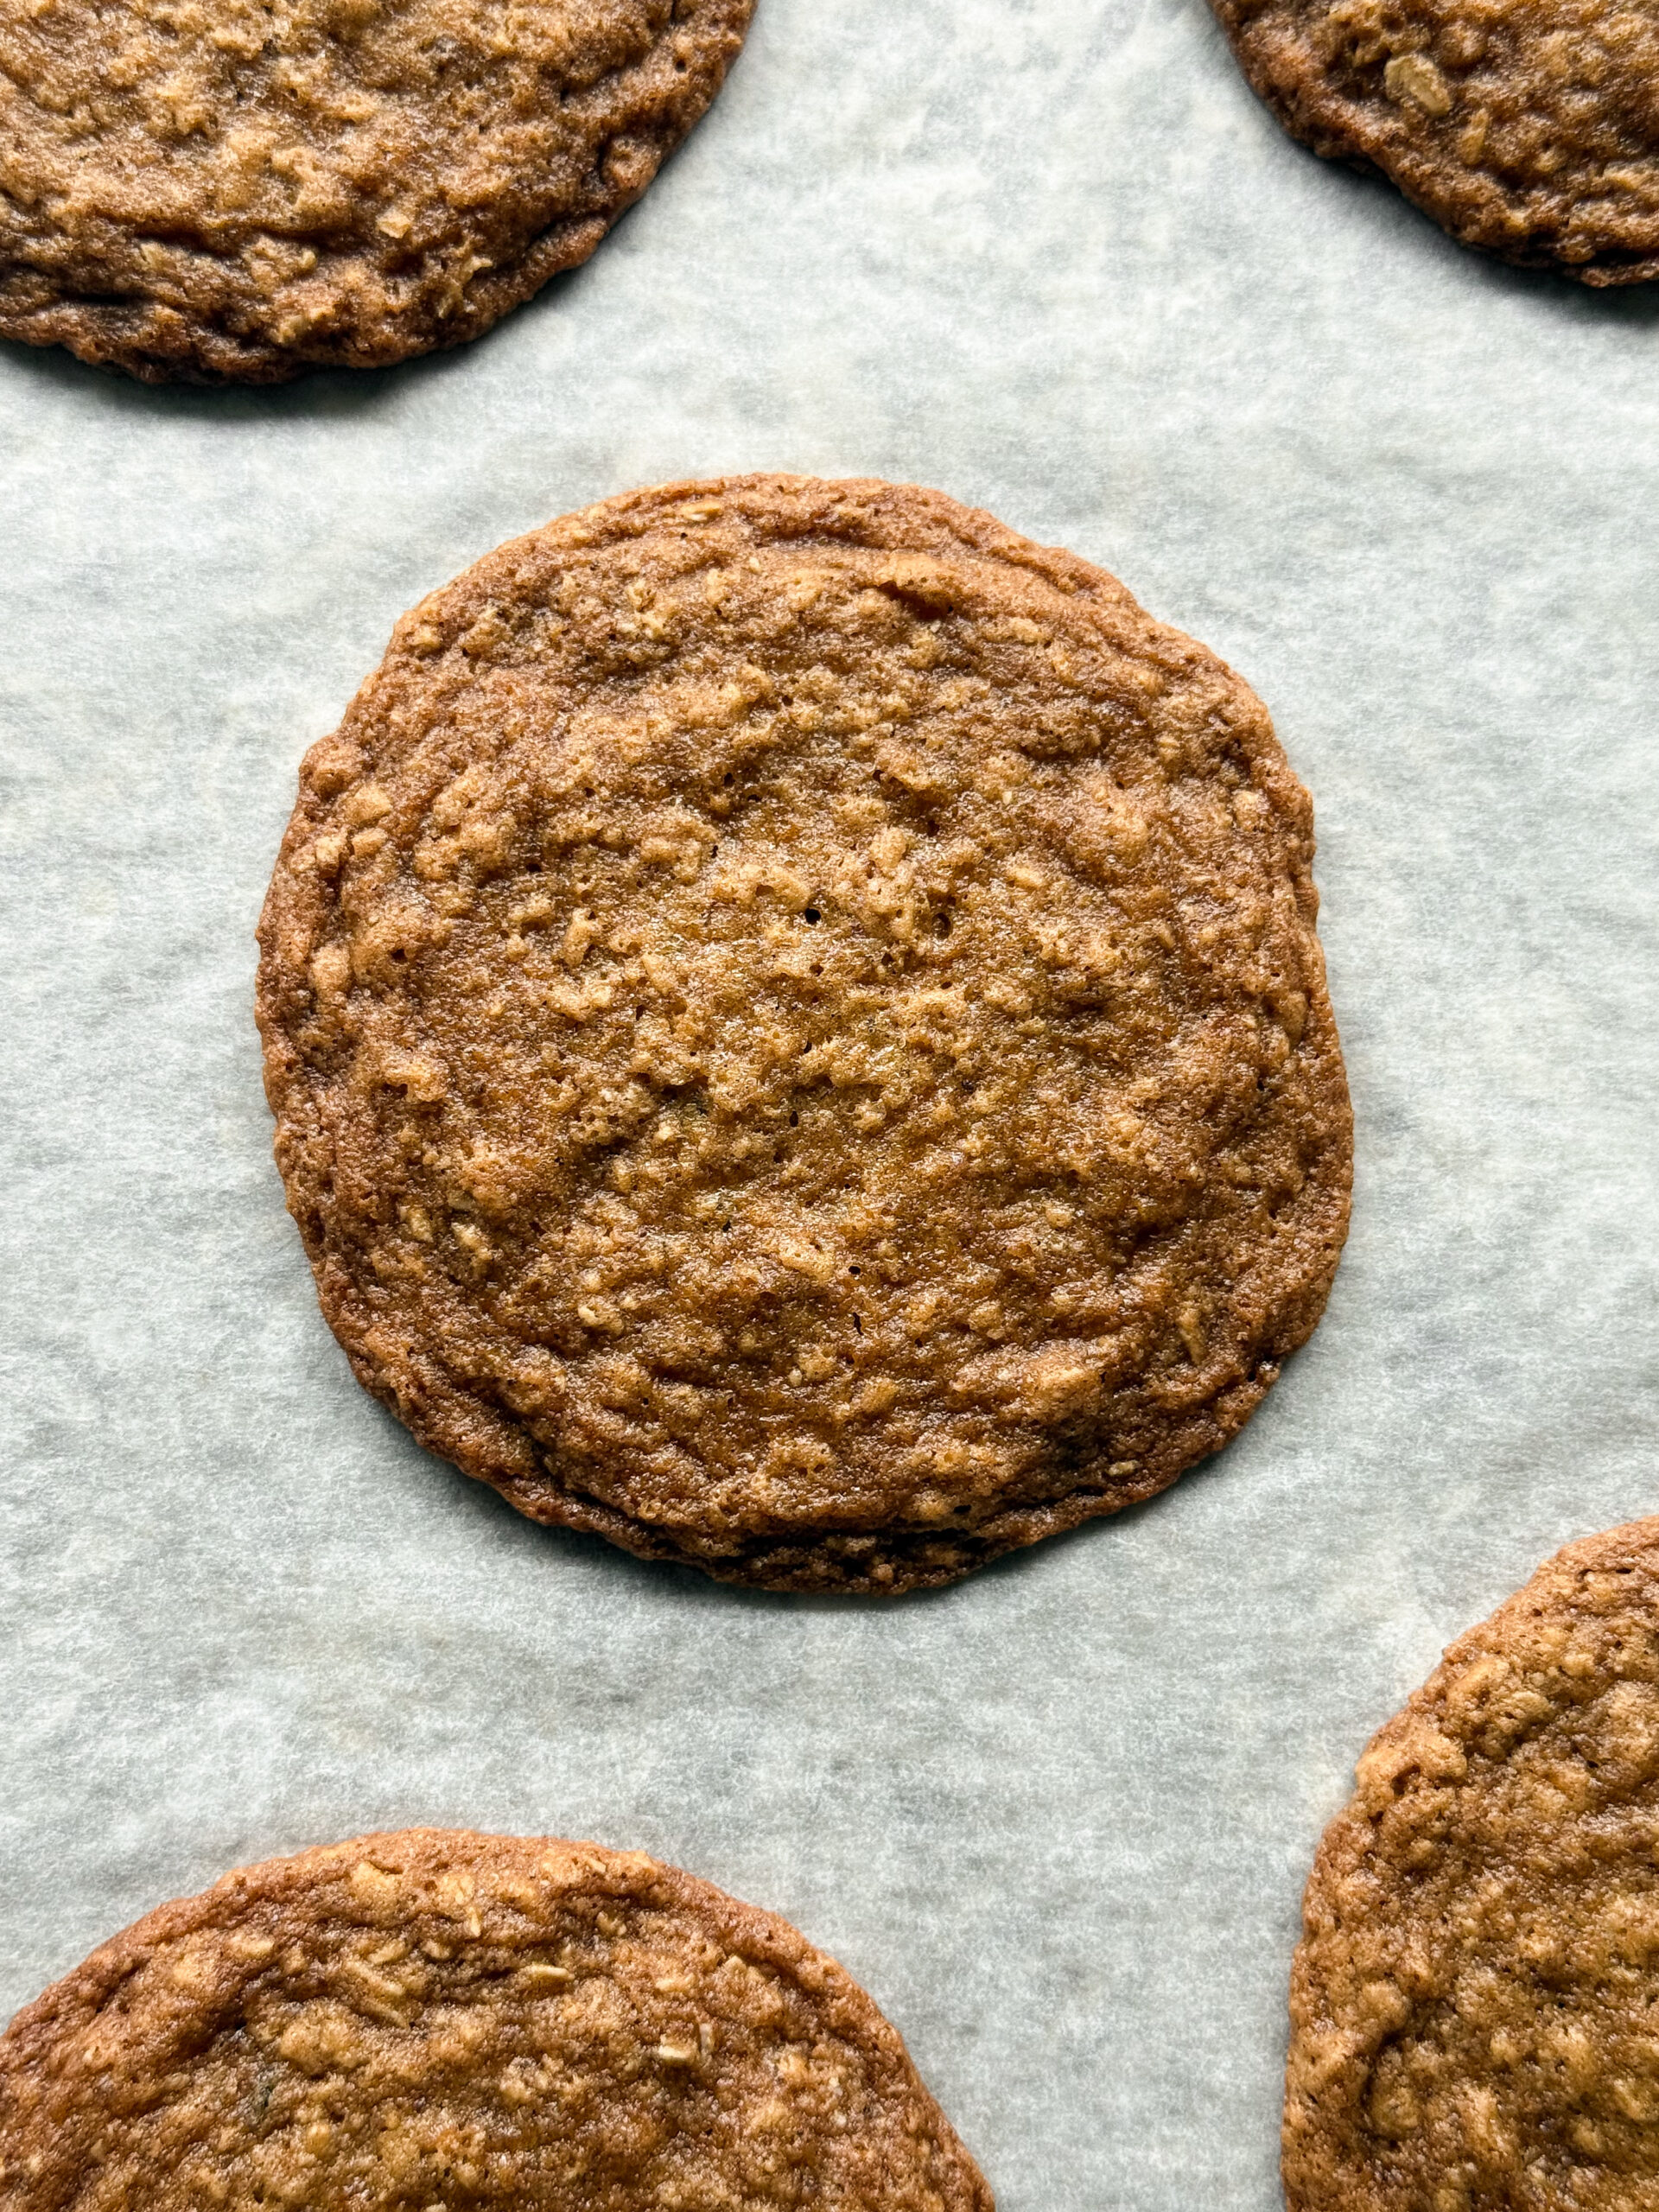
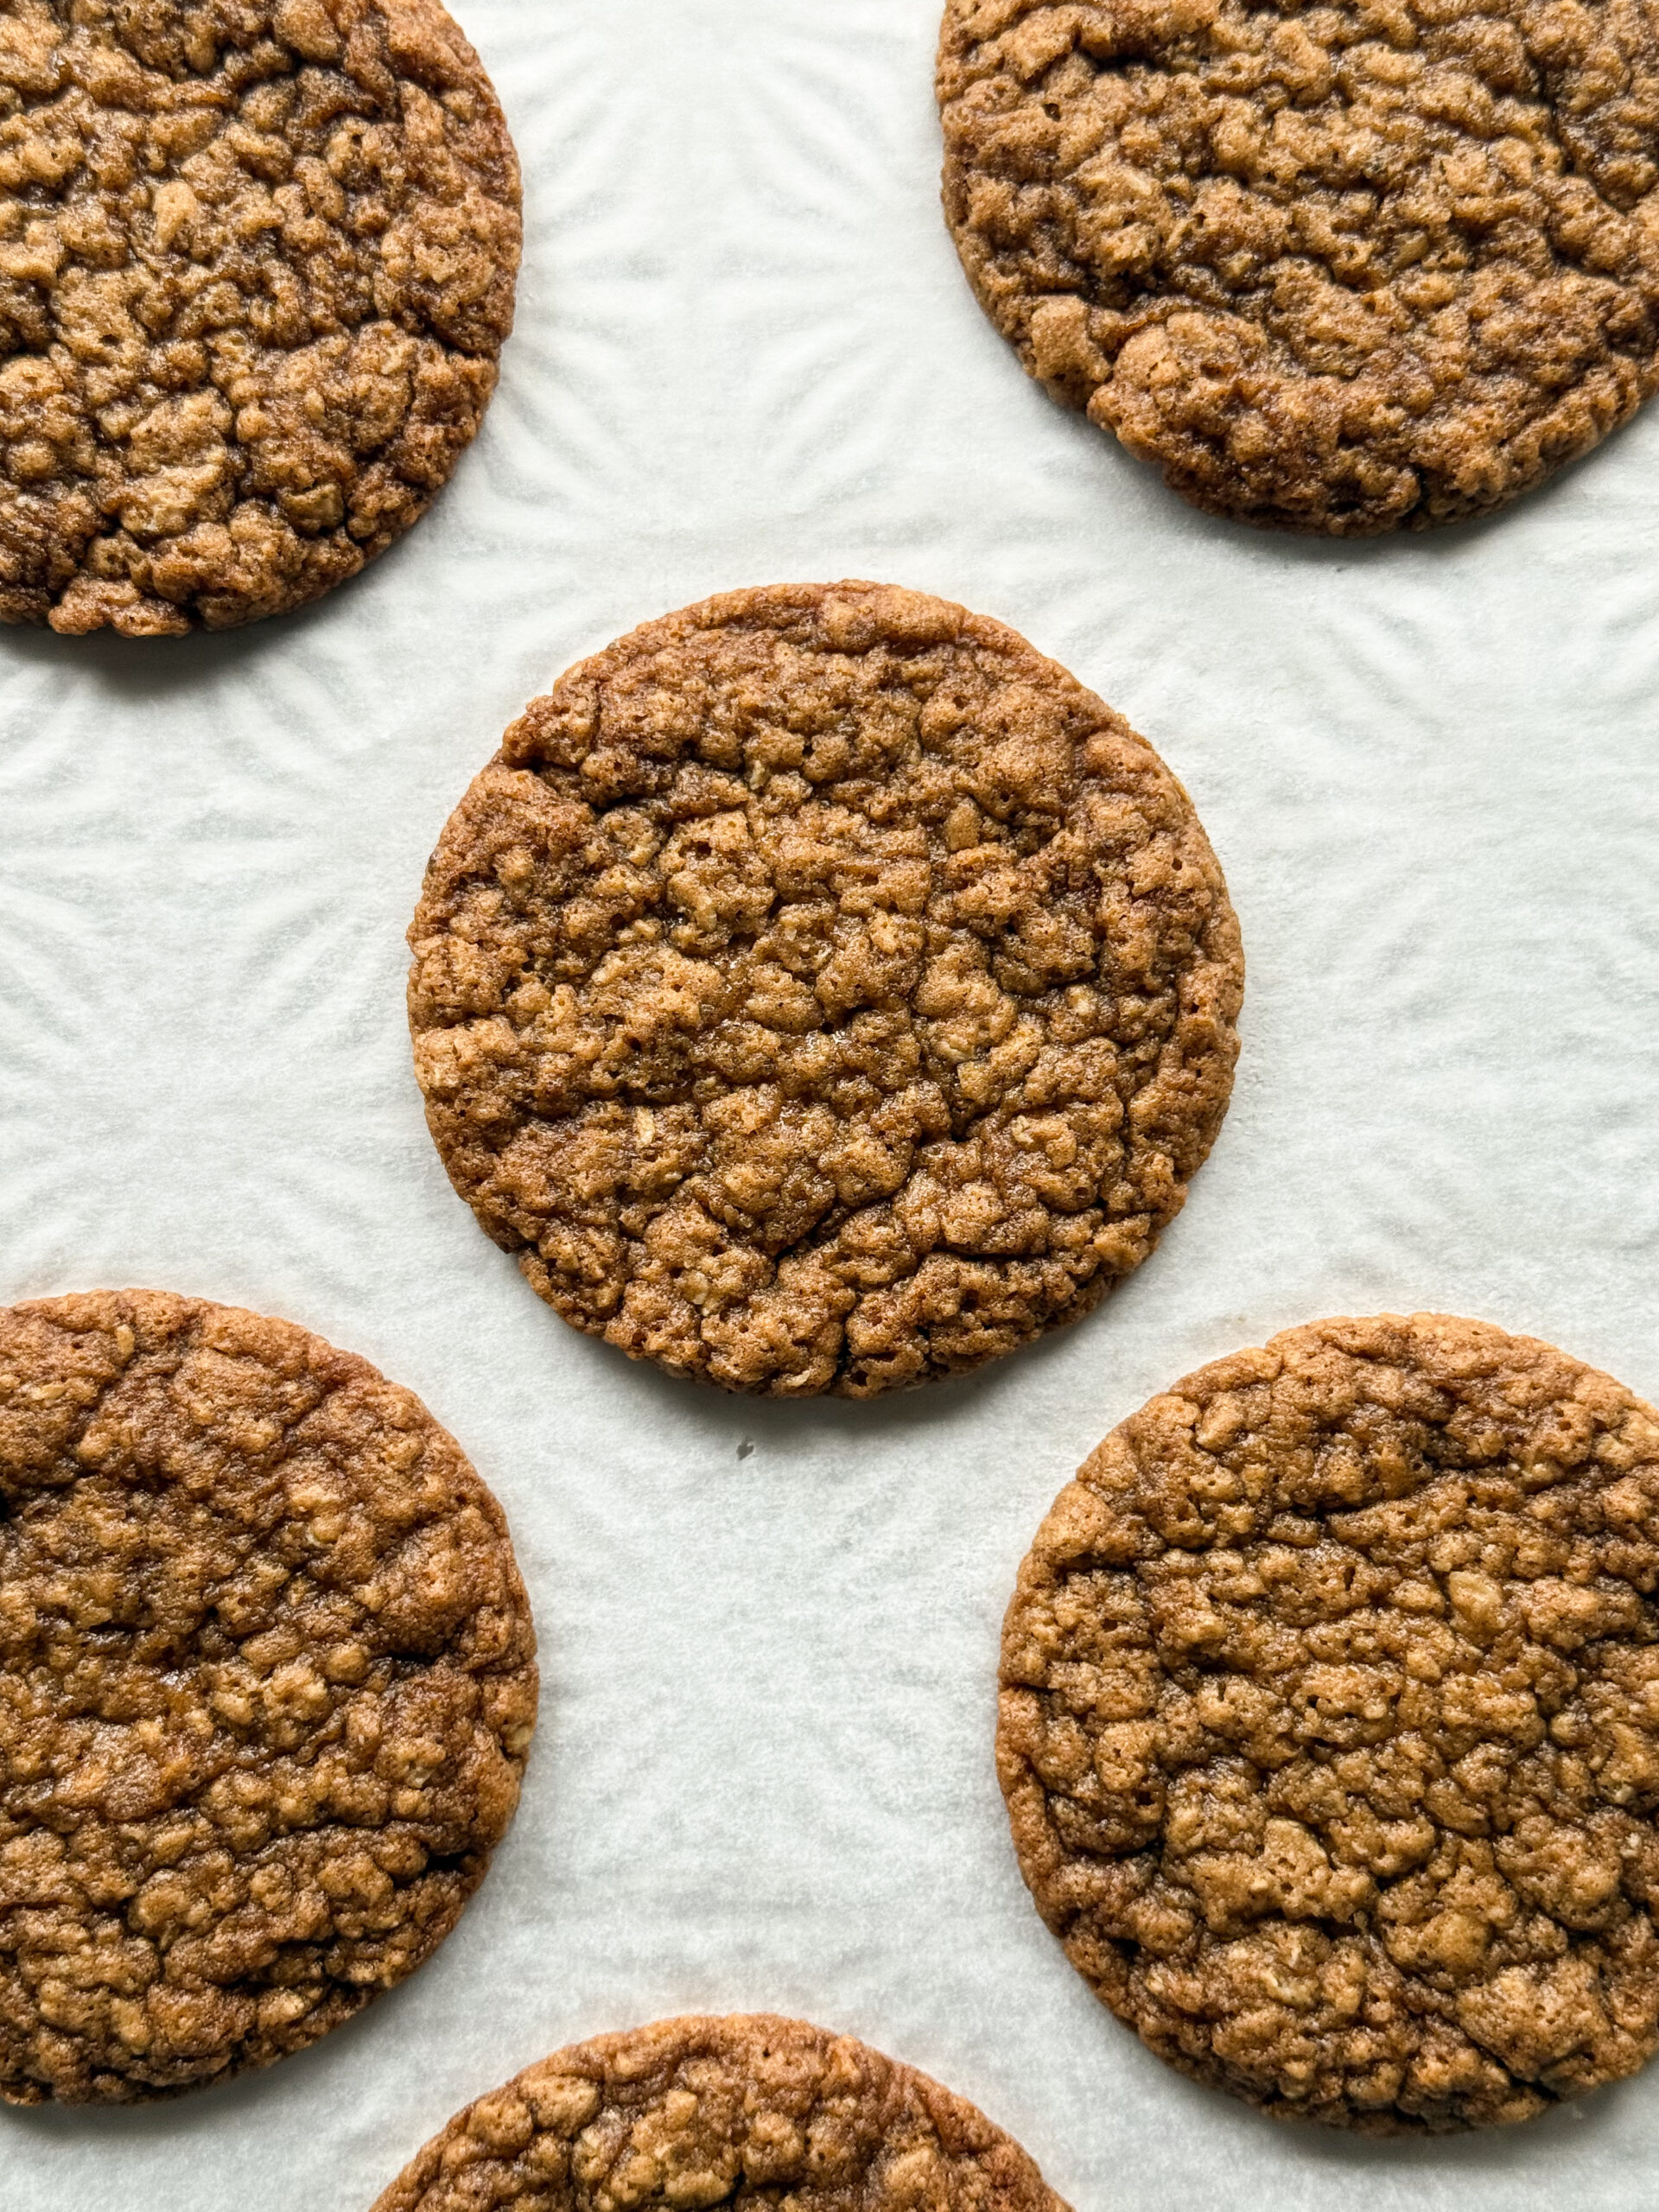
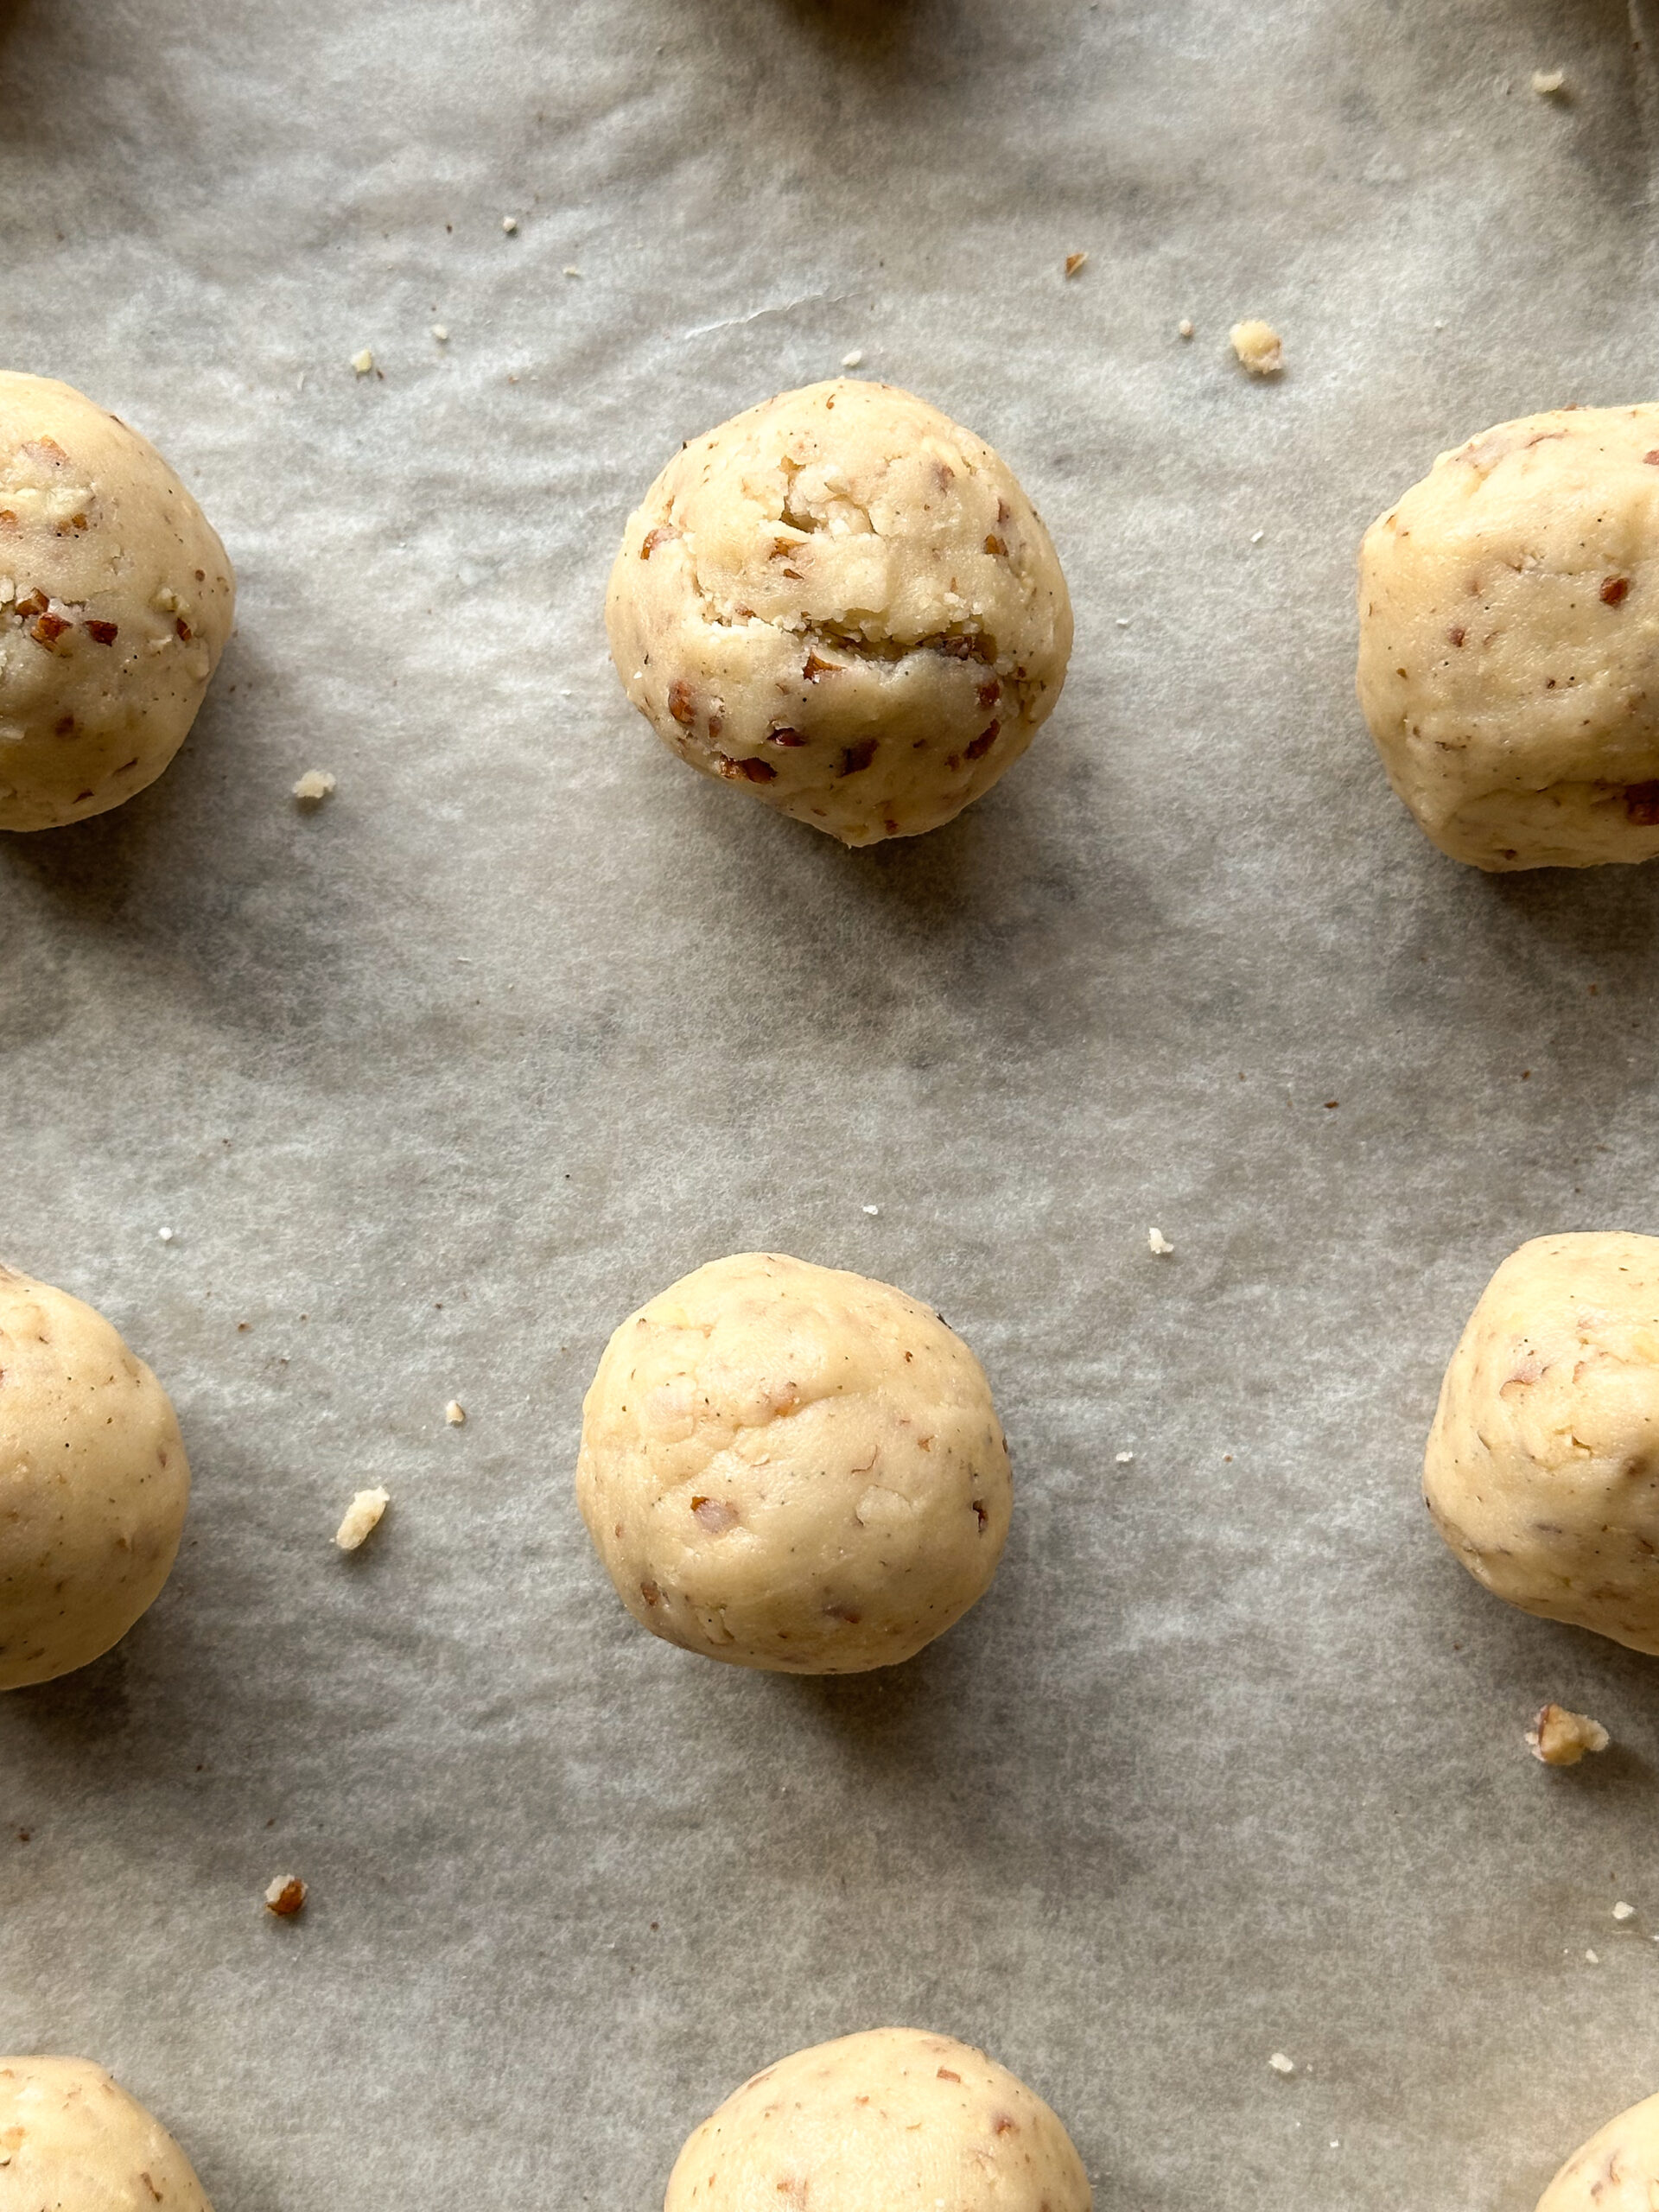
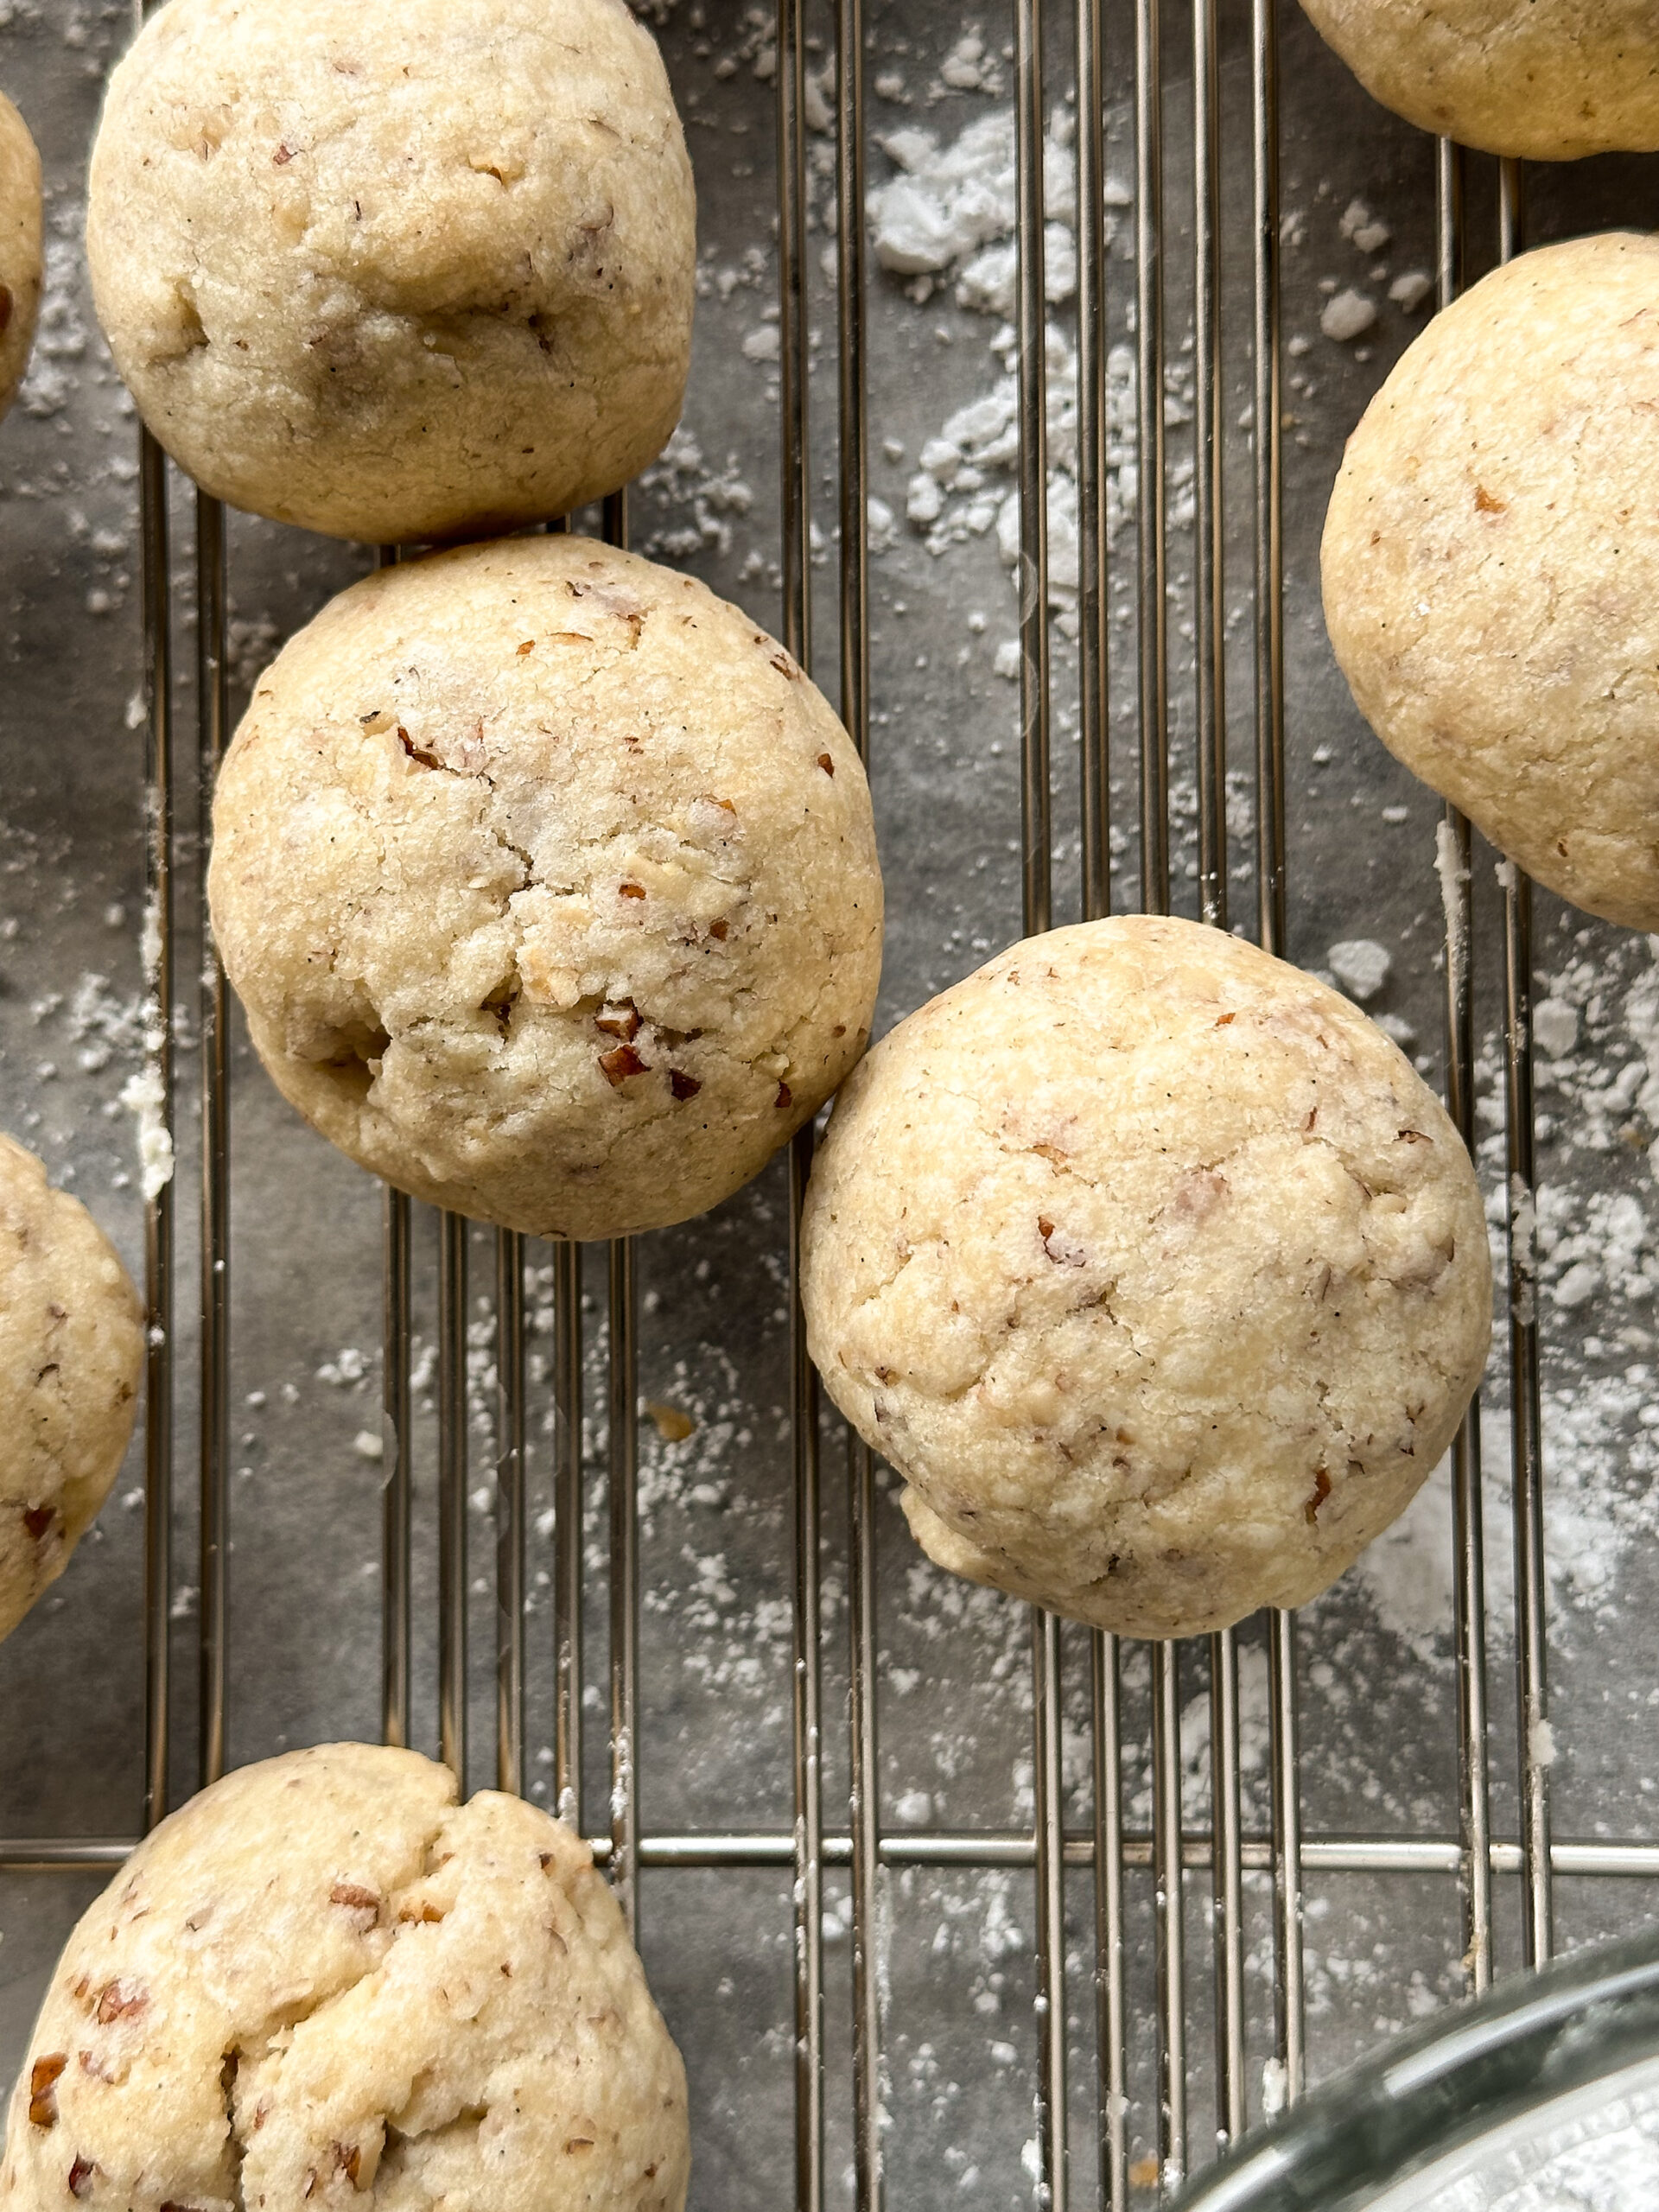
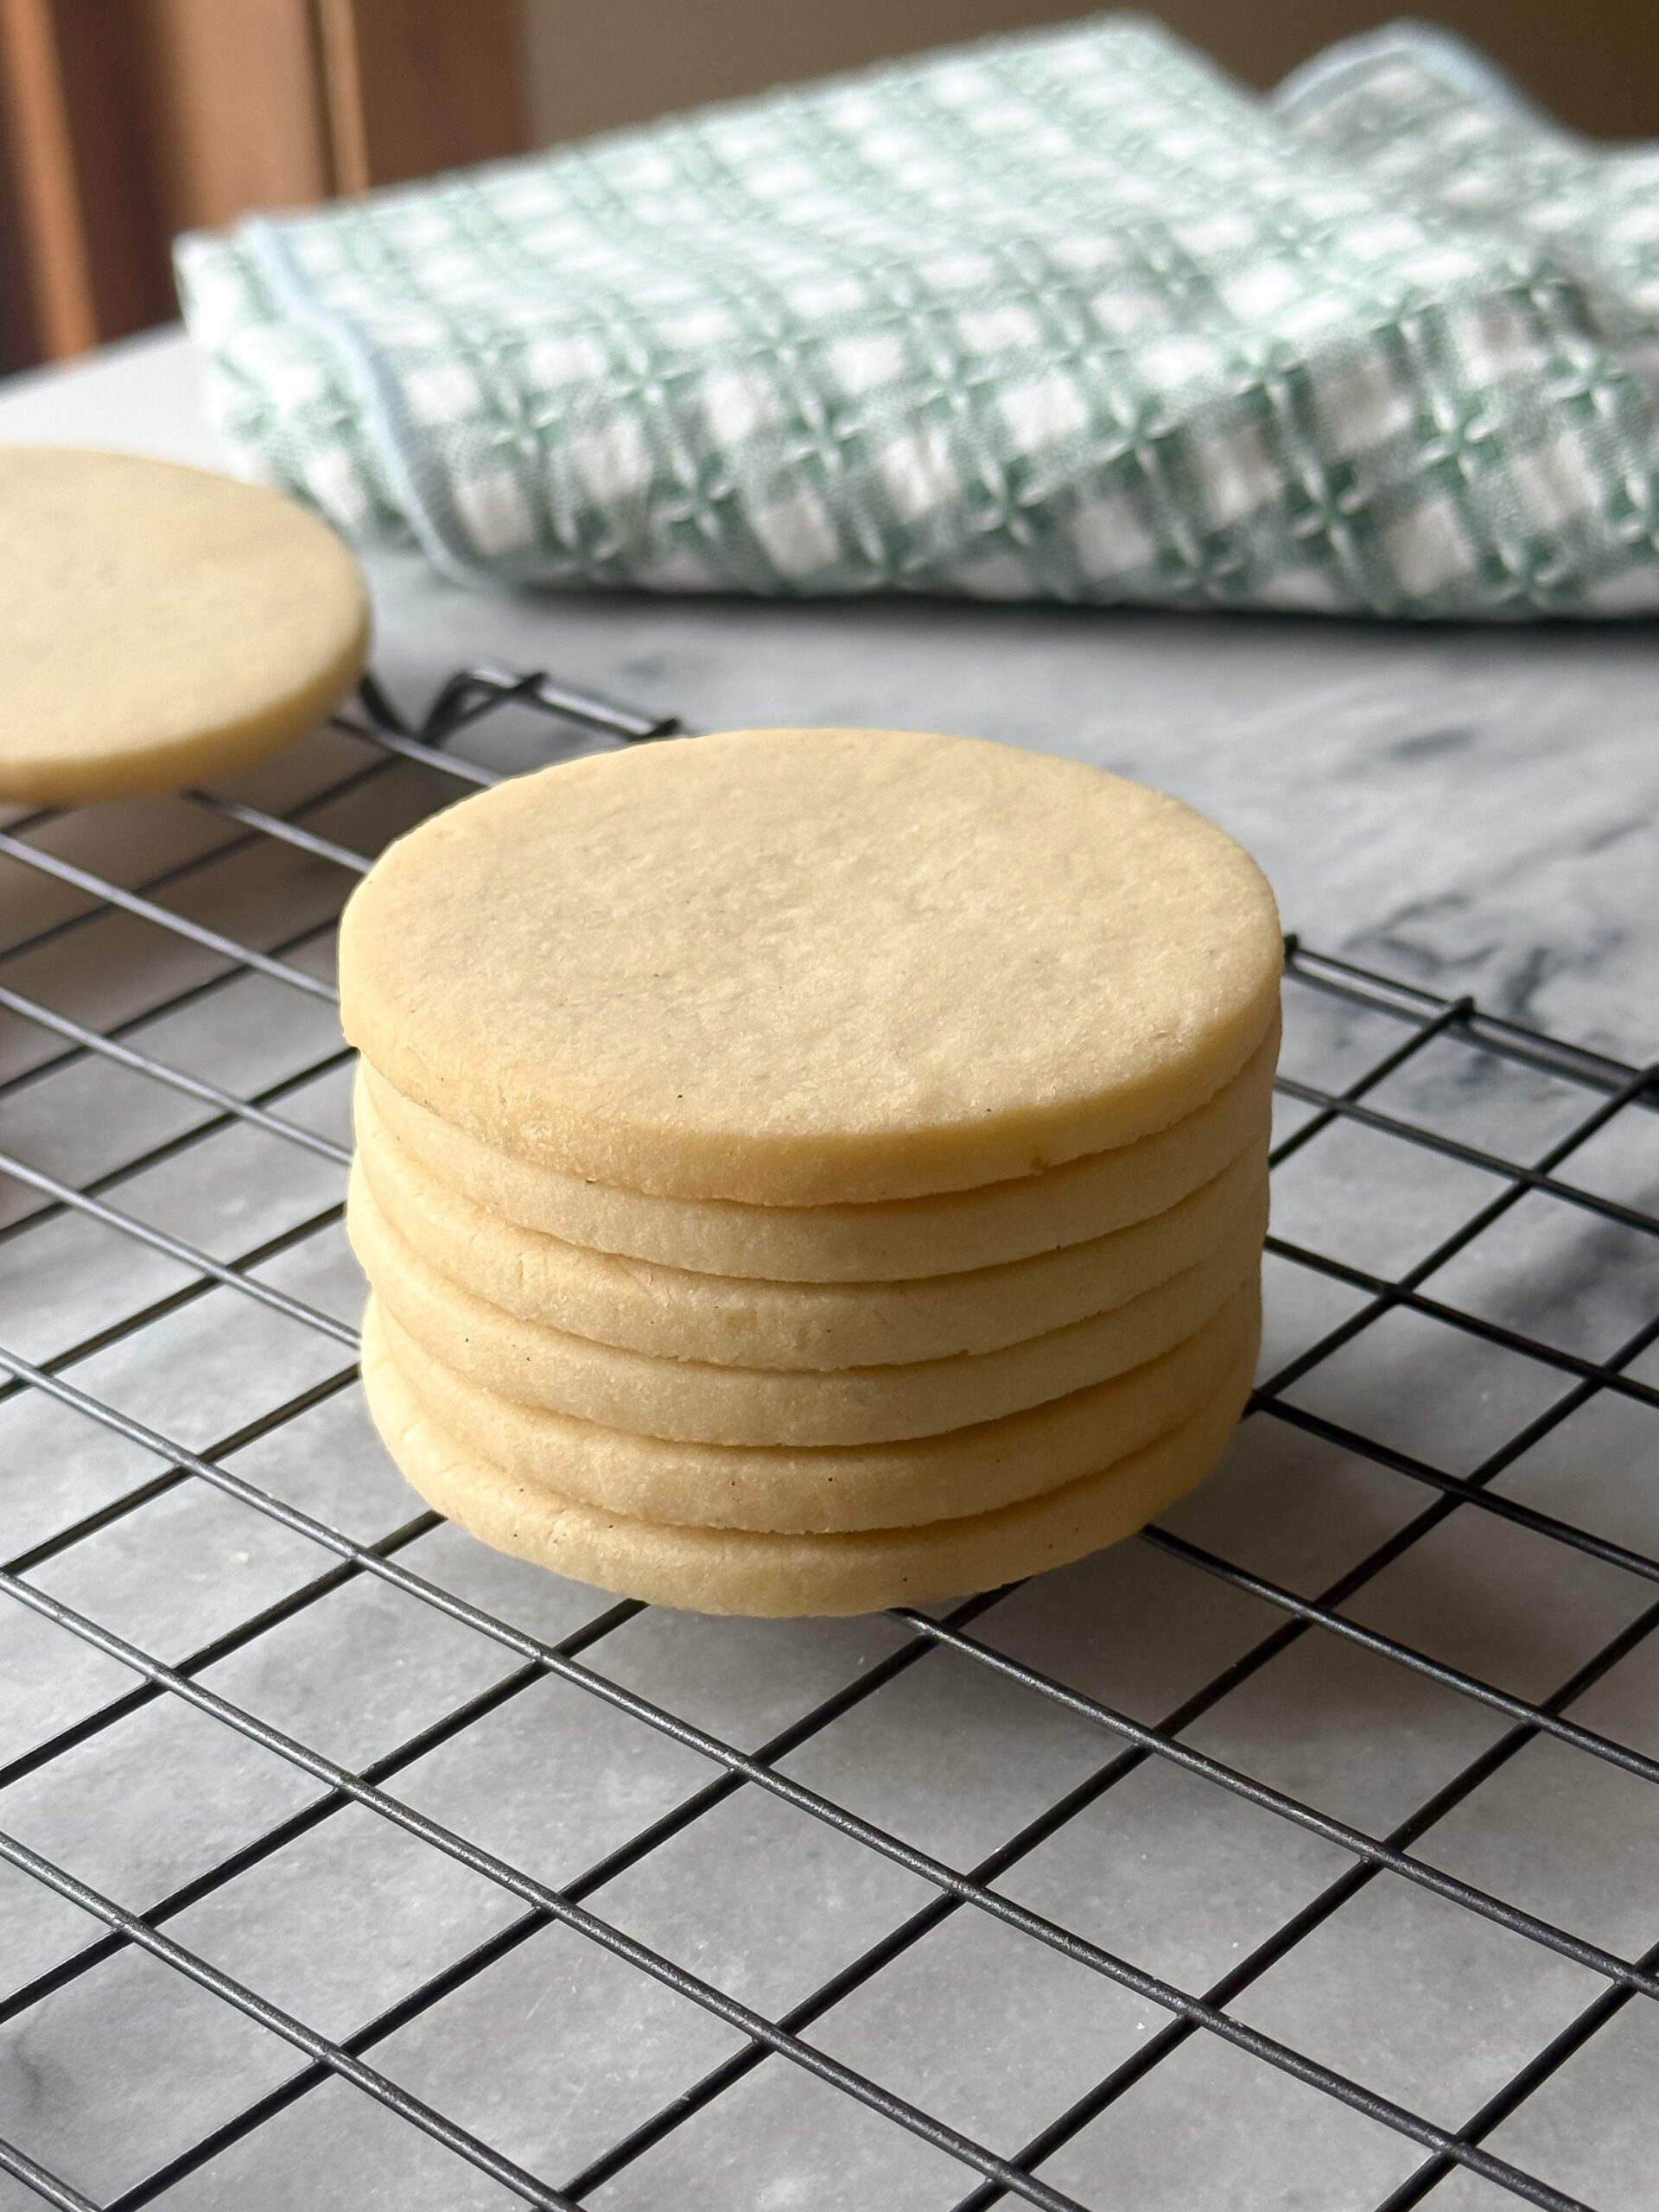
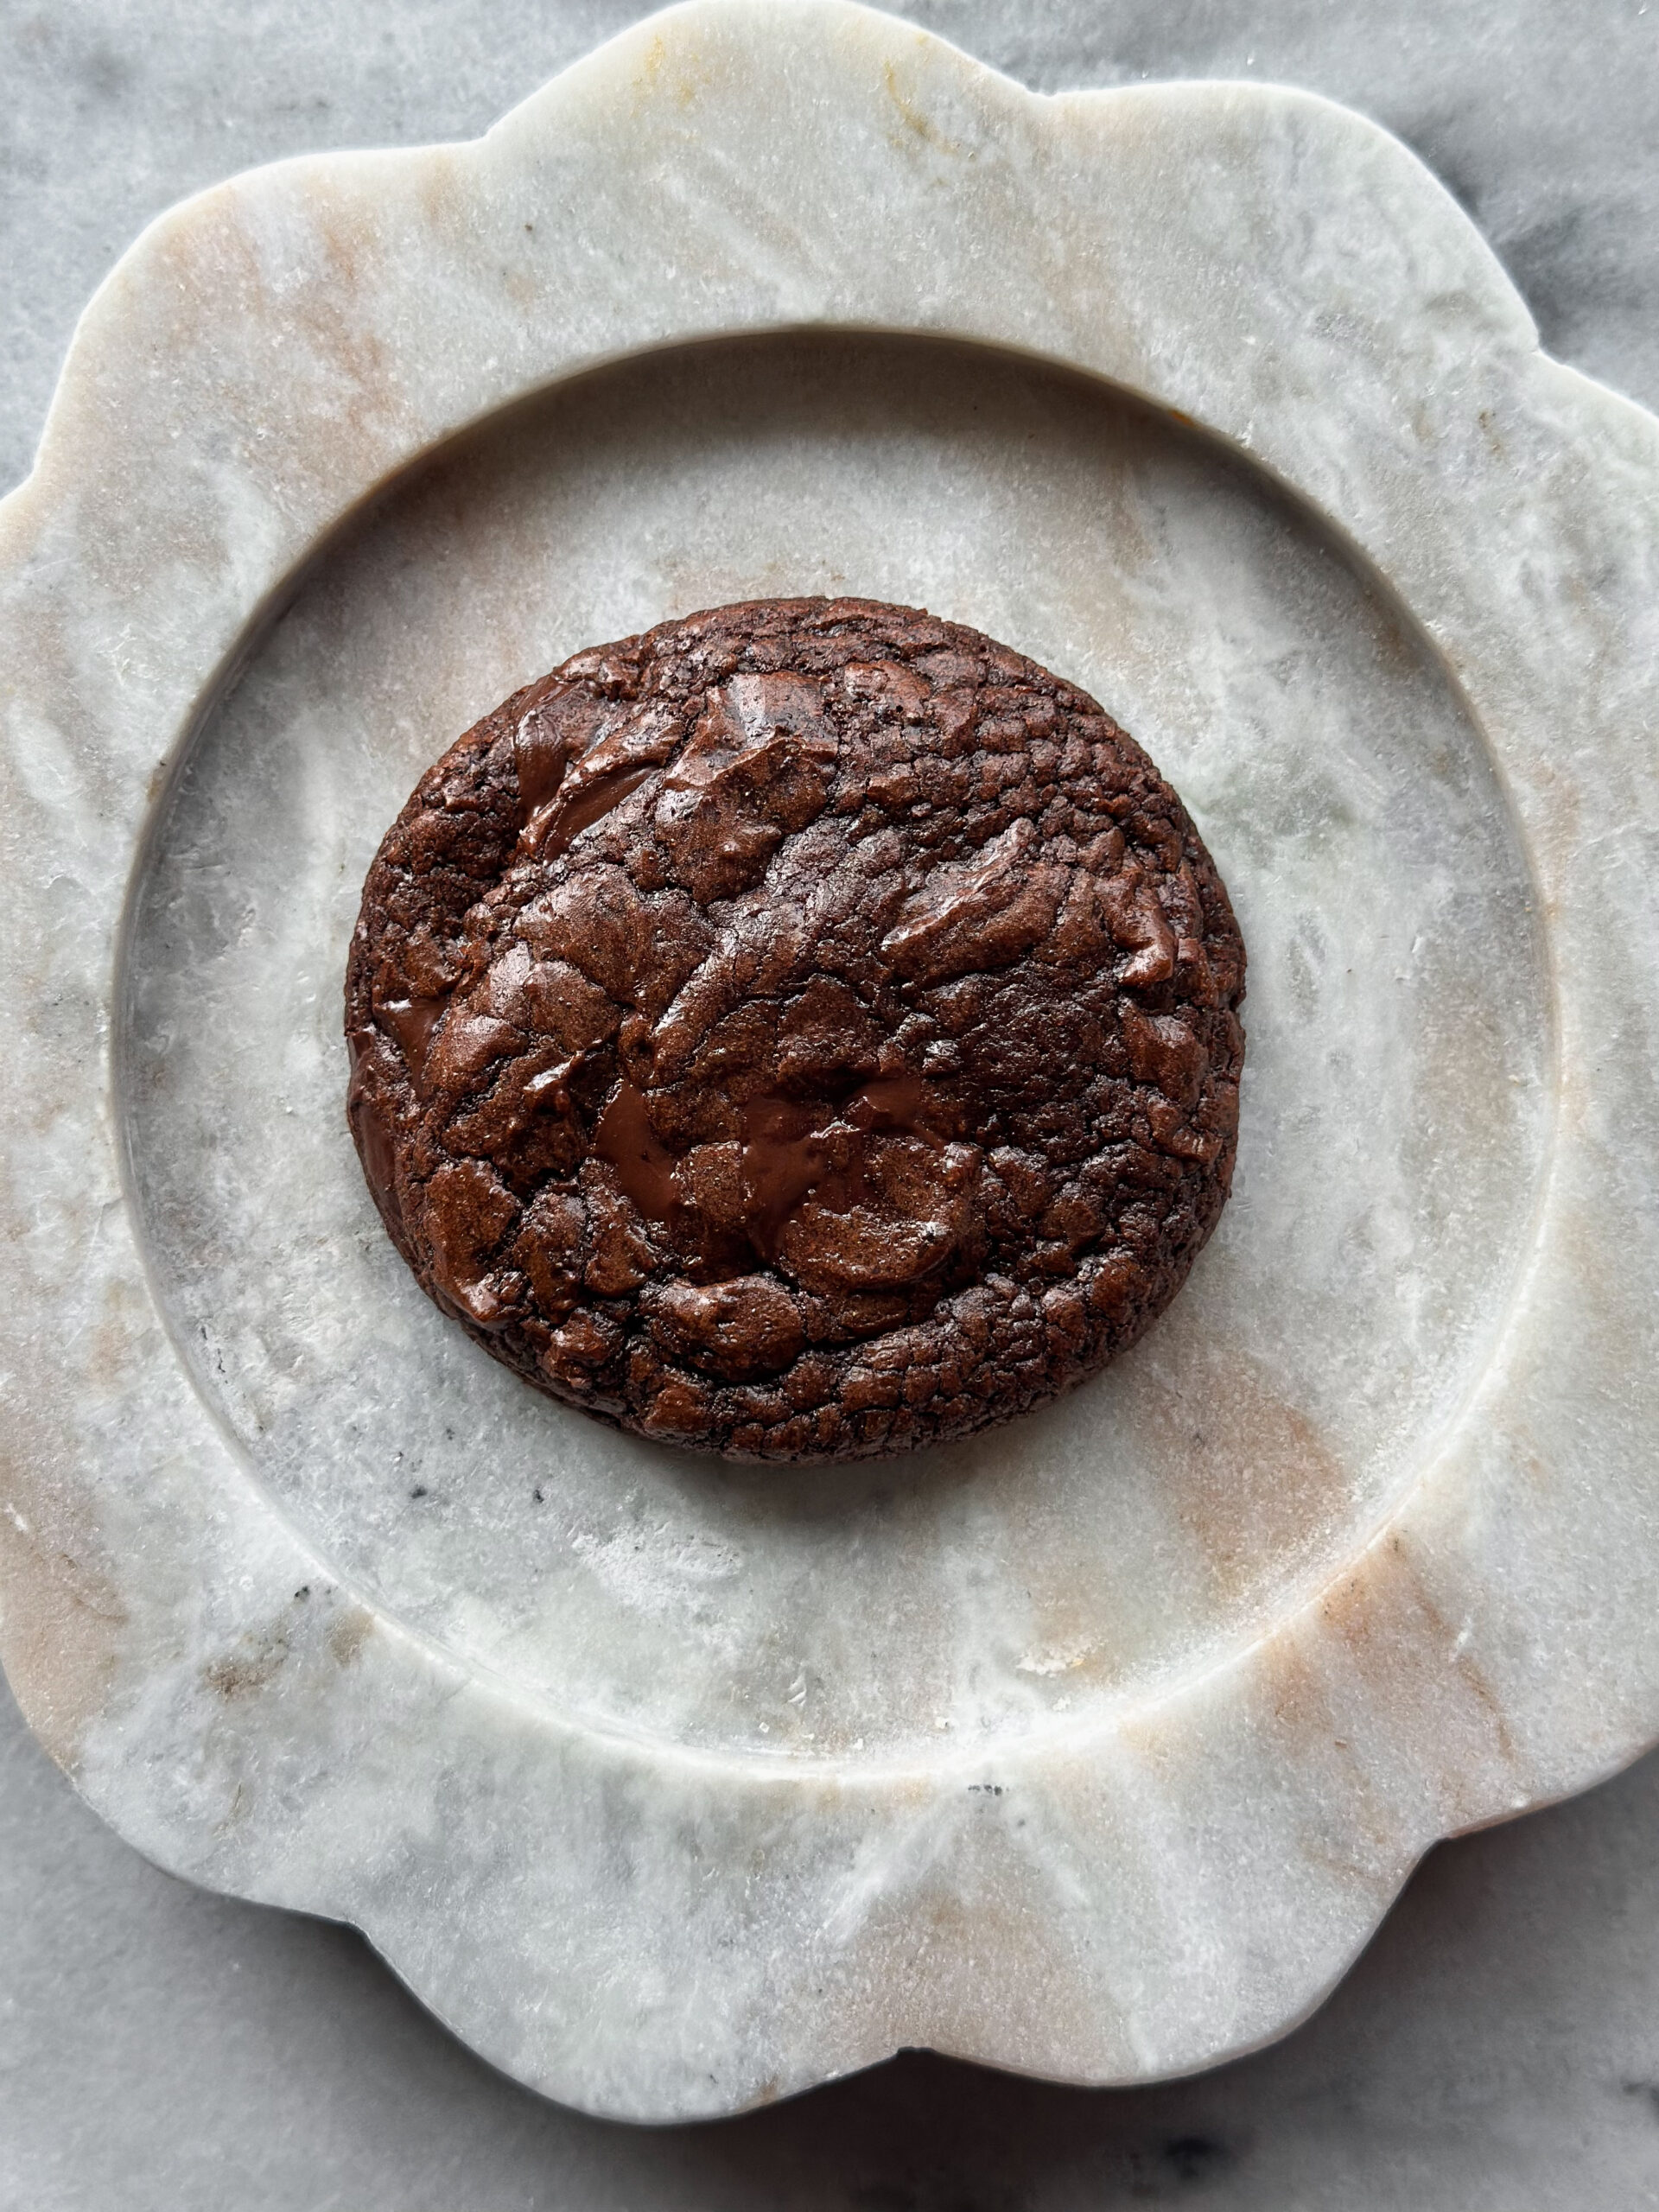
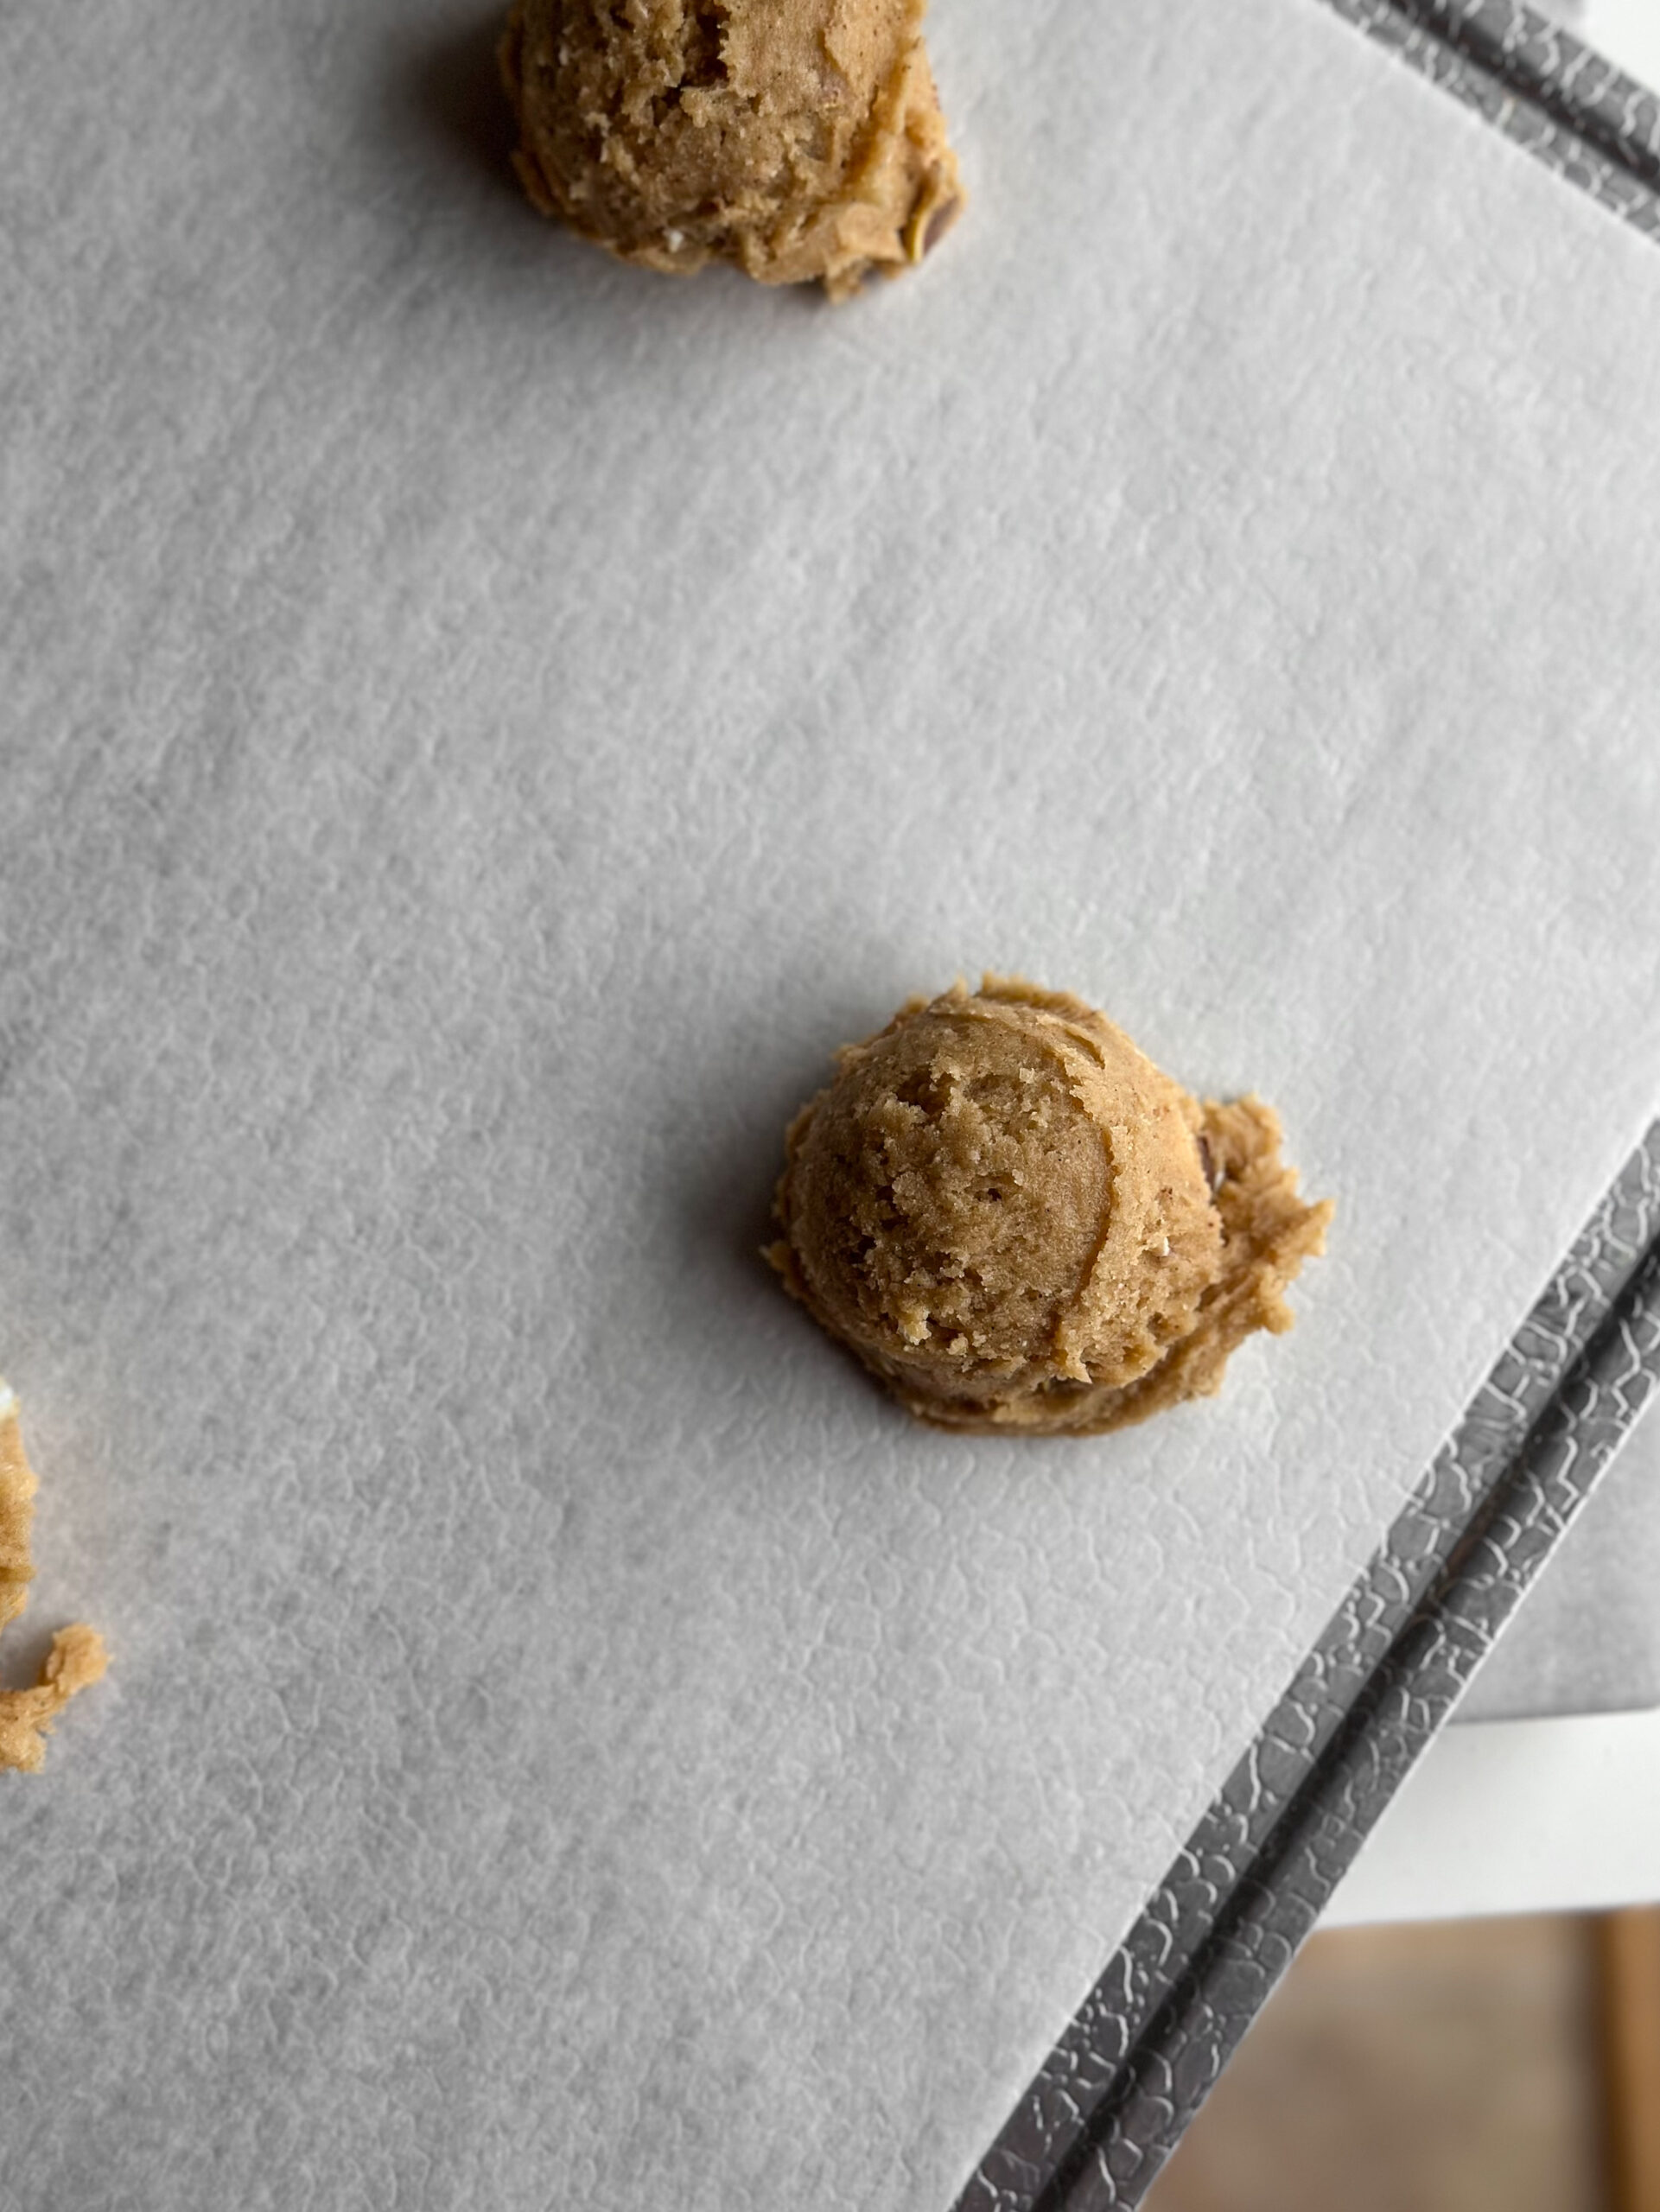
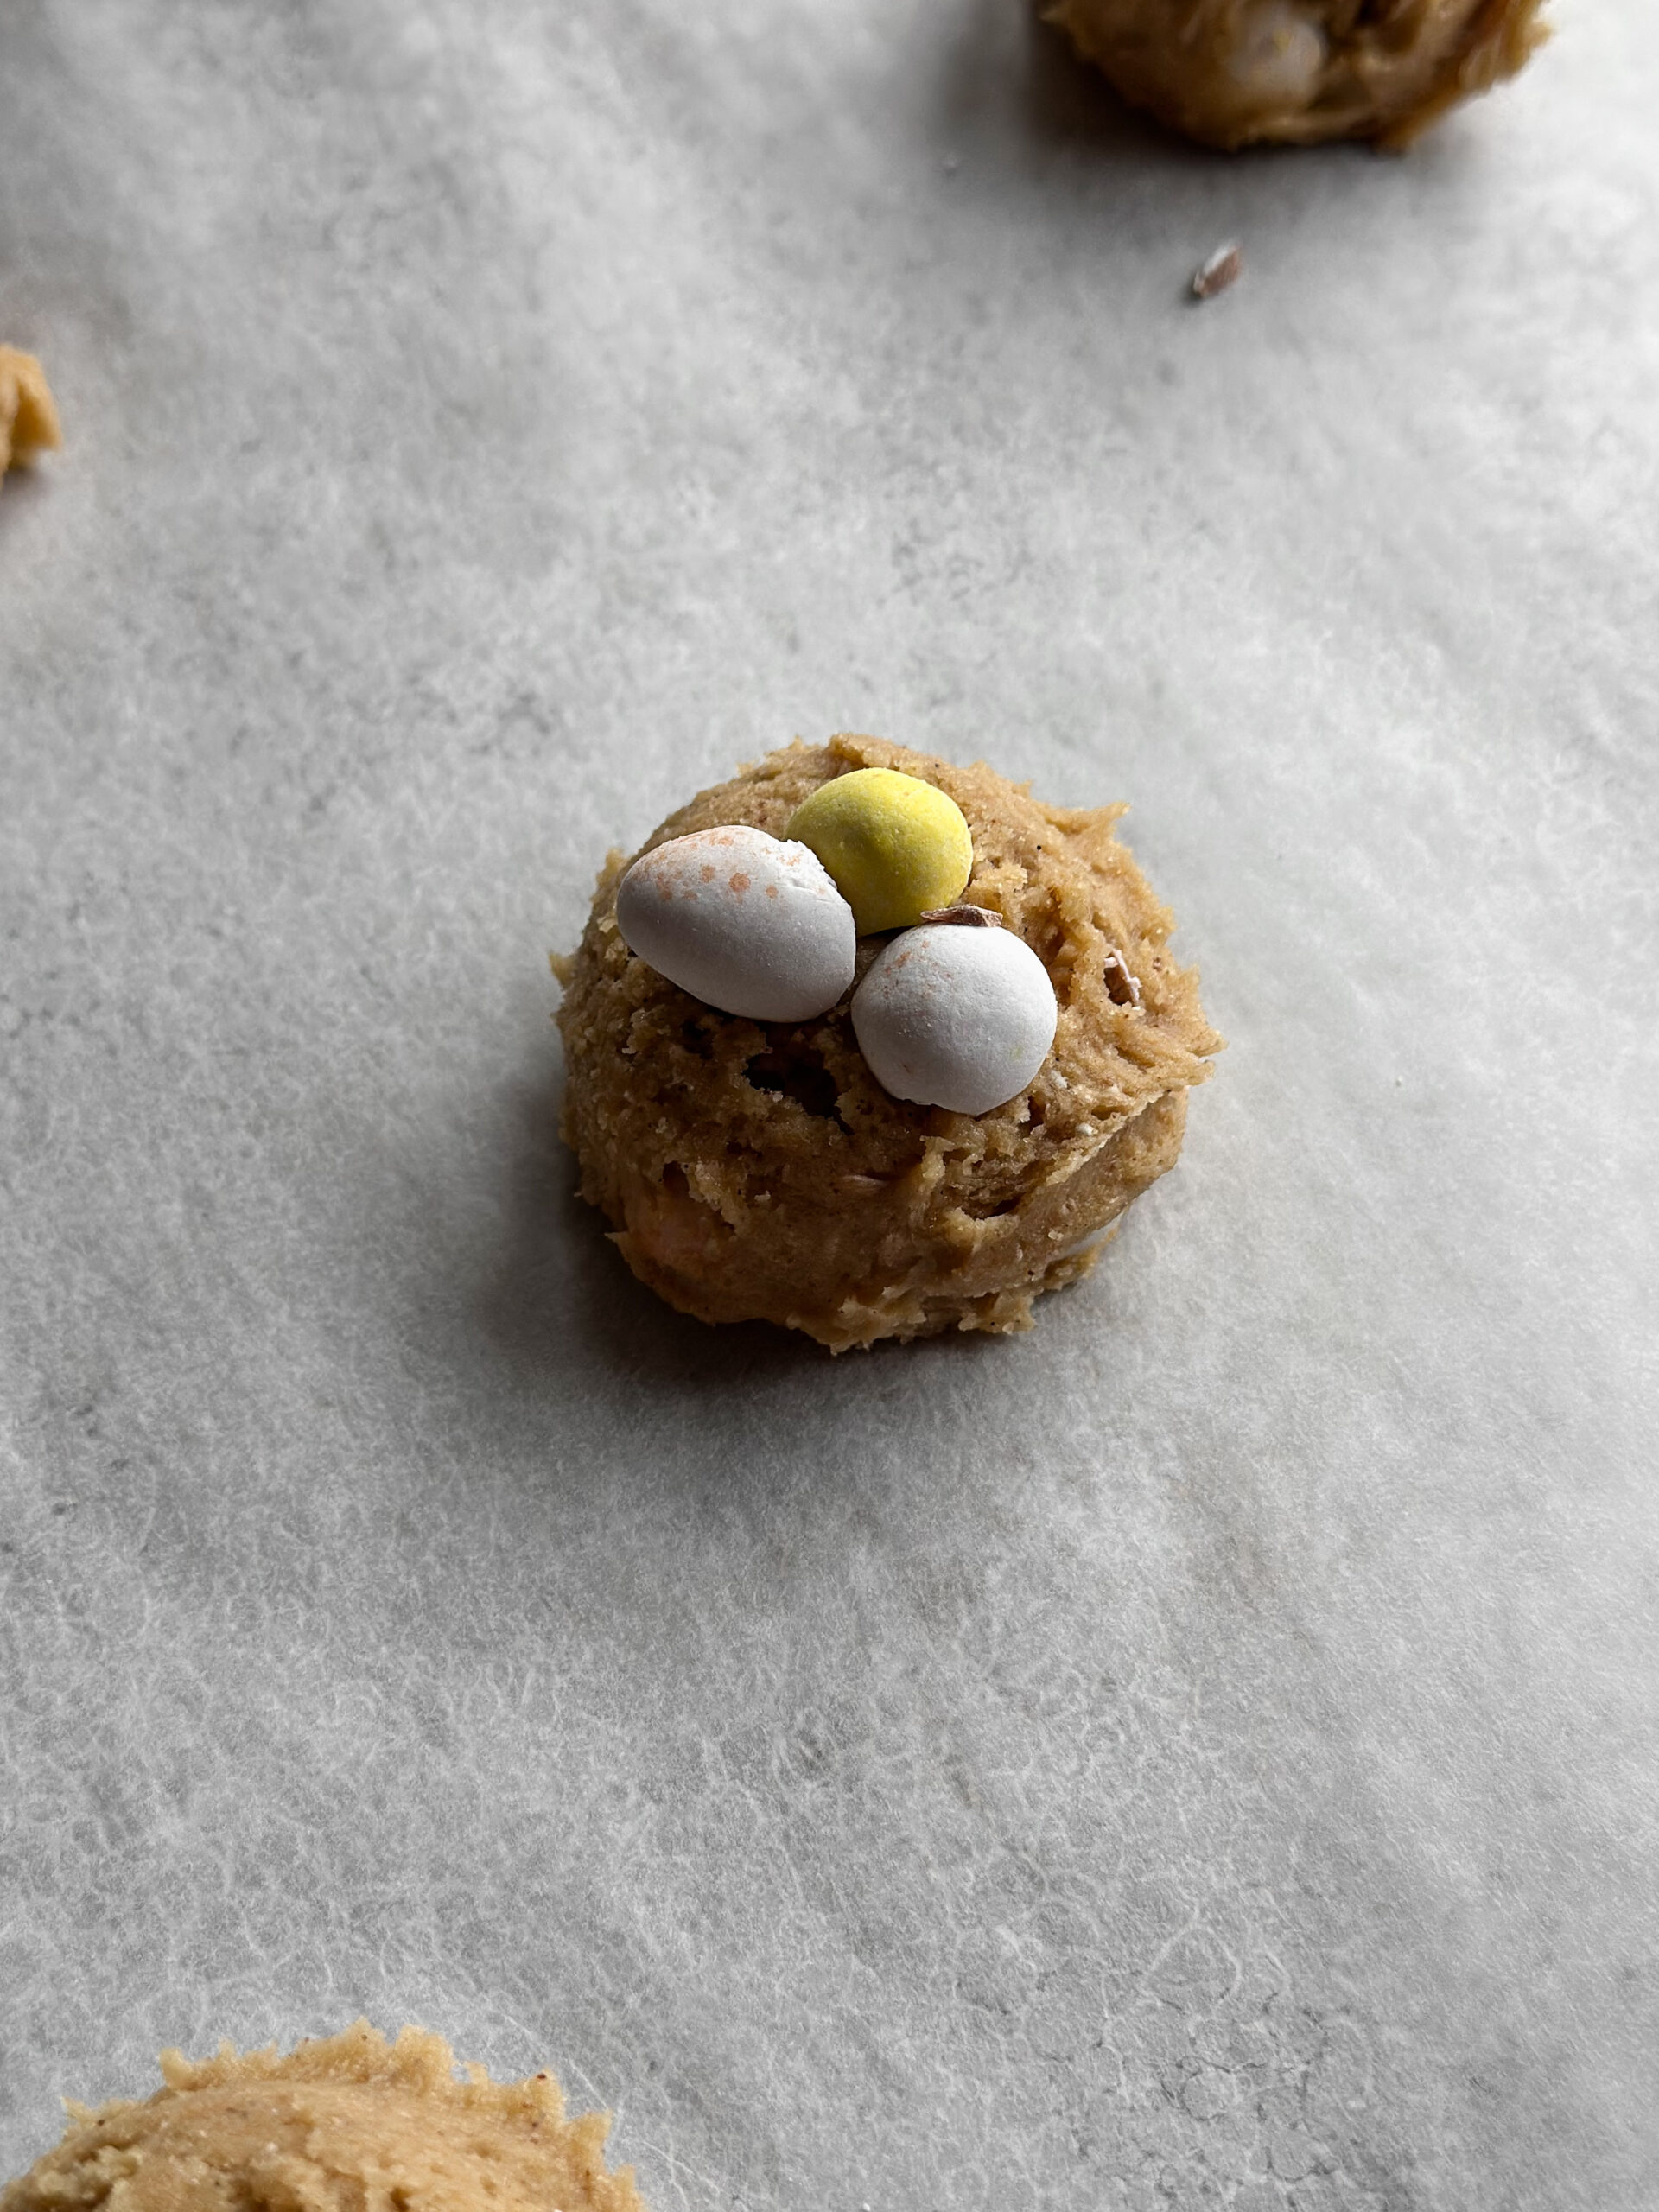
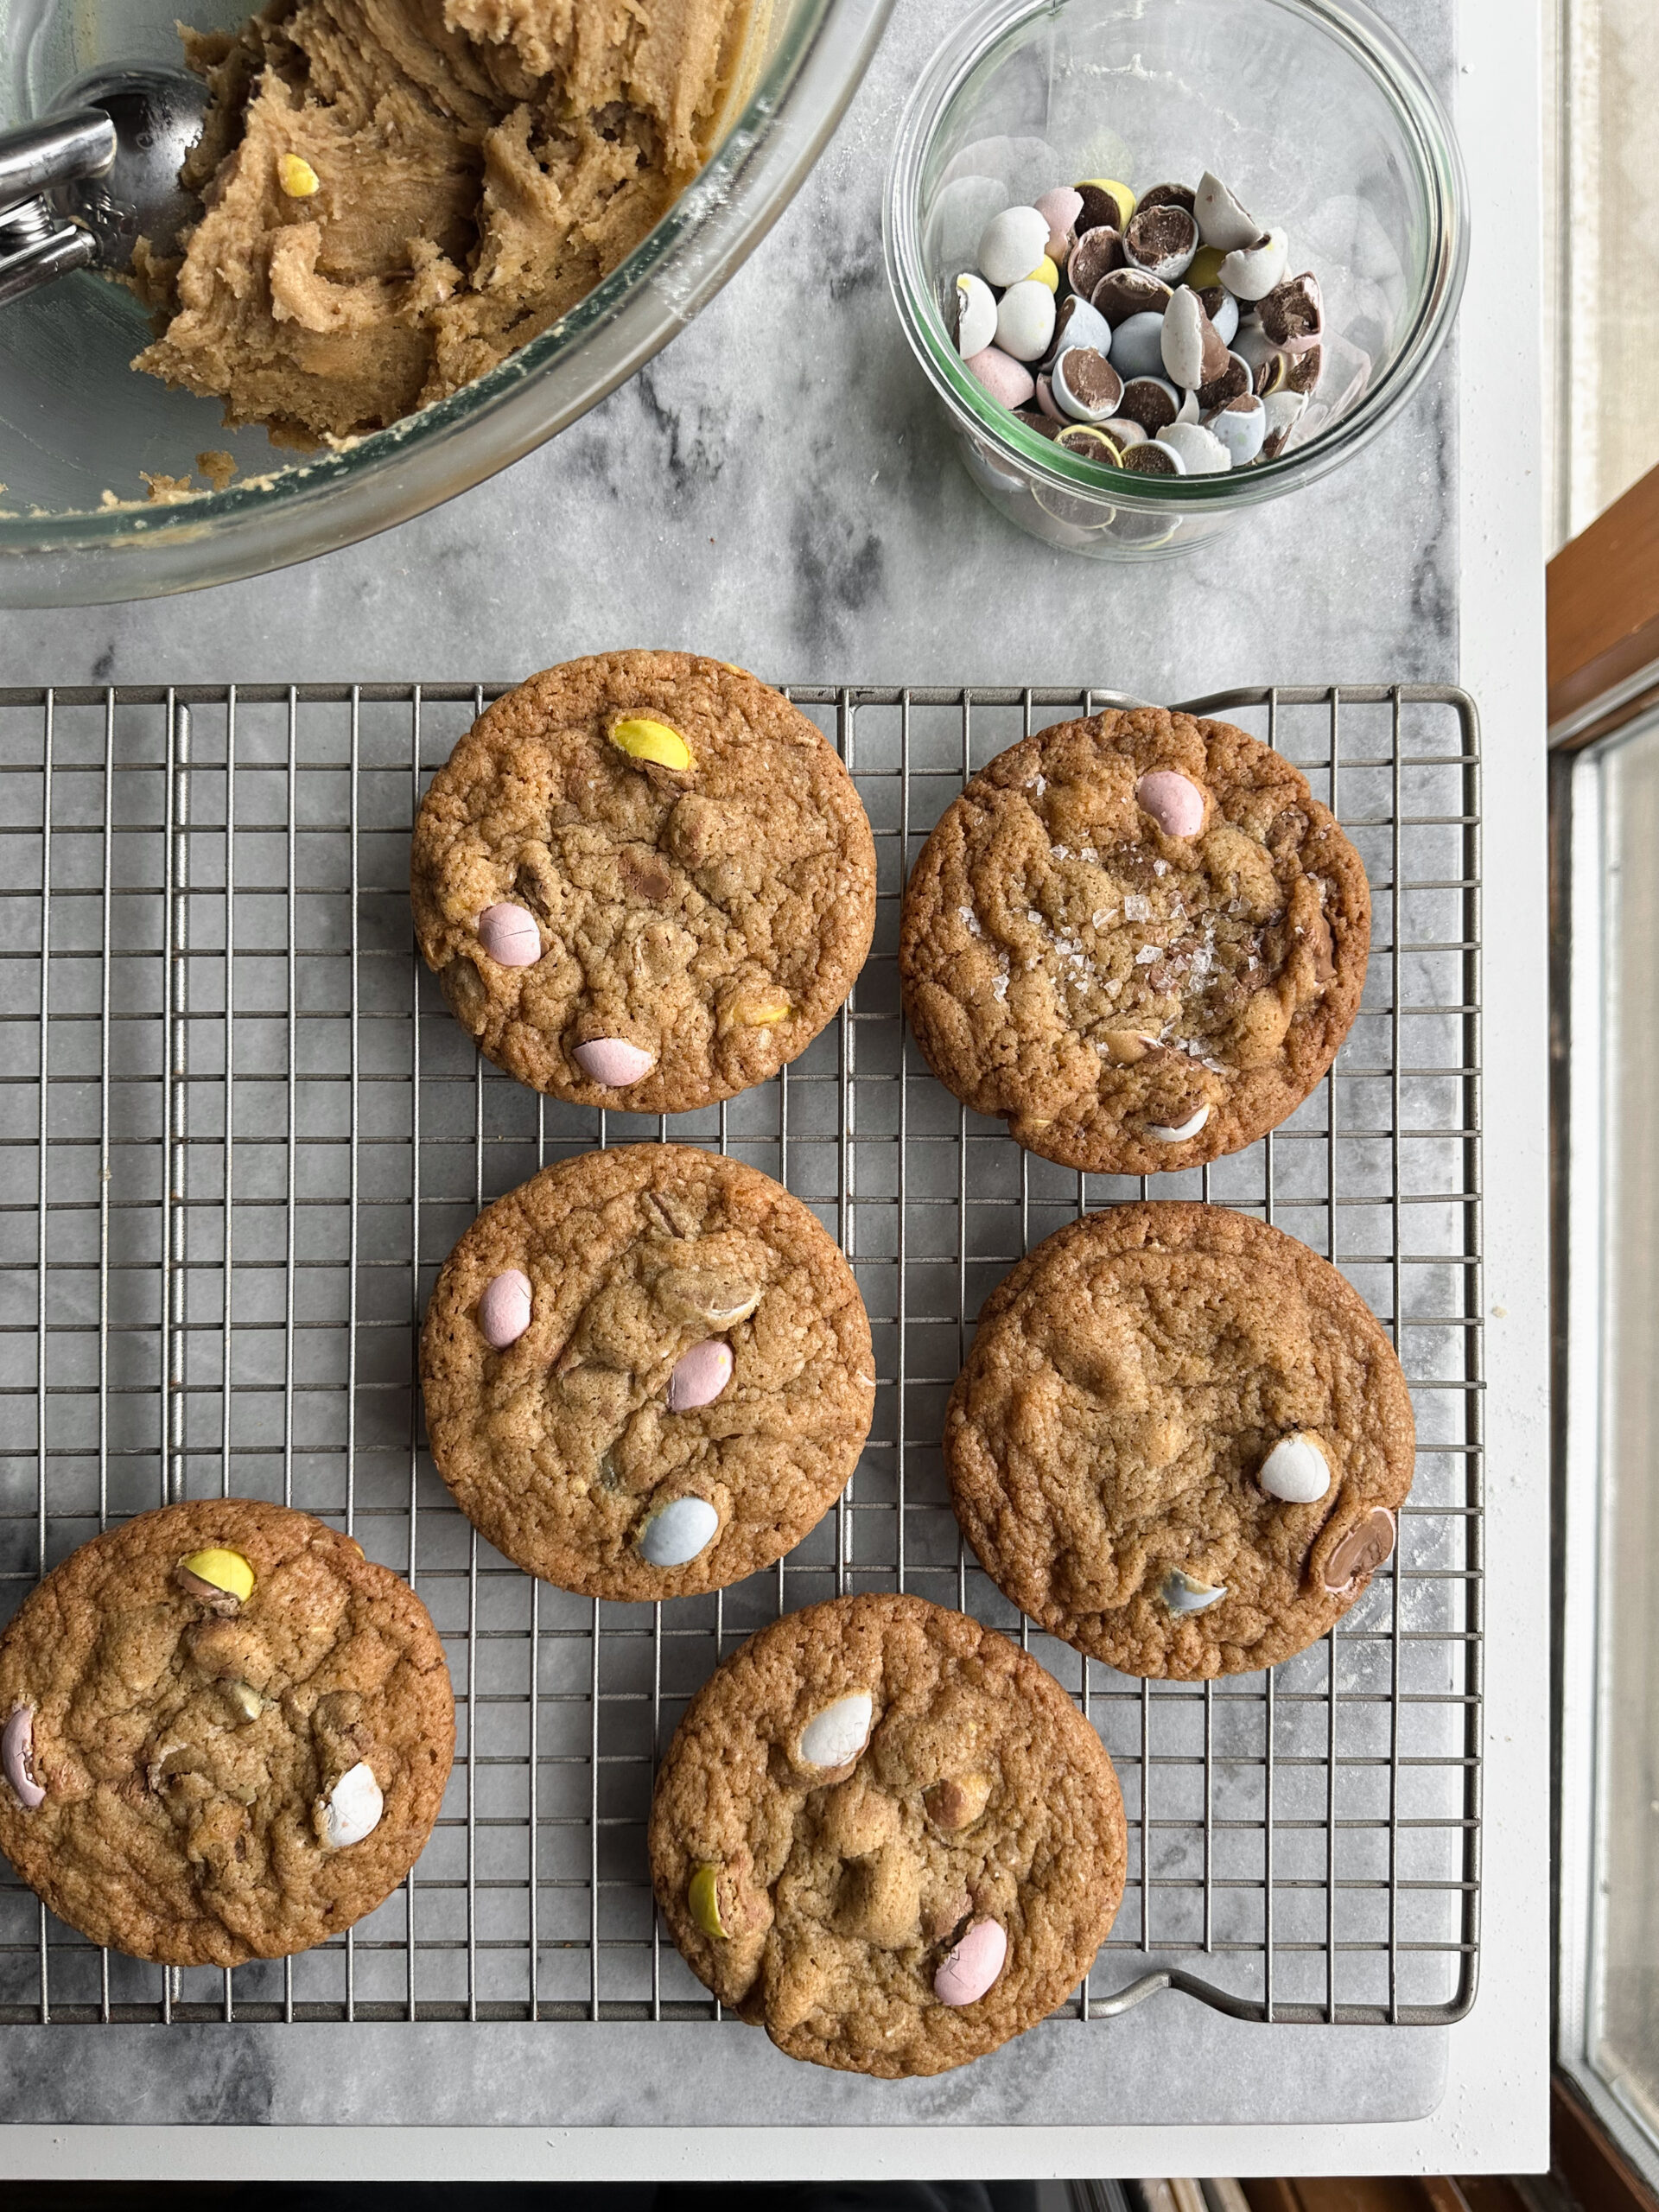
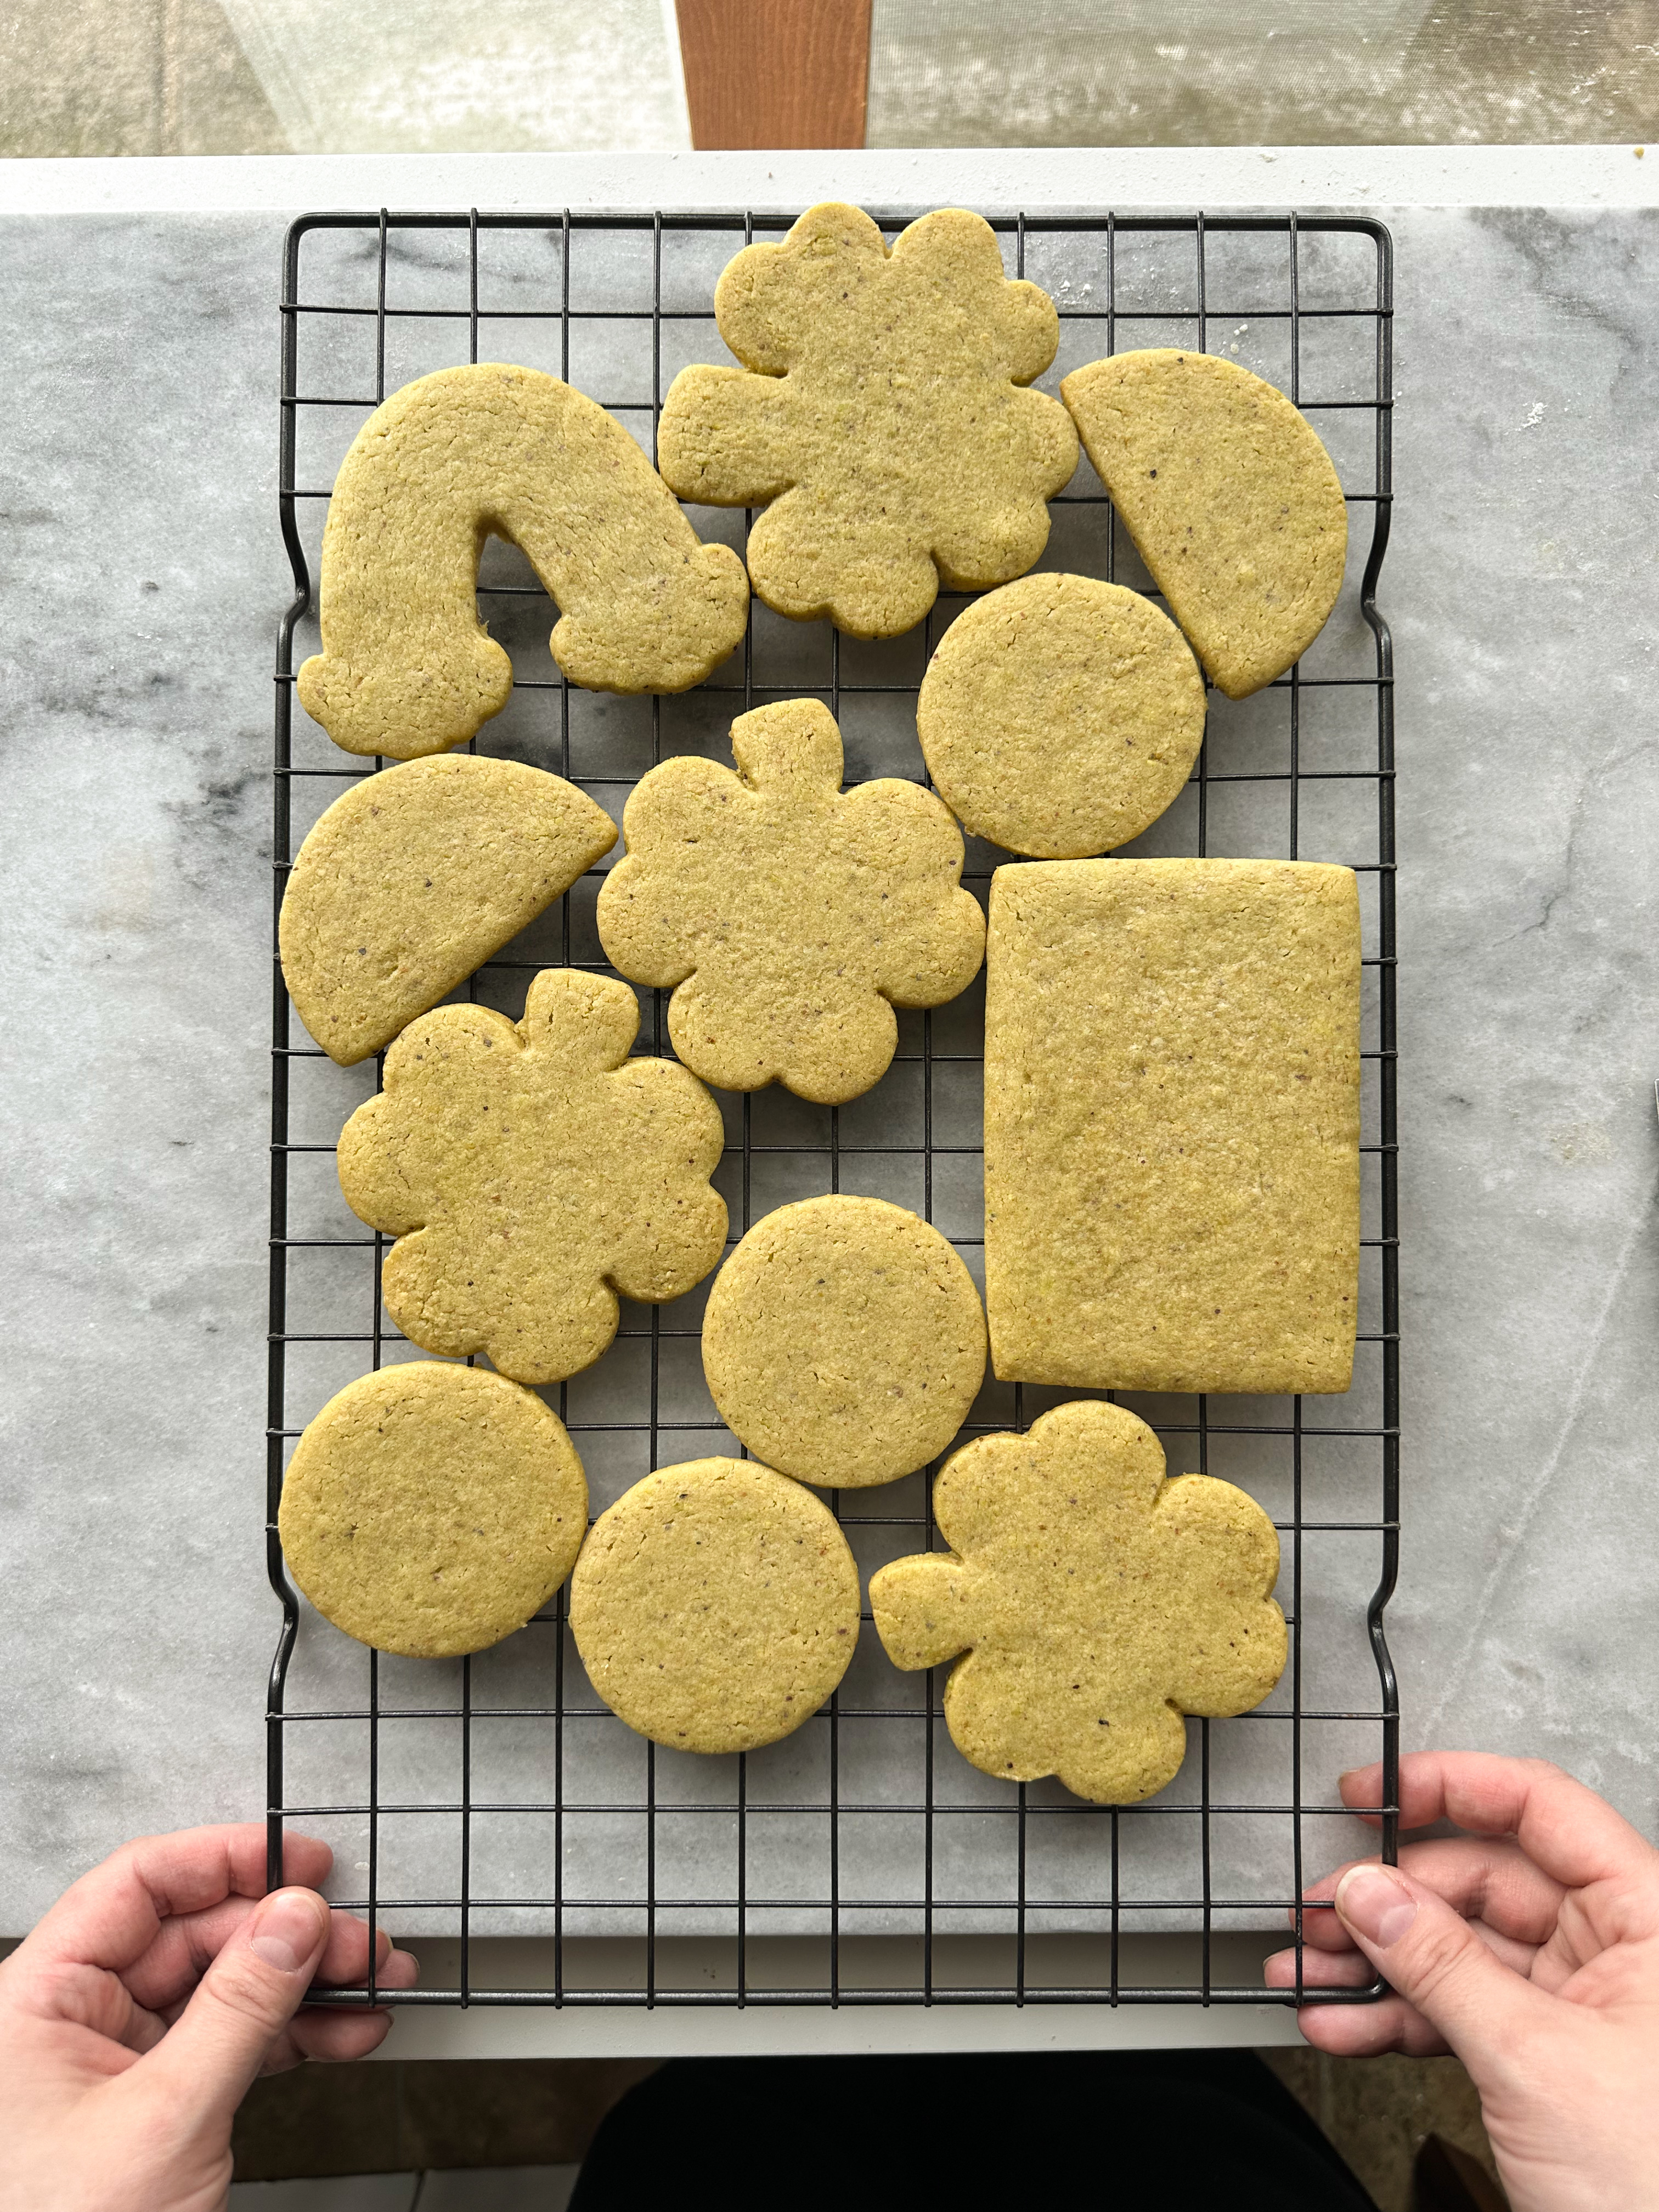
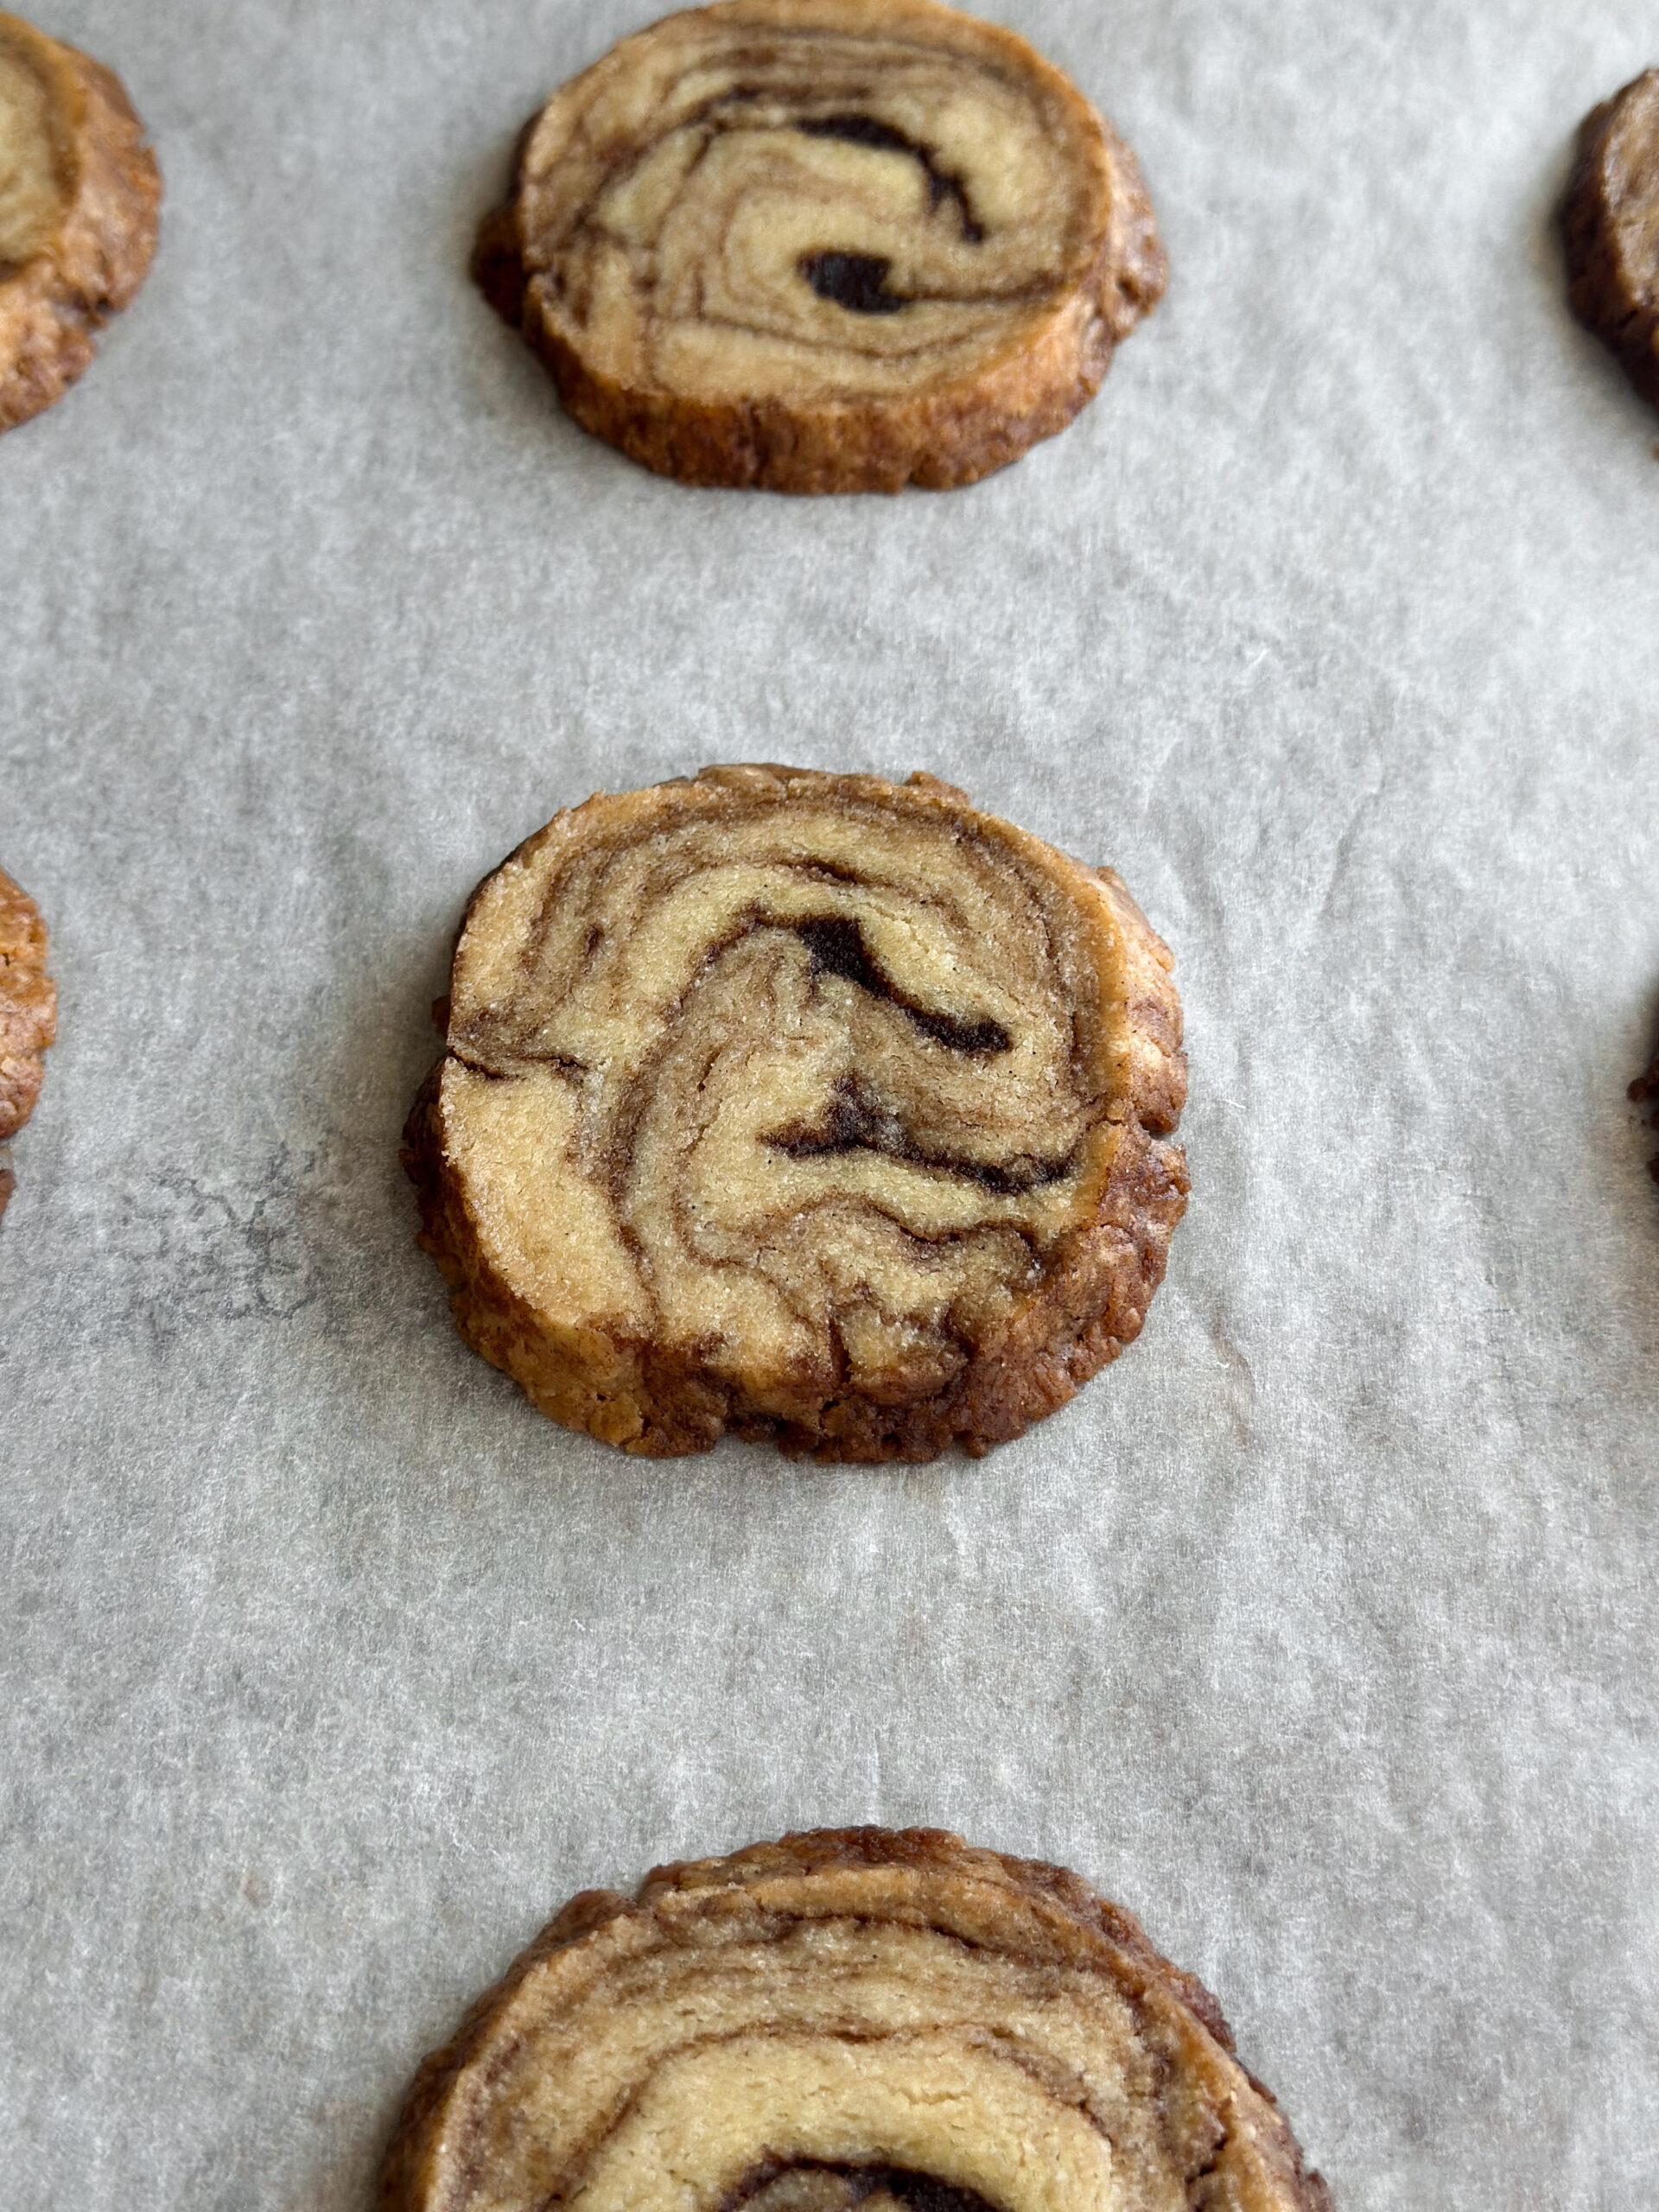
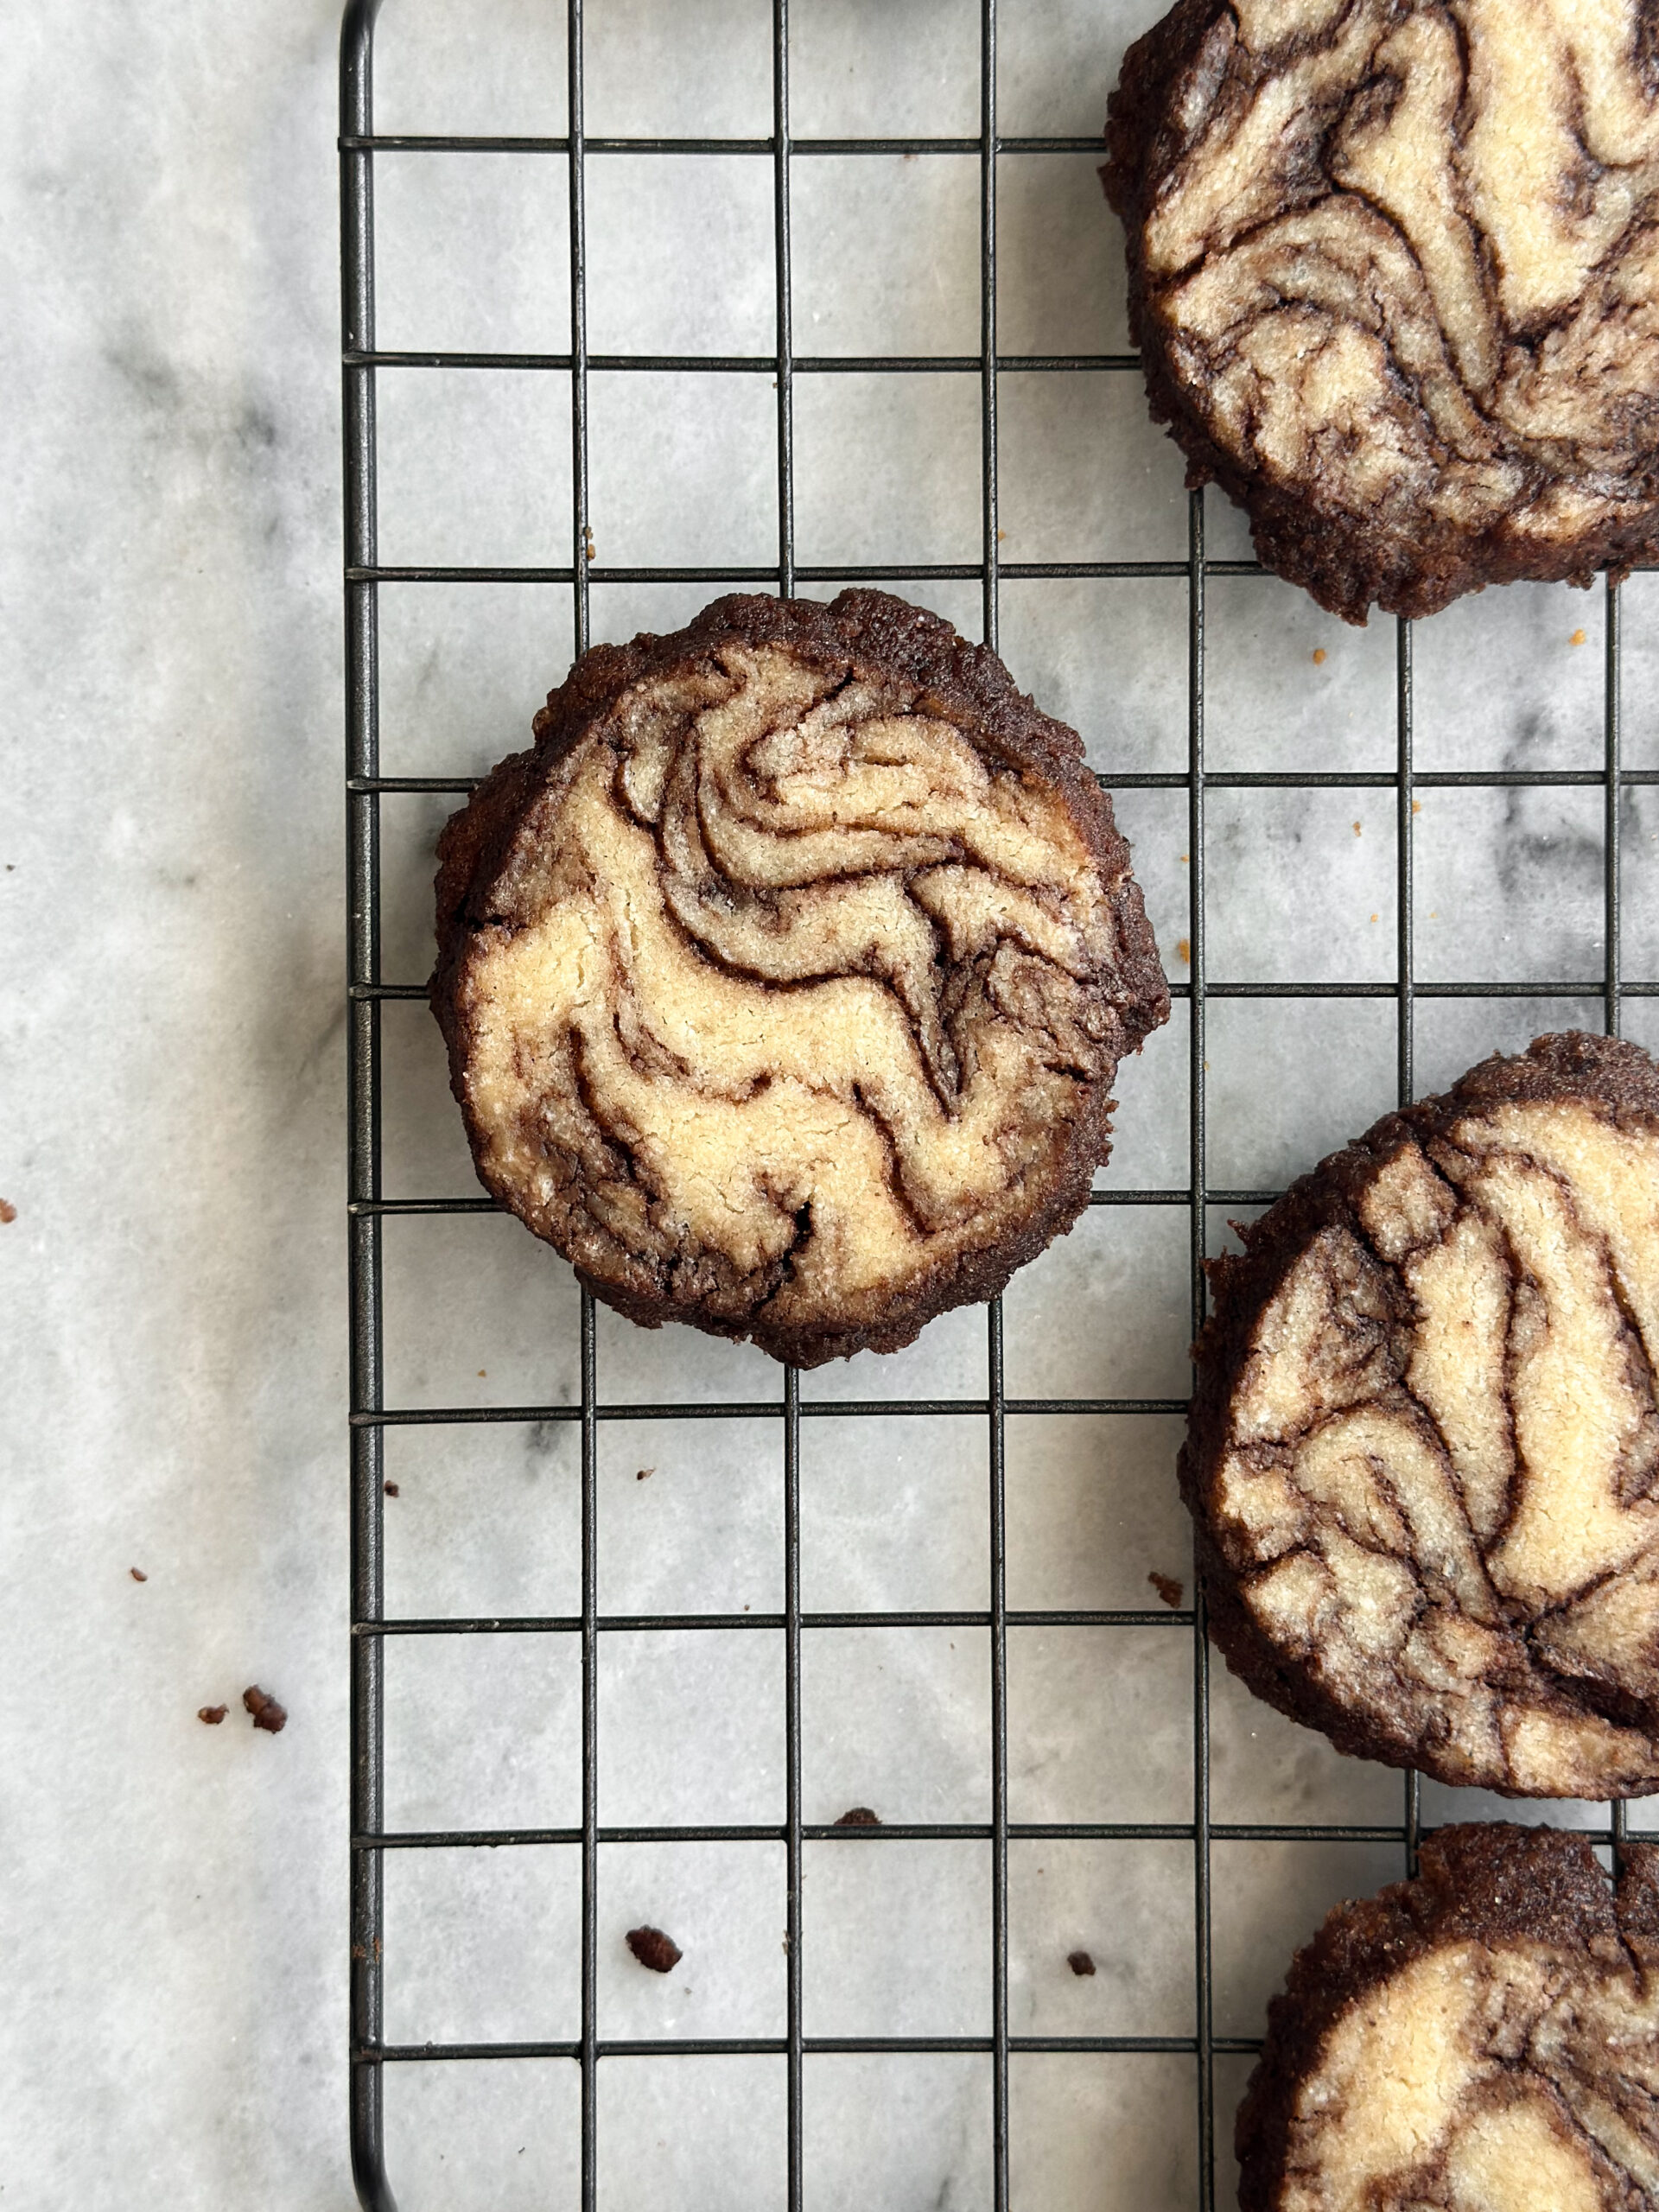
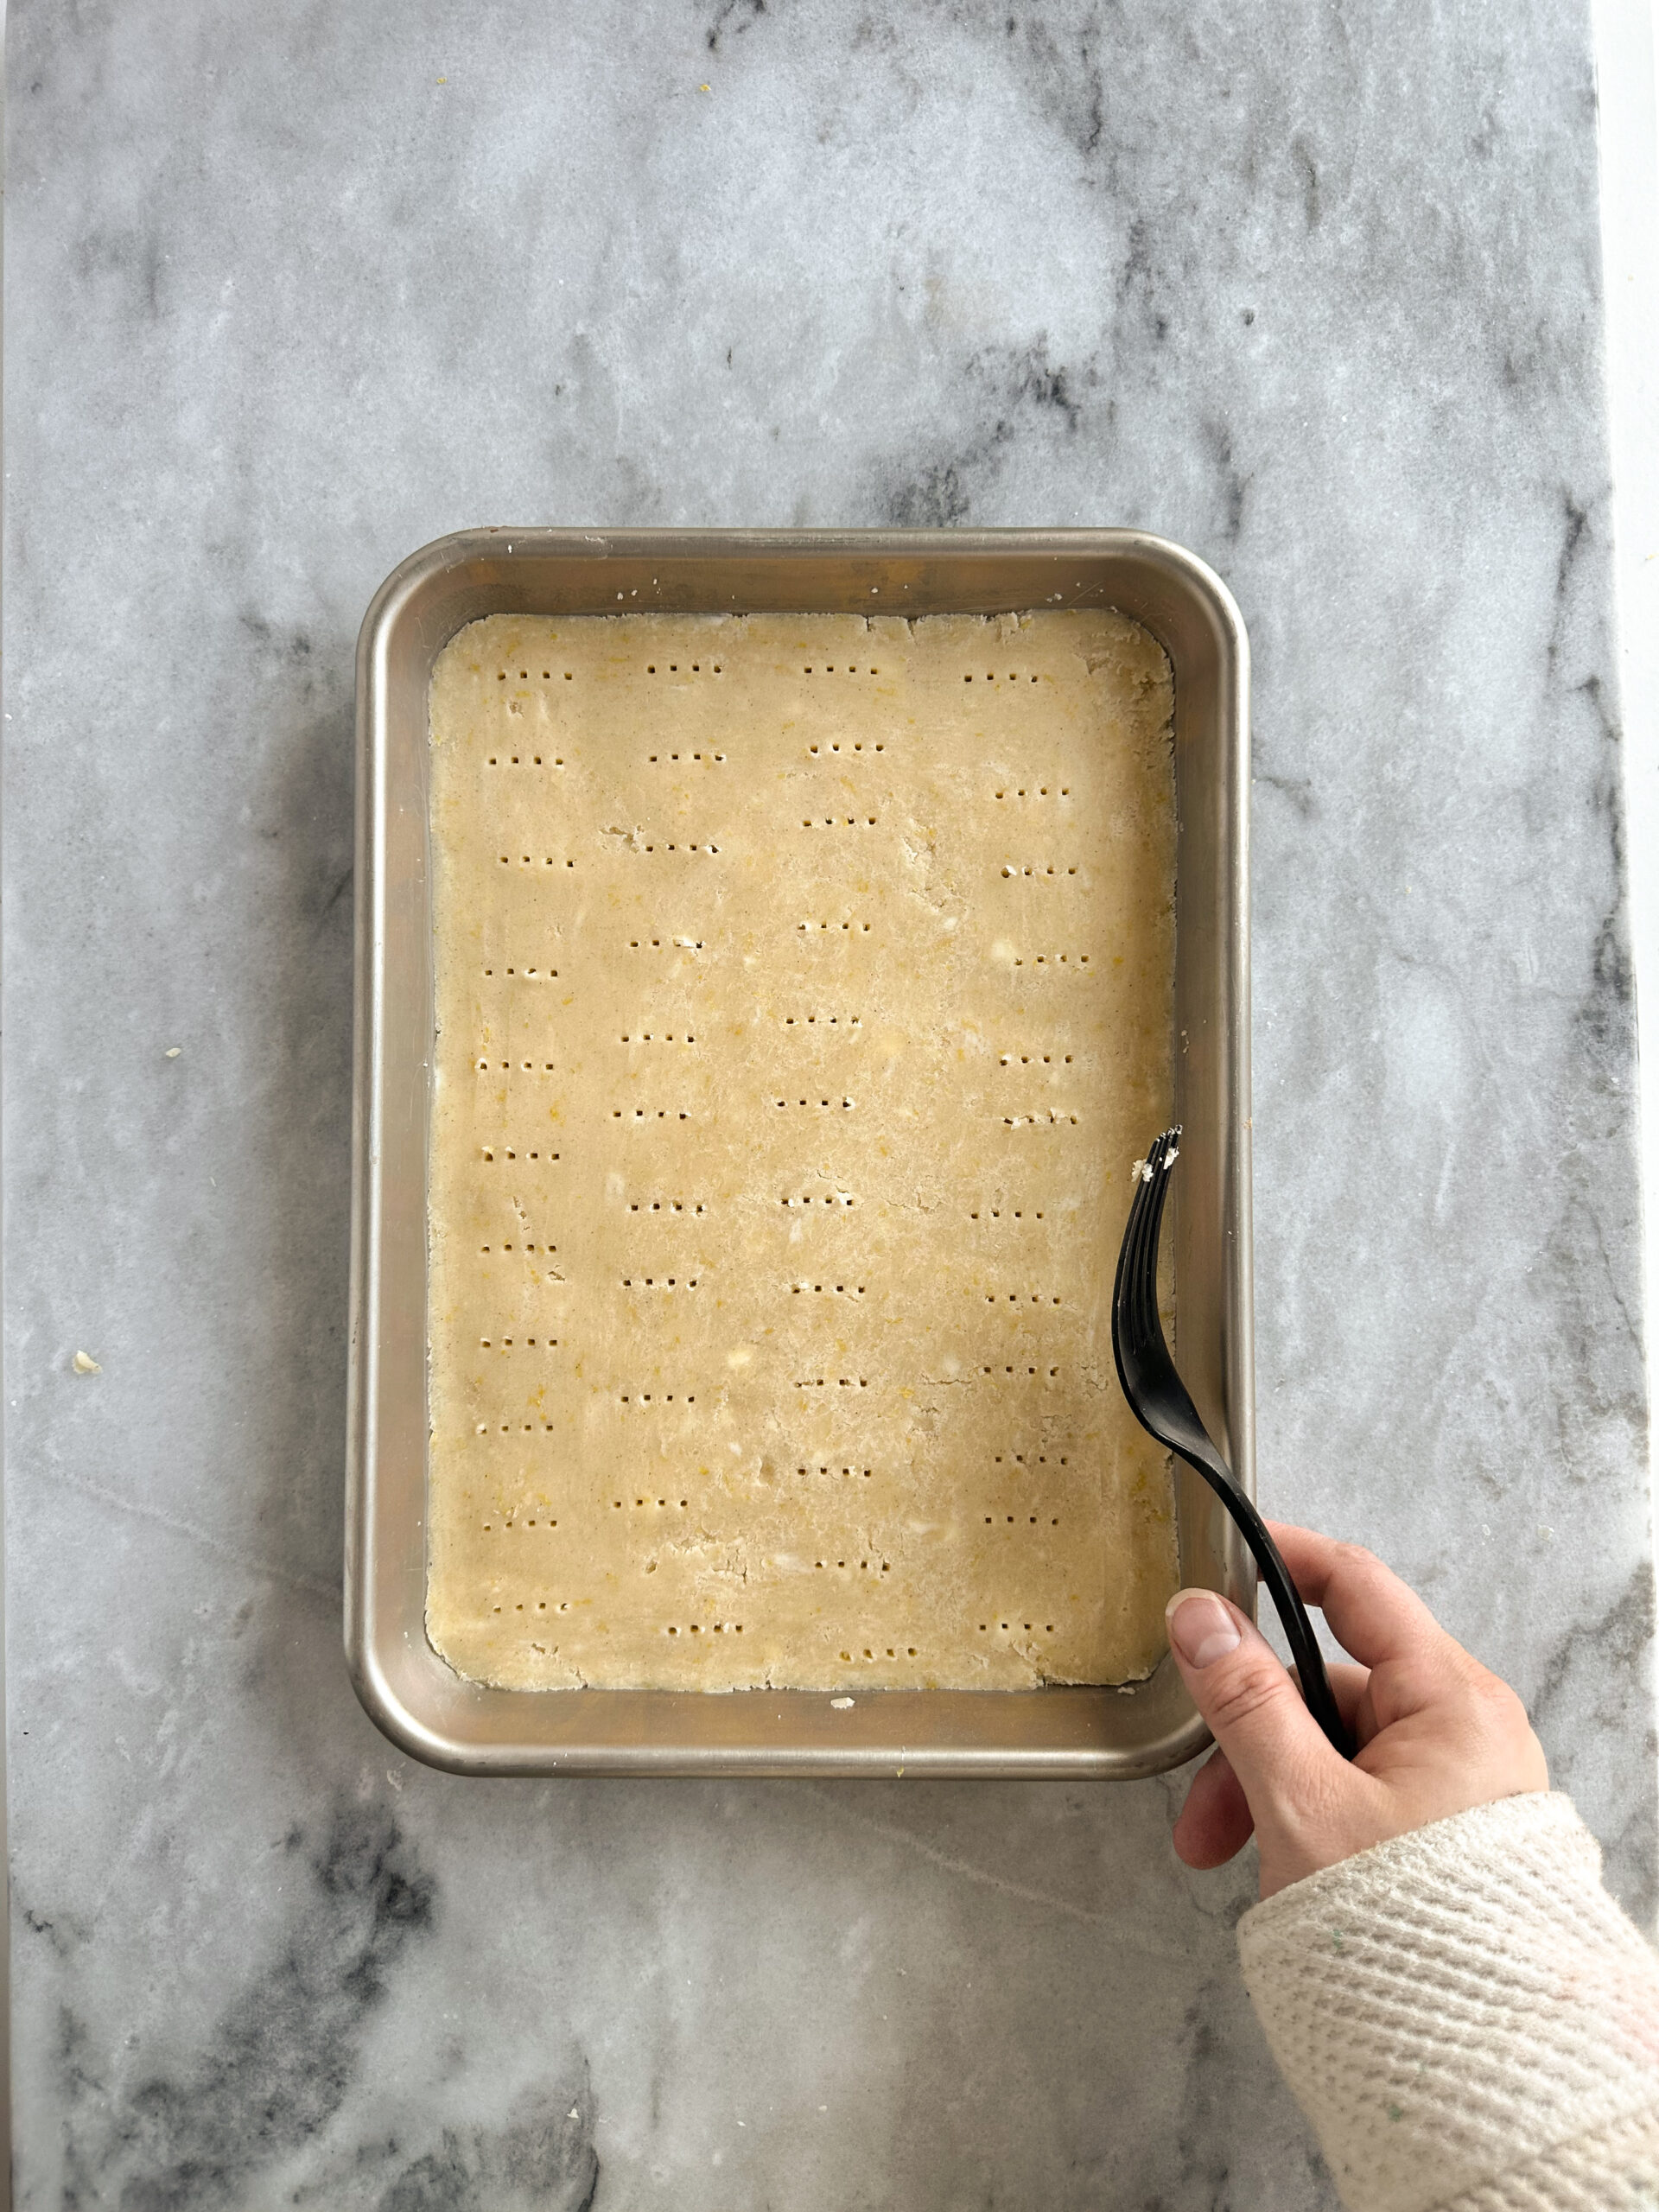
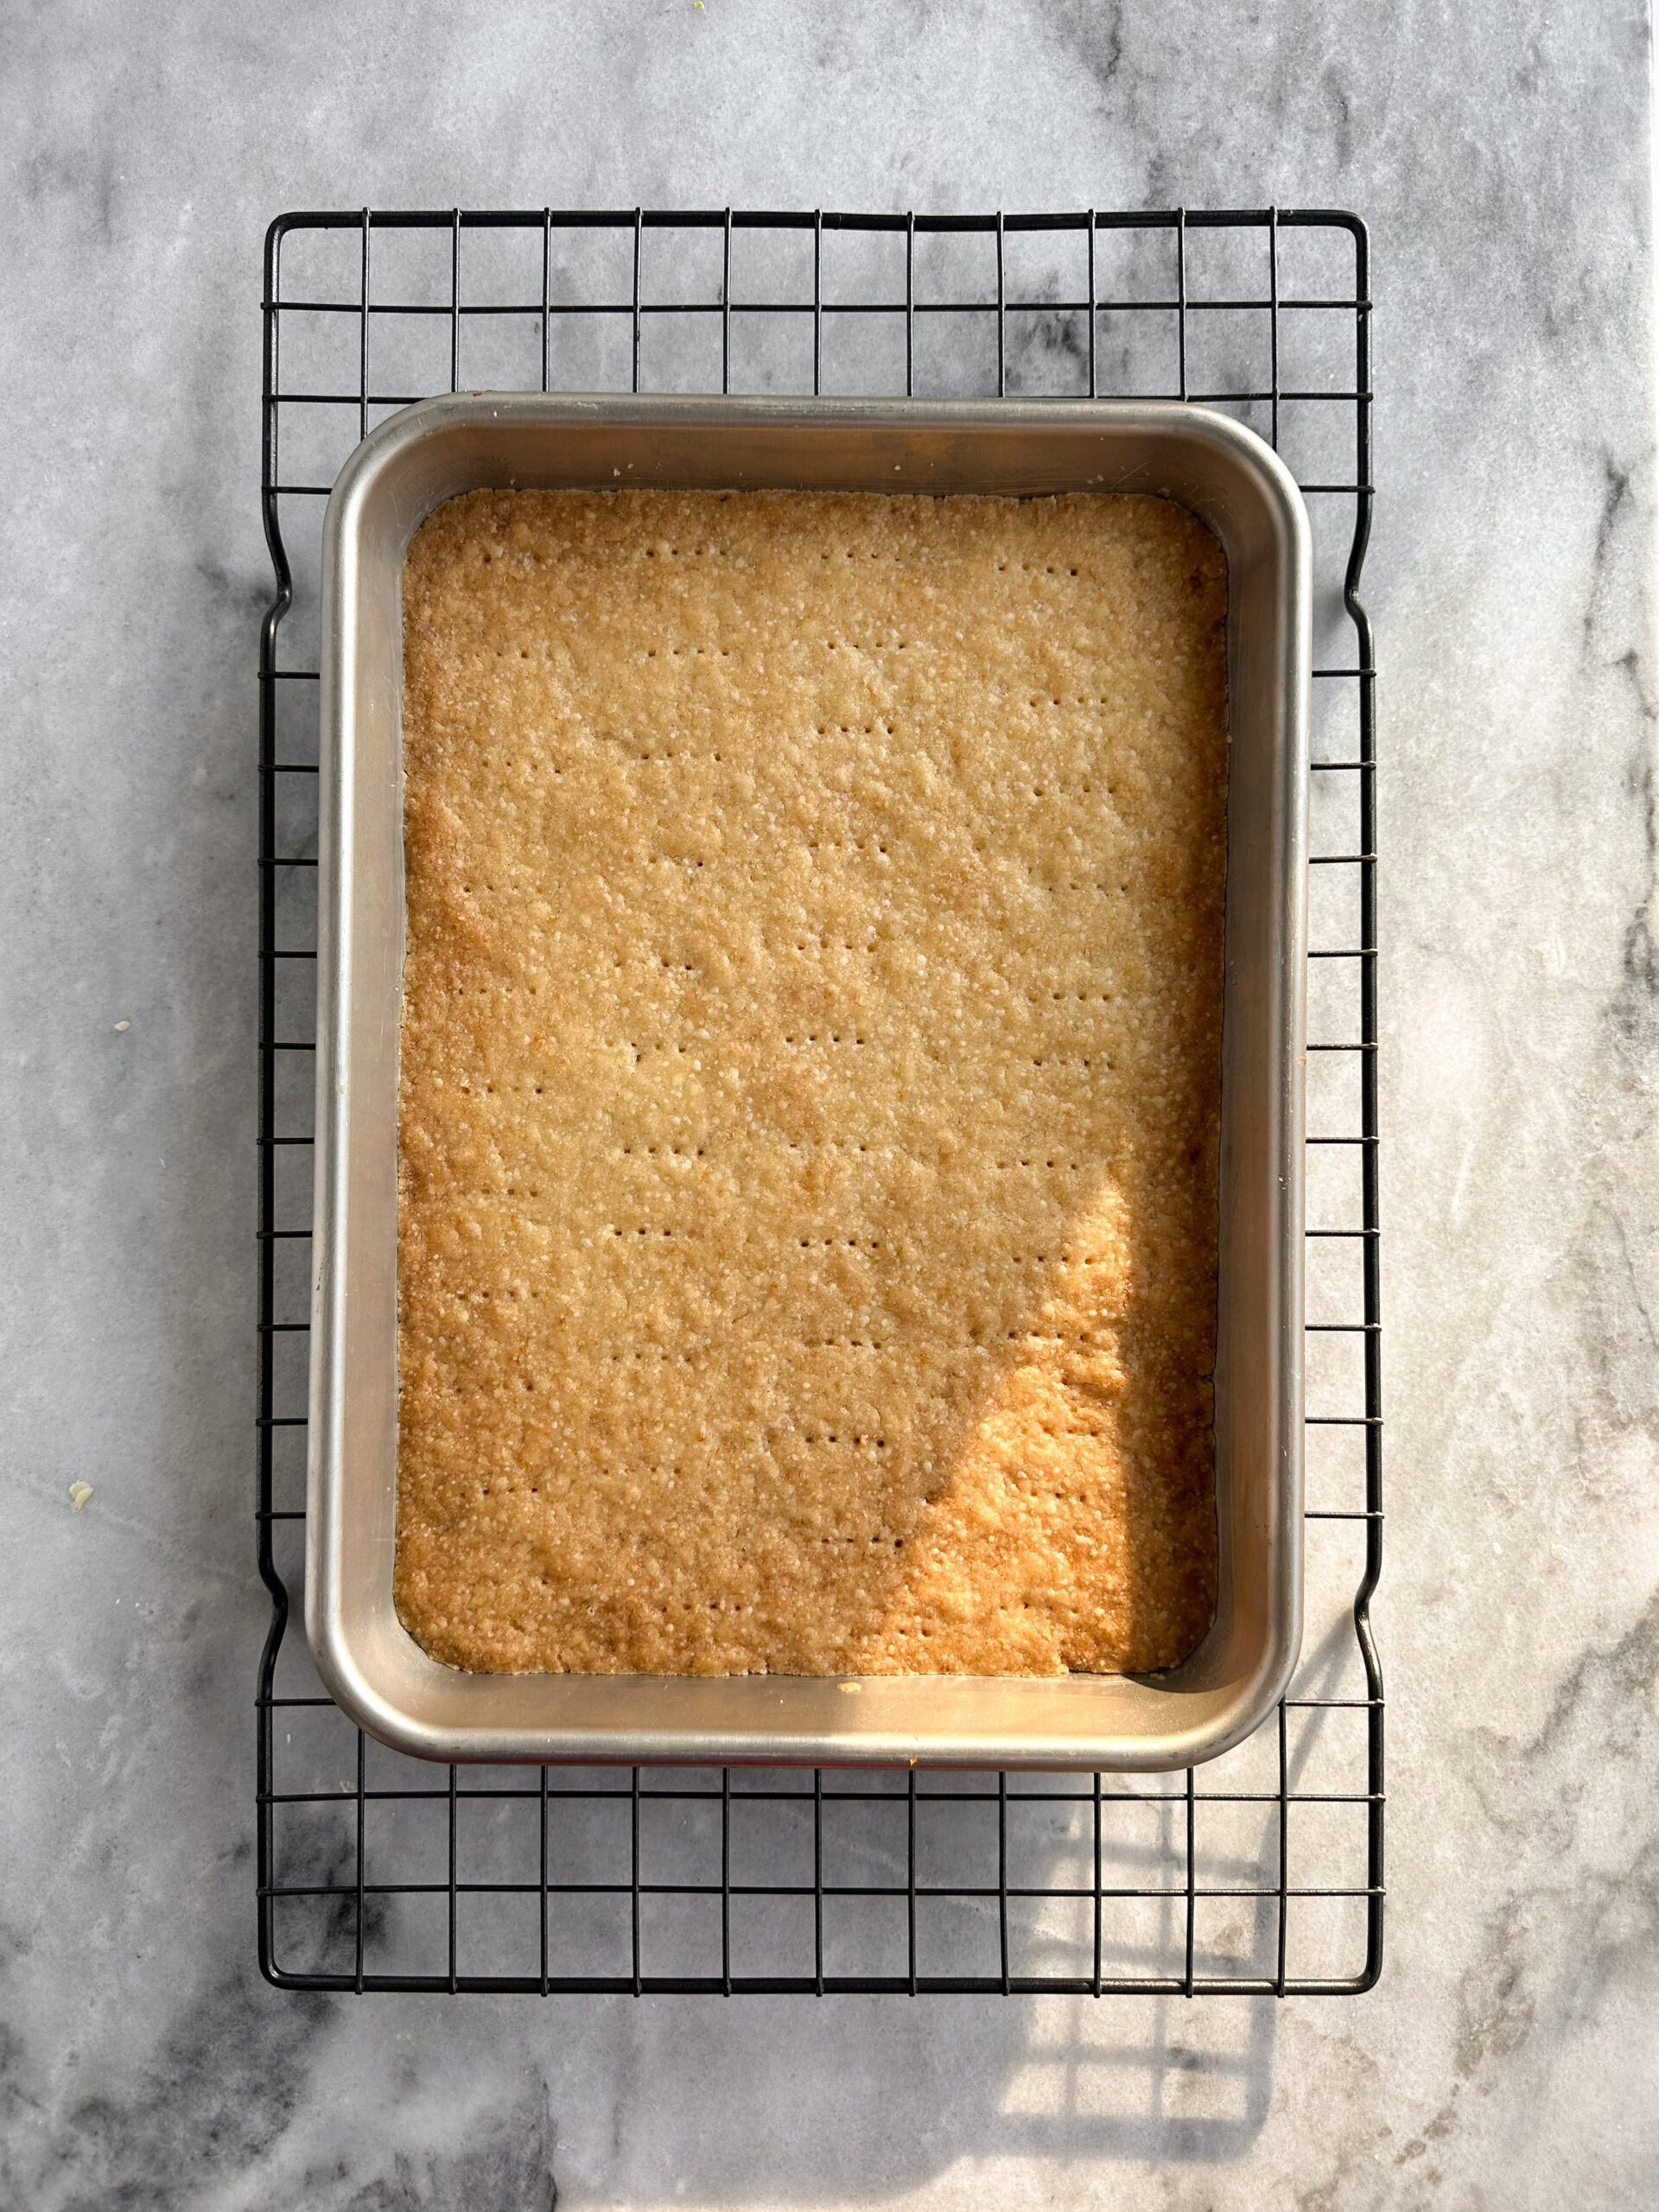
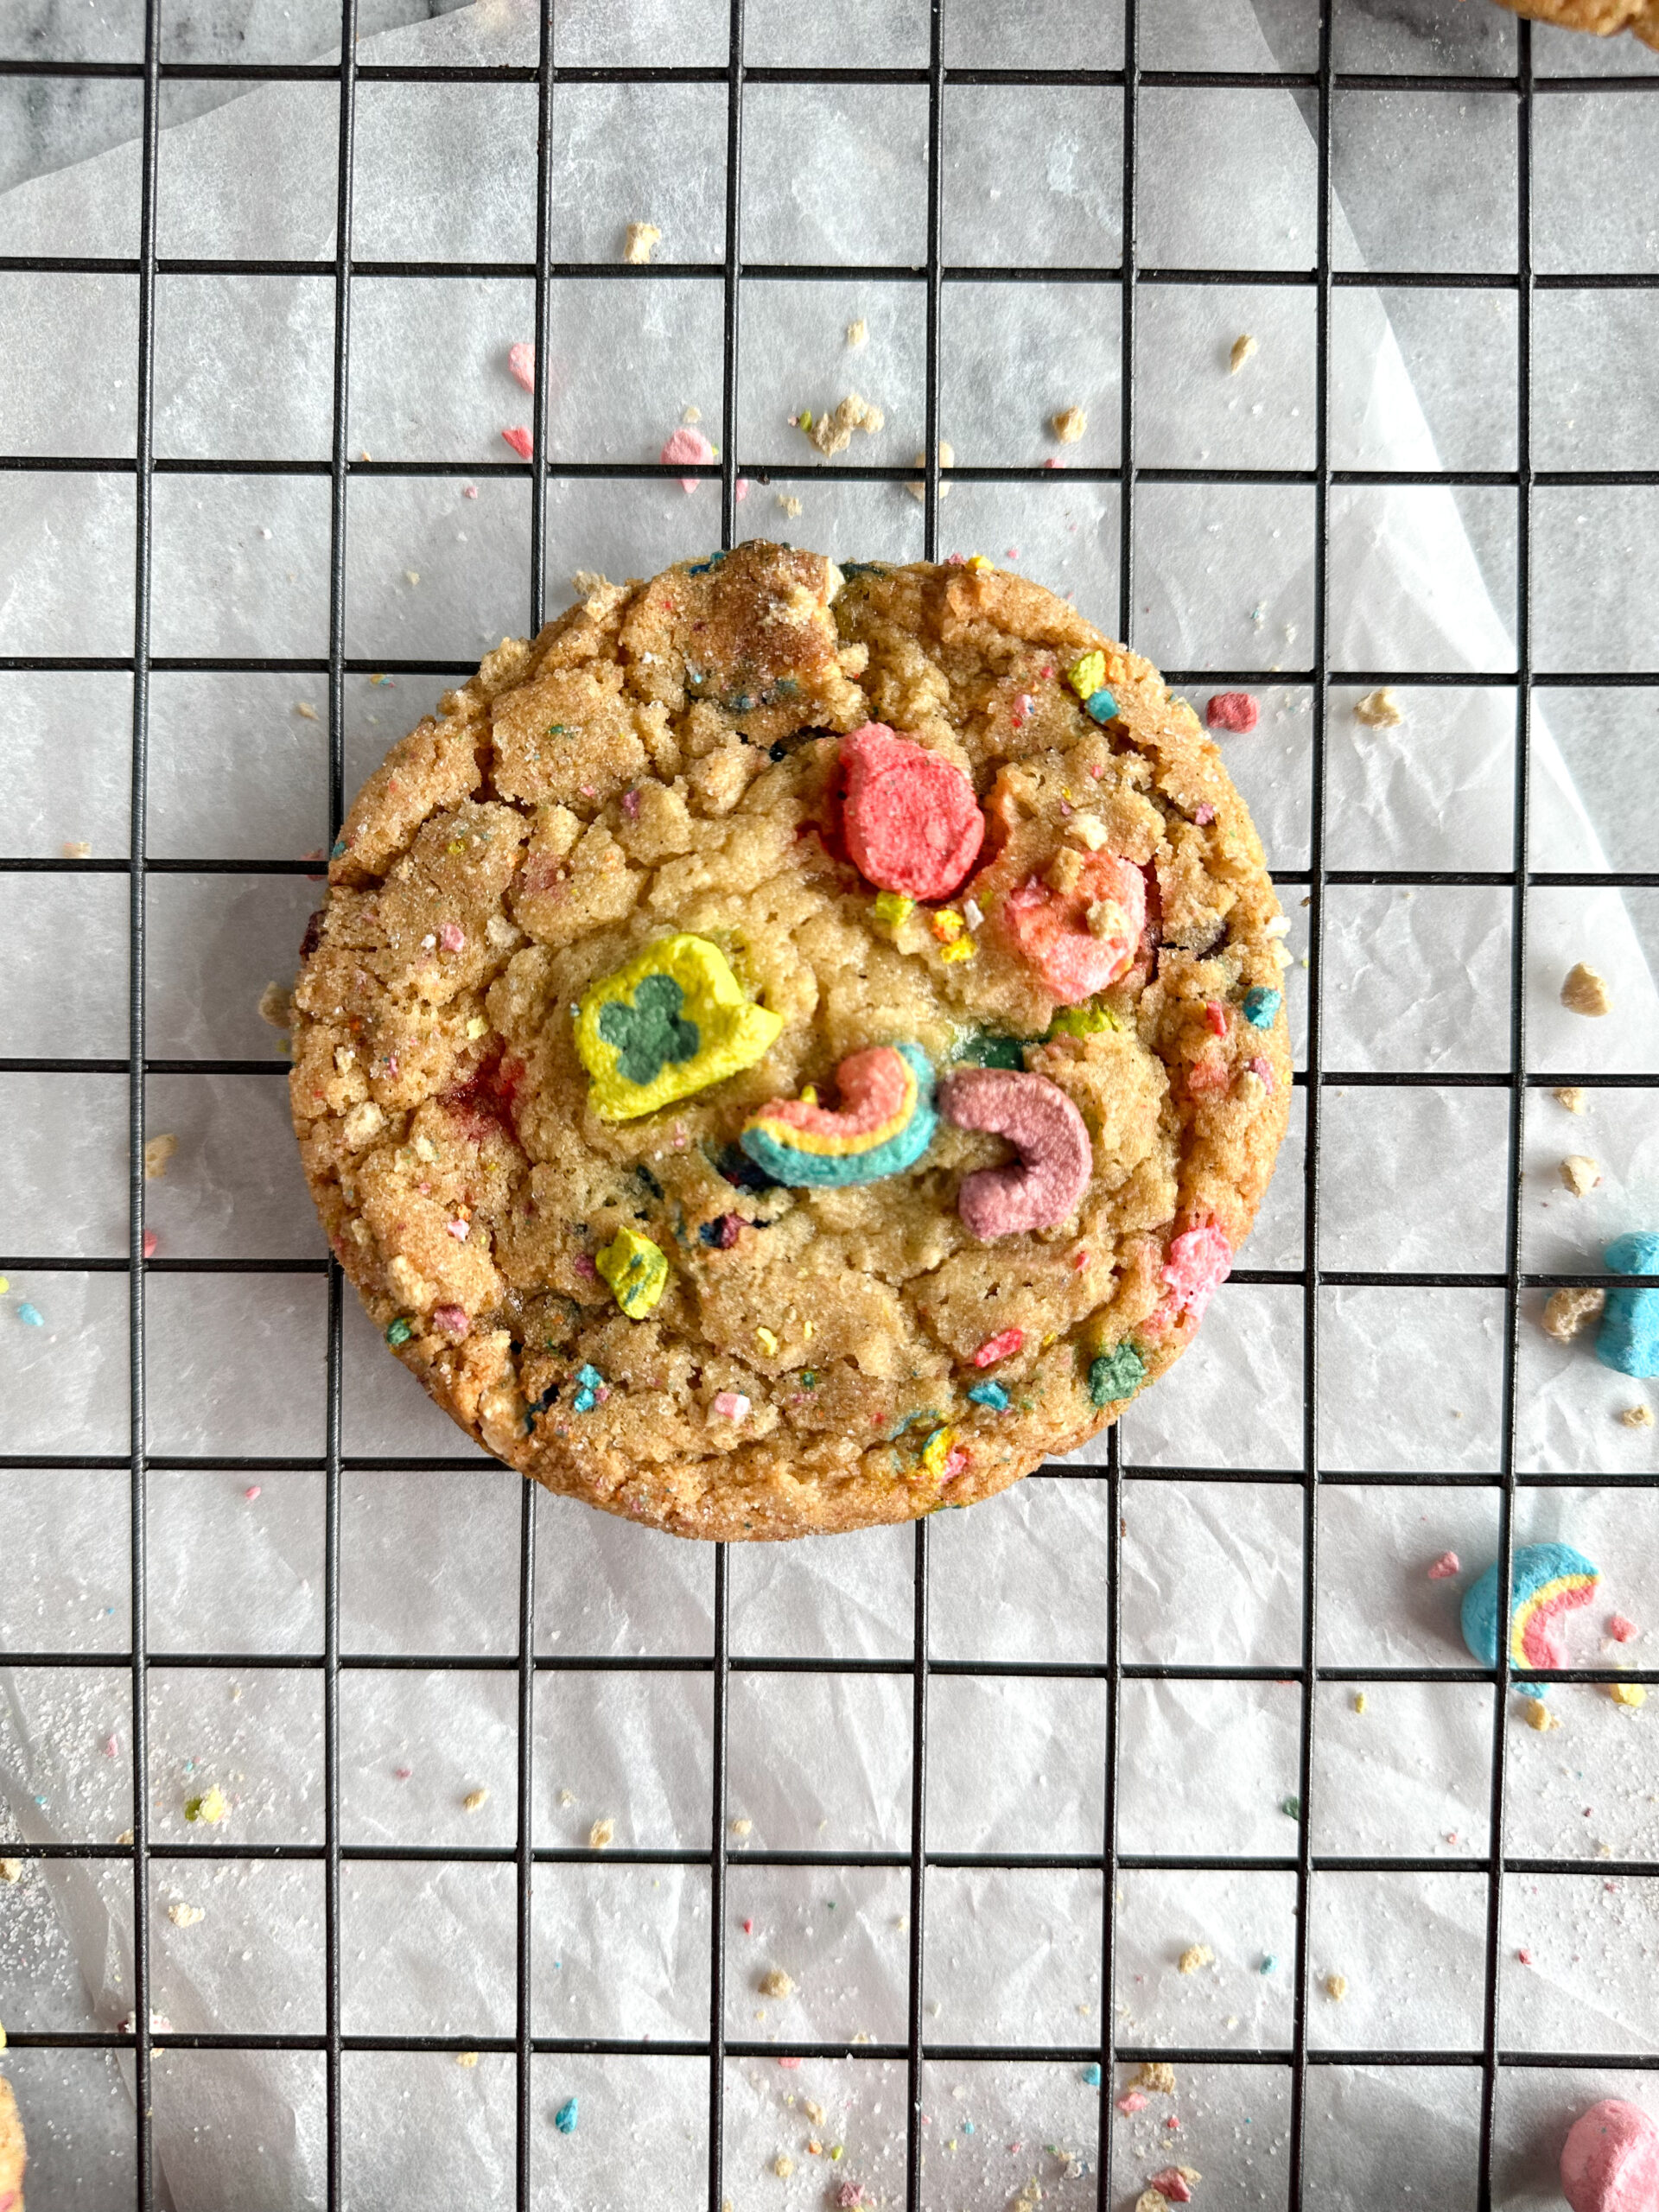
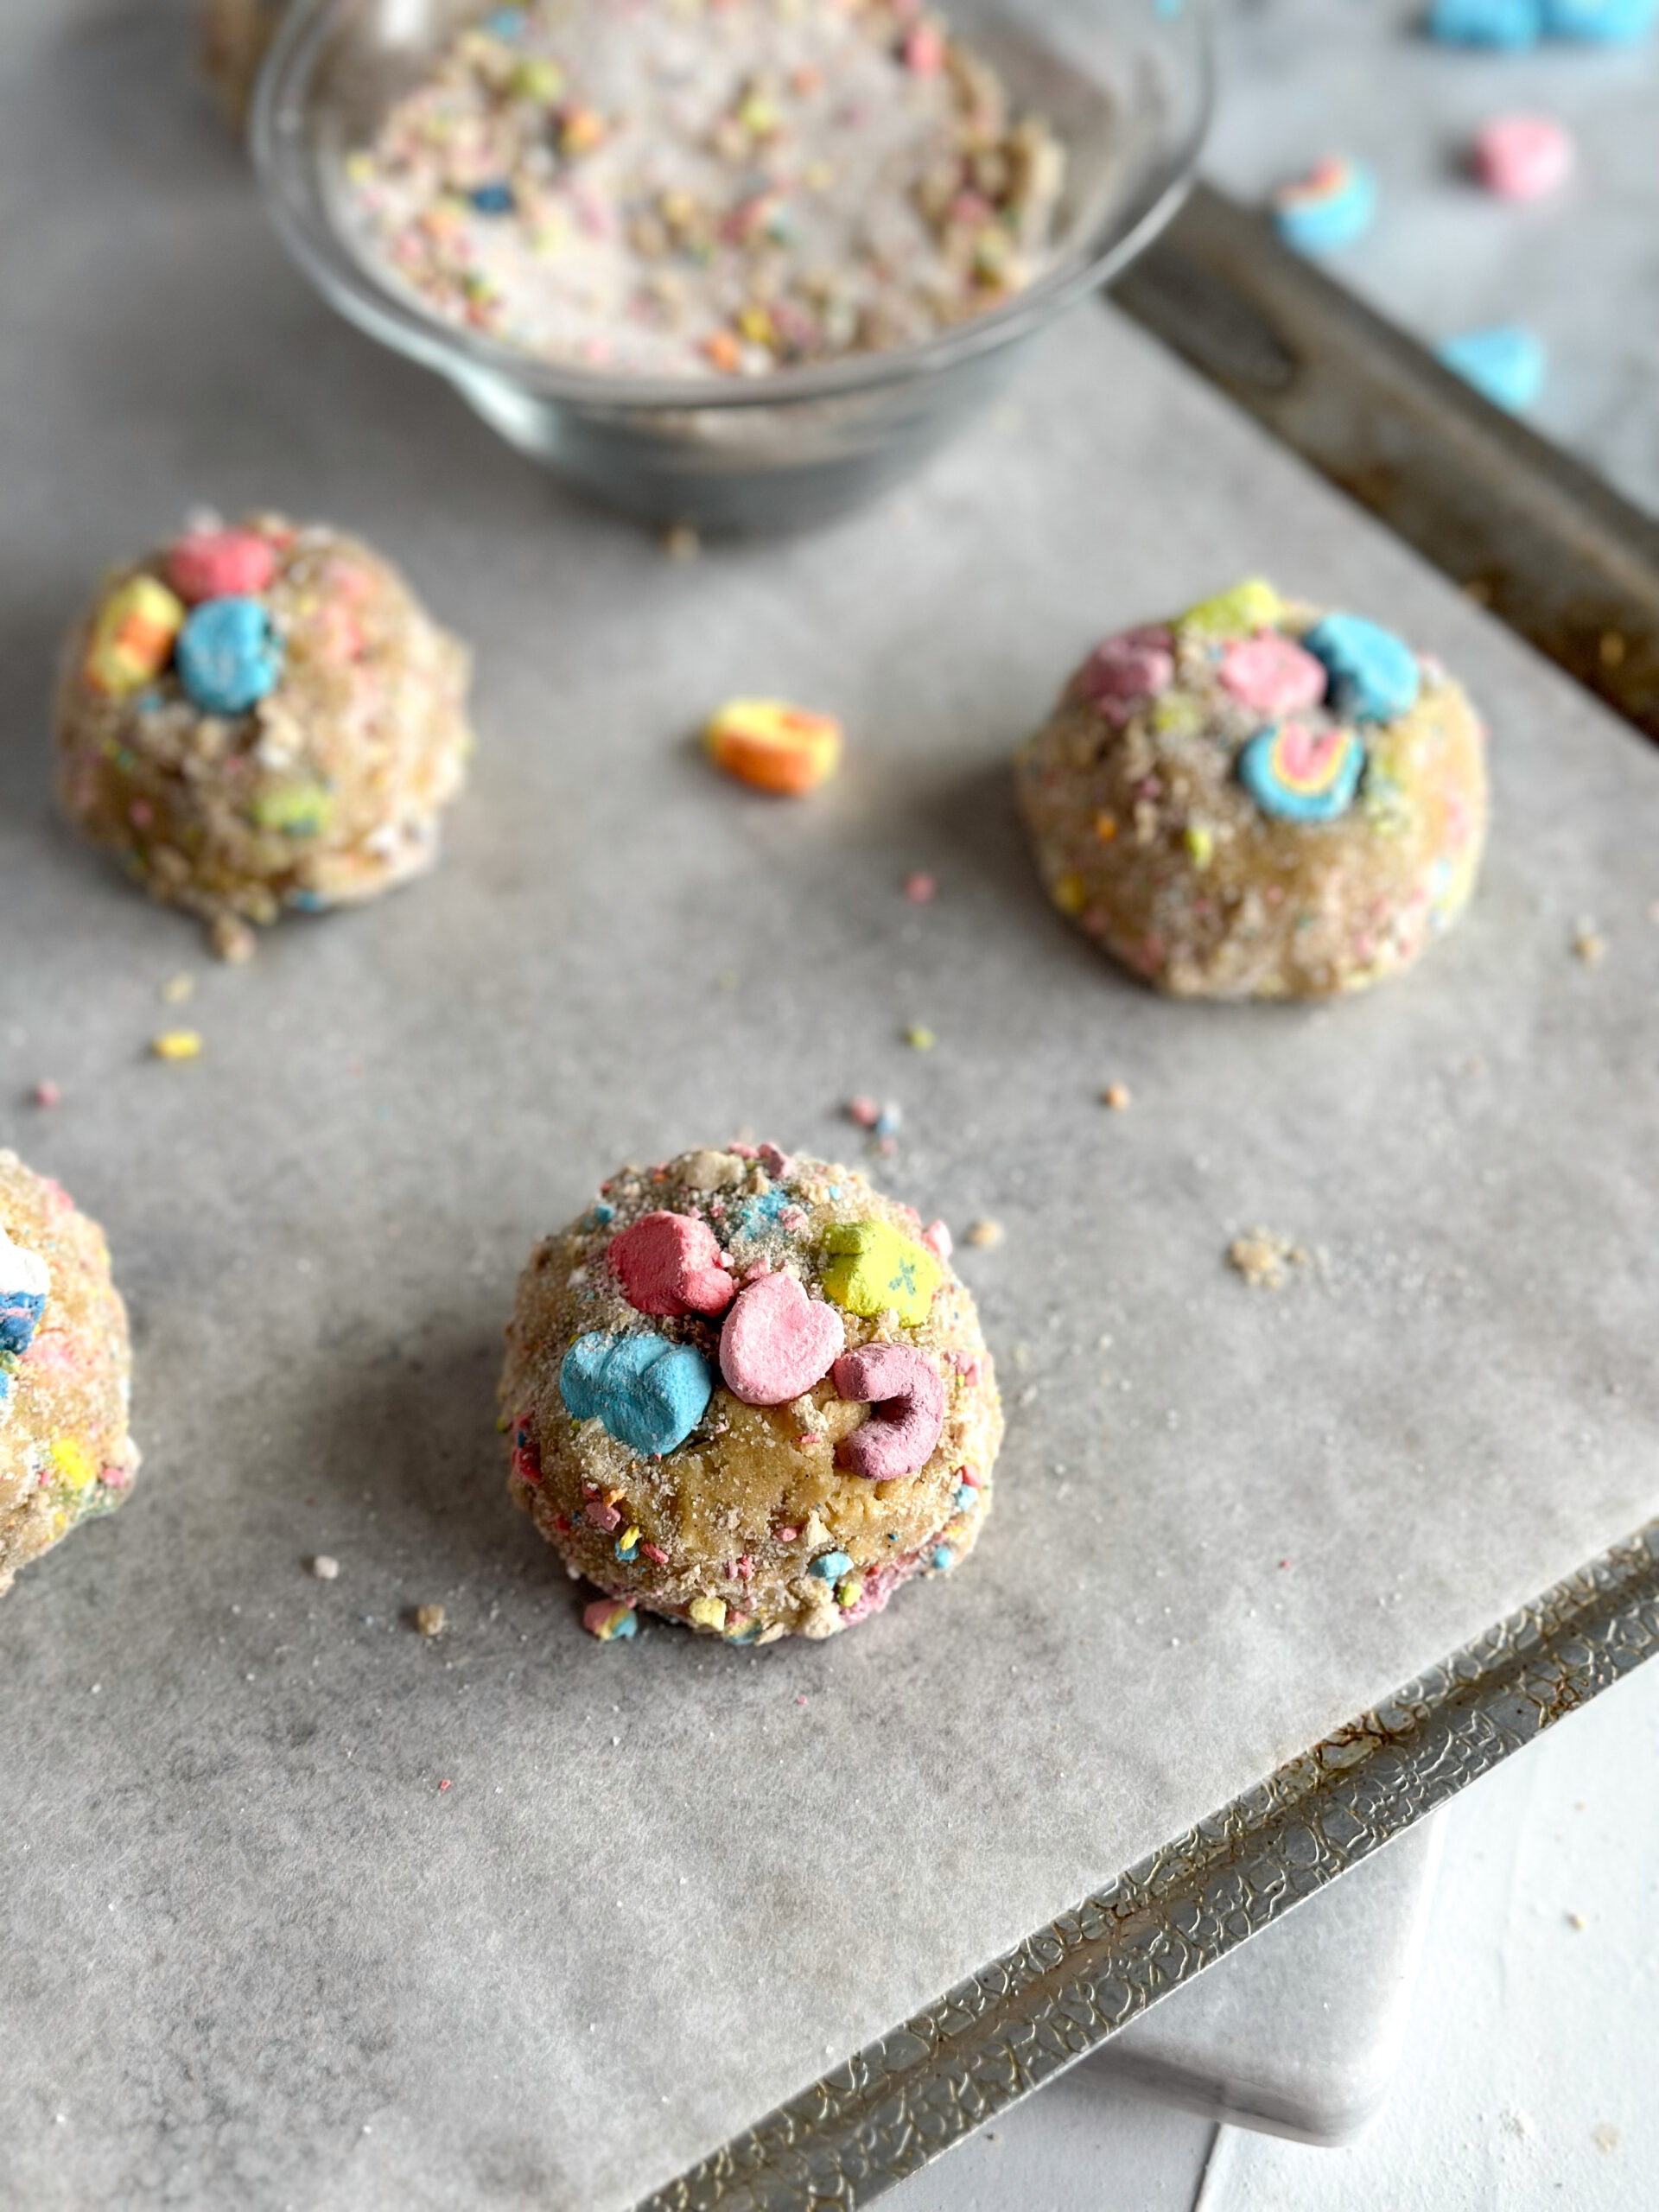
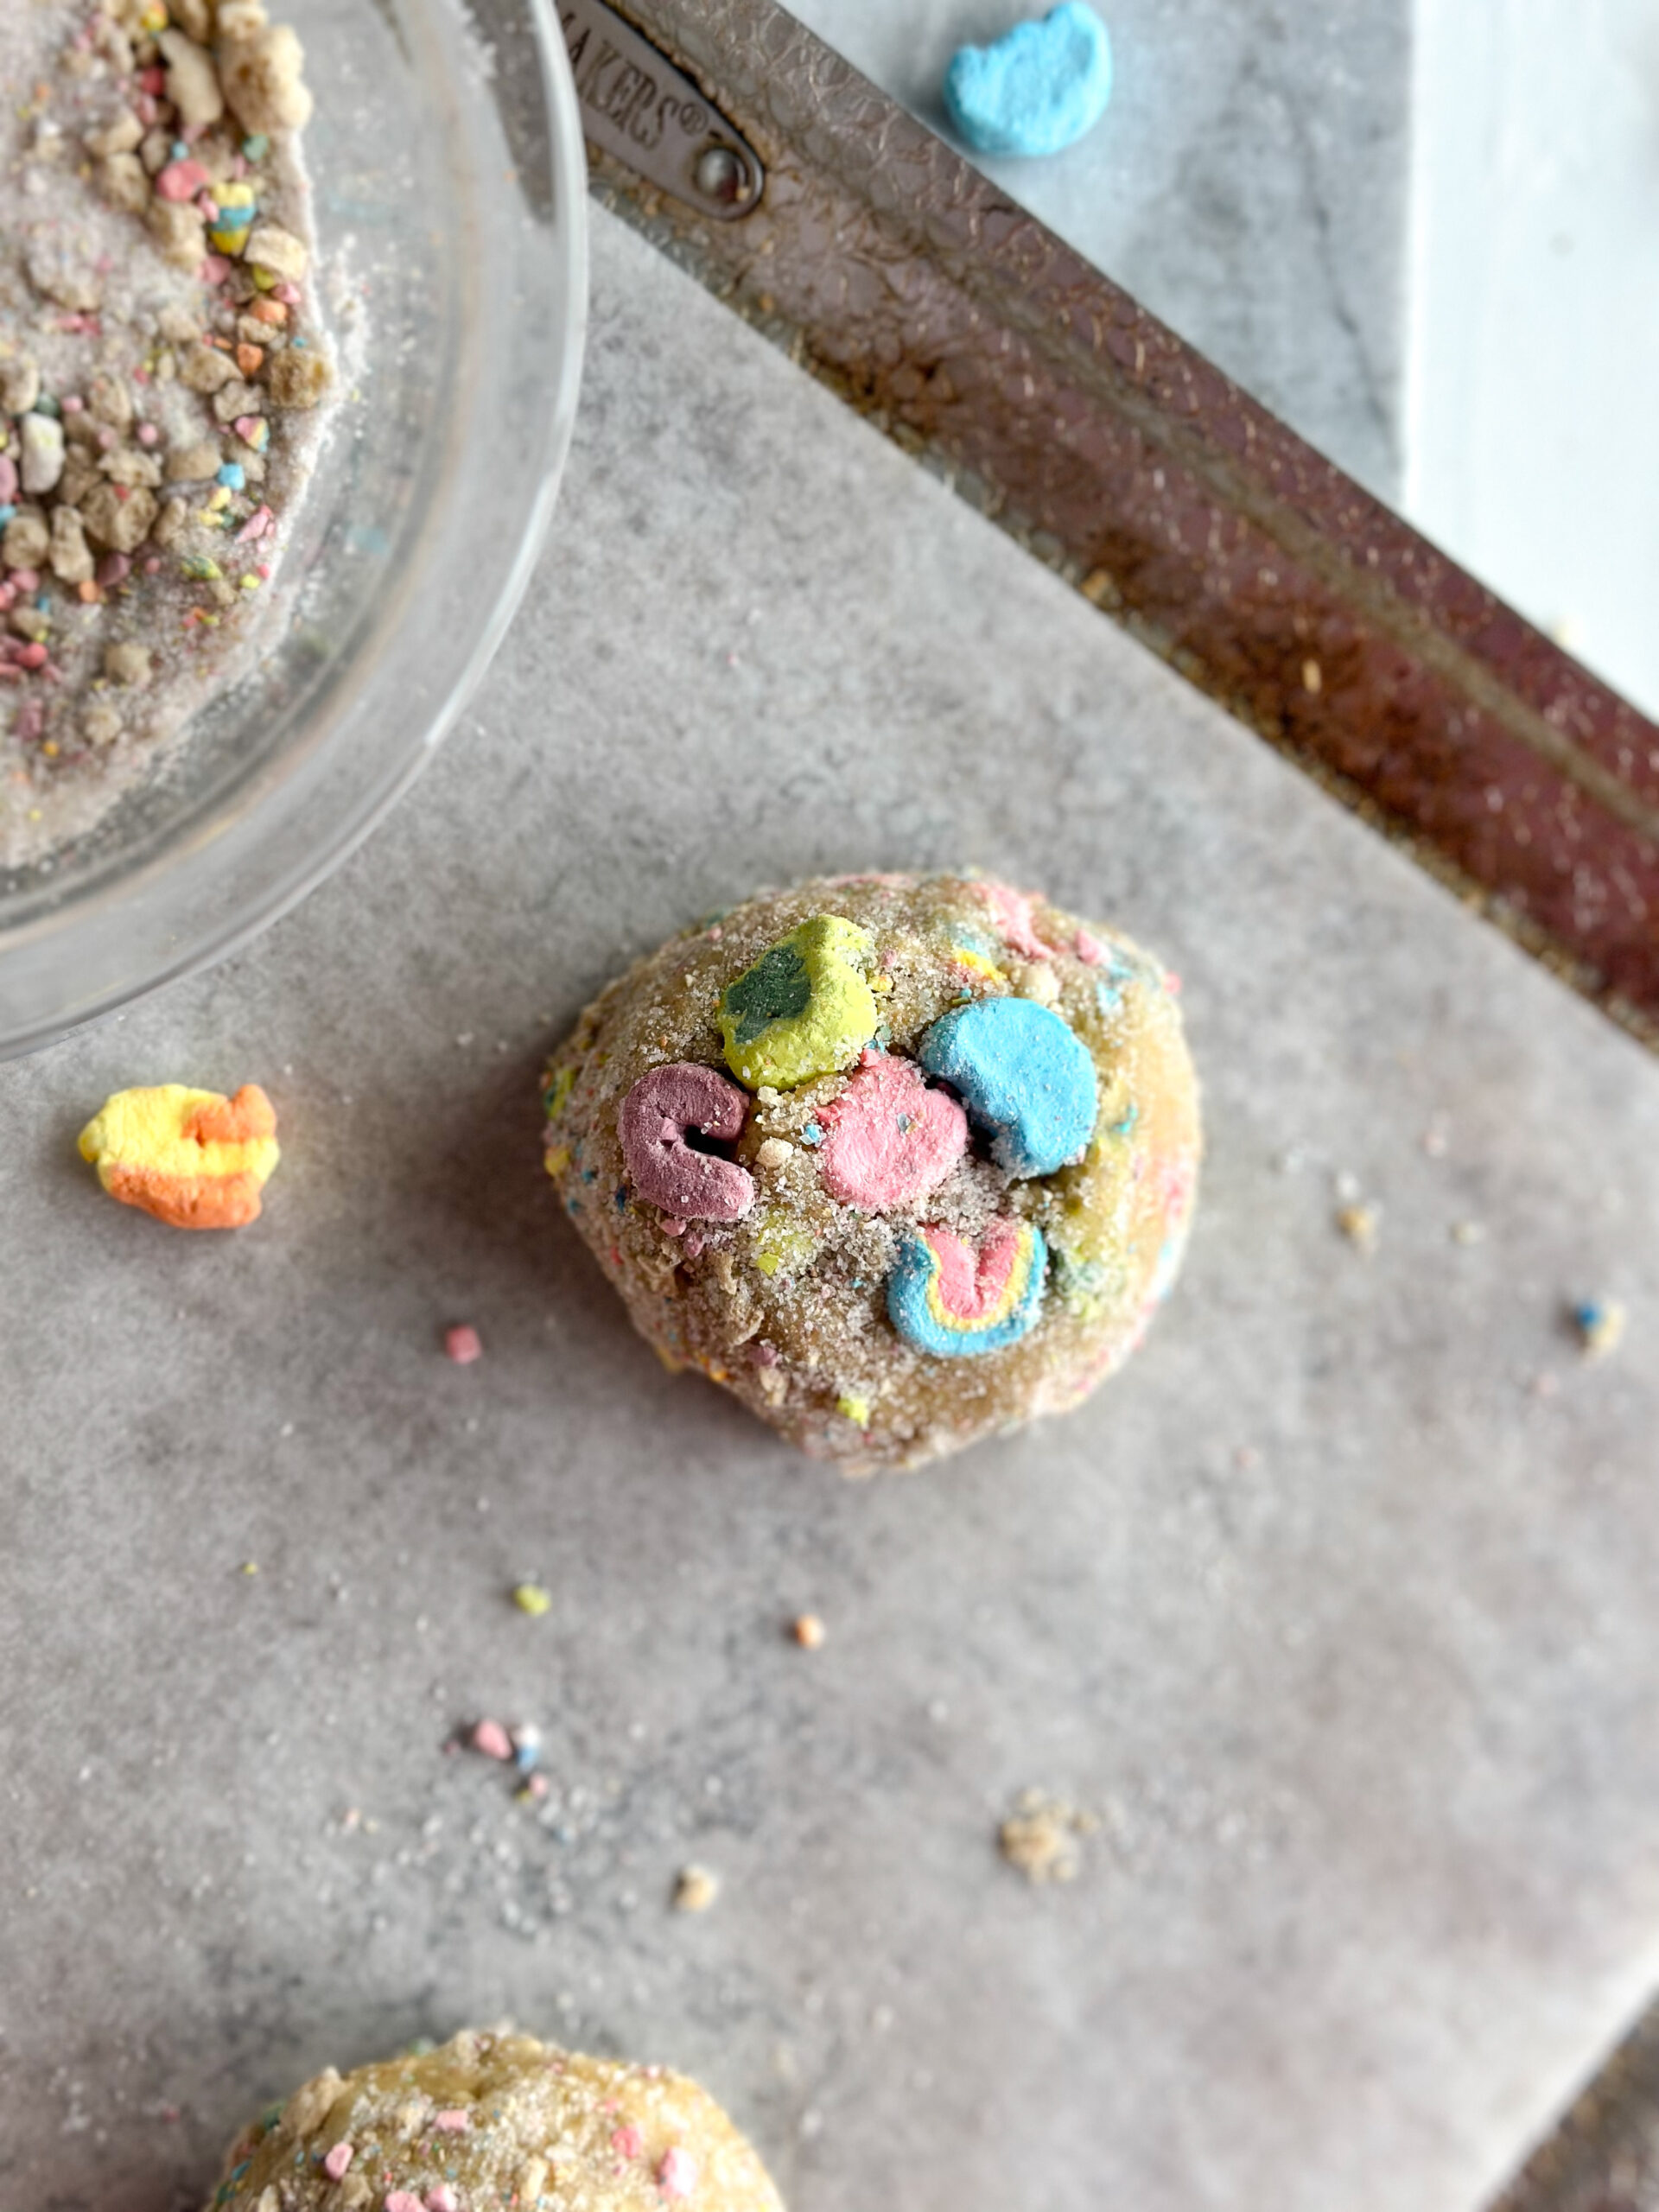
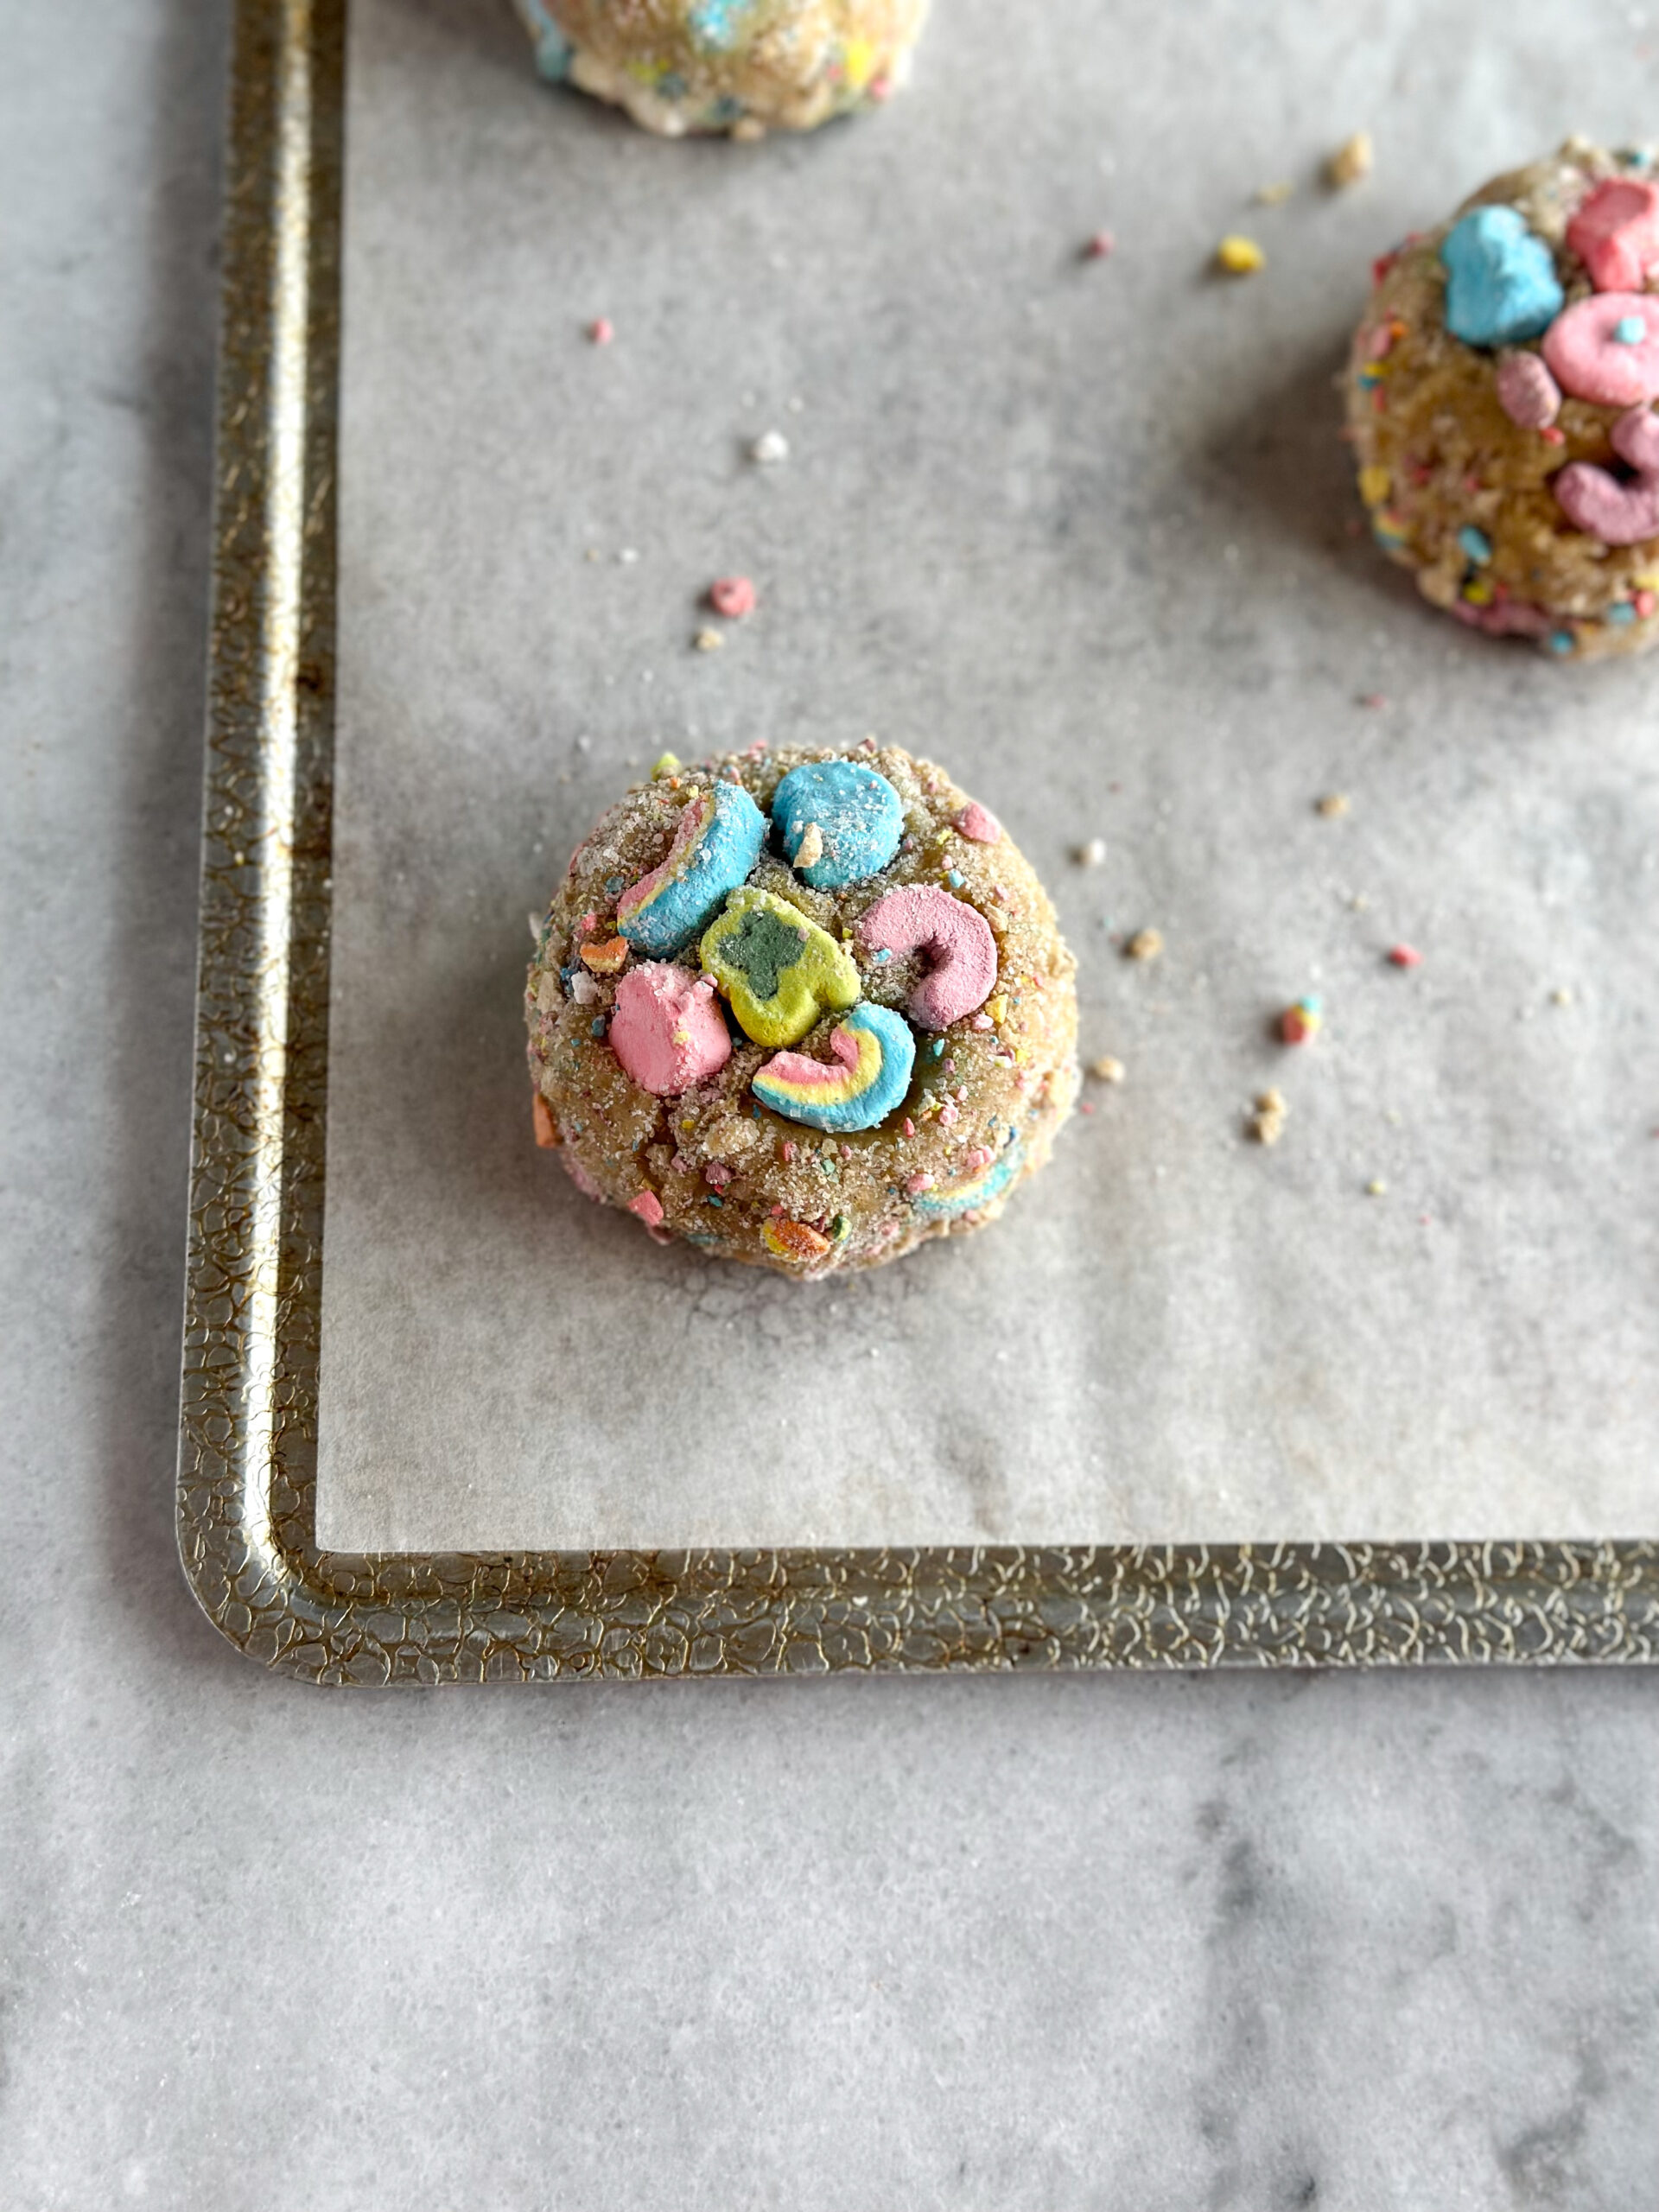
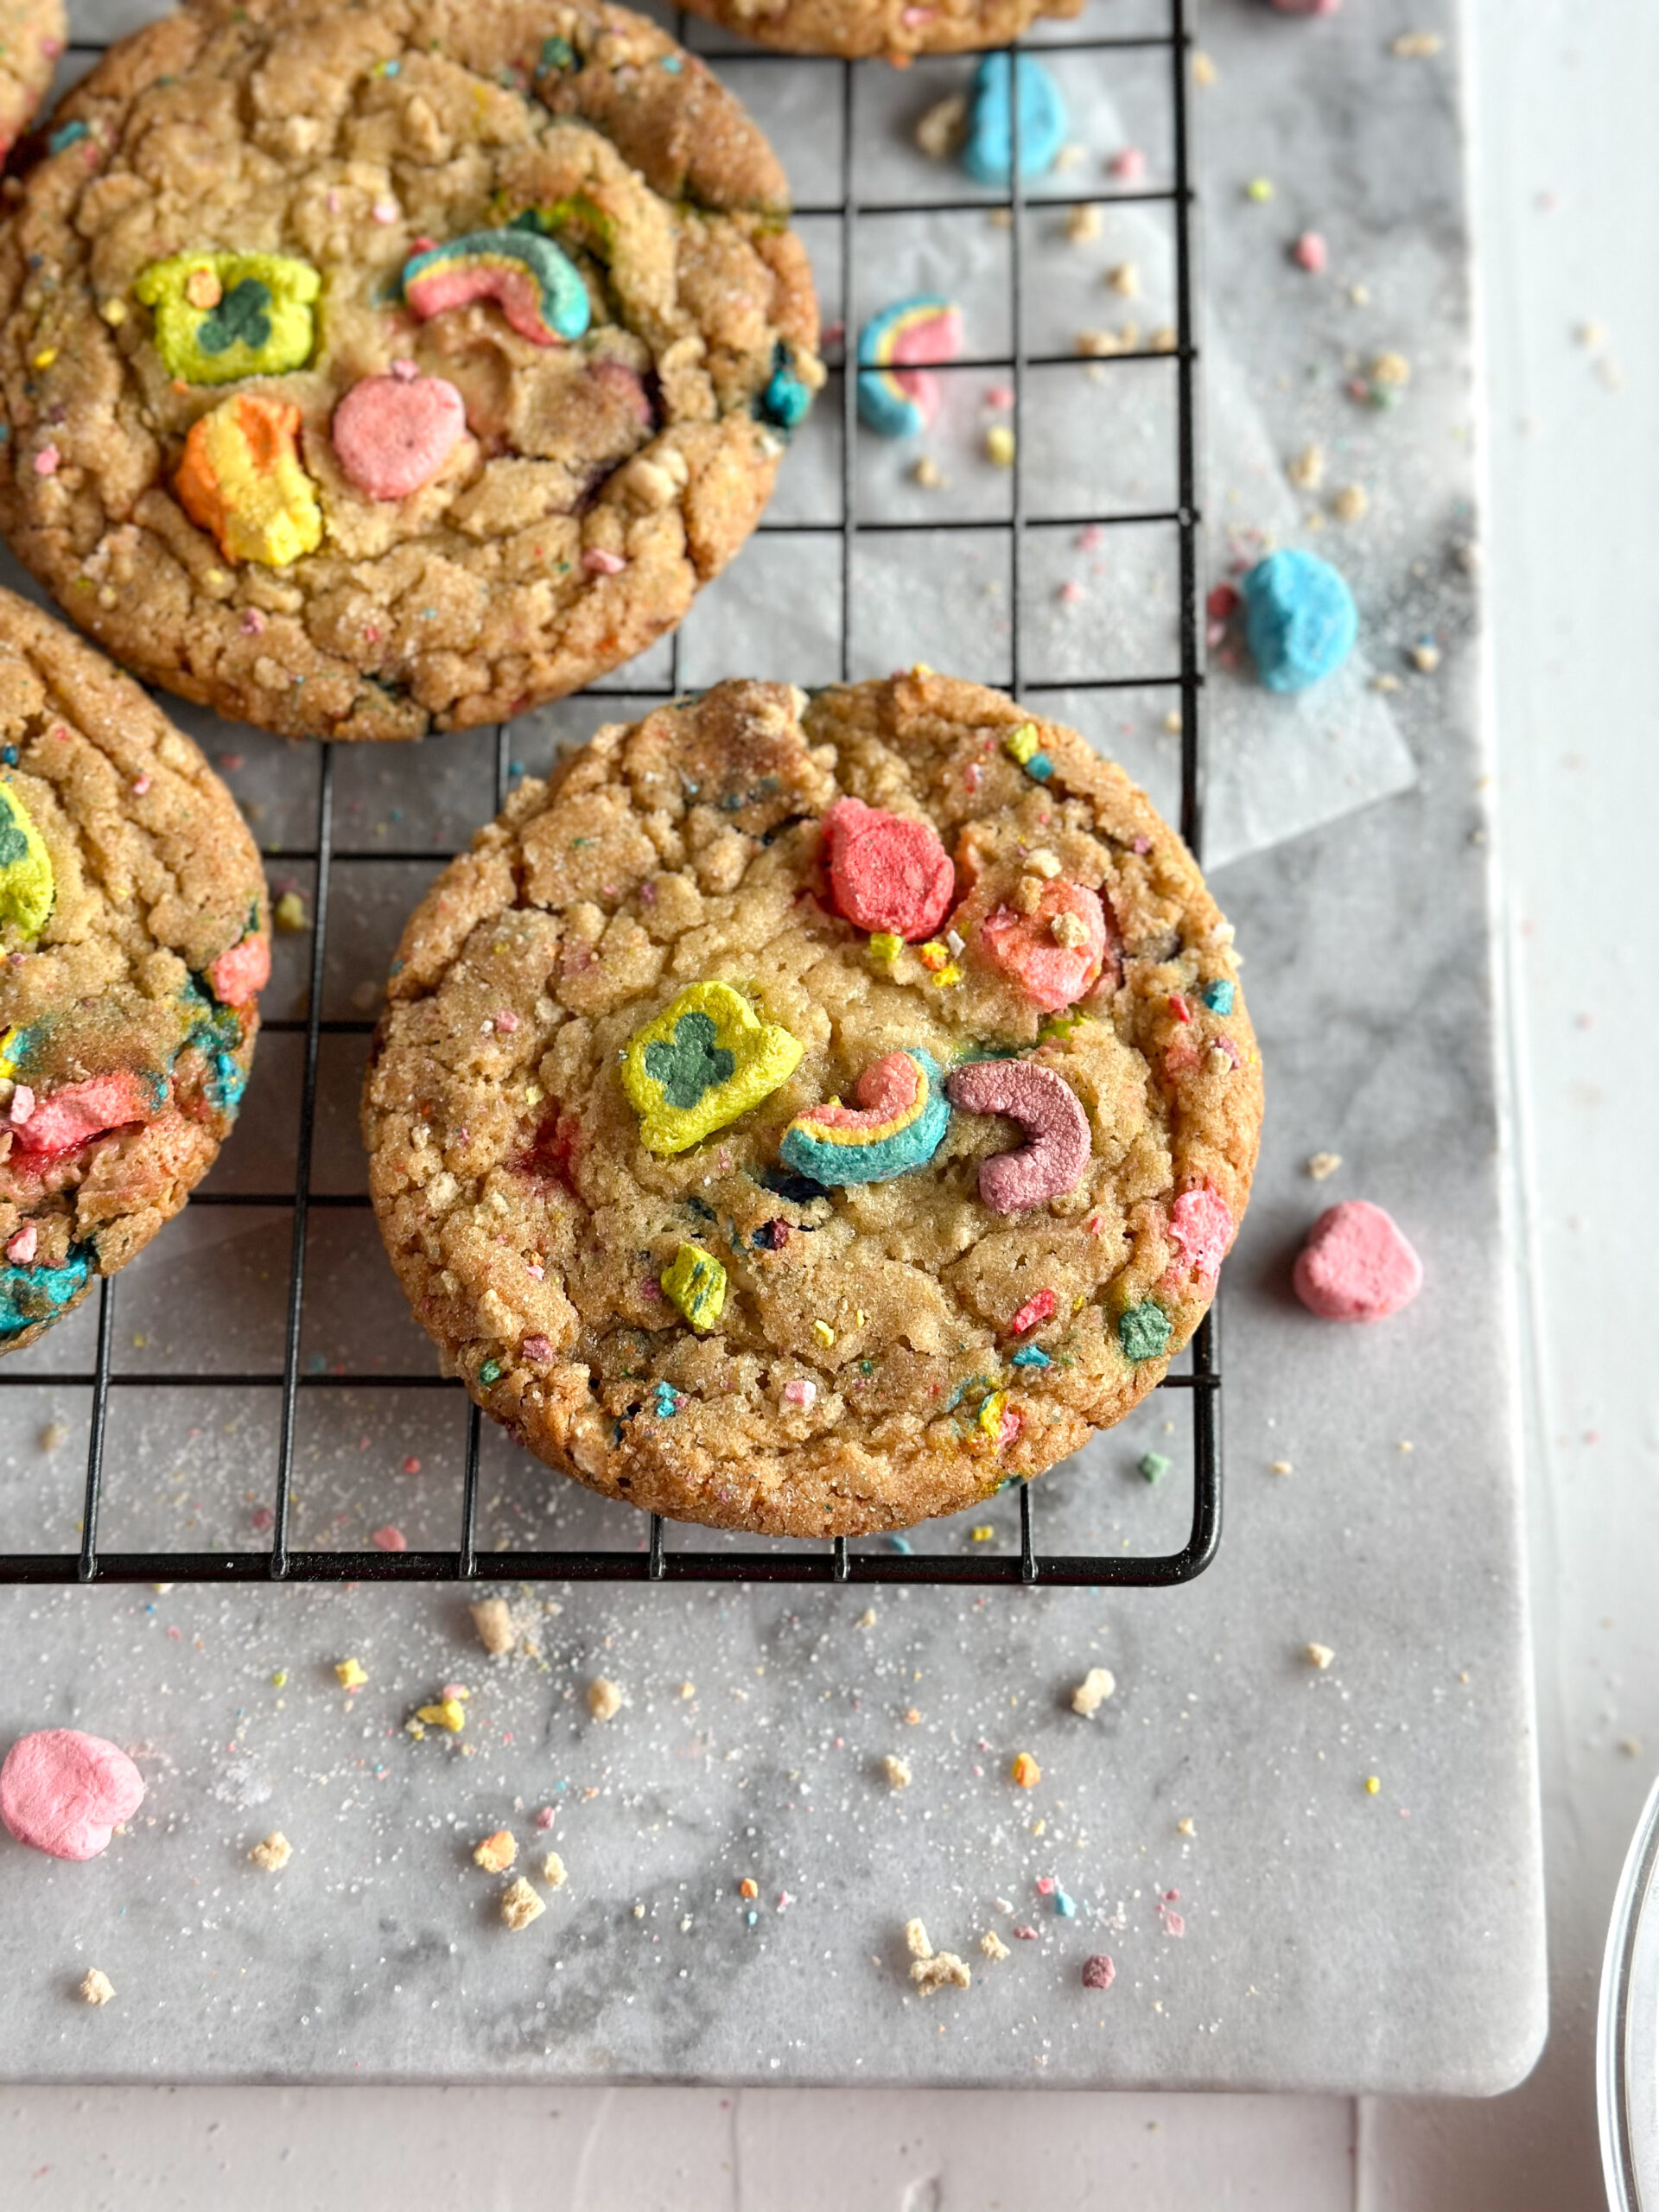
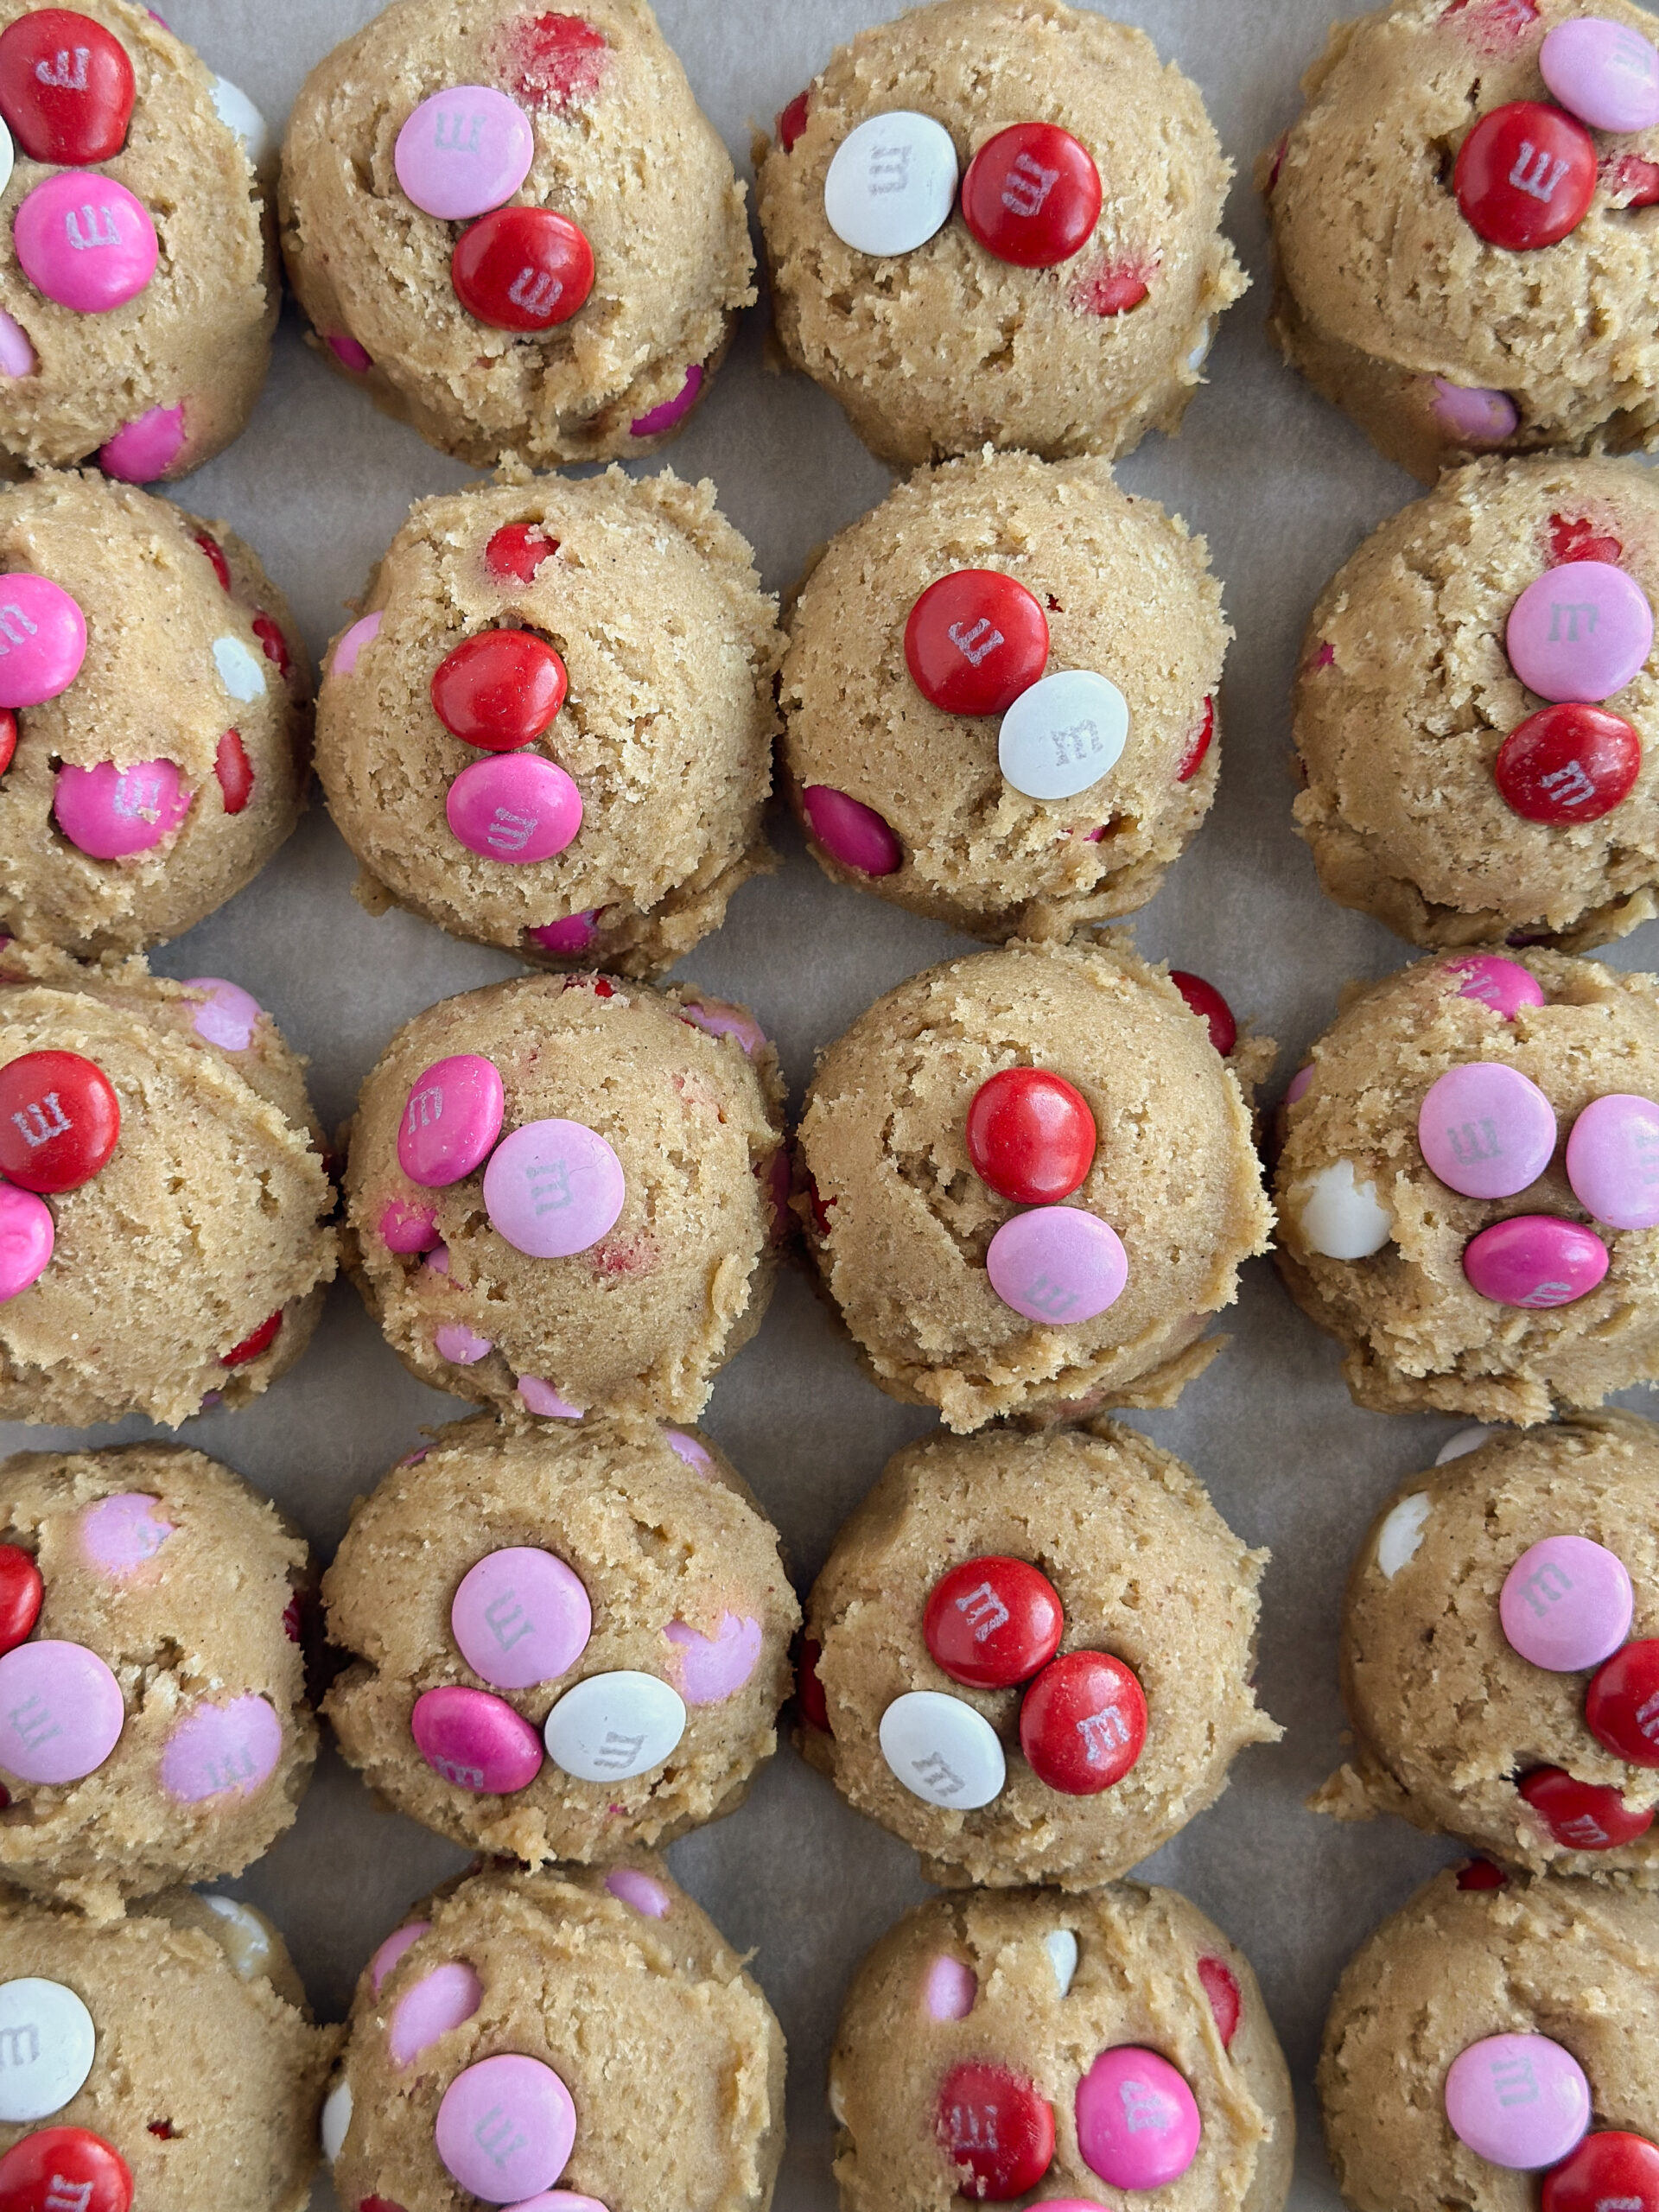
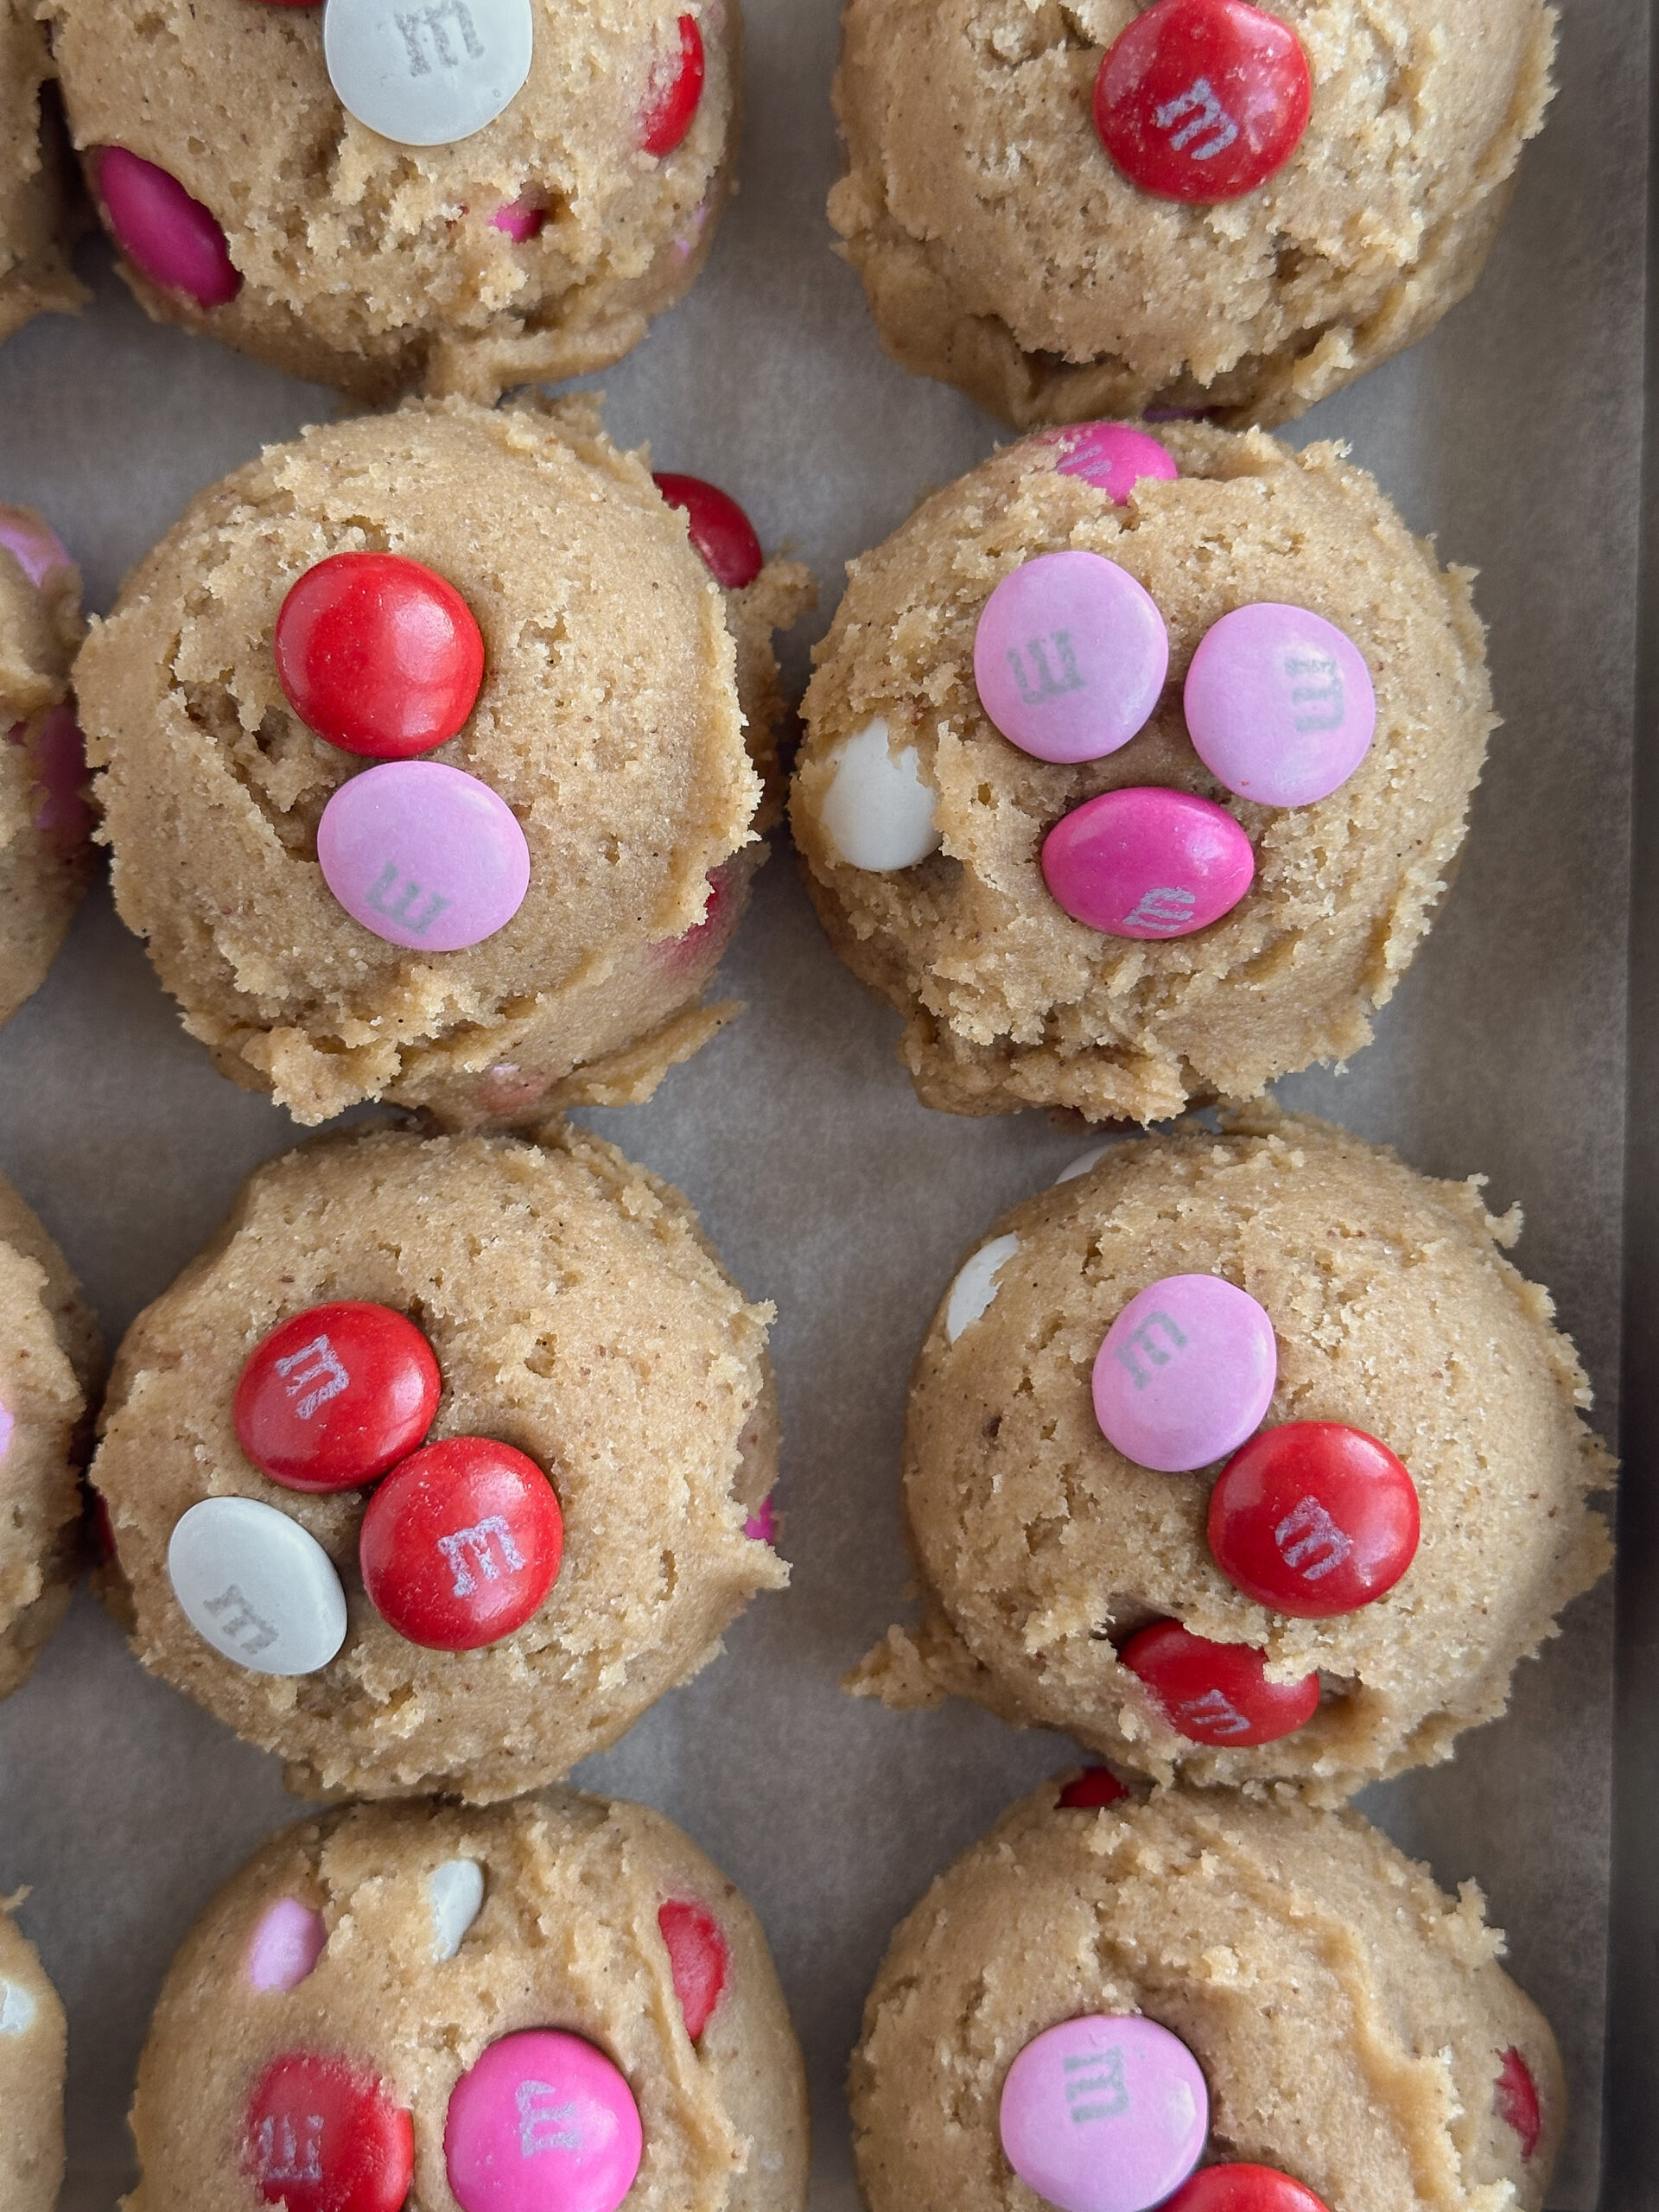
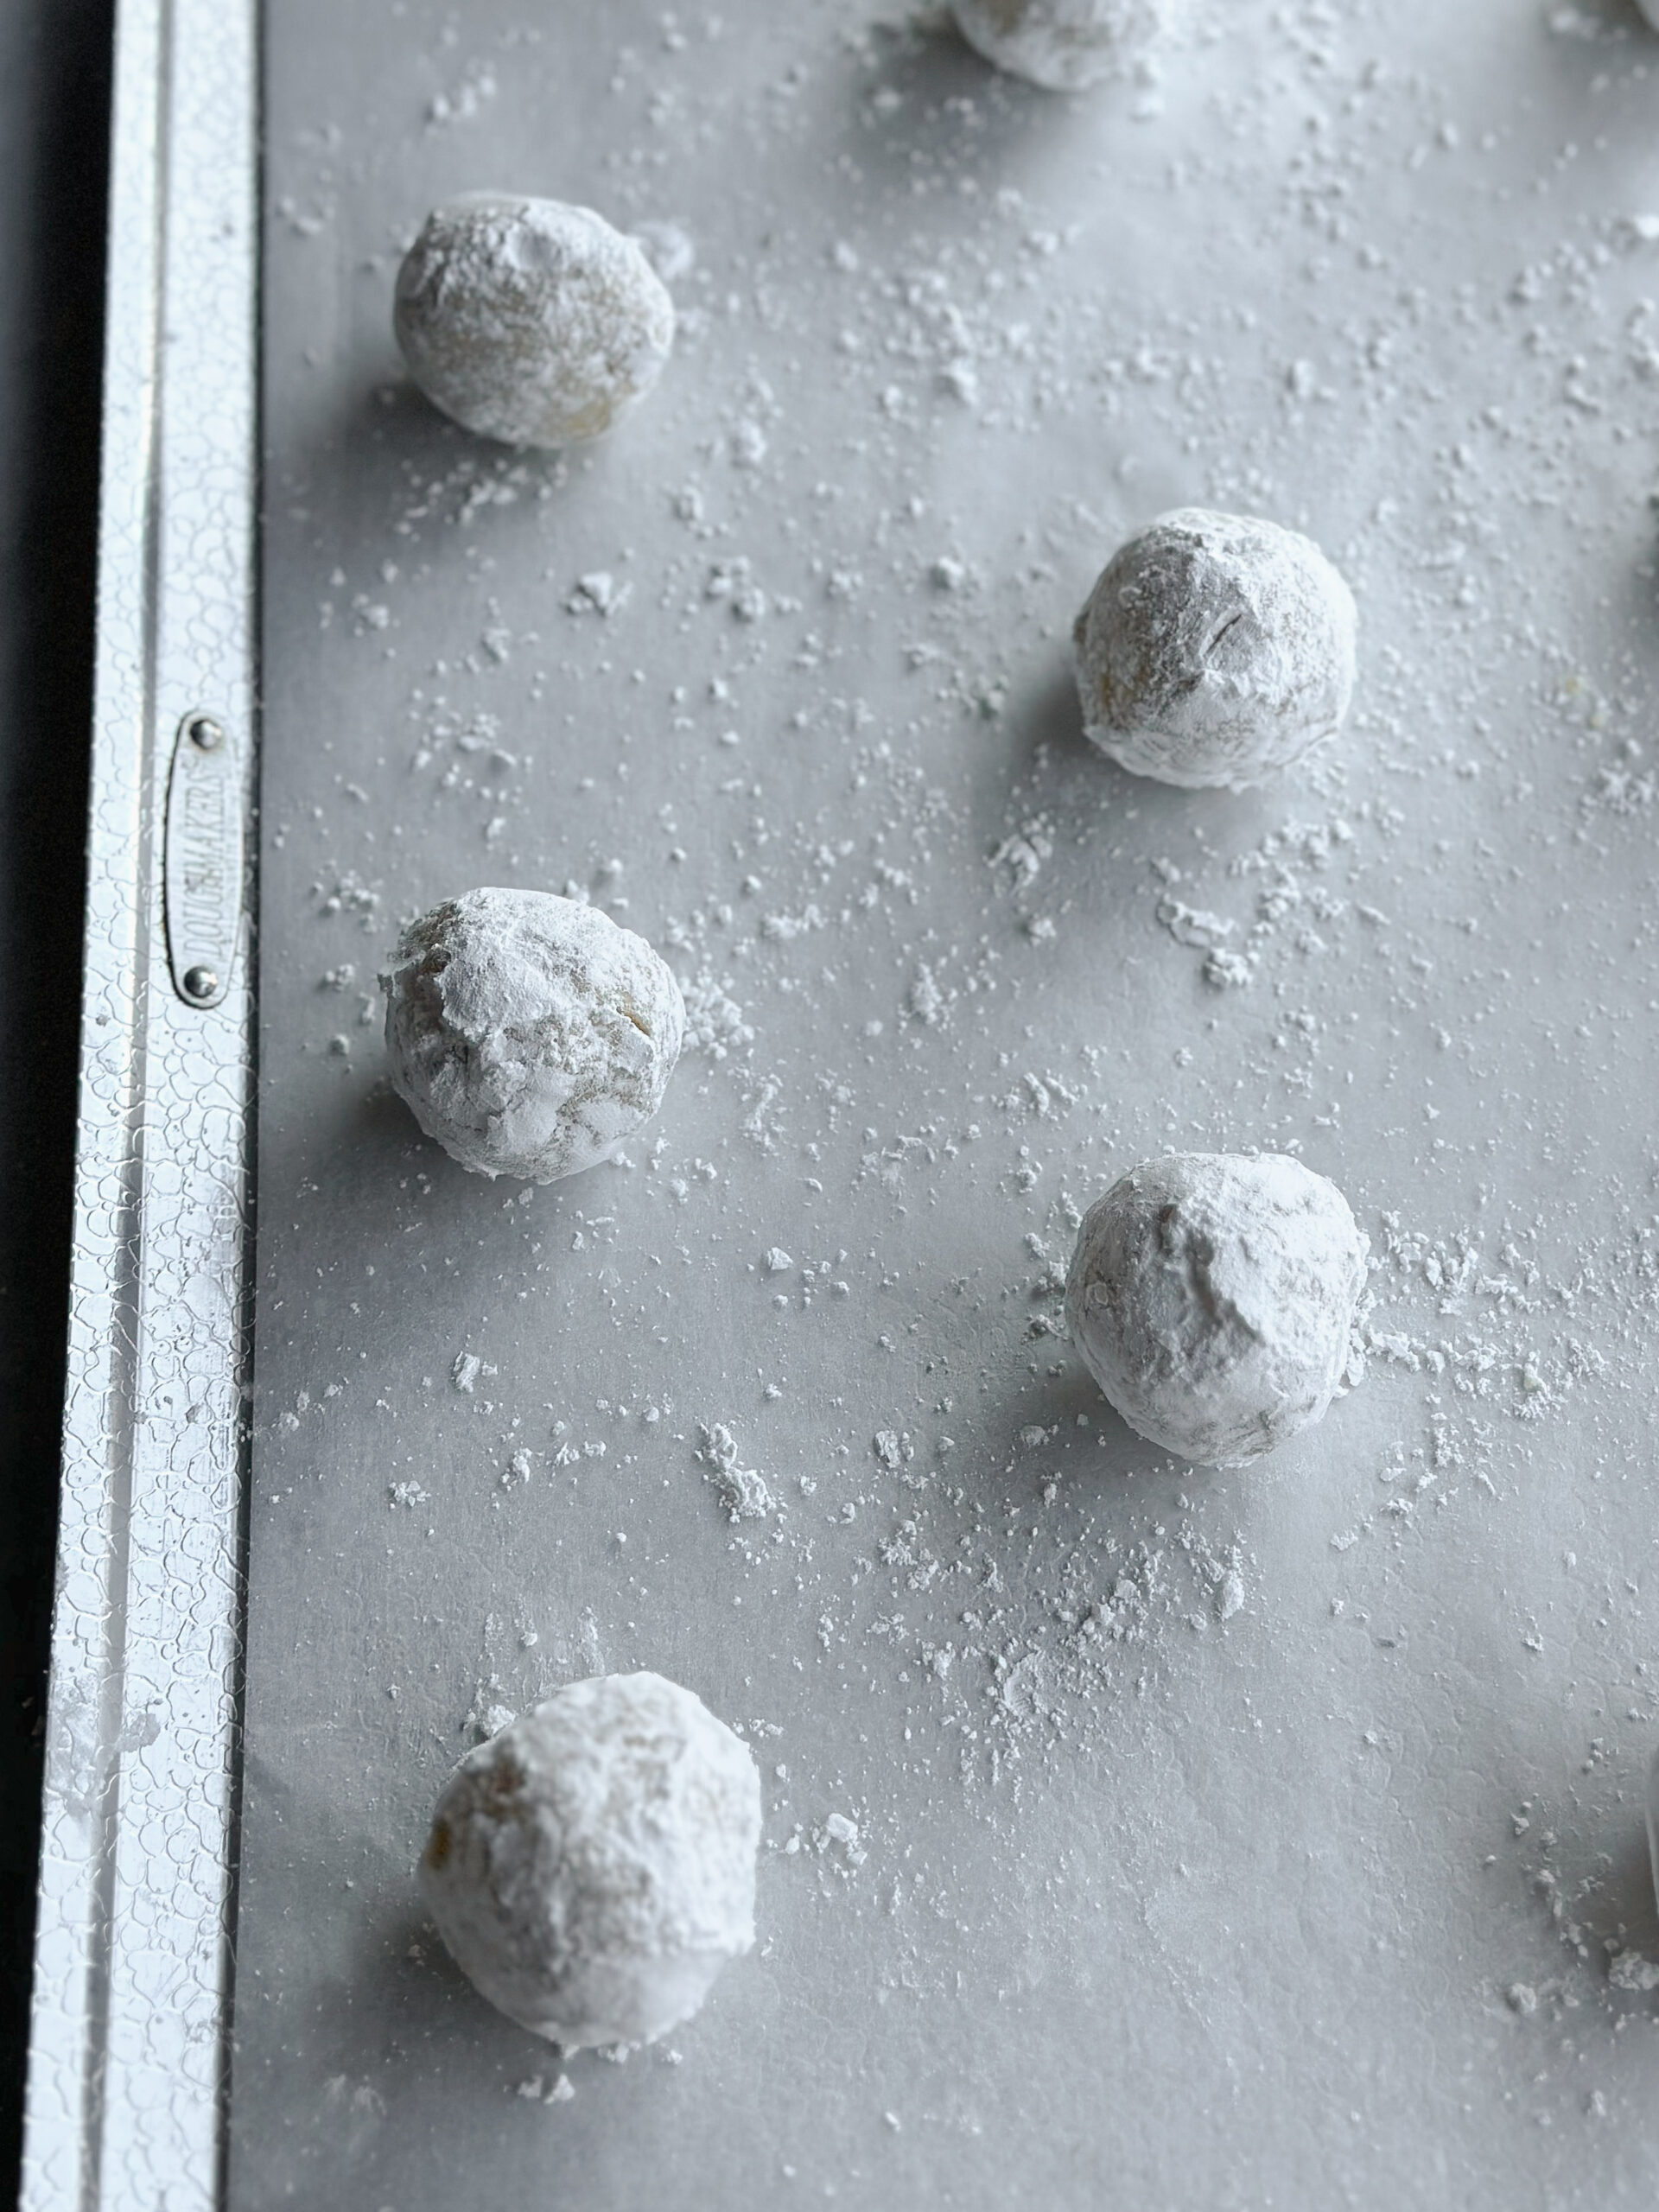
Scoop the cookies with a #30 cookie scoop onto a parchment lined baking sheet. Bake the cookies for 10-12 minutes. Let them cool on the baking sheet for a few minutes before transferring them to a wire rack to cool completely. Moving them prematurely will cause them to fall apart.
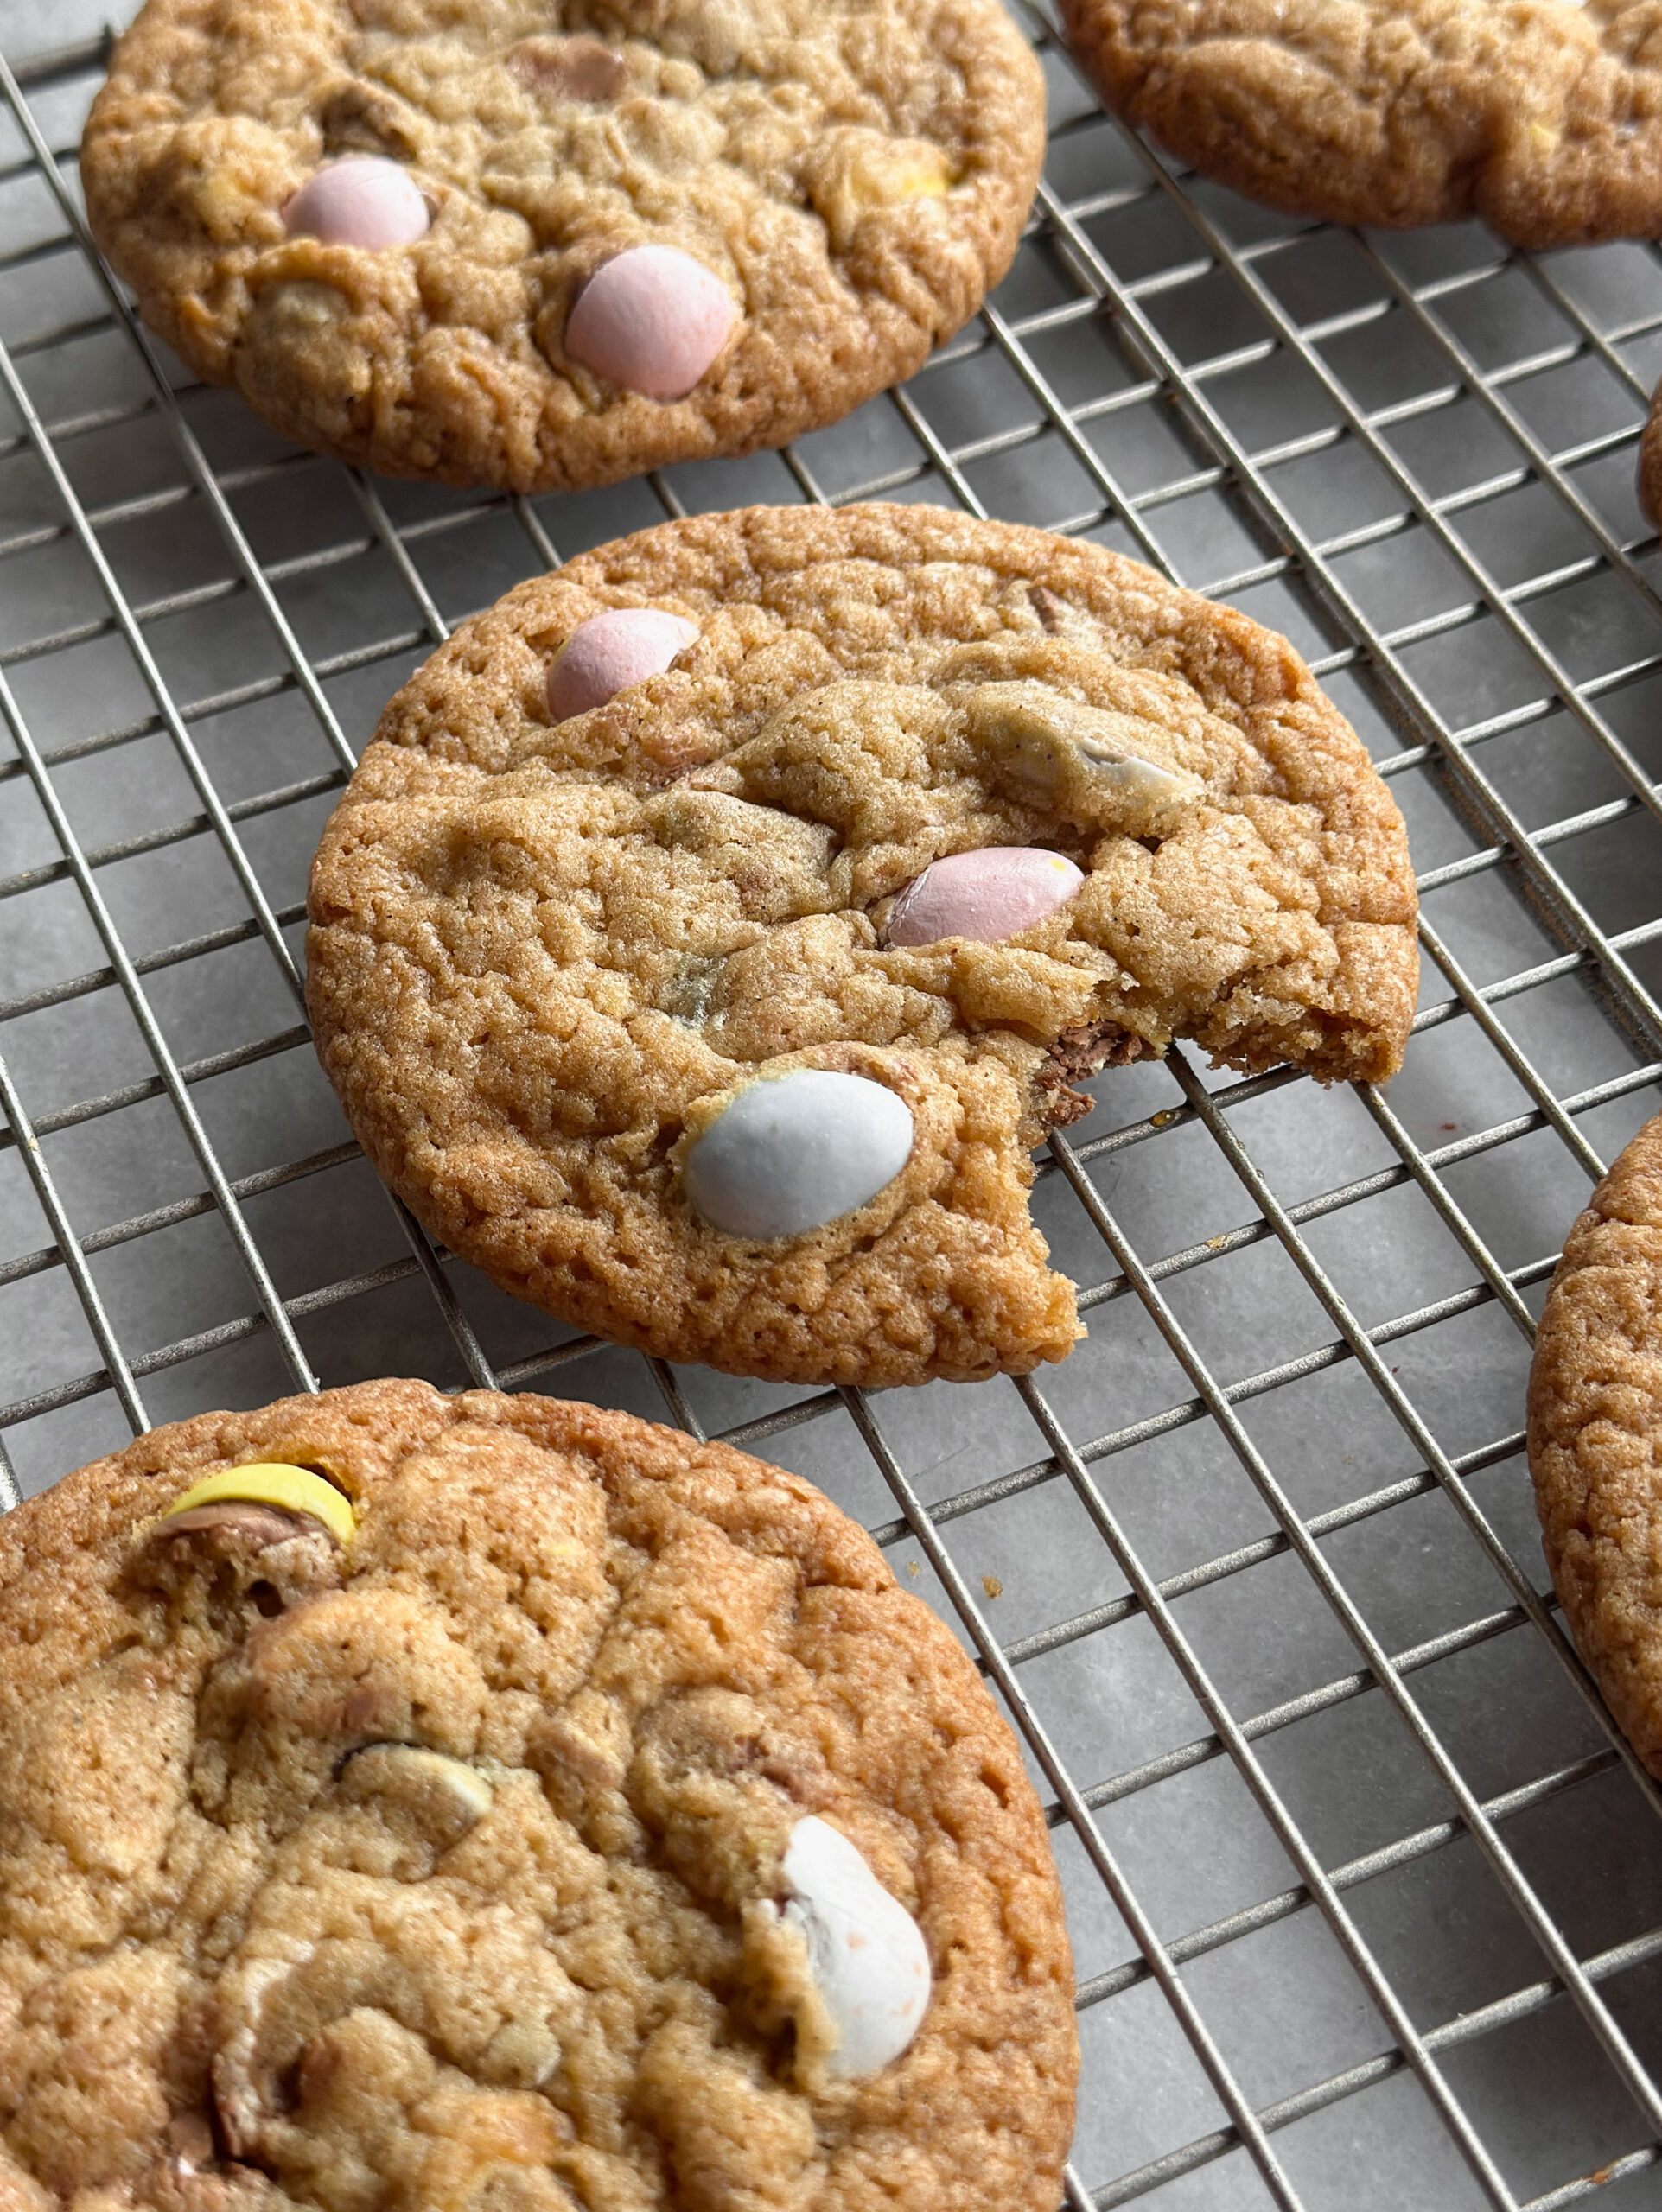
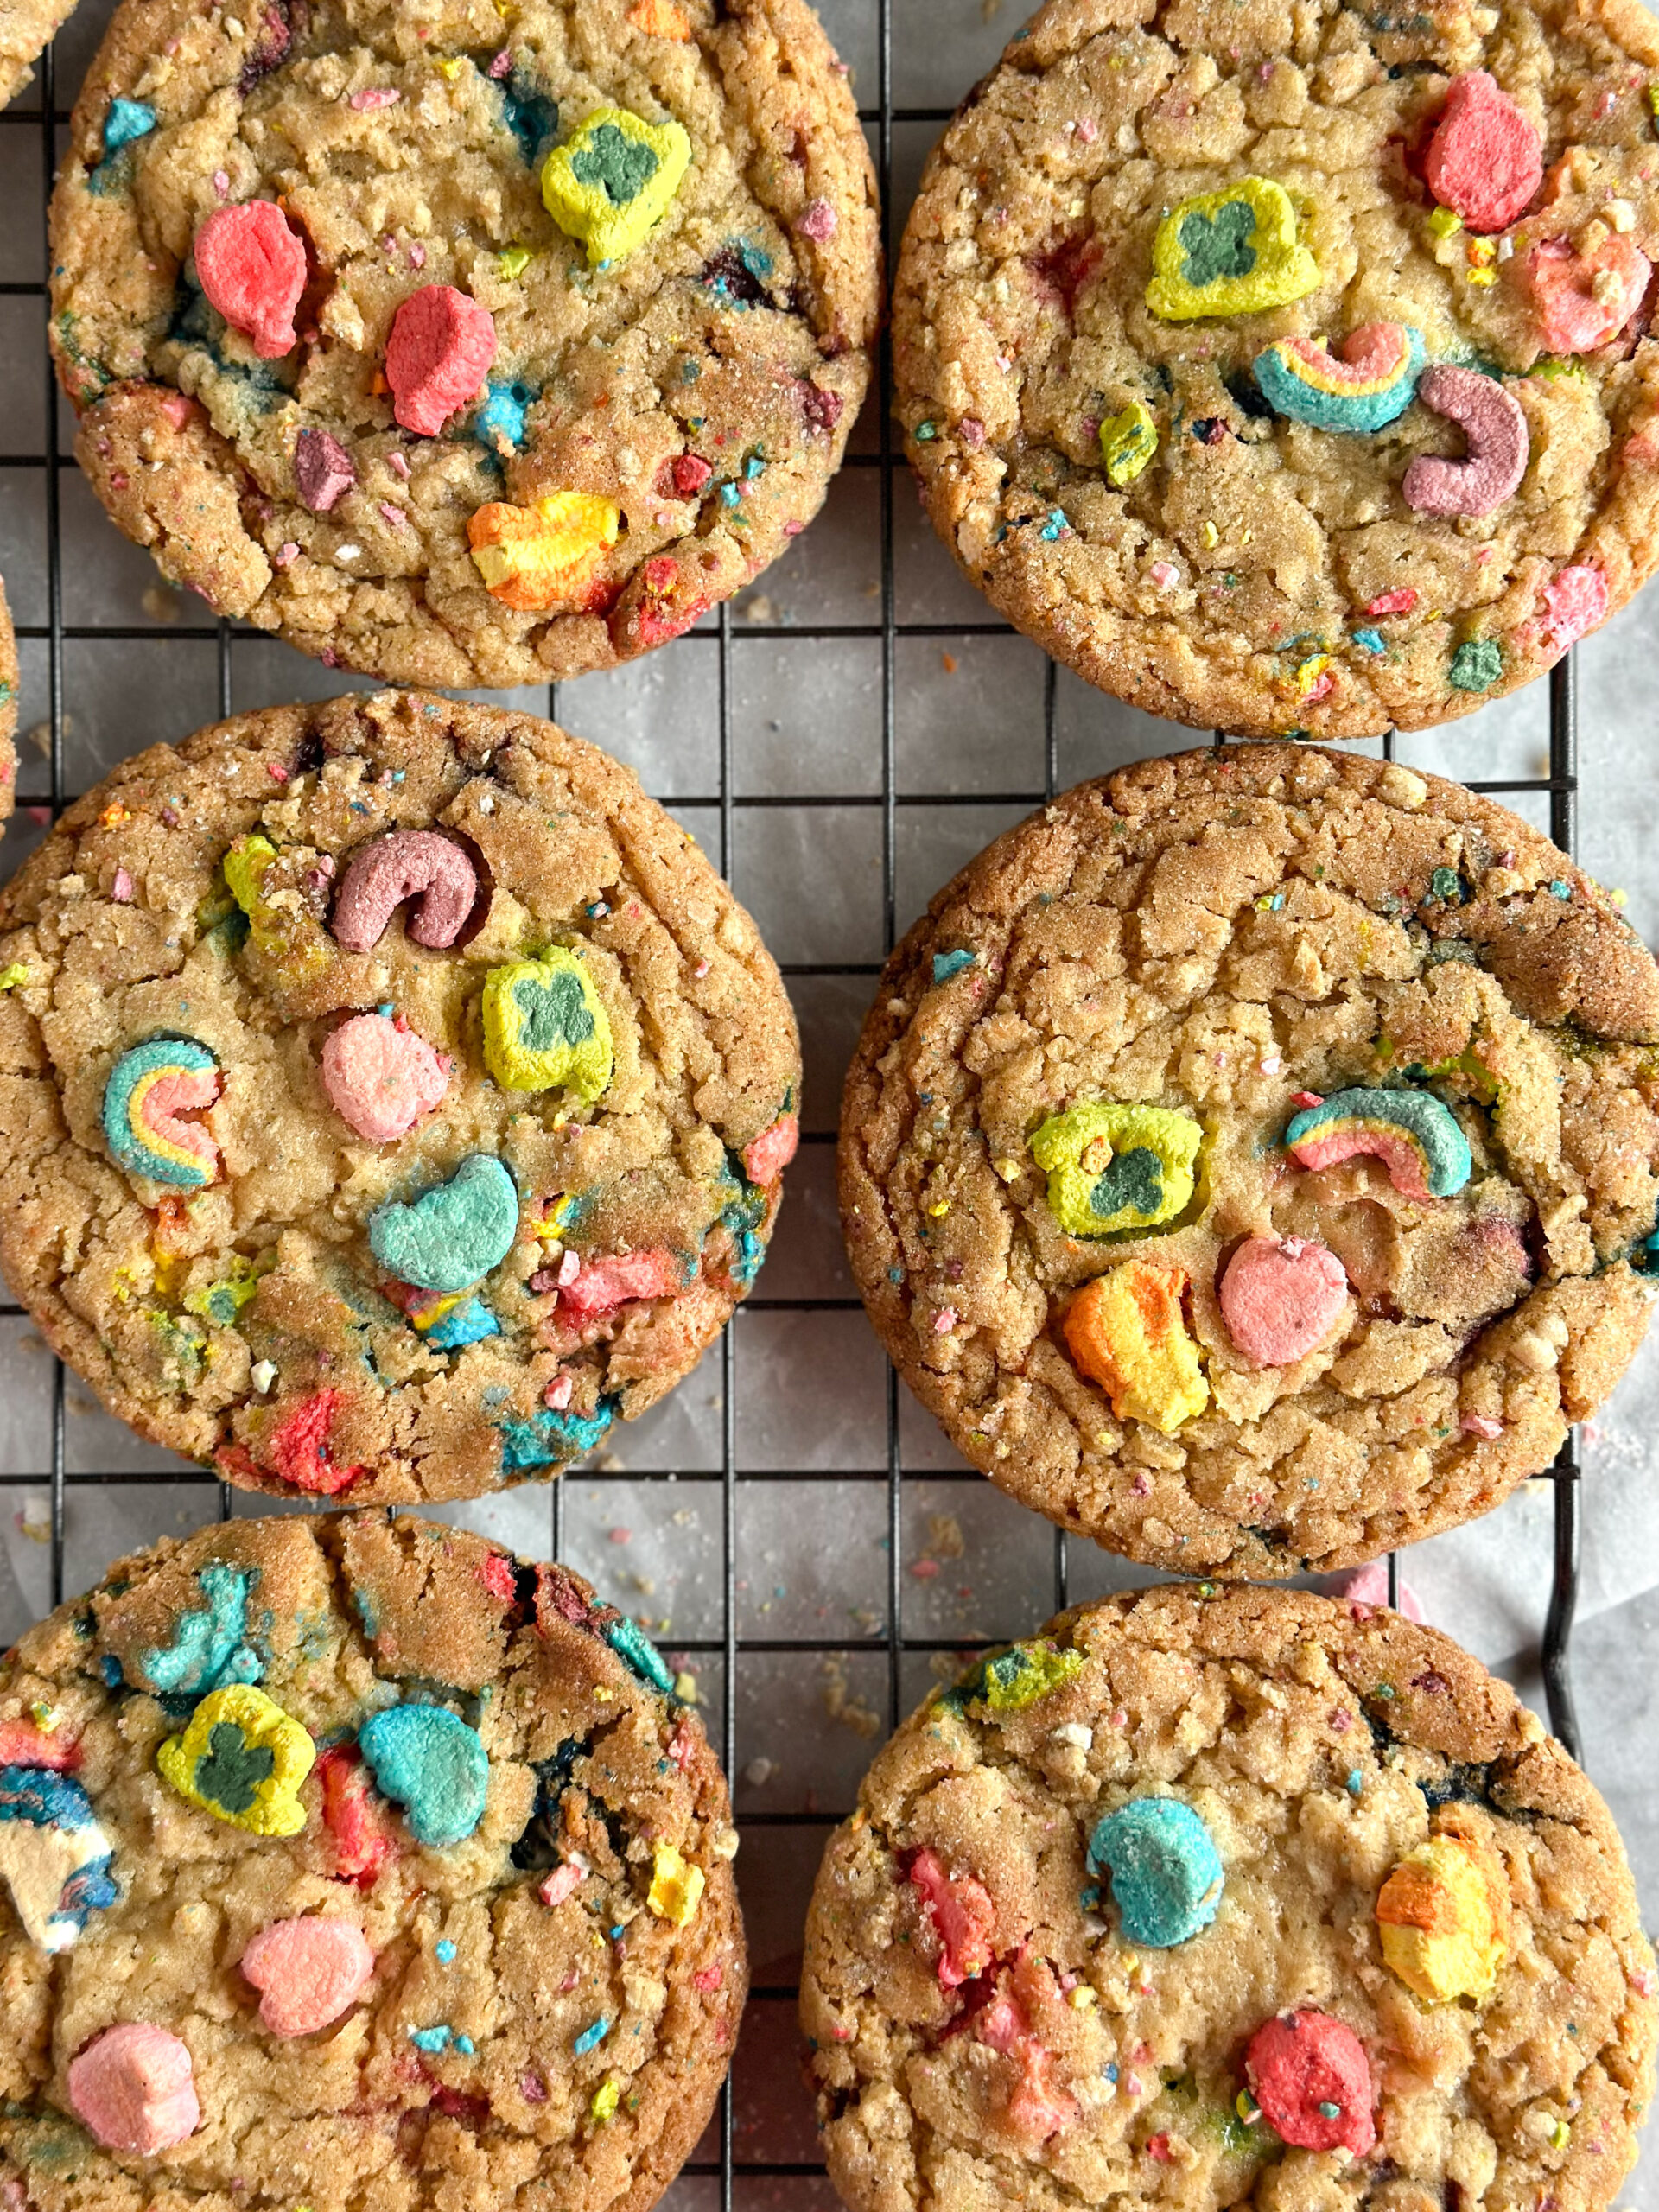
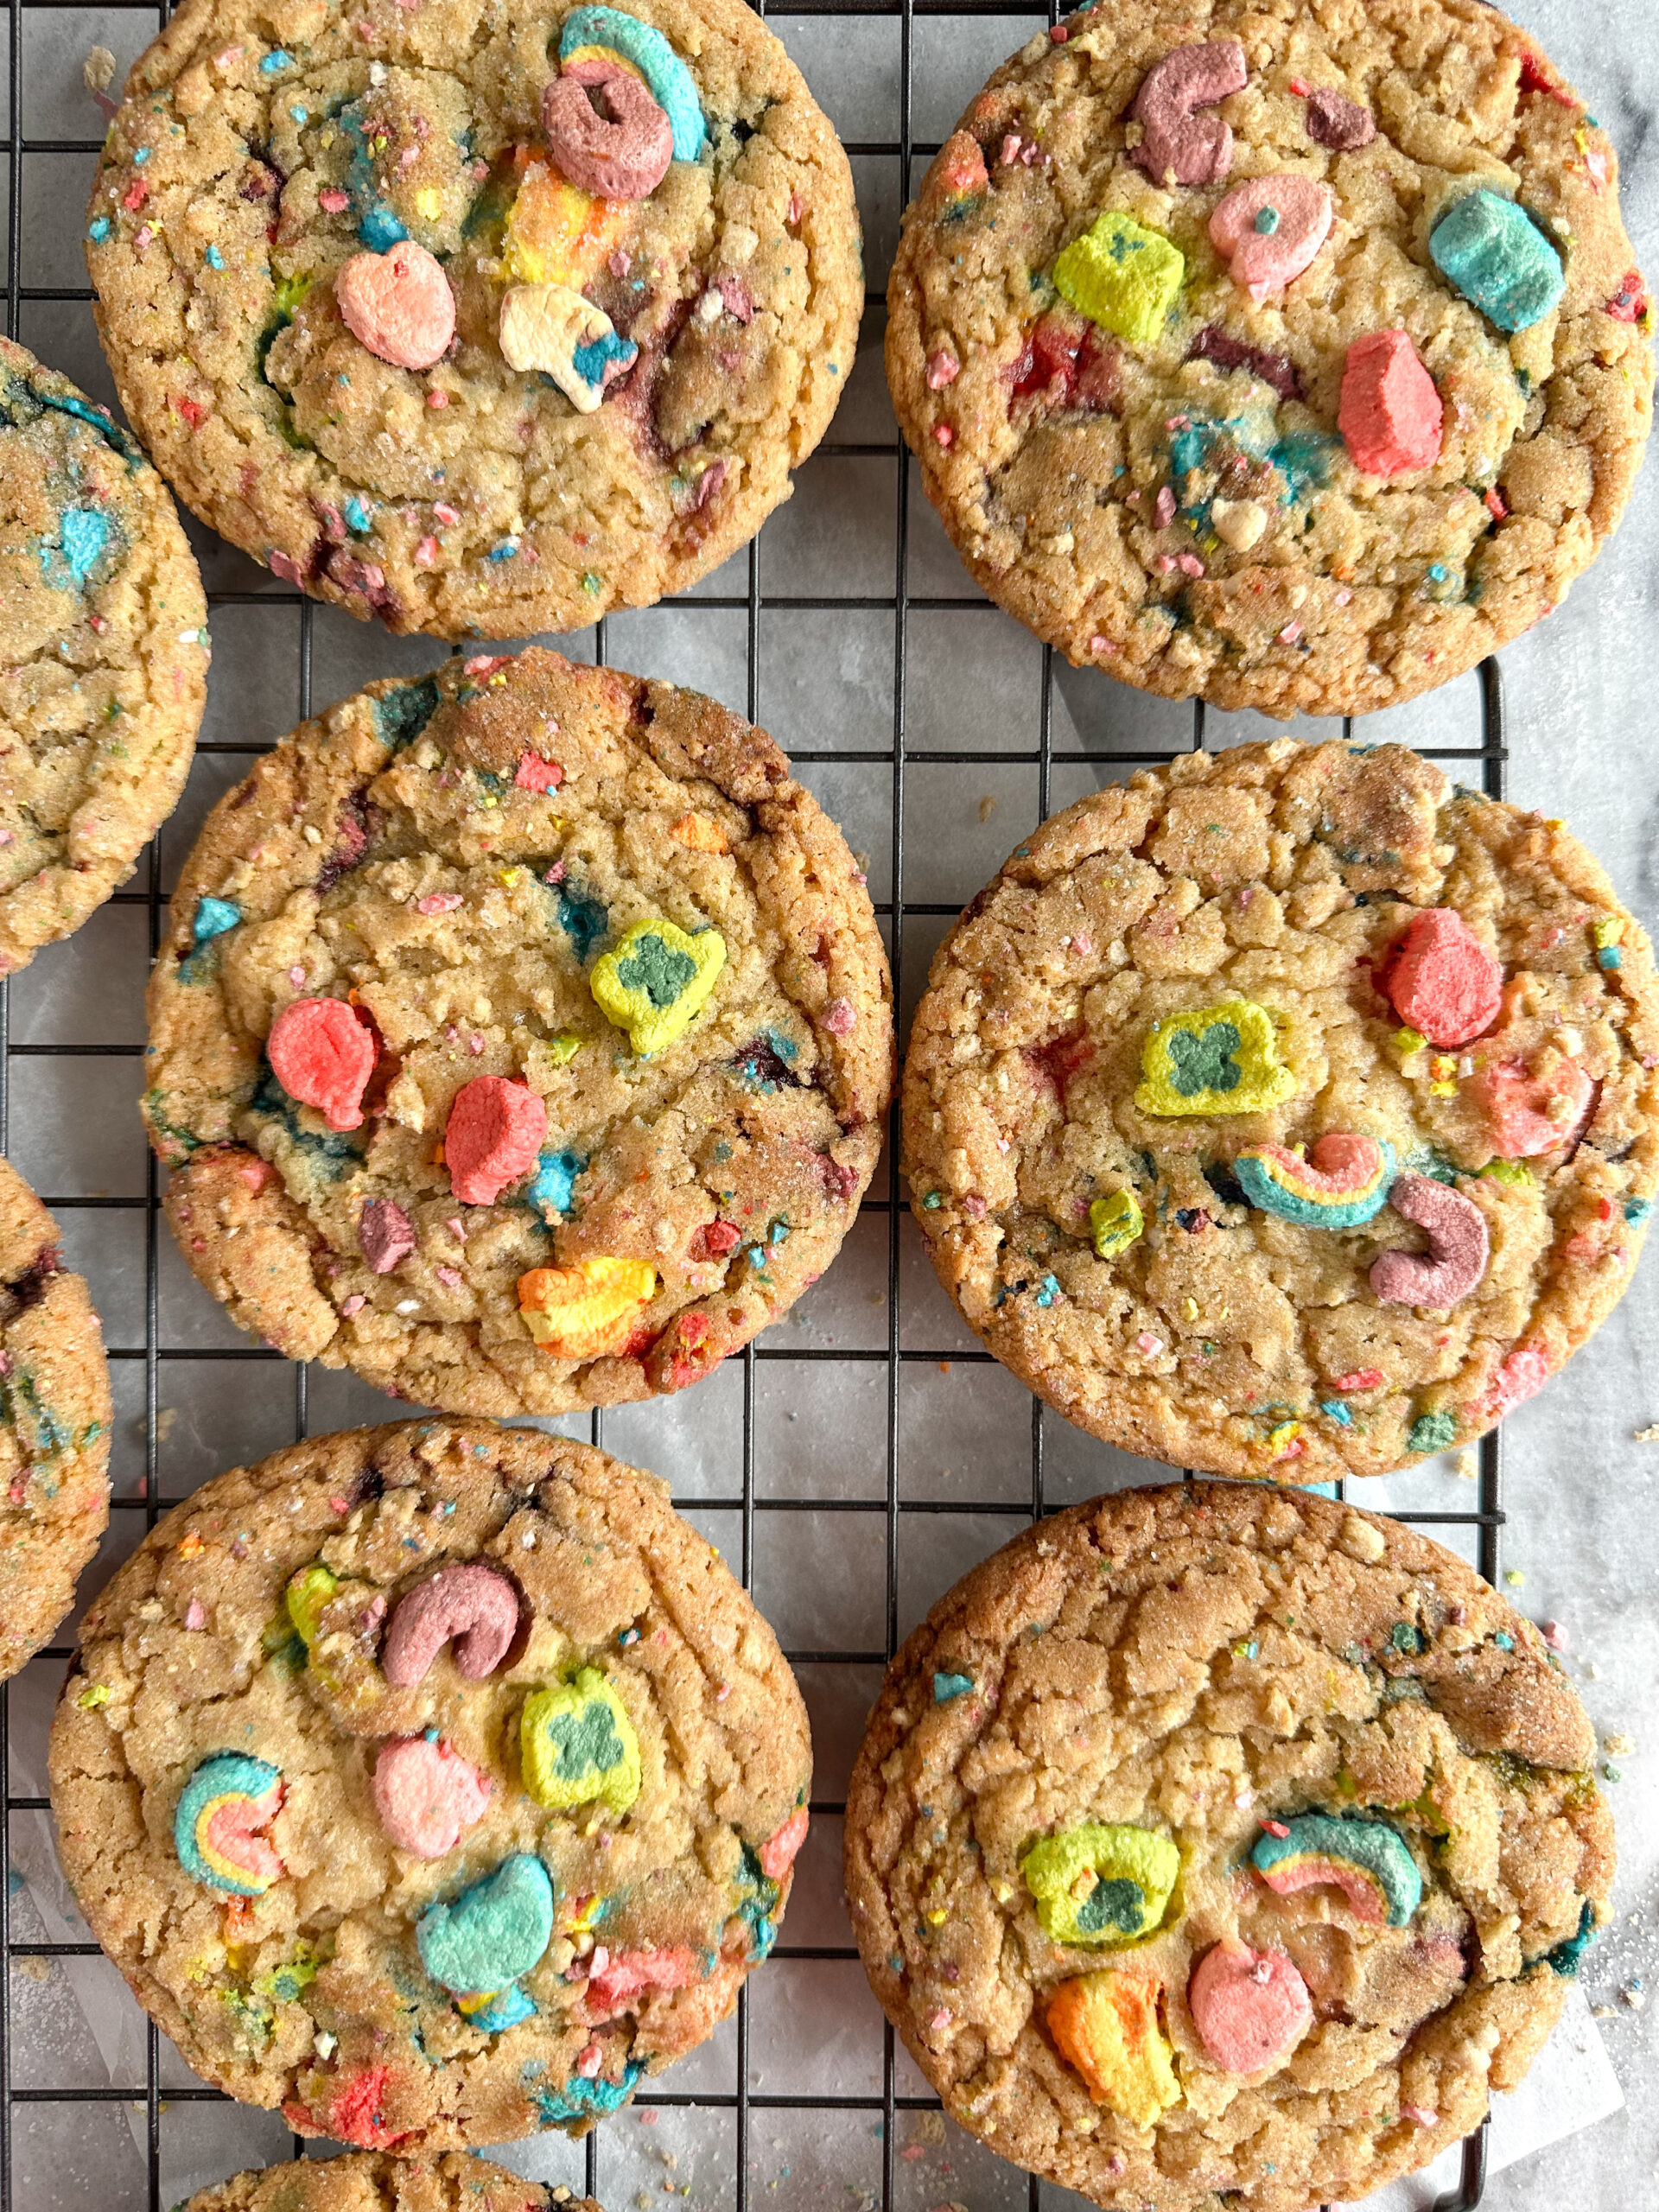
This recipe makes about 20-22 cookies that are about 2 ½″ in diameter when using a #30 scoop.
success tips for making cosmic brownie cookies
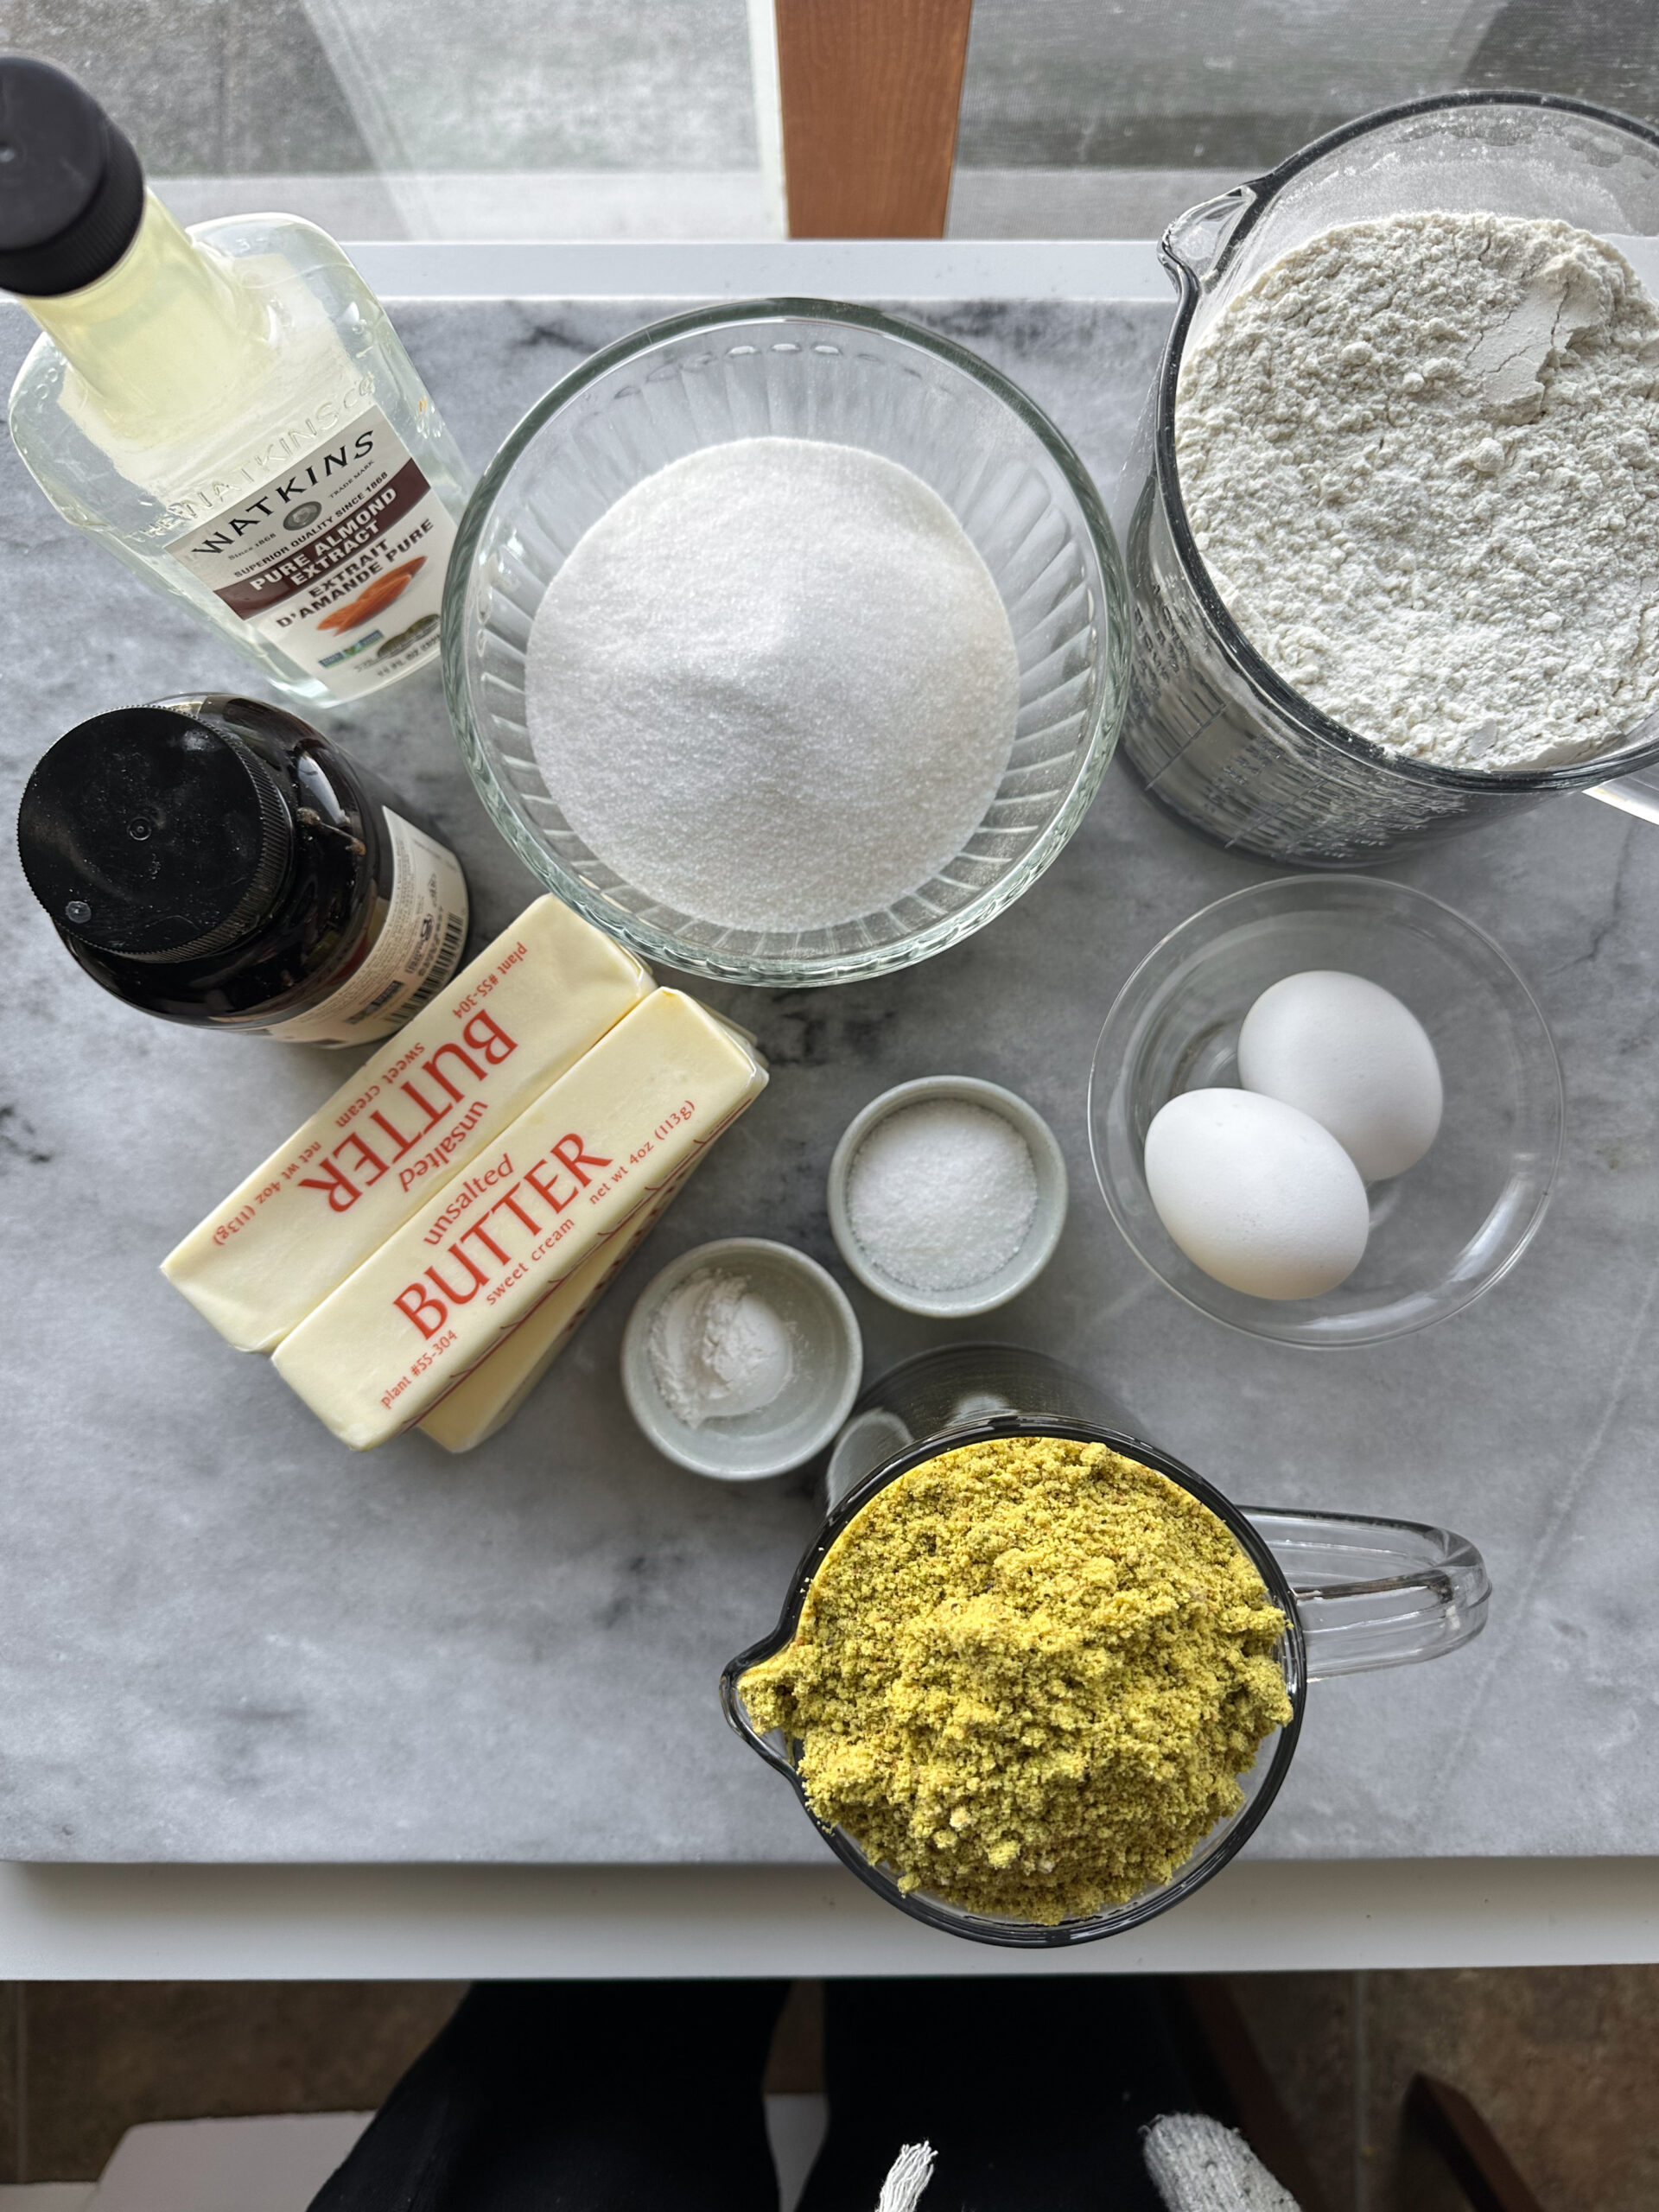
- Mise en place’ is a French phrase with the idea of putting everything in its place before beginning to make a recipe. It helps everything to go smoothly and eliminates so much possible stress. Getting all of your supplies and ingredients together before ever starting the recipe will help tremendously.
- Weigh your ingredients, particularly the flour. It is the most important measurement in this recipe to weigh. Flour can be off in volume measurements by up to 30g, which is a quarter cup! Having incorrect flour measurements can cause your cookies to spread too much or, alternatively, be dry and crumbly. Weighing your ingredients makes everything so much easier, as you don’t have to wash all the measuring cups at the end. However, I do not use the scale to weigh out teaspoon or tablespoon measurements for things like baking powder, salt, vanilla, or cornstarch, for example.
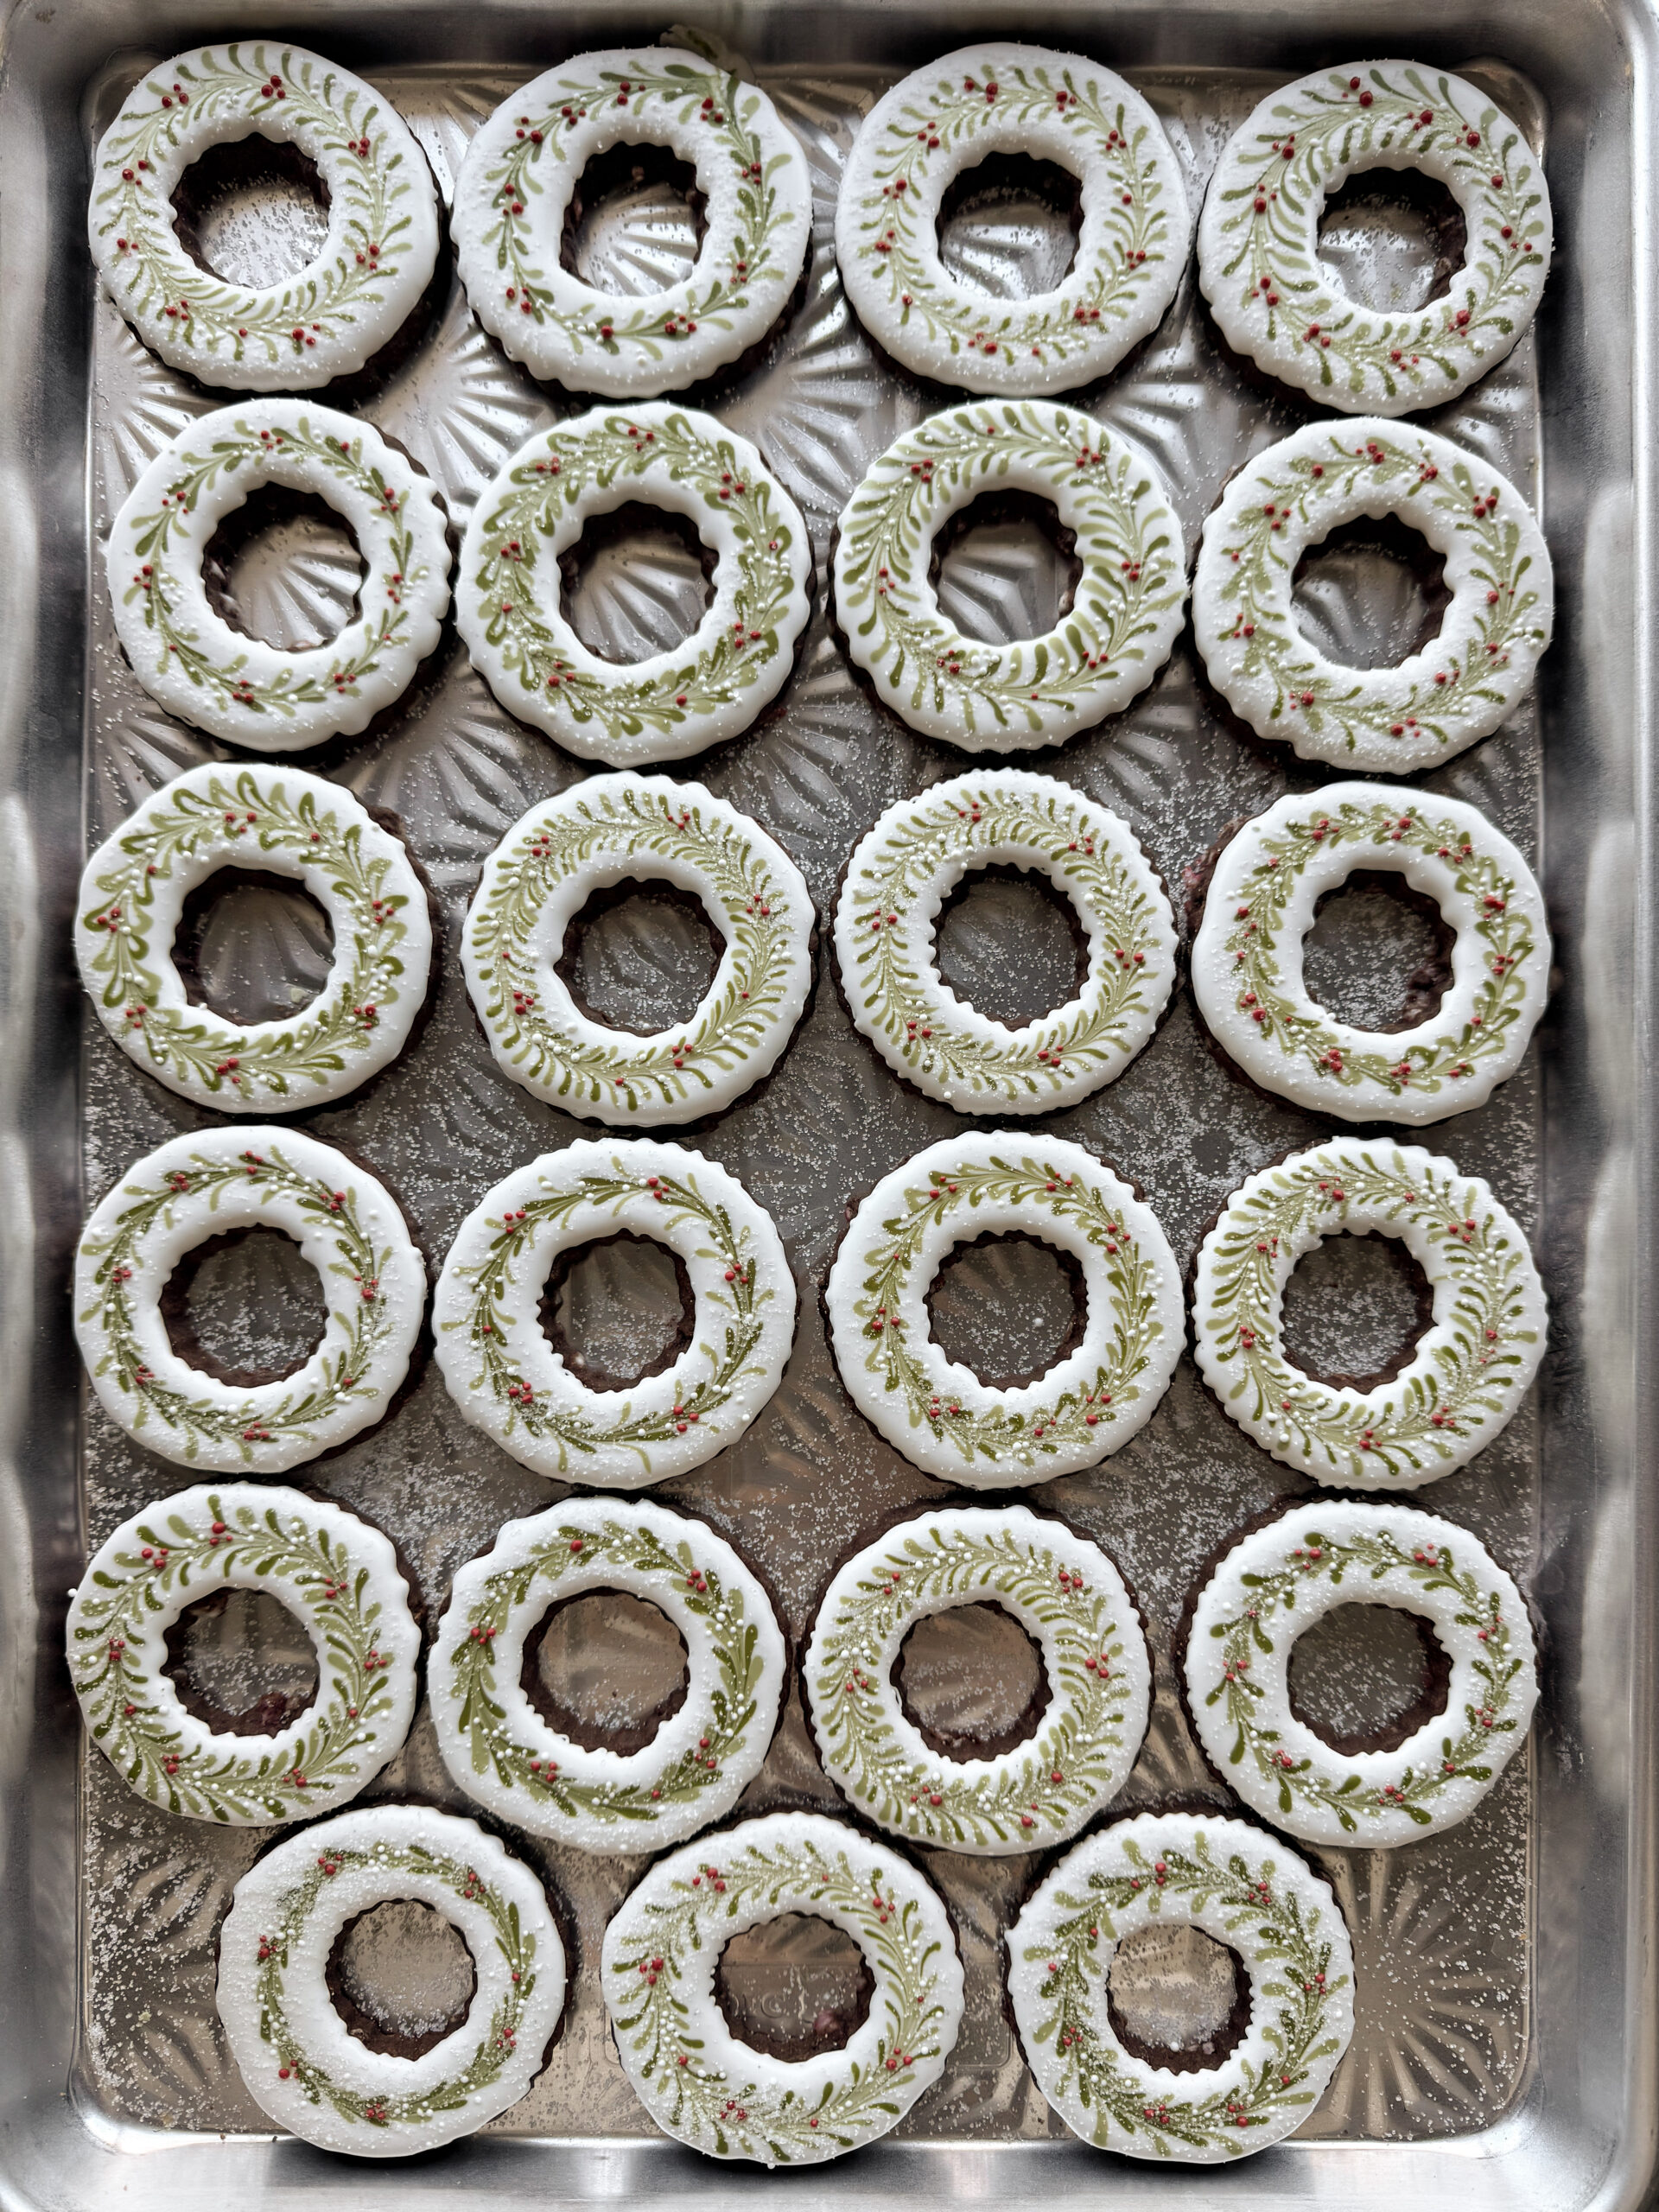
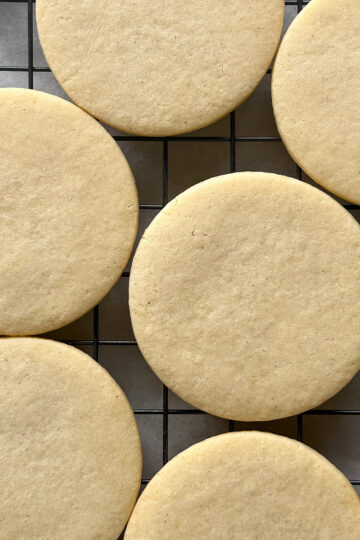
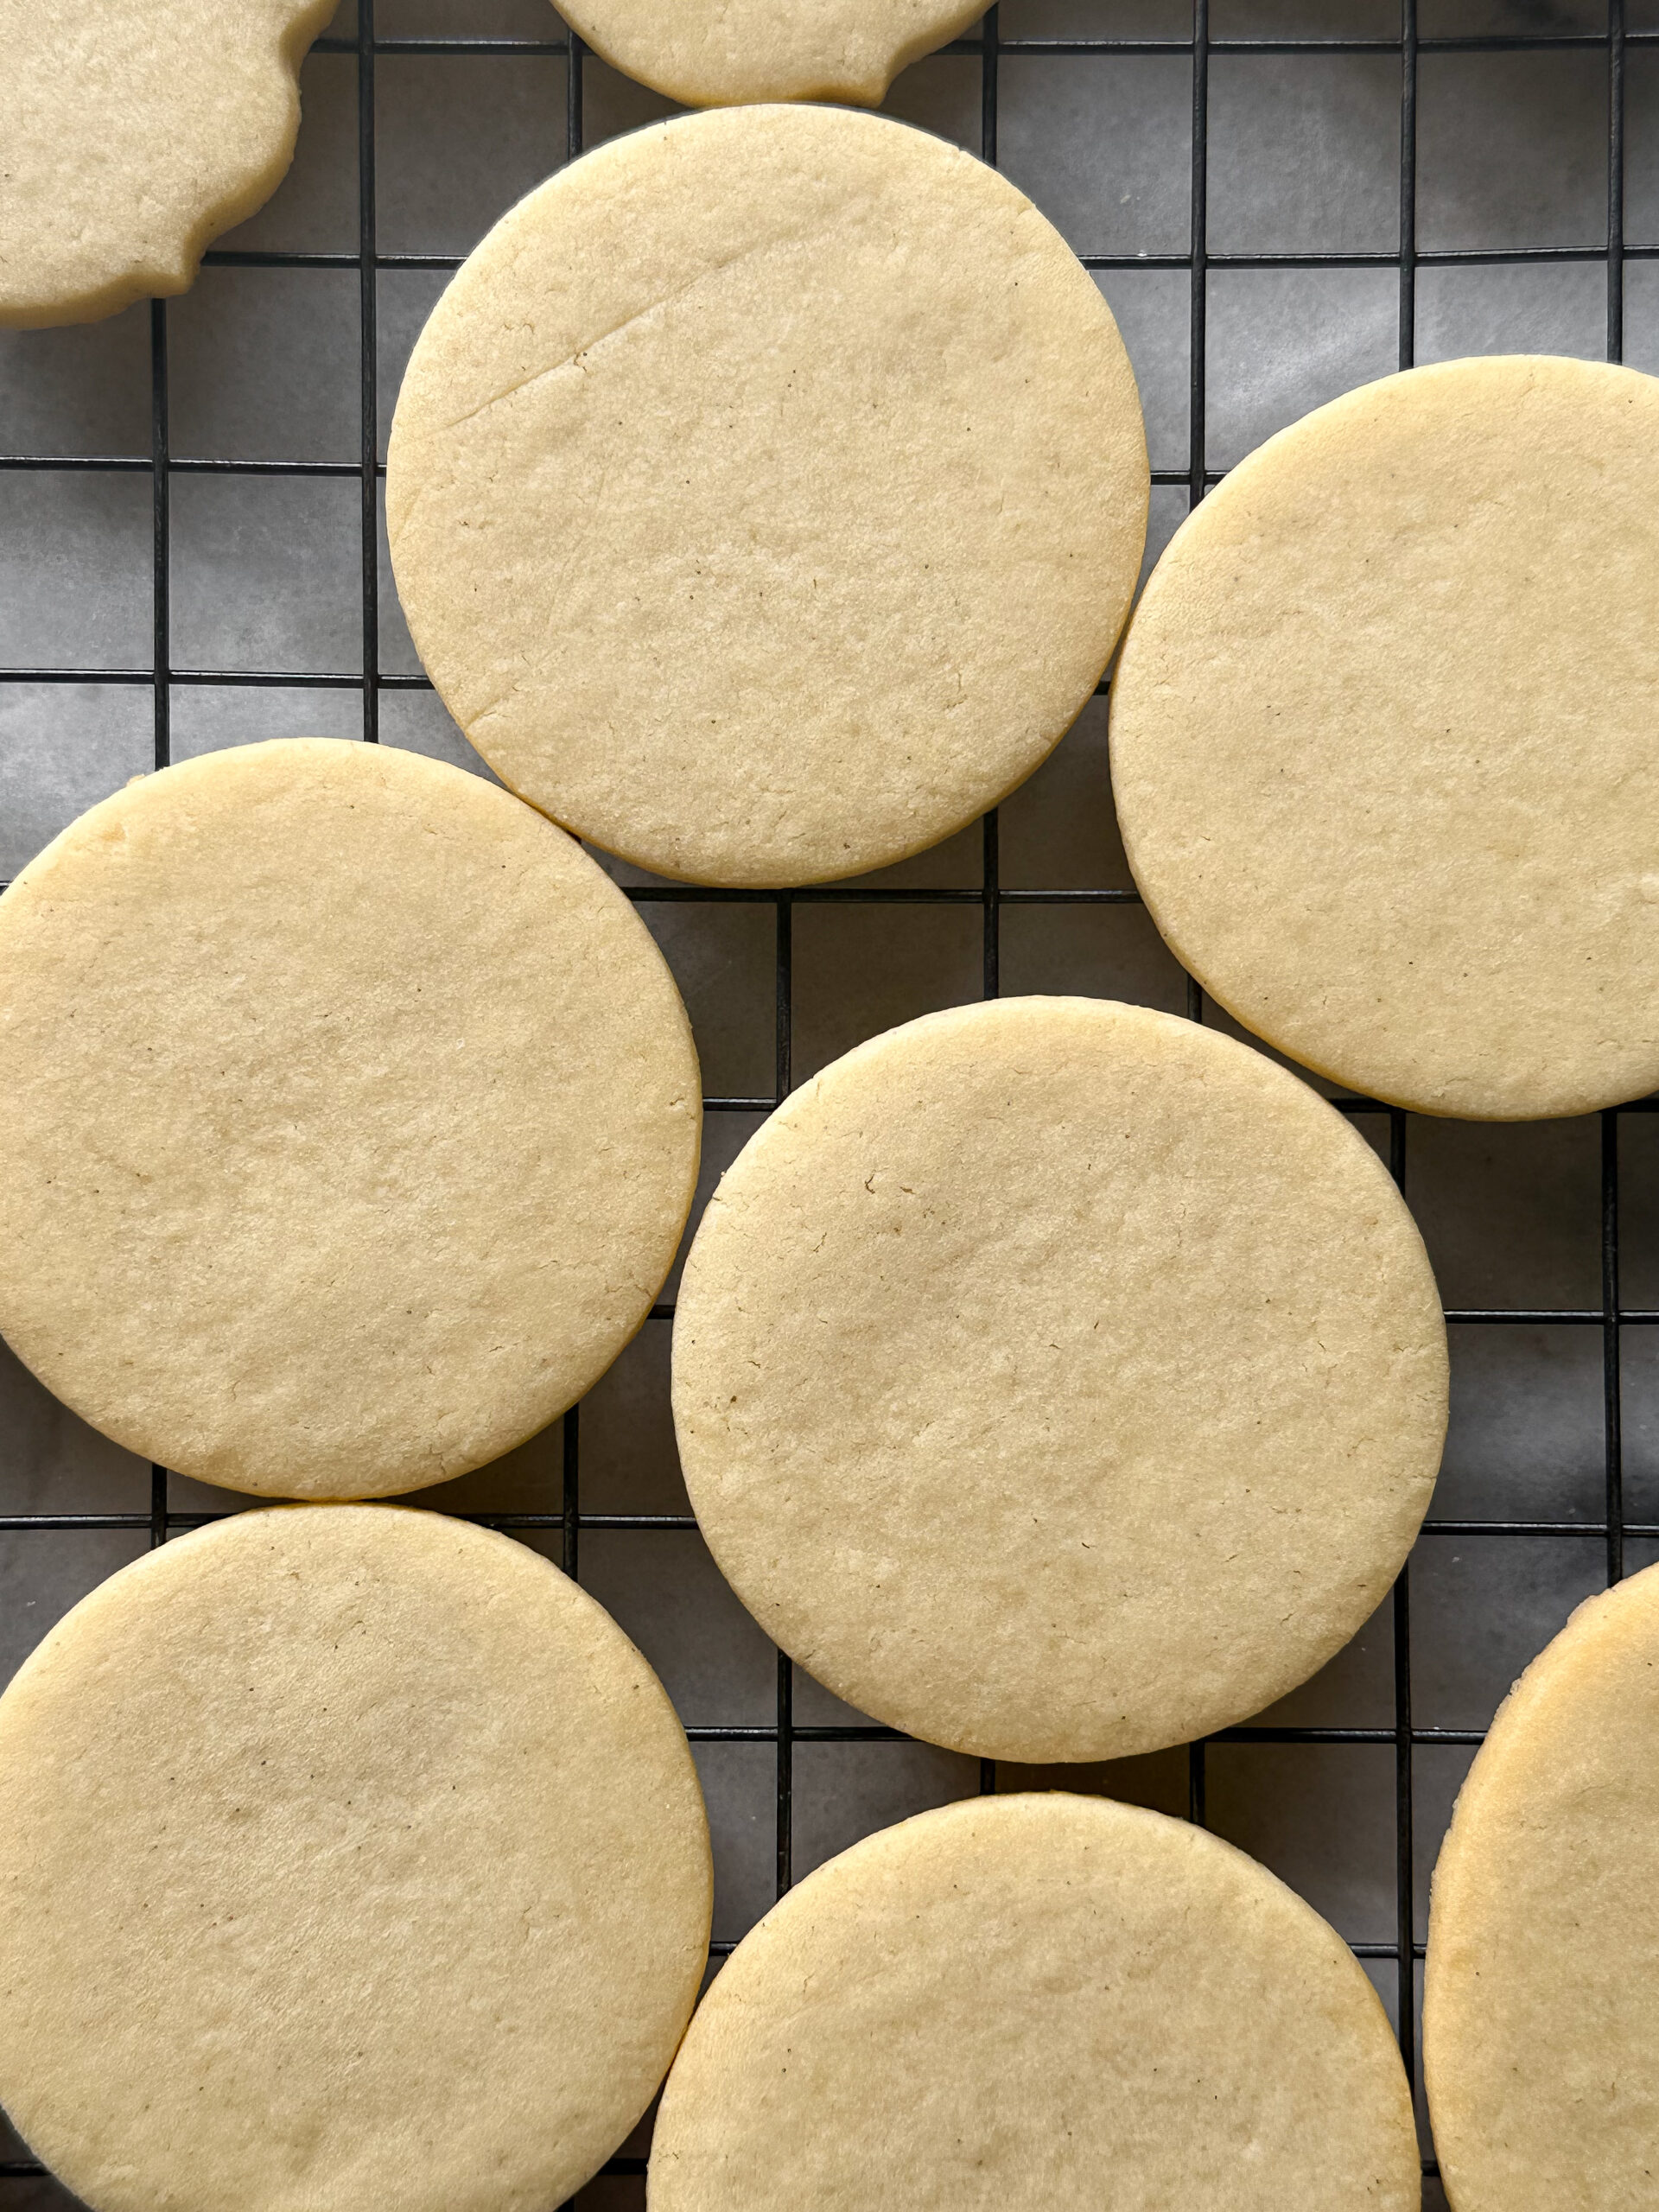
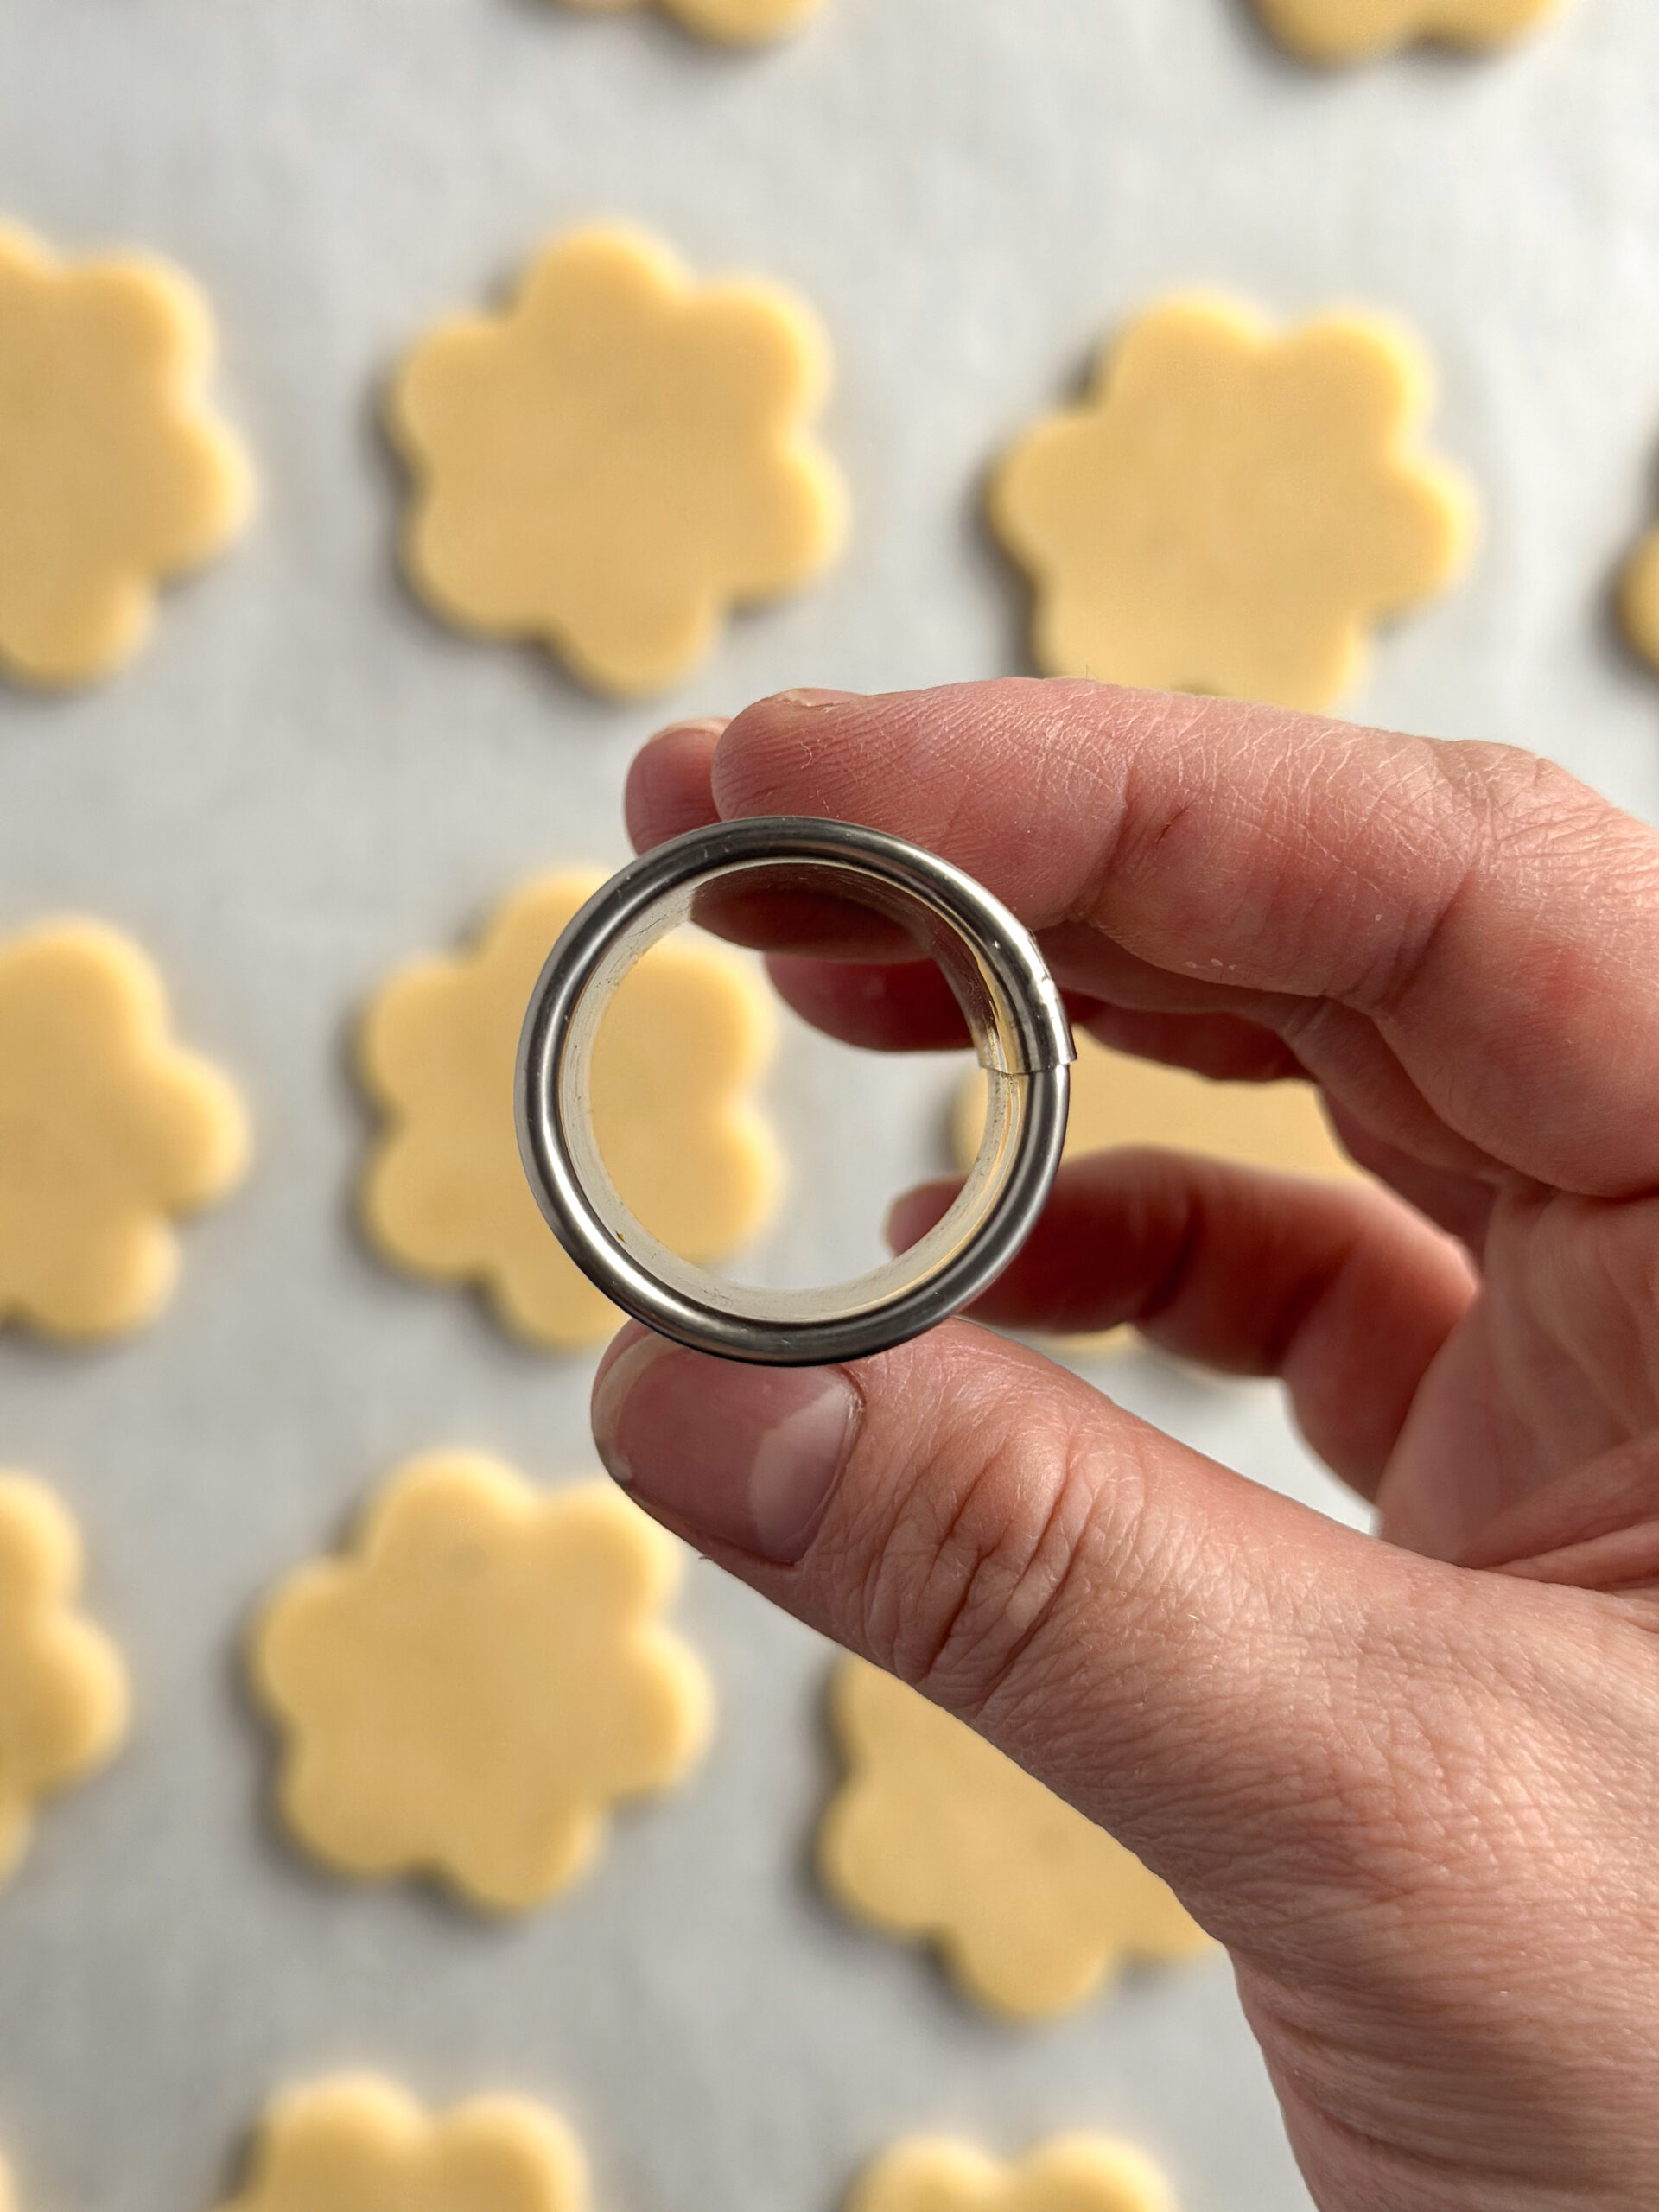
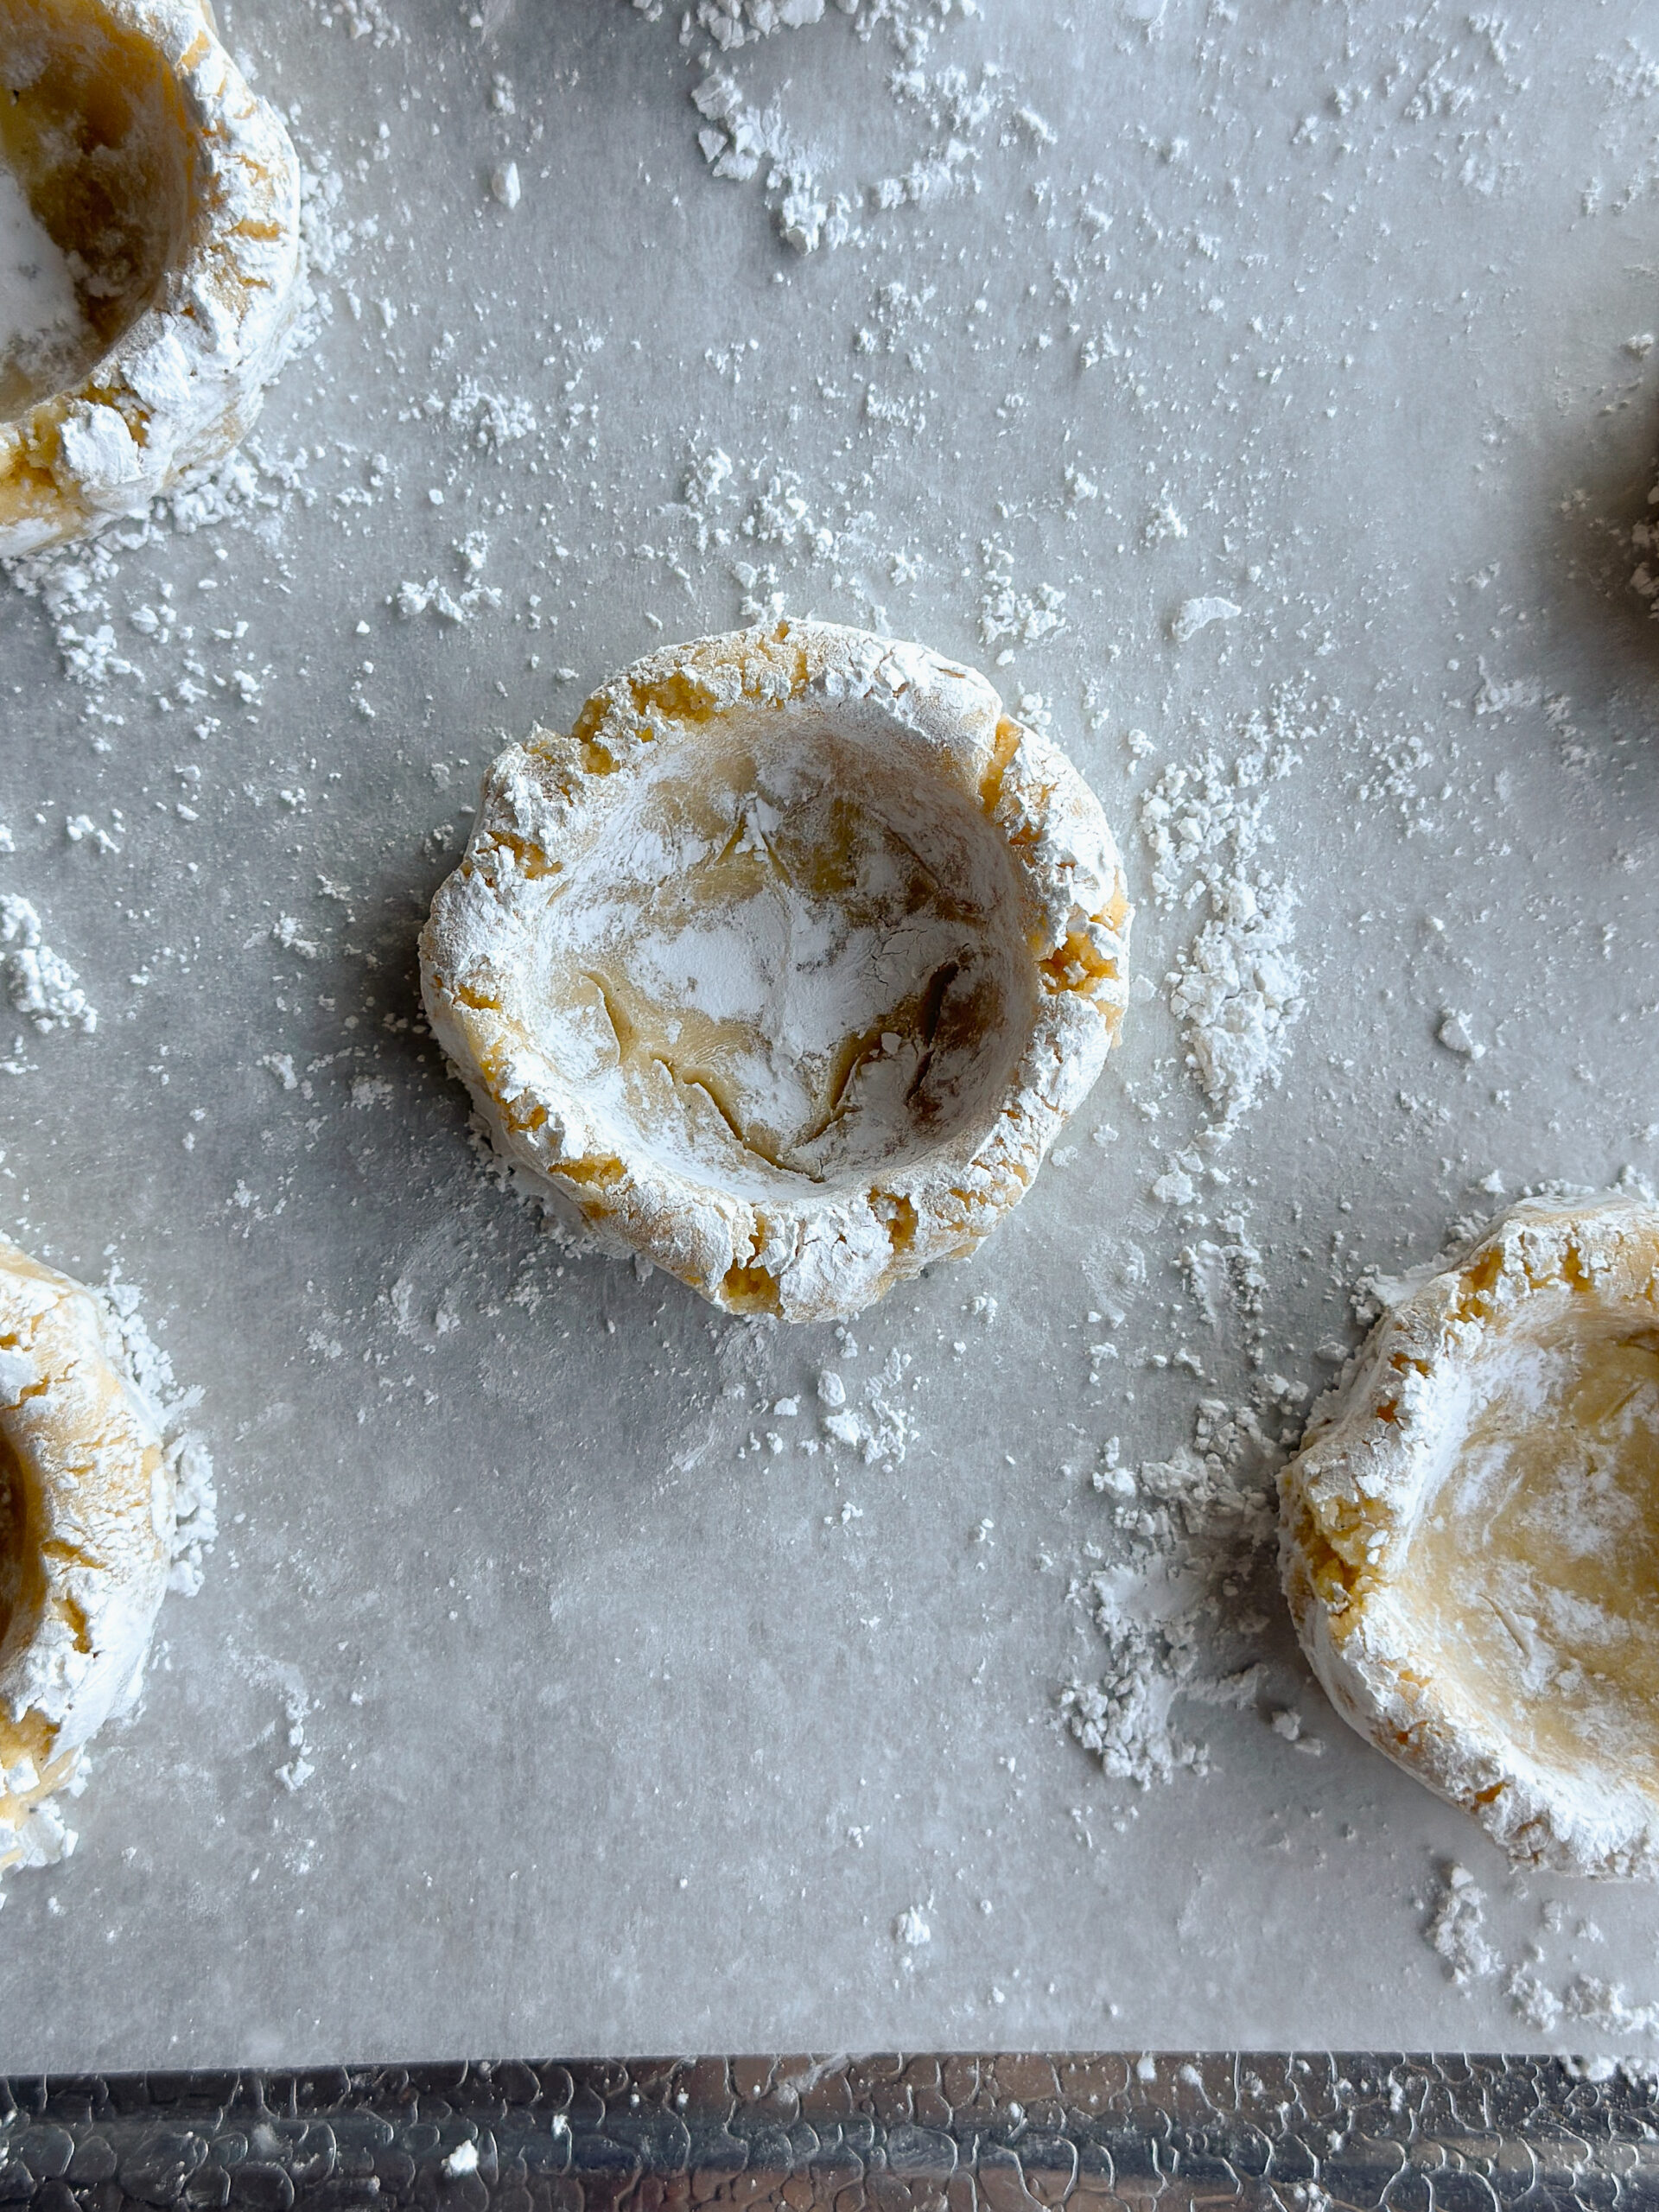
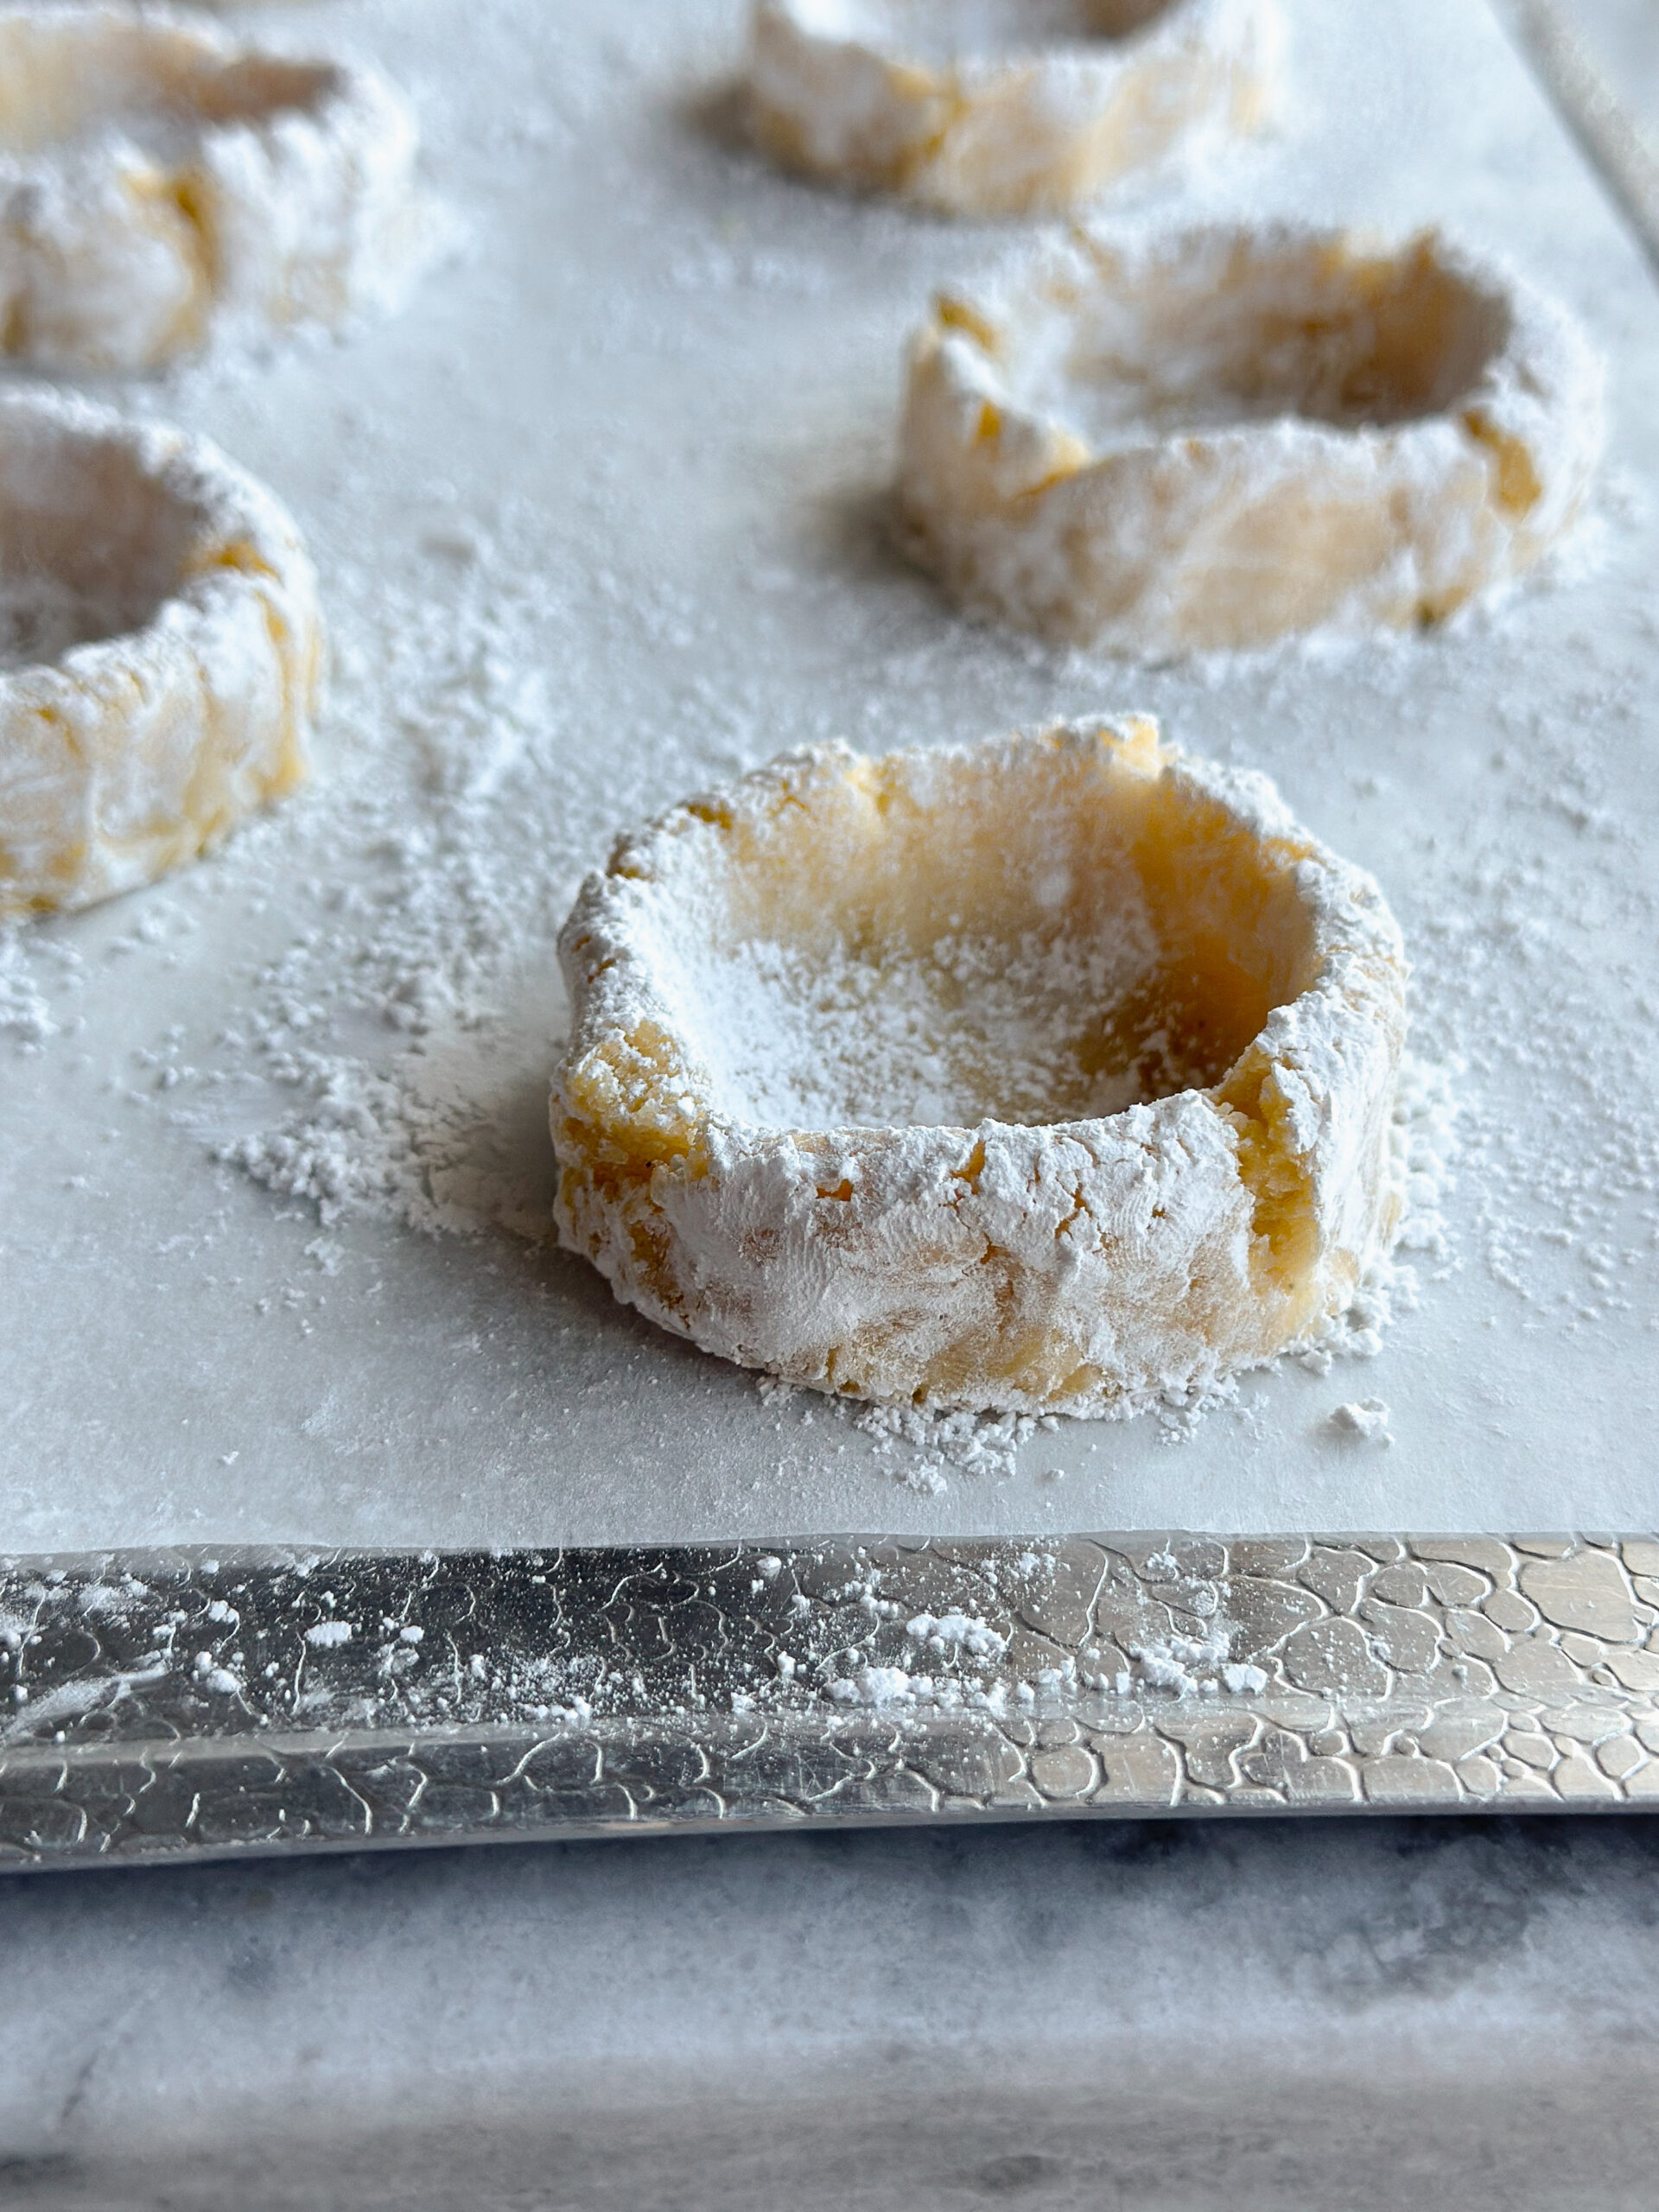
- For perfectly round cookies, use a large metal cookie cutter to scoot the hot cookies into shape. I’m addicted to doing this.
serving with, other toppings, variations on, etc.
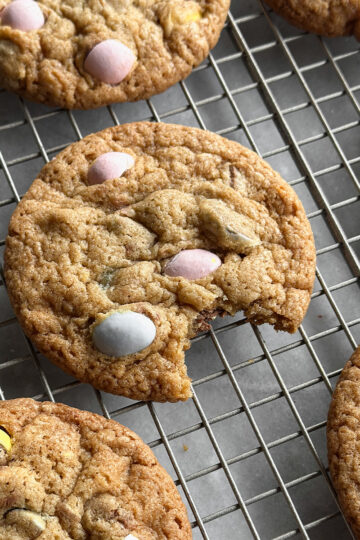
This fudgy brownie cookie can be the base for ANYTHING. It is such an incredibly cookie, and it is very customizable. Here are a few variations I have made with it (that you can currently find on Instagram, but will be coming to this blog soon):
- cosmic brownie cookies
- peanut butter brownie cookies
- black brownie cookies
- peppermint bark brownie cookies
- Ghirardelli square brownie cookies (try caramel squares or any of their seasonal flavors)
- peppermint bark brownie cookies
watch how to make cosmic brownie cookies
cosmic brownie cookies

These fudgy brownie cookies are inspired by Little Debbie cosmic brownies, although very loosely inspired. These are incredibly rich and more “grown up”. The cookie is technically a brownie, but it’s spiked with coffee and studded with dark chocolate. The ganache on top is so indulgent and rich with an almost smoky flavor that pairs so well with the brownie. Together it’s the perfect bite.
- Yield: 18–20 1x
Ingredients
brownie cookie
113g unsalted butter (salted is fine)
113.5g (4 oz.) dark chocolate, like Ghirardelli 60% chips or bars
2 tsp instant coffee, like Folger’s
1 tsp Diamond Crystal kosher salt, or ½ tsp regular salt
150g (¾ cup) granulated sugar
110g (½ cup) brown sugar
2 eggs
1 tsp vanilla bean paste or extract
46g (½ cup) Dutch process cocoa powder
90g (¾ cup) all purpose flour
½ tsp baking powder
180g (1 cup) chopped chocolate or chocolate chips, like Ghirardelli 60%
ganache
180g dark chocolate (Ghirardelli 60%) (a heaping cup)
180g heavy whipping cream (¾ cup)
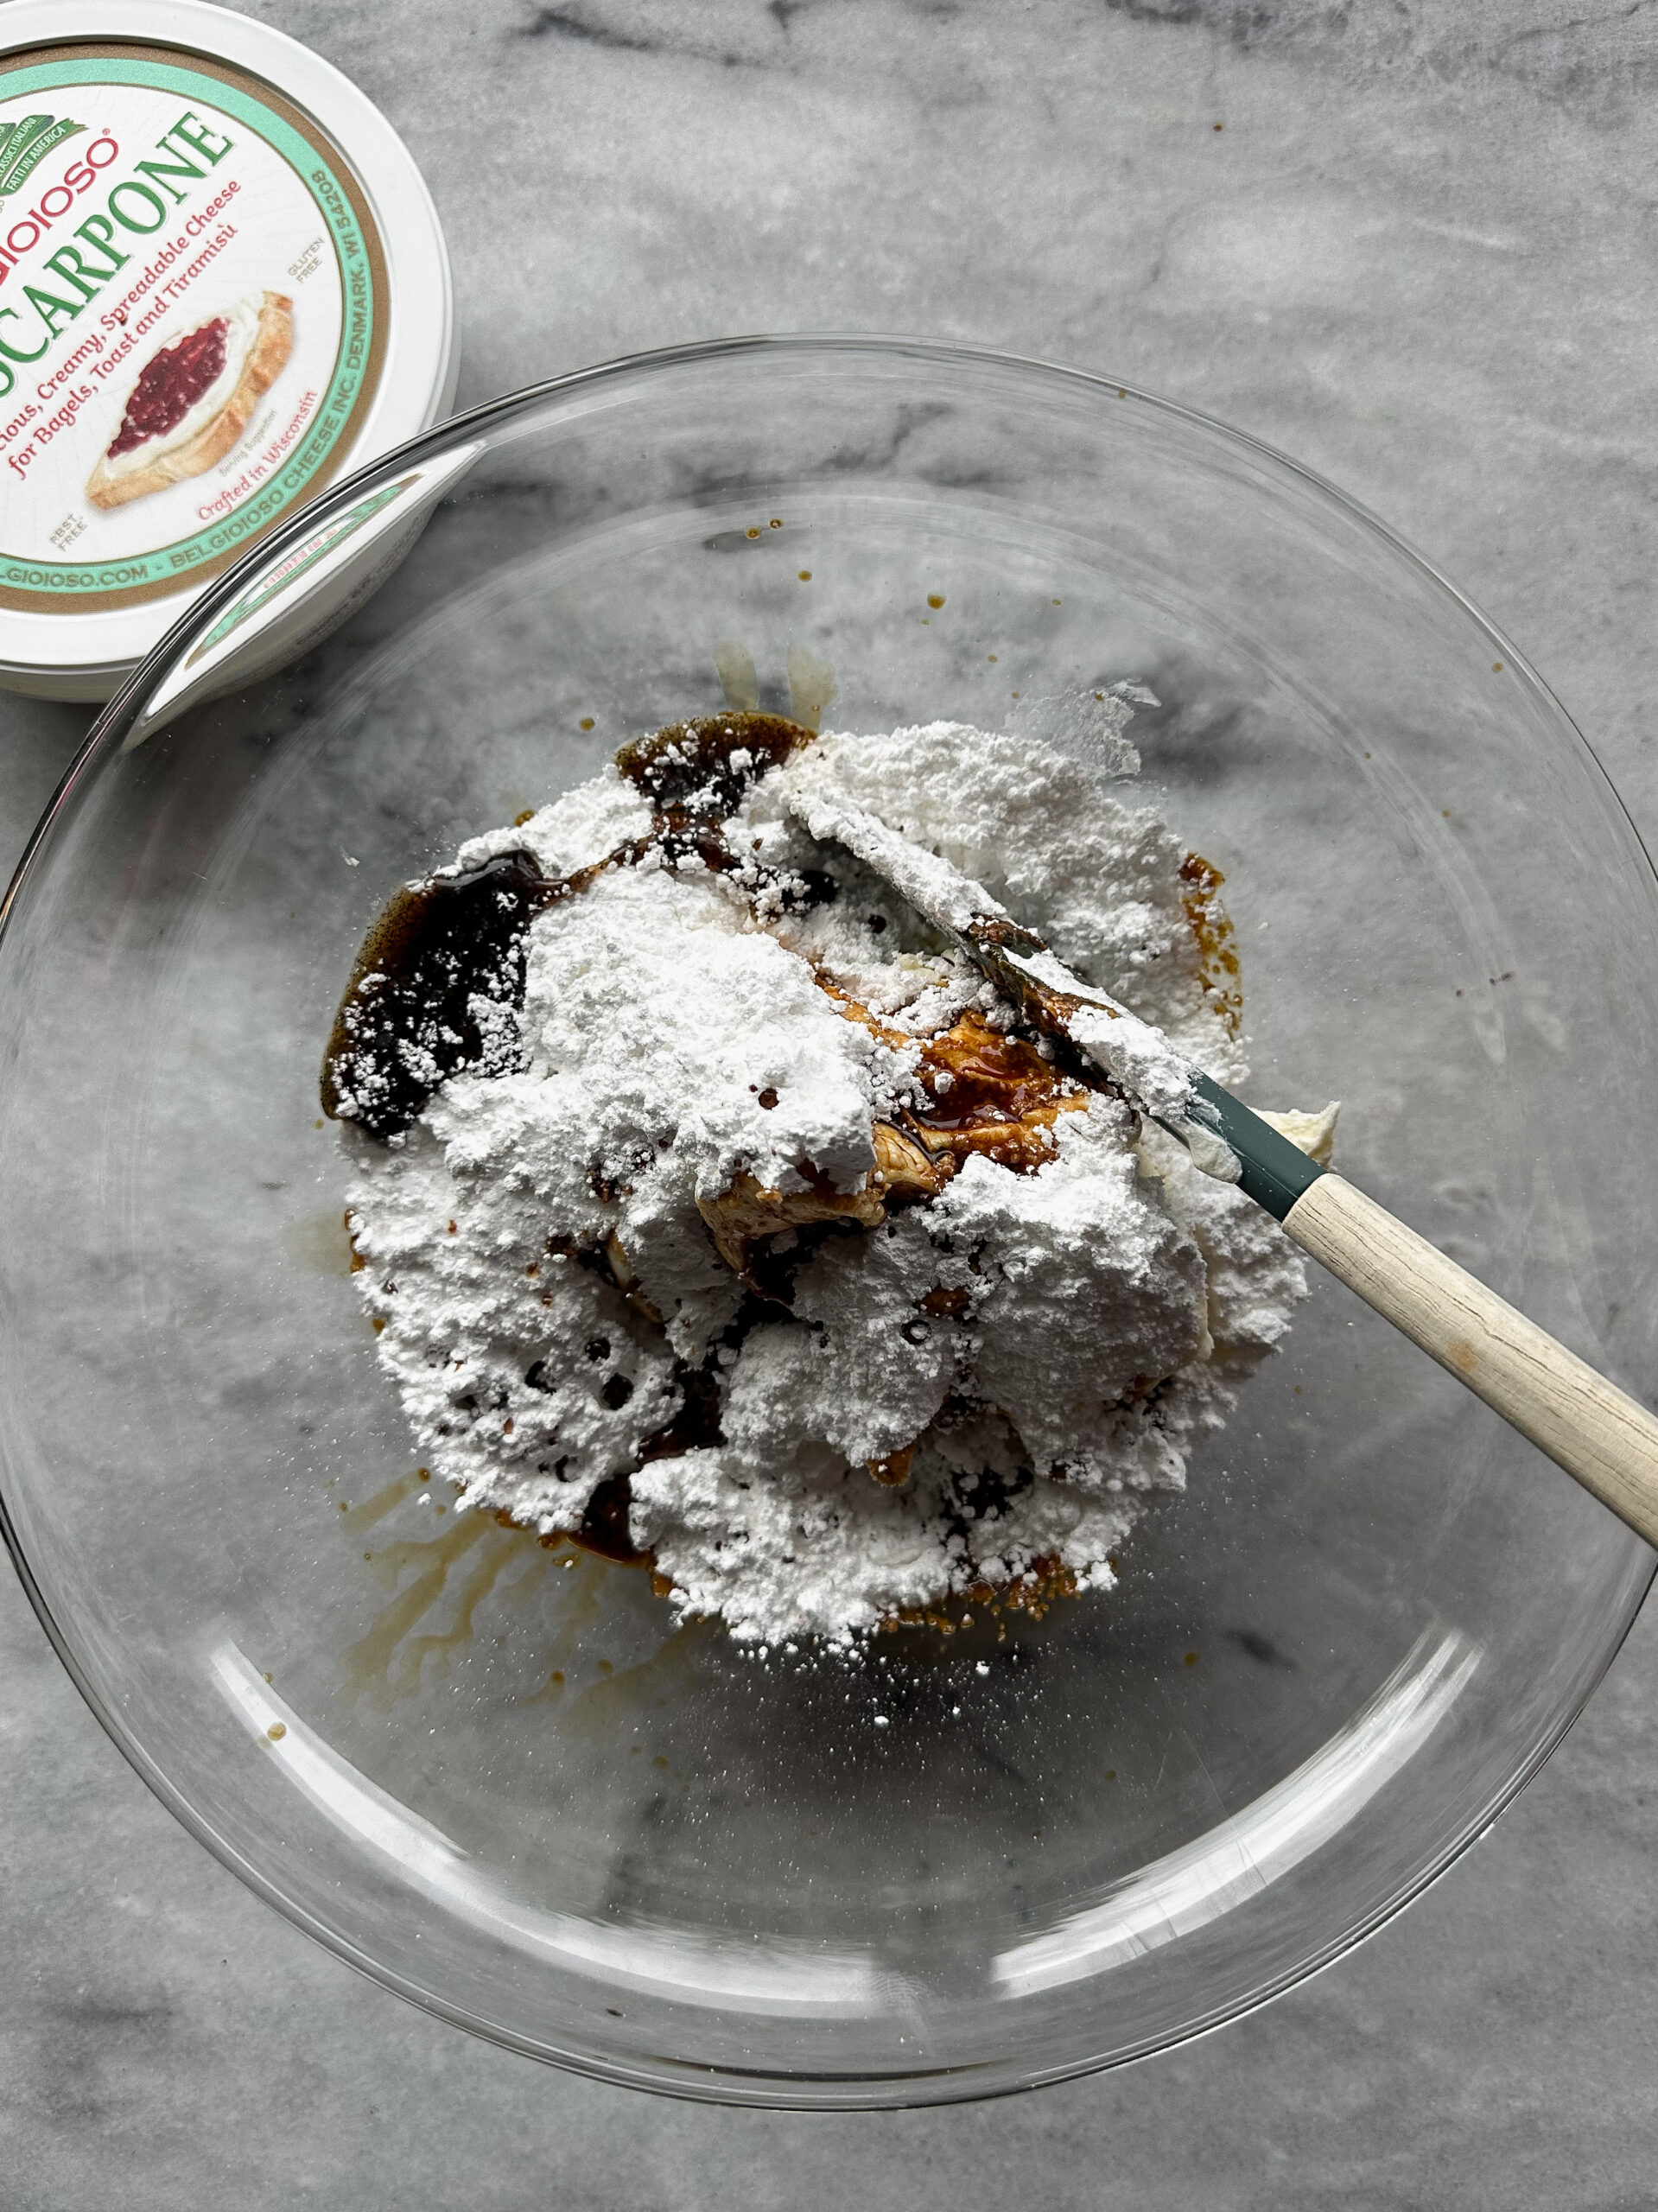
120g (1 cup) powdered sugar
1 tsp vanilla bean paste or extract
½ tsp Diamond Crystal kosher salt, or ¼ tsp regular salt
Instructions
make the cookies
Preheat the oven to 350 F.
To a small saucepan, add the butter and the chocolate chips. Melt on a low heat, stirring and being careful not to overheat the chocolate. The butter will melt more quickly, and once it’s melted, take it off the heat and stir until the rest of the chocolate is melted. Stir in the instant coffee. Set this aside.
To a mixing bowl, add the eggs, sugars, and salt. Mix with a hand mixer on medium-high speed until it is thick and mousse-y, about three minutes.
Pour the chocolate/butter mixture into the whipped eggs and fold gently until the chocolate and eggs are combined.
Using a fine mesh sieve, sift the cocoa powder and the flour into the mixture. It’s very important to sift cocoa powder, because it almost always has a lot of lumps. Gently fold in the chocolate chips.
Scoop the cookies with a #30 cookie scoop onto a parchment lined baking sheet. Bake the cookies for 10-12 minutes. Let them cool on the baking sheet for a few minutes before transferring them to a wire rack to cool completely. Moving them prematurely will cause them to fall apart.
This recipe makes about 18-20 cookies that are about 2 ½″ in diameter when using a #30 scoop.
make the ganache
While the cookies are baking and cooling, make the ganache.
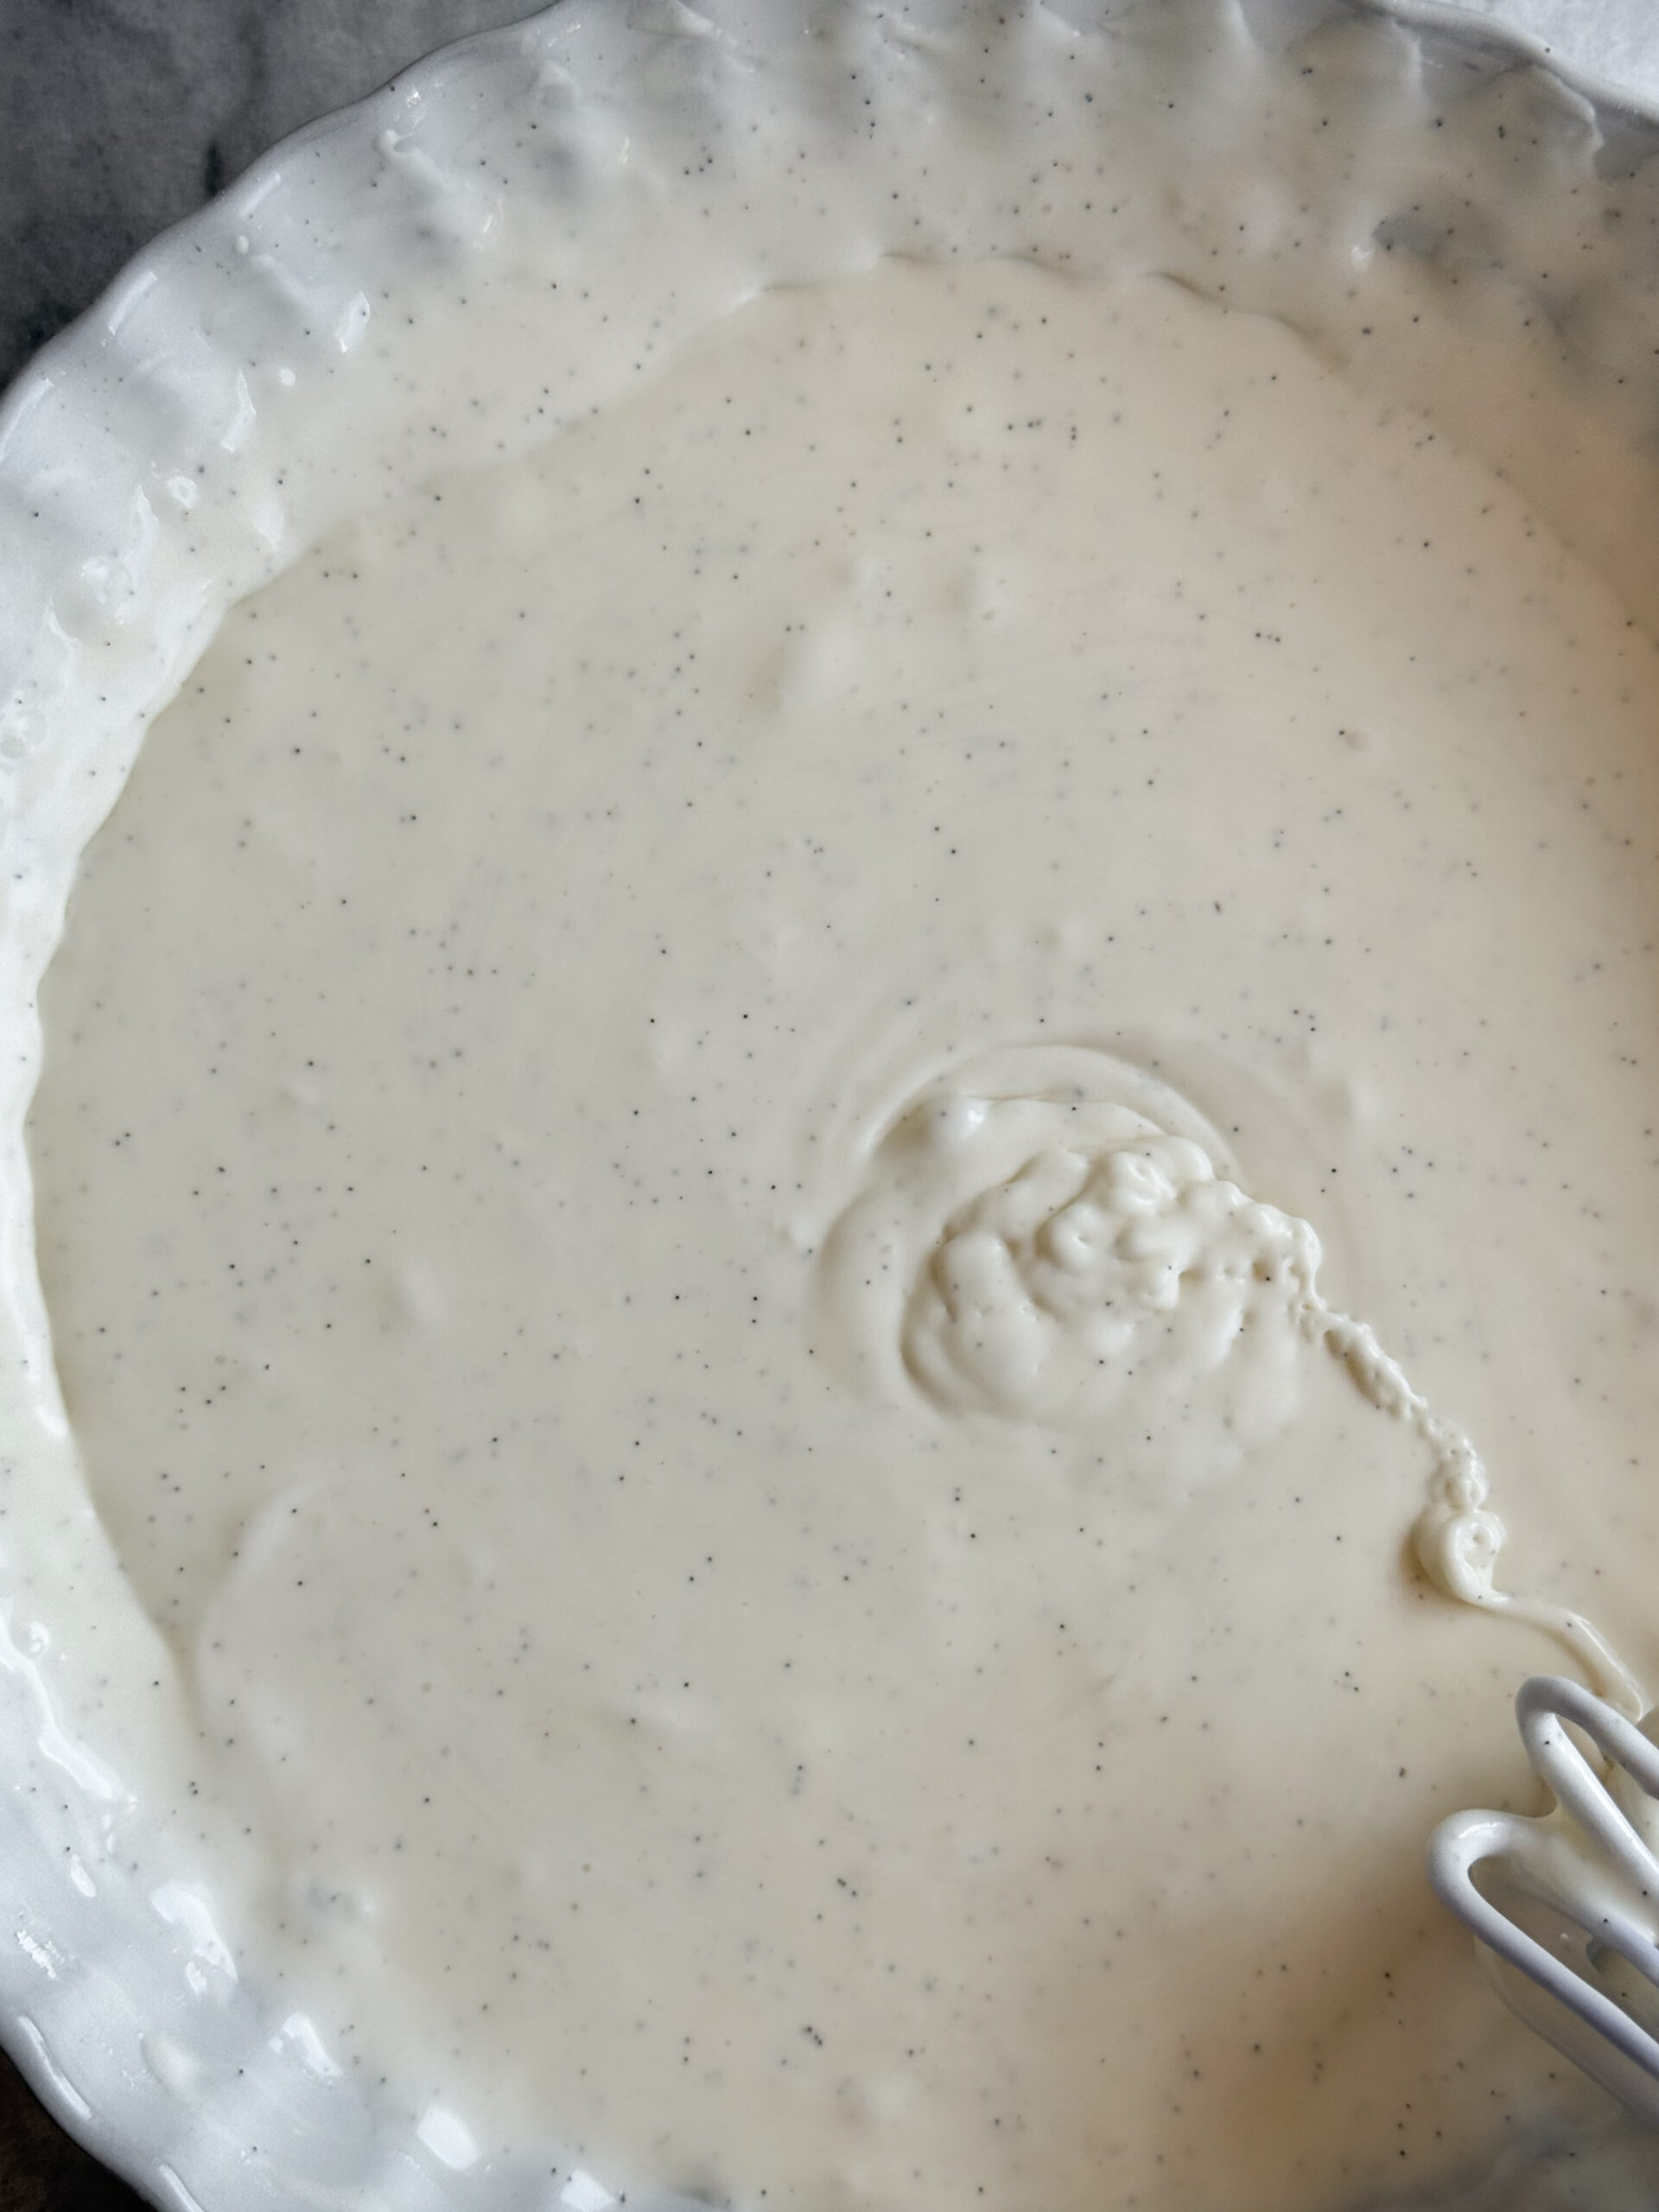
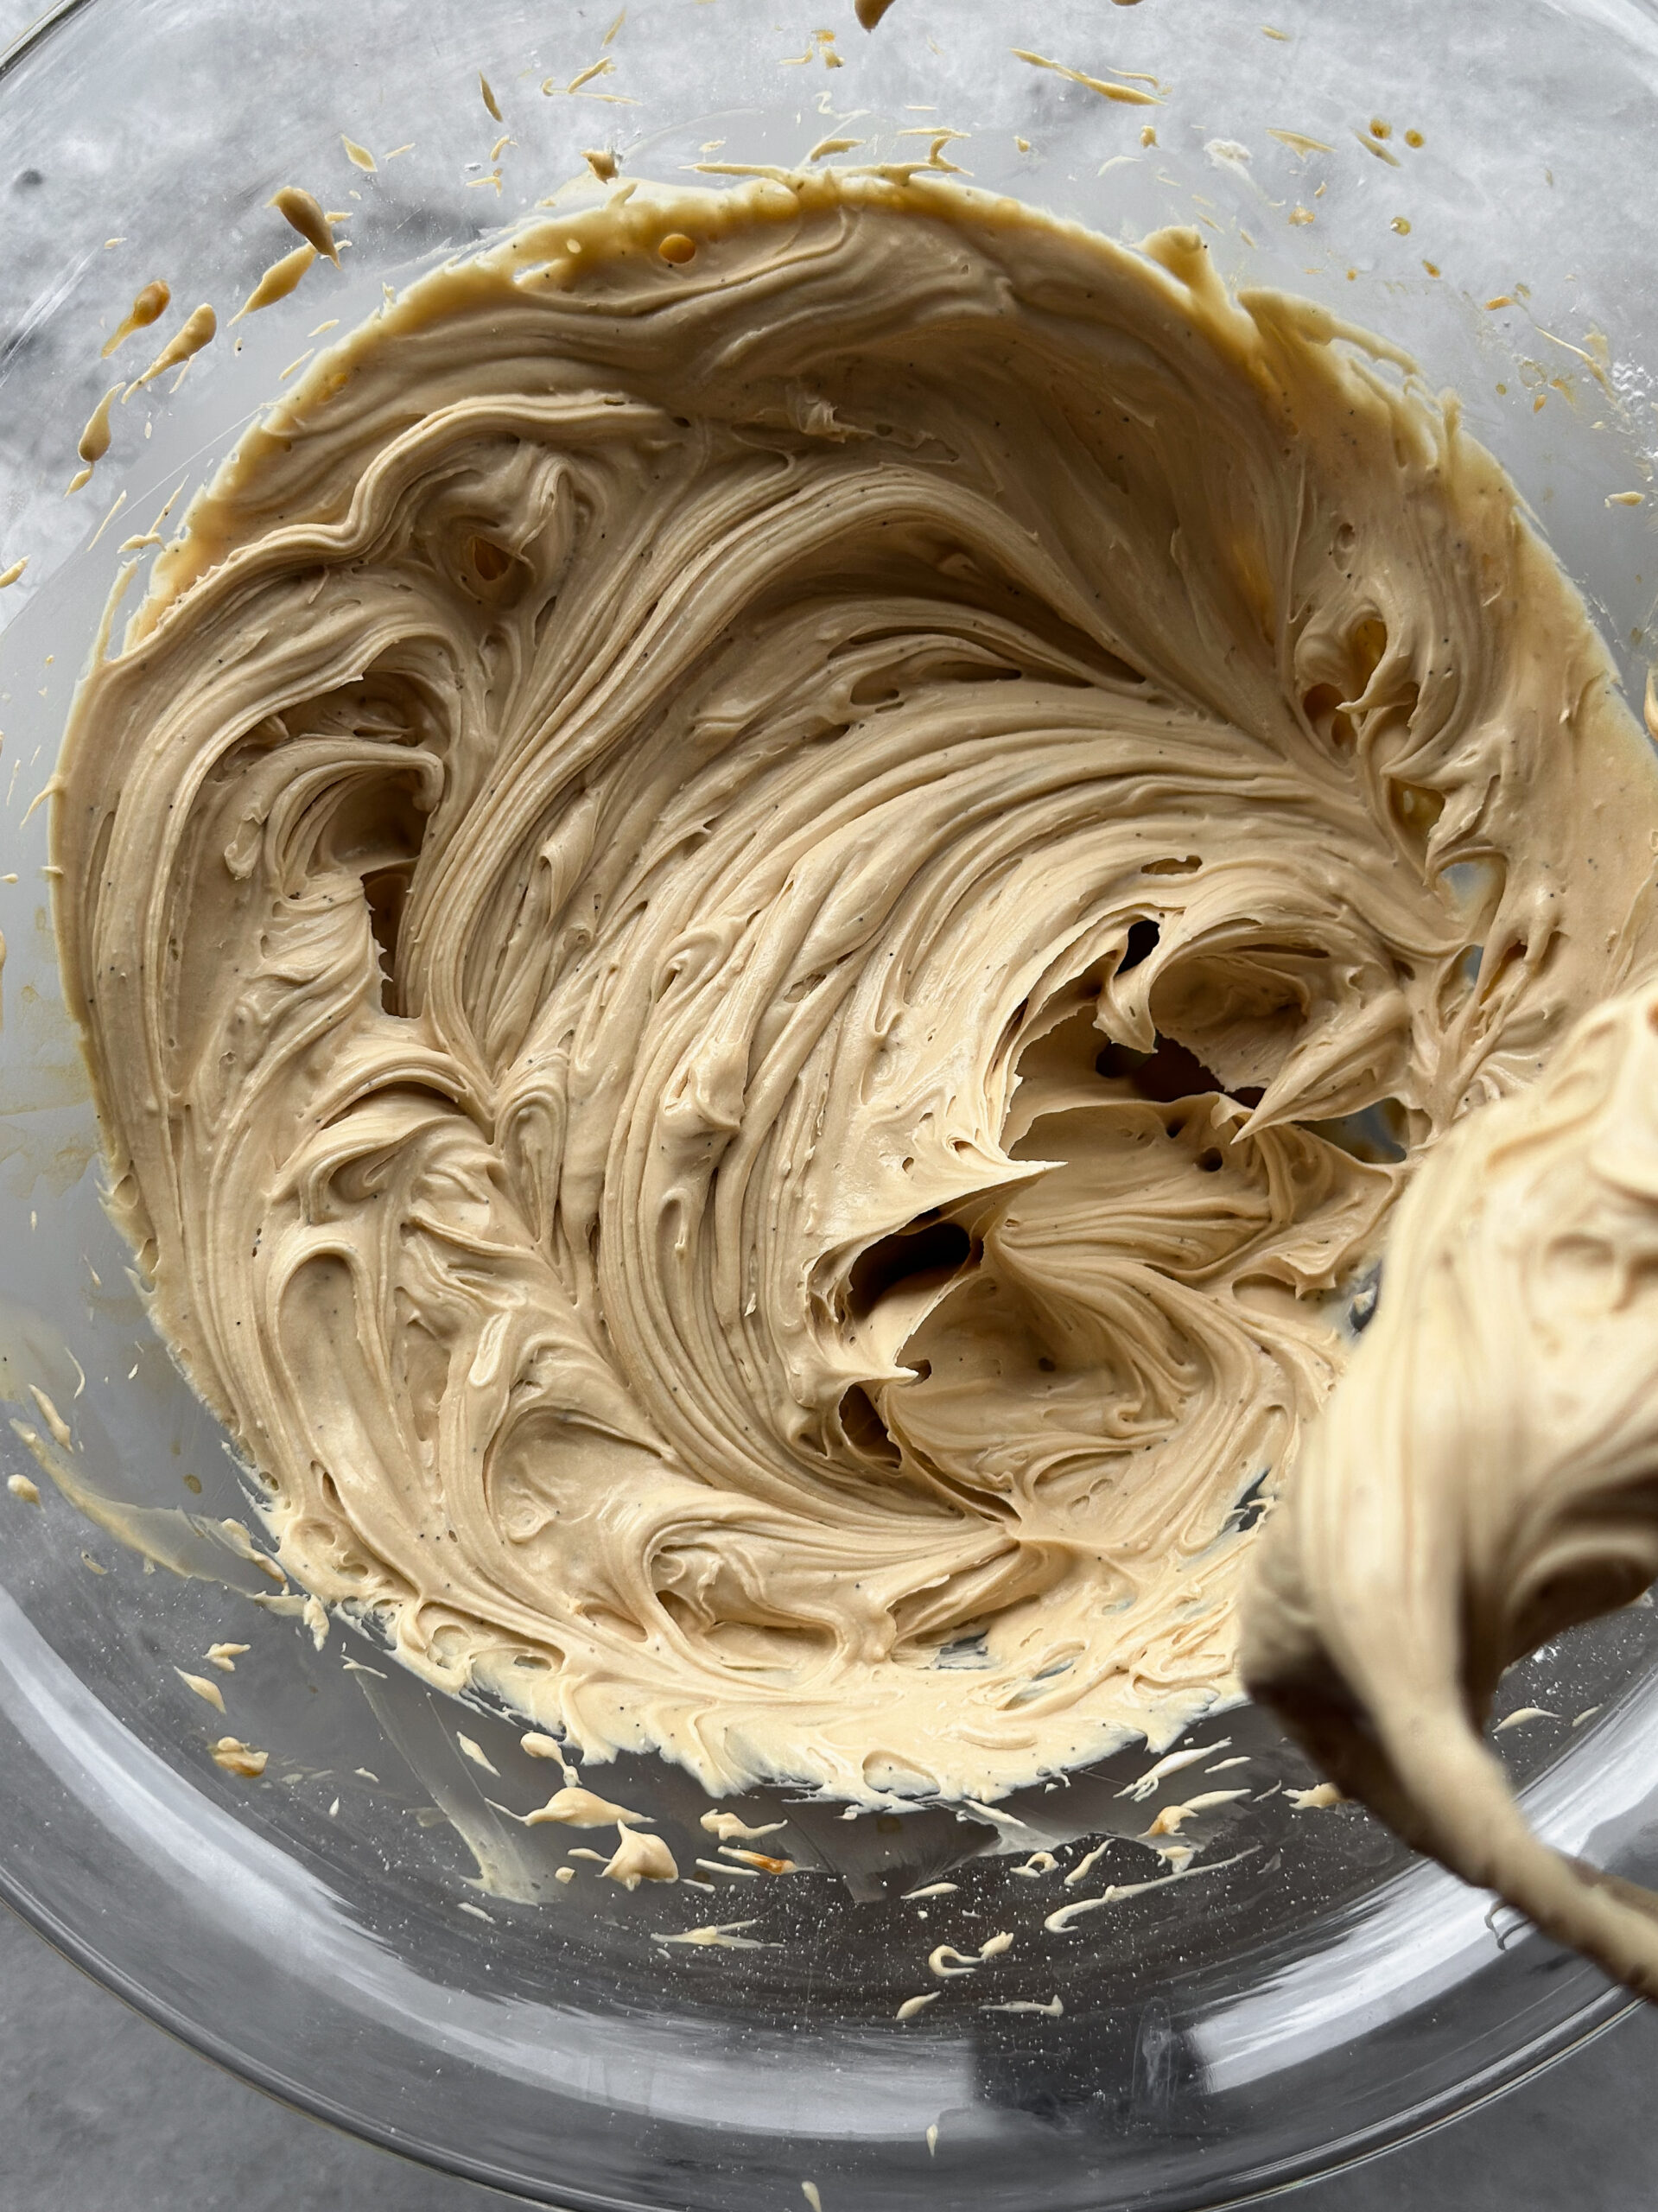
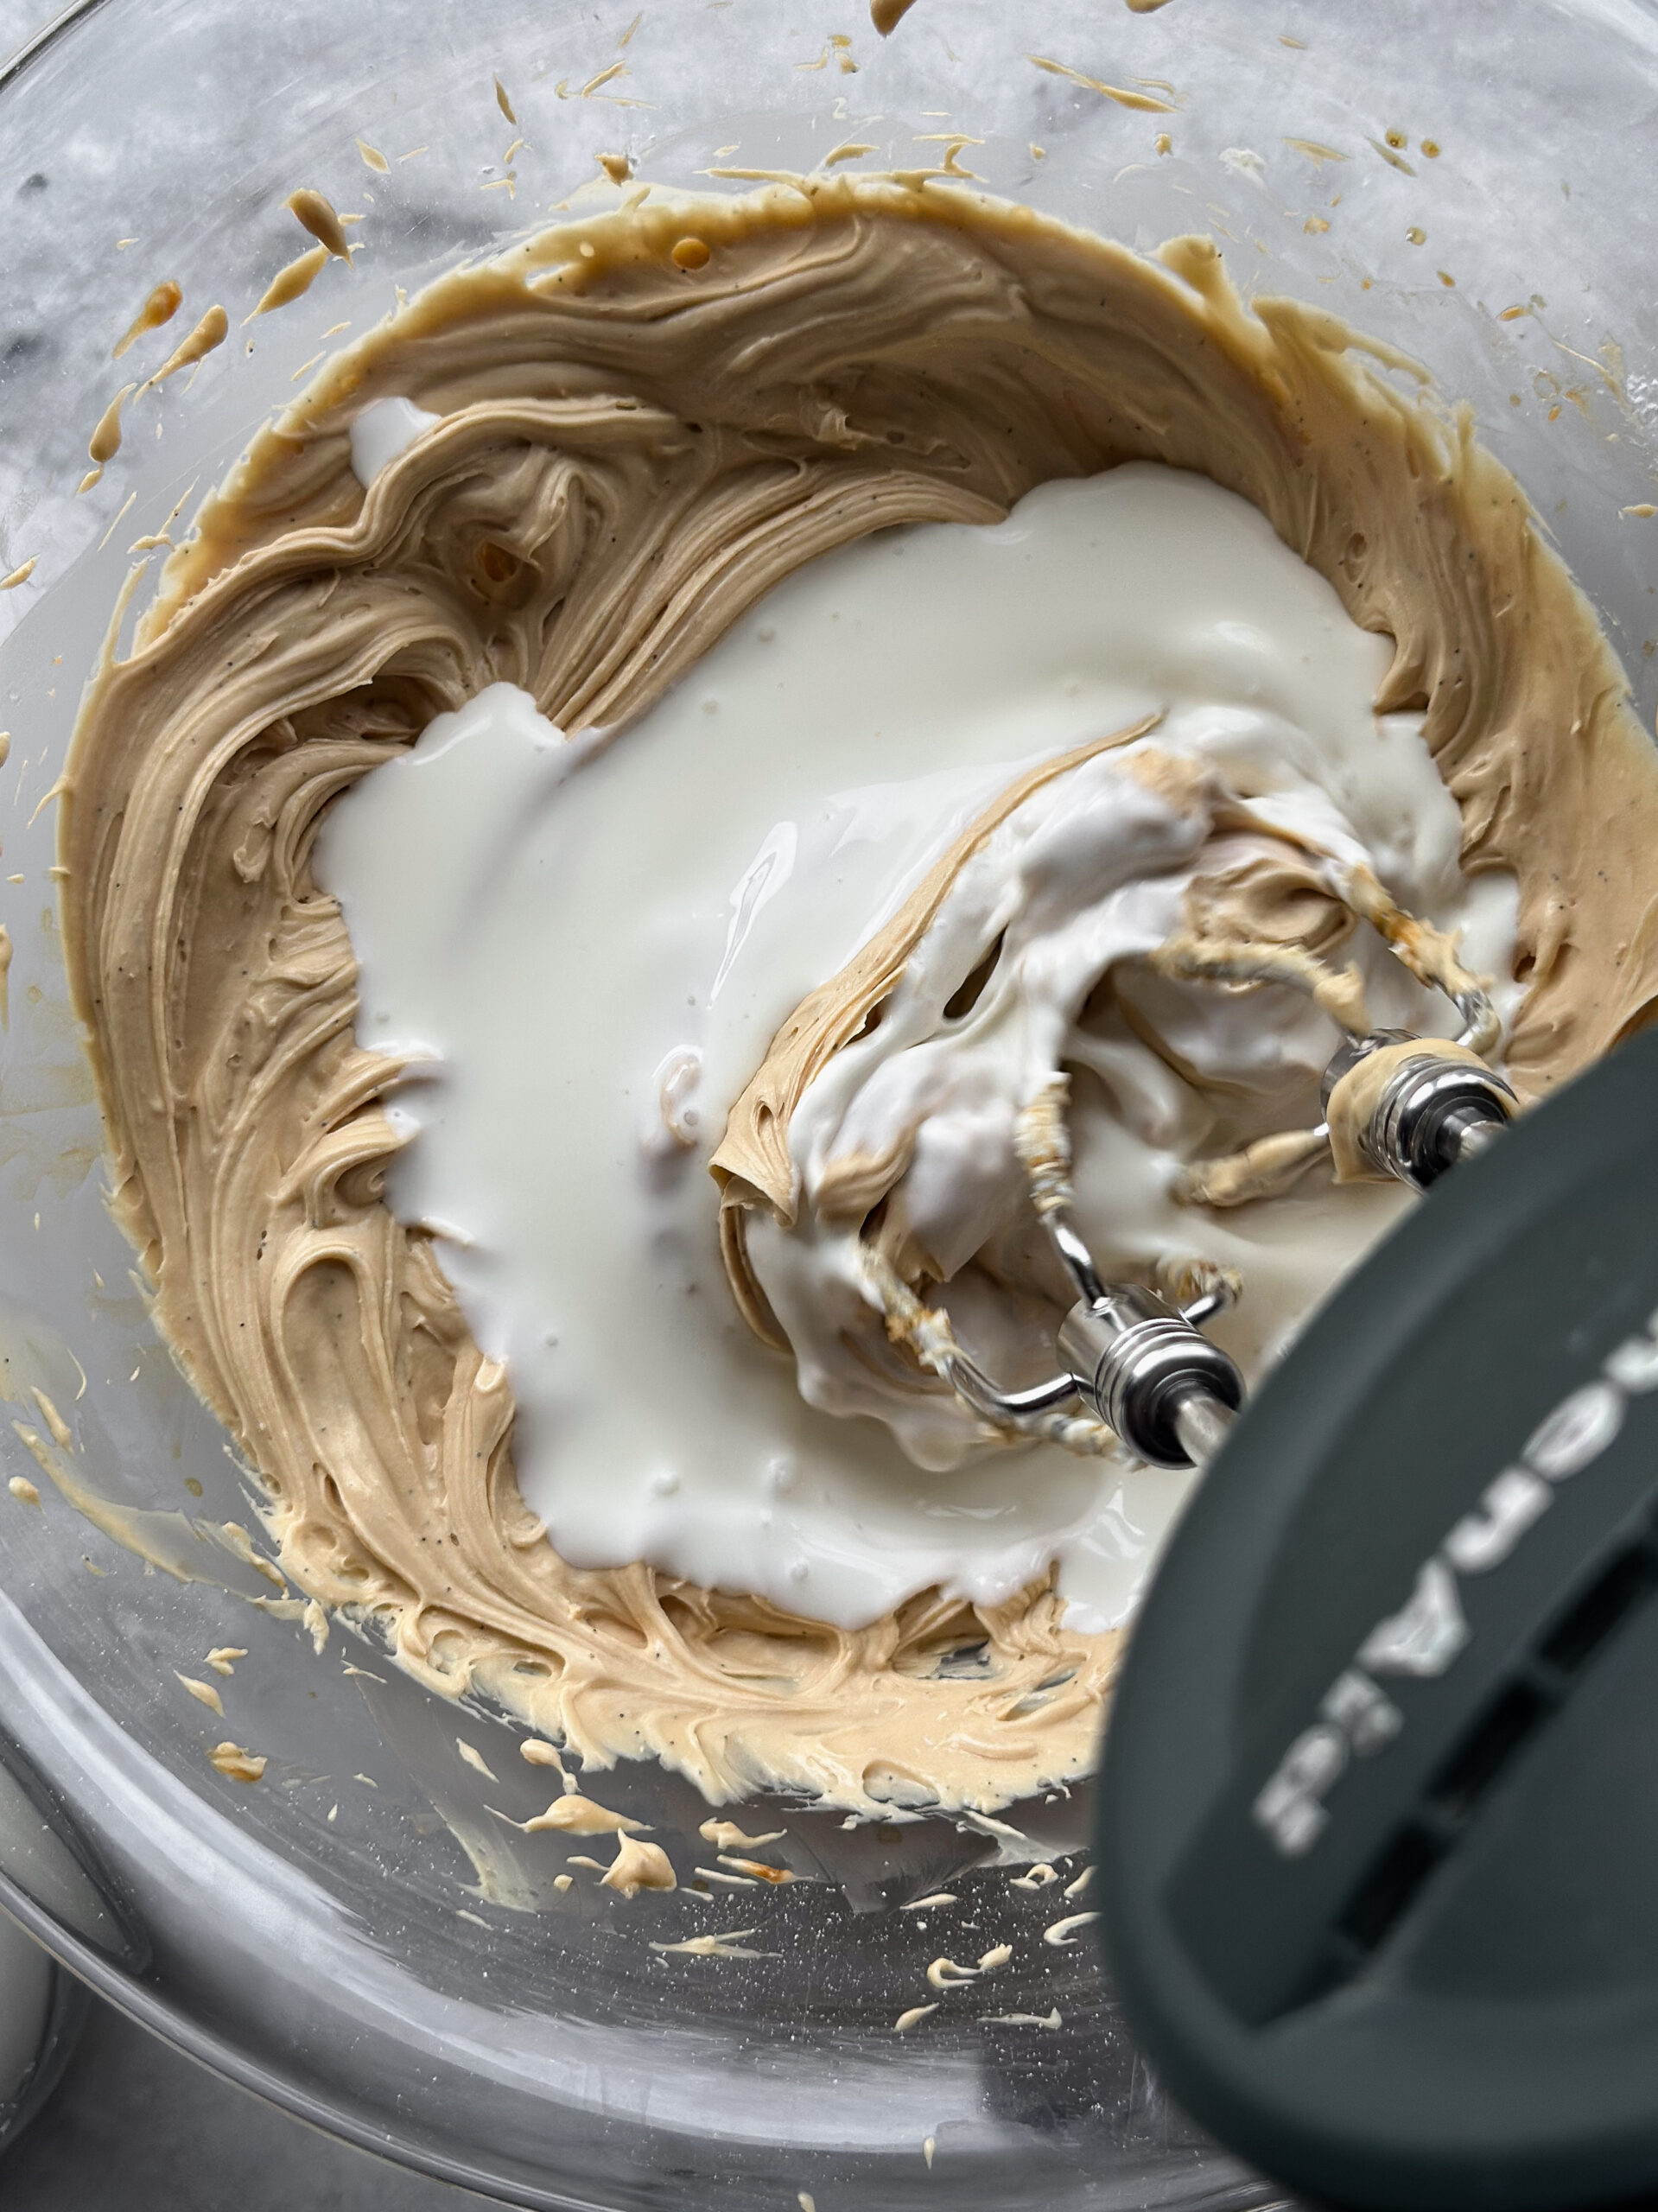
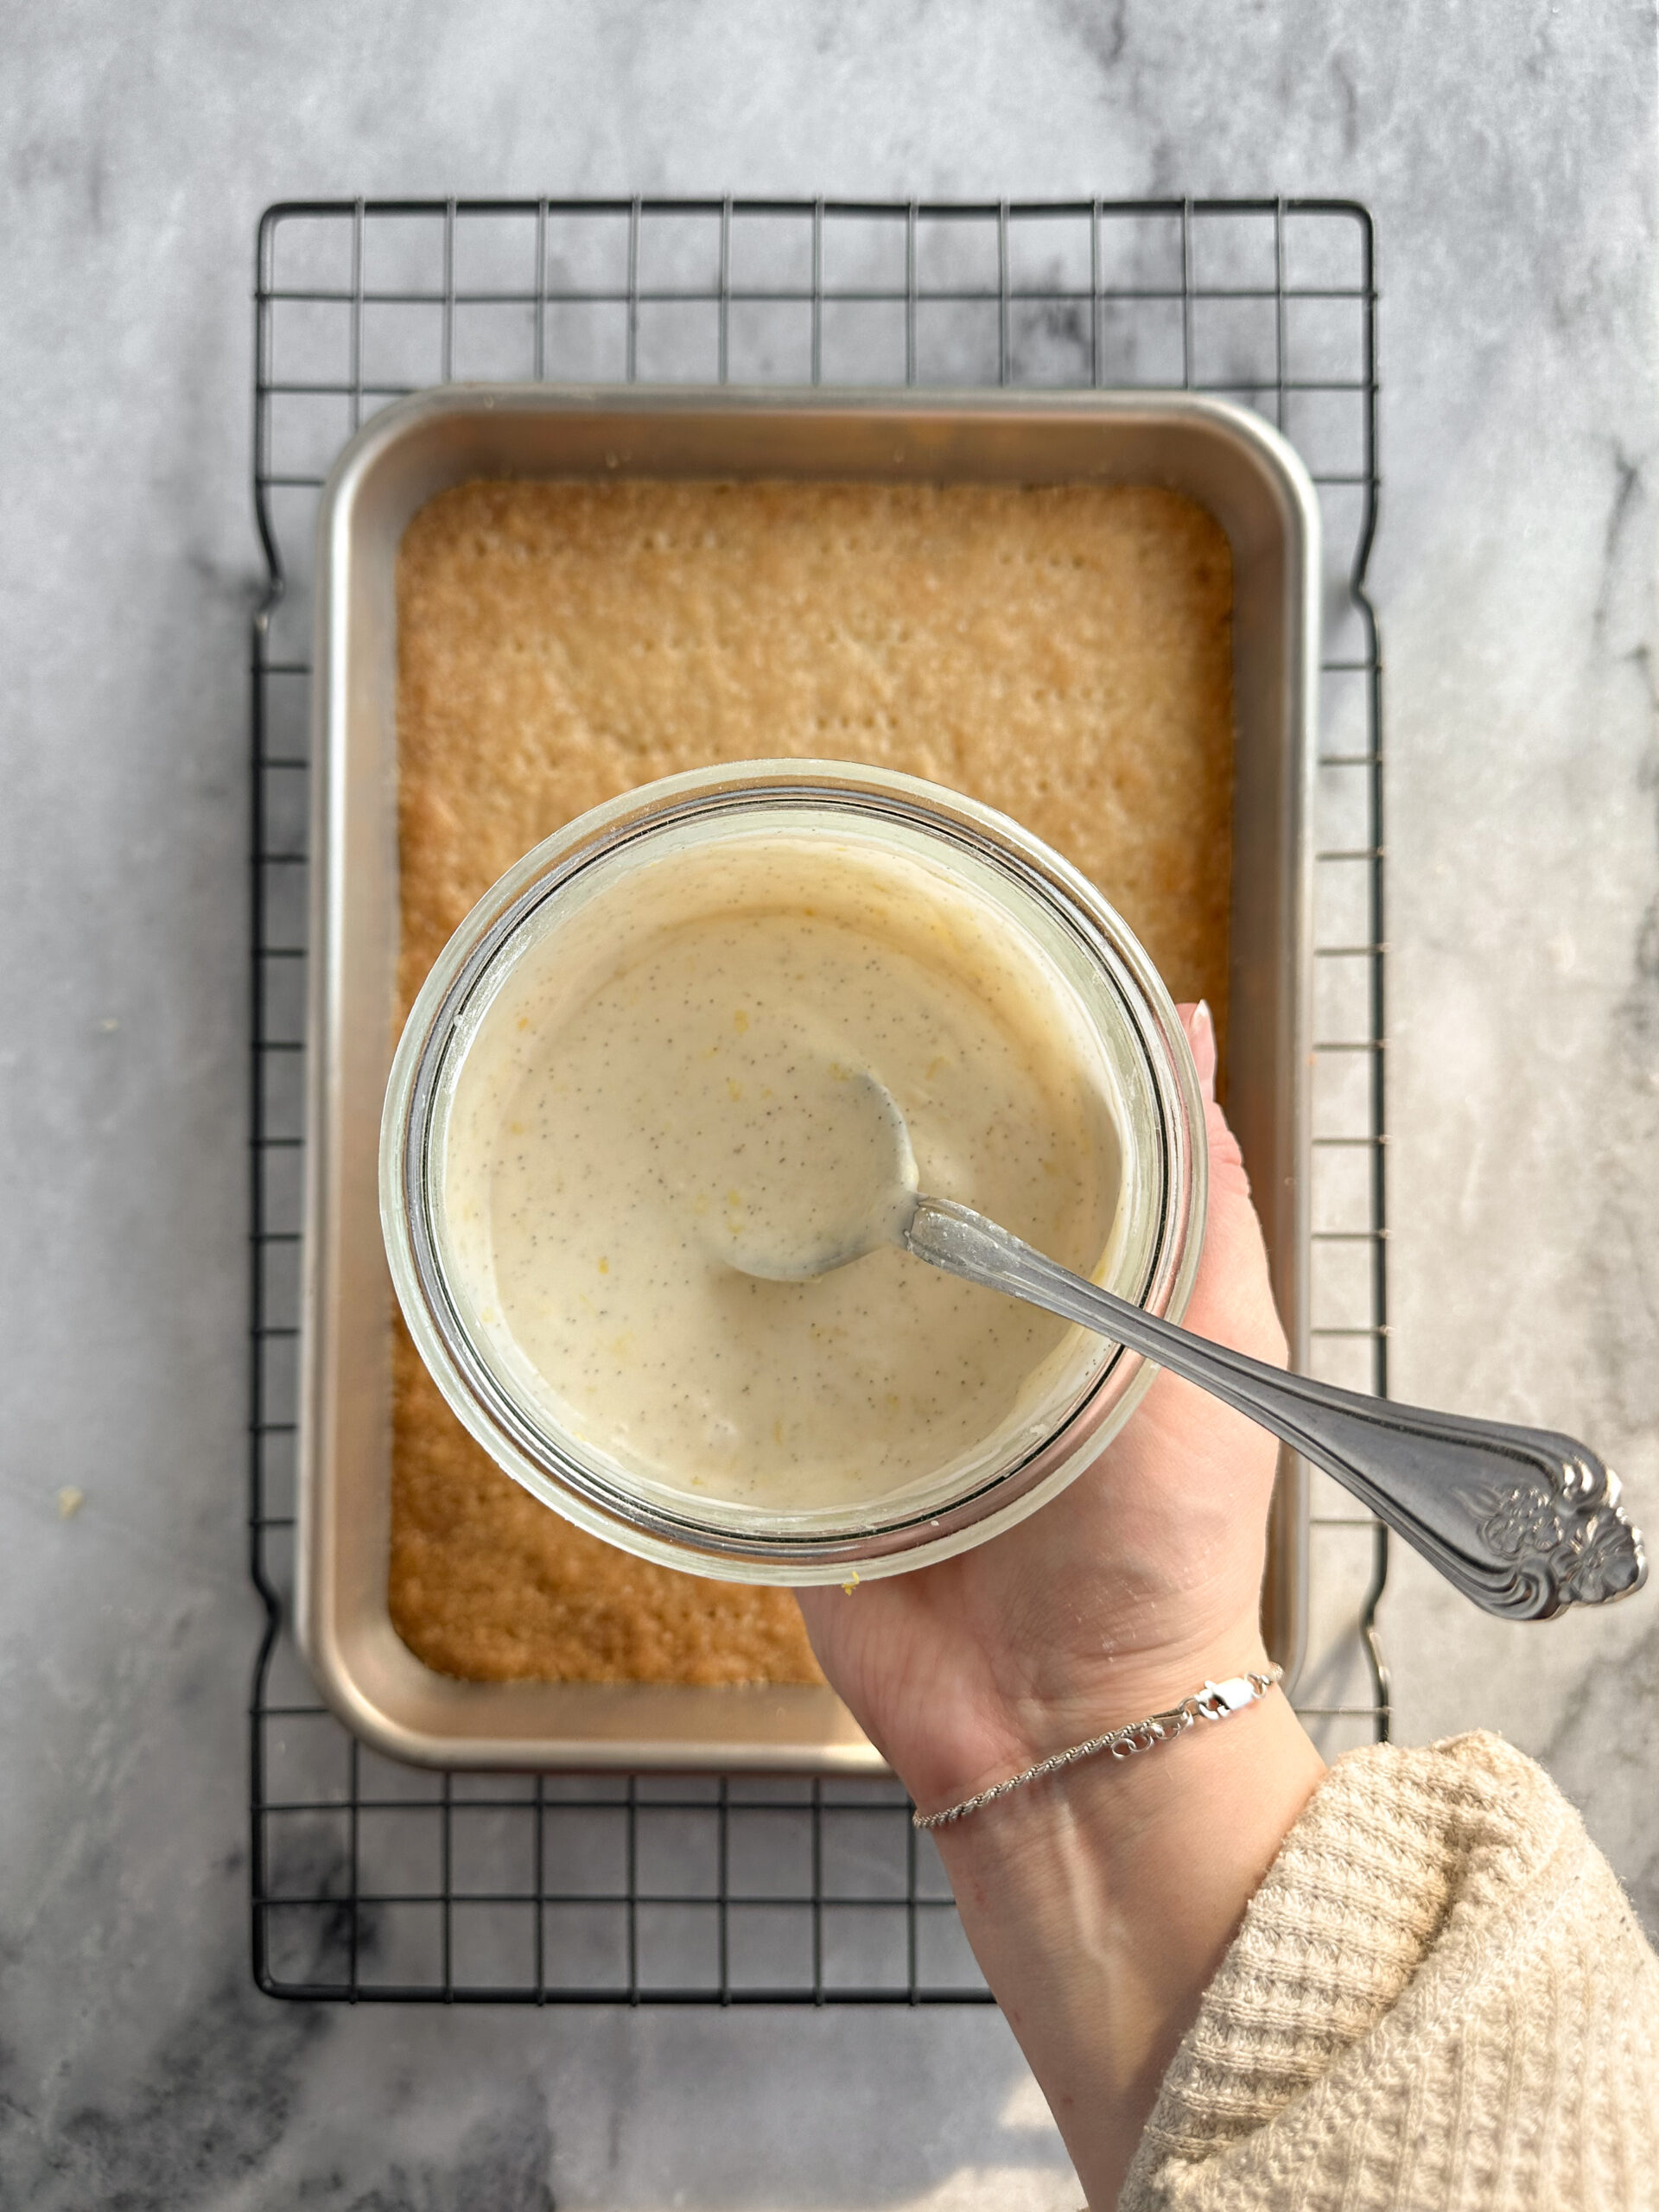
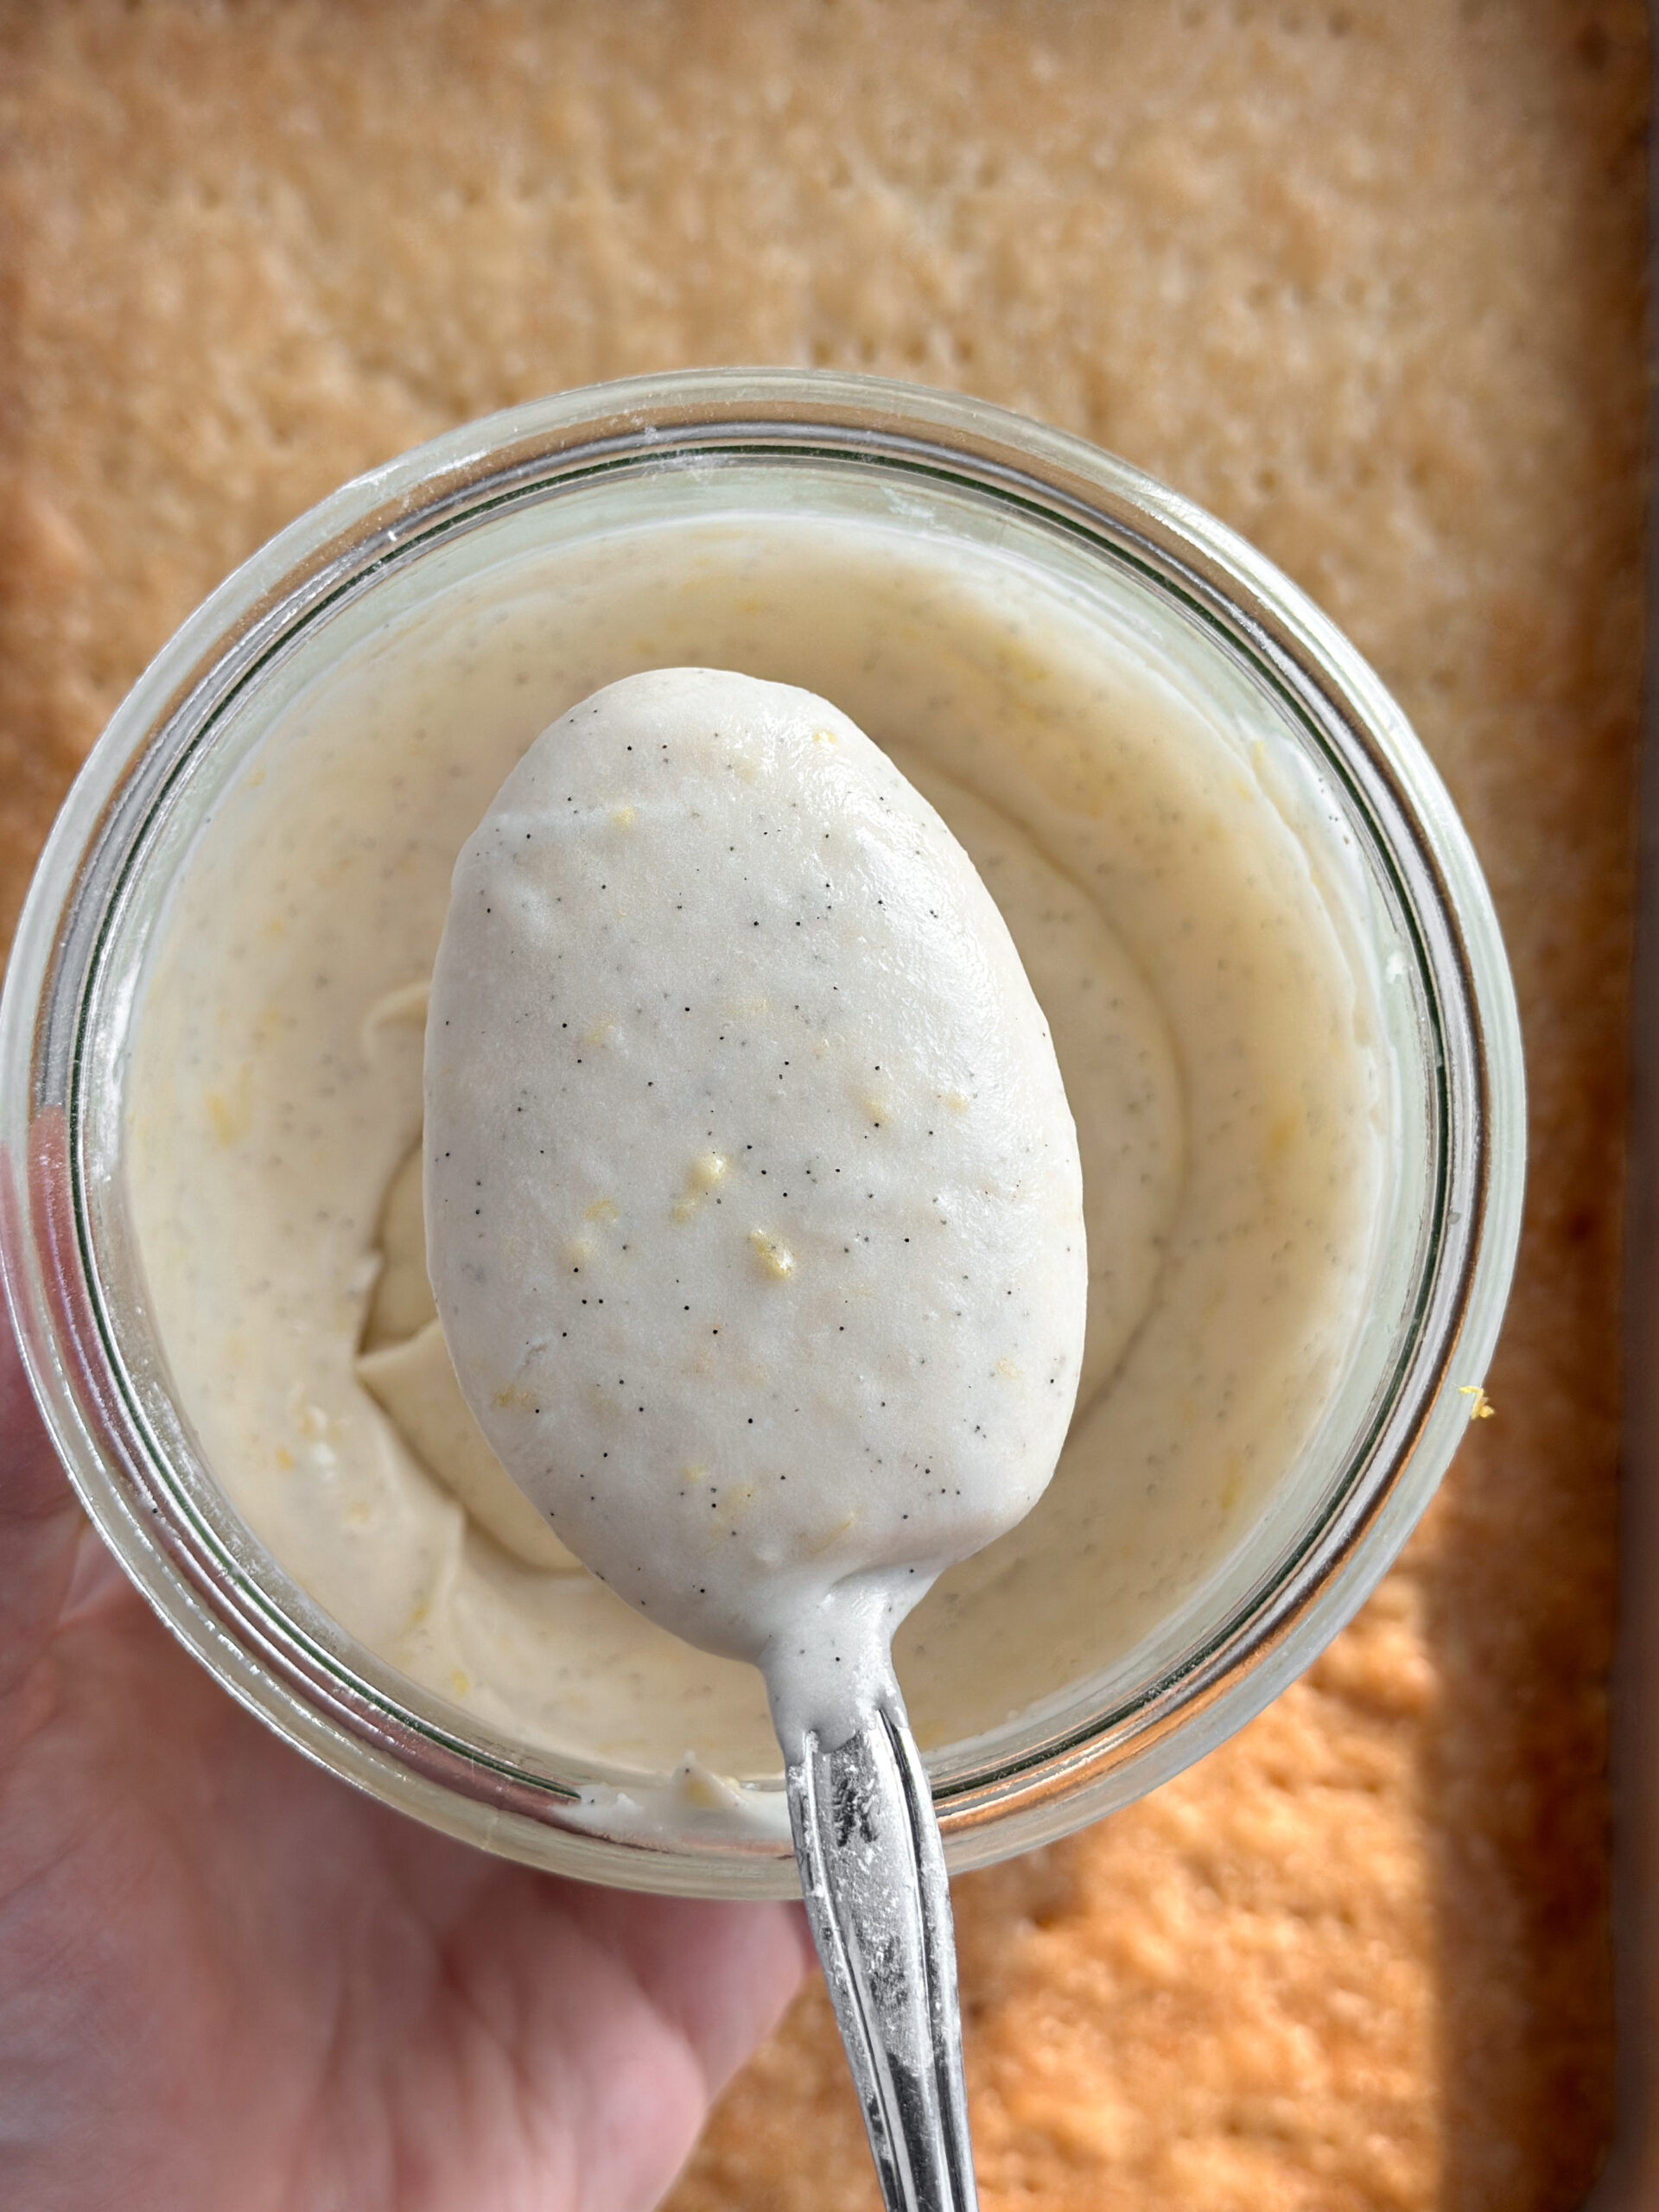
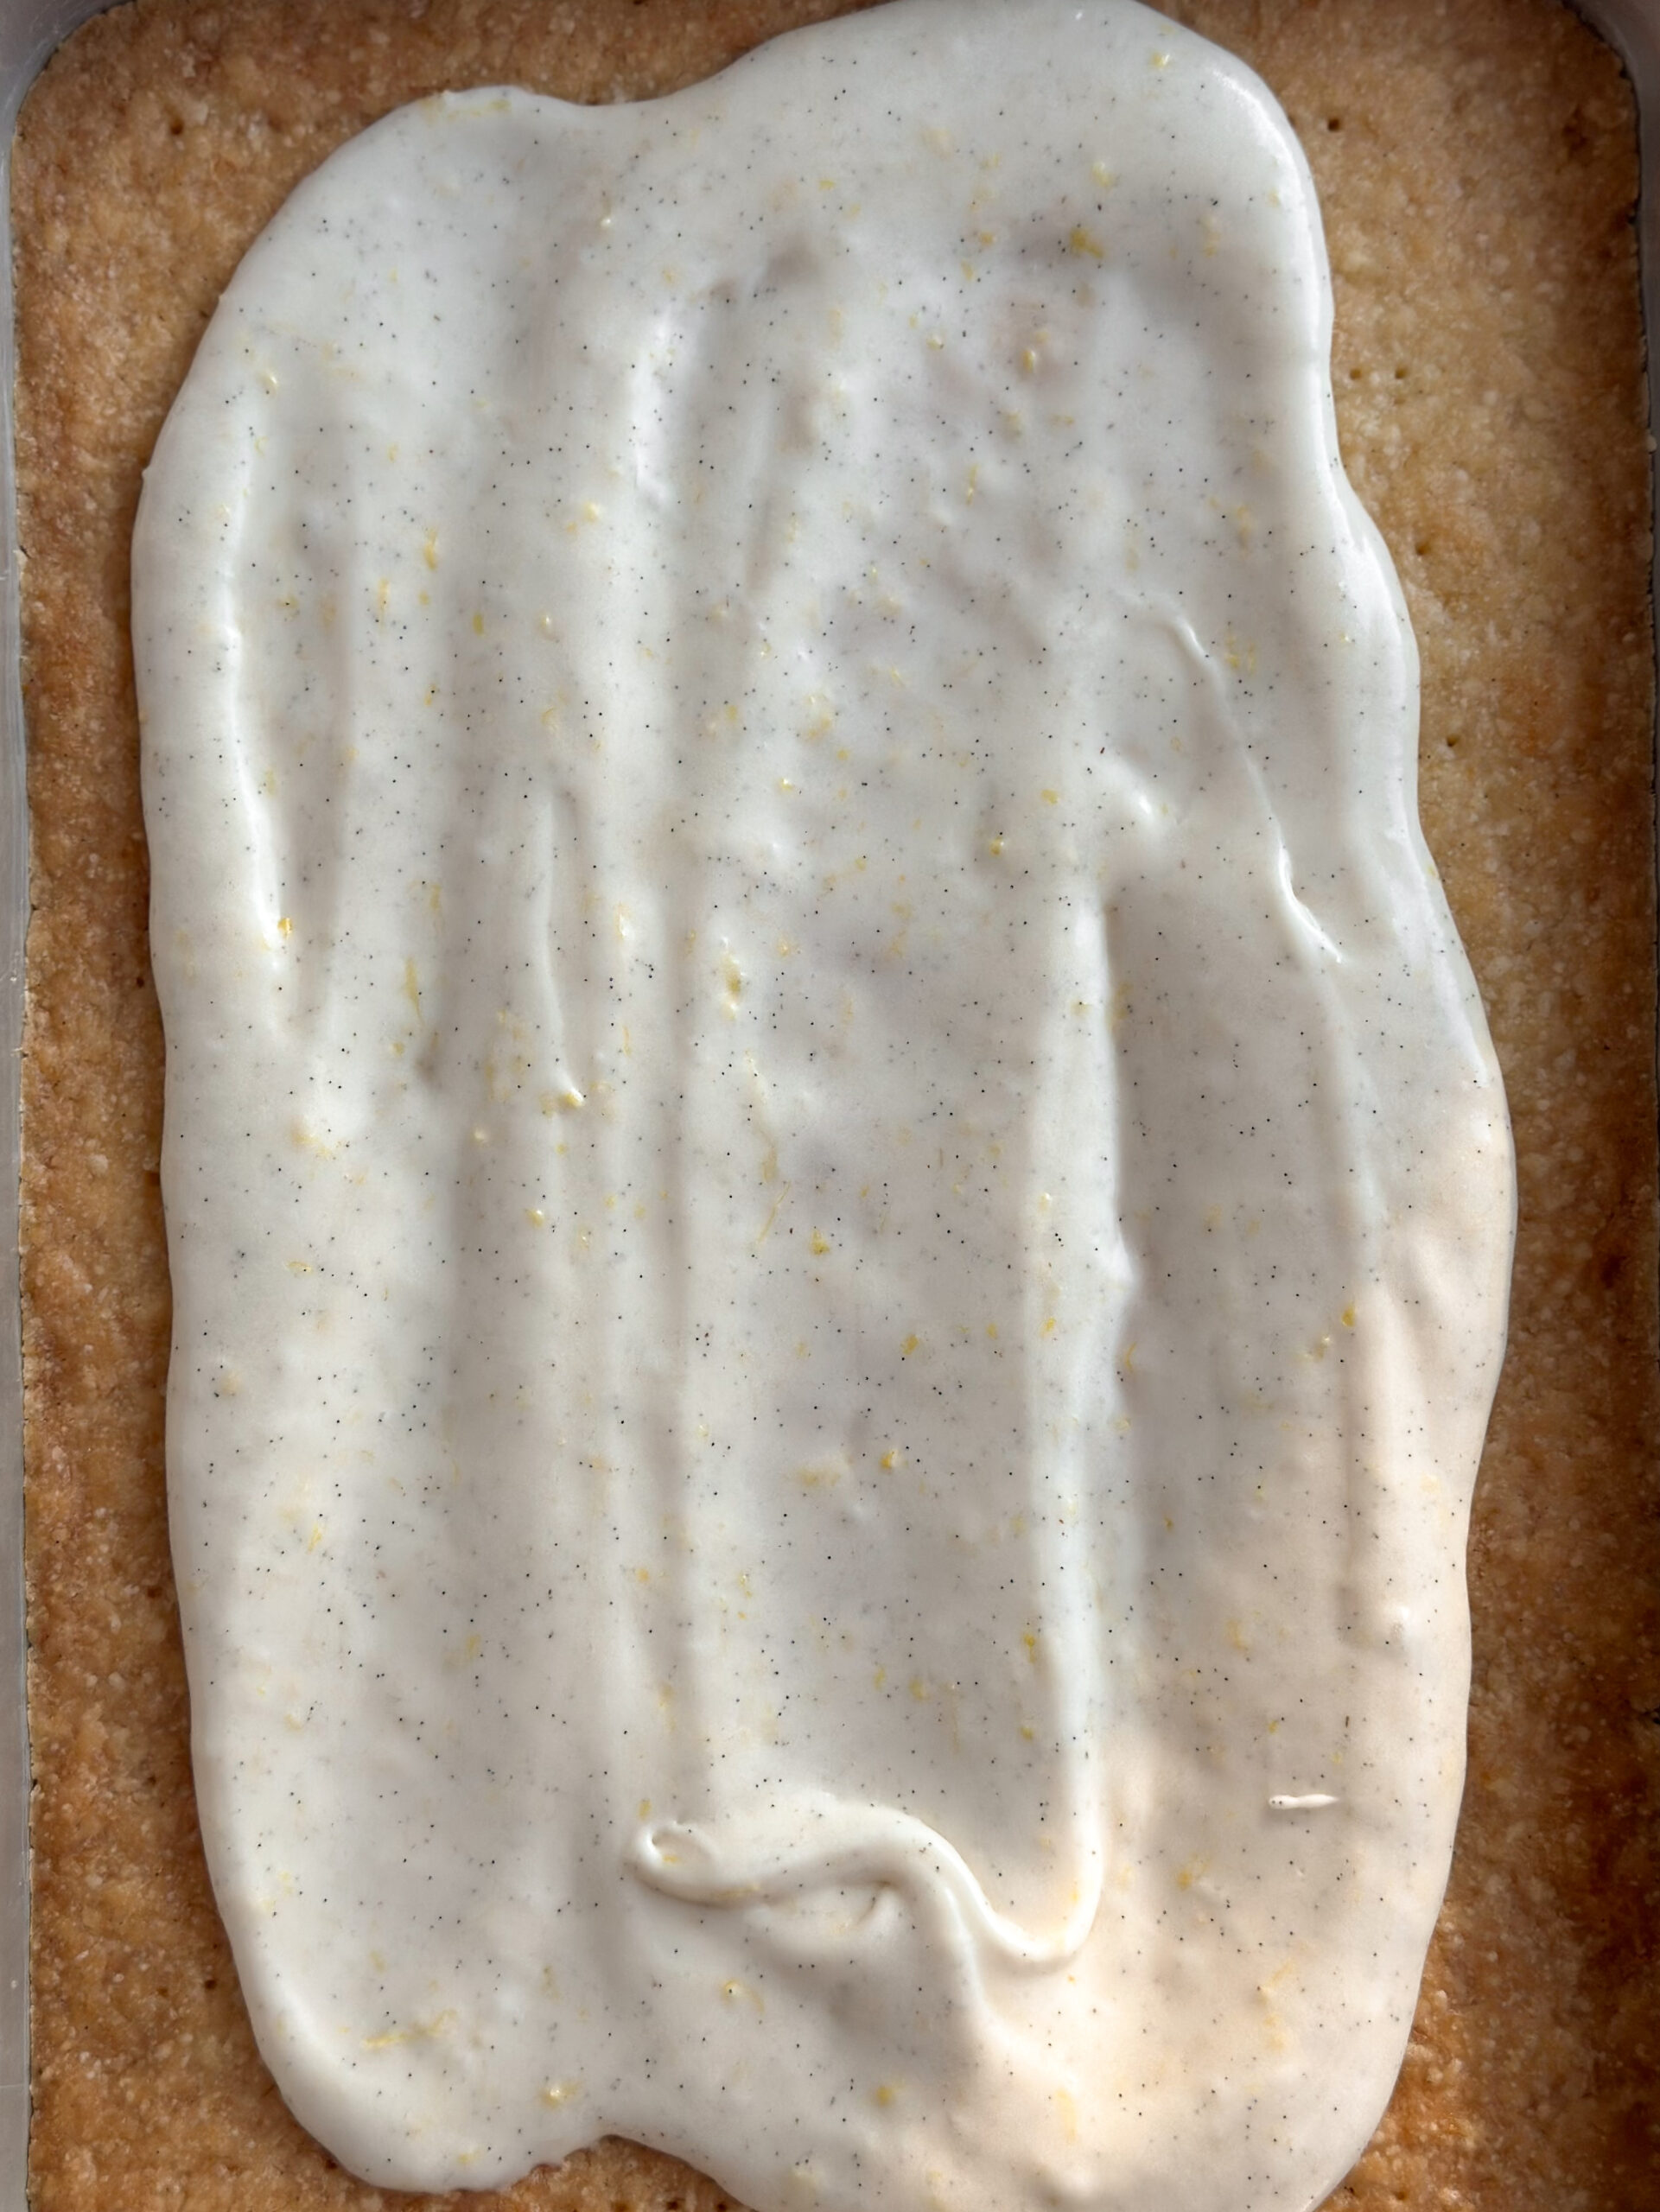
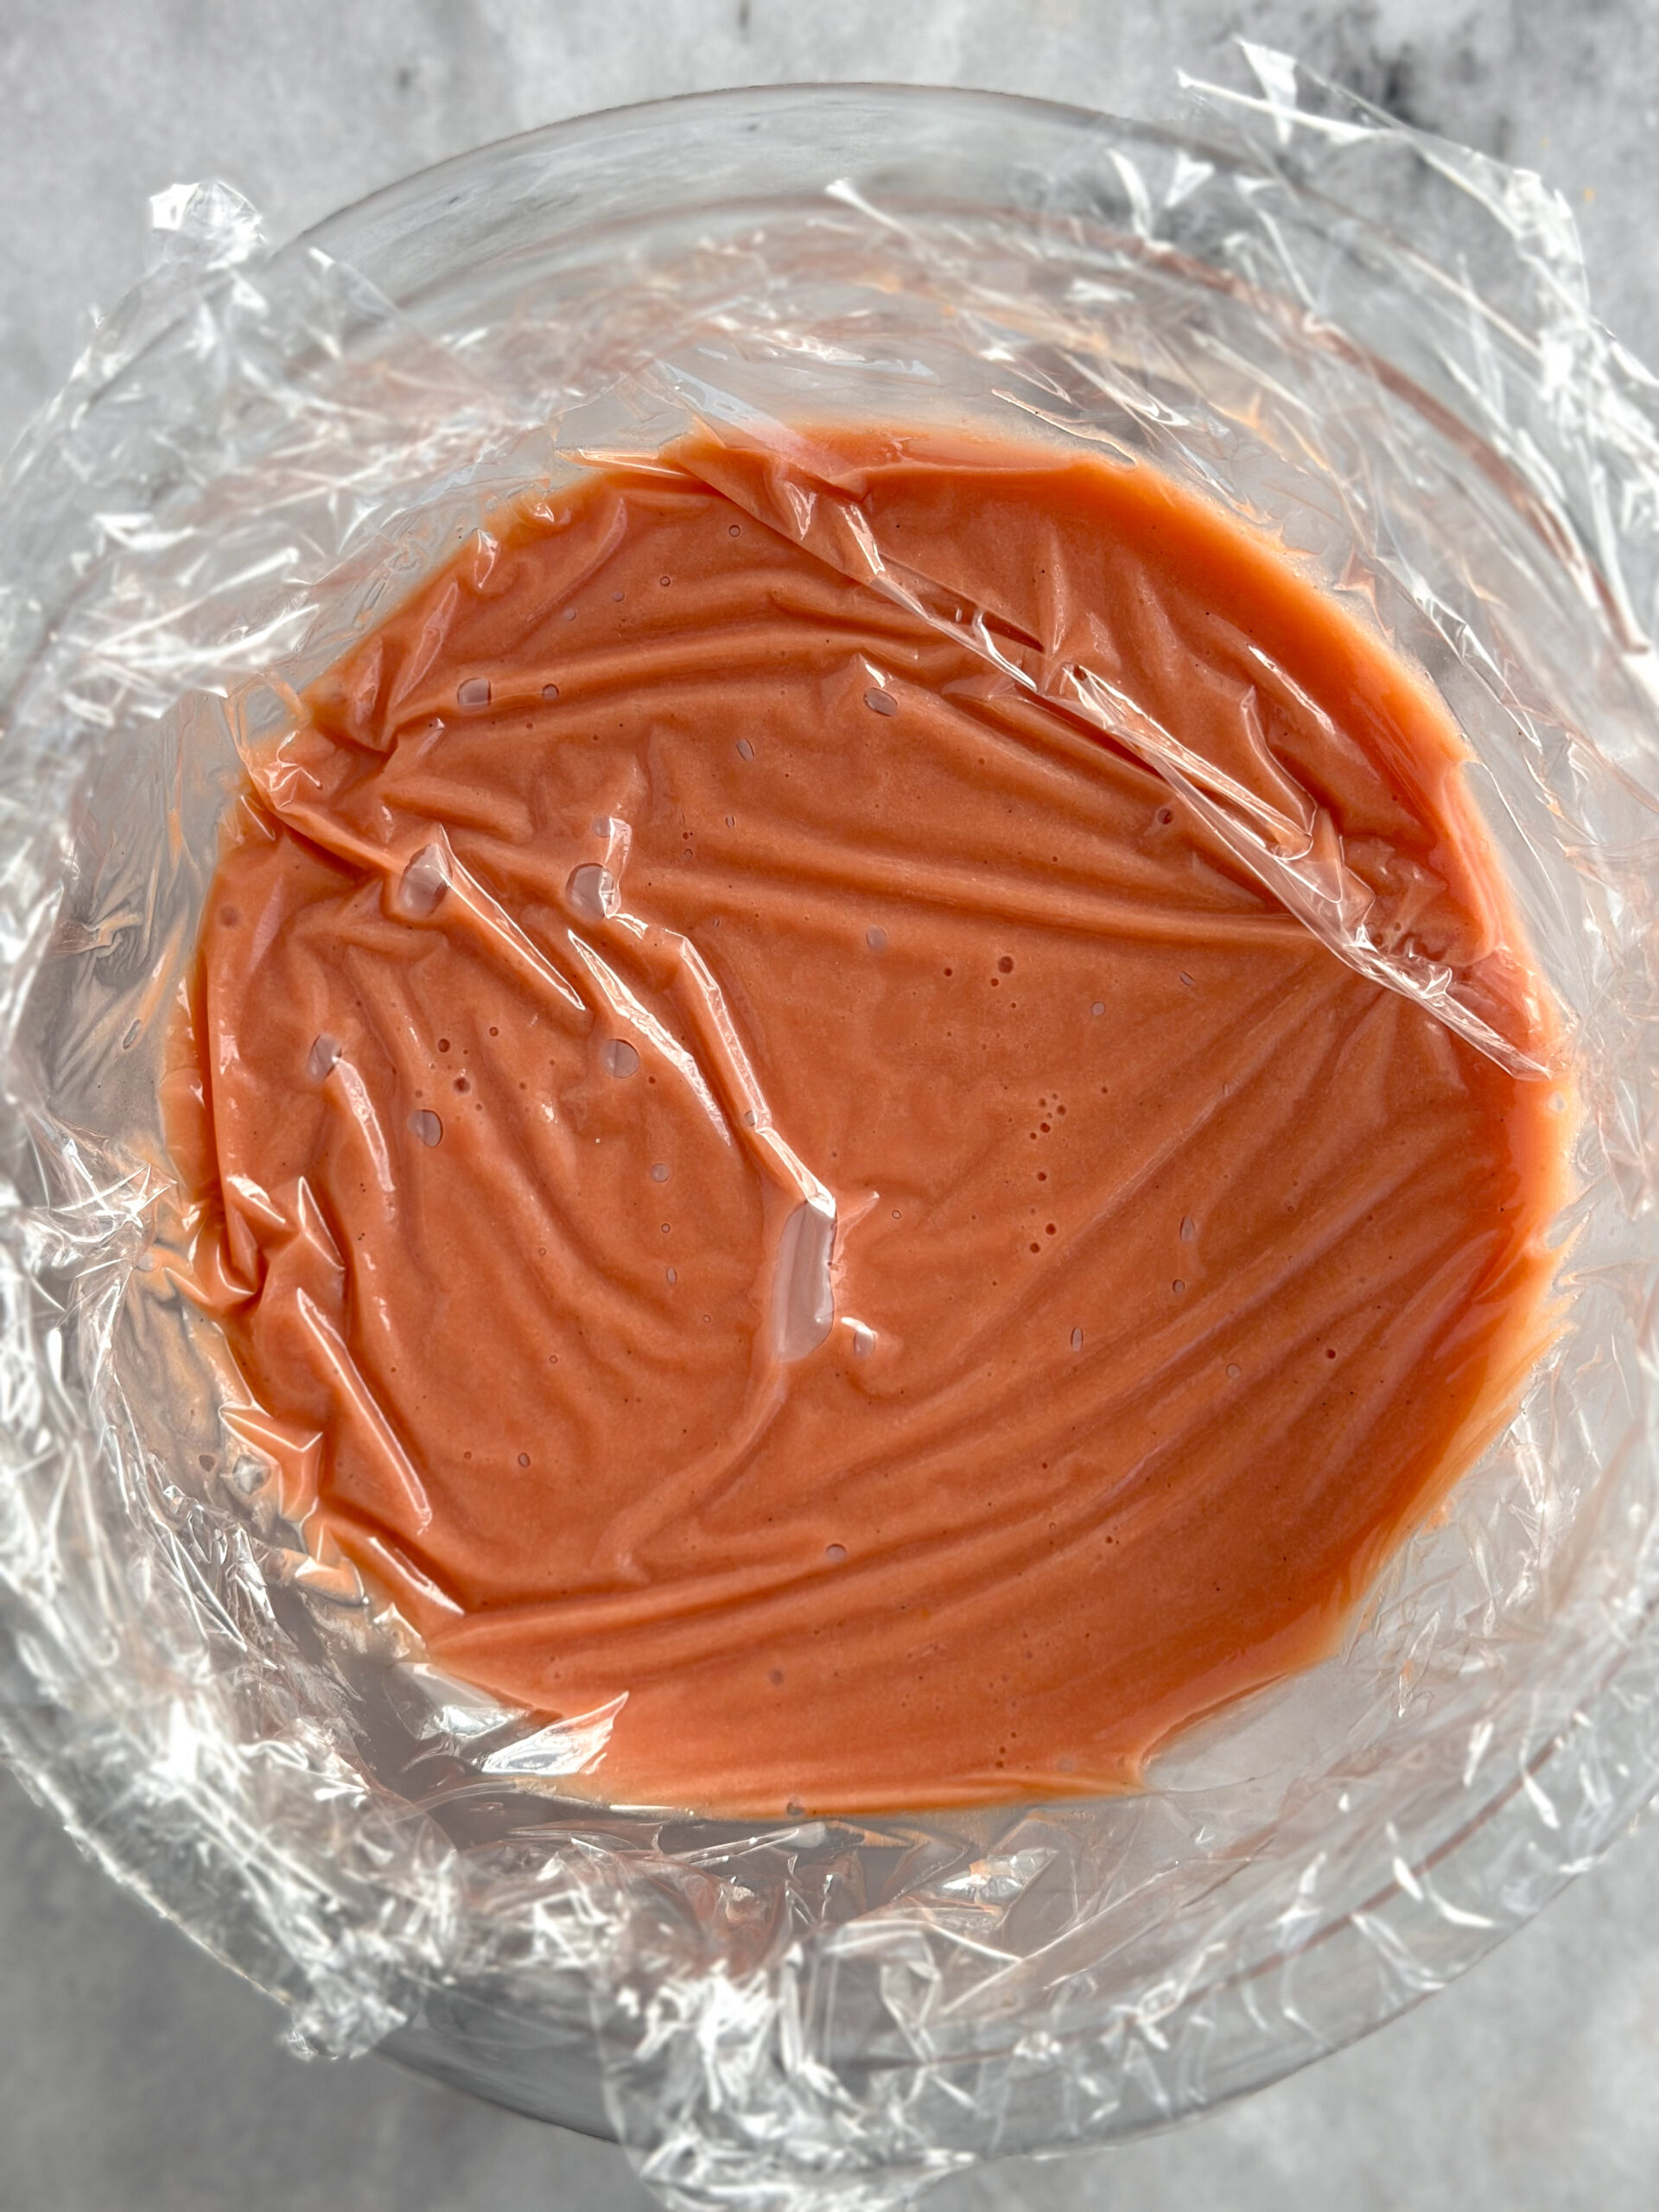
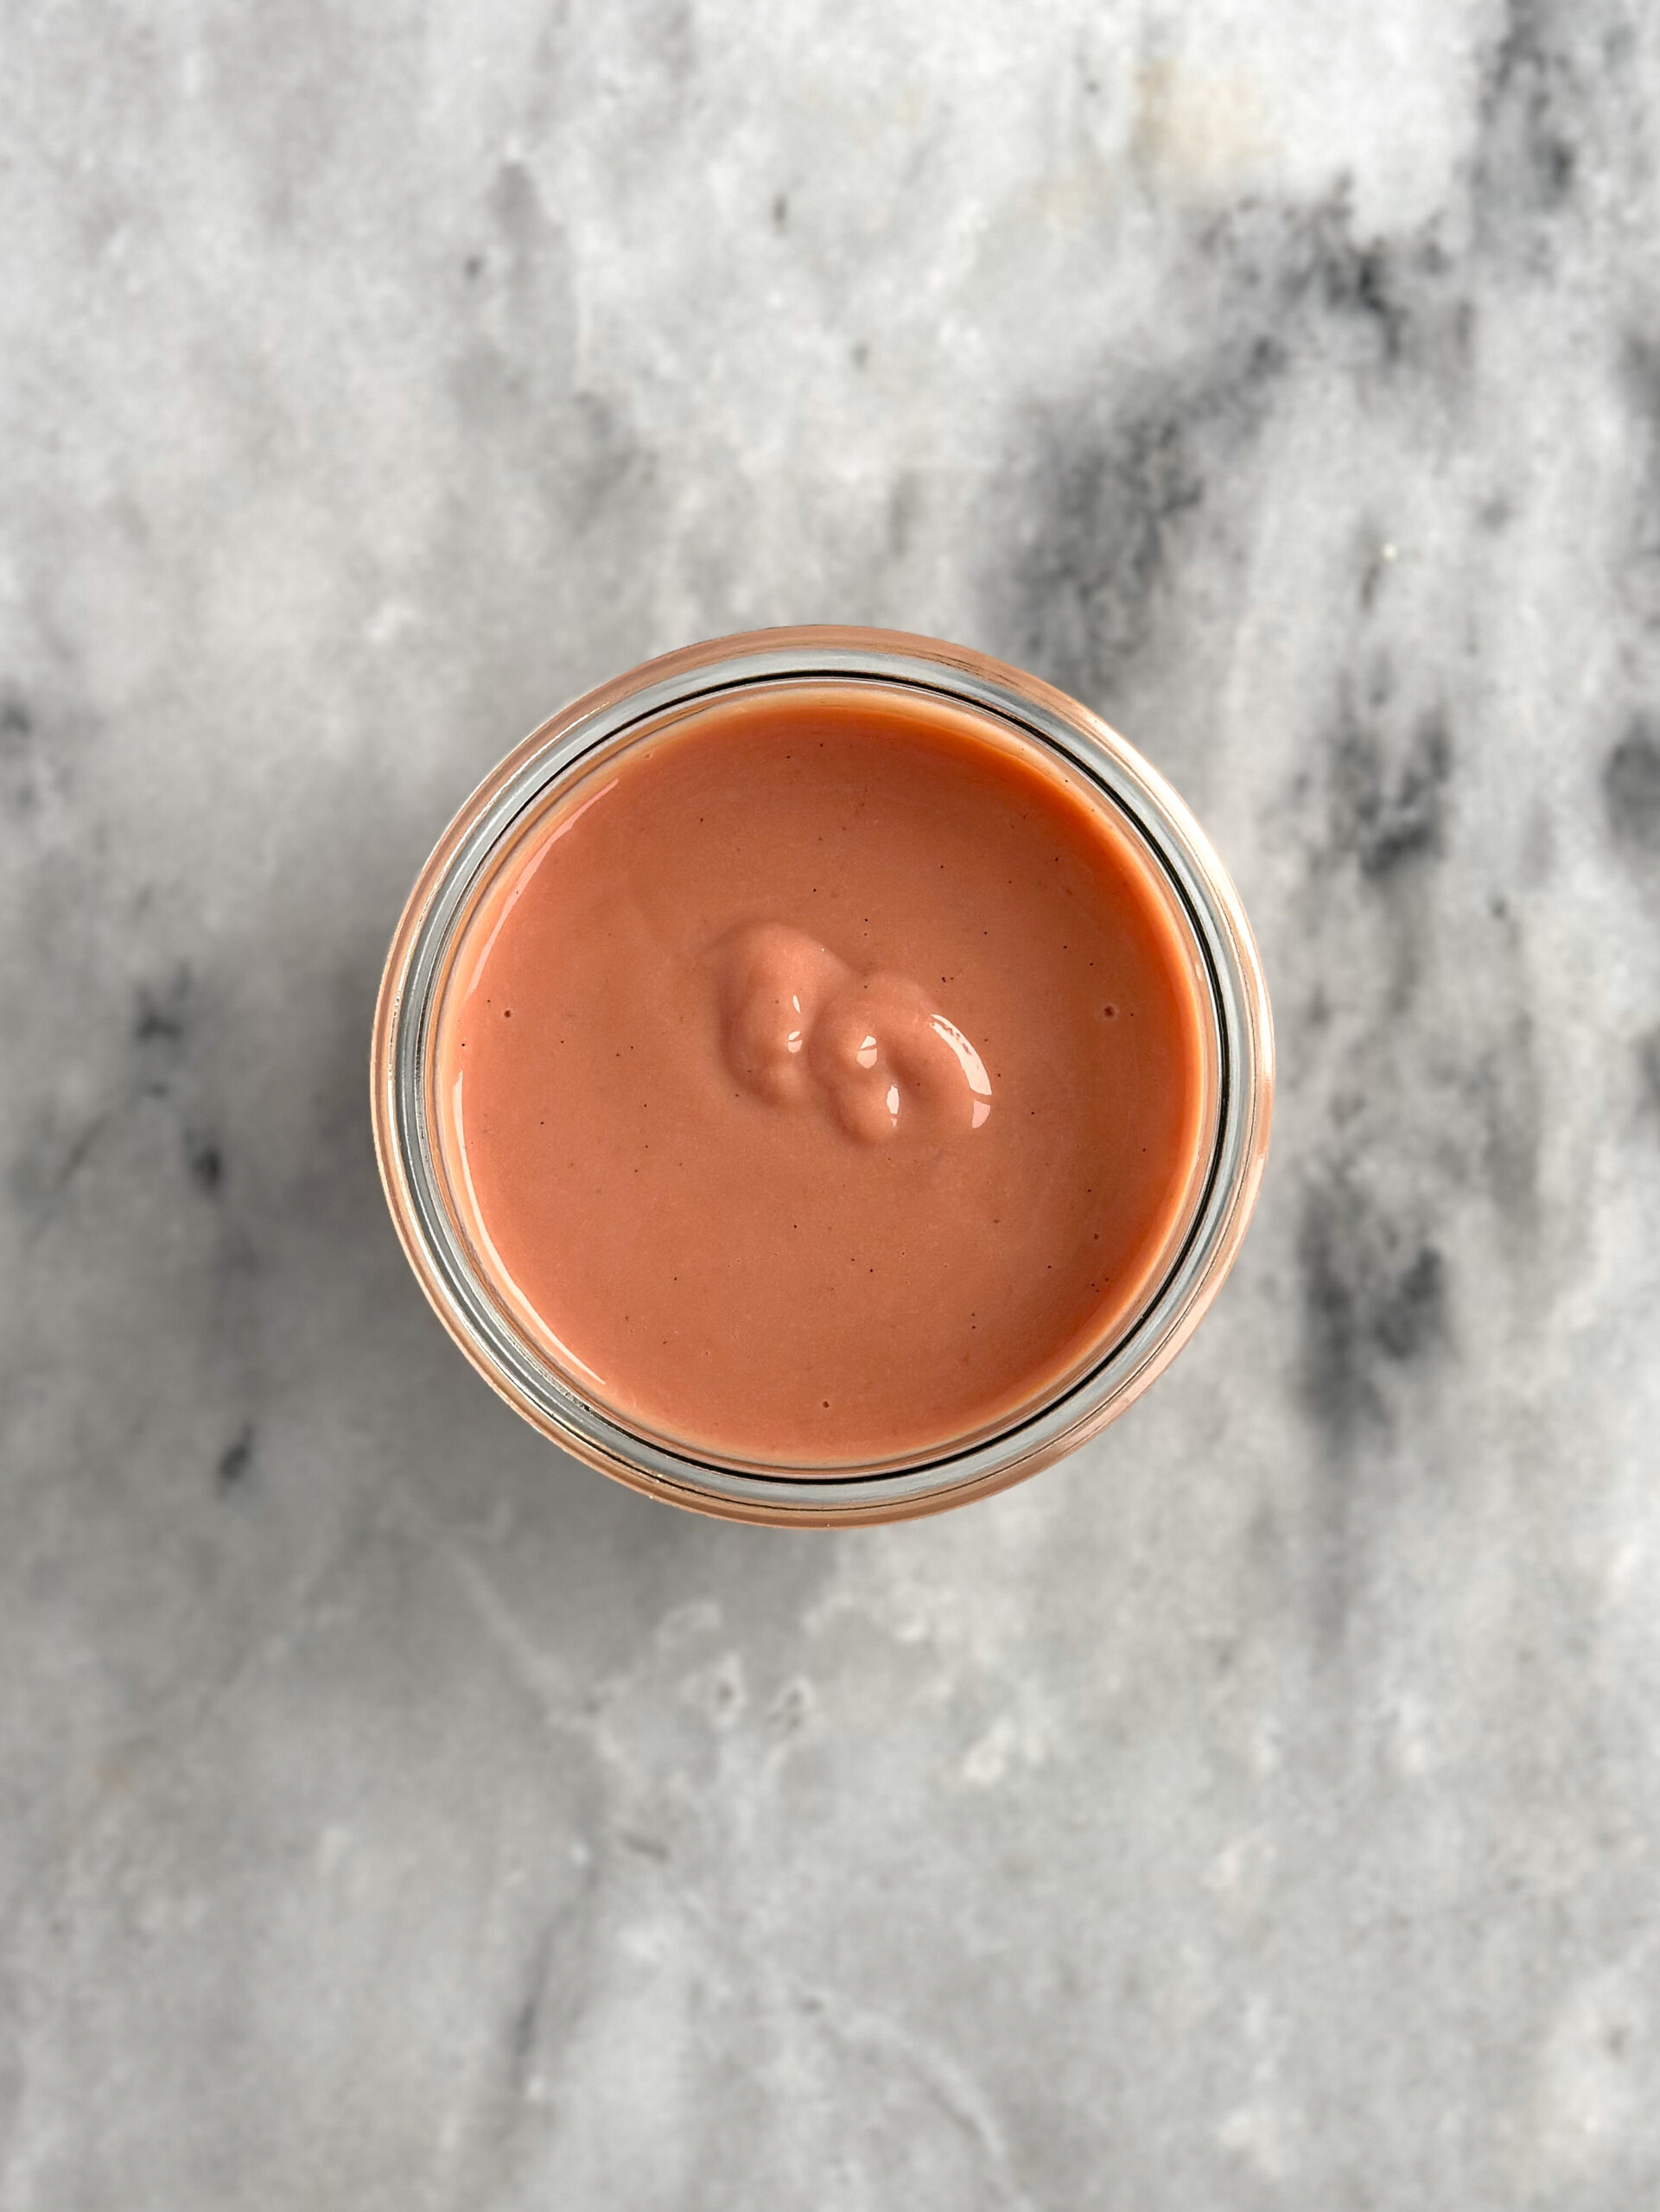
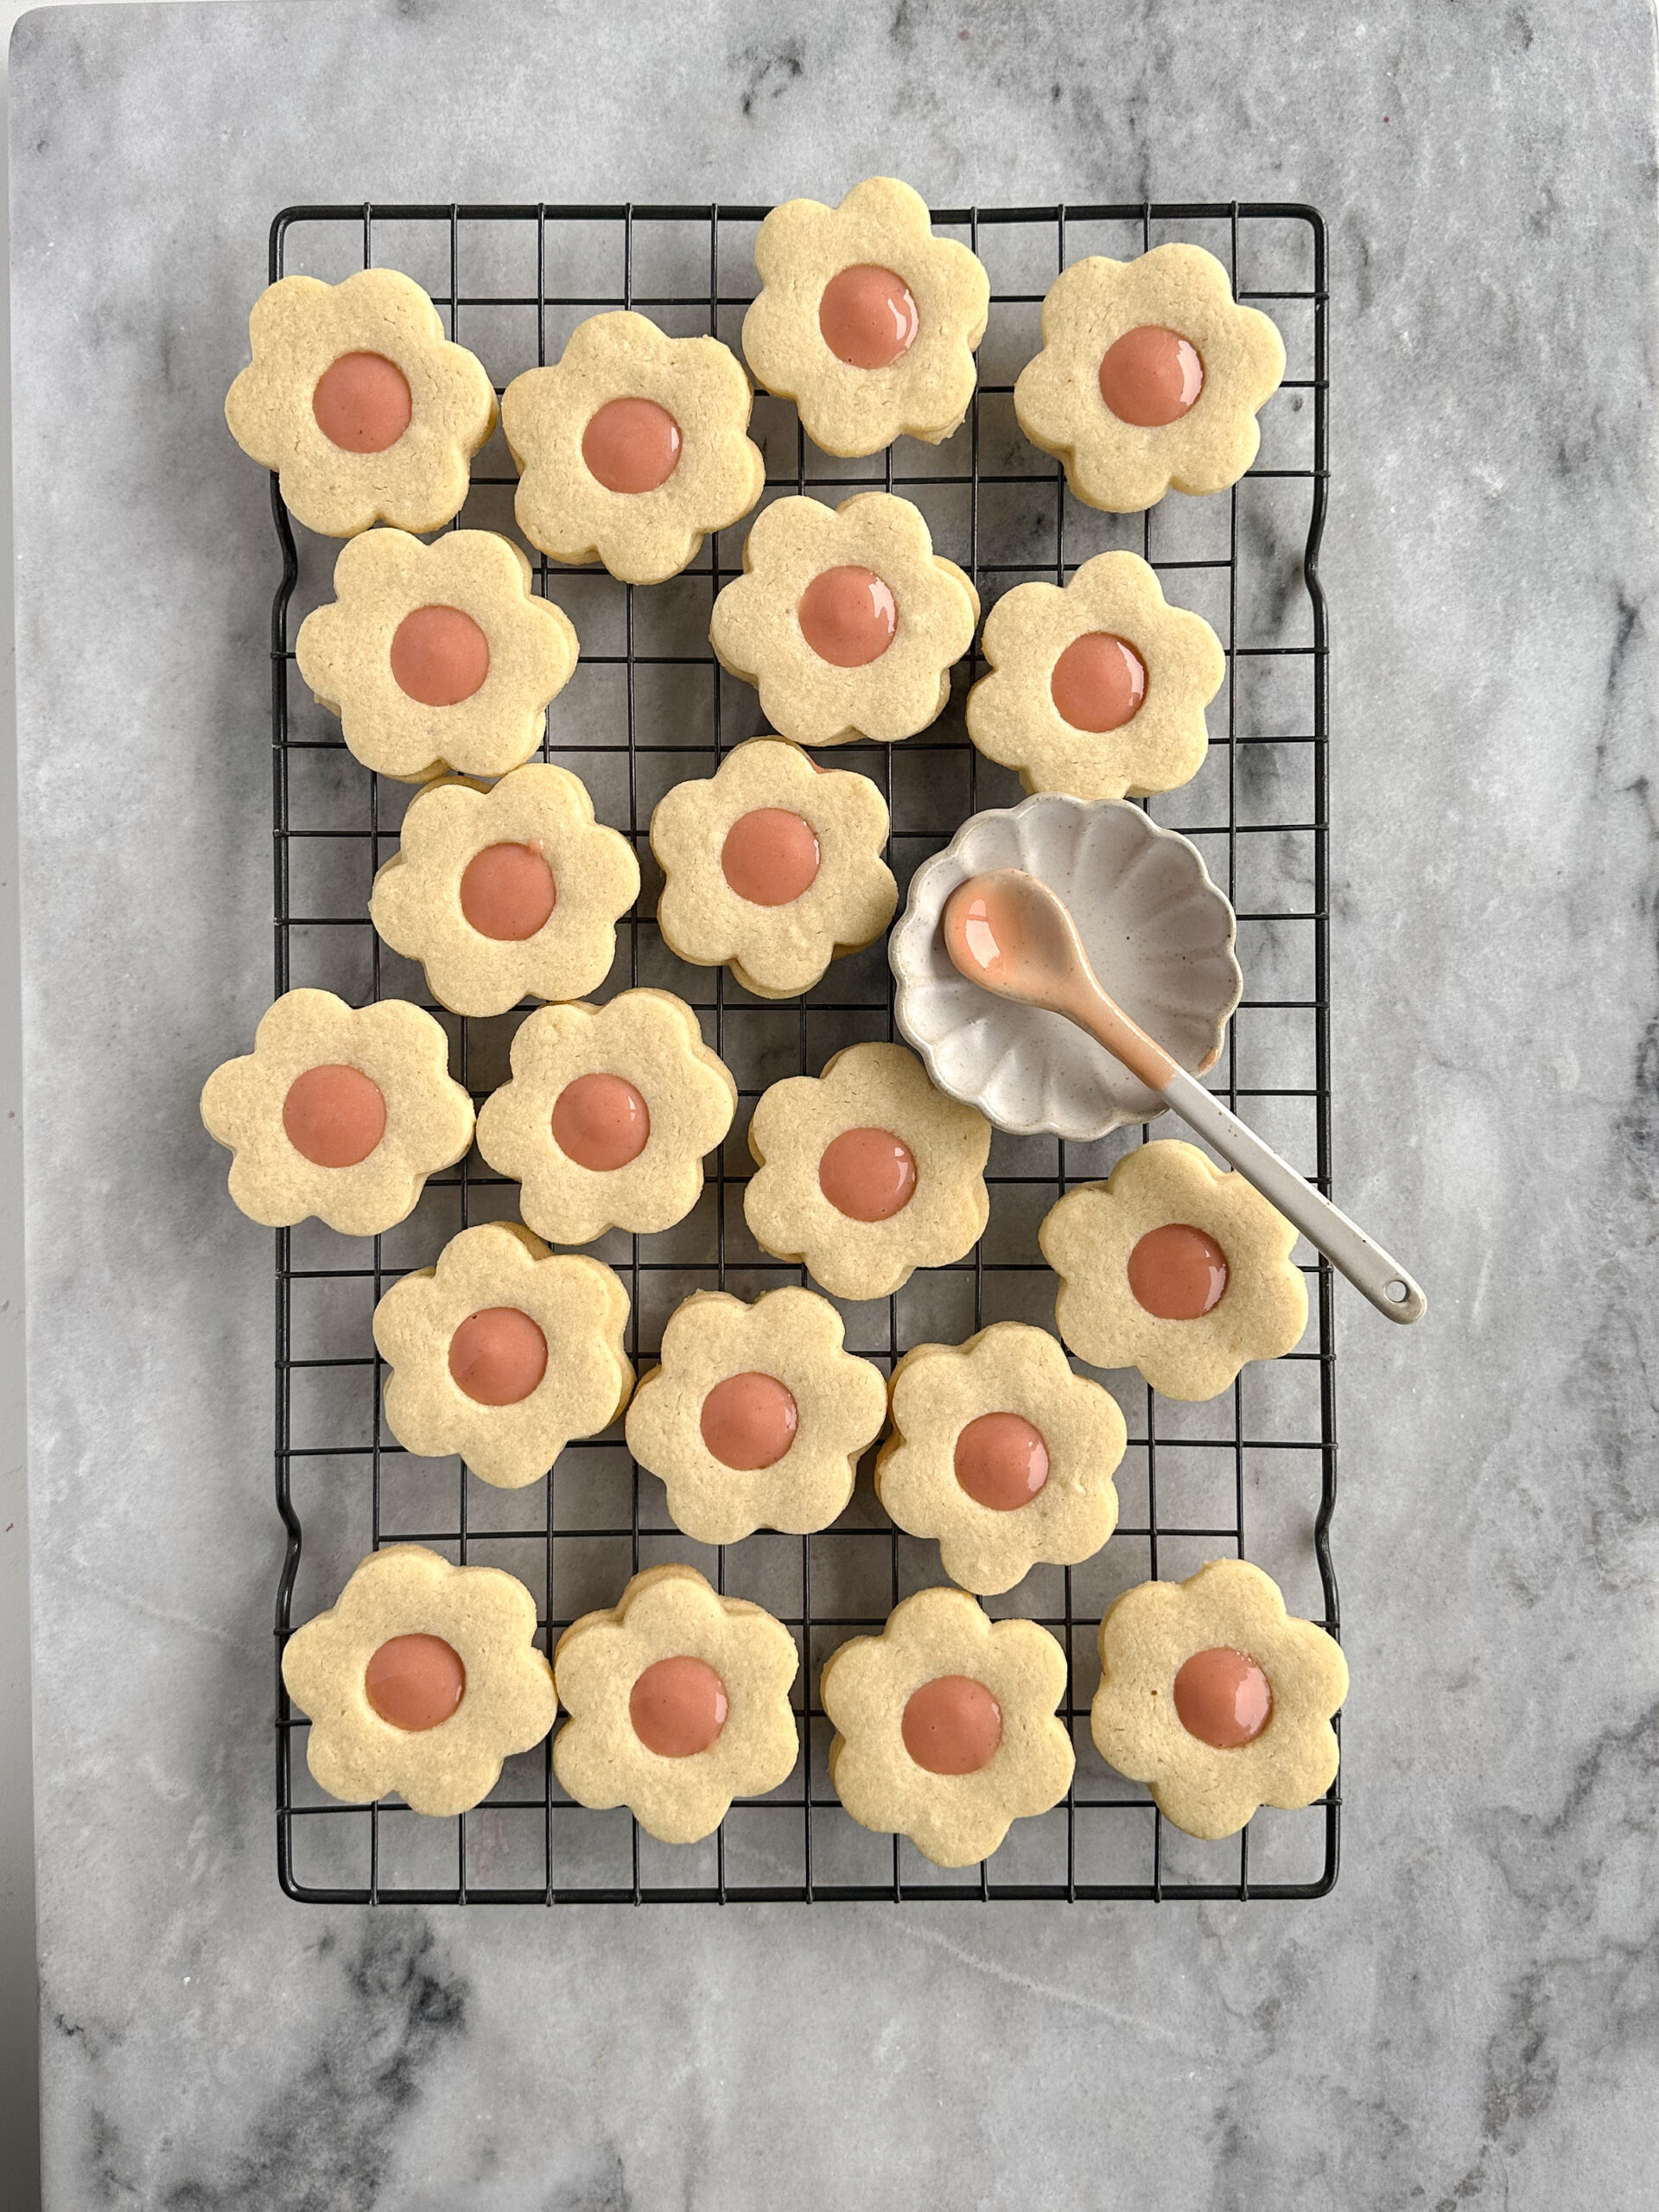
Warm the cream gently until steaming before pouring over the chocolate. Let sit for a couple minutes before gently whisking together until smooth. Set aside to come to room temperature.
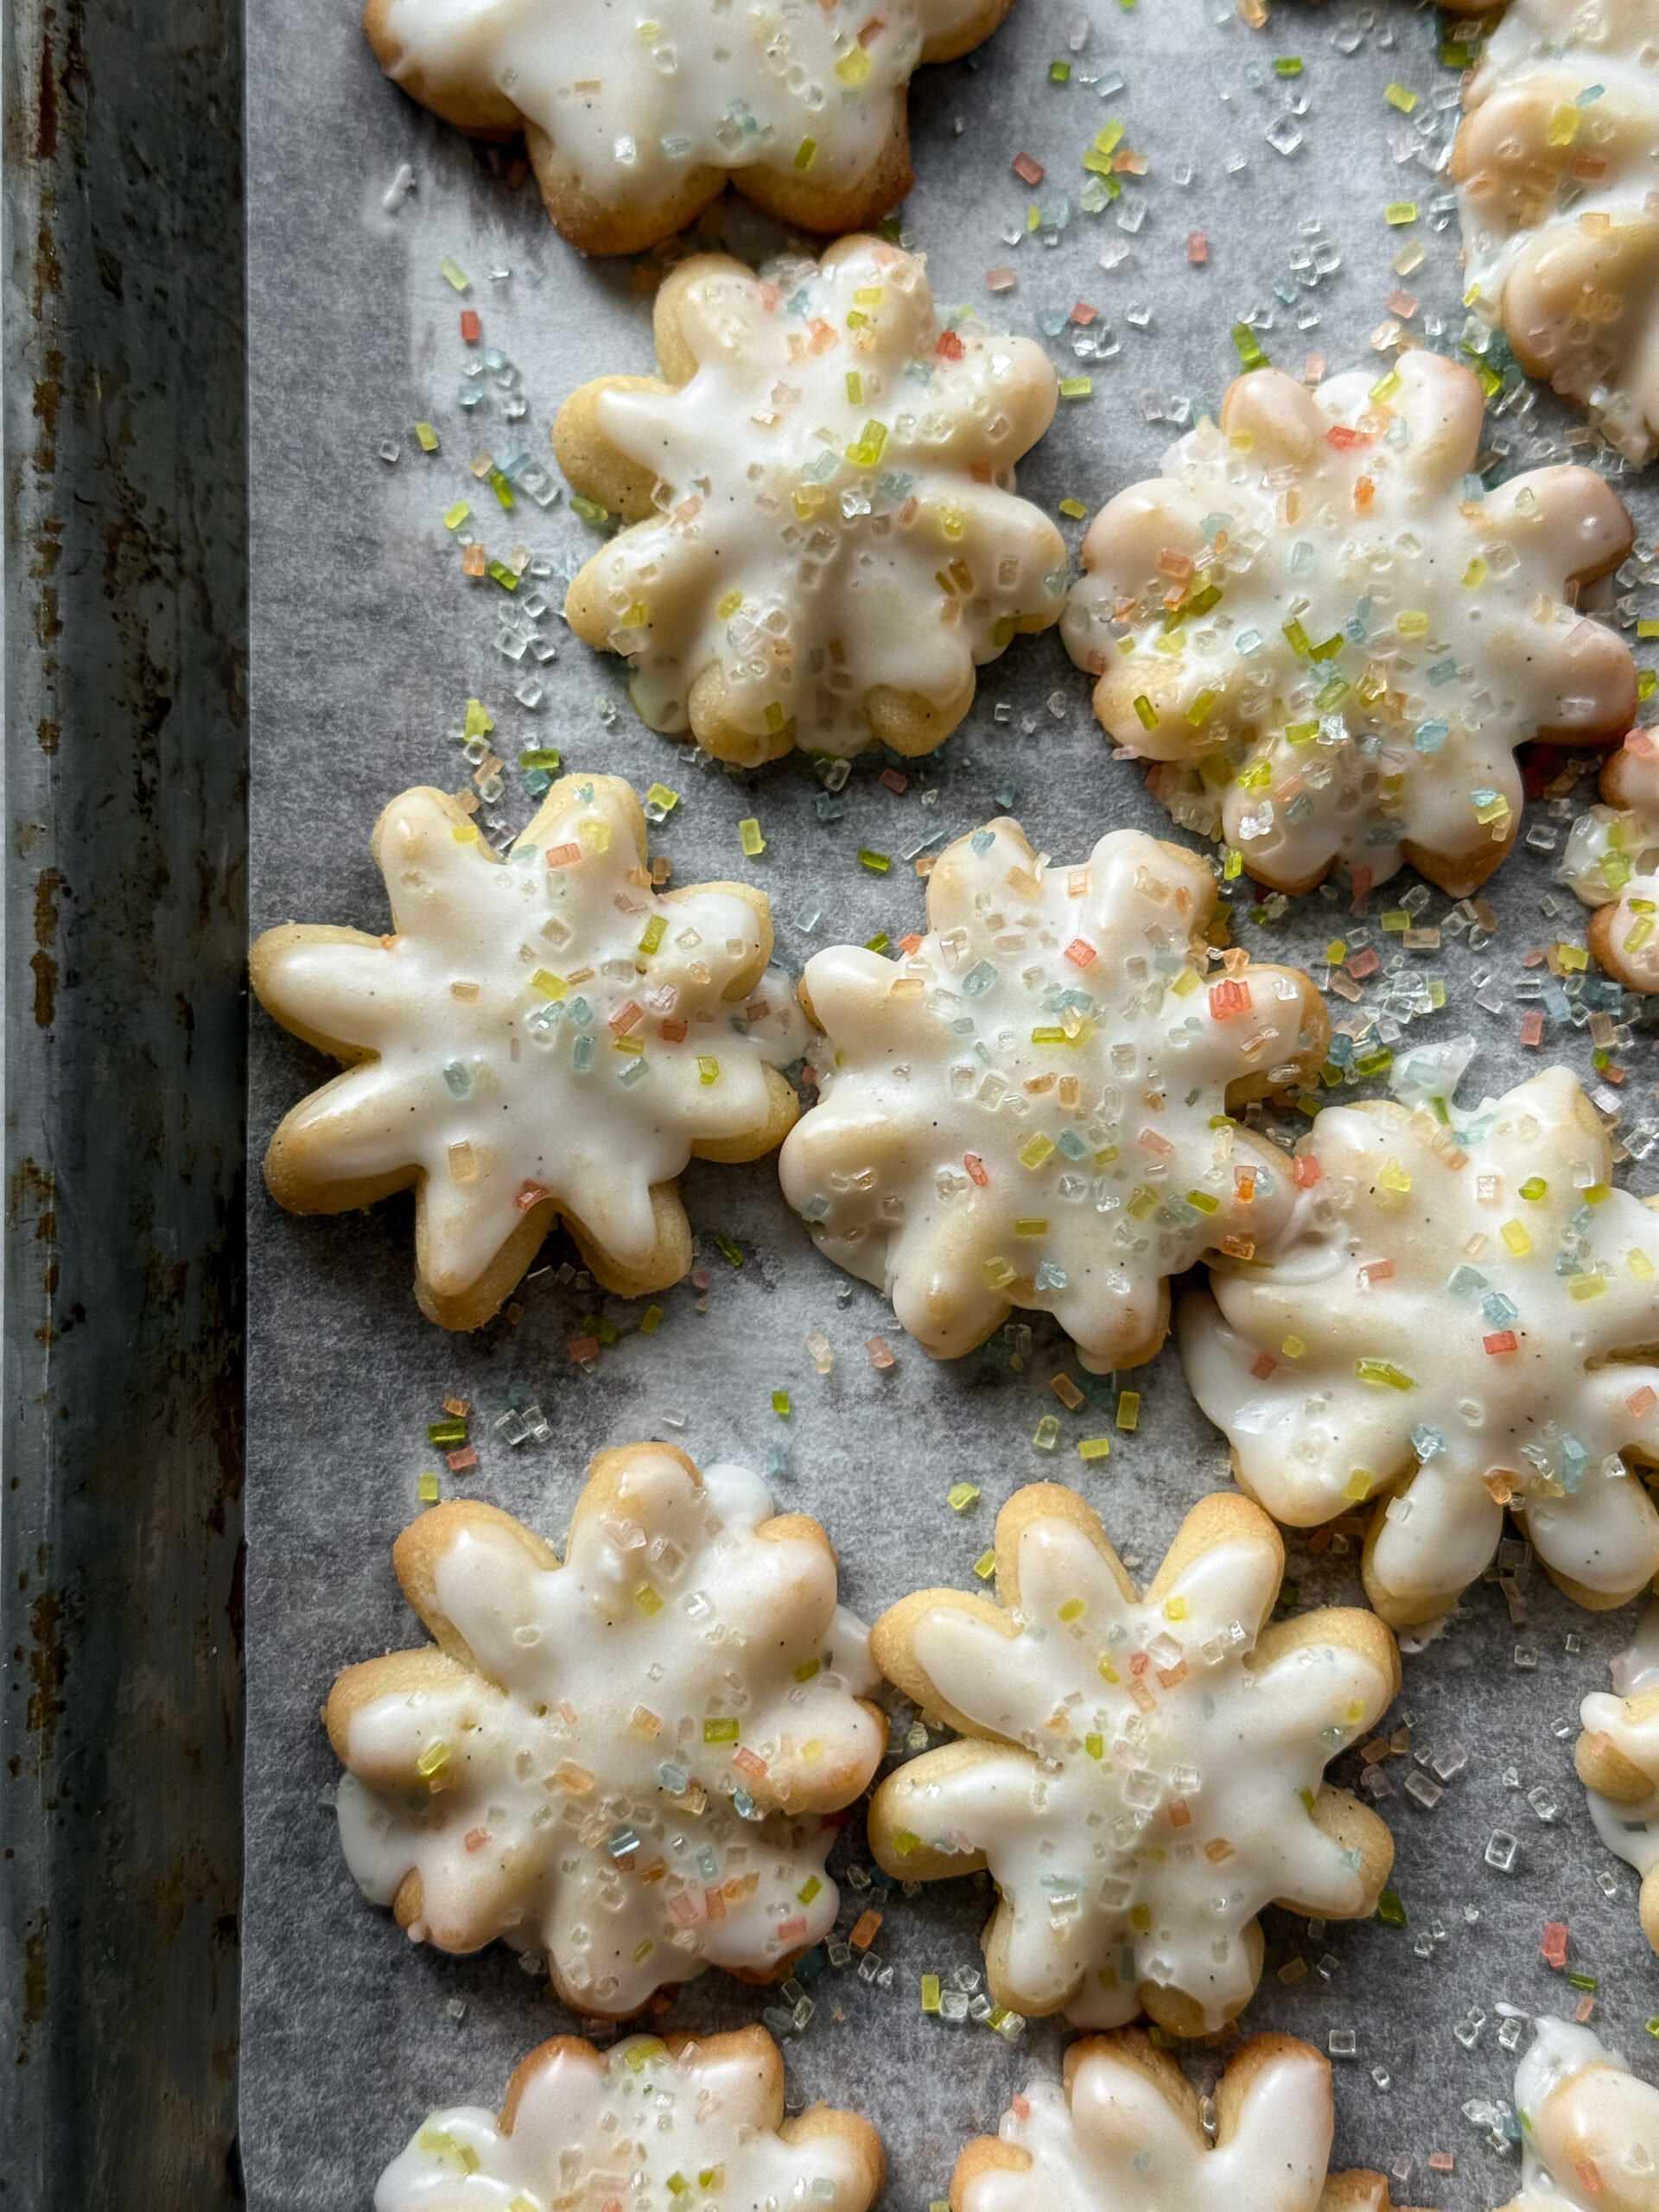
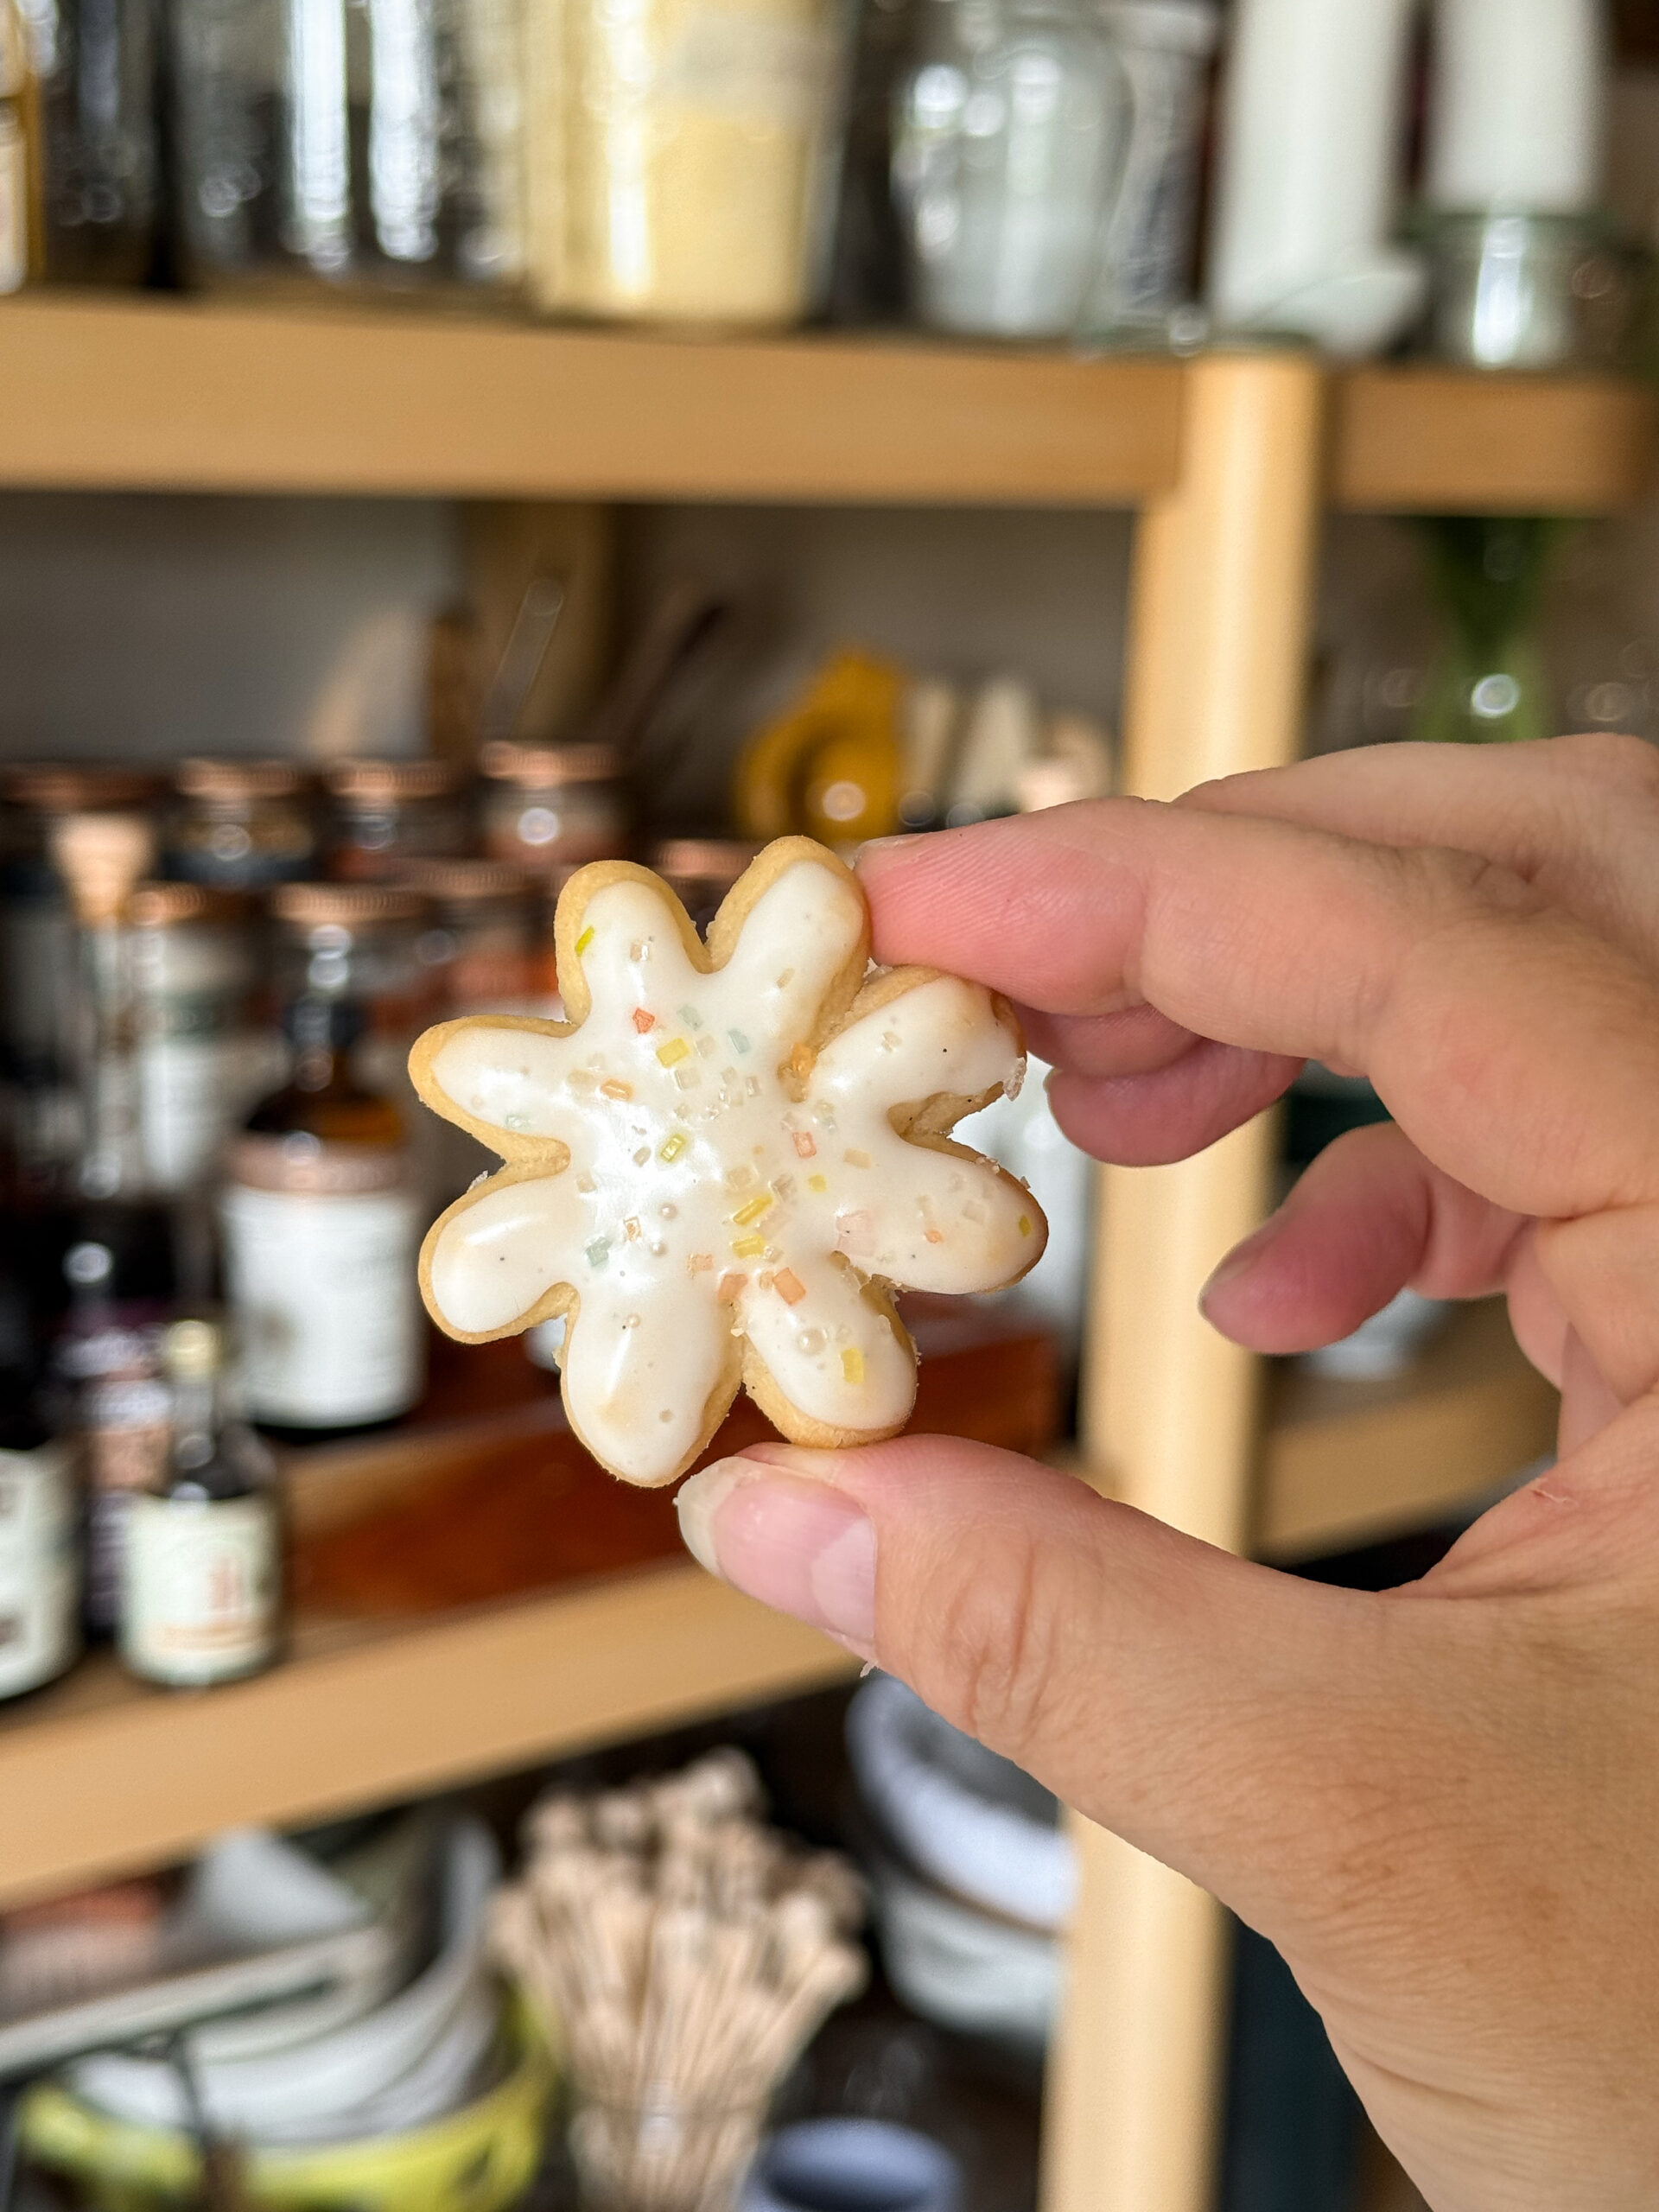
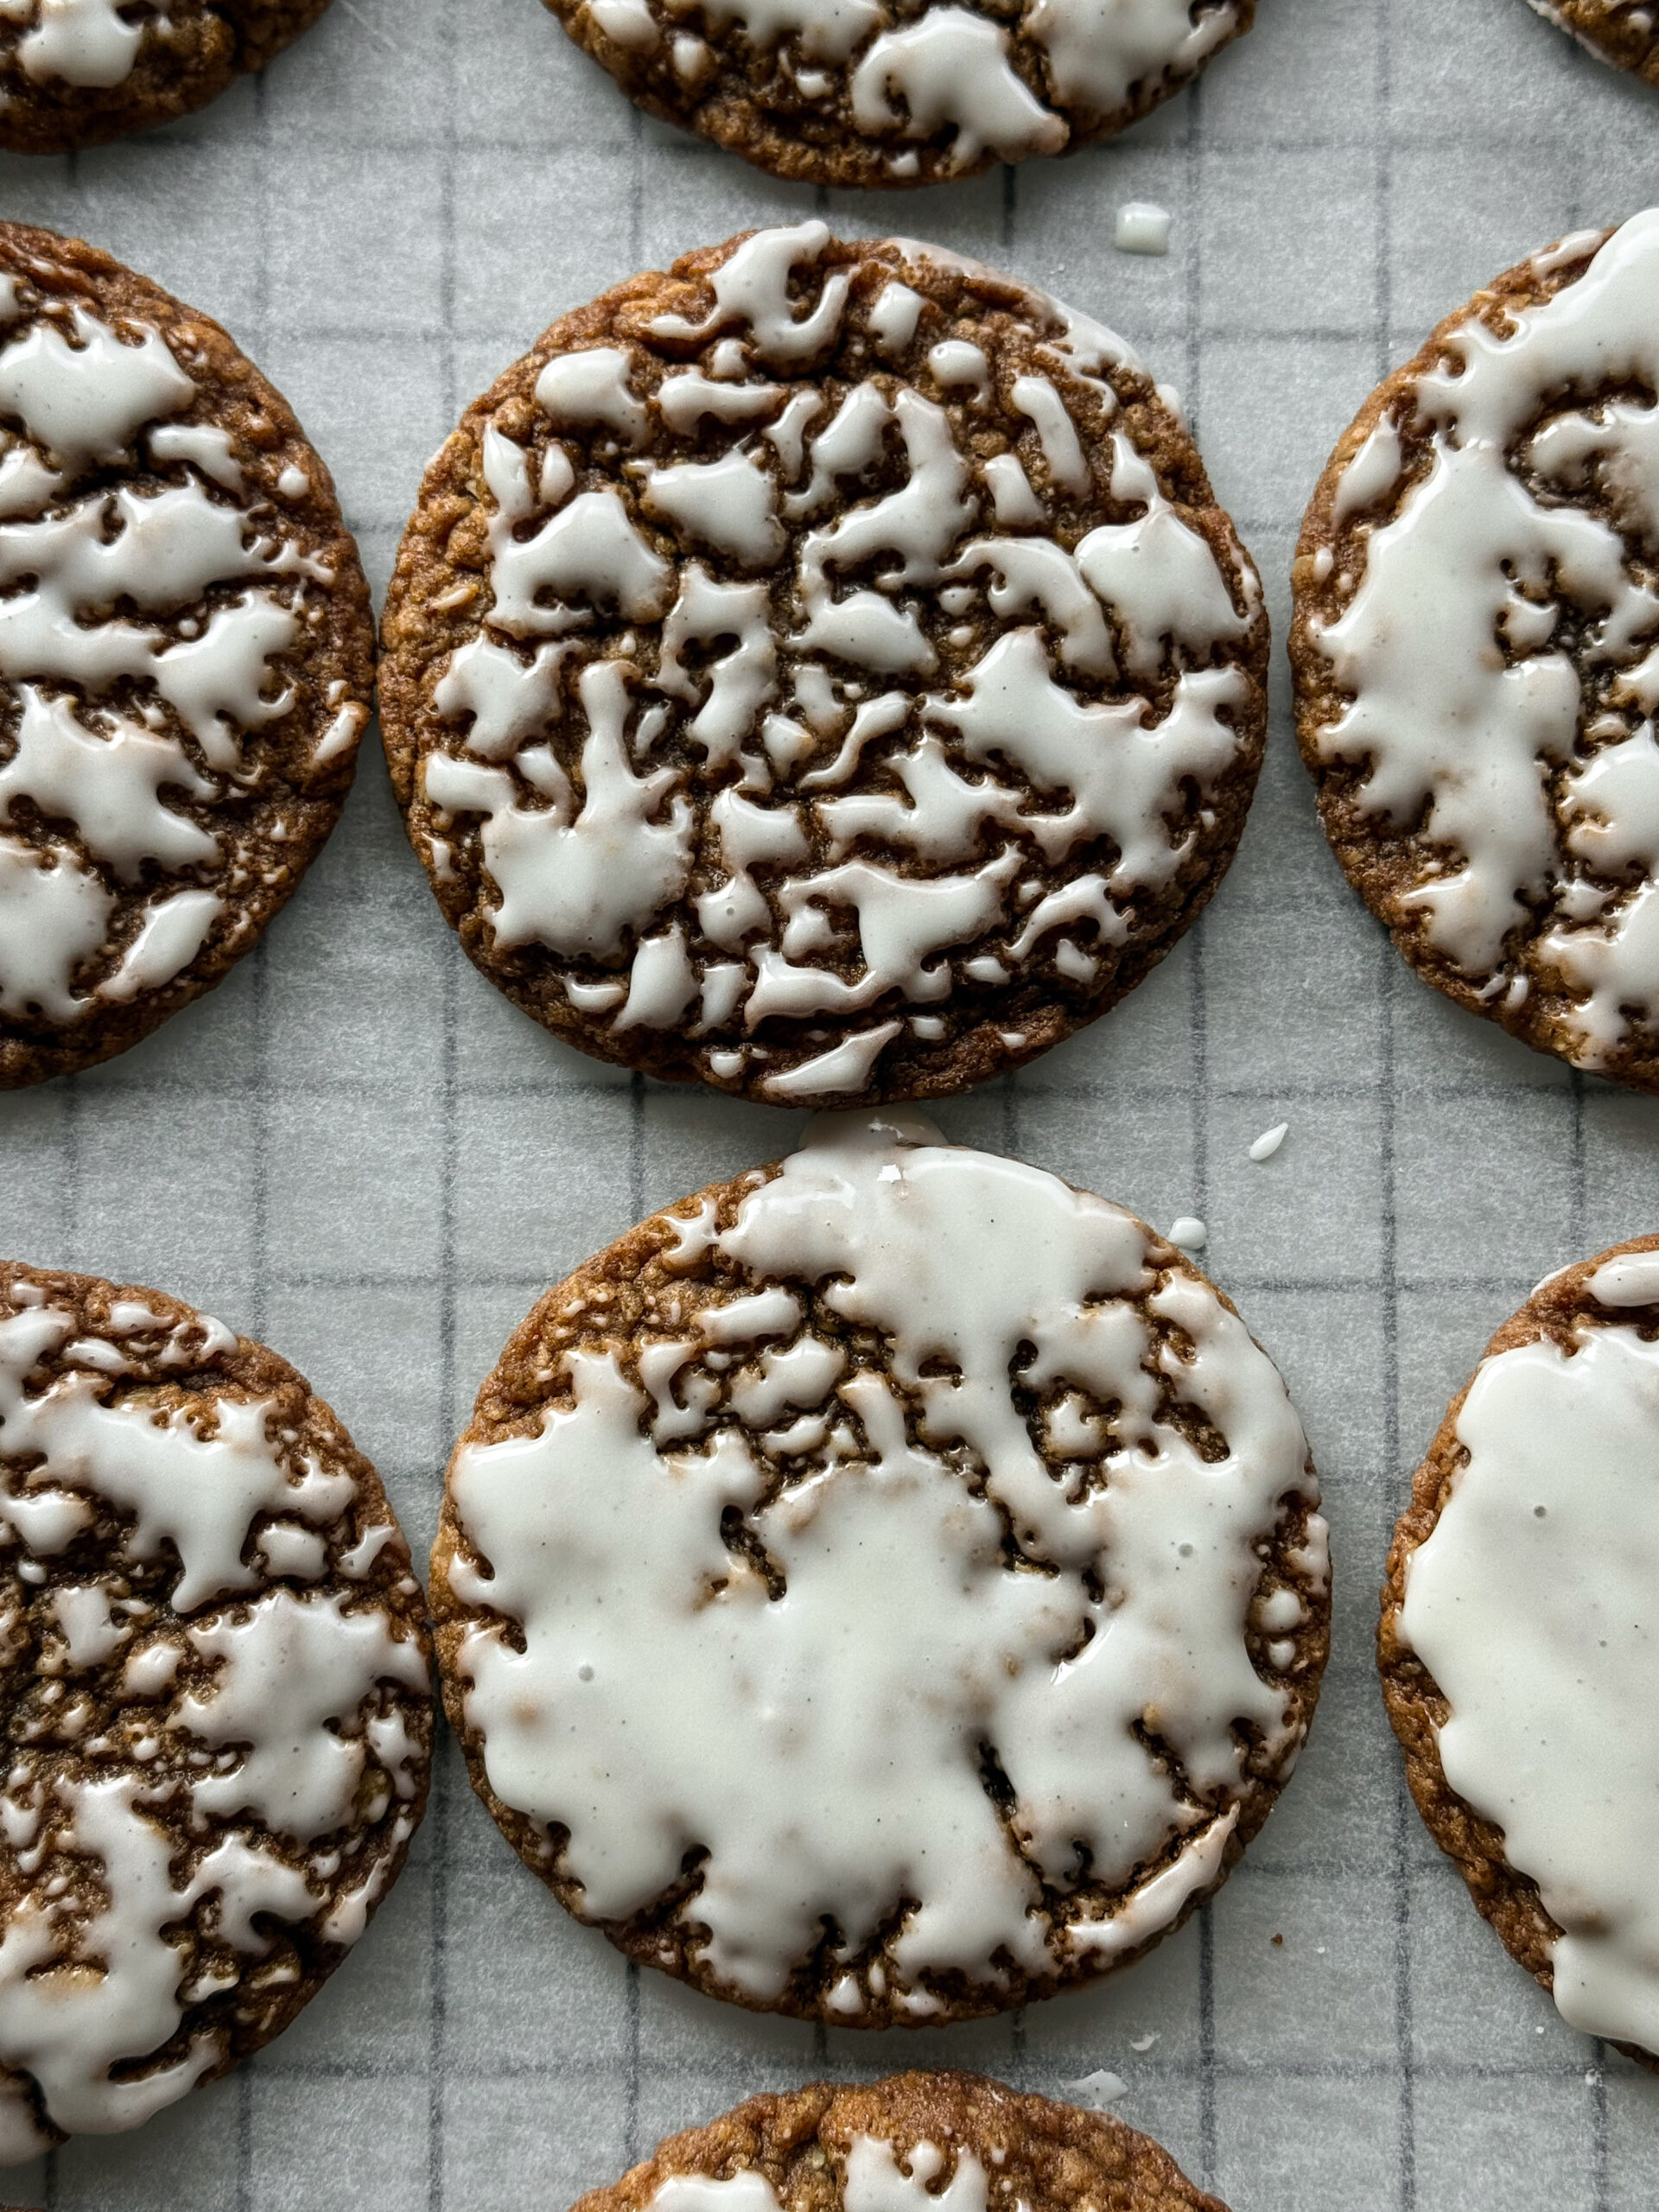
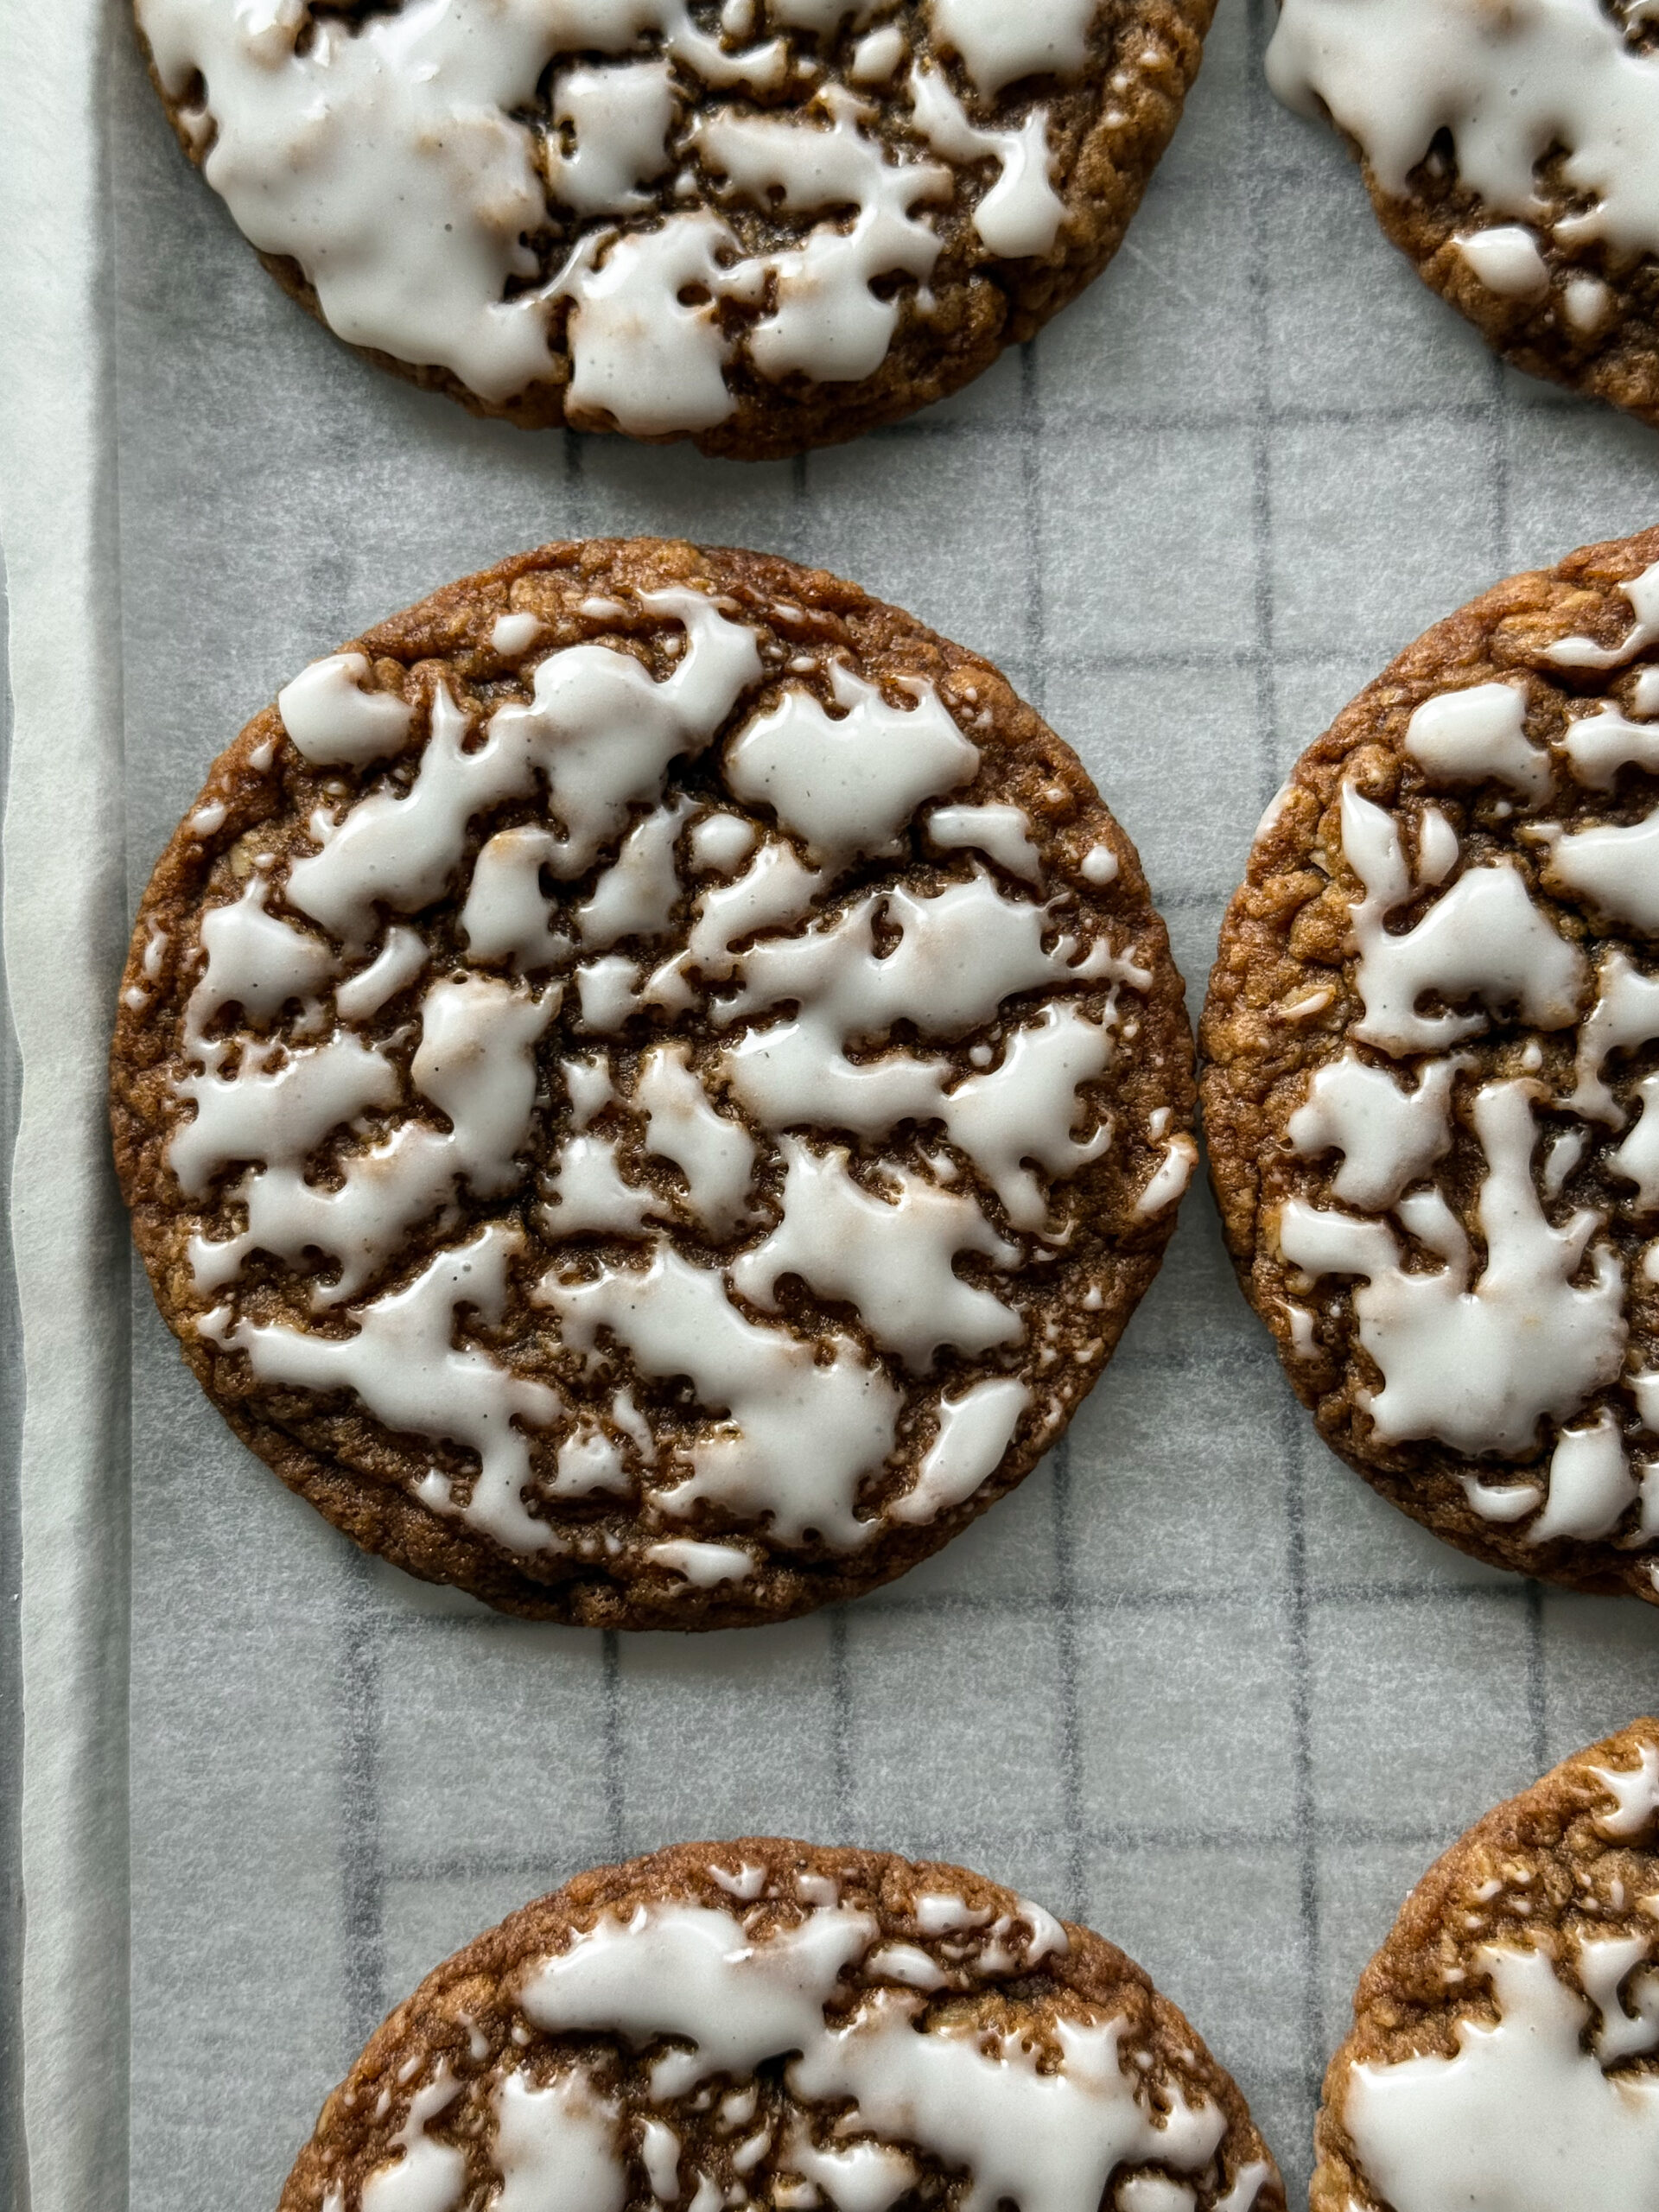
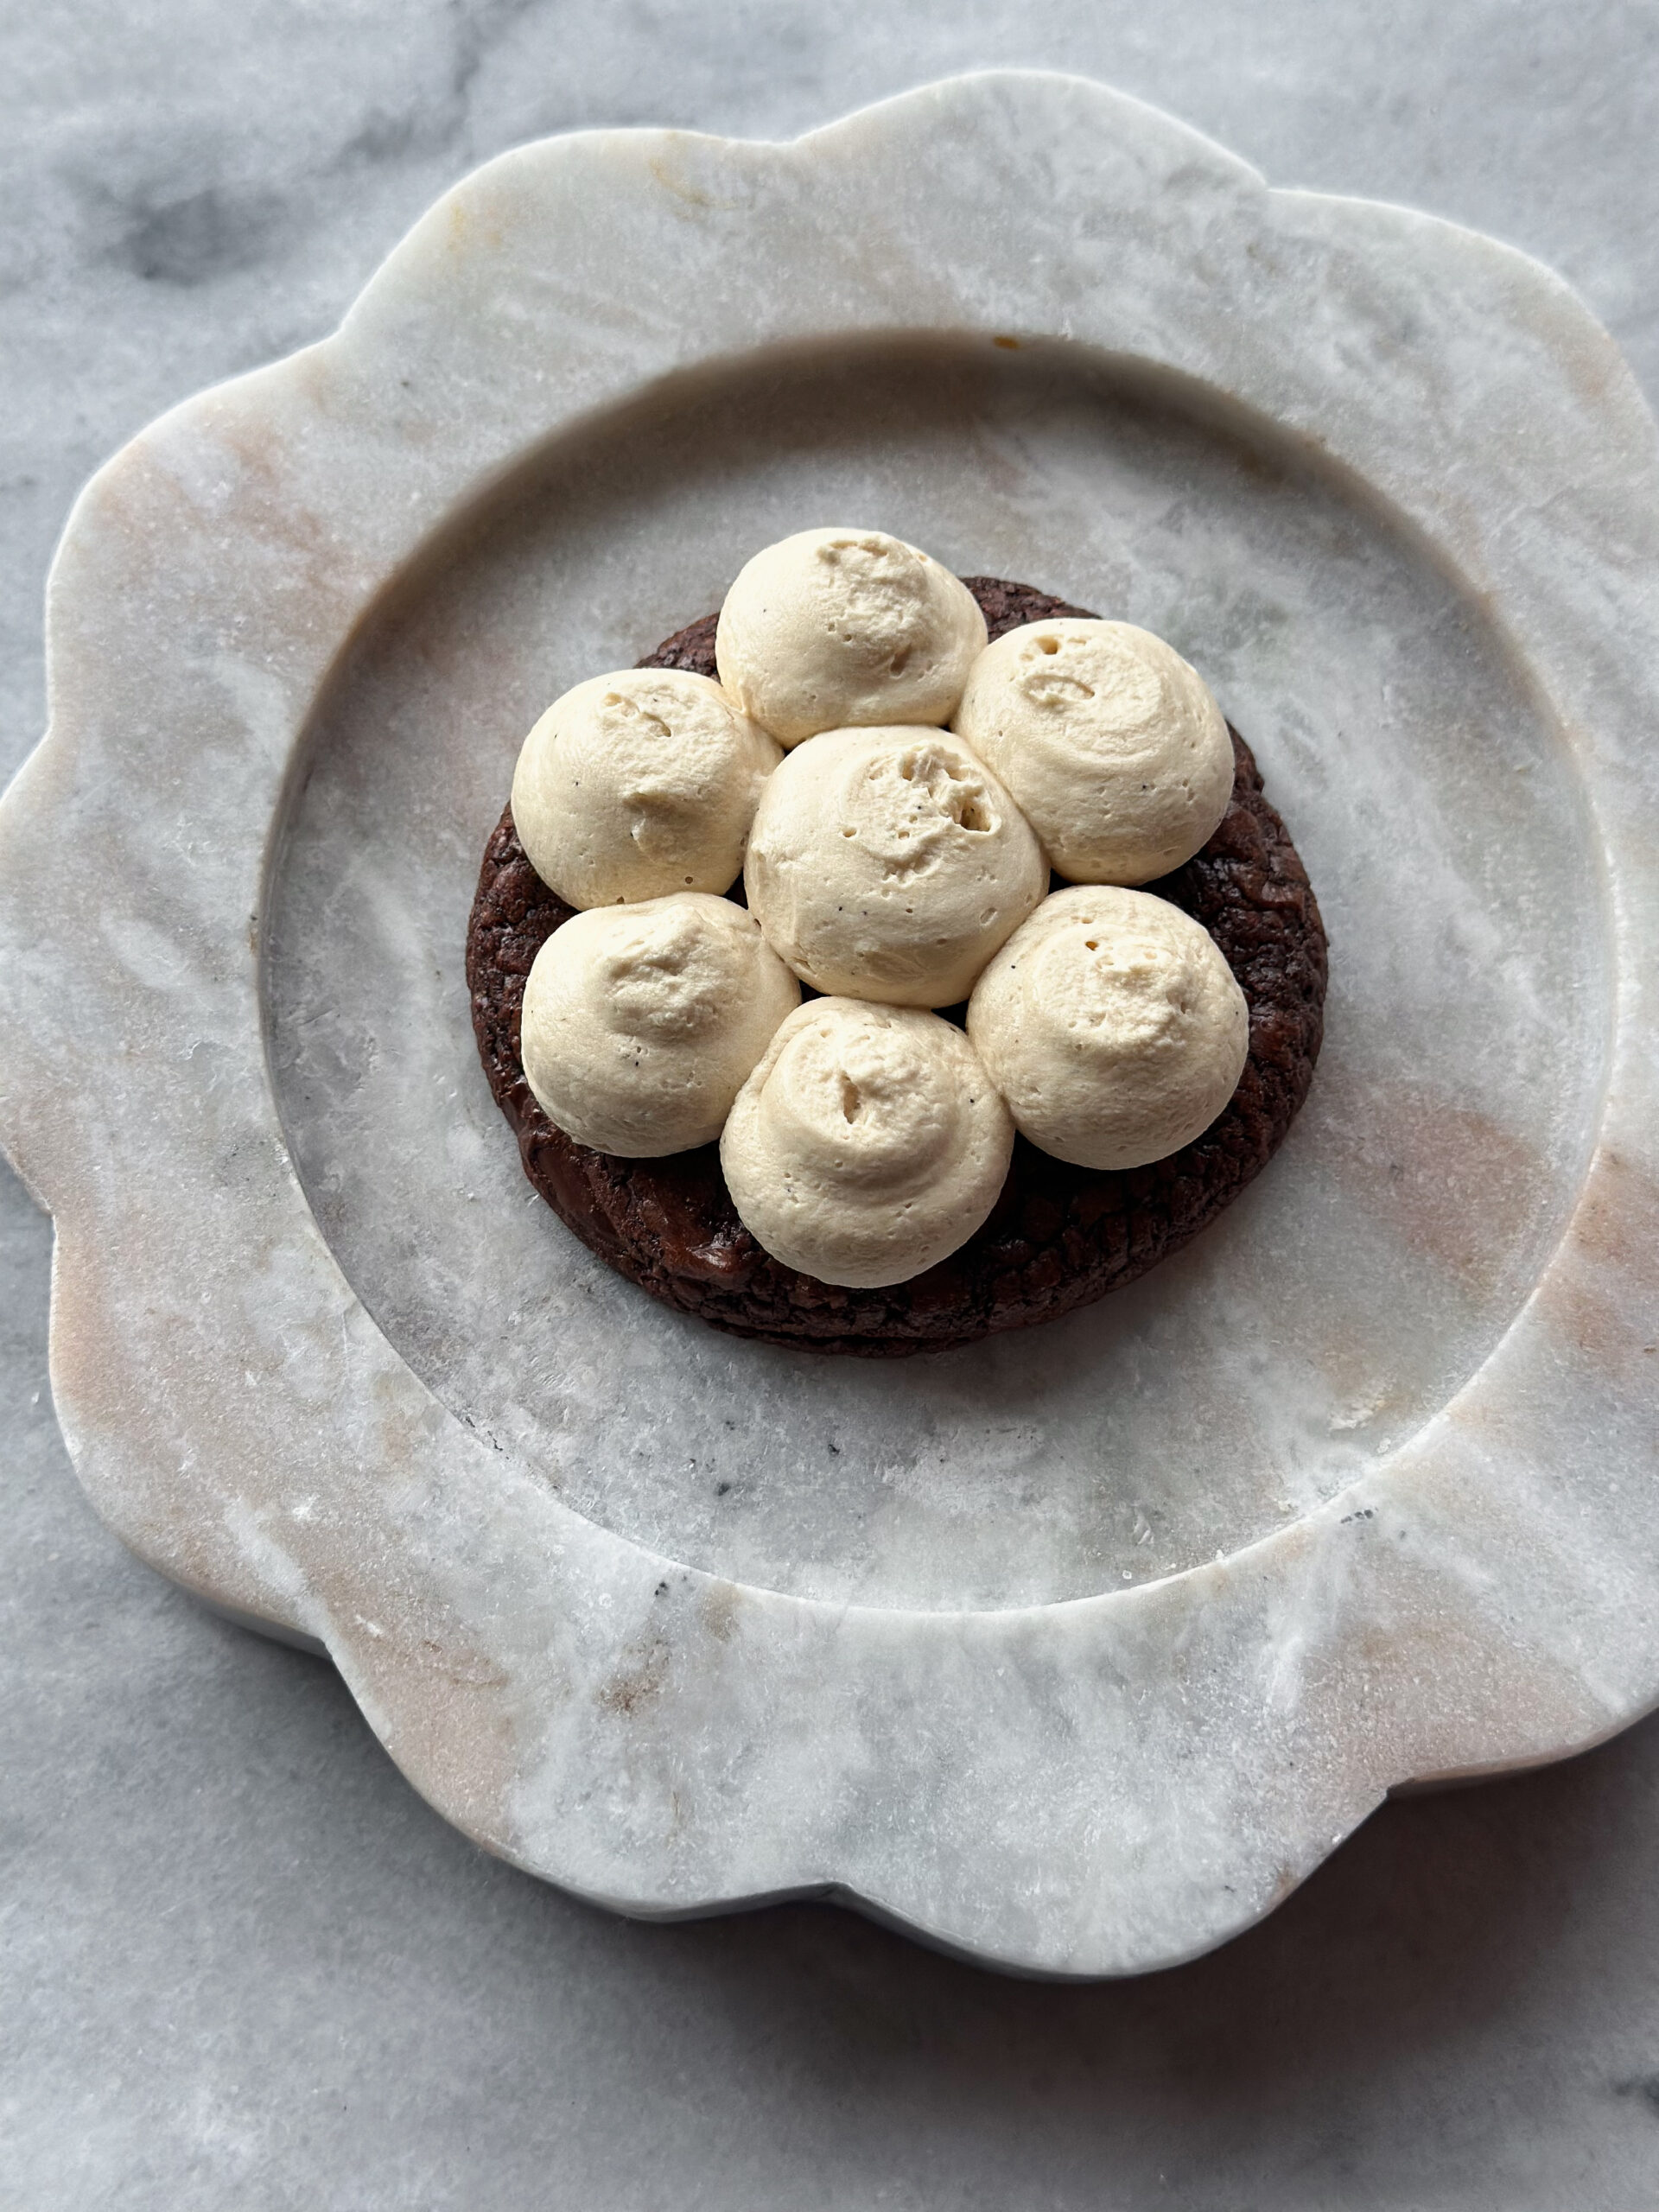
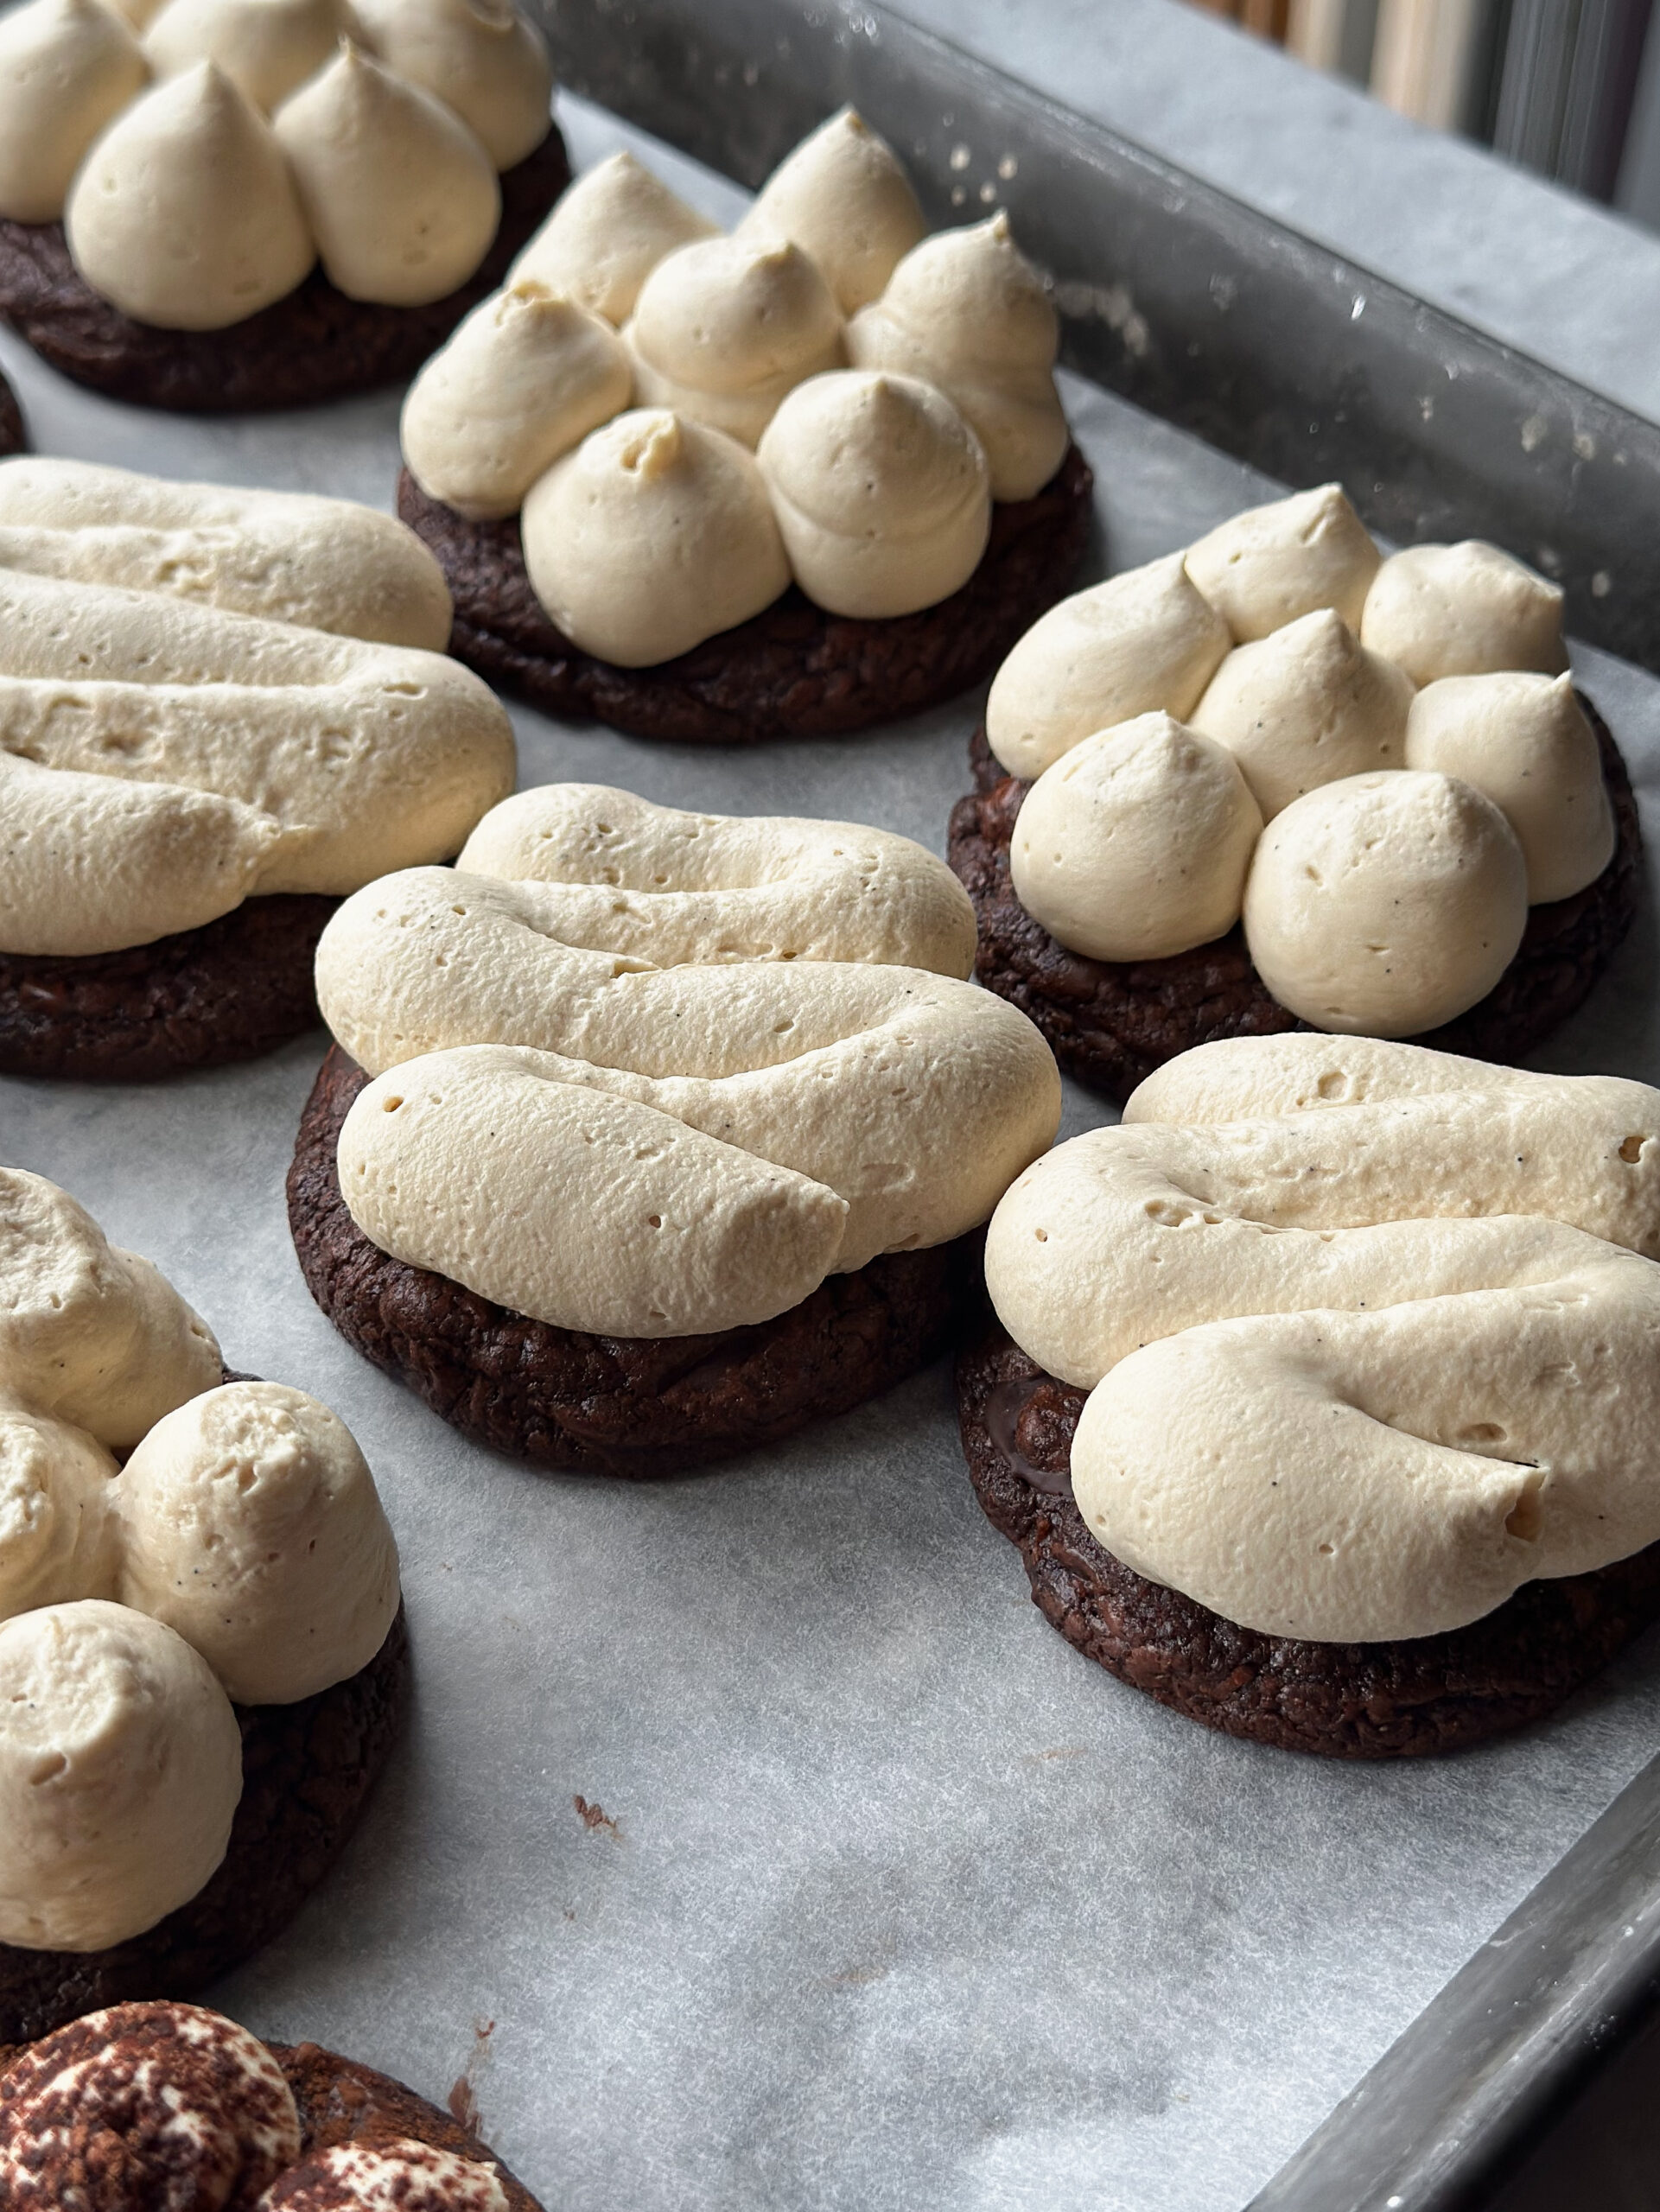
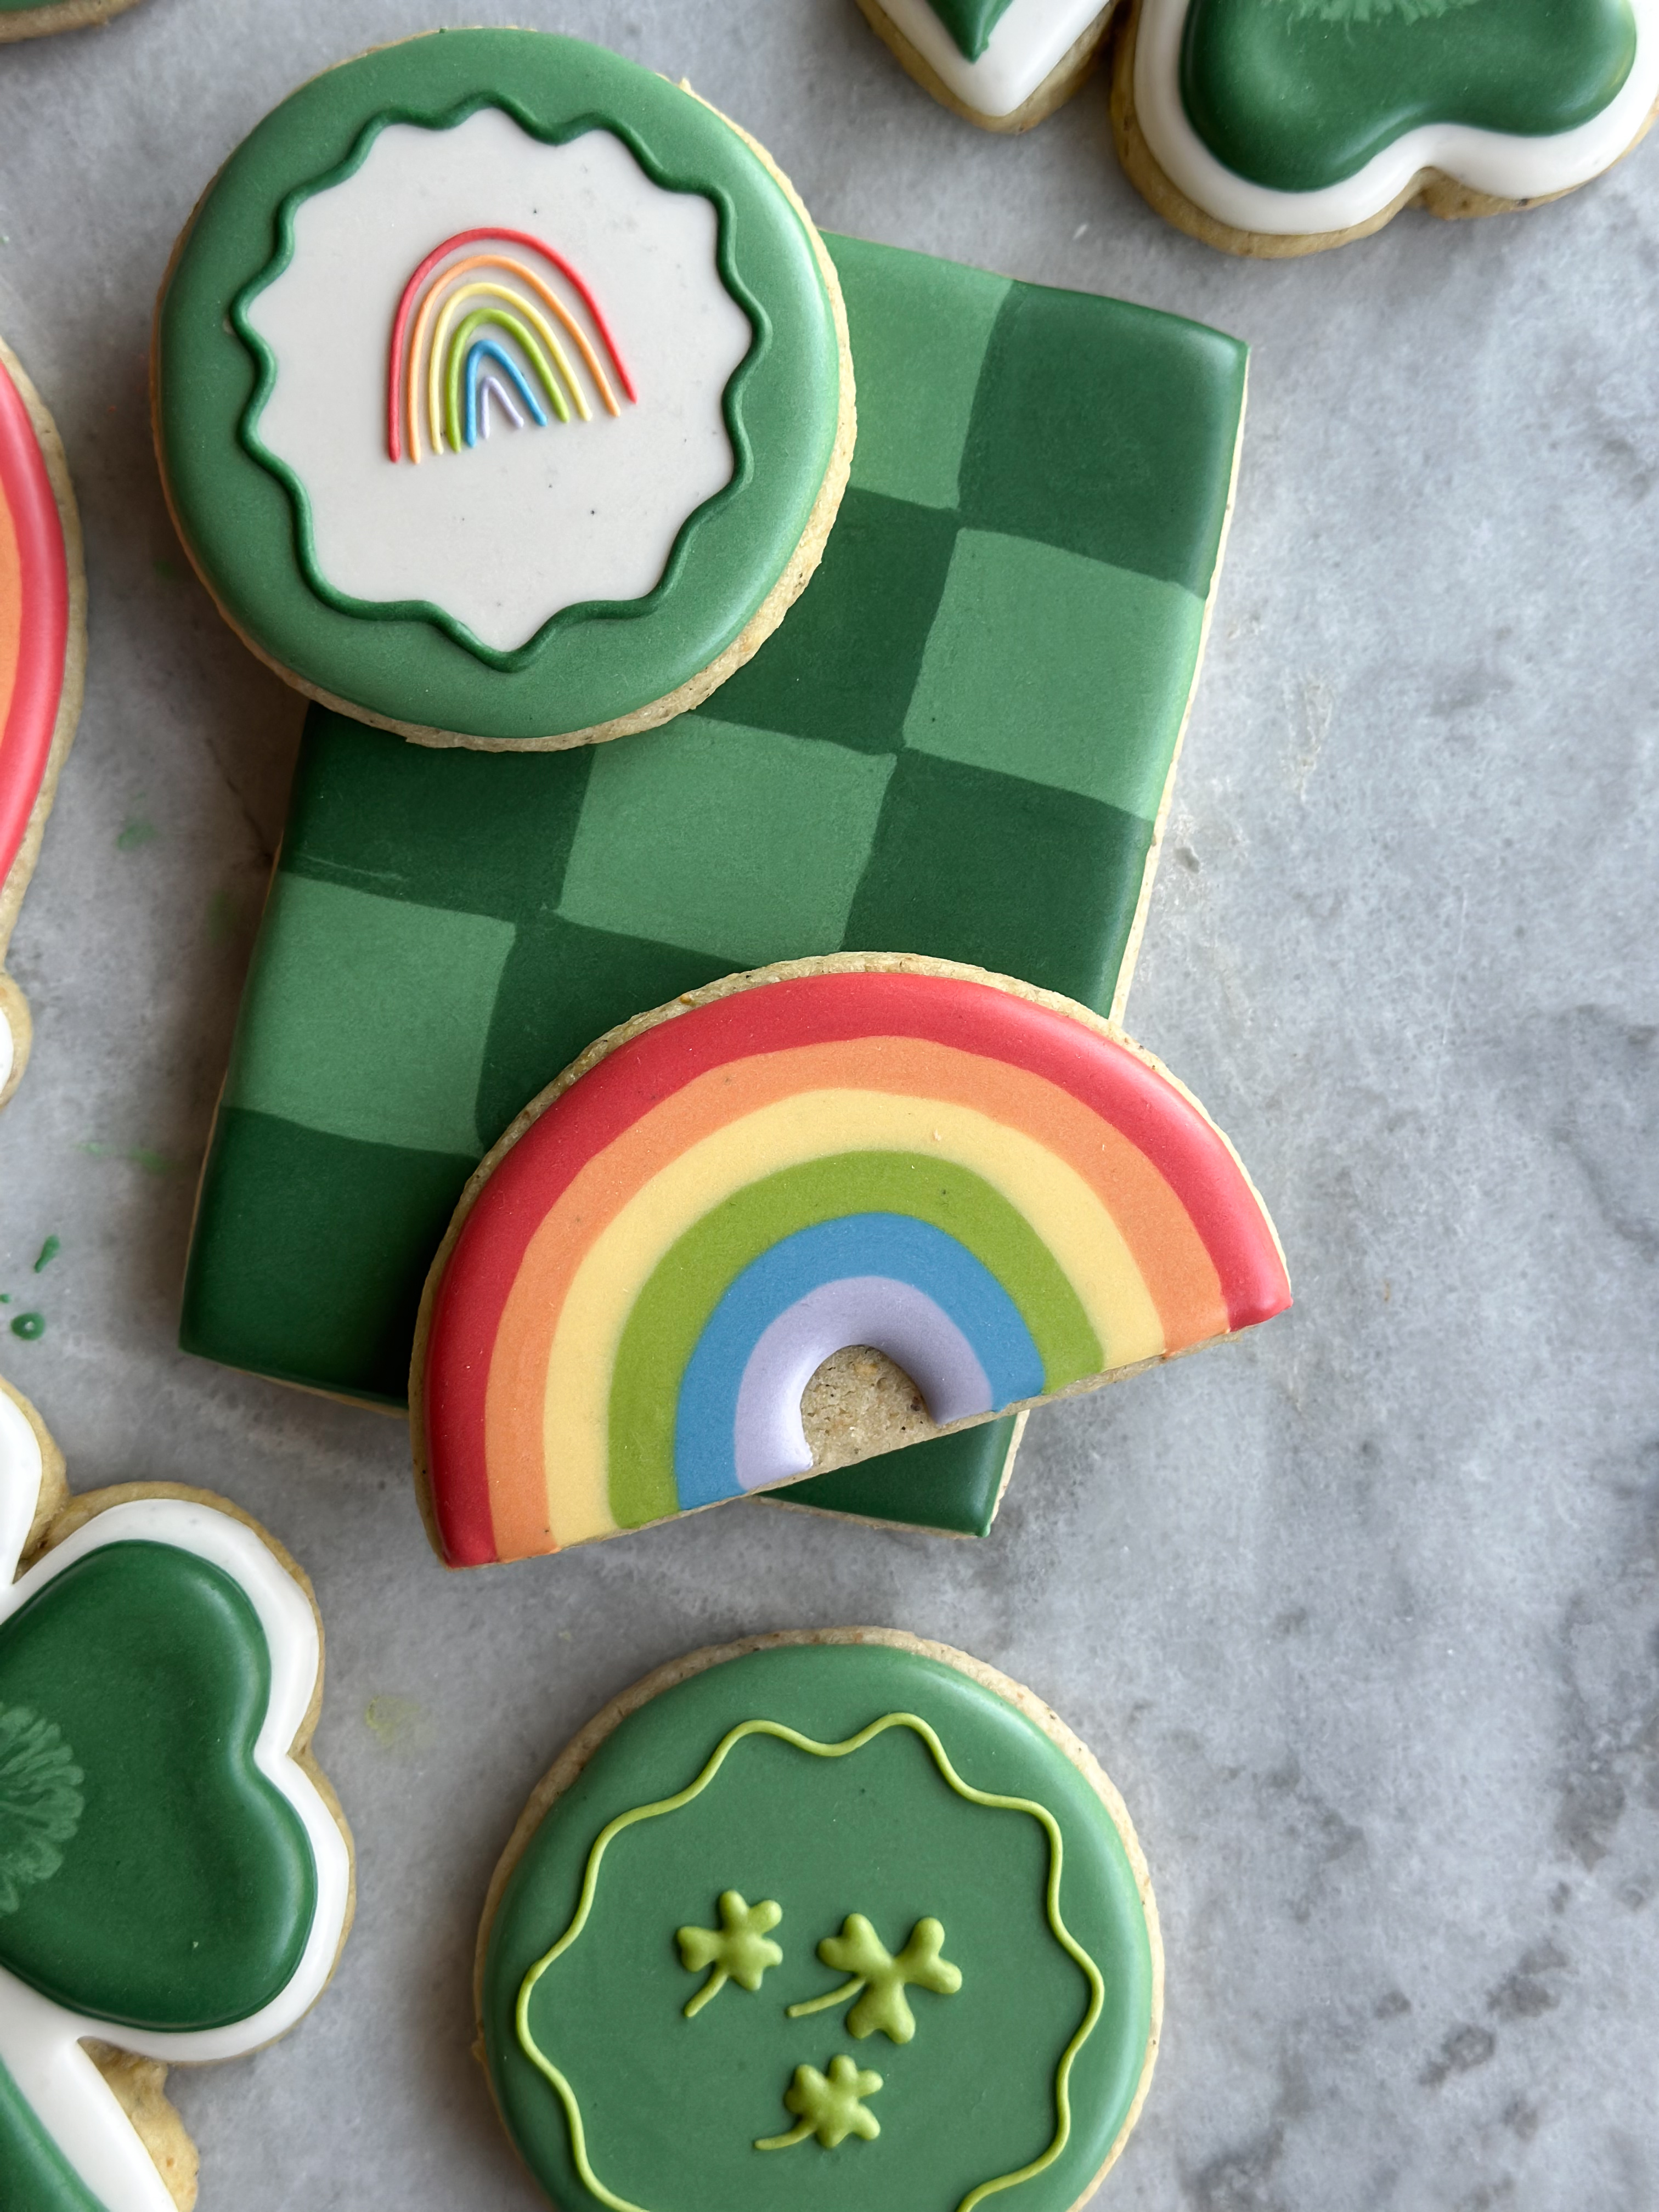
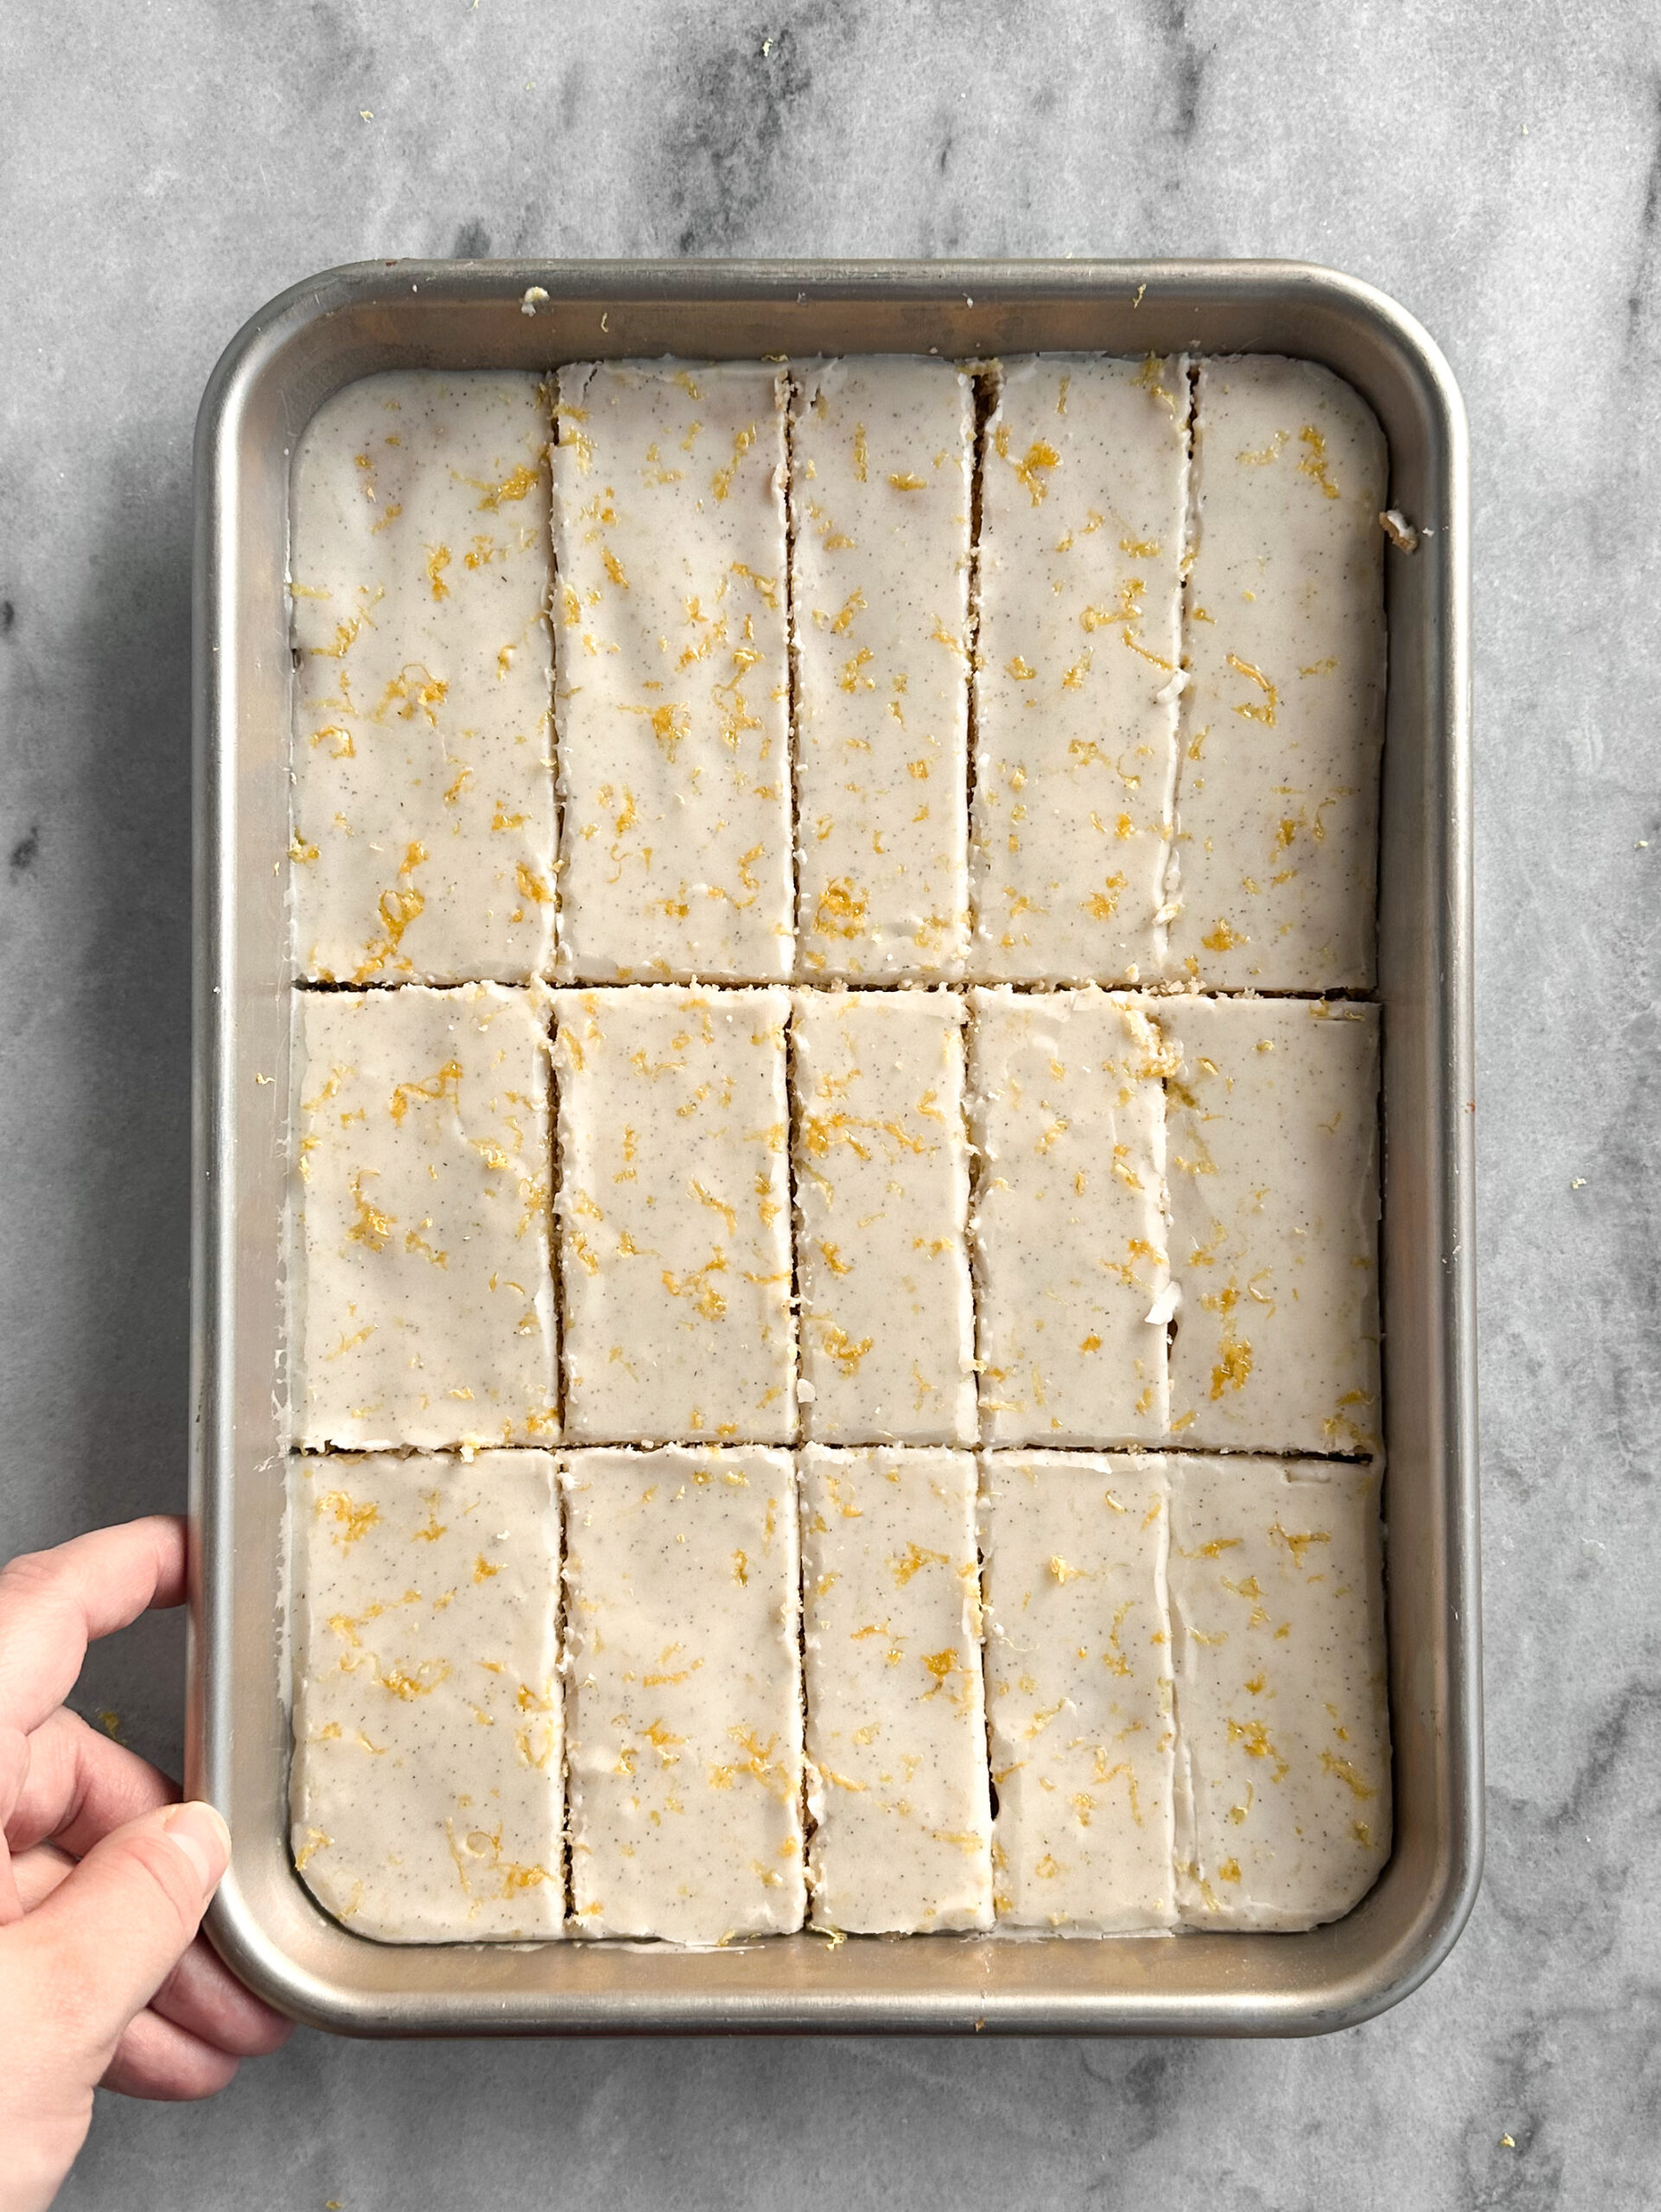
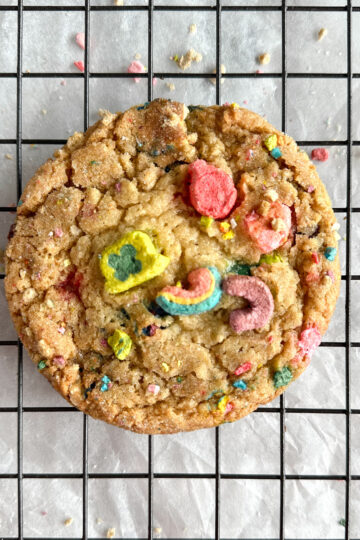
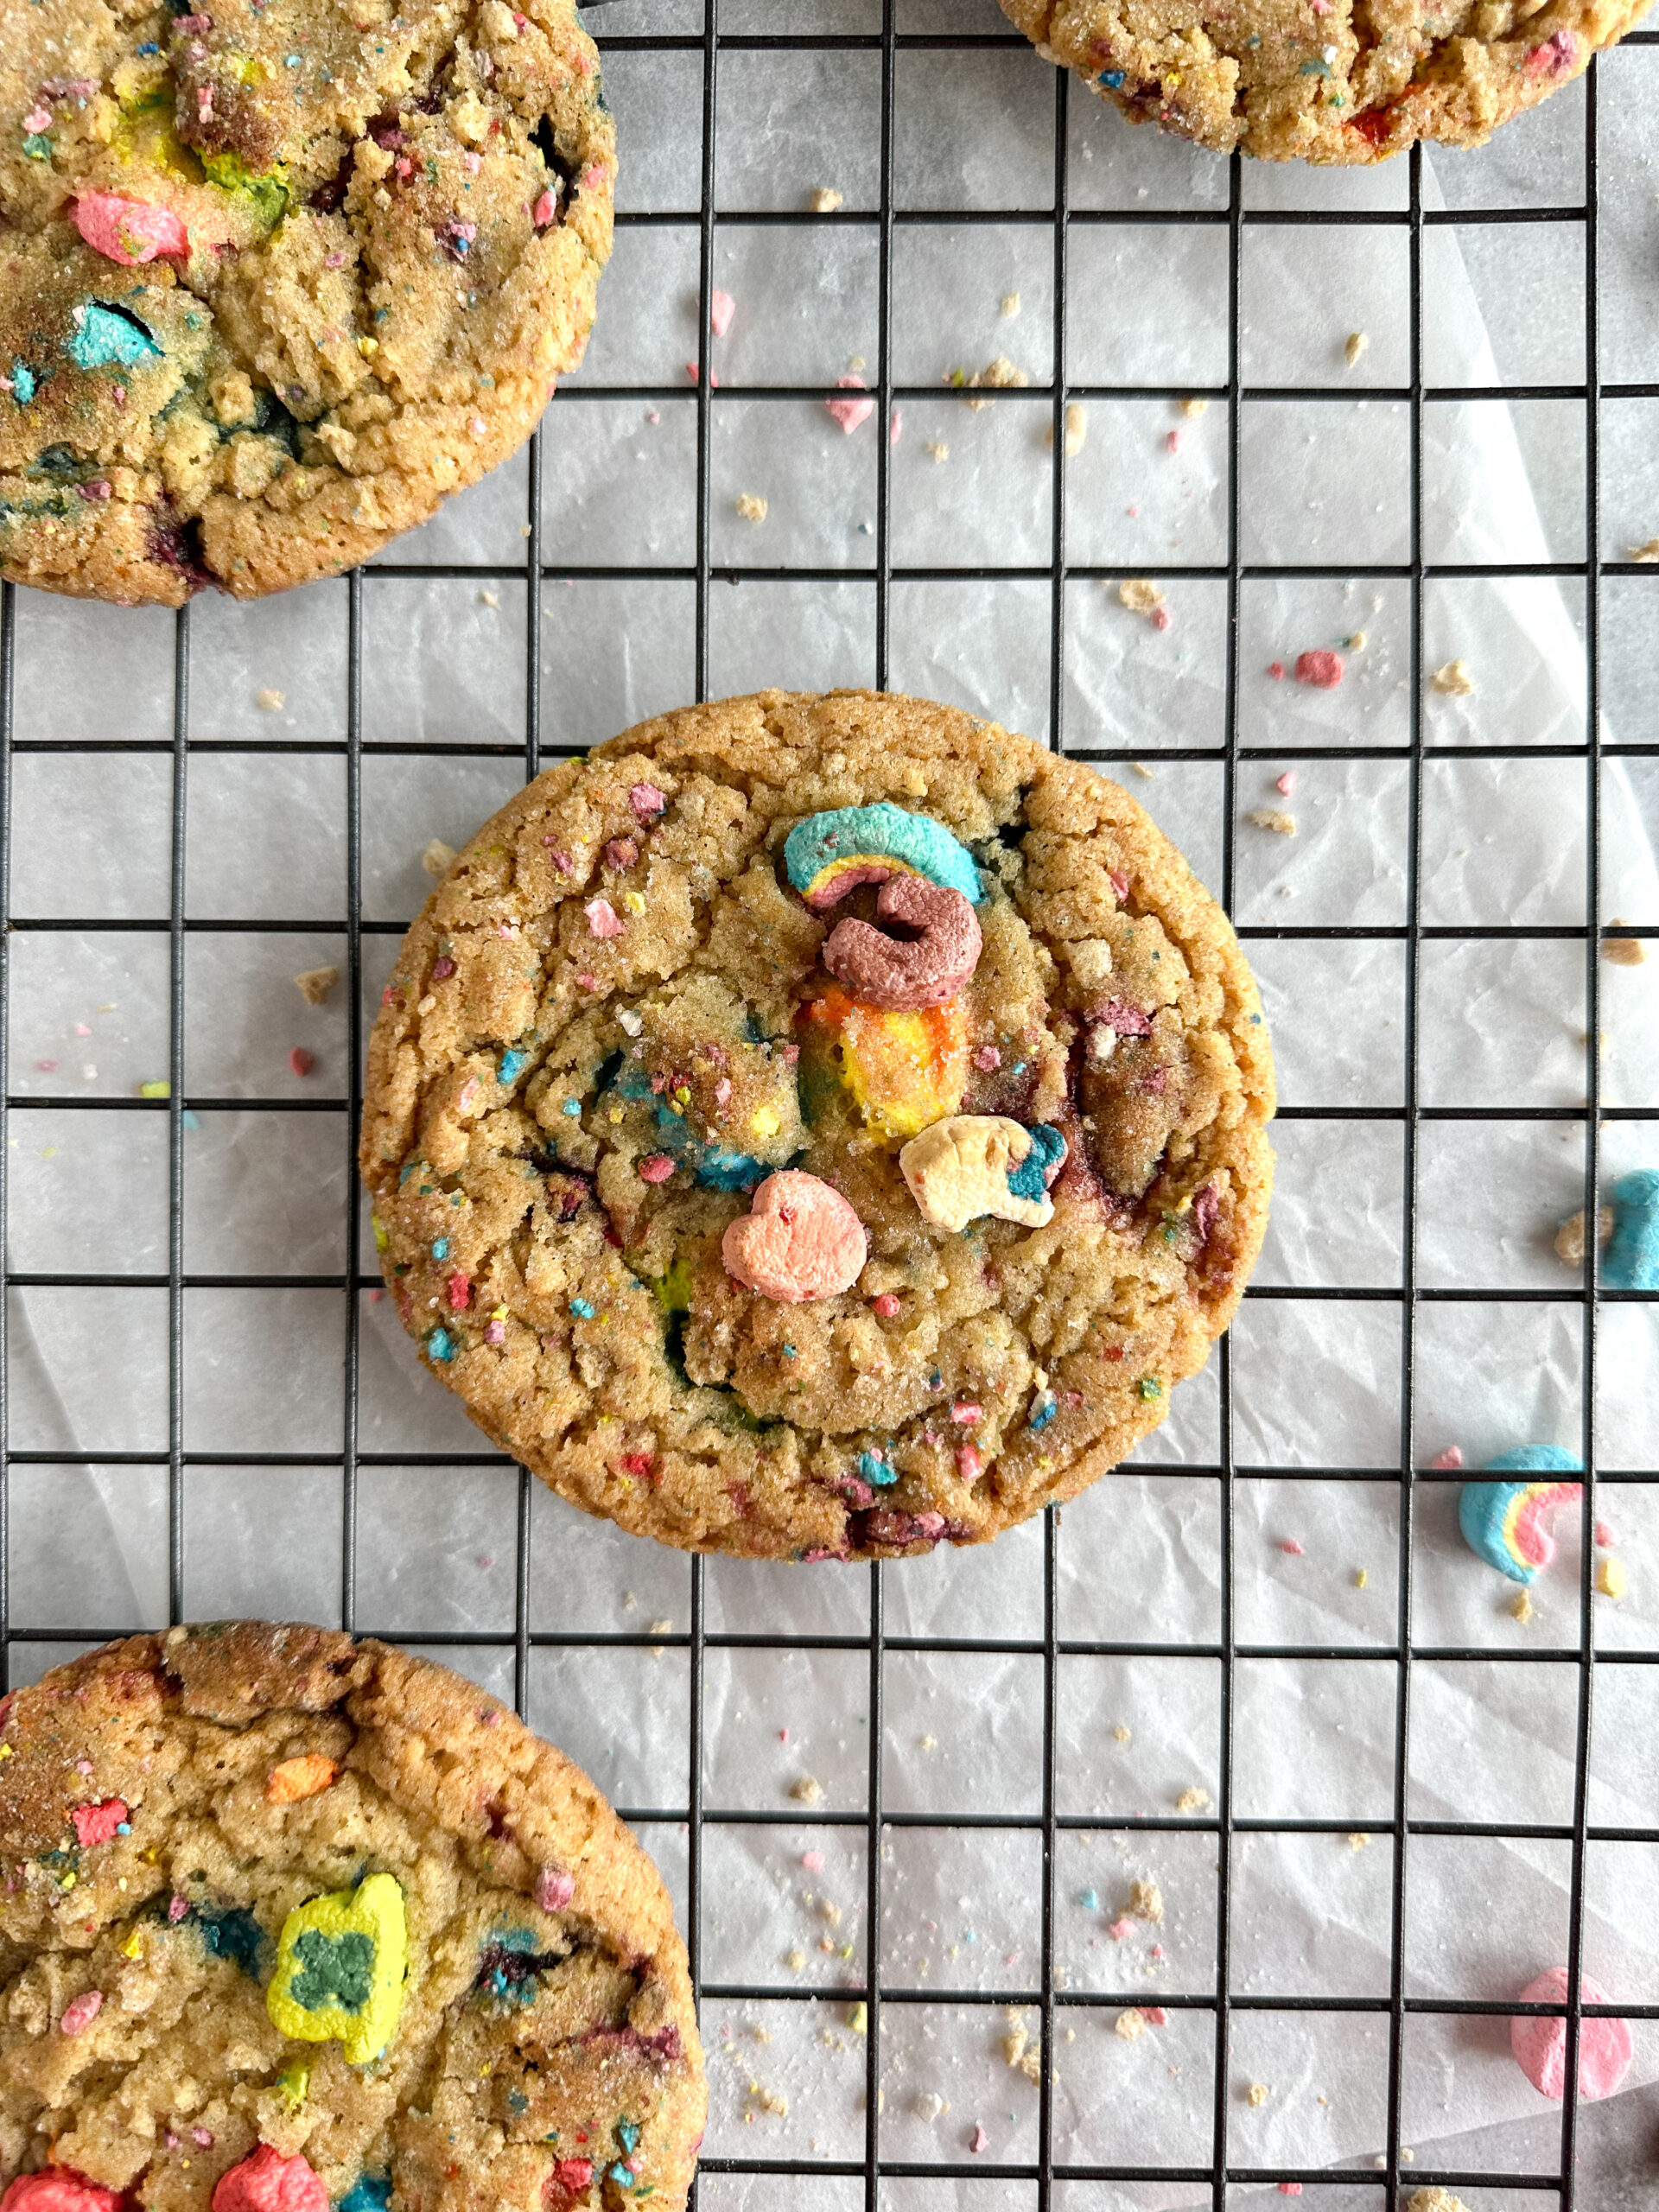
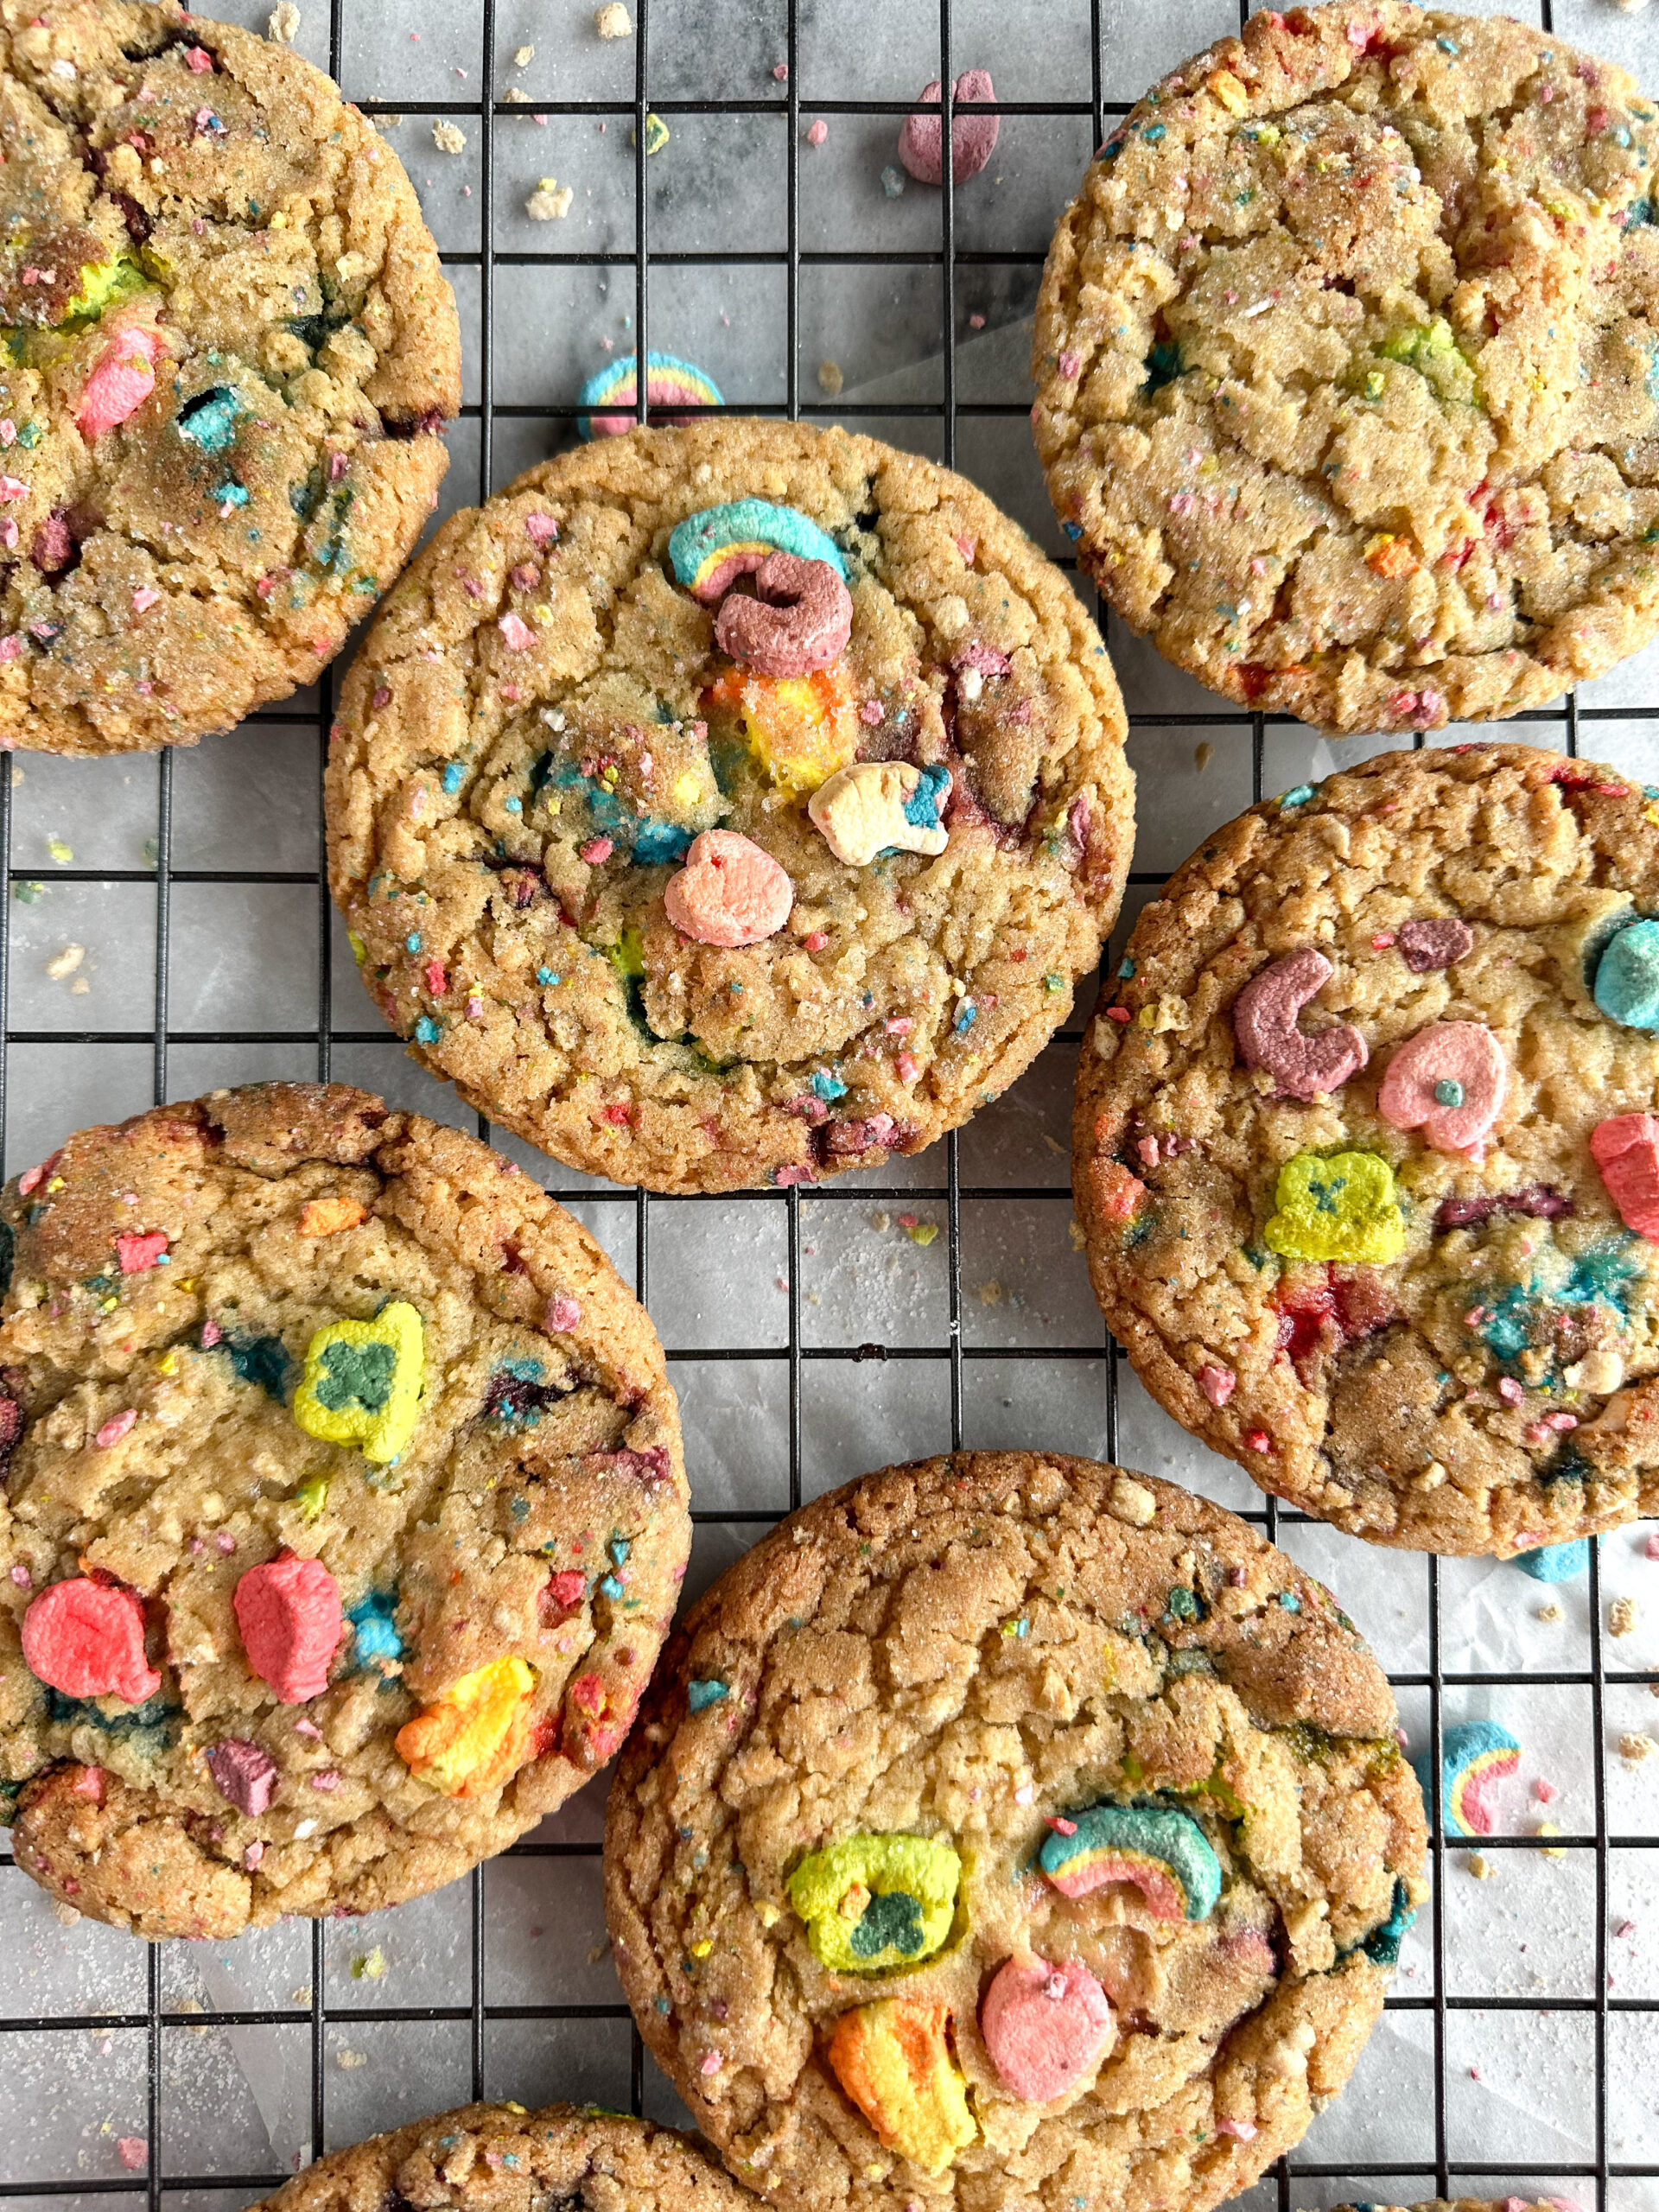
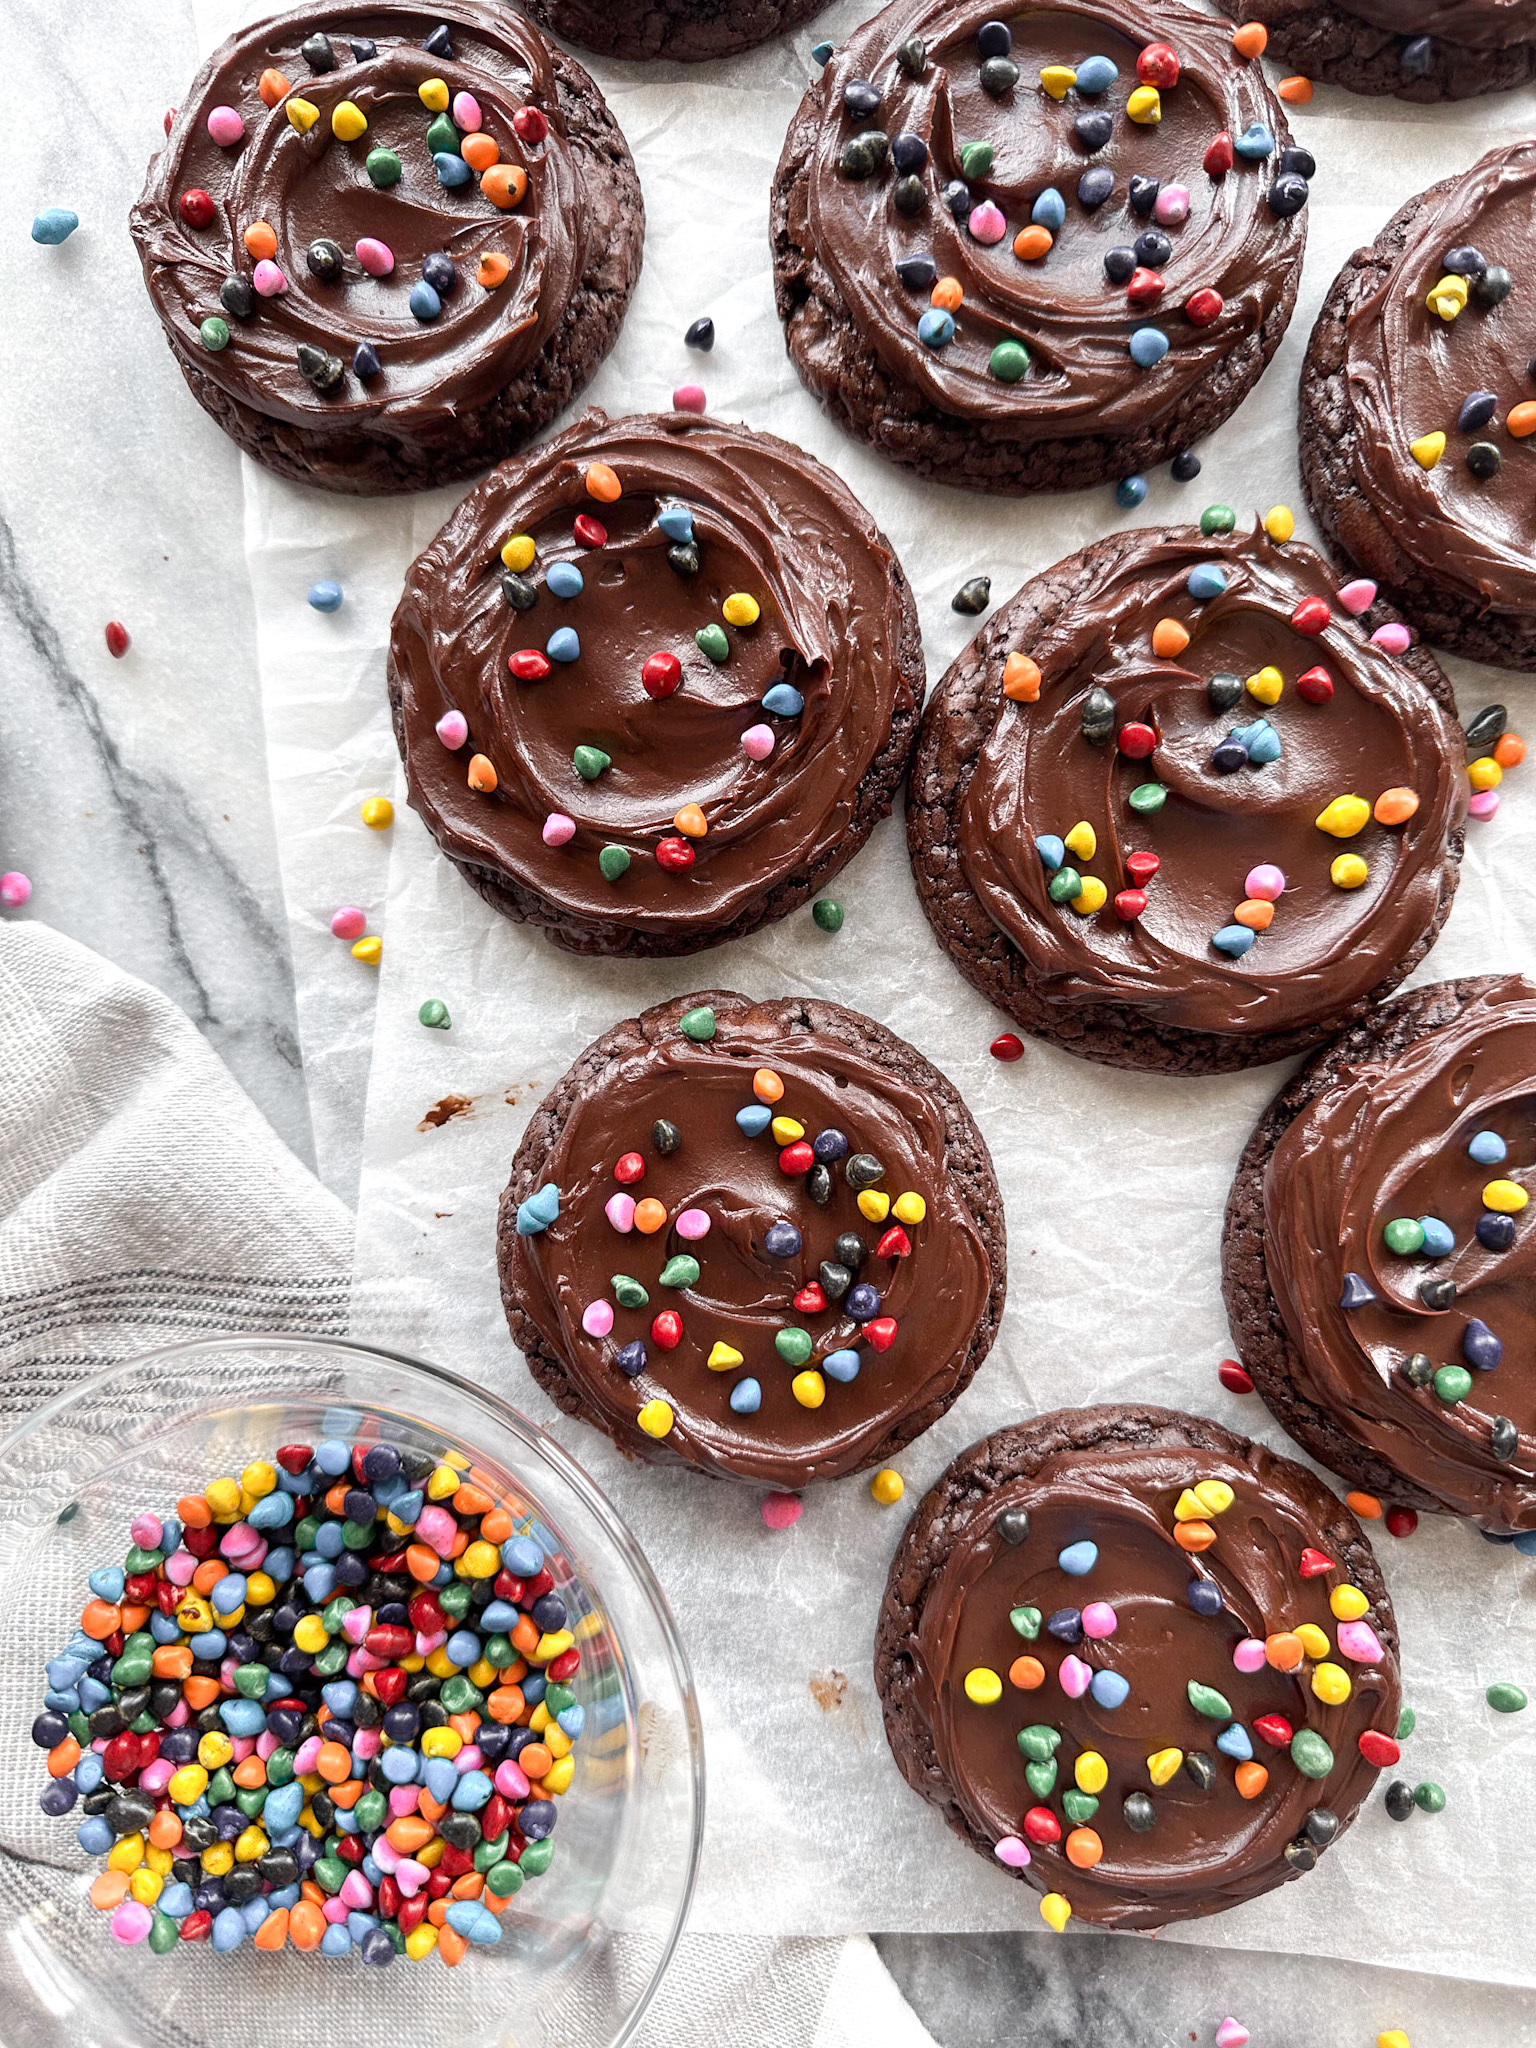
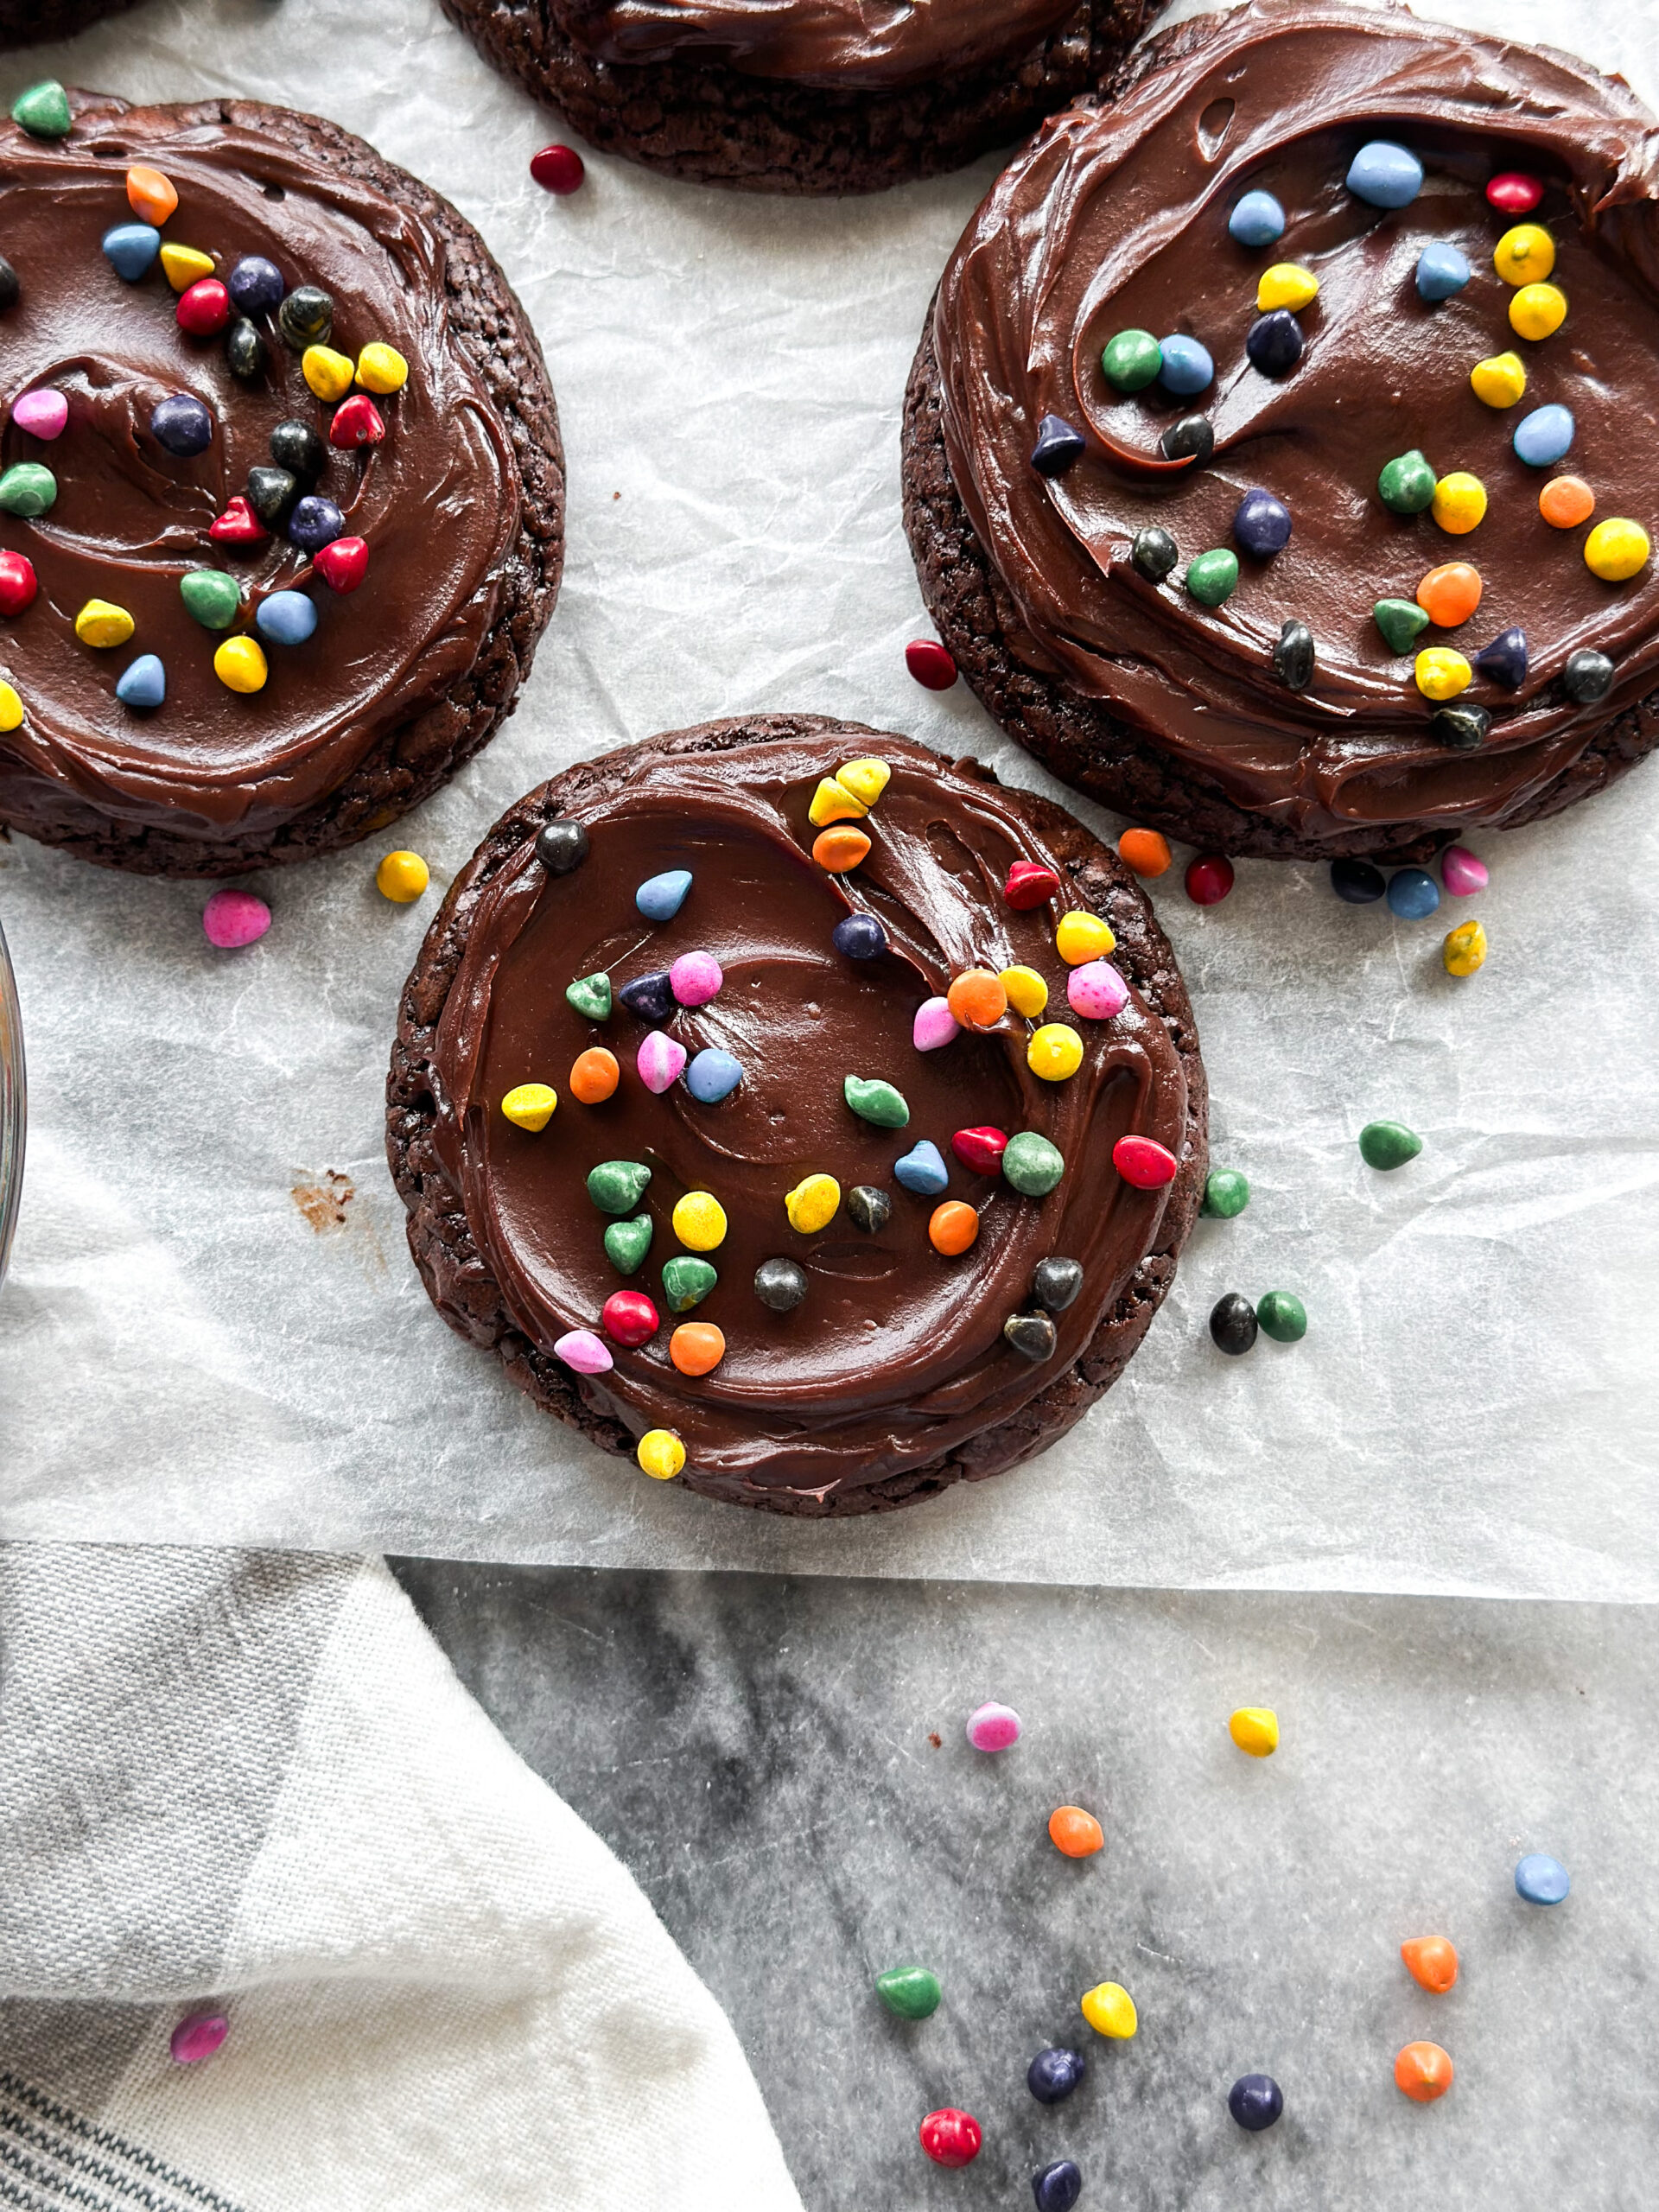
Once the cookies are cooled, frost with the ganache. Sprinkle with rainbow bit chips.
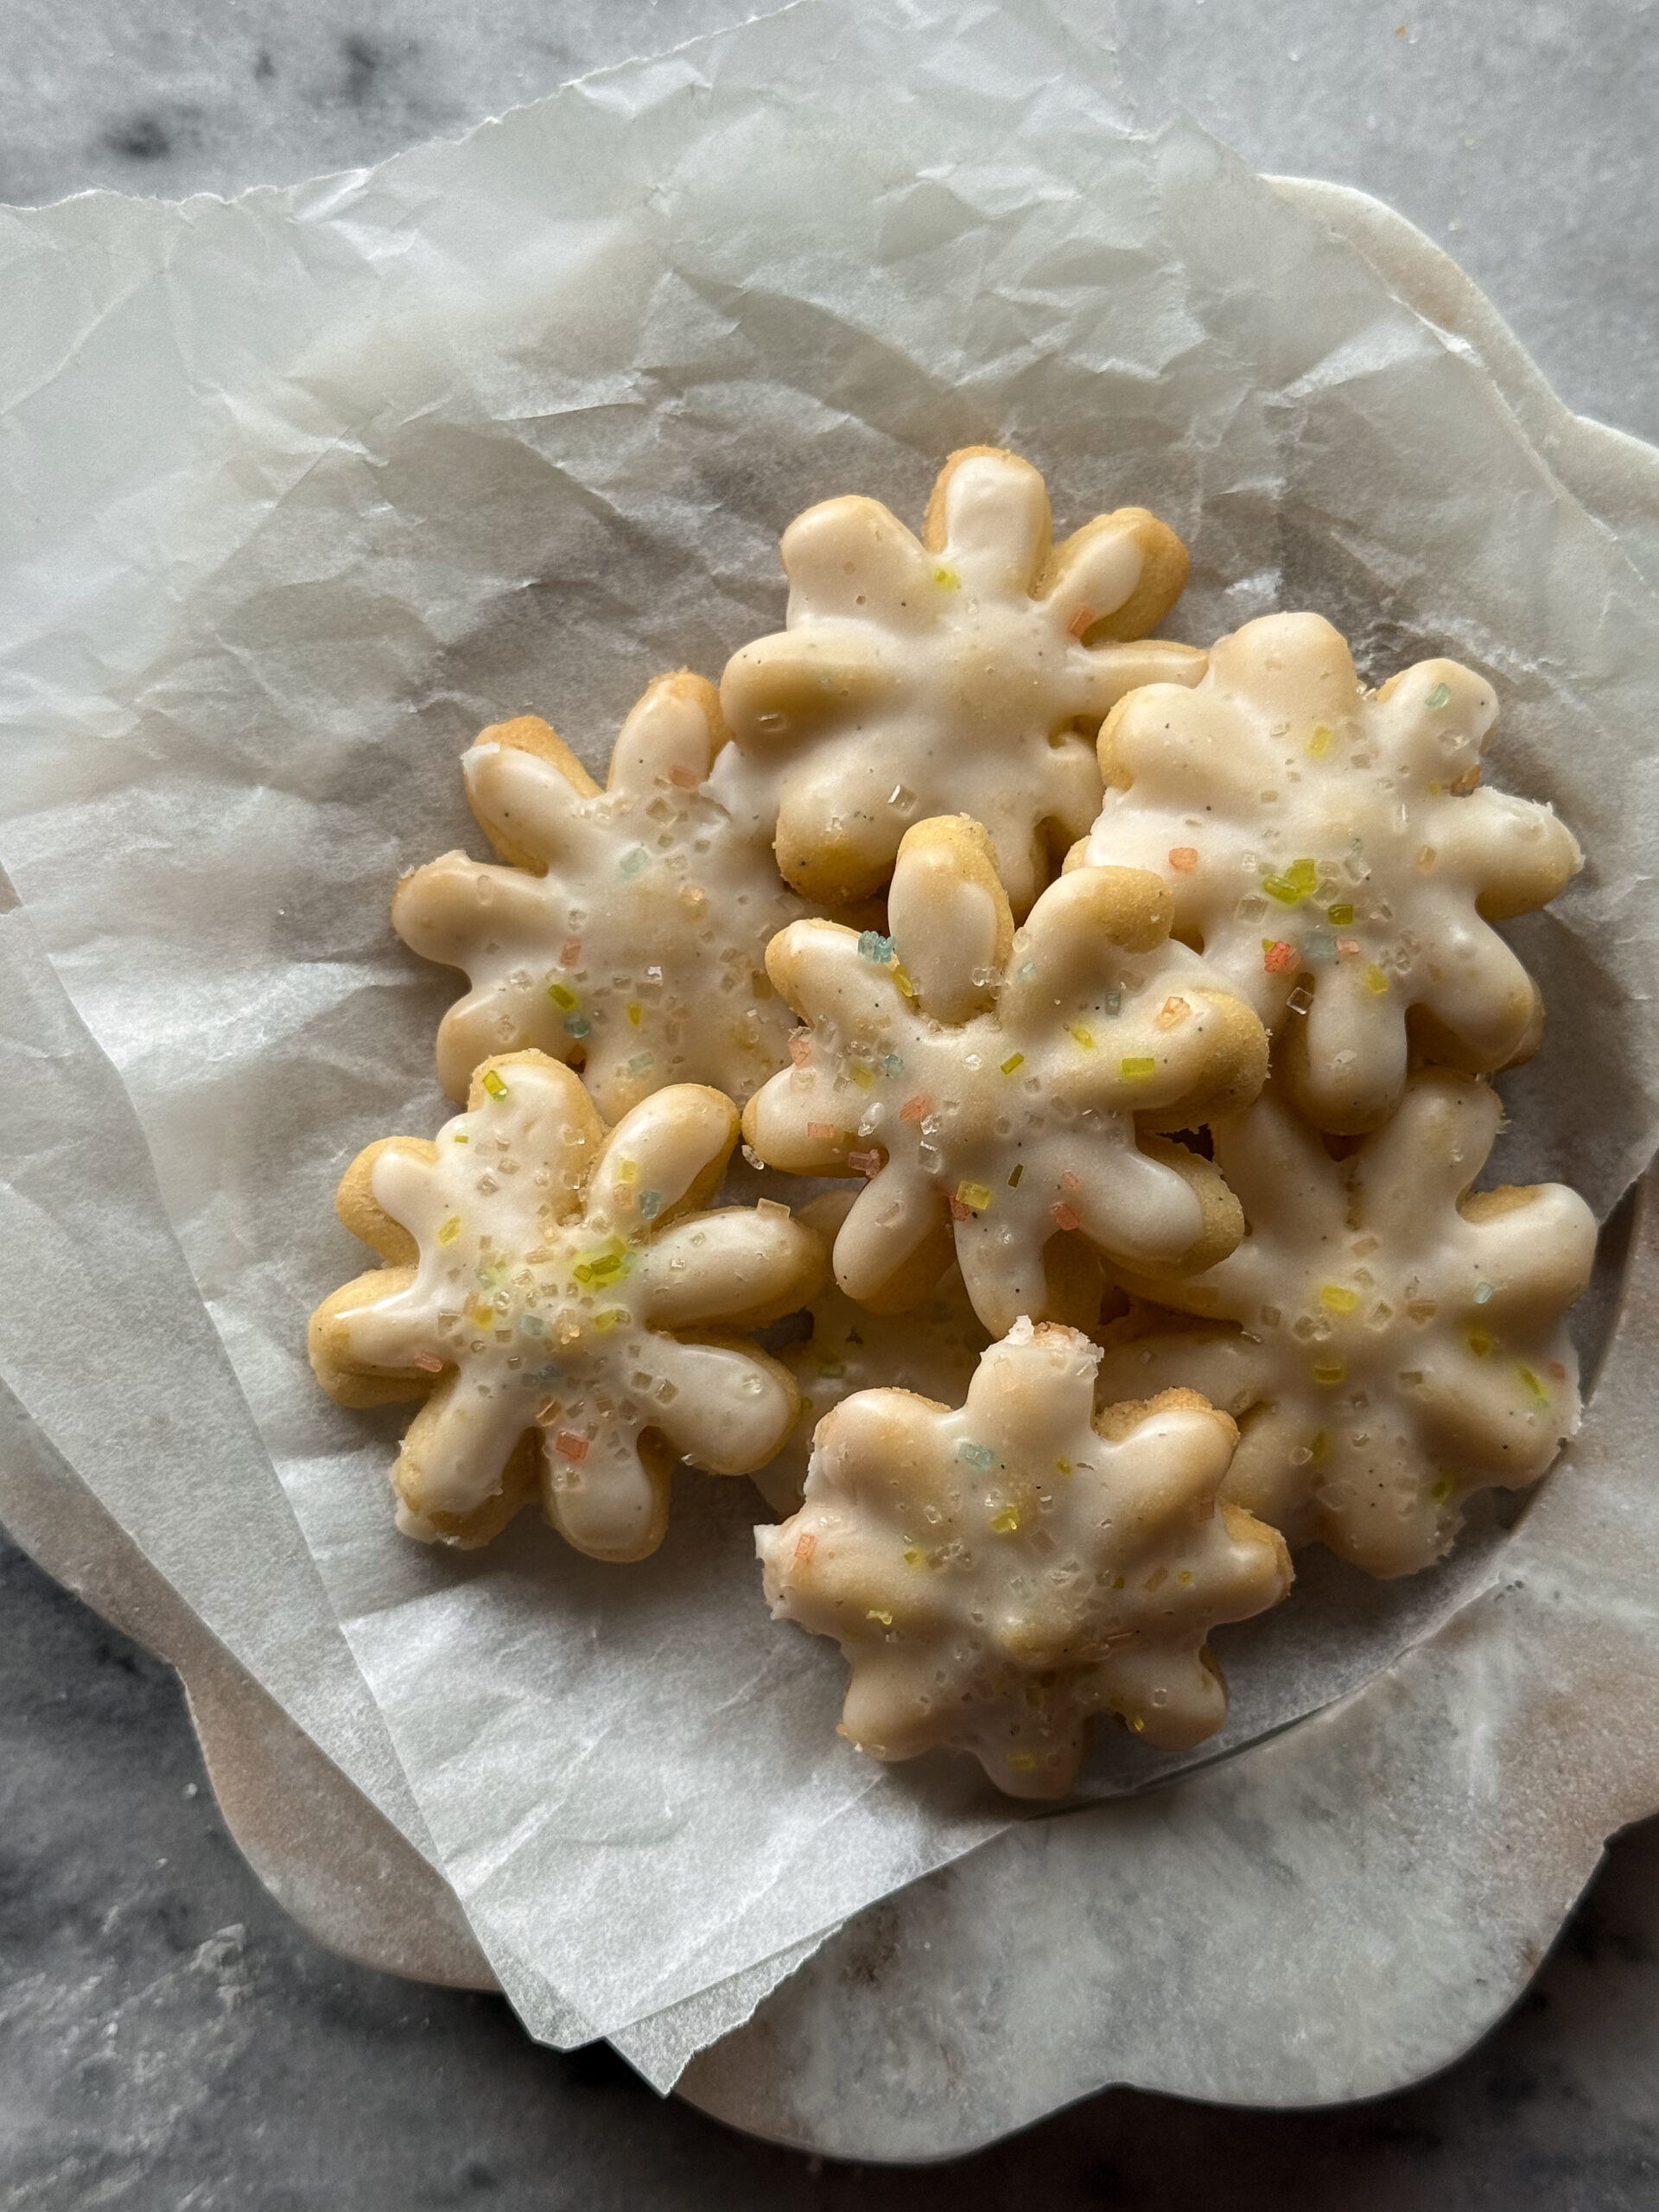
Store in an airtight container. (These are especially good chilled.)
Notes
-
- Mise en place’ is a French phrase with the idea of putting everything in its place before beginning to make a recipe. It helps everything to go smoothly and eliminates so much possible stress. Getting all of your supplies and ingredients together before ever starting the recipe will help tremendously.
-
- Weigh your ingredients, particularly the flour. It is the most important measurement in this recipe to weigh. Flour can be off in volume measurements by up to 30g, which is a quarter cup! Having incorrect flour measurements can cause your cookies to spread too much or, alternatively, be dry and crumbly. Weighing your ingredients makes everything so much easier, as you don’t have to wash all the measuring cups at the end. However, I do not use the scale to weigh out teaspoon or tablespoon measurements for things like baking powder, salt, vanilla, or cornstarch, for example.
-
- For perfectly round cookies, use a large metal cookie cutter to scoot the hot cookies into shape. I’m addicted to doing this.