*This post contains affiliate links that when used, provides me with a tiny commission at no additional cost to you. As always, I only recommend products that I, myself enjoy and use. Thank you!
I recently fell down the rabbit hole that is making homemade vanilla extract. I am obsessed and am convinced this is the most fun one can have in the kitchen. This is it.
I had thought of making my own extract a while back, but to be honest, the process scared me a bit and it seemed like it would be a pain and expensive. I was wrong about both, and I decided to write up a post explaining all the basics you need to know when making your own homemade vanilla extract.
Why You Should Consider Making Your Own Vanilla Extract
- Cost Effective. Making your own vanilla extract is very cost effective and can lower the price of your vanilla by half or two thirds. Here’s a rough breakdown of some costs:
4 ounces Vanilla Beans- $40
1 Liter bottle of Vodka- $15
Total Cost for 32 ounces of Vanilla Extract- $55 ($1.72/ounce)
*This is based on the ratio of one ounce of beans to 8 ounces of vodka. Another acceptable ratio is one ounce of beans to 10 ounces of vodka, which then makes the price per ounce $1.38)
Below is the price breakdown of the ever popular Nielson Massey Vanilla Extract available on Amazon. You can see that the price goes down per ounce the more you purchase, but even a large bottle is about twice the price of the homemade version.
- 2 oz jar- $15.95 ($7.98)
- 4 oz jar- $19.95 ($4.99)
- 8 oz jar- $34.99 ($4.37)
- 32 oz jar- $104.87 ($3.28)
A popular budget vanilla extract, McCormick, is still more expensive than the homemade vanilla extract.
McCormick Vanilla Extract- 16 oz bottle- $34.96 ($2.19)
- Quality. The quality of your store-bought vanilla extract can vary. Different brands use different ratios of vanilla to vodka (sometimes even adding water), and it is always possible (and sometimes likely) to get a very weak vanilla extract while still paying a high price. Making your own vanilla extract allows you to be in control of your vanilla bean’s quality and the potency based on how many beans you use. You can also experiment with different flavors by using different alcohols like bourbon or by using different types of beans, such as Madagascar, Ugandan, Tahitian, or others.
- Fluctuating Prices. Vanilla is always fluctuating in price, with it only getting more and more expensive. According to this article, vanilla prices began to rise in 2015, and have consistently been about ten times the original cost of vanilla. Making several jars of your own vanilla extract with beans bought at a good price ensures that you have vanilla in the future without having to pay unknown high prices.
- The Experience. Making your own vanilla extract is FUN. I love experimenting and trying new things, and this process didn’t disappoint. Incredibly simple and with more than one method to try, you can really have a lot of fun making the vanilla your own. And let’s be honest, who wouldn’t feel impressed with themselves after producing their own beautiful jars of vanilla extract?
What You Need to Make Your Own Vanilla Extract
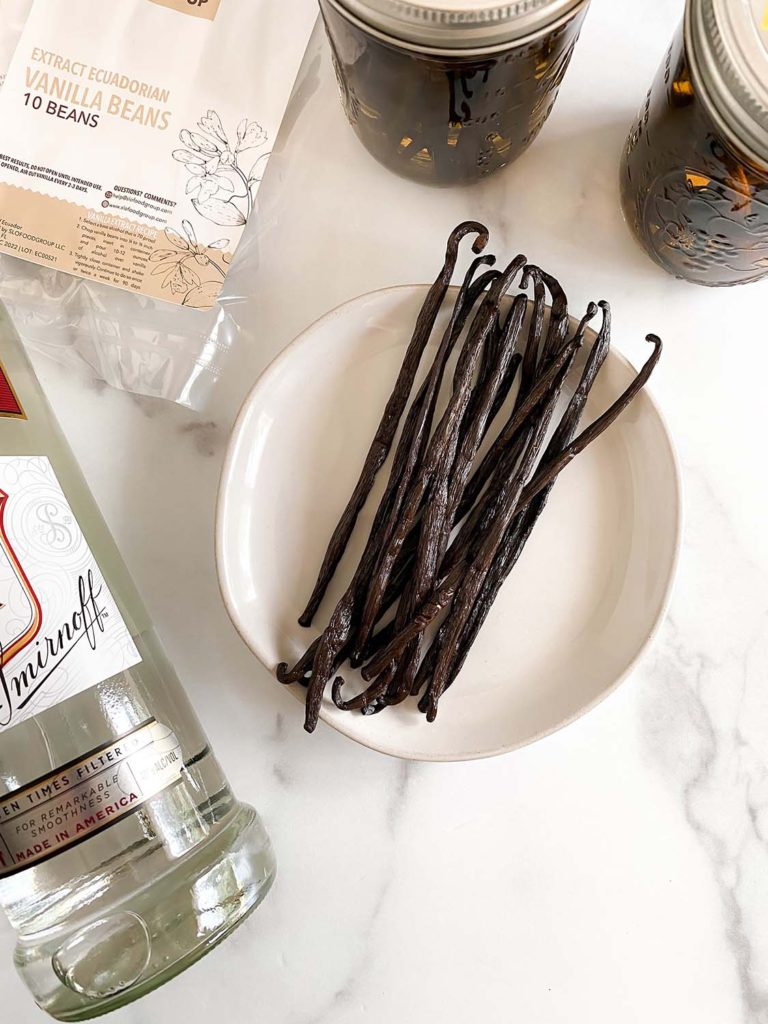
Grade B Vanilla Beans
Vodka (at least 35%)
Glass Container
Vanilla Beans
There are many types of vanilla beans, and the quality and type you get will affect the overall flavor of the extract. Here are some important things to consider:
- Grade A or Grade B:
Grade A vanilla beans are beautiful and perfect in their condition. They are moist, plump, and without blemish. They are very expensive and considered gourmet. Because Grade A beans are more moist, they are able to infuse flavor more quickly into a dish, although that flavor is more diluted.
Grade B vanilla beans are smaller, less moist, and may have blemishes. Because they are visually not at the standard of Grade A, they are less expensive and perfect for making extract. Because a Grade B vanilla bean is less moist, the flavor is more powerful, although it takes longer to extract. This makes them perfect for vanilla extract, because the process of extracting vanilla flavor into alcohol is lengthy- giving the beans enough time to release the concentrated flavors and creating a dark, rich vanilla extract.
- Origin/Type:
How do you know which vanilla bean to choose? There are many varieties with their own flavor notes and special characteristics including Madagascar, Tahitian, Ugandan, Ecuadorian, and more.
Madagascar Bourbon Vanilla Beans are the most common vanilla beans used in extracts. If you are just starting out with making your own vanilla extract, I recommend using this type of bean as you will be most familiar with its flavor profile.
These are the three beans I used to make my extracts:
Madagascar Beans: When purchasing traditional Bourbon vanilla beans you will find a rich, creamy and familiar vanilla flavor. Madagascar vanilla beans are well-suited for baked goods and both hot and cold preparations.
Ecuadorian Beans: These beans are “fruity, floral, and much deeper in-depth than other Tahitian vanilla beans. To us, these vanilla beans have an aroma with notes of stone fruits, green apple, sour cherry, passion fruit with a touch of honey, and prickly pear.”
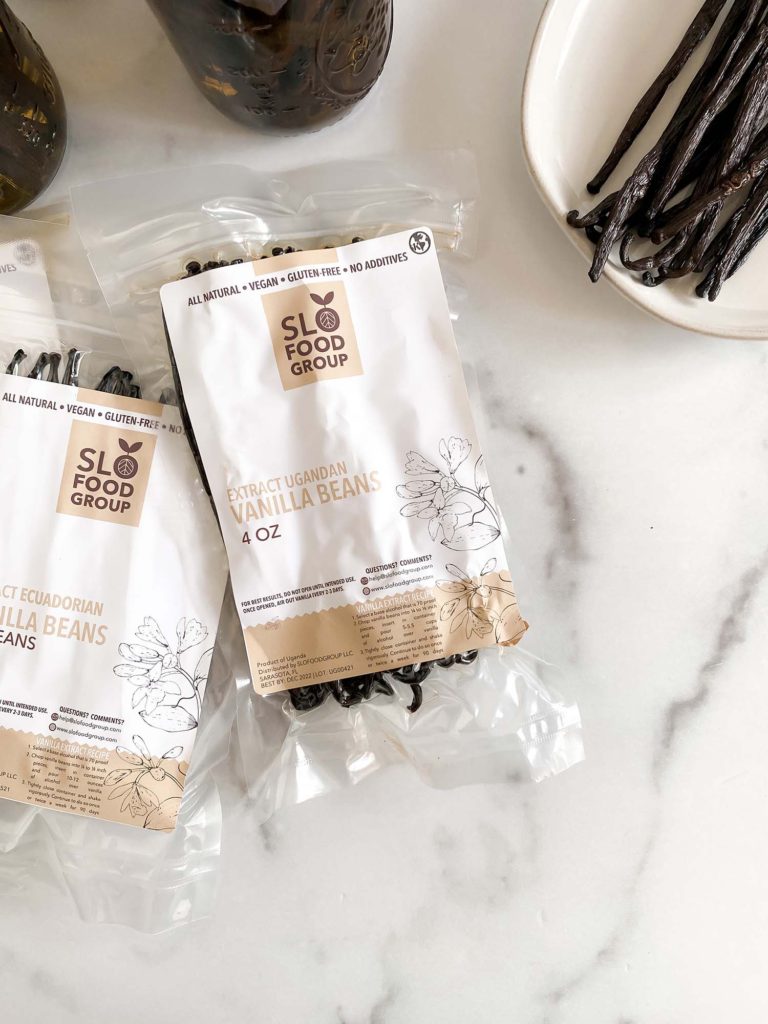
Ugandan Beans: “Grade B Ugandan vanilla beans (also referred to as extract beans), [are] the ideal vanilla bean choice for making a rich and complex vanilla extract. The earthy, chocolate undertones of these bourbon type vanilla beans from East Africa are a flavor bomb in a bottle waiting to be released into your favorite recipes.”
- Where to source the beans:
The quality of your vanilla extract is really dependent on the quality of the vanilla beans, as that is where all of the flavor exists. You can purchase vanilla beans in small quantities at many grocery stores, but this is not cost efficient as a single 8-10 ounce jar of alcohol will need an ounce of beans (which can be anywhere form 6-12 beans depending on the grade and size).
It is very important to choose beans that are ethically sourced, high quality, and have a good bulk price. I prefer to purchase my vanilla beans from SloFood Group because they check all the boxes AND they have free shipping.
*side note of importance: they also carry the most beautiful spices, teas, salts, and gold flakes.
Alcohol
- Vodka:
The only important thing to know when shopping for vodka, is that it needs to be 70 proof/35% vodka. It is not critical to use a high quality or expensive vodka. In fact, I looked for a bottle that was less expensive to even further lower the costs. In the end, I paid $15 for a one liter bottle of Smirnoff’s that filled four eight ounce jars.
- Bourbon, Rum, and More...
It is possible to make vanilla extract in other alcohols as well as vodka. I (and a lot of pros who I learned this from) recommend using plain vodka for the first try, but I have heard a lot of good things from people who have fun creating specialty extracts with different alcohols.
- Glycerin:
Glycerin is an alcohol free alternative to those who do not want to use alcohol in their extracts. I will not be going over how to make extract with glycerin, because I haven’t tried it yet, but know that it is a great alternative if you are not interested in using alcohol for whatever reason.
Containers
I do not recommend spending a lot of money (or any really) on any specific jars. I do recommend using glass jars with a good seal, but any old (clean) sauce jar will do. I happen to keep quite a lot of Ball canning jars on hand in various sizes, and those work perfectly. I love 12 ounce jars and 8 ounce jars.
I did purchase some beautiful 8 oz. amber bottles, but I’m going to be using them to pour my finished extracts into, rather than using them during the extraction process.
How to Make Your Own Vanilla Extract
You already know why you should make your own vanilla extract and what you need to make your own vanilla extract, but how do you actually make it? Here’s a simple breakdown of the different processes.
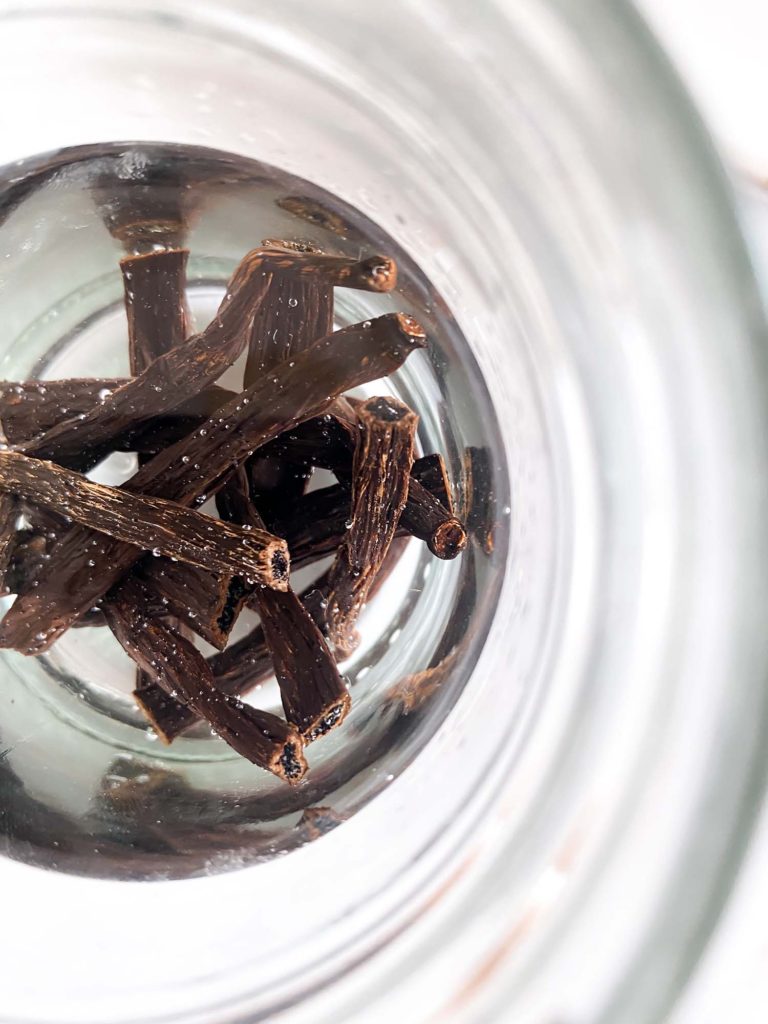
- Option #1- Slicing/Cutting the Beans
Slicing the vanilla beans requires you to slice your beans down the middle to expose the vanilla seeds. Doing this allows your extract to be finished much more quickly, since the vanillin doesn’t have to go through the shell of the bean due to the caviar (vanilla bean seeds) being exposed. However, it is more difficult to use the beans afterwards in other uses, such as vanilla sugar or vanilla bean paste, and the vanilla will be filled with vanilla bean flecks rather than being a pure, clean liquid.
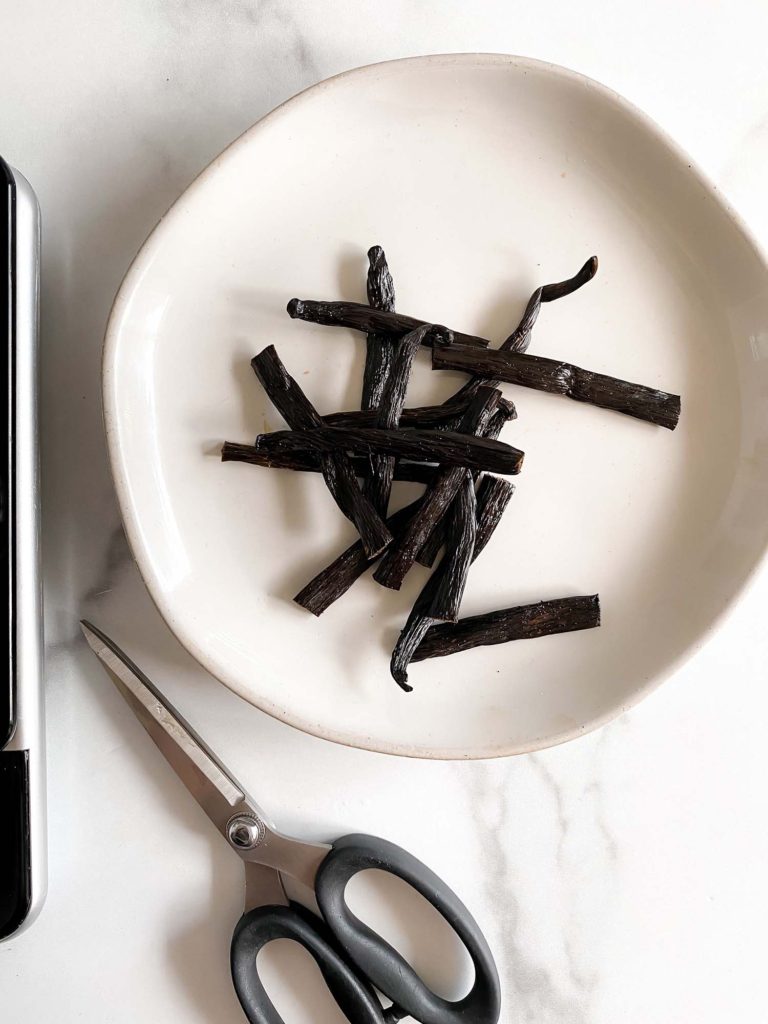
Cutting the beans is simply chopping them into smaller pieces and is ideal for when your jar is too small for whole beans (even folded whole beans). Since cutting also exposes the inside of the bean (although much less so than slicing), the extract will take much less time to be finished since the vanillin doesn’t have to travel all the way through the shell of the bean. Again, the caviar finds its way into the extract, and it is more difficult to use these cut beans after the extract is complete, although certainly not impossible.
When slicing or cutting your beans, you can expect your extract to be usable as soon as 3-4 months.
- Option #2- Leaving the Beans Whole
Another way to make extract is to leave the vanilla beans whole. When using a jar shorter than the vanilla bean itself, simply fold the beans in half. Of course, an obvious reason to leave beans whole is that you can reuse the beans afterwards thanks to the caviar staying inside the bean. This method does take a significantly longer amount of time, with the vanilla extract being usable in about 6-12 months.
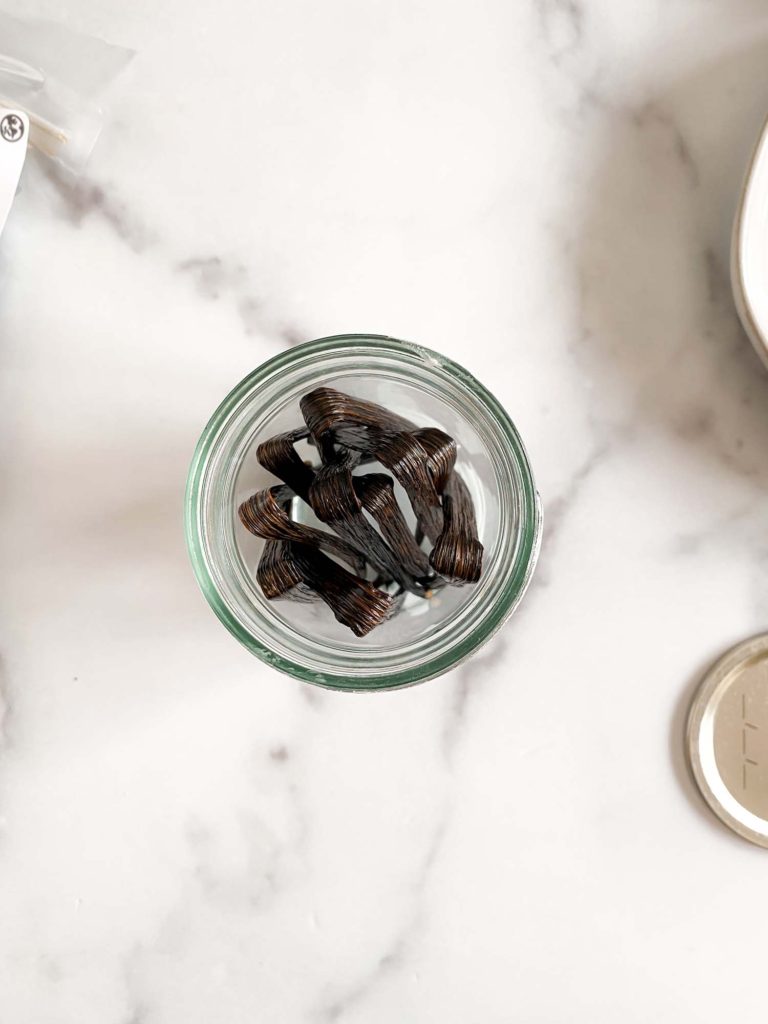
The Ratio:
One ounce of beans : Eight ounces of vodka
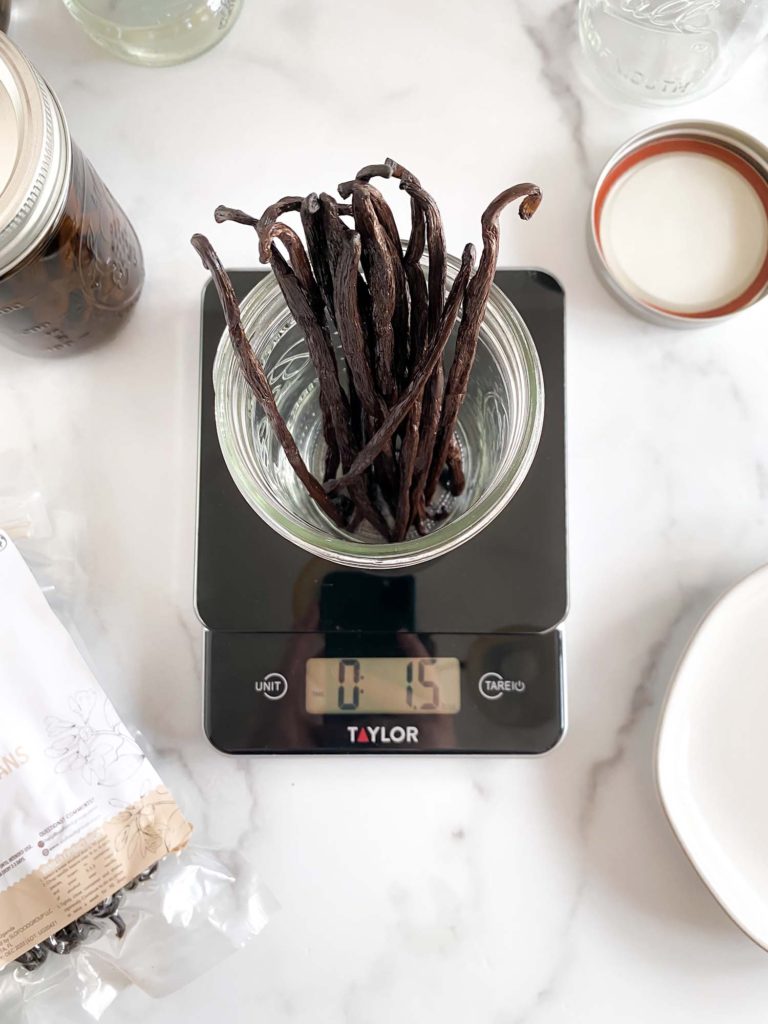
*It is not about bean count. You have to weigh them.
The Process
#1. Shop for your beans, making sure to select Grade B beans in whatever style you like.
#2. Choose which method you are going to use- slicing, cutting, or leaving the beans whole.
#3. Weigh your vanilla beans in a clean glass jar before pouring the correct measured amount of vodka over the beans. Make sure to fully submerge the beans.
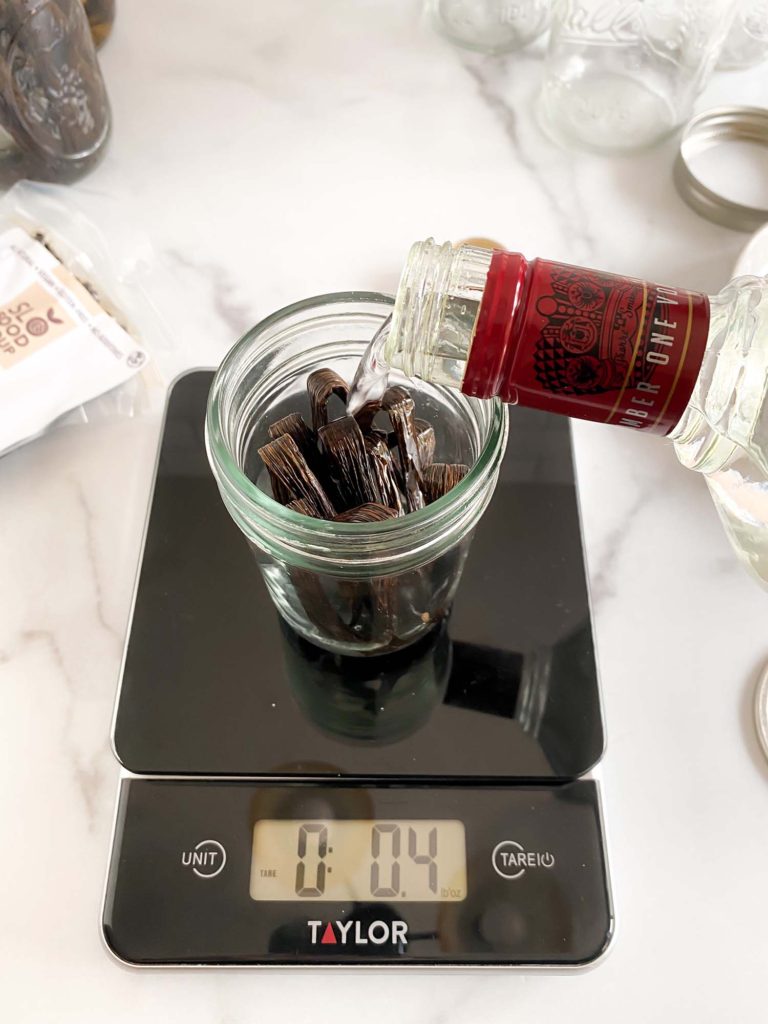
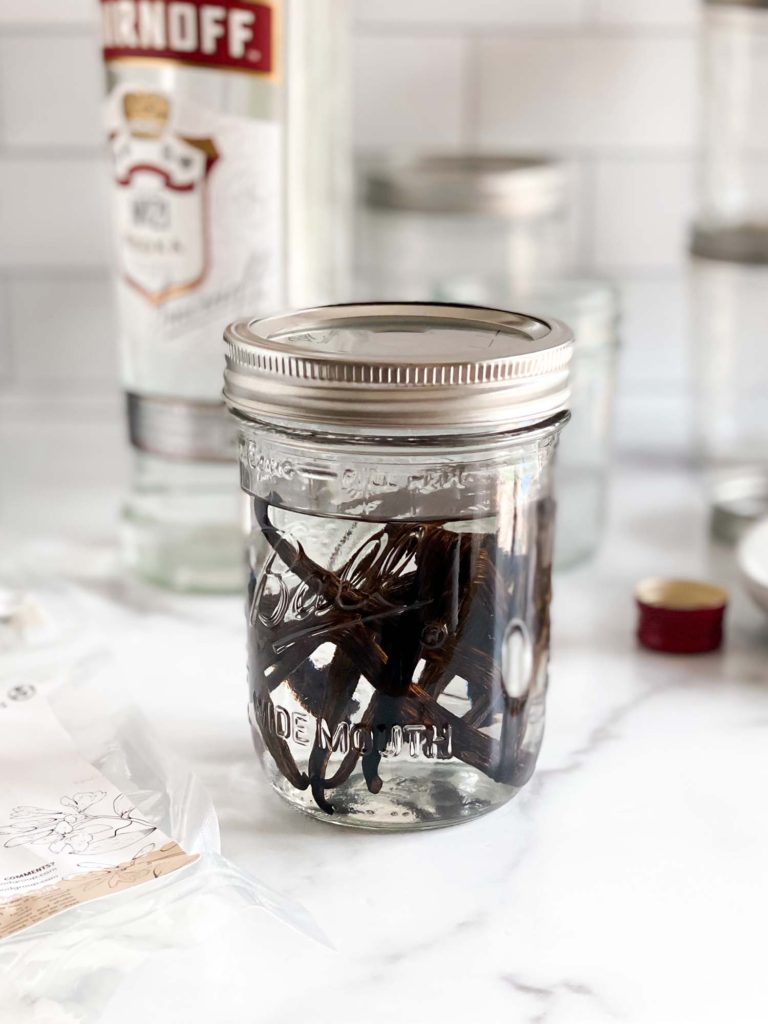
#4. Cover tightly and shake well.
#5. Label the jars with what types of beans you used, how much the beans weighed, how much vodka was used, and the date it was made.
#6. Store the jars in a cool, darker environment and vigorously shake every week.
If you cut your beans, your vanilla may be ready in as little as 3-4 months. If you left them whole, it will be ready in 6-12 months.
Don’t stress too hard about your jar amounts being perfect. In order to make sure all my beans were covered in the 12 ounce jar, I had to put more vodka in it. Originally I had eight ounces of vodka with one ounce of beans. Because I added two ounces of vodka, I just added a few more beans.
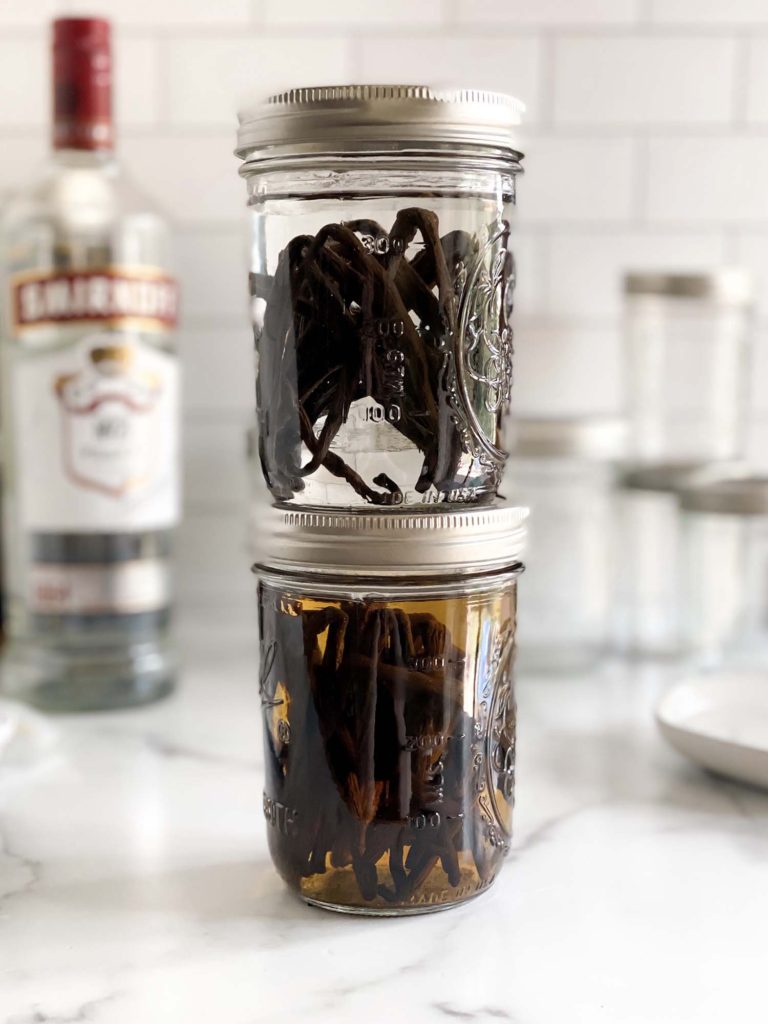
The above photo shows the difference that a week can make. Obviously, the bottom one is not even close to being done, but there is definitely color to the alcohol.
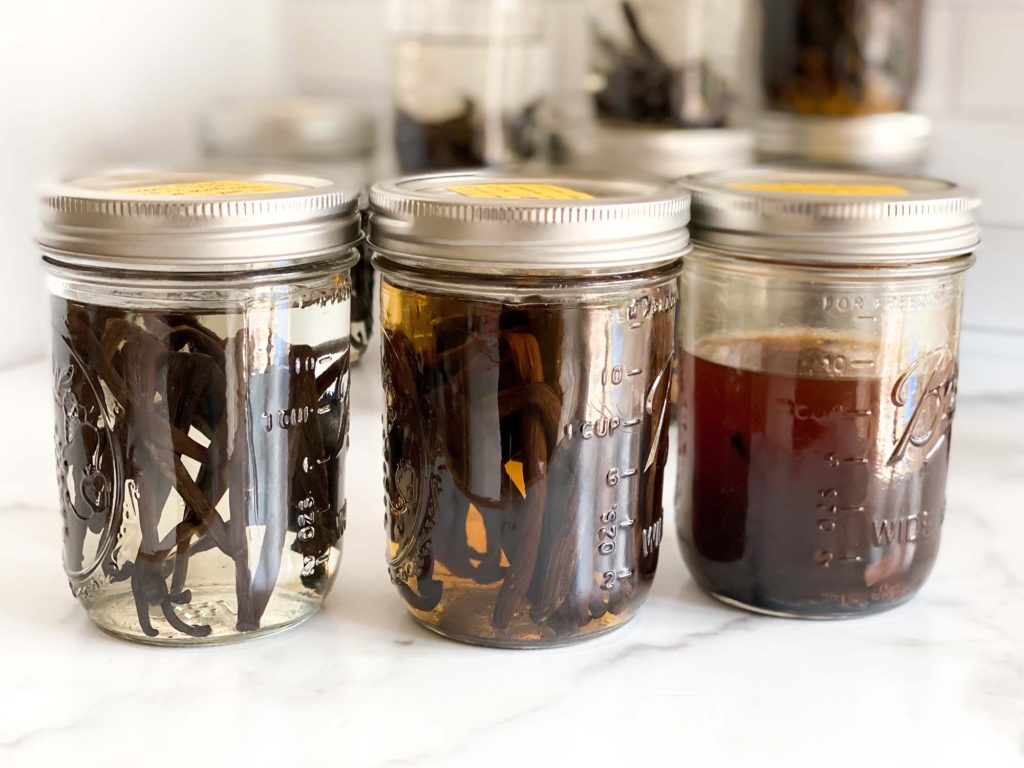
The first jar of extract was made only a few minutes before taking the photo. The jar in the middle is over a week old. Both the first and second jar is made of whole, folded in half vanilla beans. The third jar is the same age as the middle jar, but the beans have been cut, sliced in half, and the caviar scraped into the jar. This jar is going to be ready much more quickly since the vanillin doesn't need to travel slowly from the center of the bean and through the pod.
I can’t let you go without a warning, however. Making your own vanilla extract is EXTREMELY addicting. I plan to stock up on several 4 oz packs of beans during the sale at Slo Food Group because saving $10 per pack is not something to miss, and I want to make a few jars of extract every few months to make sure that I always have vanilla on hand.
Make sure you hop on the homemade vanilla extract train while the sale is still on at Slo Food Group. Use code MY40 for $10 off a 4 ounce package of vanilla beans (Ecuadorian, Ugandan, PNG, and Madagascar).
Comment below which extract I should make next! I'm thinking chocolate, coffee, cinnamon, almond, lemon...
If you try making your own vanilla extract, make sure to tag me on Instagram @linenandgray so I can give it a like. Thanks for reading! 🙂
Emily

