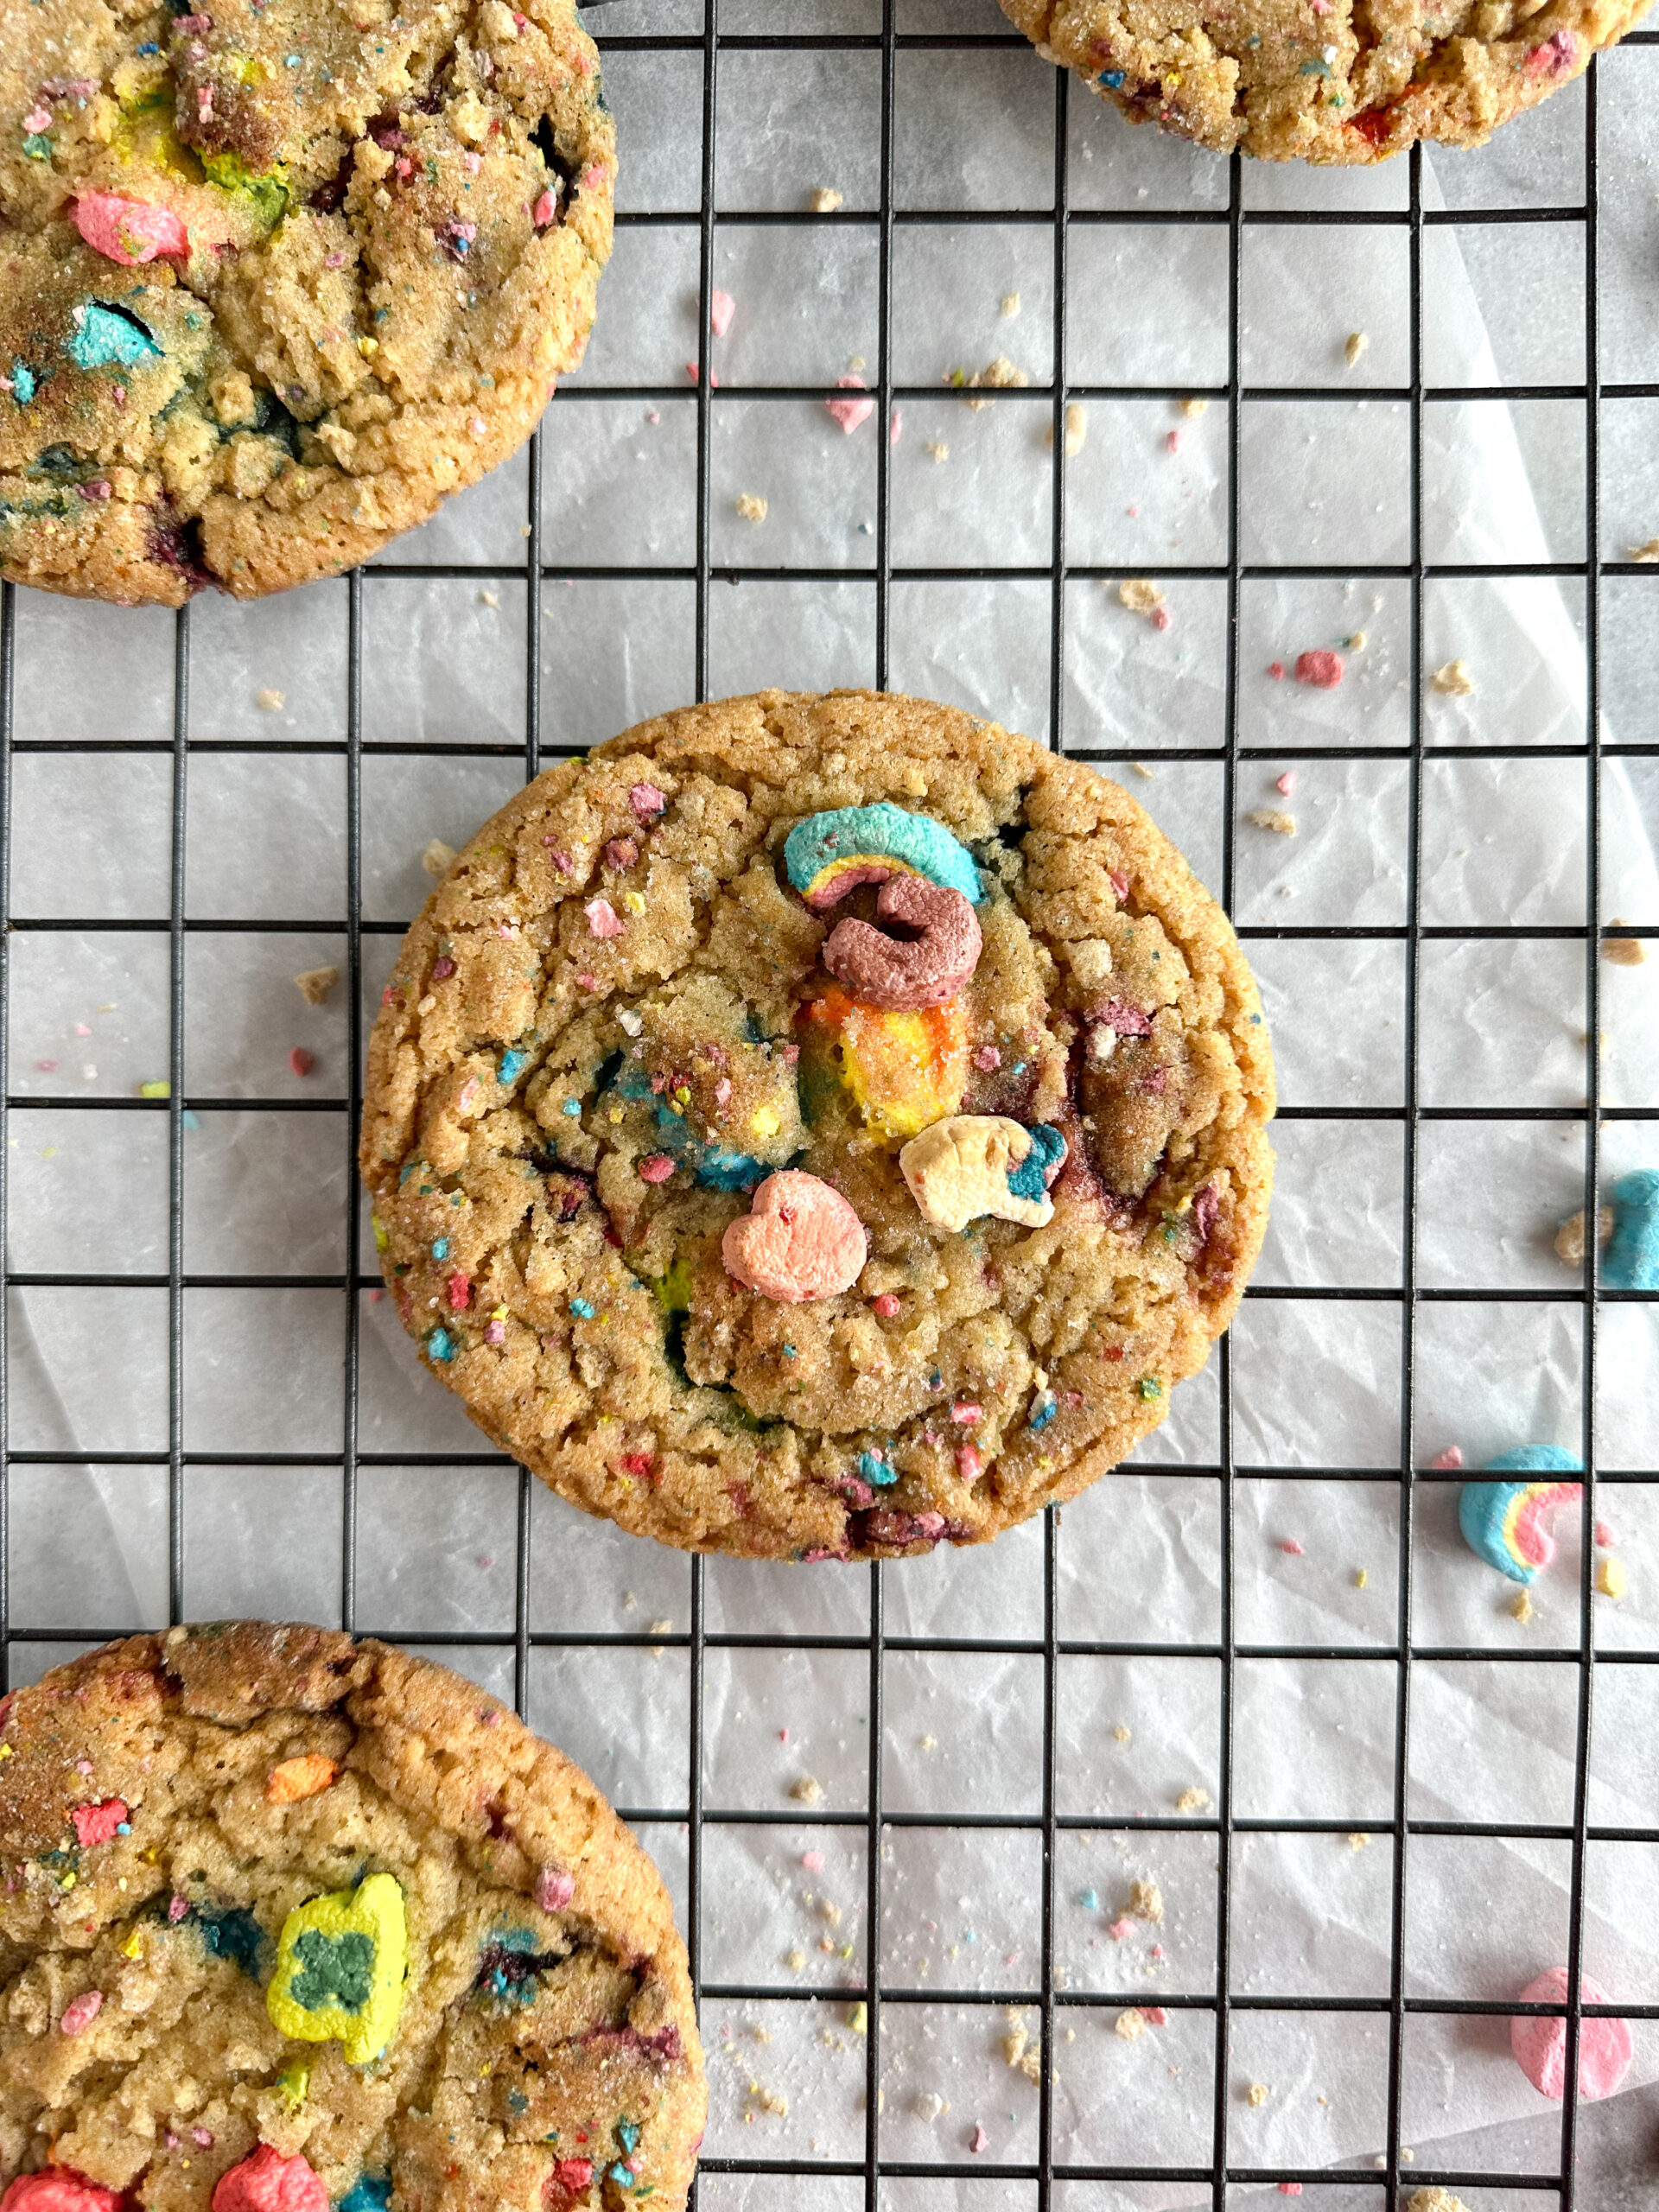
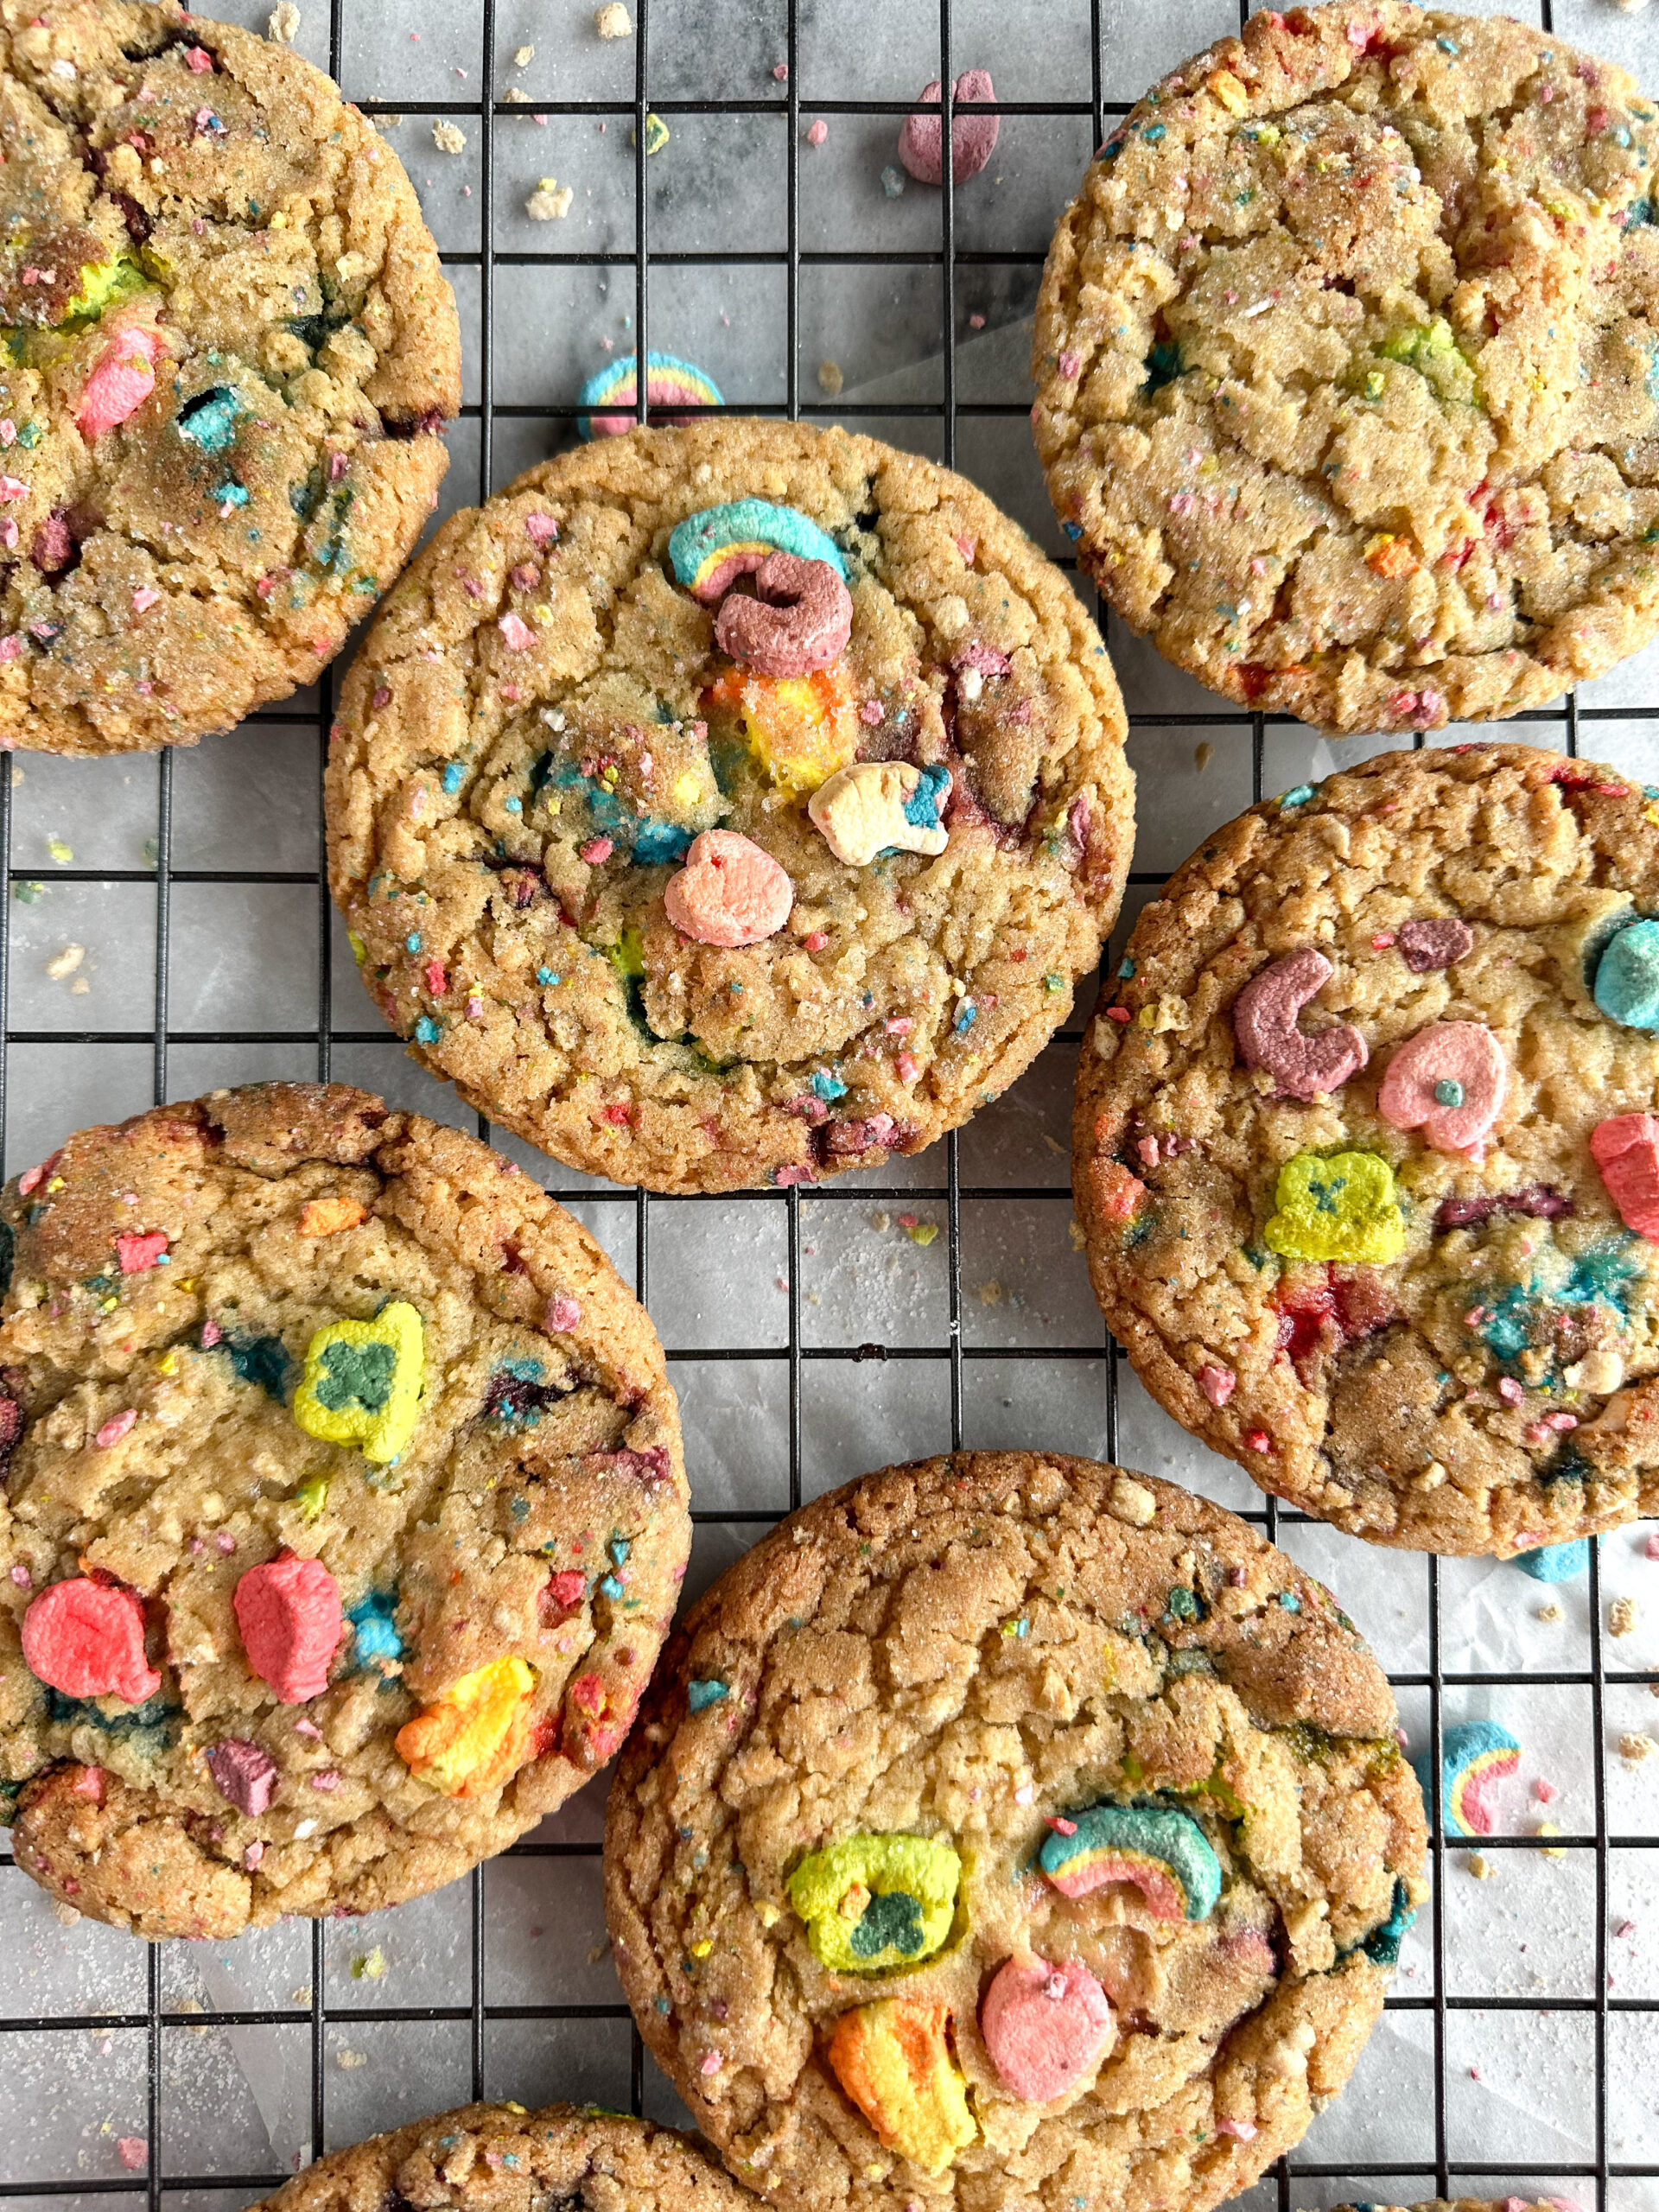
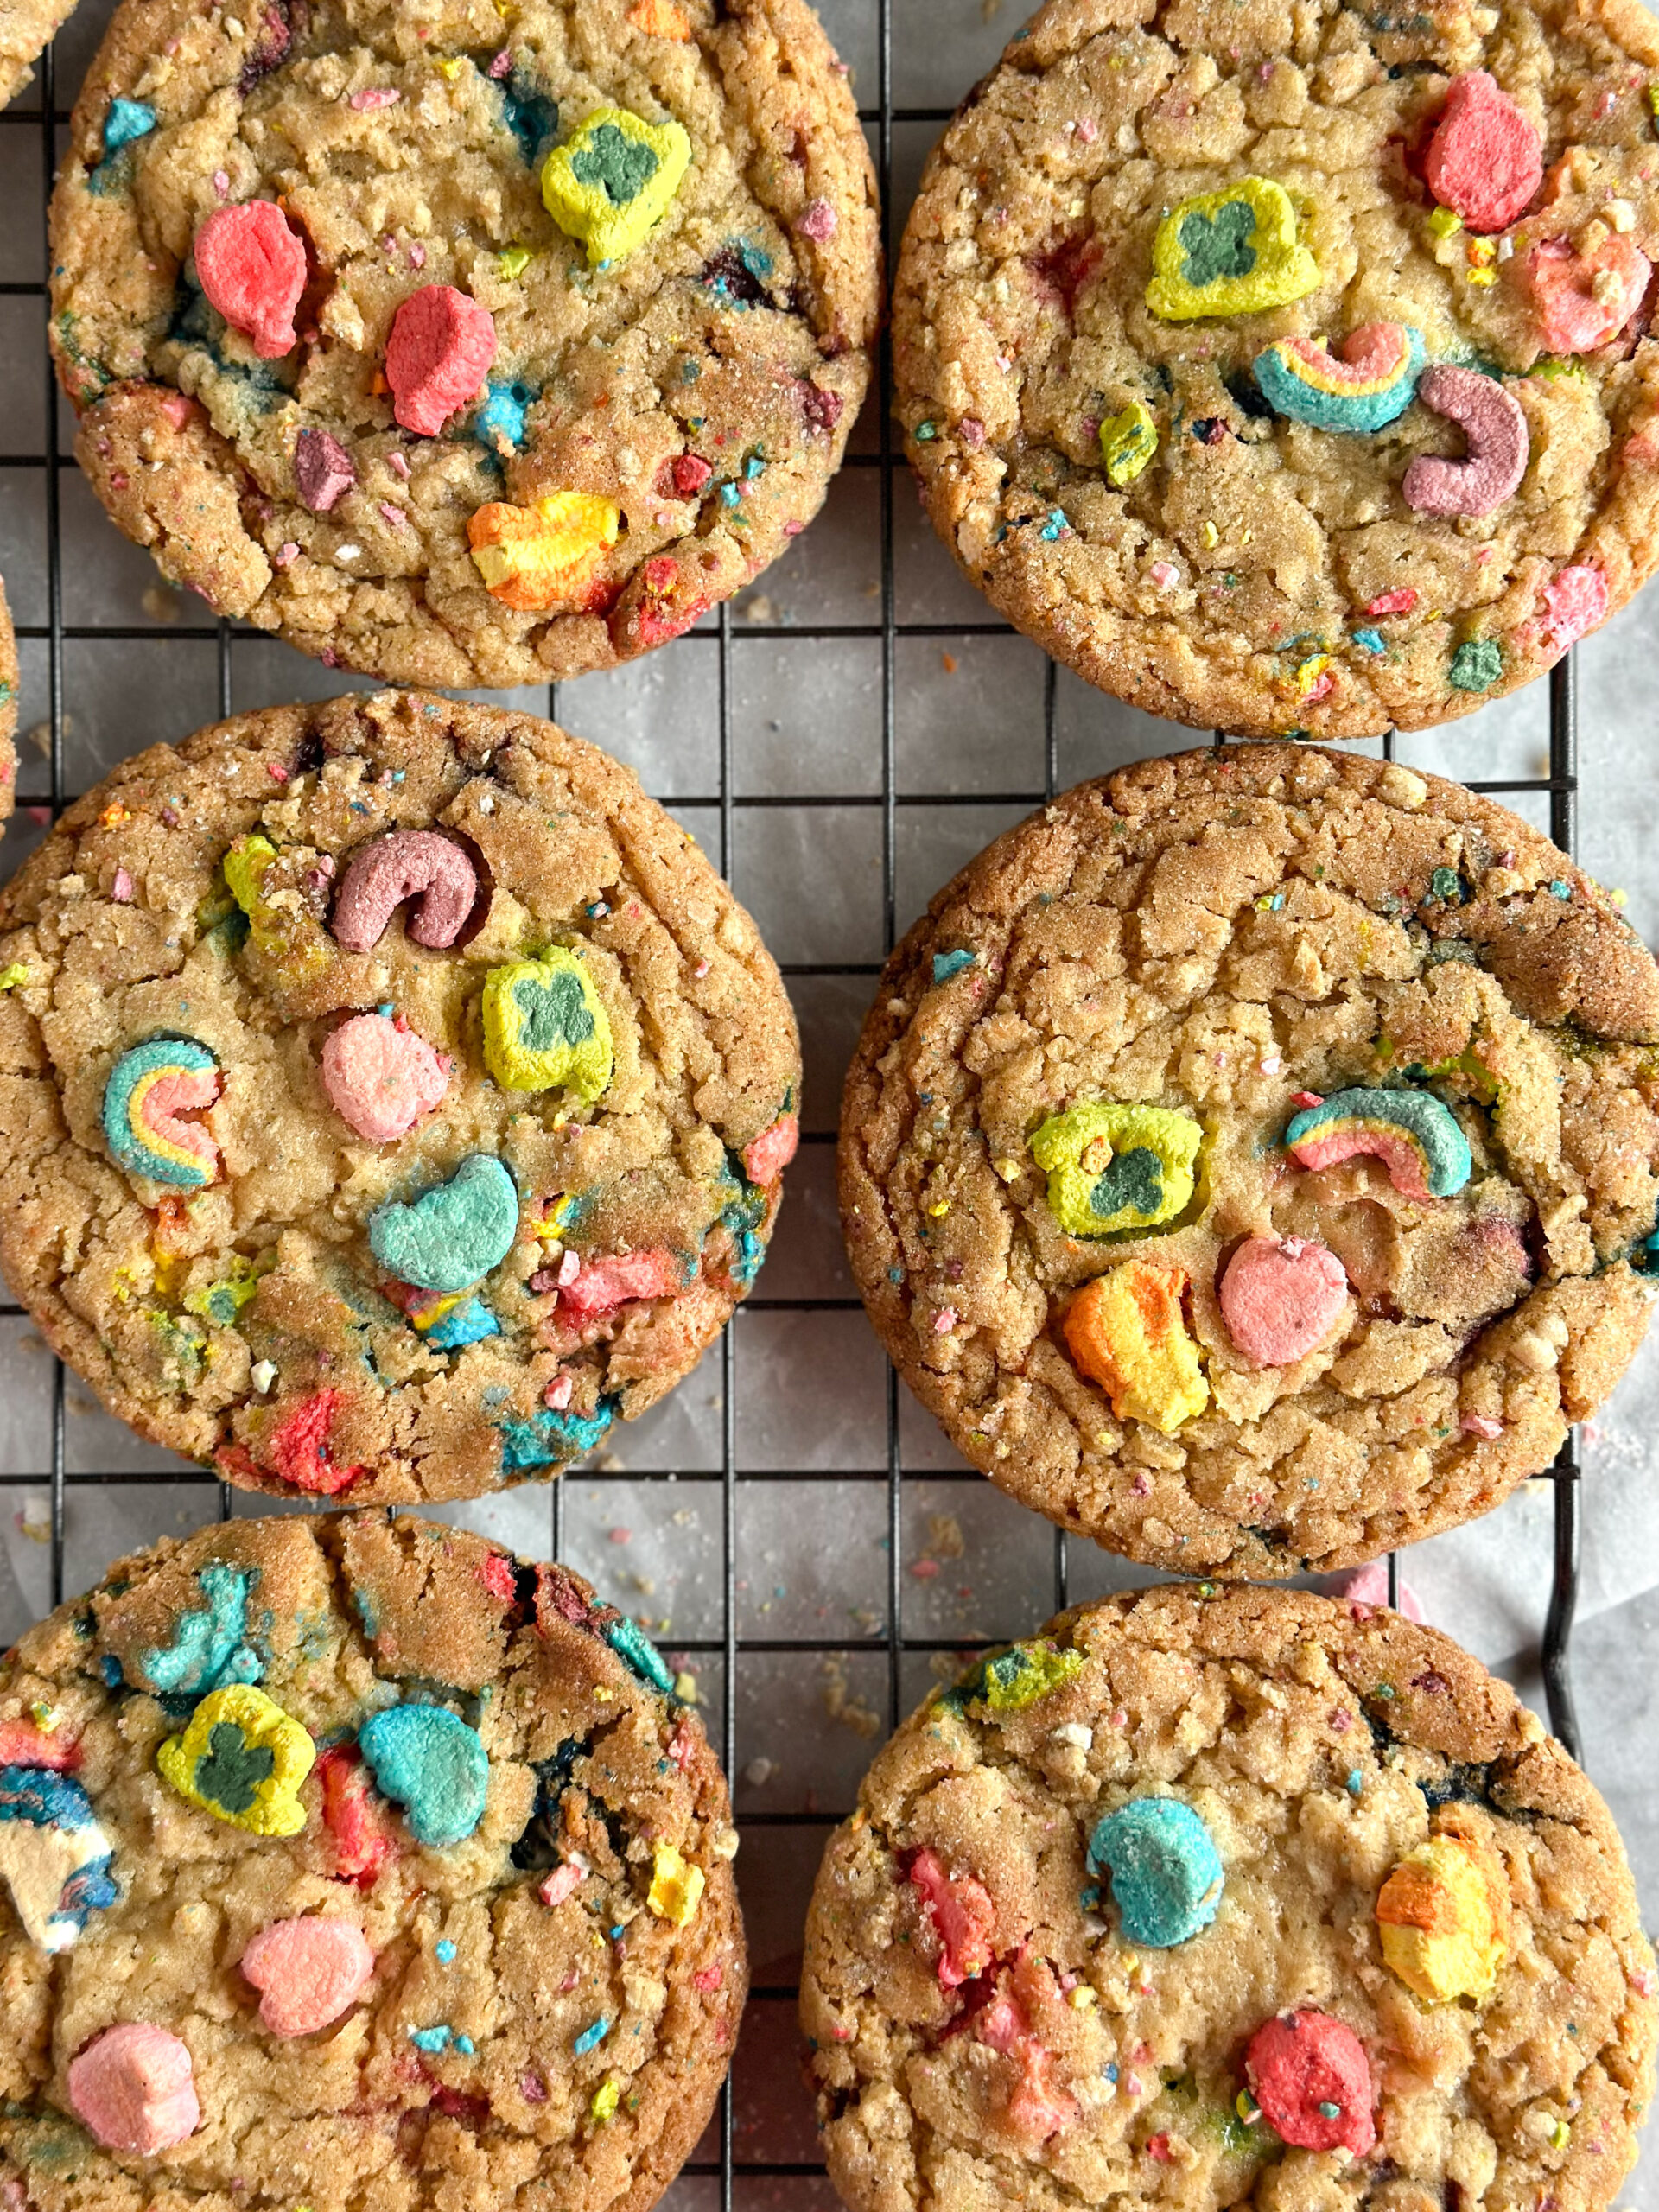
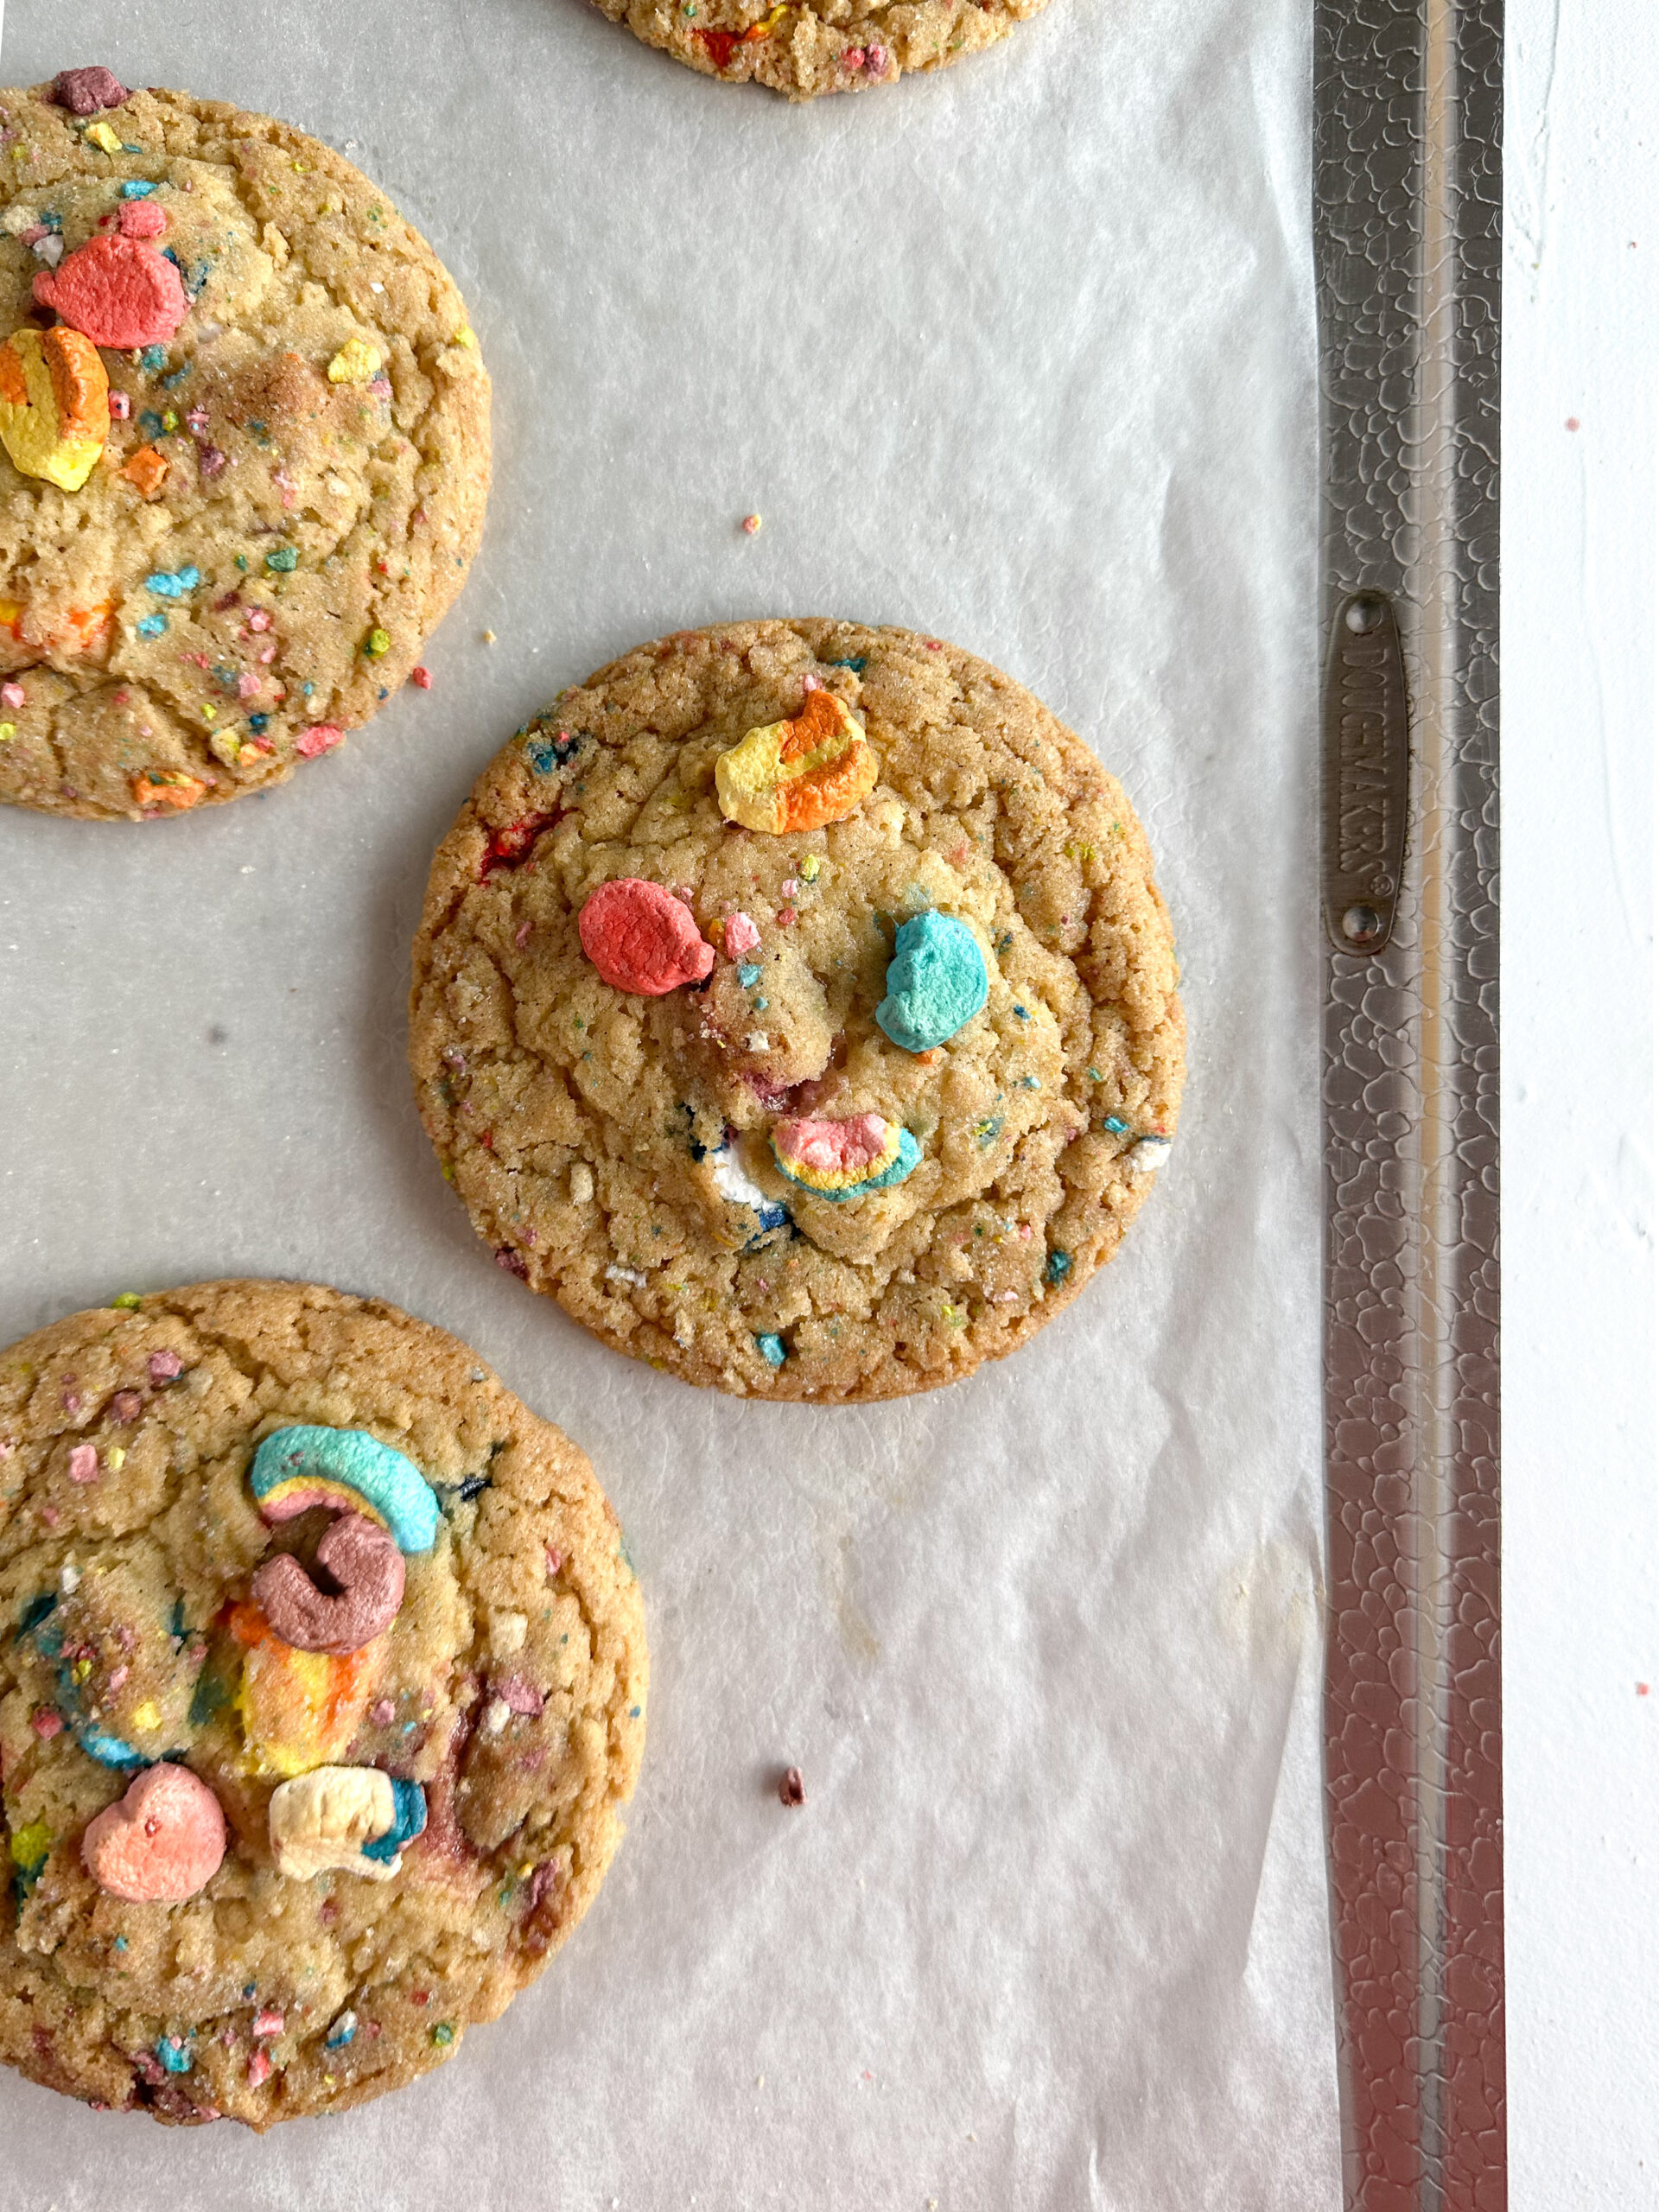
These cookies are so good they may be better than classic chocolate chip cookies. And no, they aren’t too sweet even with the addition of Lucky Charms marshmallows. These big, bakery style cookies have perfectly crisp edges and chewy centers that might make these a staple in your recipe box.
why you’ll love lucky charms bakery style cookies
- This recipe is based on my favorite bakery style chocolate chip cookies, but there is no chocolate, making this recipe perfect for those in your life who don’t love chocolate.
- This cookie is not too sweet- it’s perfectly balanced thanks to some salt.
- The texture is so good. Crispy edges and chewy centers with the airy crispness of the marshmallows on top. yum.
- This is a no-chill recipe which is always nice to have as an alternative to a chill recipe if you’re running low on time.
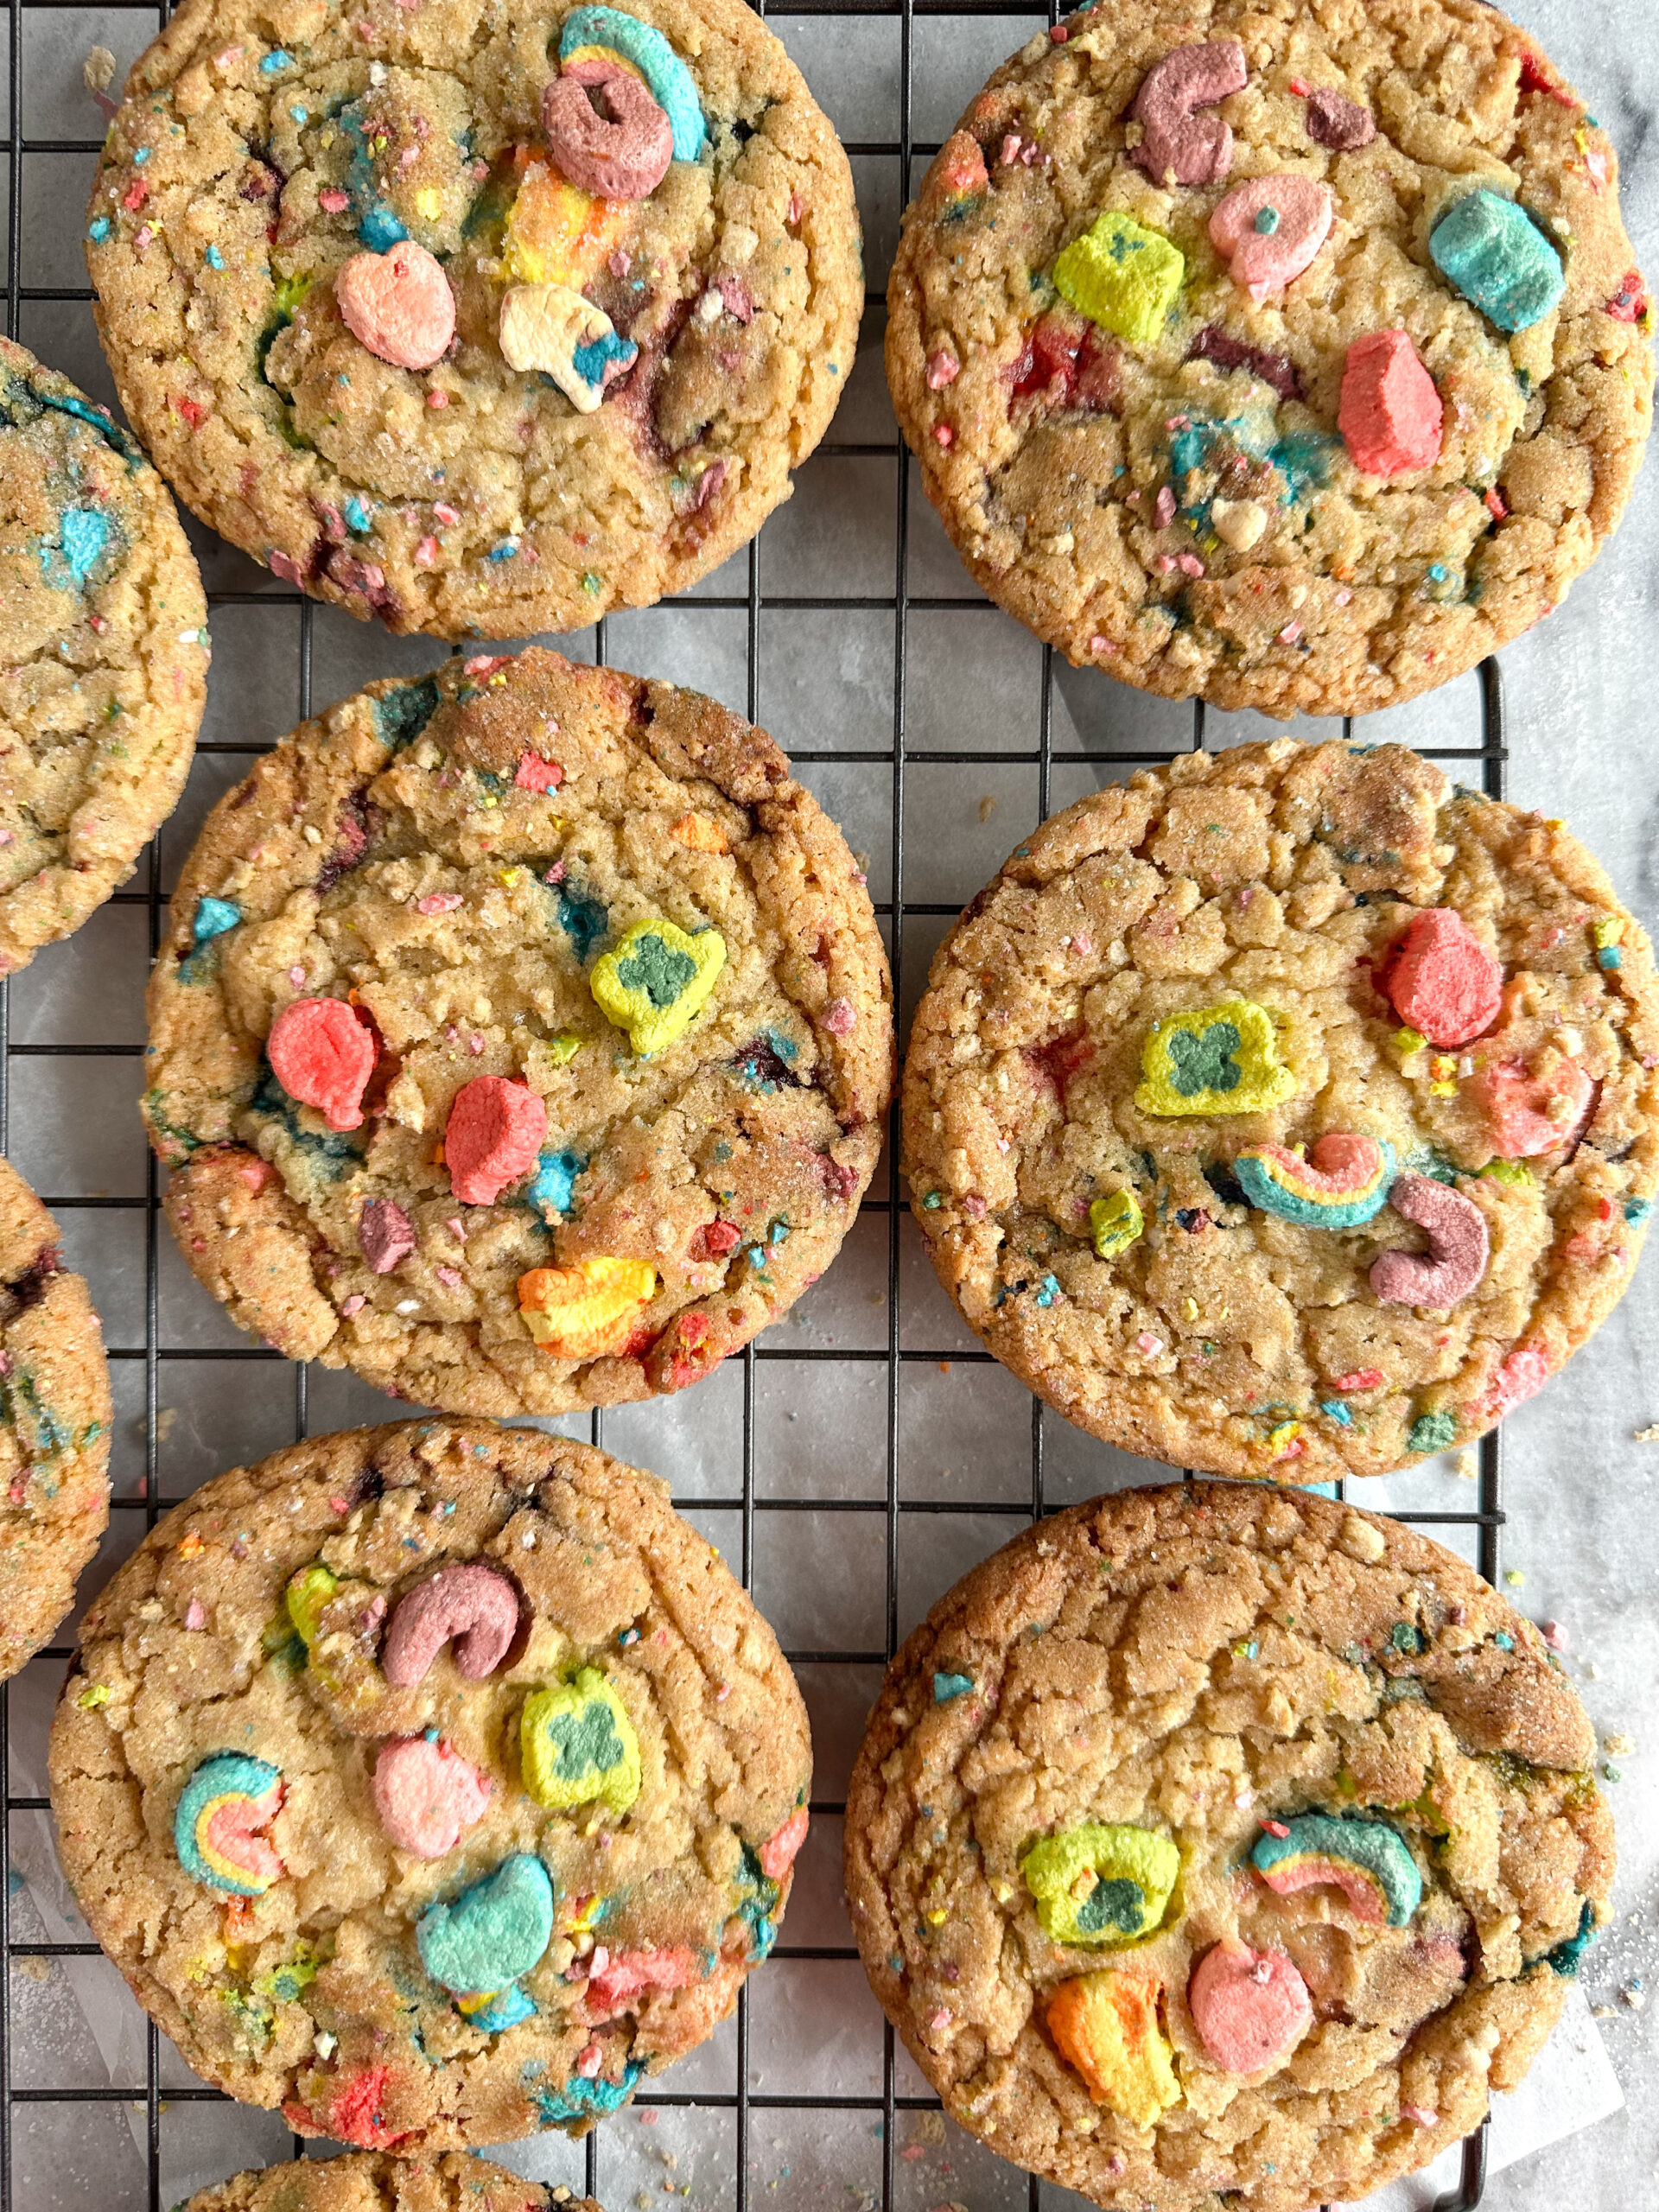
- They’re beautiful.
ingredients in lucky charms bakery style cookies
- unsalted butter– I like to use unsalted butter as a recipe developer, because it ensures that I’m not giving you a recipe that will turn out too salty. However, if all you have is salted butter, it’s fine. A little extra salt is not a bad thing in a sweet. If you are very sensitive to saltiness, lower the salt in the recipe by a ¼ tsp-½ tsp. *Another note about the butter, it doesn’t need to be room temp or softened. We are browning it!
- ice cubes– Or cold water is fine. I like to use ice because it speeds up the cooling of the butter. We are adding water to the butter to account for the moisture loss in the browning process. This makes sure the cookie still ends up chewy.
- brown sugar– light or dark (Although I prefer light in this recipe because this cookie has an overall lighter flavor, and I don’t want it to be overpowered by molasses.) Brown sugar is going to give this cookie a nice chewy texture.
- granulated sugar– Adding some granulated sugar to this recipe will make a crisper edge than if we were to use all brown sugar.
- salt– I like Diamond Crystal kosher salt because it is just the best for baking and cooking (according to professional chefs). If you don’t have Diamond Crystal, use half the amount the recipe calls for of regular table salt or fine sea salt. You could also weigh whatever salt you have according to the recipe. (Weight is accurate for salt across the board.)
- vanilla– for flavor (I prefer vanilla bean paste to extract, like this one.)
- eggs– a whole egg and a yolk (The yolk is for added richness to the dough.)
- baking soda– leavener that assists in spread and color
- baking powder– leavener that assists in lift
- malted milk powder– for flavor (technically optional, but recommended)
- all purpose flour– the bulk of the dough
- Lucky Charms– We are using this to make a cereal ‘flour’ and for the marshmallows.
- flakey salt– for sprinkling on top, optional (I like Maldon.)
*Get 10% off at The Spice House with my code EMILYLOGGANS*
supplies needed to make lucky charms bakery style cookies
- scale
- saucepan– for browning butter
- whisk
- mixing bowl, heat-proof
- food processor OR gallon plastic bag and rolling pin
- baking sheets– two
- parchment paper
- cookie scoop– I used a size #20 (which is about 1.875 oz. or 3 ½ Tbsp)
how to make lucky charms bakery style cookies
These rainbow-filled, delicious cookies are based on my classic chocolate chip cookie, although you would never think ‘chocolate chip cookie’ while eating these. Even though they have the same caramelized sugars, toasty brown butter, and chewy texture, there is no chocolate. Lucky Charms marshmallows are in every bite along with cereal ‘flour’ and malted milk powder for a little flavor boost. (And a milky moment, of course, because cereal.) I like to make large dough balls that bake into large cookies that look like they came from an artisanal bakery. They will also work as a more typically-sized cookie if that’s more your thing.
The mixing method for this cookie is very standard for a brown butter dough. Start by browning the butter in a saucepan over medium heat, whisking frequently to make sure the milk solids don’t stick to the bottom of the pan. Brown butter is very vocal and tells you when it’s done. It starts out quiet as the butter melts, and once it is fully melted, the butter starts to bubble and sizzle. This sizzling is the sound of the water being cooked off the butter, resulting in moisture loss.
If you were to weigh your butter before browning, it would weigh more than its weight after browning. You lose about a tablespoon per stick (113g) of butter after browning, but we are going to add that moisture back via ice cubes. (You could use cold water if you don’t have ice cubes, but I like that the ice helps cool down the hot butter faster.)
Back to the sizzling butter. After a while, it will start to quiet down and the bubbles will subside. This is right before it starts browning. Now is when you’ll want to continue stirring consistently to prevent the milk solids from adhering to the bottom of the pan and burning. Keep the butter on the heat until the liquid is golden and the milk solids are brown. It will smell incredible, by the way.
Pour the hot butter into a heat proof mixing bowl. Add the ice cubes (or two tablespoons of cold water) and stir to melt the ice cubes. Place the bowl in the fridge (or outside if you’re in the midwest and the entire outdoors is a fridge/freezer) while you prep the rest of the ingredients. Refrigerating the butter cools it down while allowing it to remain liquid since it won’t be there for long. About ten minutes will be enough. (Cooling the butter down at this step allows this to be a no-fridge dough.)
Gather and weigh out the rest of the ingredients.
Prepare the cereal ‘flour’: Using either a food processor or a gallon plastic bag and a rolling pin, crush the cereal (just the cereal, not the marshmallows) until it is mostly fine bits. It’s okay if there are some larger pieces, but the majority should be fine crumbs and dusty. Set it aside for later.
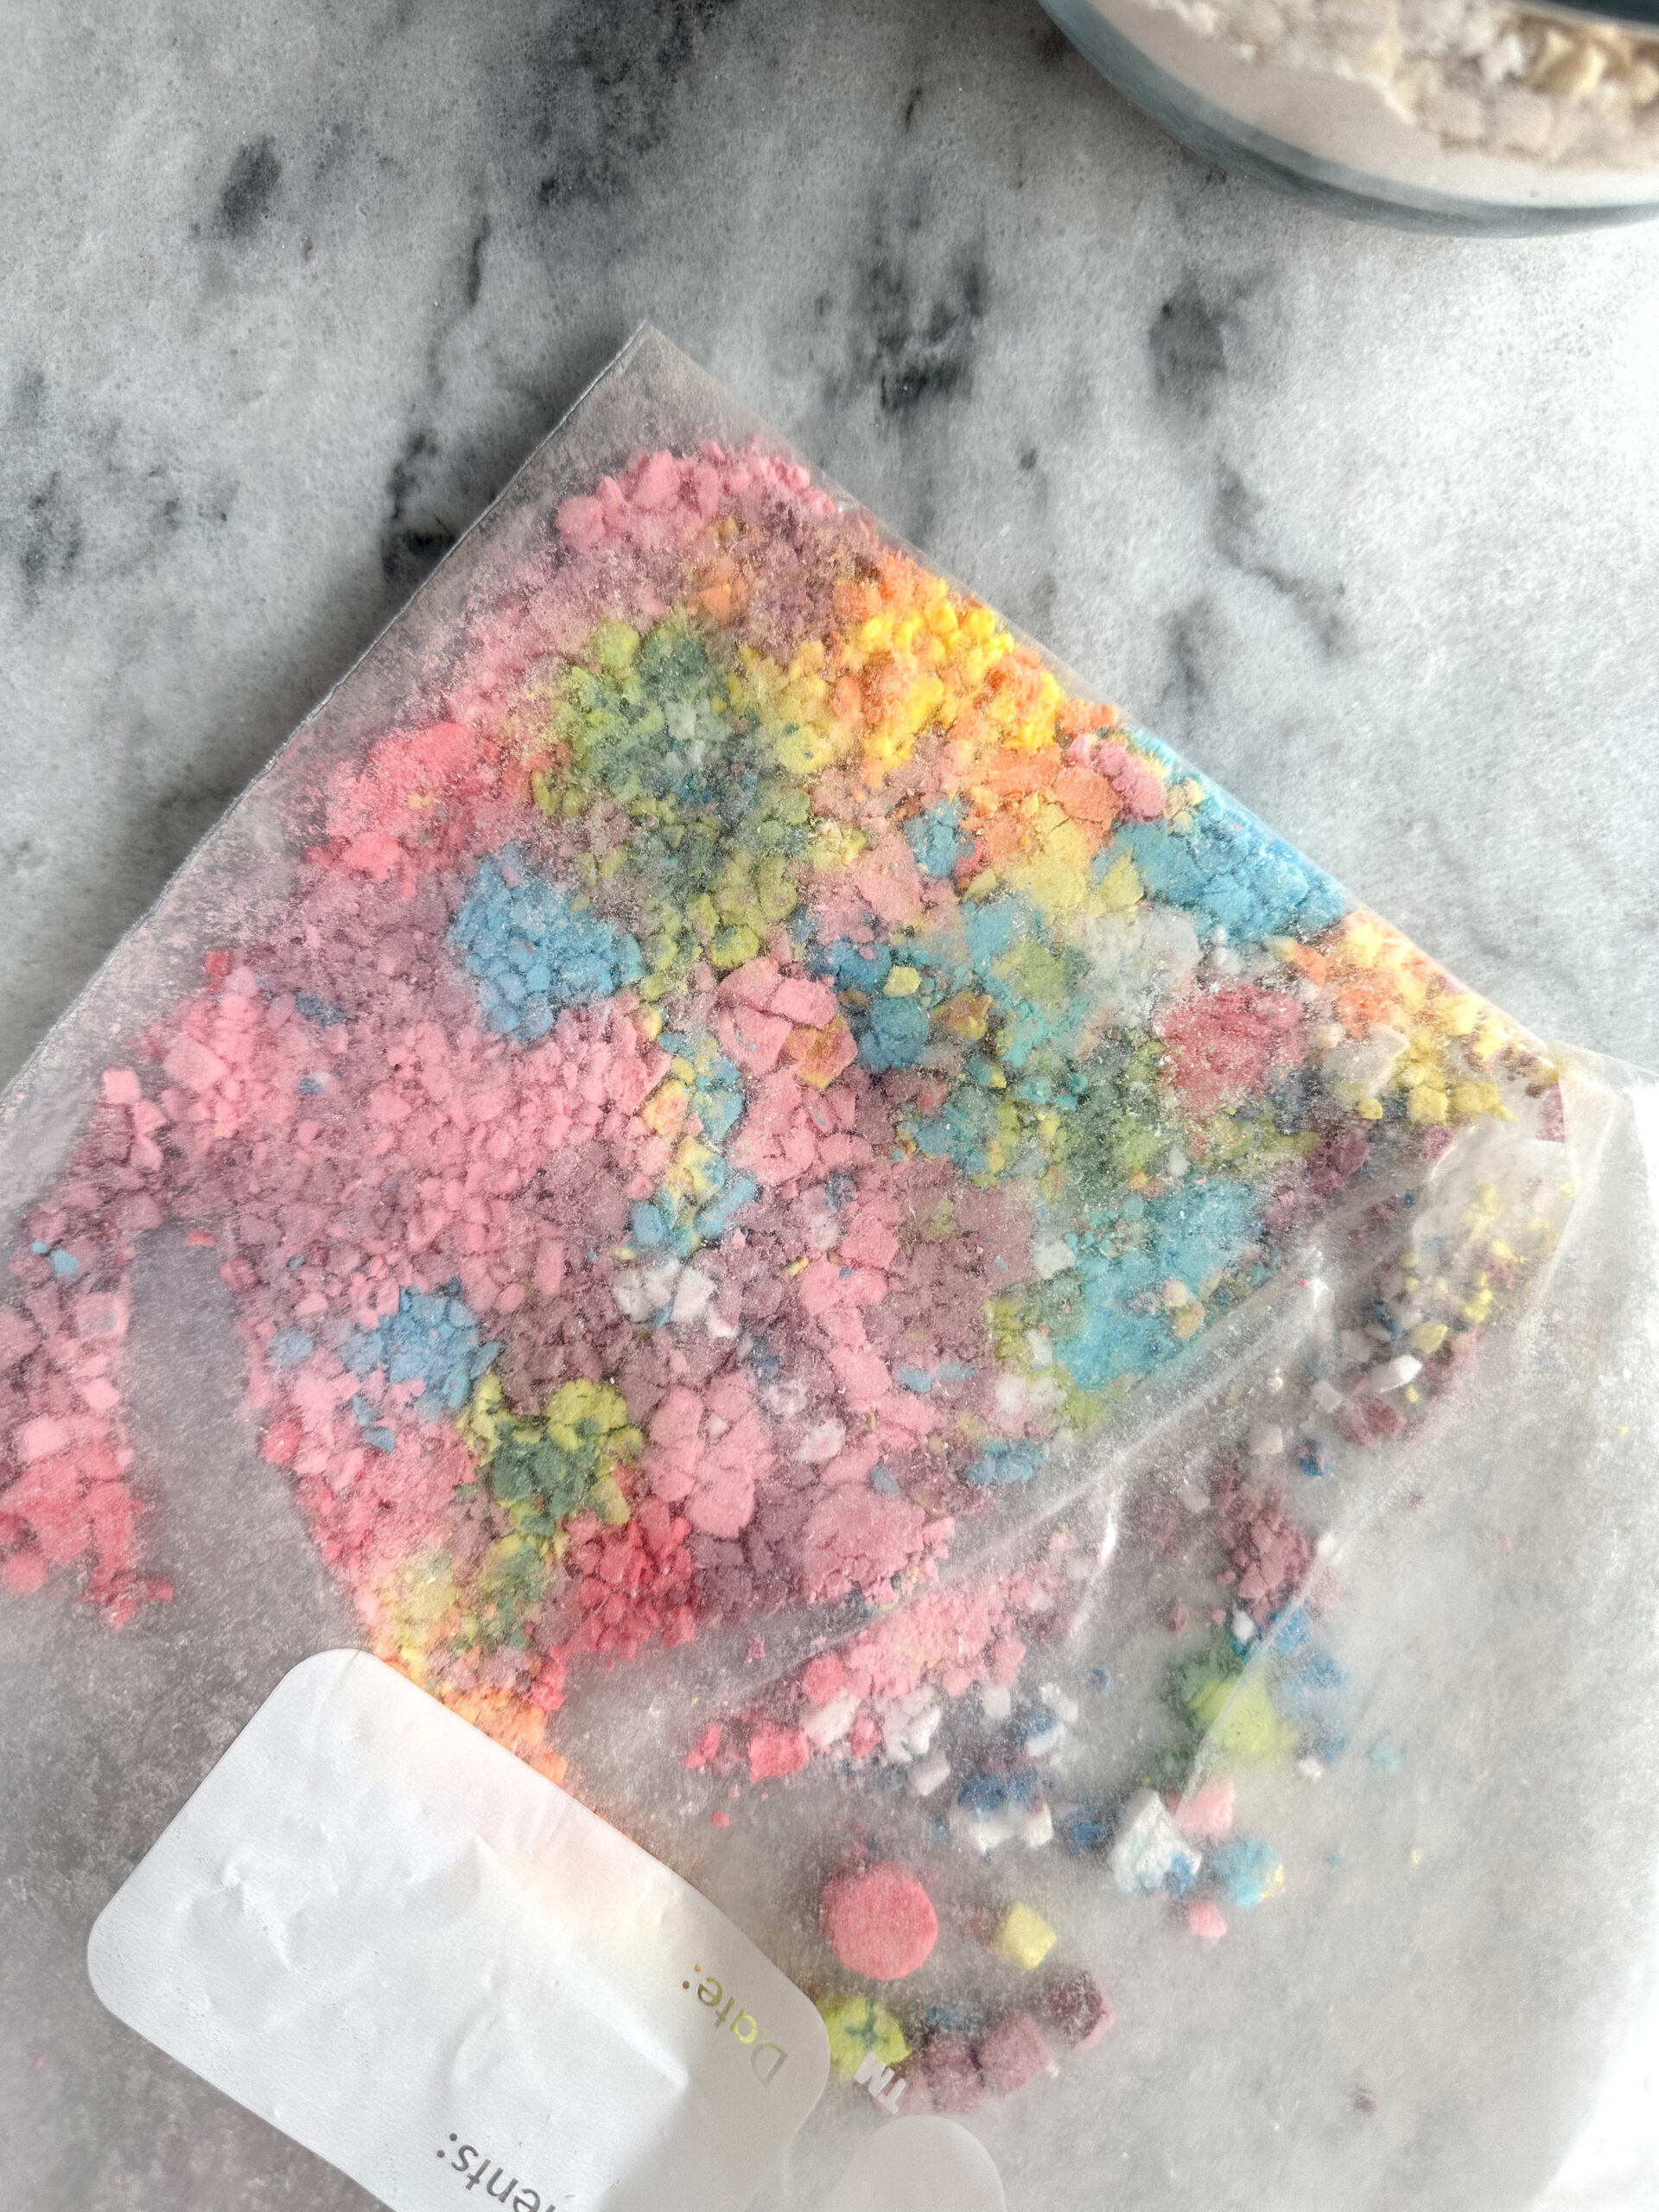
Prepare the sugary cereal dust: Using either a food processor or a plastic bag and a rolling pin, crush some marshmallows and cereal. Stir some granulated sugar and salt into that and set it aside. This is going to coat the cookie dough balls.

Preheat the oven to 375 F.
Once the butter has been in the fridge for about ten minutes, add the granulated sugar, brown sugar, and salt to the bowl and whisk well. Add the egg and vanilla and whisk until the mixture is emulsified, i.e. thick, glossy, lighter, smooth, cohesive.
Add the flour, baking soda, baking powder, and cereal ‘flour’. Gently stir it into the wet ingredients with a spatula until nearly combined. Add the marshmallows and gently stir them in to combine.
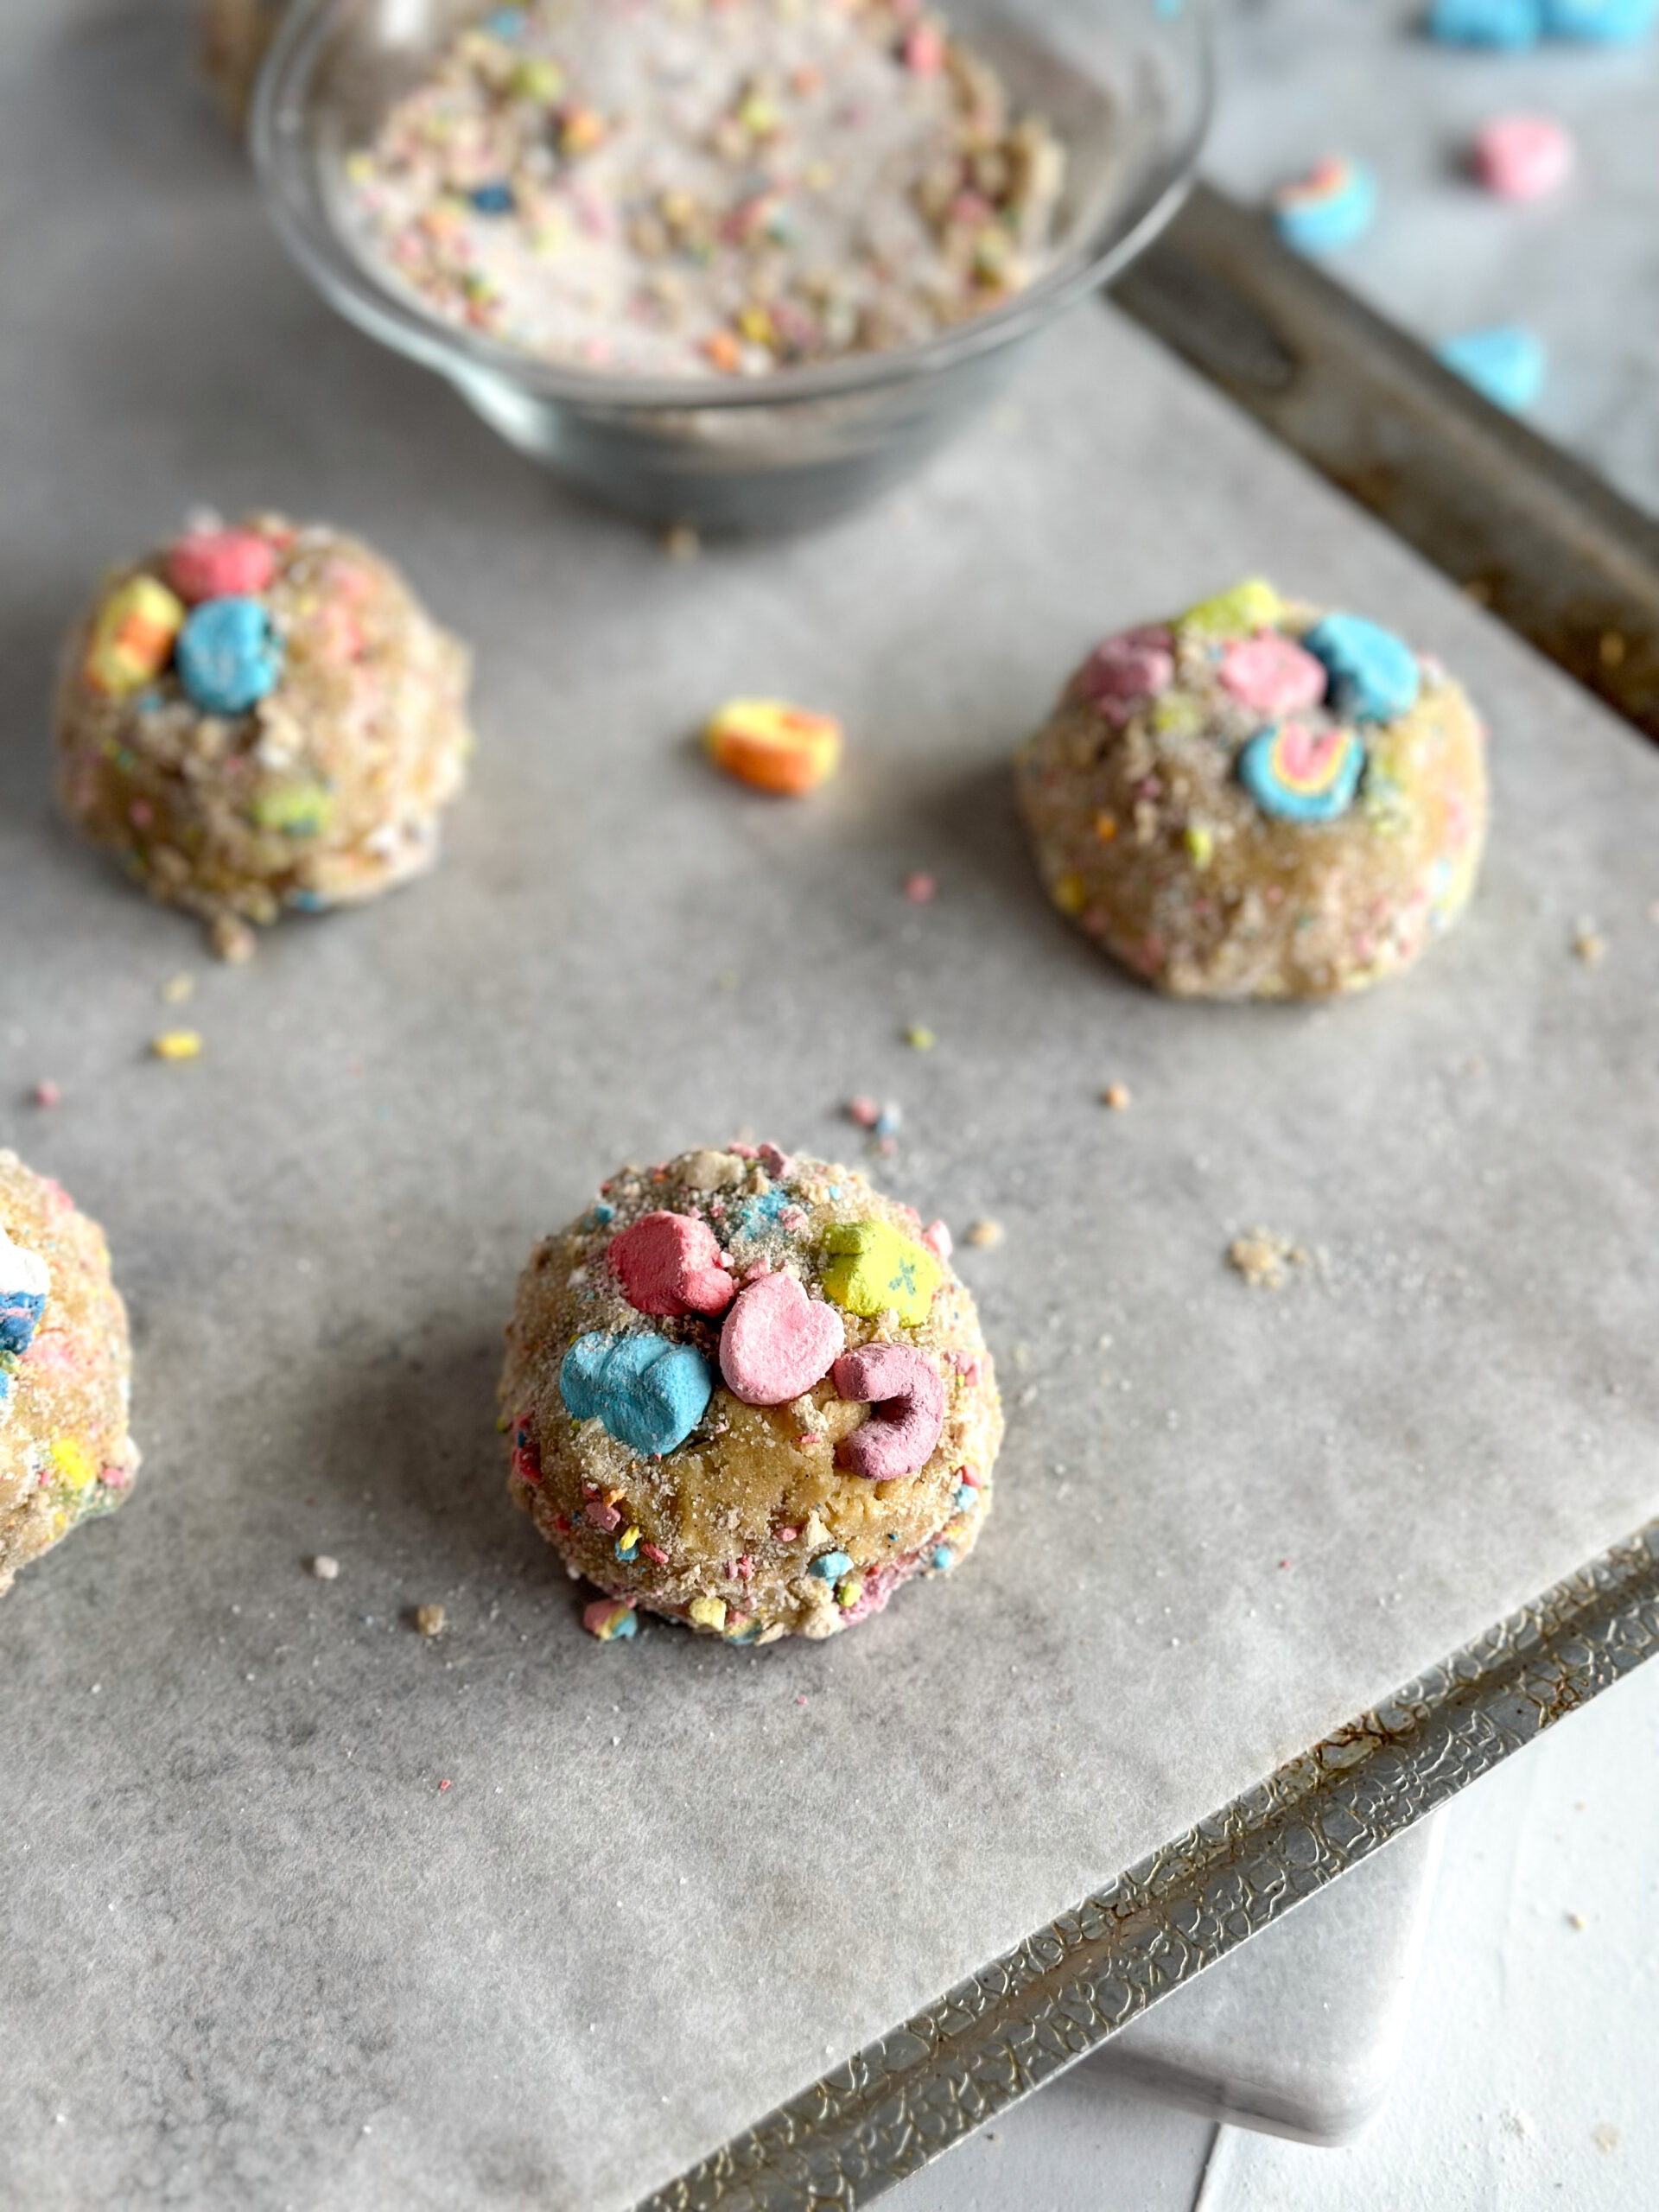
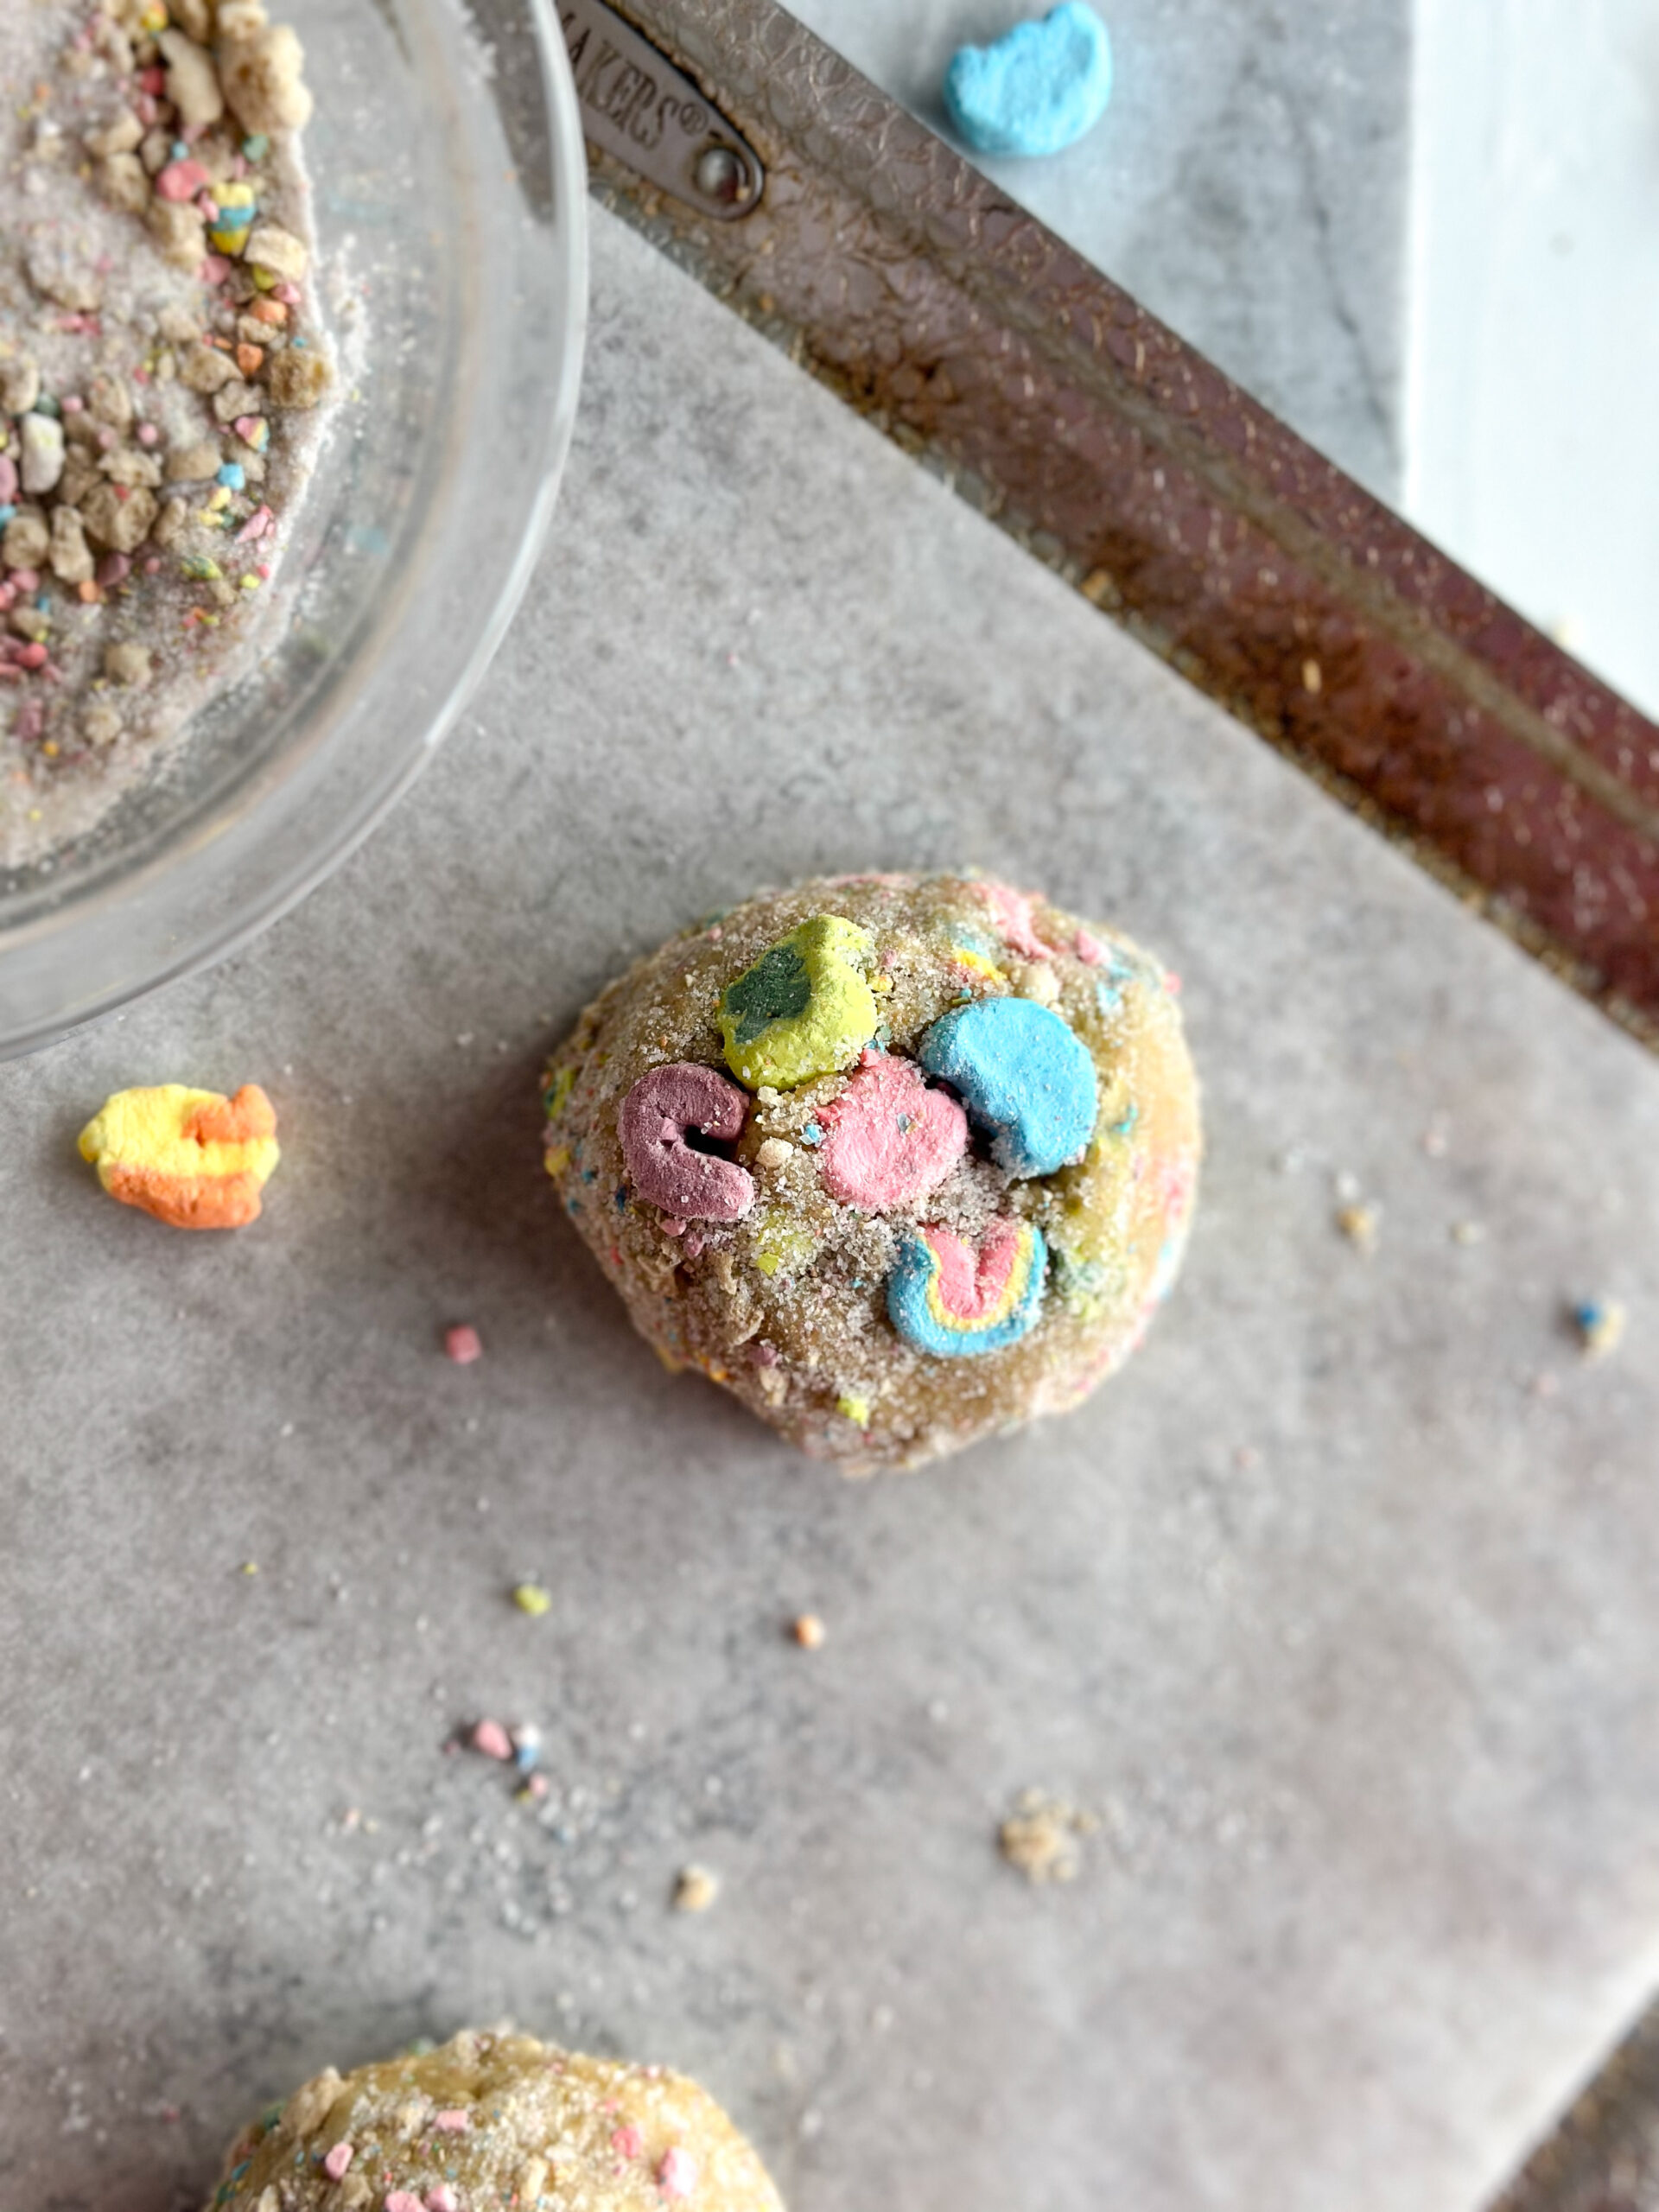
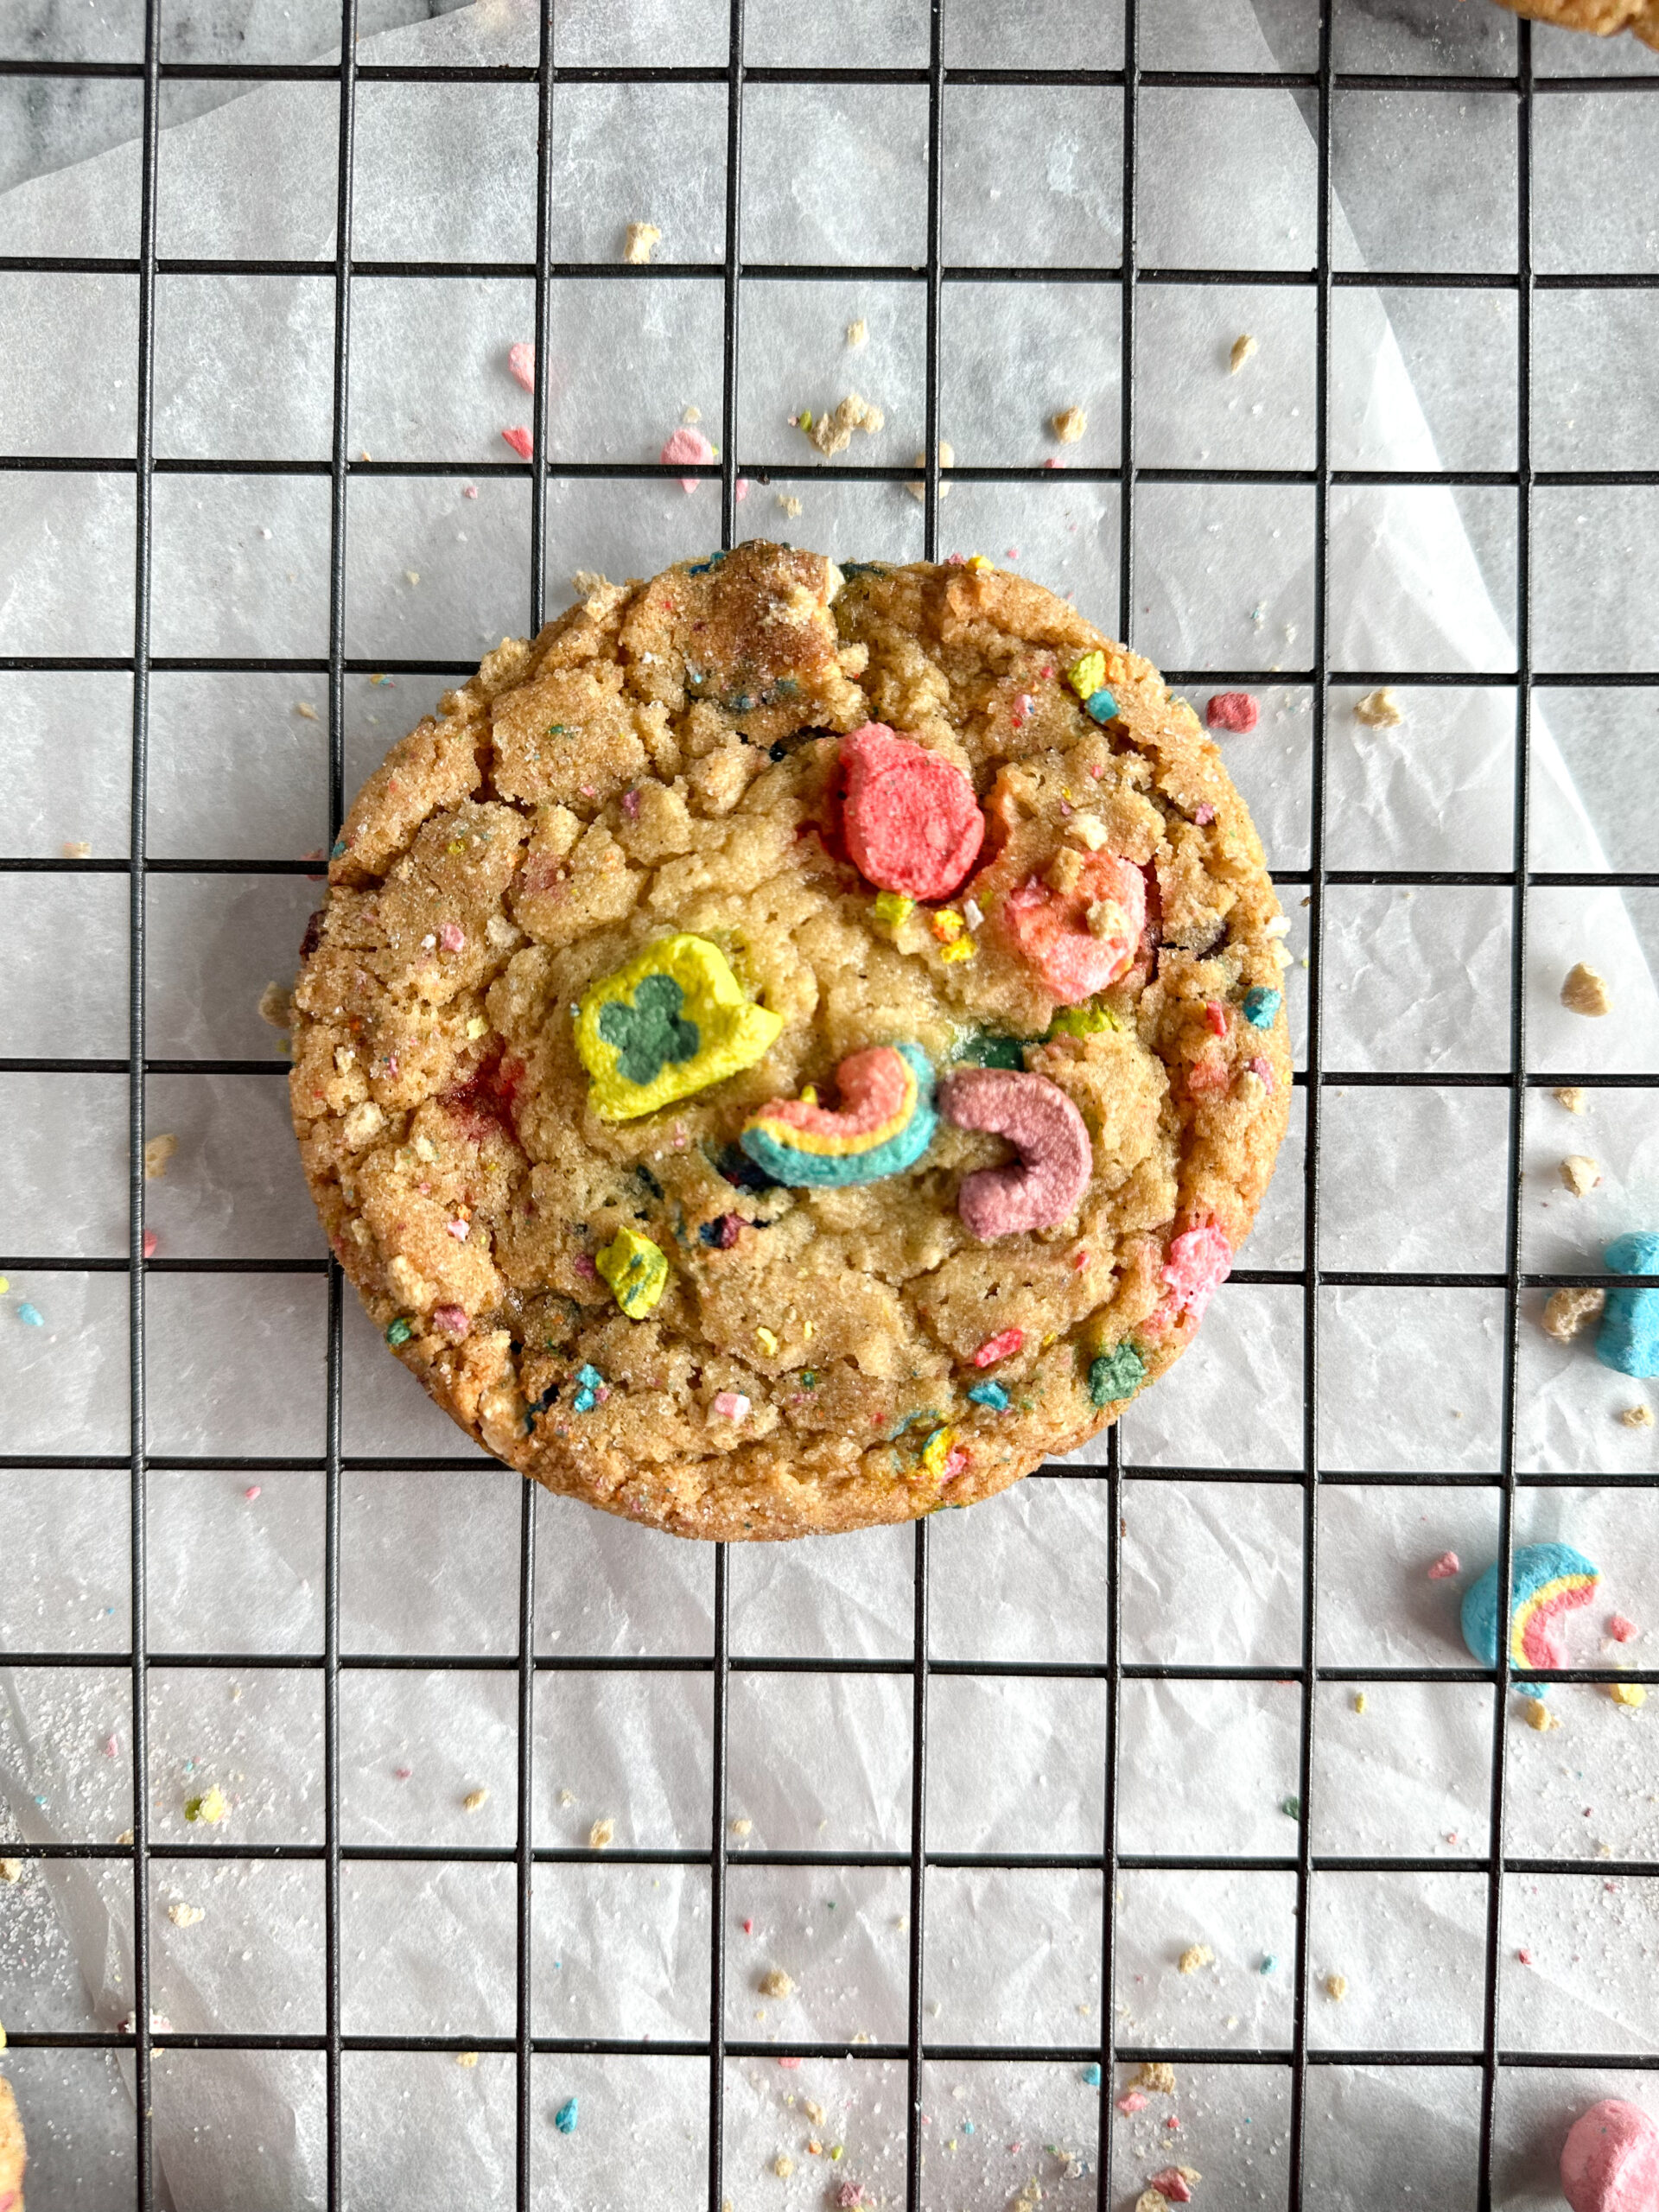
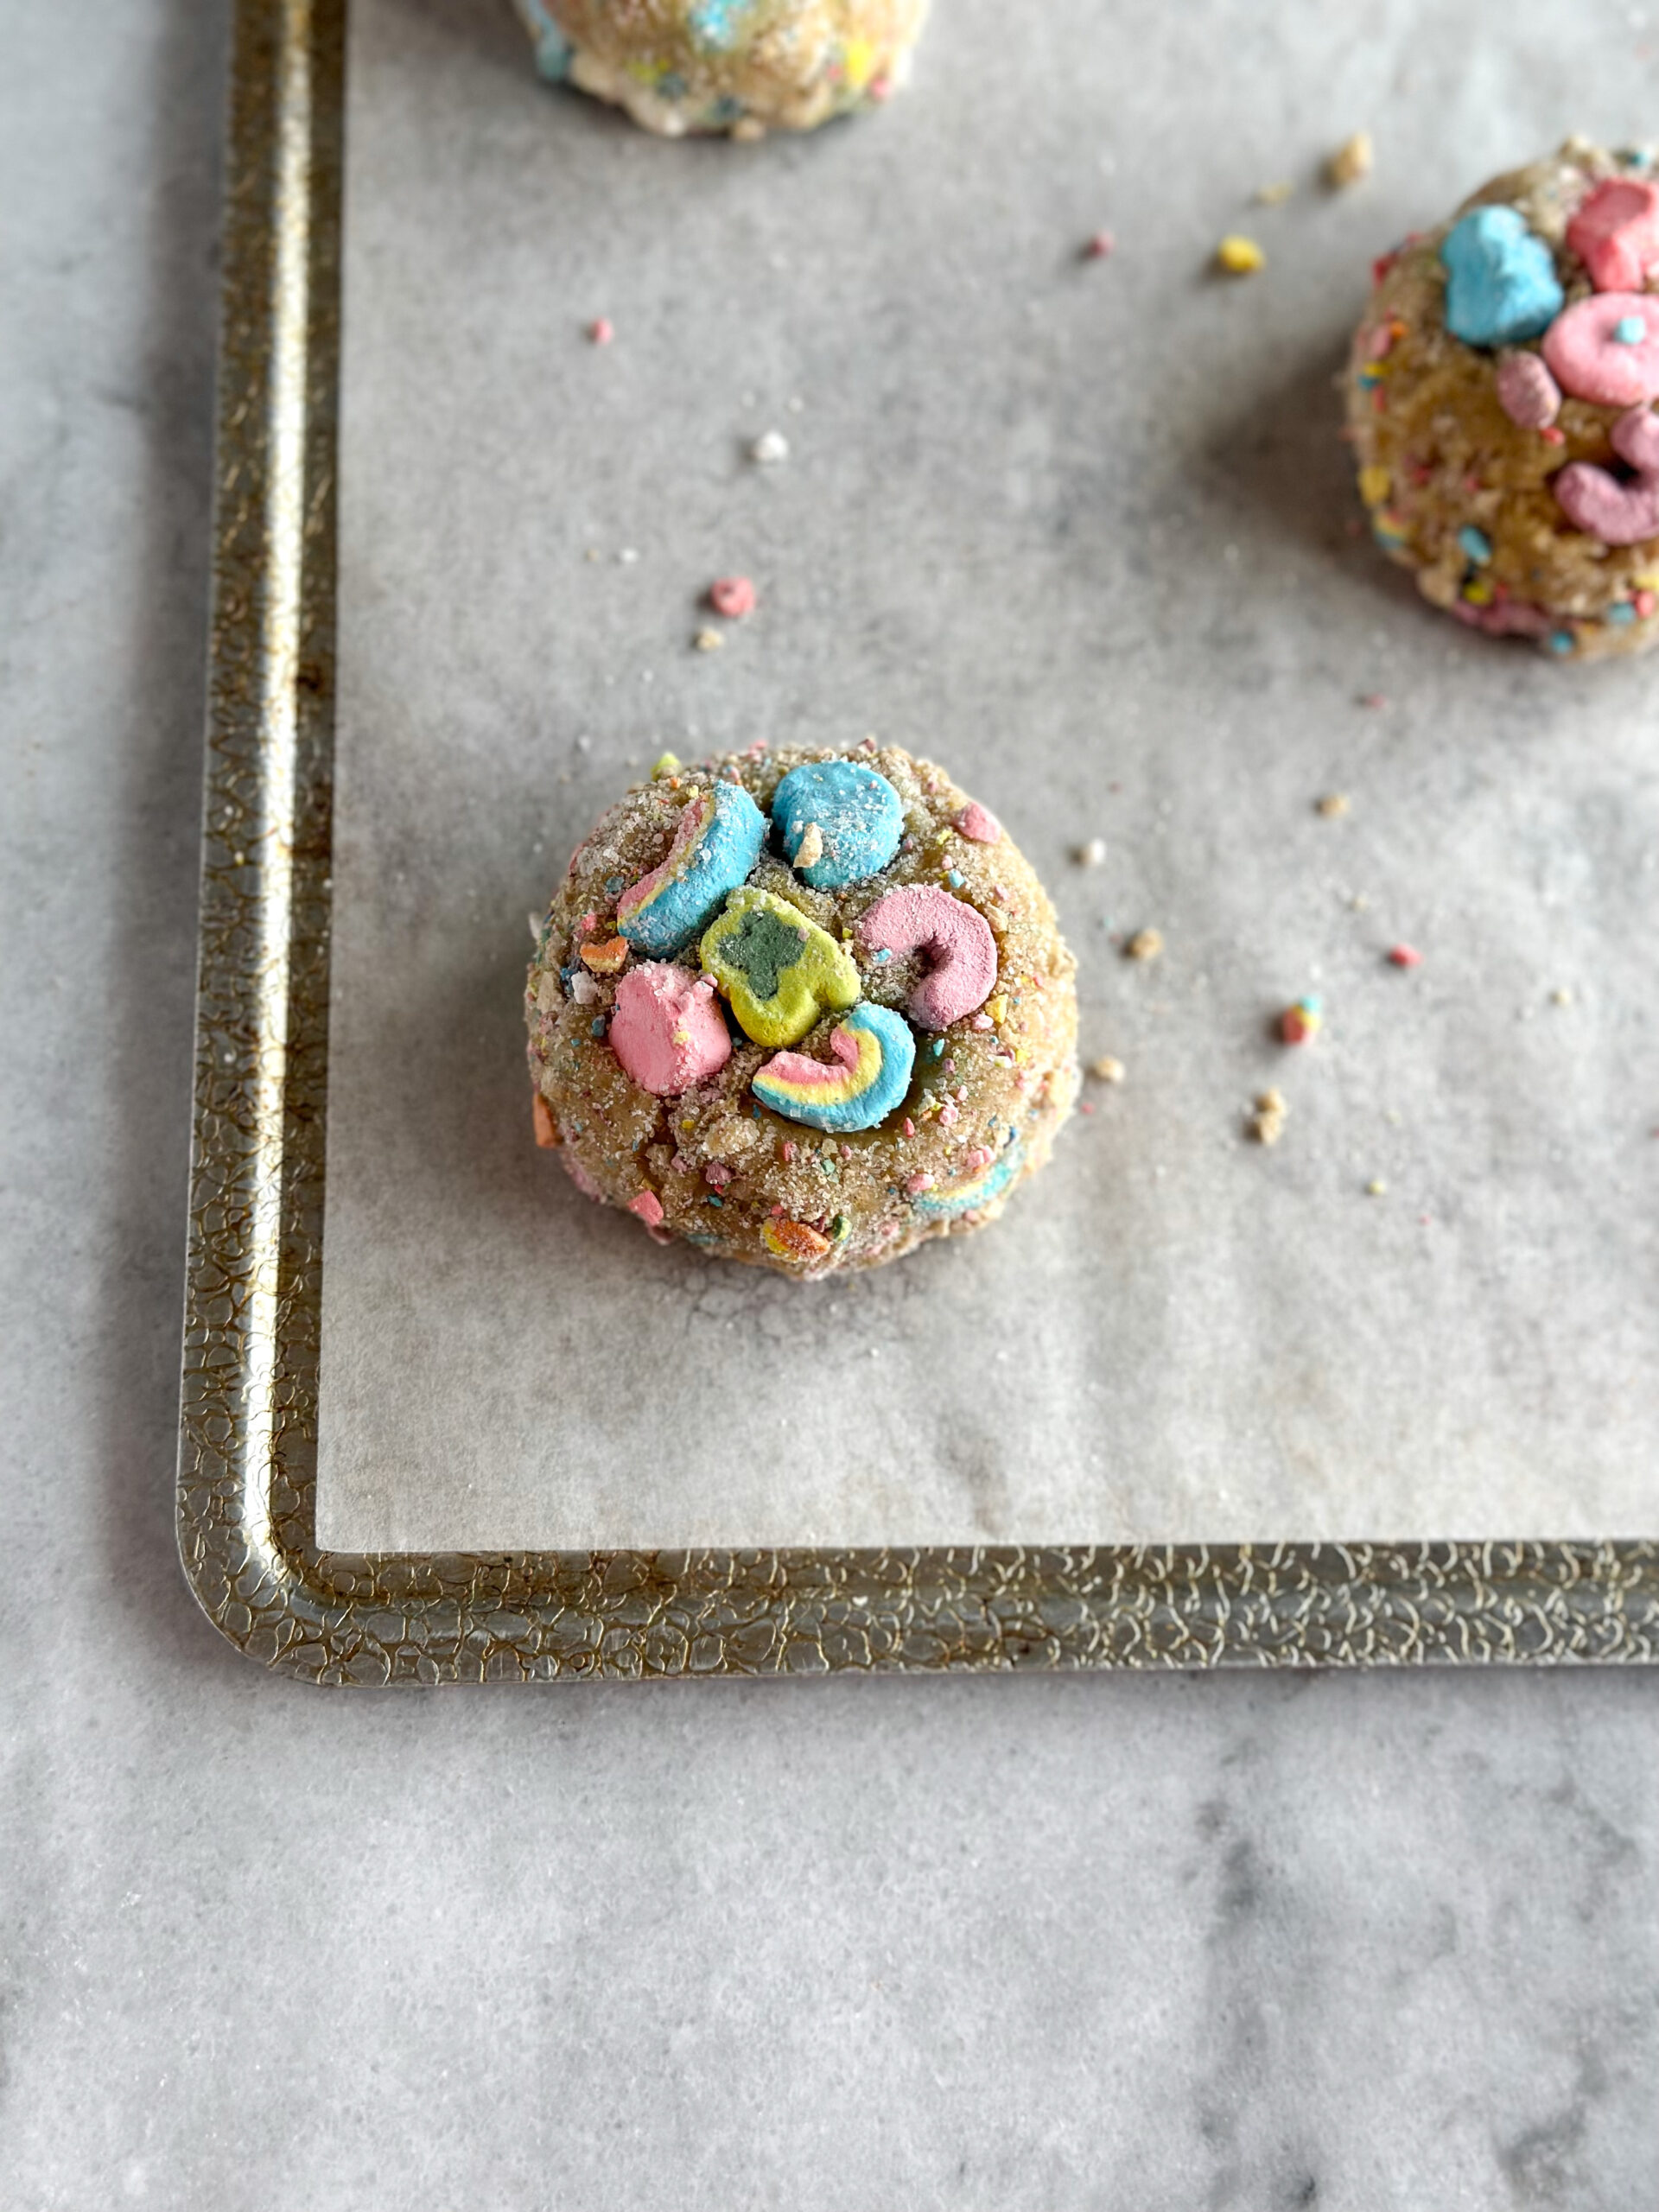
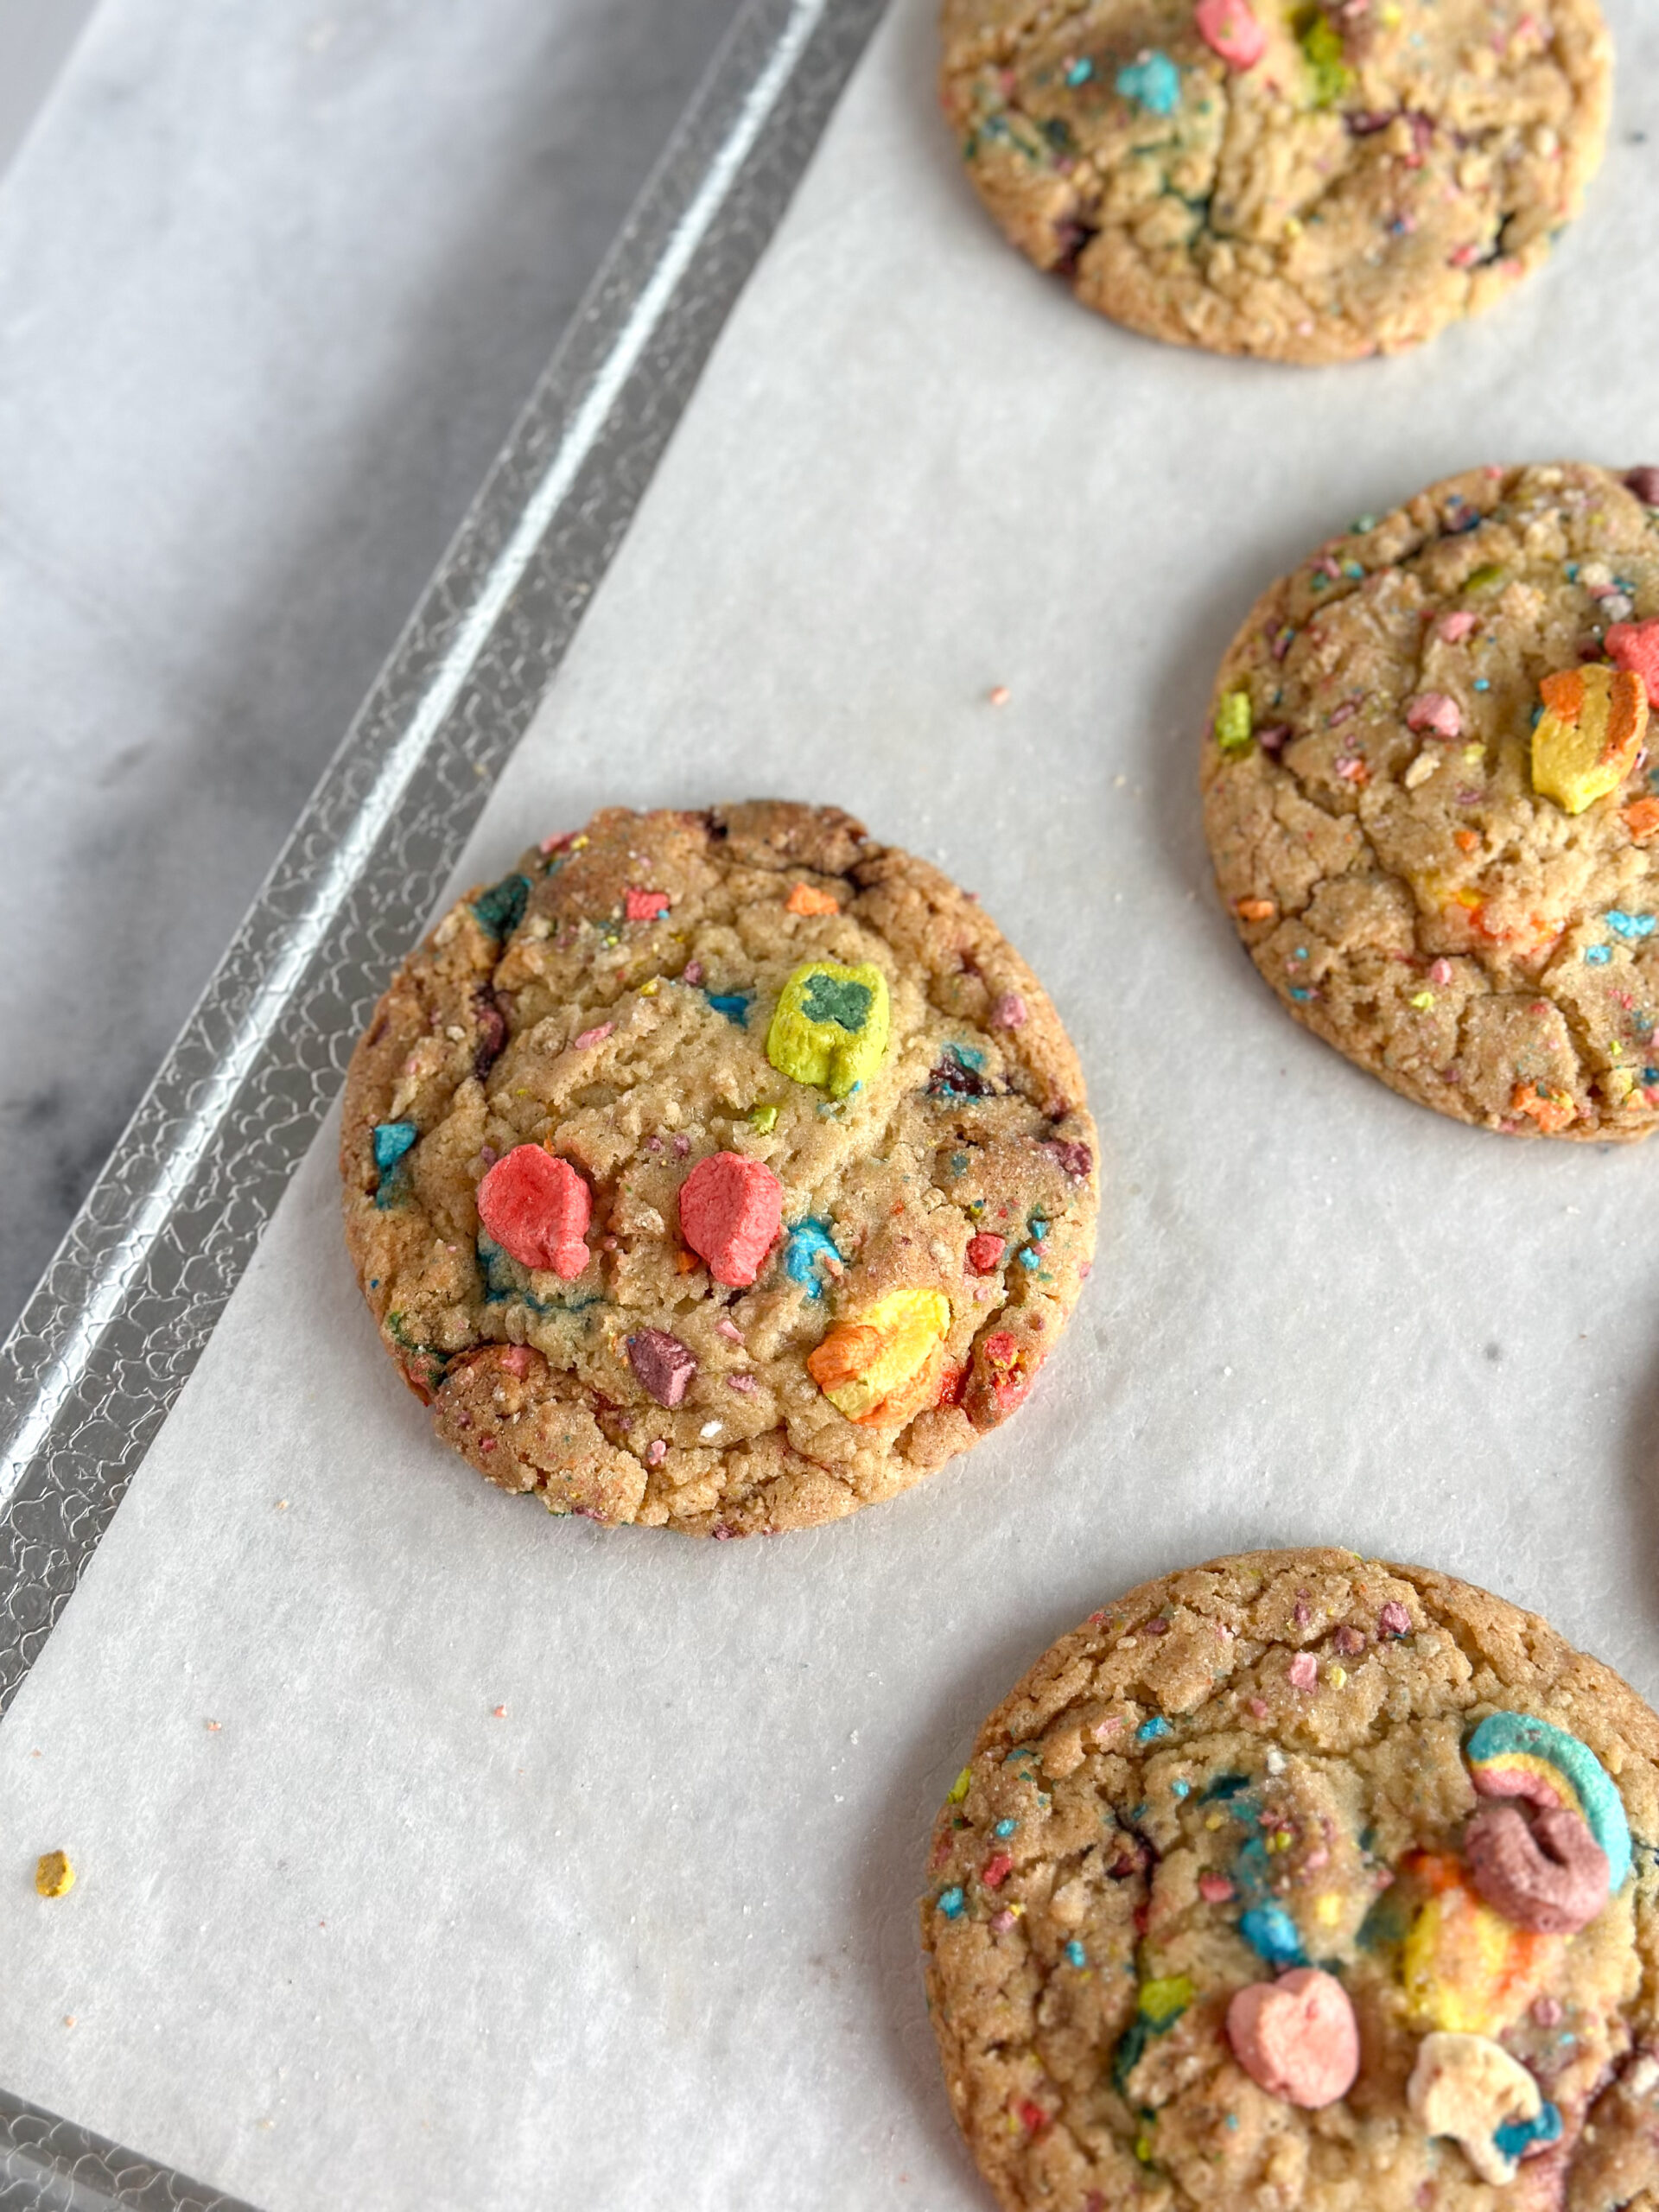
Using a #20 cookie scoop, scoop the dough into 12-13 balls. Press some reserved marshmallows on top before rolling the ball of dough into the sugary cereal mixture to coat. Place the dough balls on a parchment lined baking sheet a few inches apart.
Make sure you don’t roll the balls in the sugar mixture before you press some marshmallows into the tops or the marshmallows won’t stick.
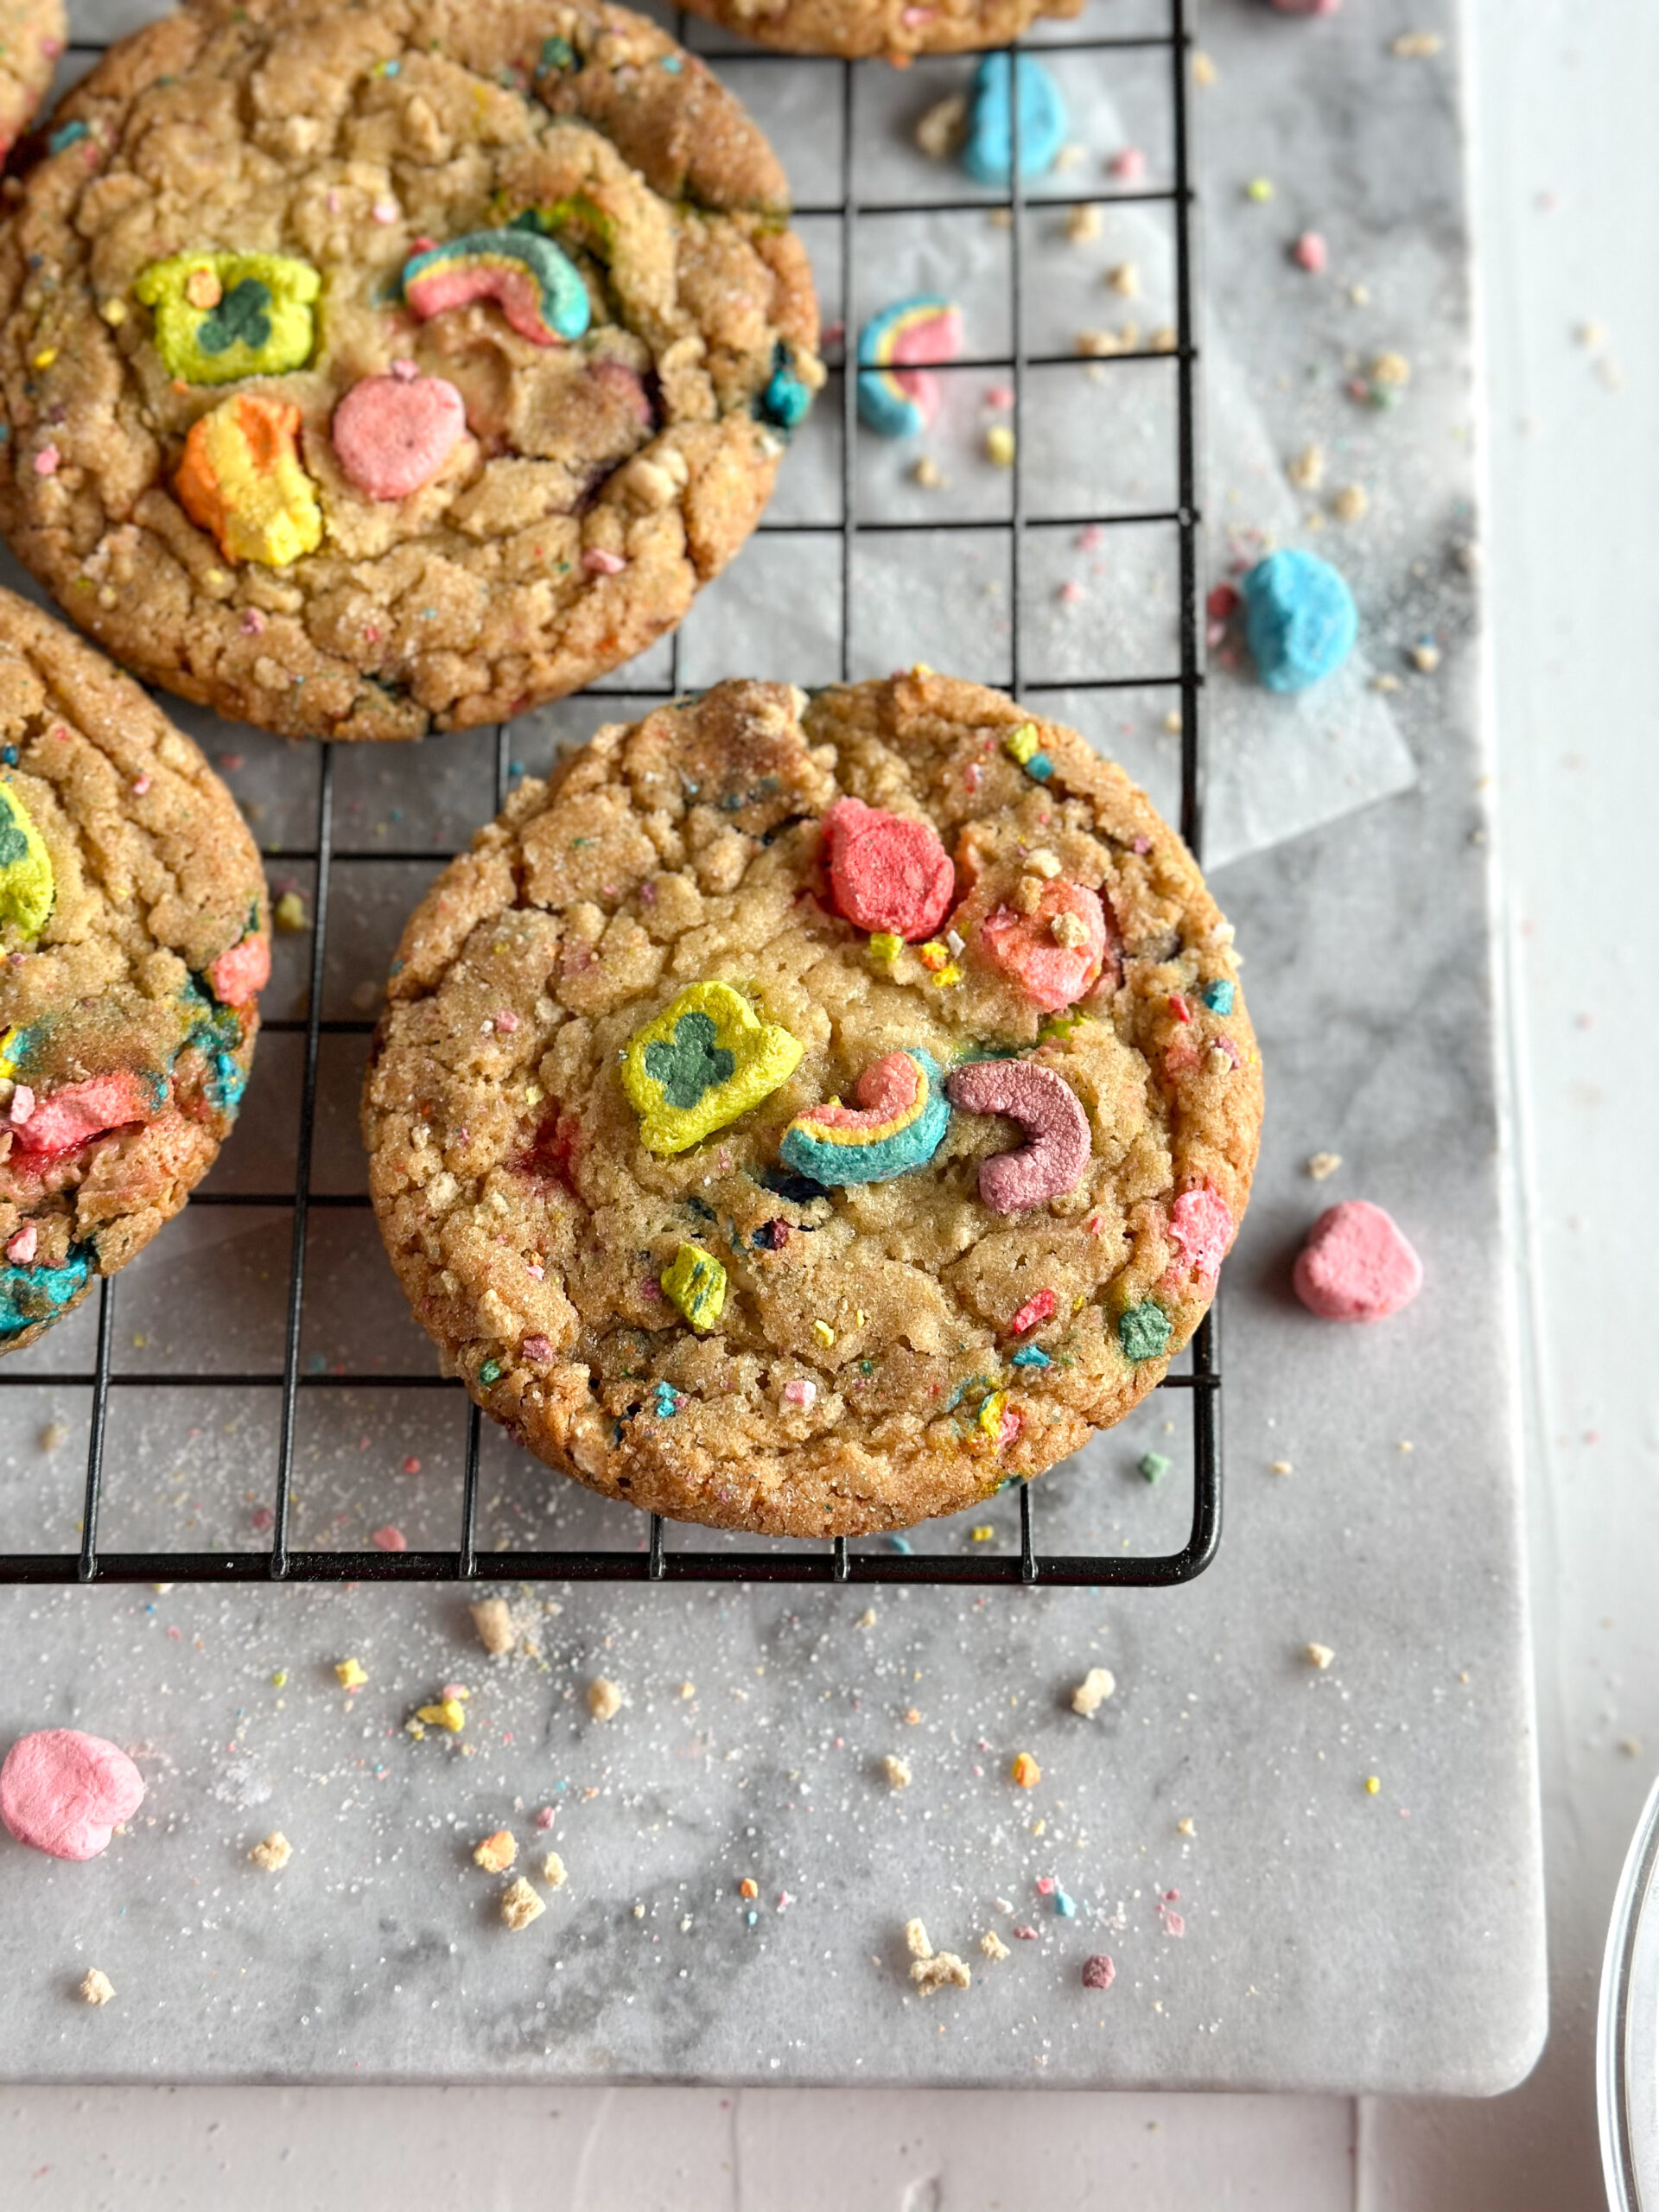
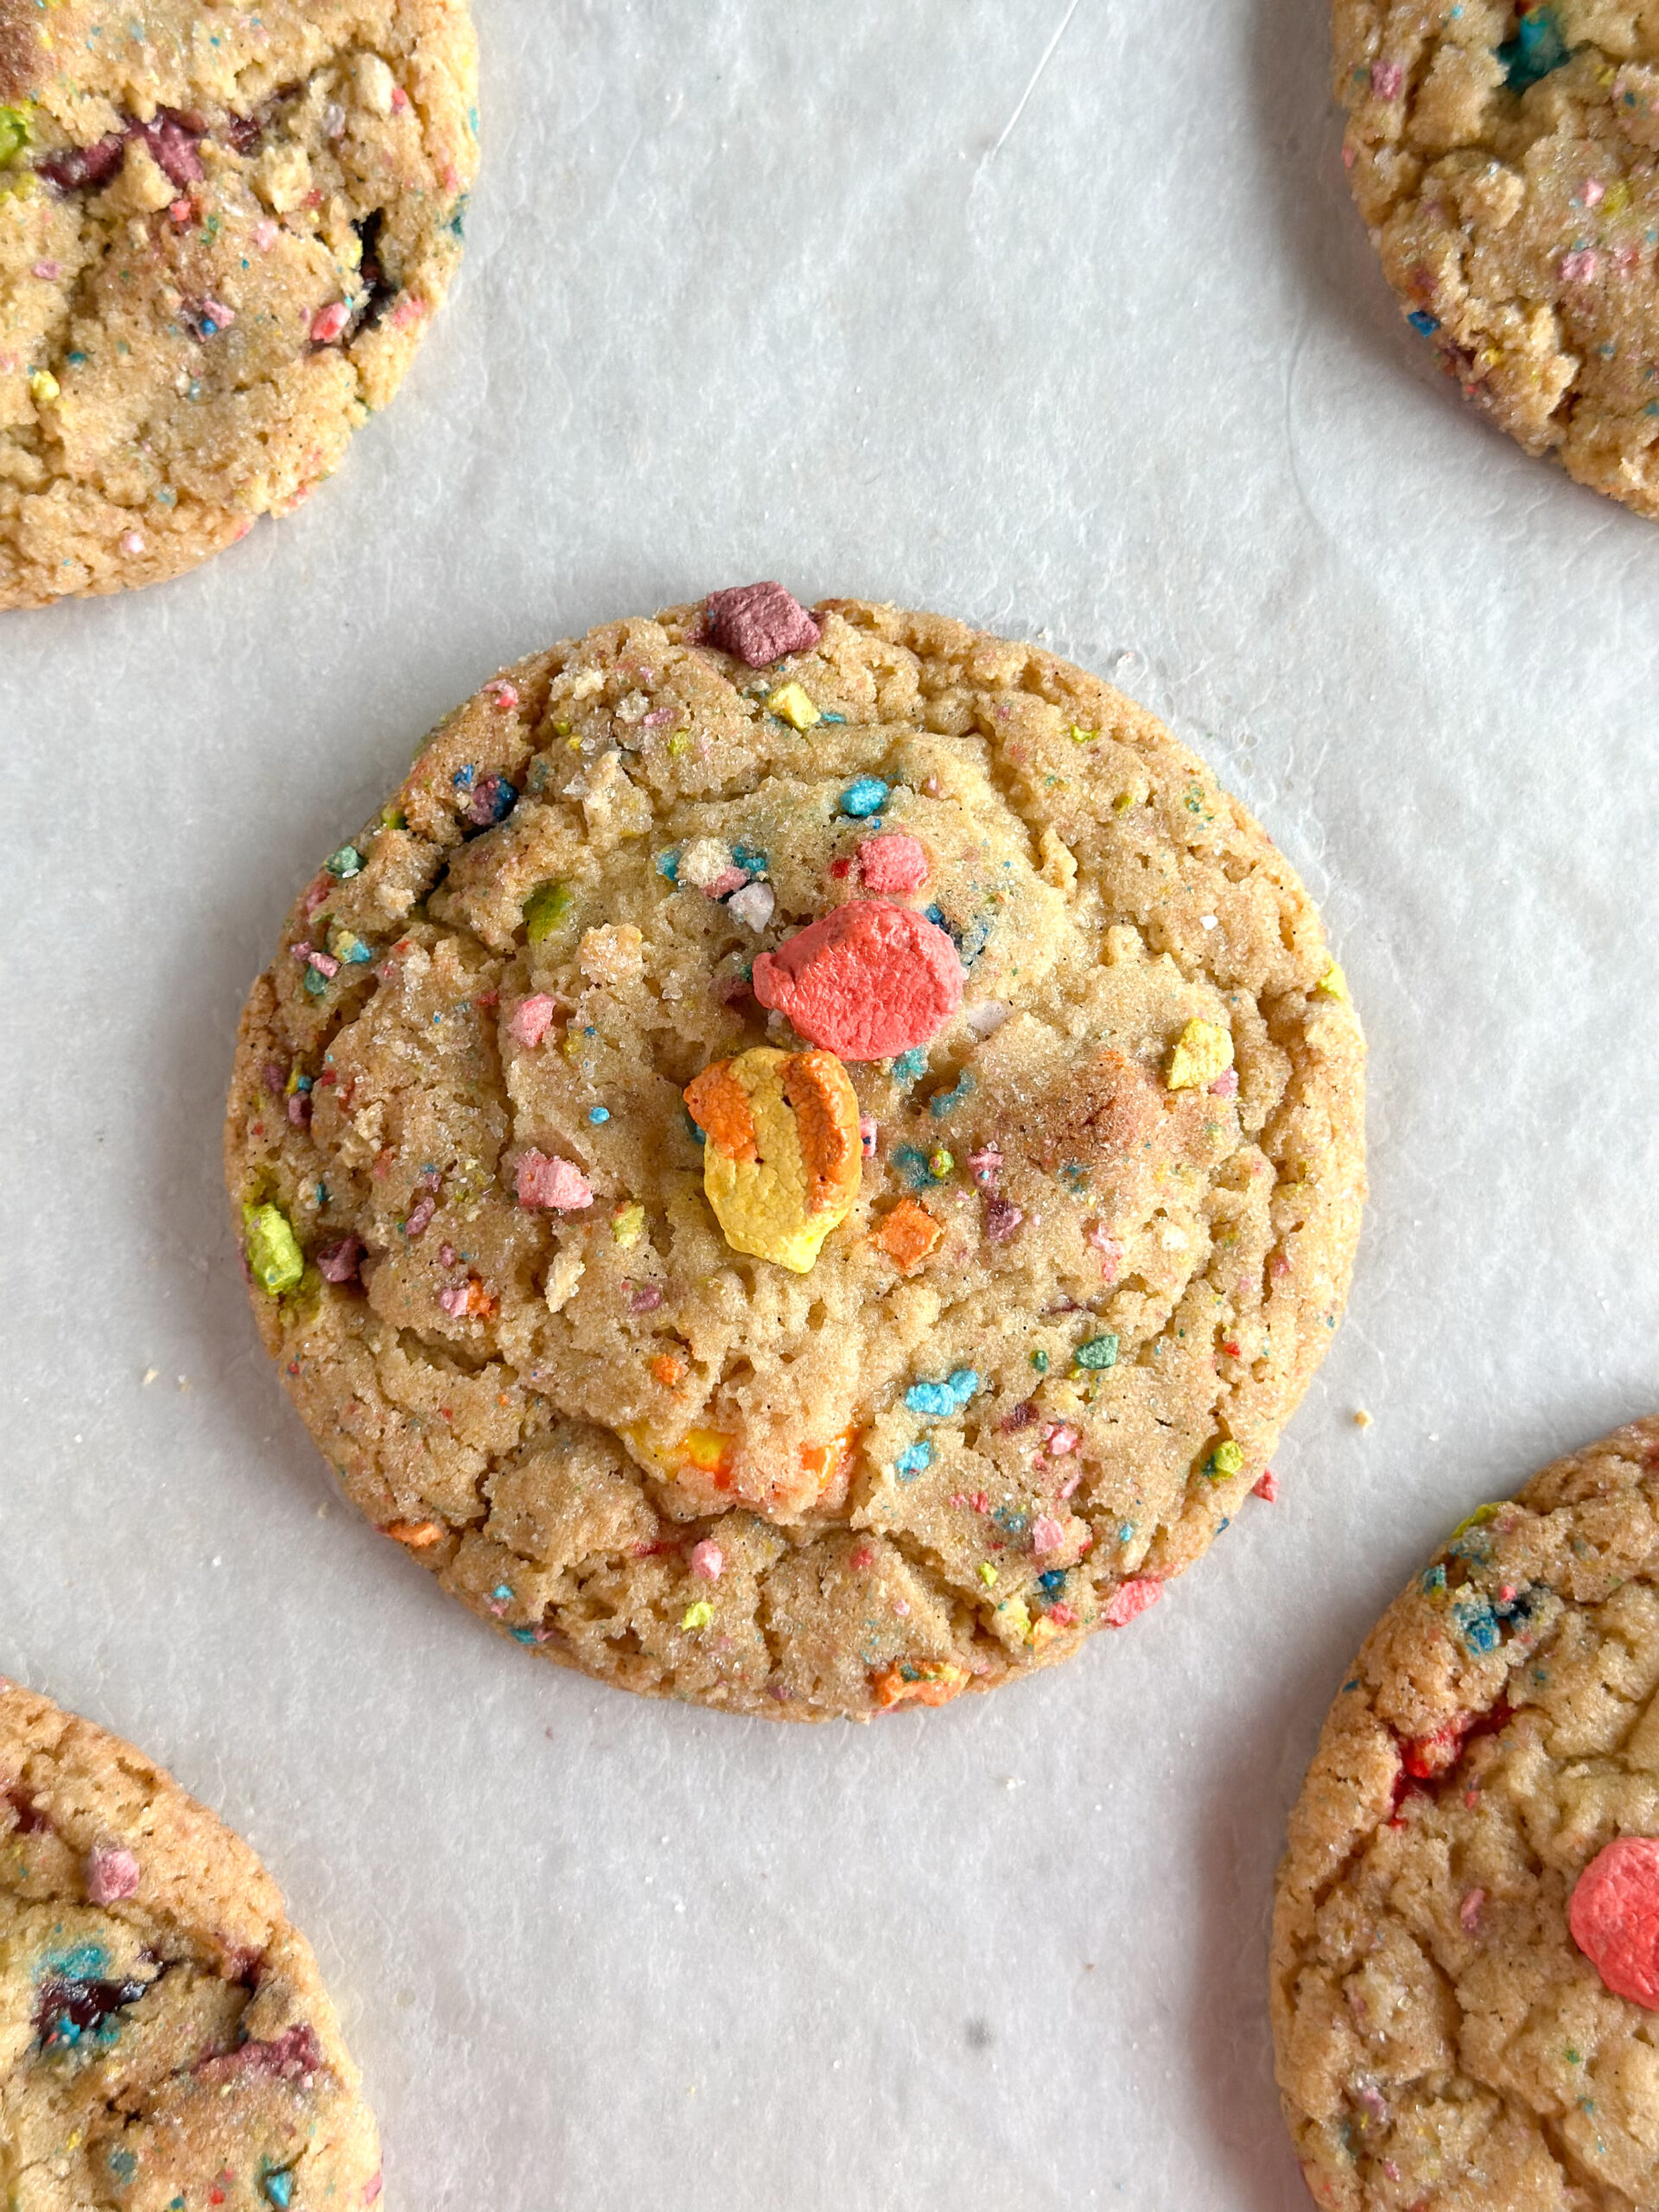
Bake the cookies for 12-14 minutes depending on how gooey or well-baked you like your cookies. The edges should be set and toasted brown while the center is soft. Remove them from the oven and tap the sheet a couple of times to settle them if they are a little puffy. While they’re still hot, use a round metal cookie cutter to scoot them into a perfectly round shape. Sprinkle with flakey sea salt, and enjoy.
success tips for making lucky charms bakery style cookies
- Pay attention to the different amounts of cereal and marshmallow. We’re using marshmallows in three different places! It’s a lot of picking through cereal. Sorry, but it is worth it.
- Mise en place’ is a French phrase with the idea of putting everything in its place before beginning to make a recipe. It helps everything to go smoothly and eliminates so much possible stress. Getting all of your supplies and ingredients together before ever starting the recipe will help tremendously.
- Weigh your ingredients, particularly the flour. It is the most important measurement in this recipe to weigh. Flour can be off in volume measurements by up to 30g, which is a quarter cup! Having incorrect flour measurements can cause your cookies to spread too much or, alternatively, be dry and crumbly. Weighing your ingredients makes everything so much easier, as you don’t have to wash all the measuring cups at the end. However, I do not use the scale to weigh out teaspoon or tablespoon measurements for things like baking powder, salt, vanilla, or cornstarch, for example.
- Be careful not to burn the brown butter. It should be warm golden brown, not black brown. Your nose will be your guide. If it burns, best to toss it and try again than risk making cookies that taste burnt from the get-go.
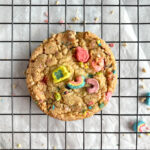
- For perfectly round cookies, use a large metal cookie cutter to scoot the hot cookies into shape. I’m addicted to doing this.
FAQs
- How much Lucky Charms do I need? I used a single 10.5 oz. box of Lucky Charms. There was a lot of cereal left, so be prepared to eat boring marshmallow-less Lucky Charms for a bit. Or grab a bag of just the marshmallows.
- Do I need to refrigerate this dough? No, this is a no-fridge cookie dough.
- How many cookies does this make? When using a #20 scoop (nearly 4 Tbsp), you can get about 12-13 cookies.
- Can I use a smaller scoop? Yes, feel free to make more average sized cookies by using a #30 scoop, which is about 2 Tbsp. Using the smaller scoop will yield about 22-24 cookies.
- What should I do if I want to make these ahead and need to refrigerate the dough? I recommend scooping the dough right away before chilling so it’s easier to scoop. Store airtight in the fridge for up to three days before baking. Let the dough balls come to room temperature for a while (about 30 minutes to an hour) before baking so the dough spreads properly.
- Can I freeze the dough? To freeze, scoop dough balls as usual and top with desired toppings. Place dough balls onto a cookie sheet lined with parchment paper and freeze until solid. Once frozen, transfer the dough balls to a freezer ziplock bag and label with the date and name of the cookie. For additional protection against freezer burn, place the bag in an airtight container. Frozen dough will last about three months. (Once frozen, do not re-freeze.) When it’s time to bake, bake as usual and at the same temperature, but for a minute or two longer depending on your preference of done-ness.
watch how to make lucky charms bakery style cookies
lucky charms bakery style cookies
These rainbow-filled, delicious cookies are based on my classic chocolate chip cookie, although you would never think ‘chocolate chip cookie’ while eating these. Even though they have the same caramelized sugars, toasty brown butter, and chewy texture, there is no chocolate. Lucky Charms marshmallows are in every bite along with cereal ‘flour’ and malted milk powder for a little flavor boost. (And a milky moment, of course, because cereal.) I like to make large dough balls that bake into large cookies that look like they came from an artisanal bakery. They will also work as a more typically-sized cookie if that’s more your thing.
- Yield: 12 1x
Ingredients
226g (1 cup) unsalted butter
2 ice cubes, or 2 Tbsp cold water
146g (⅔ cup) brown sugar, light preferred
150g (¾ cup) granulated sugar
1 ½ tsp (4.5g) Diamond Crystal kosher salt (or ¾ tsp regular table salt)
2 tsp vanilla bean paste or extract
1 whole egg, large
1 egg yolk, large
½ tsp baking soda
1 tsp baking powder
2 Tbsp malted milk powder
240g (2 cups) all purpose flour
60g Lucky Charms cereal ‘flour’ (pulverized cereal in small crumbs)
1 cup (ish) marshmallows, from the Lucky Charms cereal box
additional marshmallows (about 50) for topping
flakey salt, for sprinkling on top
Sugary Cereal Dust
25g (2 Tbsp) granulated sugar
pinch of salt
½ cup (ish) crushed marshmallows, from the cereal box
¼ cup (ish) crushed cereal, from the cereal box
Instructions
Start by browning the butter in a saucepan over medium heat, whisking frequently to make sure the milk solids don’t stick to the bottom of the pan. Brown butter is very vocal and tells you when it’s done. It starts out quiet as the butter melts, and once it is fully melted, the butter starts to bubble and sizzle. This sizzling is the sound of the water being cooked off the butter, resulting in moisture loss. After a while, it will start to quiet down and the bubbles will subside. This is right before it starts browning. Now is when you’ll want to continue stirring consistently to prevent the milk solids from adhering to the bottom of the pan and burning. Keep the butter on the heat until the liquid is golden and the milk solids are brown.
Pour the hot butter into a heat proof mixing bowl. Add the ice cubes (or two tablespoons of cold water) and stir to melt the ice cubes. Place the bowl in the fridge while you prep the rest of the ingredients, about ten minutes.
Prepare the cereal ‘flour’: Using either a food processor or a gallon plastic bag and a rolling pin, crush the cereal (just the cereal, not the marshmallows) until it is mostly fine bits. It’s okay if there are some larger pieces, but the majority should be fine crumbs and dusty. Set it aside for later.
Prepare the sugary cereal dust: Using either a food processor or a plastic bag and a rolling pin, crush some marshmallows and cereal. Stir some granulated sugar and salt into that and set it aside.
Preheat the oven to 375 F.
Once the butter has been in the fridge for about ten minutes, add the granulated sugar, brown sugar, and salt to the bowl and whisk well. Add the egg and vanilla and whisk until the mixture is emulsified, i.e. thick, glossy, lighter, smooth, cohesive.
Add the flour, baking soda, baking powder, and cereal ‘flour’. Gently stir it into the wet ingredients with a spatula until nearly combined. Add the marshmallows and gently stir them in to combine.
Using a #20 cookie scoop, scoop the dough into 12-13 balls. Press some reserved marshmallows on top before rolling the ball of dough into the sugary cereal mixture to coat. Place the dough balls on a parchment lined baking sheet a few inches apart.
Bake the cookies for 12-14 minutes depending on how gooey or well-baked you like your cookies. The edges should be set and toasted brown while the center is soft. Remove them from the oven and tap the sheet a couple of times to settle them if they are a little puffy. While they’re still hot, use a round metal cookie cutter to scoot them into a perfectly round shape. Sprinkle with flakey sea salt, and enjoy.
Notes
- Pay attention to the different amounts of cereal and marshmallow. We’re using marshmallows in three different places! It’s a lot of picking through cereal. Sorry, but it is worth it.
- Mise en place’ is a French phrase with the idea of putting everything in its place before beginning to make a recipe. It helps everything to go smoothly and eliminates so much possible stress. Getting all of your supplies and ingredients together before ever starting the recipe will help tremendously.
- Weigh your ingredients, particularly the flour. It is the most important measurement in this recipe to weigh. Flour can be off in volume measurements by up to 30g, which is a quarter cup! Having incorrect flour measurements can cause your cookies to spread too much or, alternatively, be dry and crumbly. Weighing your ingredients makes everything so much easier, as you don’t have to wash all the measuring cups at the end. However, I do not use the scale to weigh out teaspoon or tablespoon measurements for things like baking powder, salt, vanilla, or cornstarch, for example.
- Be careful not to burn the brown butter. It should be warm golden brown, not black brown. Your nose will be your guide. If it burns, best to toss it and try again than risk making cookies that taste burnt from the get-go.
- For perfectly round cookies, use a large metal cookie cutter to scoot the hot cookies into shape. I’m addicted to doing this.
- How much Lucky Charms do I need? I used a single 10.5 oz. box of Lucky Charms. There was a lot of cereal left, so be prepared to eat boring marshmallow-less Lucky Charms for a bit. Or grab a bag of just the marshmallows.
- Do I need to refrigerate this dough? No, this is a no-fridge cookie dough.
- How many cookies does this make? When using a #20 scoop (nearly 4 Tbsp), you can get about 12-13 cookies.
- Can I use a smaller scoop? Yes, feel free to make more average sized cookies by using a #30 scoop, which is about 2 Tbsp. Using the smaller scoop will yield about 22-24 cookies.
- What should I do if I want to make these ahead and need to refrigerate the dough? I recommend scooping the dough right away before chilling so it’s easier to scoop. Store airtight in the fridge for up to three days before baking. Let the dough balls come to room temperature for a while (about 30 minutes to an hour) before baking so the dough spreads properly.
- Can I freeze the dough? To freeze, scoop dough balls as usual and top with desired toppings. Place dough balls onto a cookie sheet lined with parchment paper and freeze until solid. Once frozen, transfer the dough balls to a freezer ziplock bag and label with the date and name of the cookie. For additional protection against freezer burn, place the bag in an airtight container. Frozen dough will last about three months. (Once frozen, do not re-freeze.) When it’s time to bake, bake as usual and at the same temperature, but for a minute or two longer depending on your preference of done-ness.