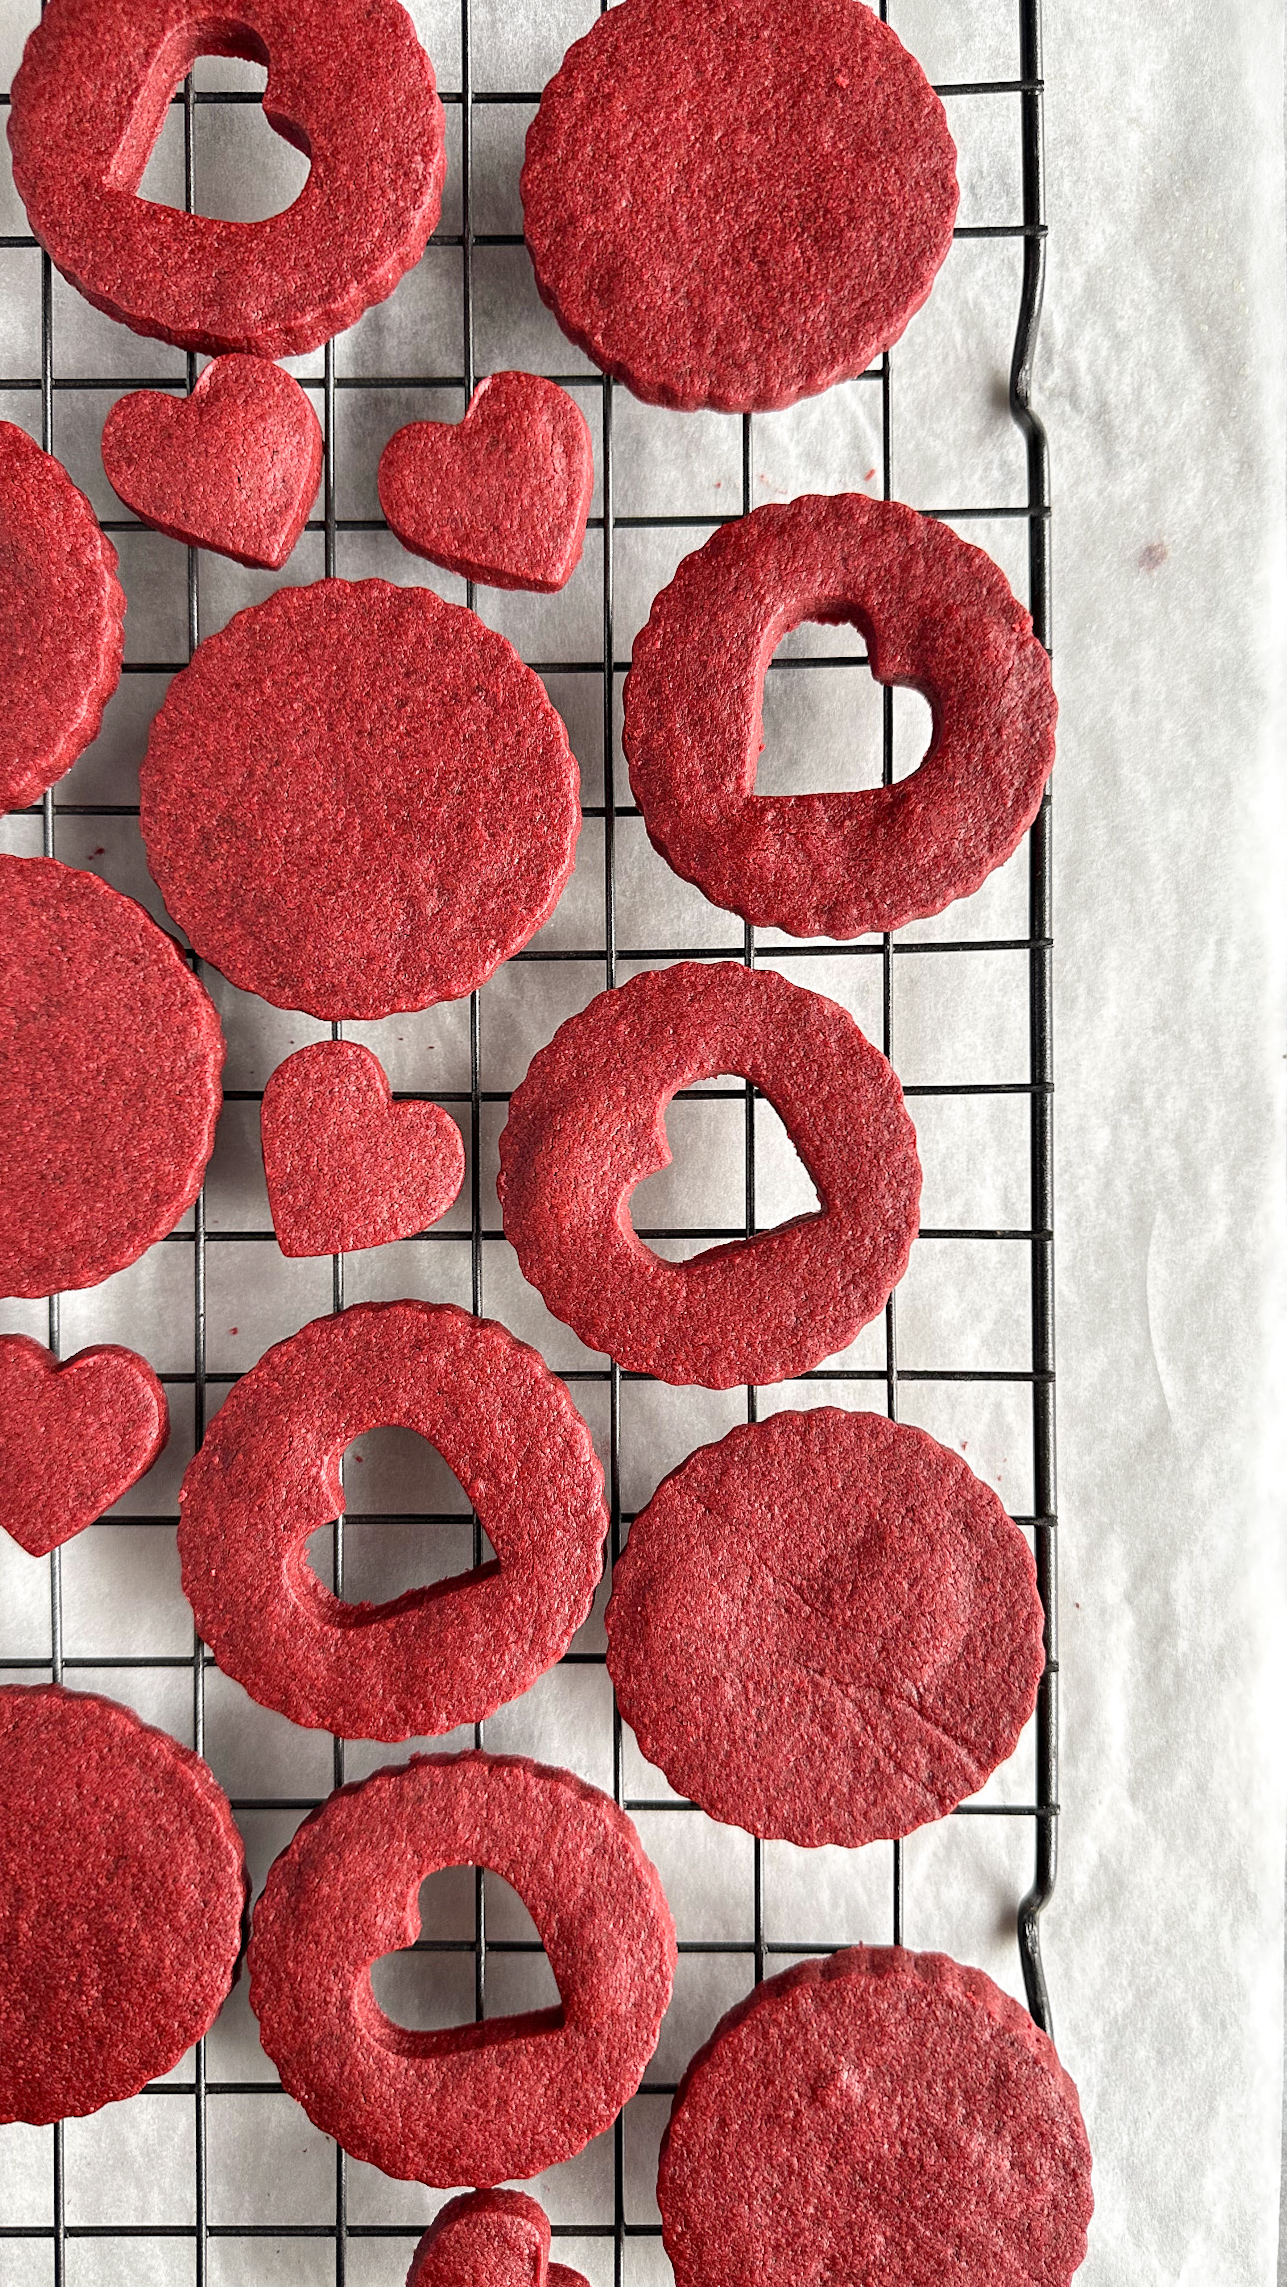
These red velvet cut out cookies are perfect for Valentine’s Day, whether you’re decorating them with royal icing, buttercream, or turning them into linzer cookies. The dough is lightly chocolatey, and the texture is tender with a crisp edge.
ingredients you’ll need
- butter– I always use unsalted butter in my recipes so I can accurately tell you how much salt to add, but the truth is that when I’m just baking personally, I use salted butter and nothing is ever too salty. Use what you have, but make sure that it has come to room temperature, about 66-70 degrees. Butter straight out of the fridge will not cream as well, which will either require too much creaming (creating too aerated of a mixture) or the final dough will have little pebbles of butter that will melt in the oven, causing uneven cookies. Make sure the butter hasn’t softened too much and become melty or squishy.
- sugar– I use granulated sugar and brown sugar in this cookie recipe. Granulated sugar gives a nice crisp edge, but brown sugar gives great chewiness and flavor.
- salt– Diamond Crystal kosher salt is the best for baking, so I recommend grabbing a box if you can. It will last you for a long time if you just use it for baking! If you don’t have this type of salt, swap for regular table salt and use half the amount called for.
- egg– An egg will give the cookie structure and tenderness. I like to use just the yolk in chocolate cookies to aid in tenderness.
- white vinegar– Optional, but helpful for the red velvet vibe and enhancing the cocoa flavor.
- red color– I used Americolor red gel food coloring, and I recommend using a gel formulation. Don’t use liquid, or it will affect the texture of the dough. You can use a natural powder color if you like.
- vanilla– Vanilla is essential for flavor in this recipe, and I recommend using vanilla bean paste instead of extract if you can. I love to use vanilla bean paste because the flavor is more intense, but vanilla extract is great as well. I love The Spice House, Heilala, and Nielsen-Massey. (Make sure to check your local Costco store for big jars of Nielsen-Massey at an amazing price!)
- flour– Flour provides the structure for this cookie, and this recipe has the perfect amount for the dough to both hold its shape, yet not be too floury and hard once baked.
- baking powder– for a little lift, but optional
- cocoa powder– Use natural cocoa for the chocolate flavor. (It will replace some of the flour.) Use natural rather than Dutch for this cookie, because it will better create the flavor and color of red velvet.
*You can use my code EMILYLOGGANS for 10% off at The Spice House. I love to get my vanilla, almond extract, salt, and spices from there!
supplies you’ll need
- hand mixer or stand mixer– A stand mixer makes this process so incredibly easy, but a hand mixer works just fine, especially if you’re just making a single batch.
- spatula– A spatula is essential to scrape down the bowl throughout the process. Without scraping, you’ll end up with an unevenly mixed dough and cookies that are inconsistent.
- scale– If there’s one thing I can convince you of, please let it be a kitchen scale. 🙏🏻Using a scale makes everything easier with baking, and it ensures you get the same results every time. Flour is so easy to over-add with volume measurements, and a scale solves that problem.
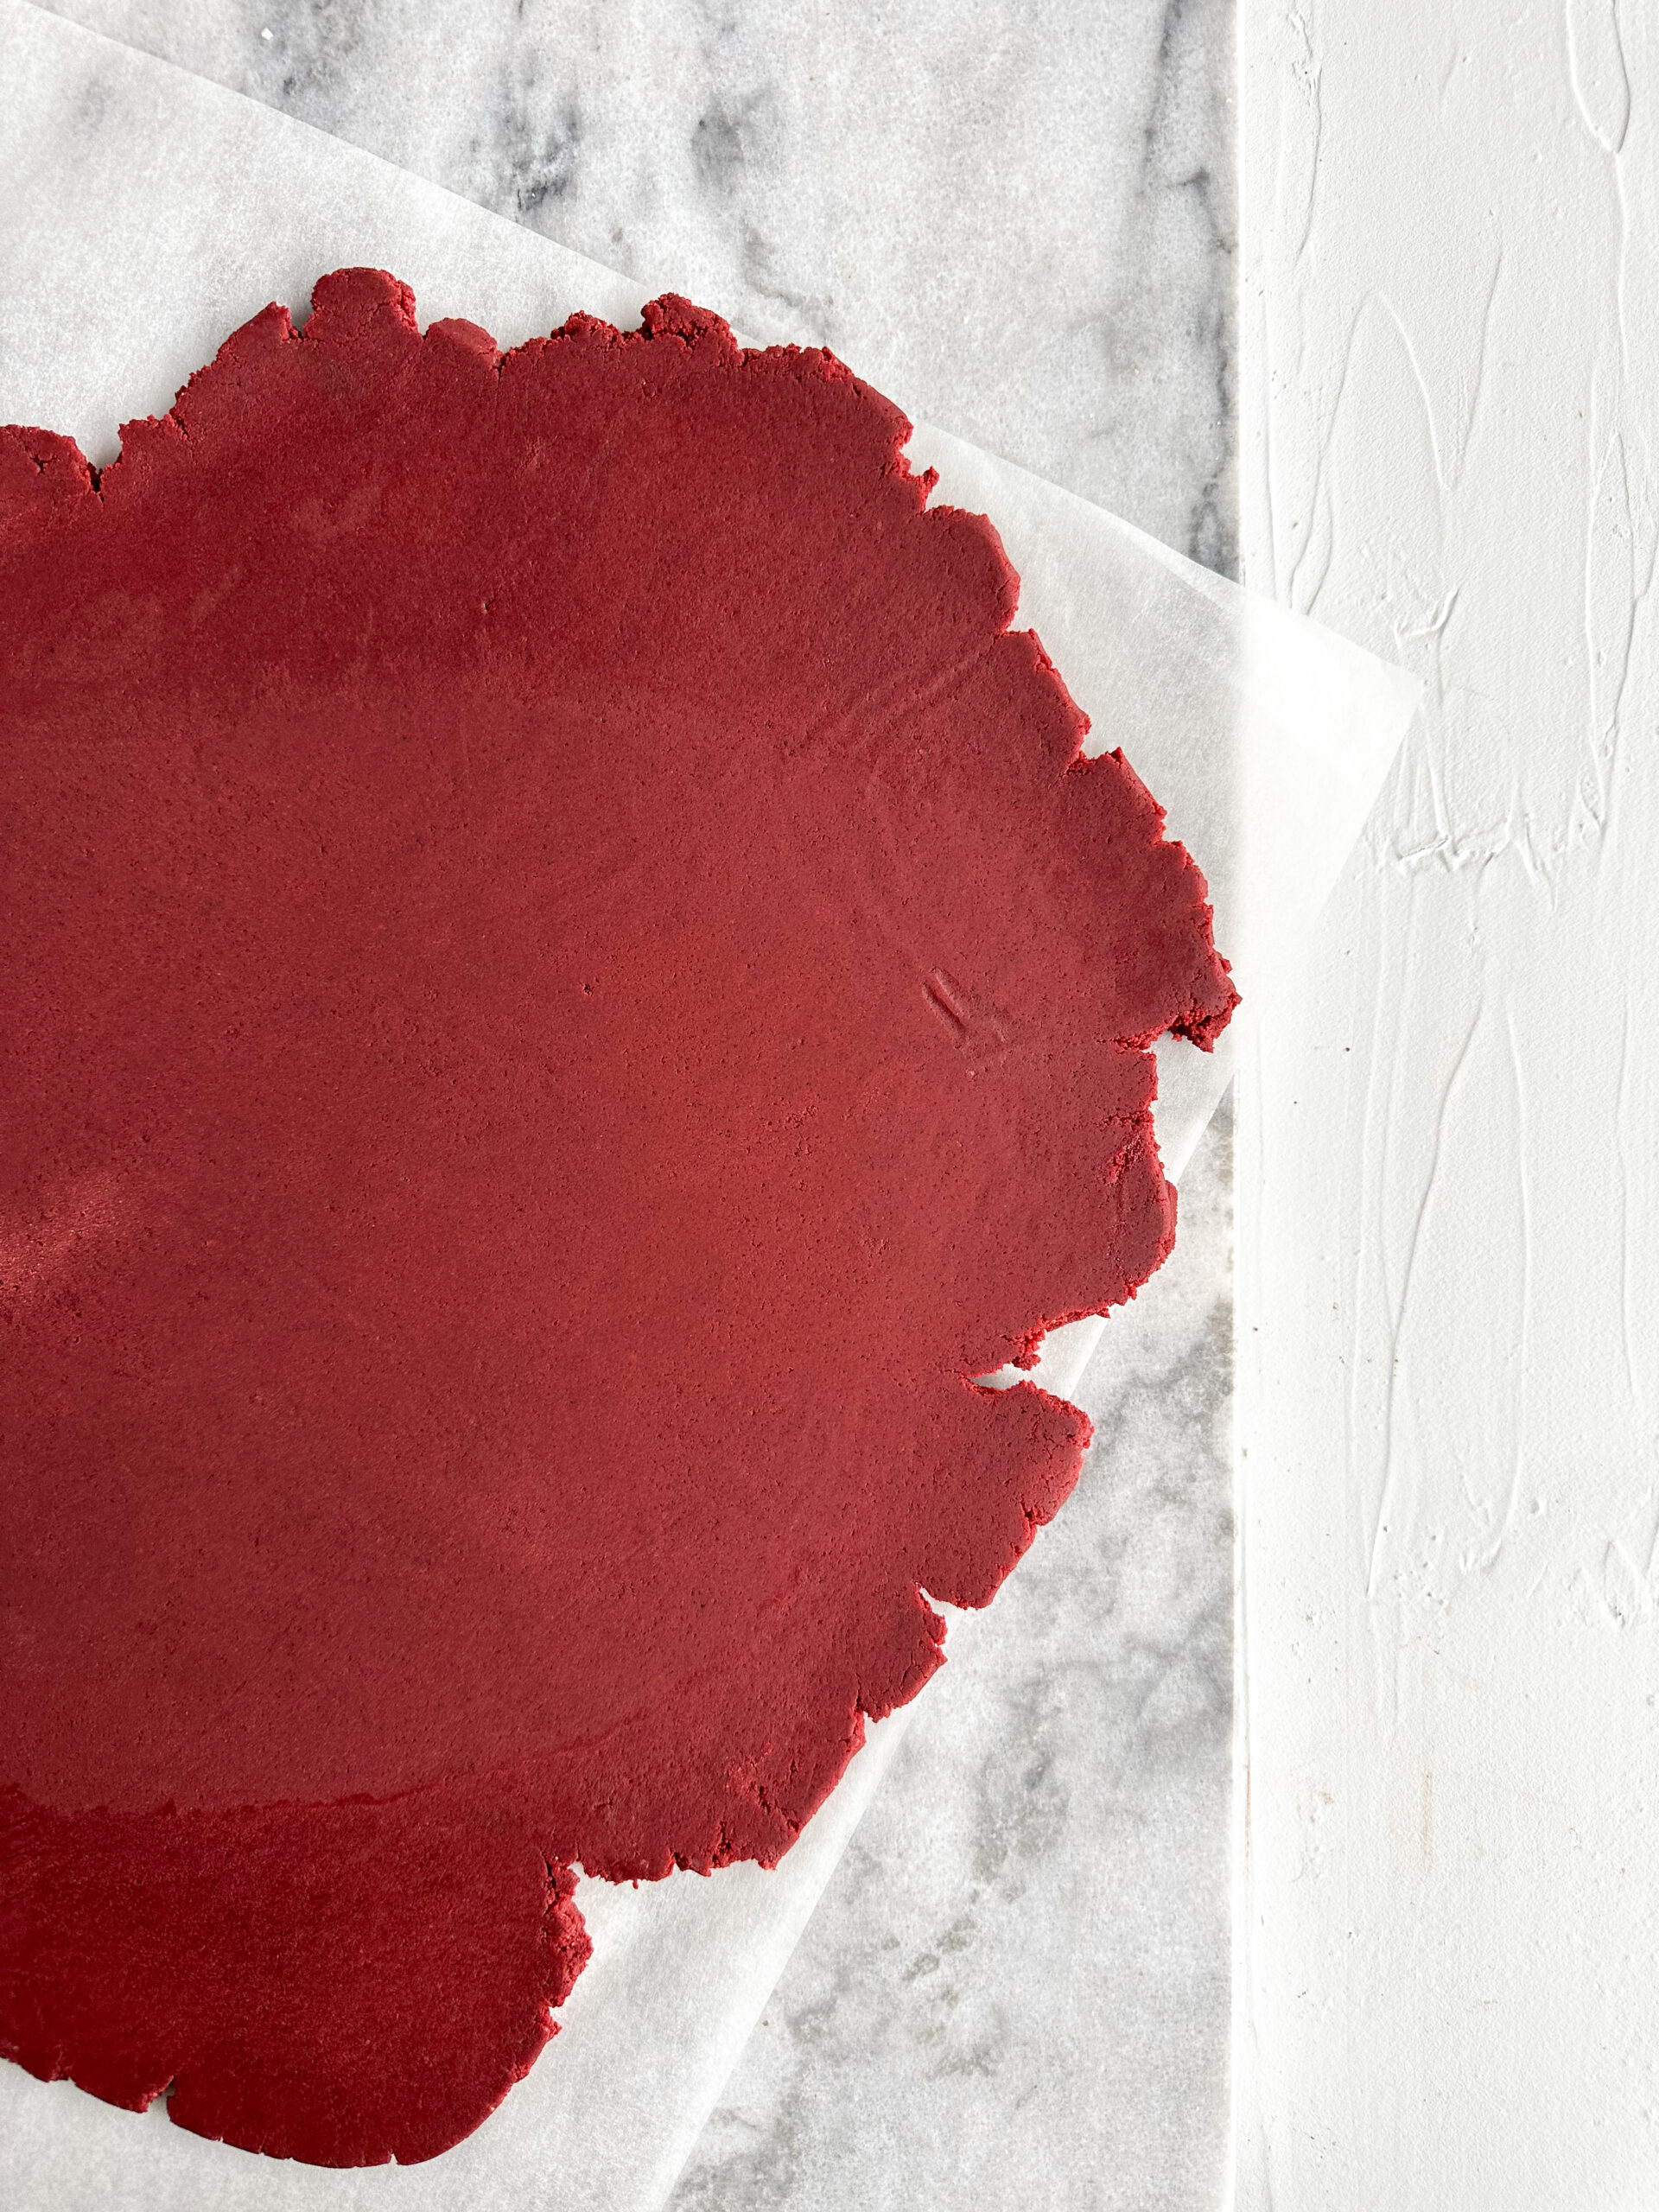
- parchment paper– I always roll my dough between two sheets of pre-cut parchment paper, which is by far the best way to roll out dough.
- guided rolling pin– Rolling dough evenly is tricky with a regular rolling pin, but with a guided rolling pin, dough comes out evenly every time. It’s such a time saver and one of my favorite kitchen tools.
- baking sheets– I use these cookie sheets for years, and they are amazing.
- cookie cutters– Whichever ones you like!
red velvet cut out cookies
These red velvet cut out cookies are perfect for Valentine’s Day, whether you’re decorating them with royal icing, buttercream, or turning them into linzer cookies. The dough is lightly chocolatey, and the texture is tender with a crisp edge.
- Yield: 2 dozen 1x
Ingredients
226 unsalted butter (salted is fine), room temp (1 cup ; 16 Tbsp)
100g granulated sugar (½ cup)
55g light brown sugar (¼ cup, packed)
1 tsp Diamond Crystal kosher salt (or ½ tsp regular table salt)
1 egg yolk
¼ tsp white vinegar (optional, but for the red velvet vibe)
1–2 drops red gel food coloring (not liquid, but you can substitute for a natural powder food coloring)
2 tsp vanilla bean paste or extract
300g all purpose flour (2 ½ cups)
46g natural cocoa powder (½ cup)
¼ tsp baking powder
Instructions
In the bowl of a stand mixer fitted with the paddle attachment, or in a mixing bowl with a hand held mixer, beat the butter on low speed until smooth. Add the sugars and salt and beat on medium-low until combined and slightly lightened, about 1-2 min. Scrape down the sides and bottom of the bowl.
Add the egg, vinegar, food coloring, and vanilla and beat until the mixture is fully combined and emulsified, scraping the bowl well. (Don’t over mix at this stage, or the dough will be too aerated and cause some spreading during baking.)
Add the flour, cocoa, and baking powder. Mix on low speed until combined, scraping the sides and bottom of the bowl as you go. Add the coconut and pecans and finish mixing until combined.
Roll the dough to ¼″ between two lightly floured sheets of parchment paper, flouring the dough as needed. Refrigerate the dough for two hours or overnight. (If you’re in a rush, a quick 20 minute freeze will do the trick.)
When it’s time to bake, preheat the oven to 375 F (190 C).
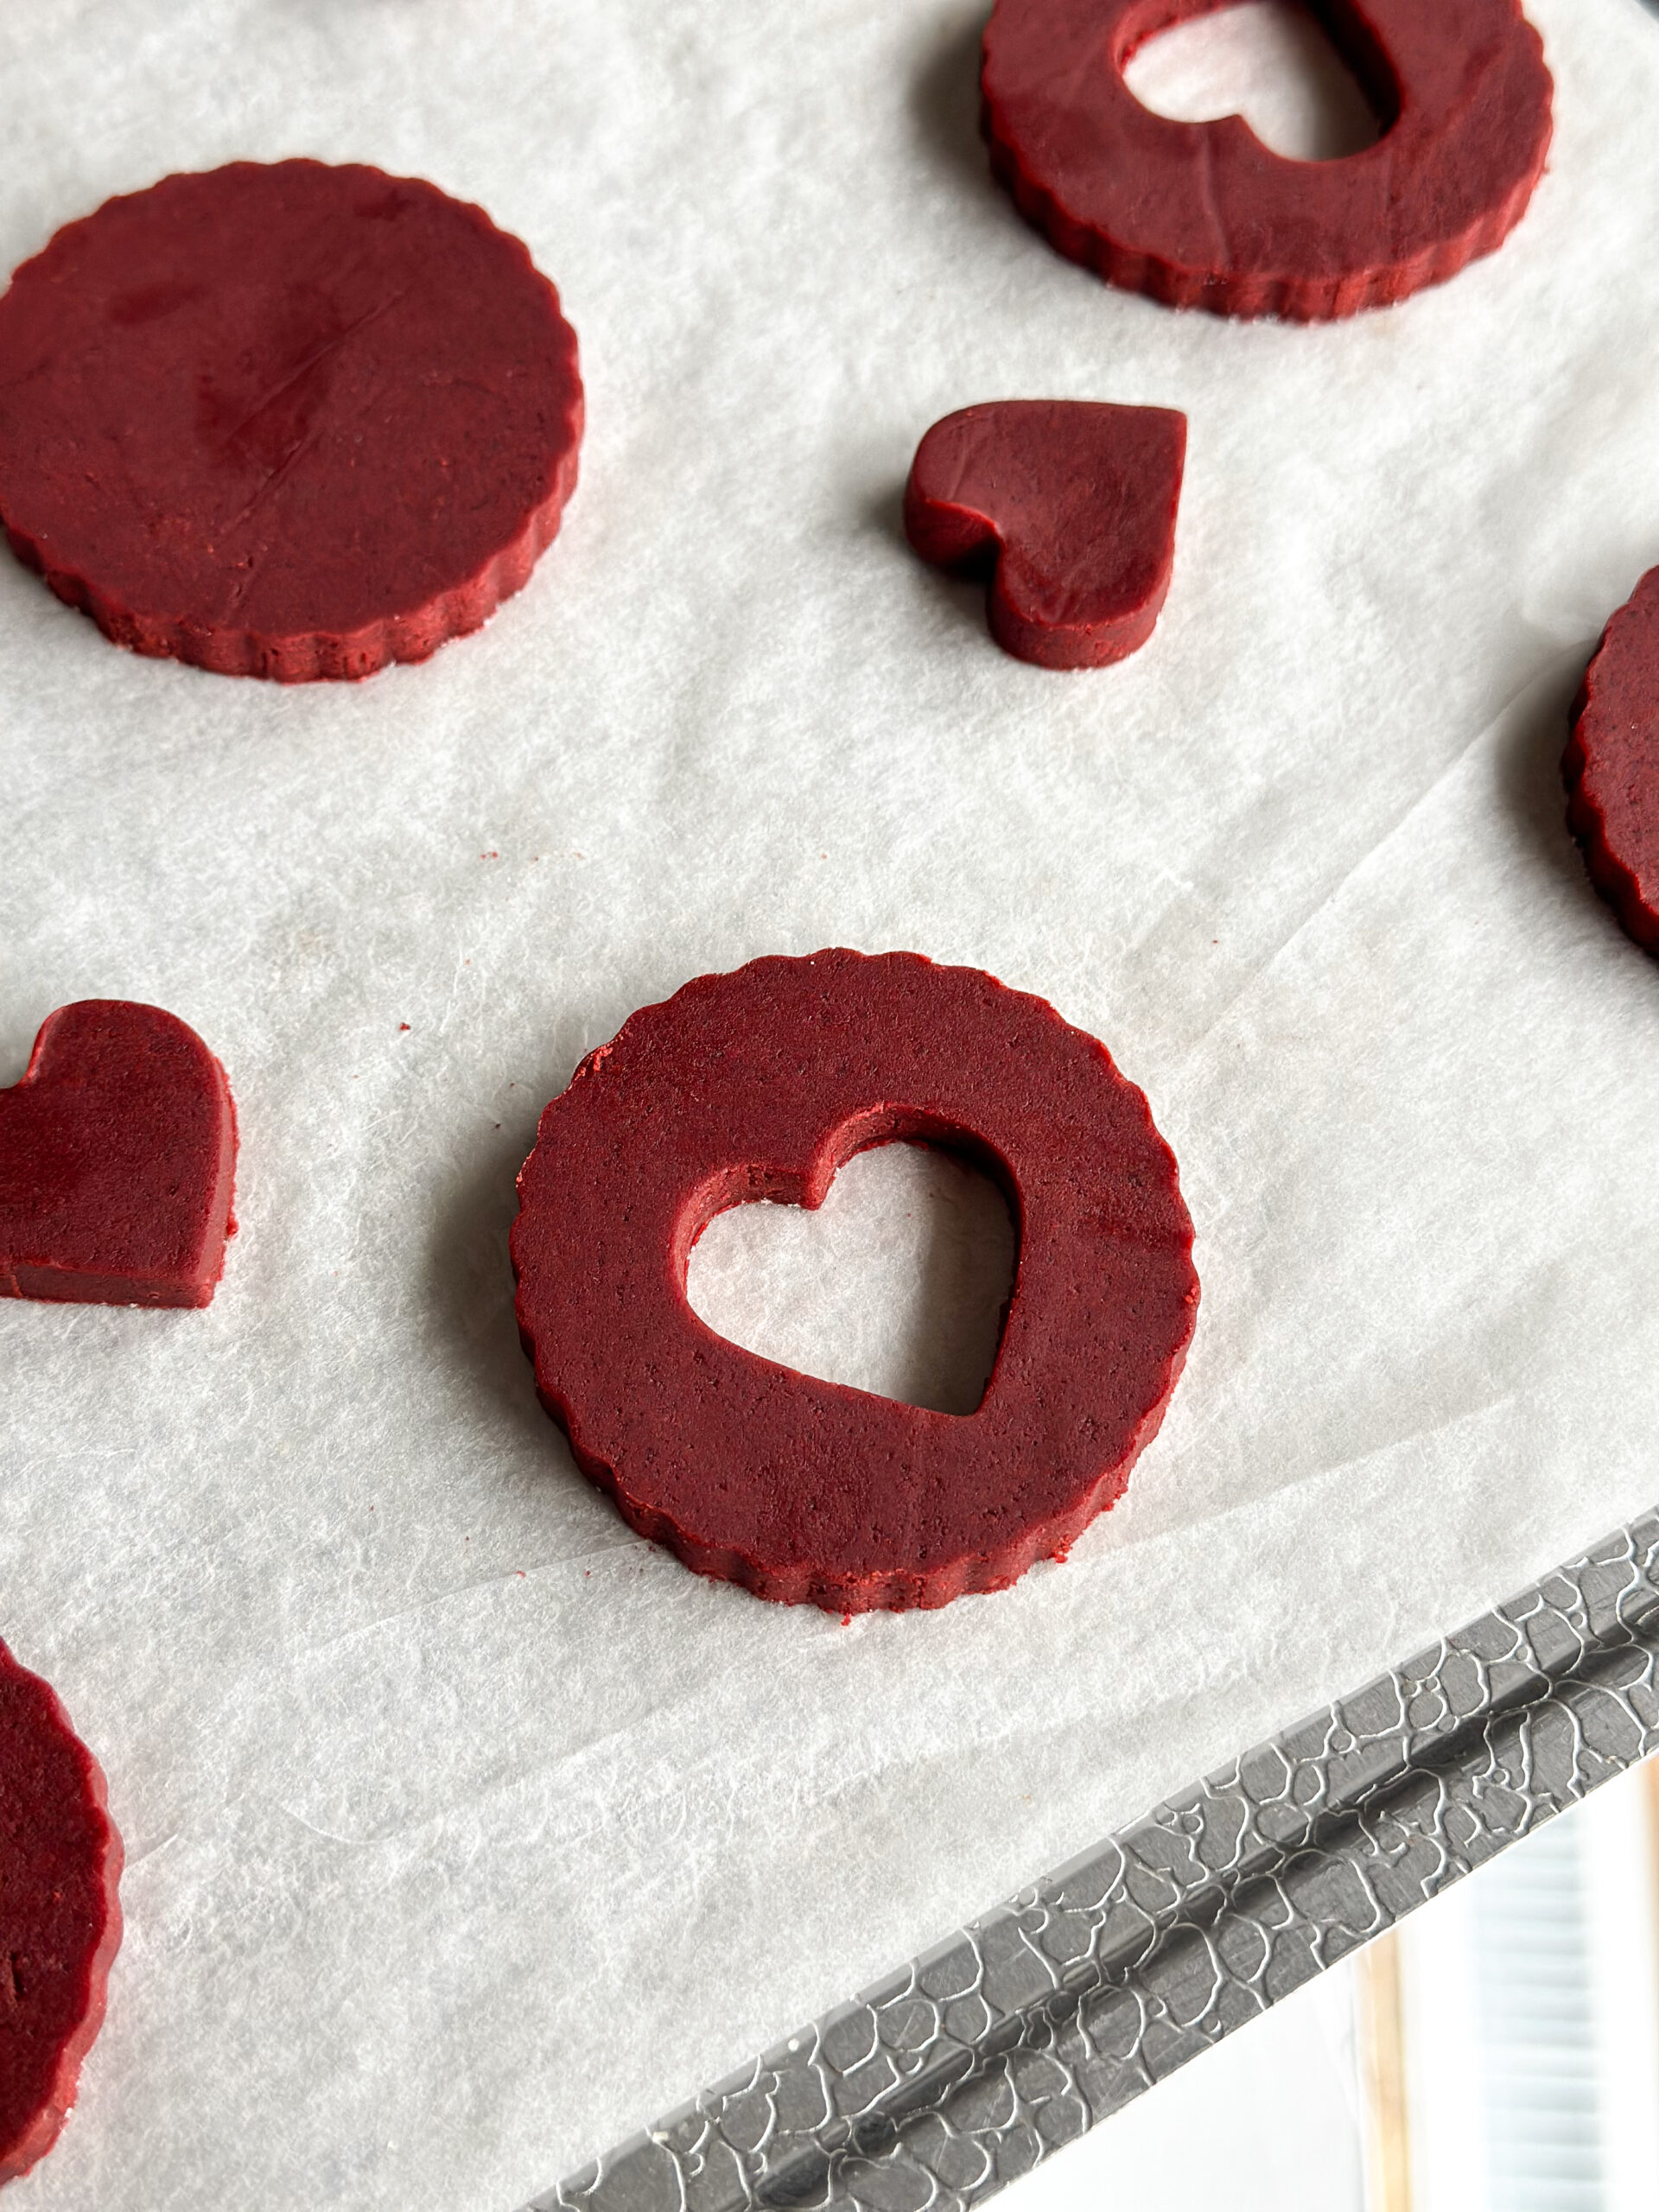
Dip cutters in flour and cut shapes in the dough, placing them on a parchment lined baking sheet. Freeze the cut shapes for 5-10 minutes before baking to help prevent spread, if desired.
Bake for 6-8 minutes for smaller shapes and 8-10 minutes for larger shapes or until the center is no longer shiny.
Cool on the sheet pan for about 5 minutes before transferring them to a wire rack to cool completely. Store in an airtight container.
Notes
- This recipe is written using weight measurements rather than volume because it is a significantly more accurate (and easier!) way to measure. Trust me! Get a scale, and you’ll be happy.
- If you can, do not substitute the Diamond Crystal kosher salt with regular table salt. If you only have table salt, reduce the amount by half. I do recommend grabbing a big box of Diamond Crystal, because it will last forever.
- If you find the dough spreads too much for you, add up to 30g (¼ cup) additional flour to help reduce the spread. It shouldn’t be an issue in this recipe, though.
- For this cookie, I like to use natural cocoa because the flavor is lighter and more similar to red velvet, and the color makes a more red cookie than Dutch cocoa does.
- I like to roll my dough to ¼″ because it is the perfect balance between thick and thin. If you’re a cookier and like to decorate royal icing cookies on a really thickly rolled cookie, like 5/16″ or ⅜″, they will likely need longer time to bake. You will also have a smaller yield.
- These cookies are perfect for decorating with royal icing.