Homemade marshmallows are much better than store-bought and so easy to make. You will not see marshmallows the same way after trying these.
why you’ll love homemade marshmallows
- Homemade marshmallows are MUCH tastier than store-bought marshmallows. They are fluffy and full of vanilla flavor.
- They are very simple to make and come together quickly.
- There are infinite ways to flavor homemade marshmallows, so you can always have a different marshmallow!

ingredients in homemade marshmallows
- gelatin– I use powdered gelatin. The most common form is this little packet, but you can also buy large containers of gelatin.
- water– to dissolve the gelatin and to make the sugar syrup
- granulated sugar– to make the sugar syrup
- corn syrup– to make the sugar syrup (it helps prevent crystallization and is NOT the same as high fructose corn syrup, as corn syrup sold in the store is pure glucose)
- salt– I use Diamond Crystal kosher salt (it’s the best), but if you don’t have that, use half the amount of regular table salt.
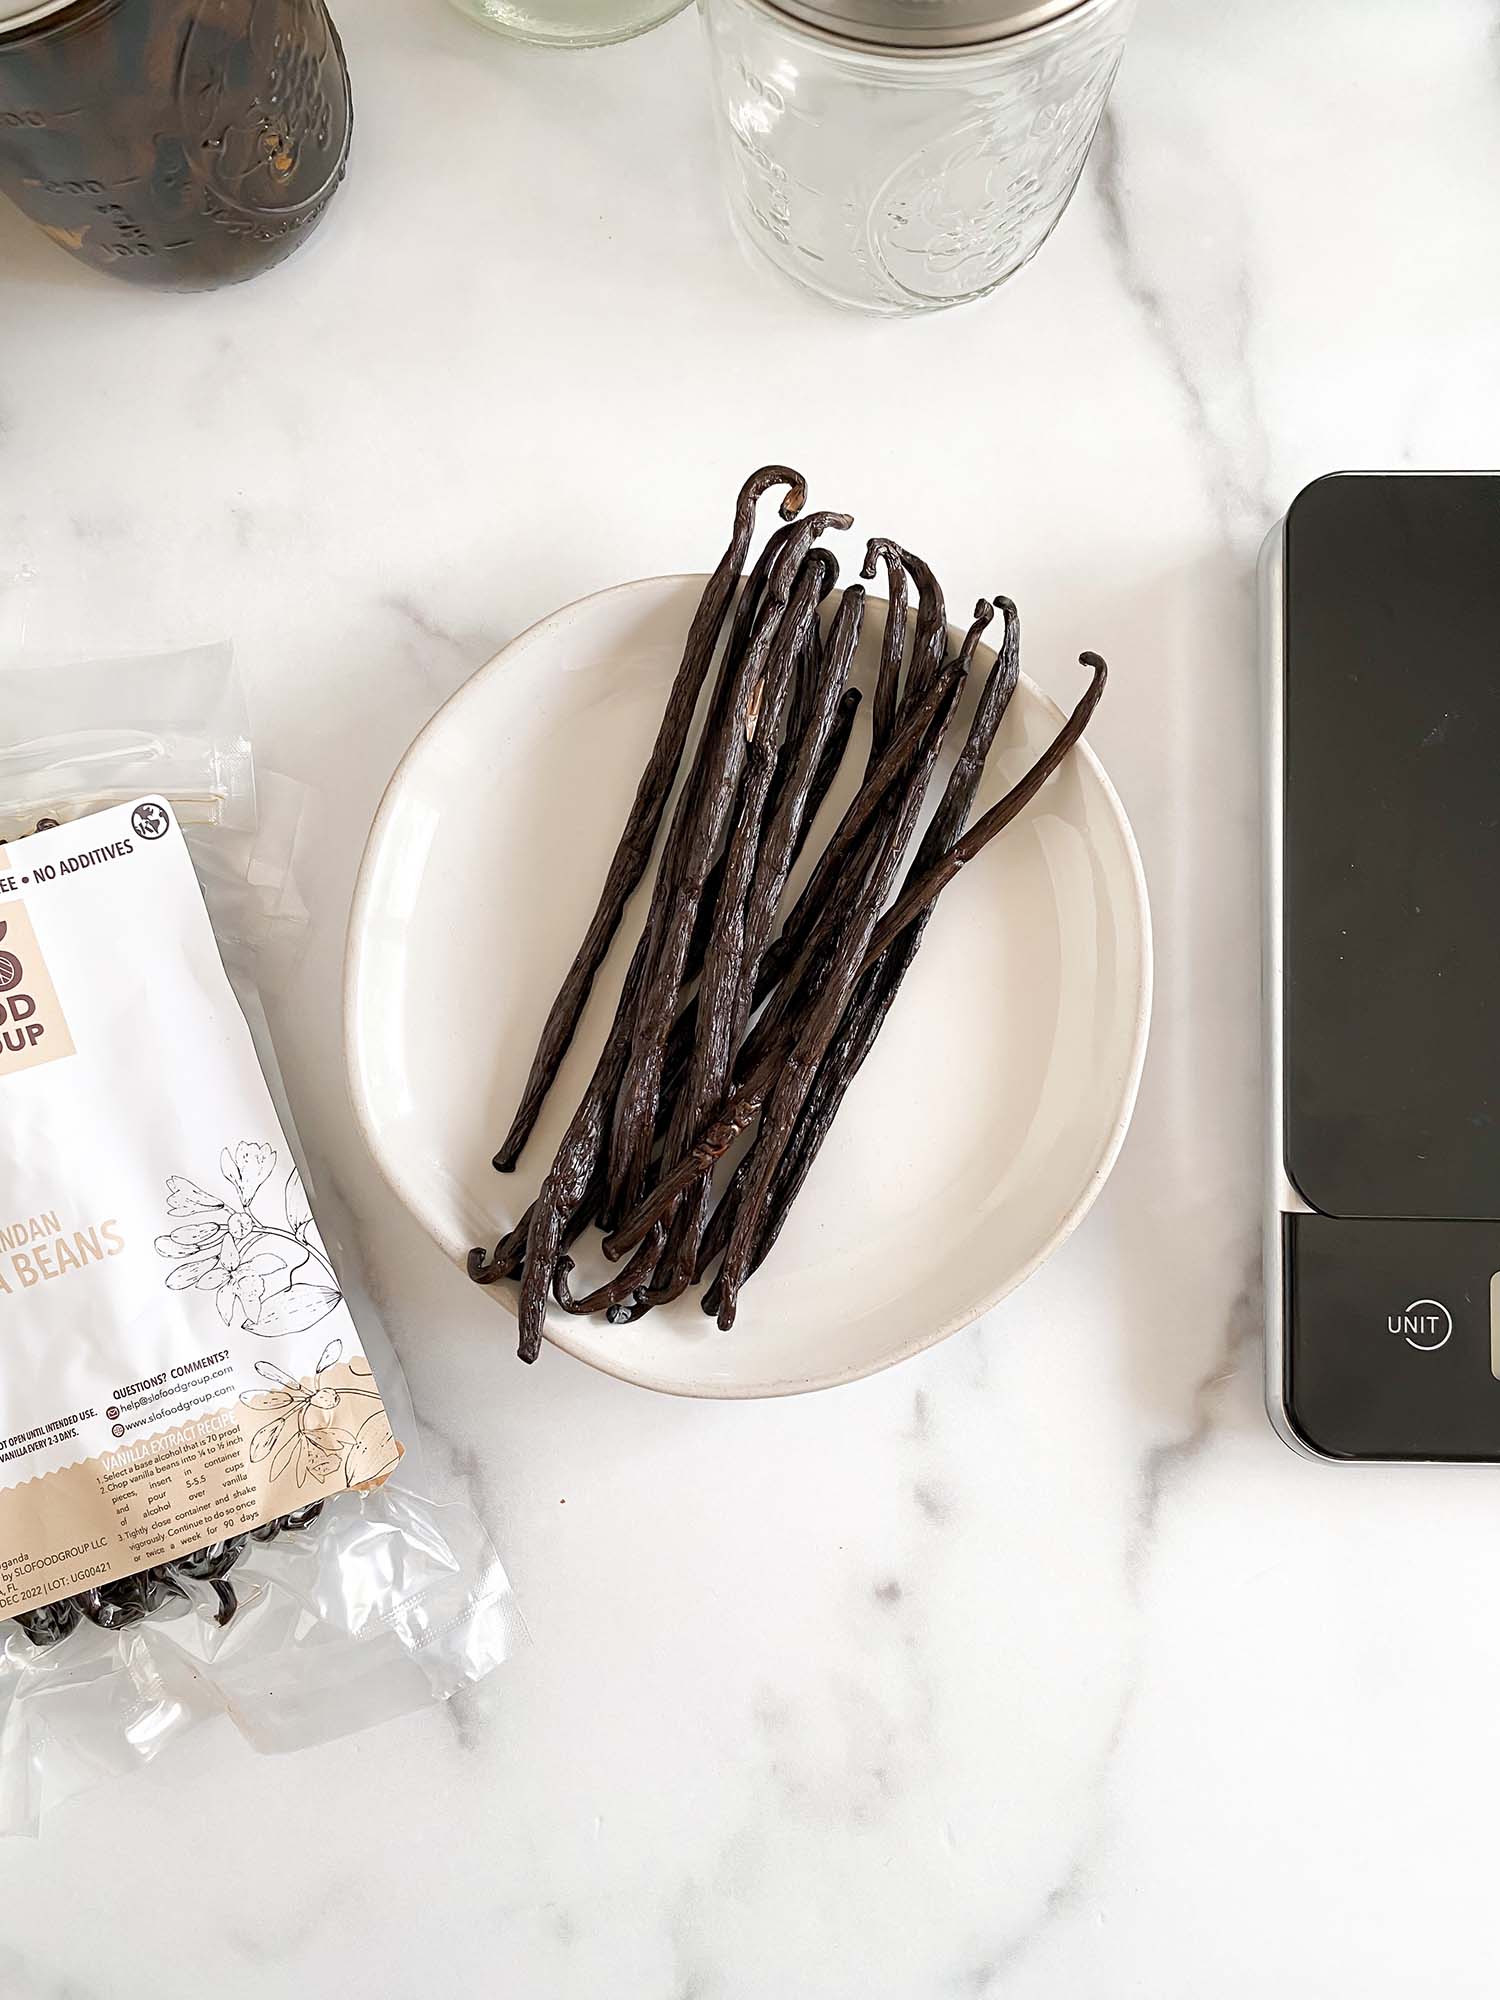
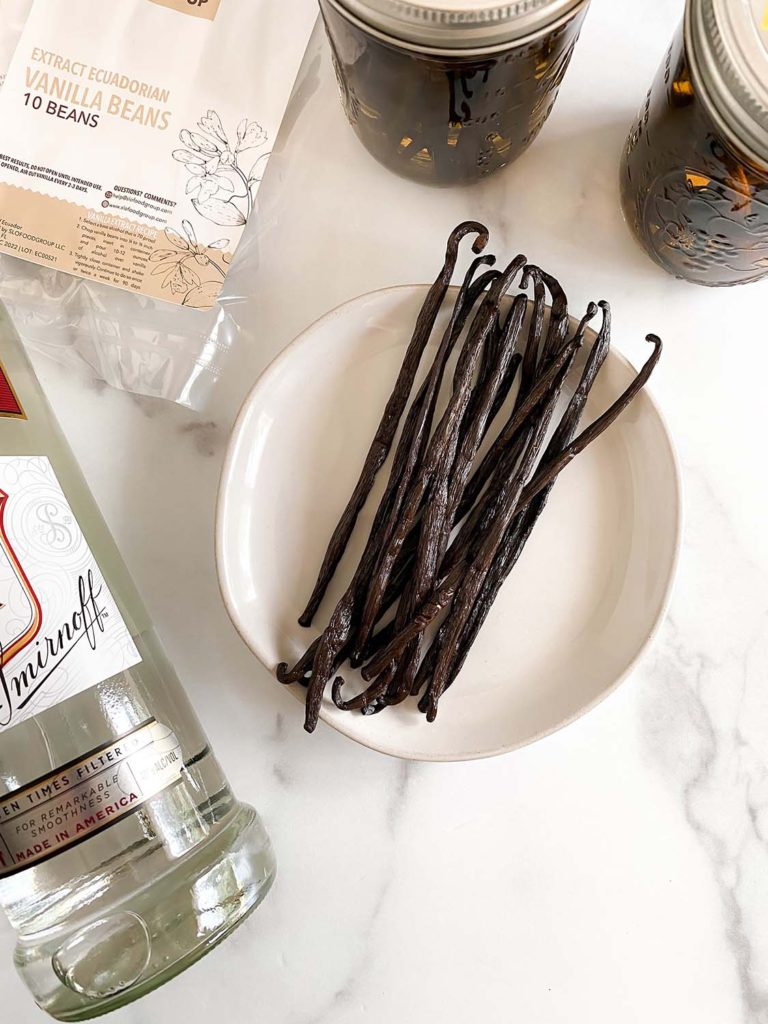
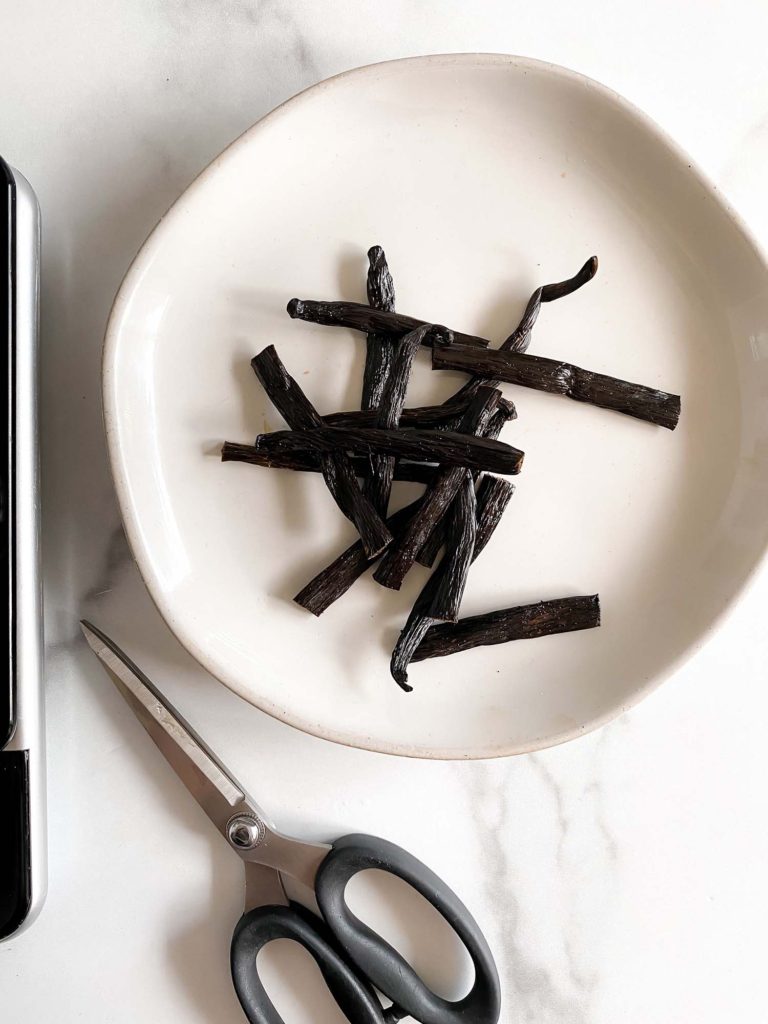
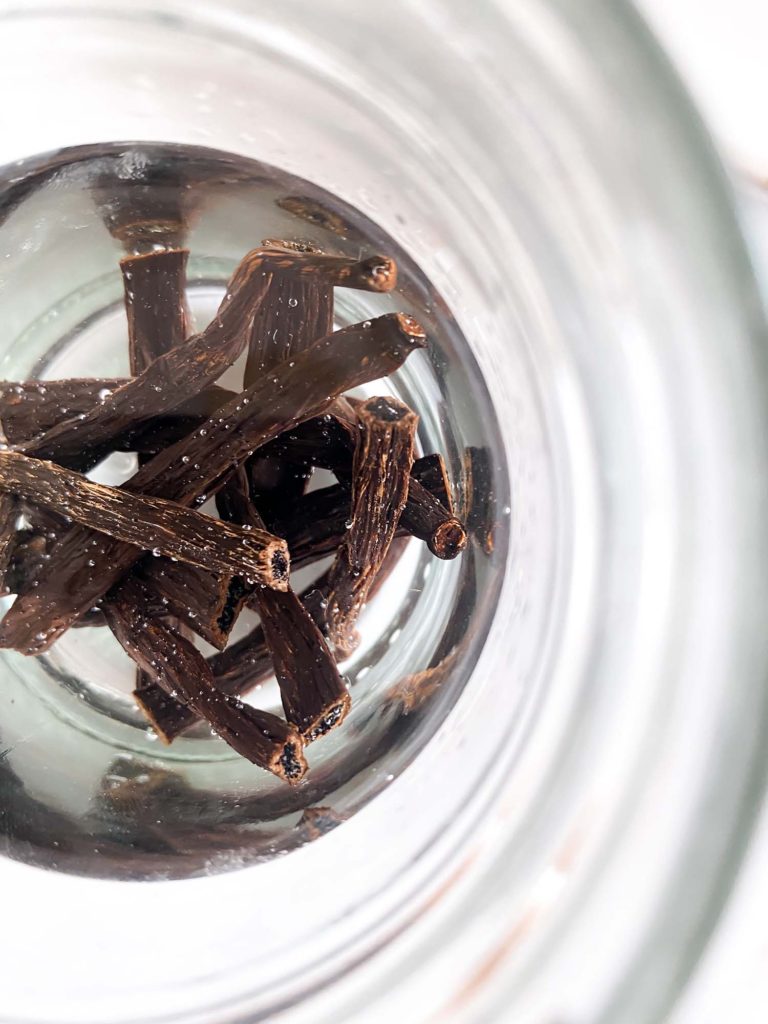
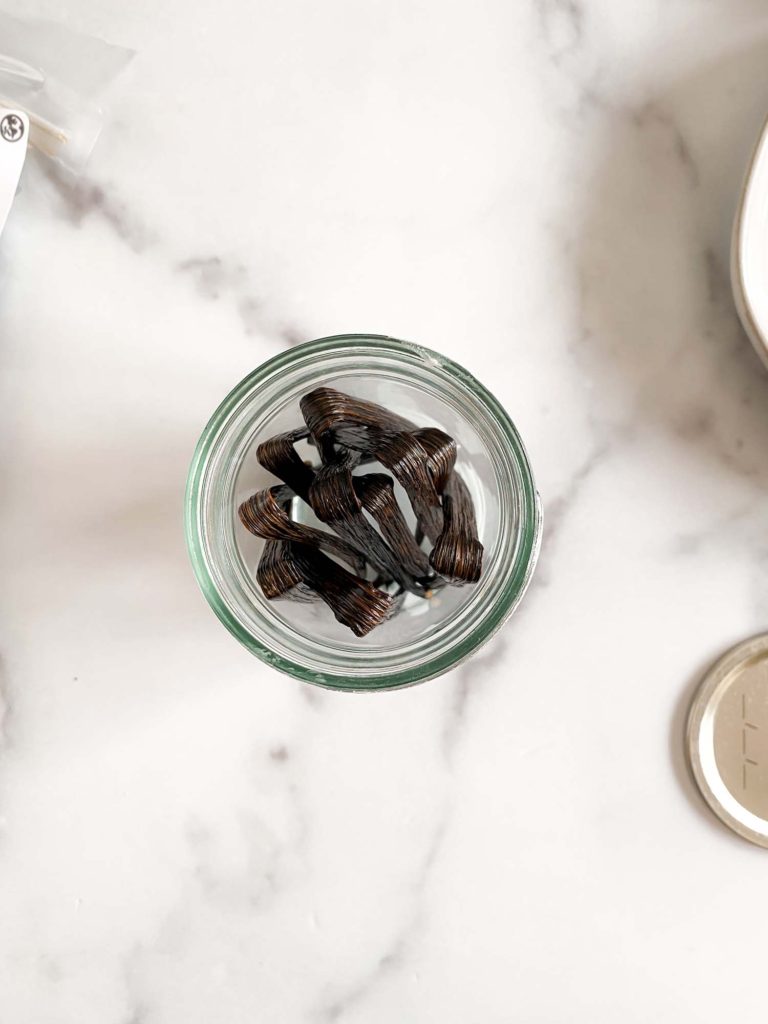
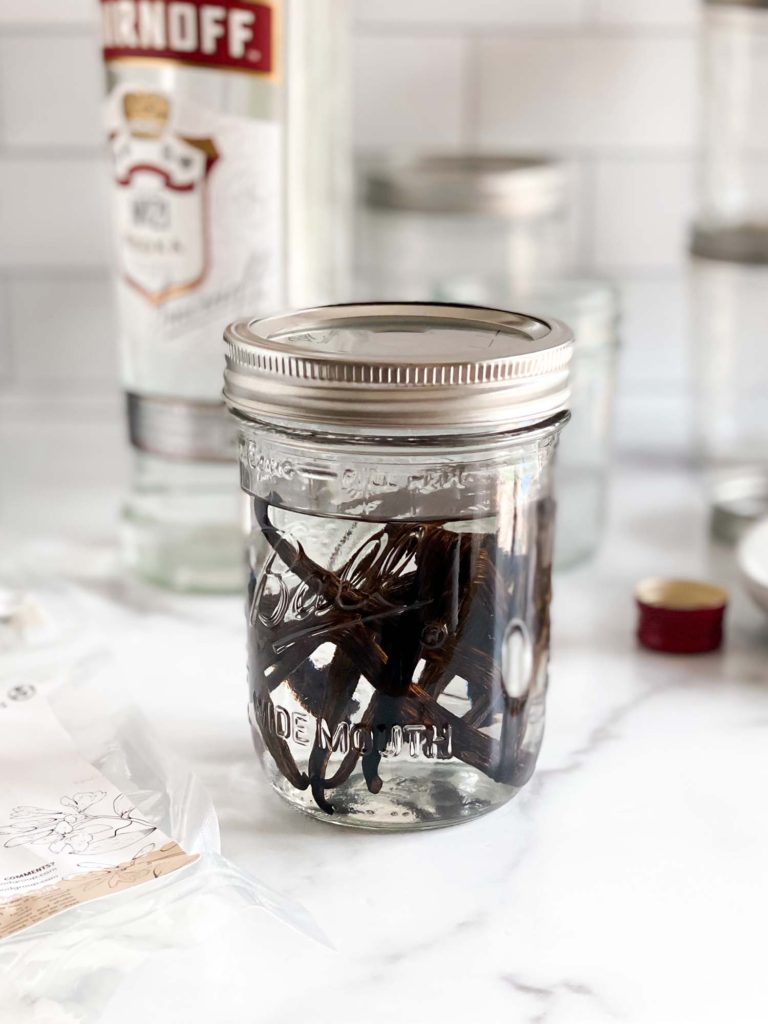
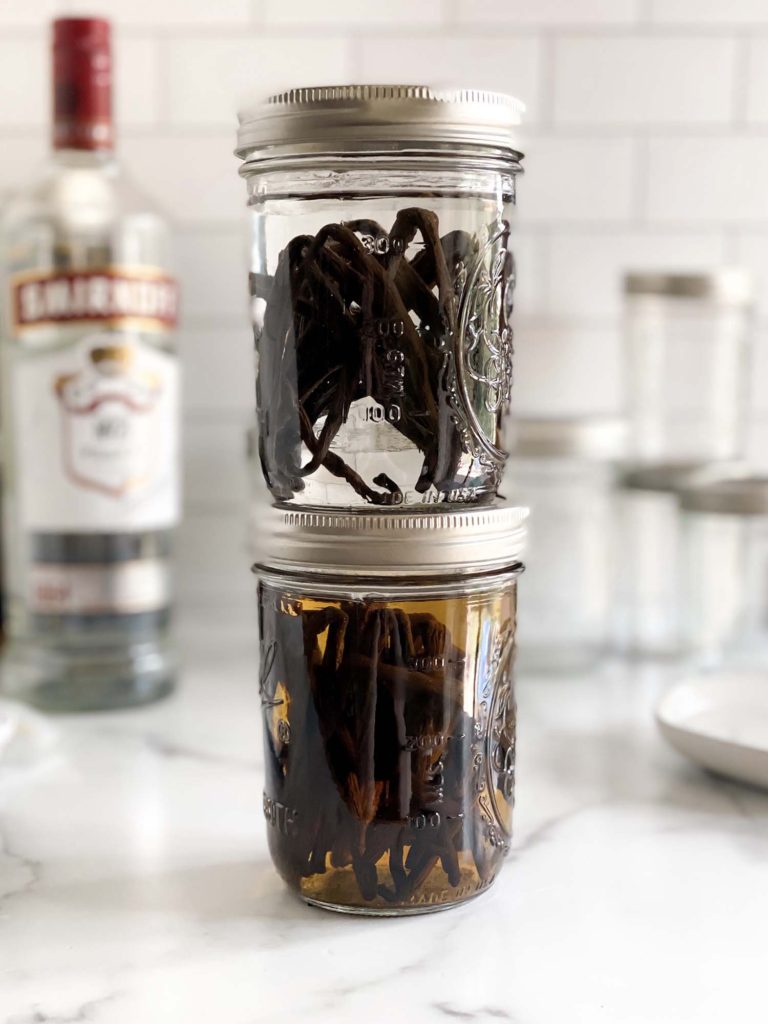
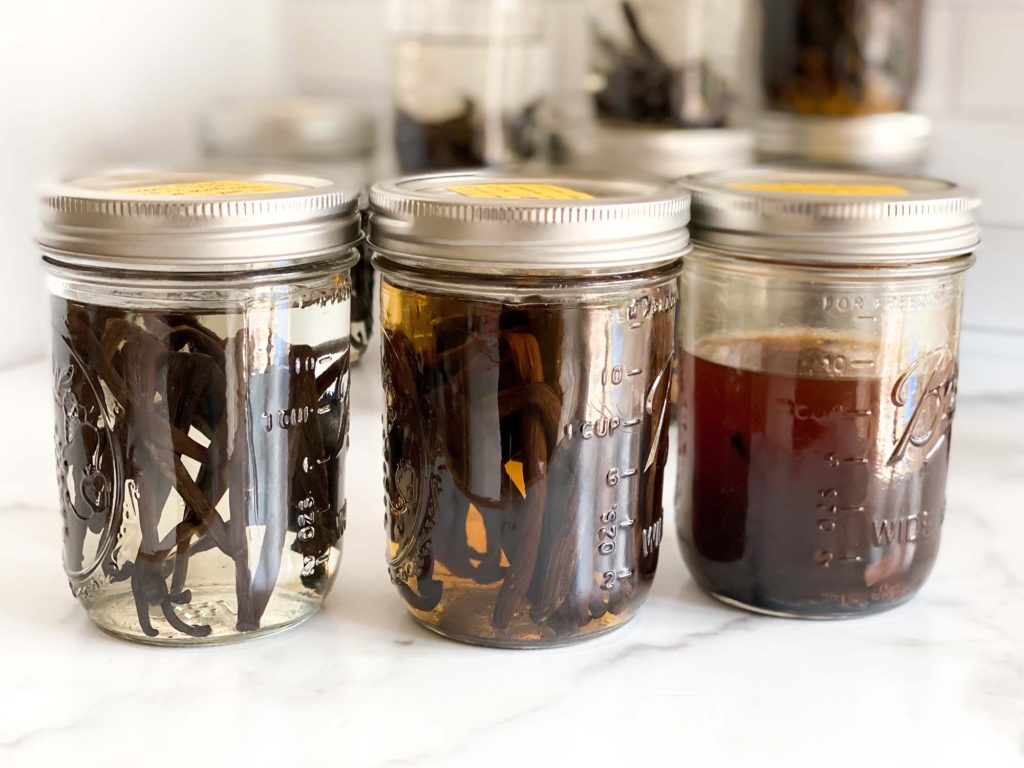
- vanilla bean paste– for flavor; you could alternatively use vanilla extract or any extract you’d prefer
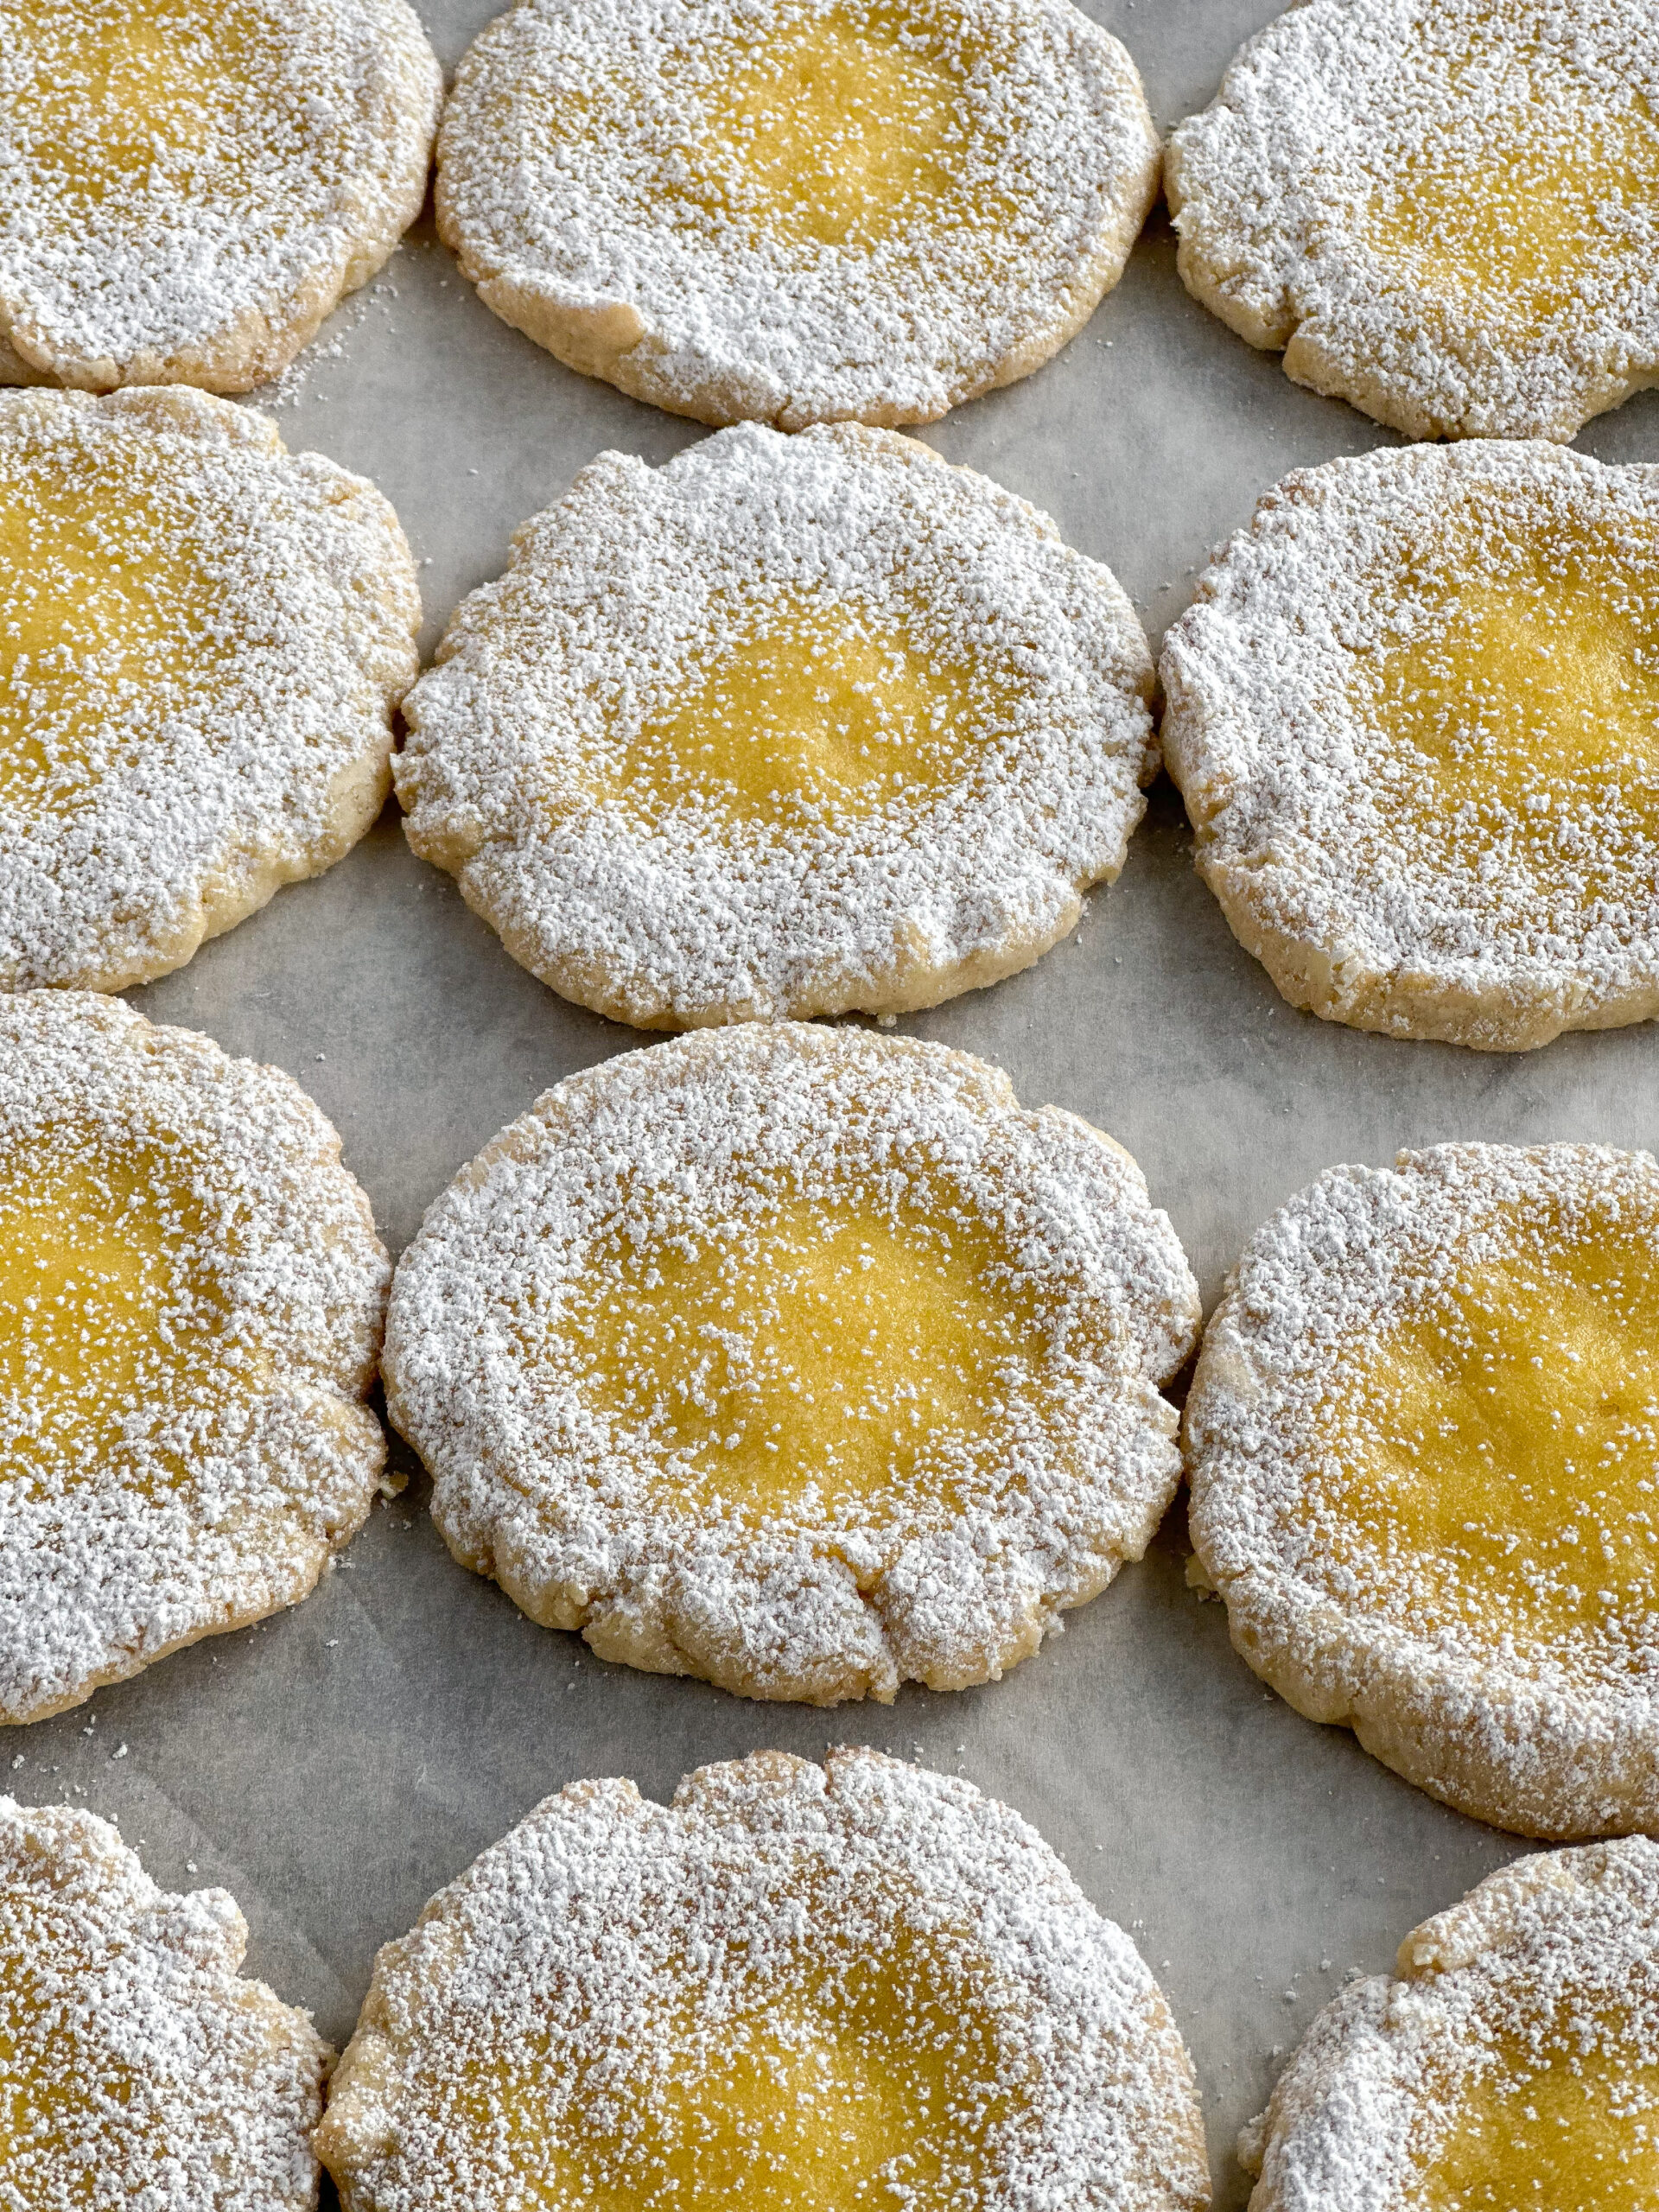
- powdered sugar– to dust the marshmallows when they’re done so they don’t stick to each other
- cornstarch– to dust the marshmallows when they’re done so they don’t stick to each other
supplies needed to make homemade marshmallows
- 8″x8″ or 9″x9″ square pan– using a smaller pan will yield fewer, larger marshmallows, while the larger pan will yield more, smaller marshmallows
- parchment paper– to line the pan and make the marshmallows much easier to remove
- stand mixer– a stand mixer will make this much easier, but I suppose you could use a hand mixer
- instant read thermometer or candy thermometer– you will need to know the temperature of the sugar syrup
- saucepan– to cook the sugar syrup
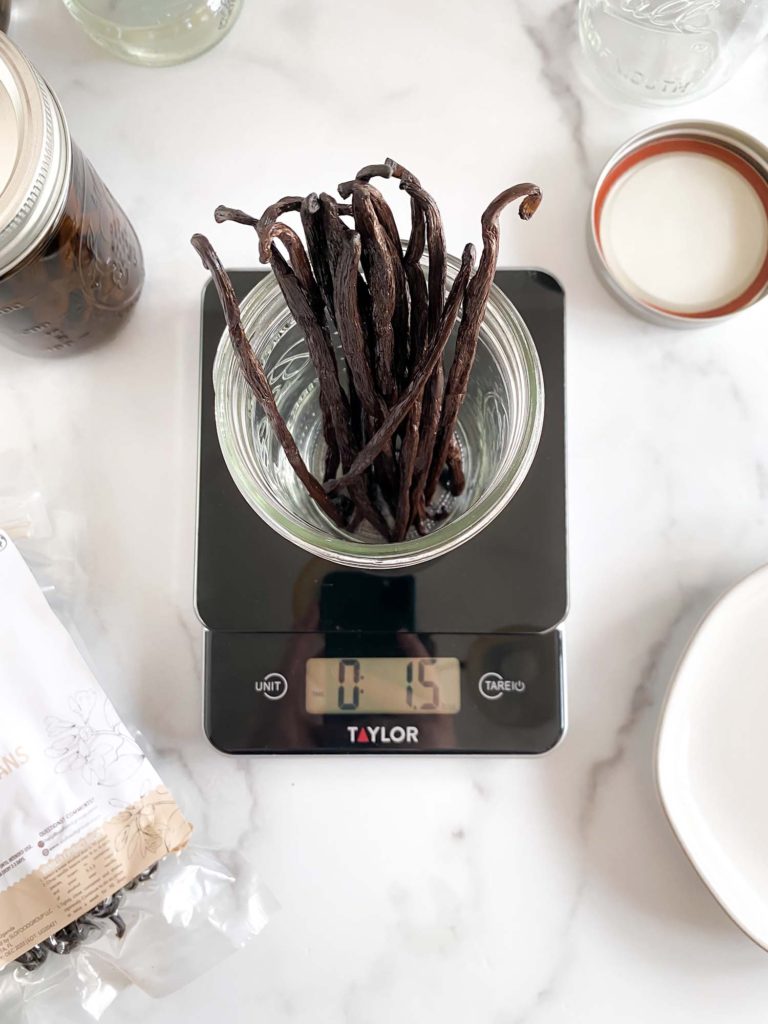
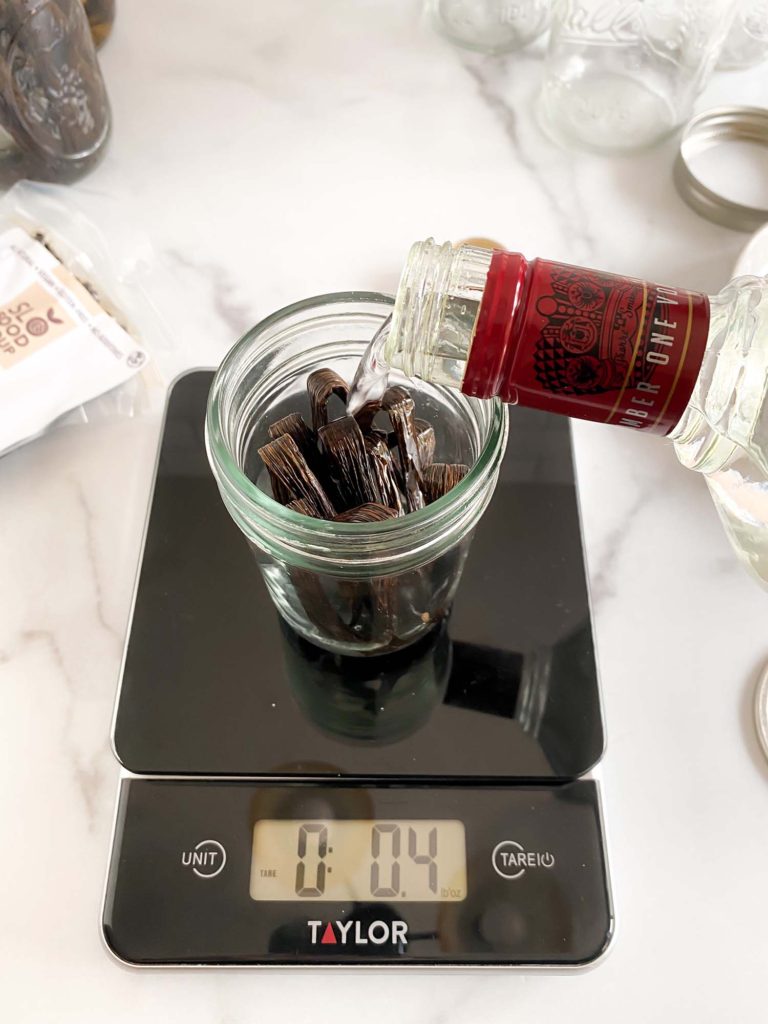
- scale– to weigh the ingredients
It’s getting to be s’mores season, so keep this recipe on hand so you can make the best homemade marshmallows for your bonfires. These are also incredible in hot cocoa. (I would know. Last December, I had cocoa with my peppermint marshmallows nearly every day. I was nine months pregnant at the time, but still. So delicious.)
how to make homemade marshmallows
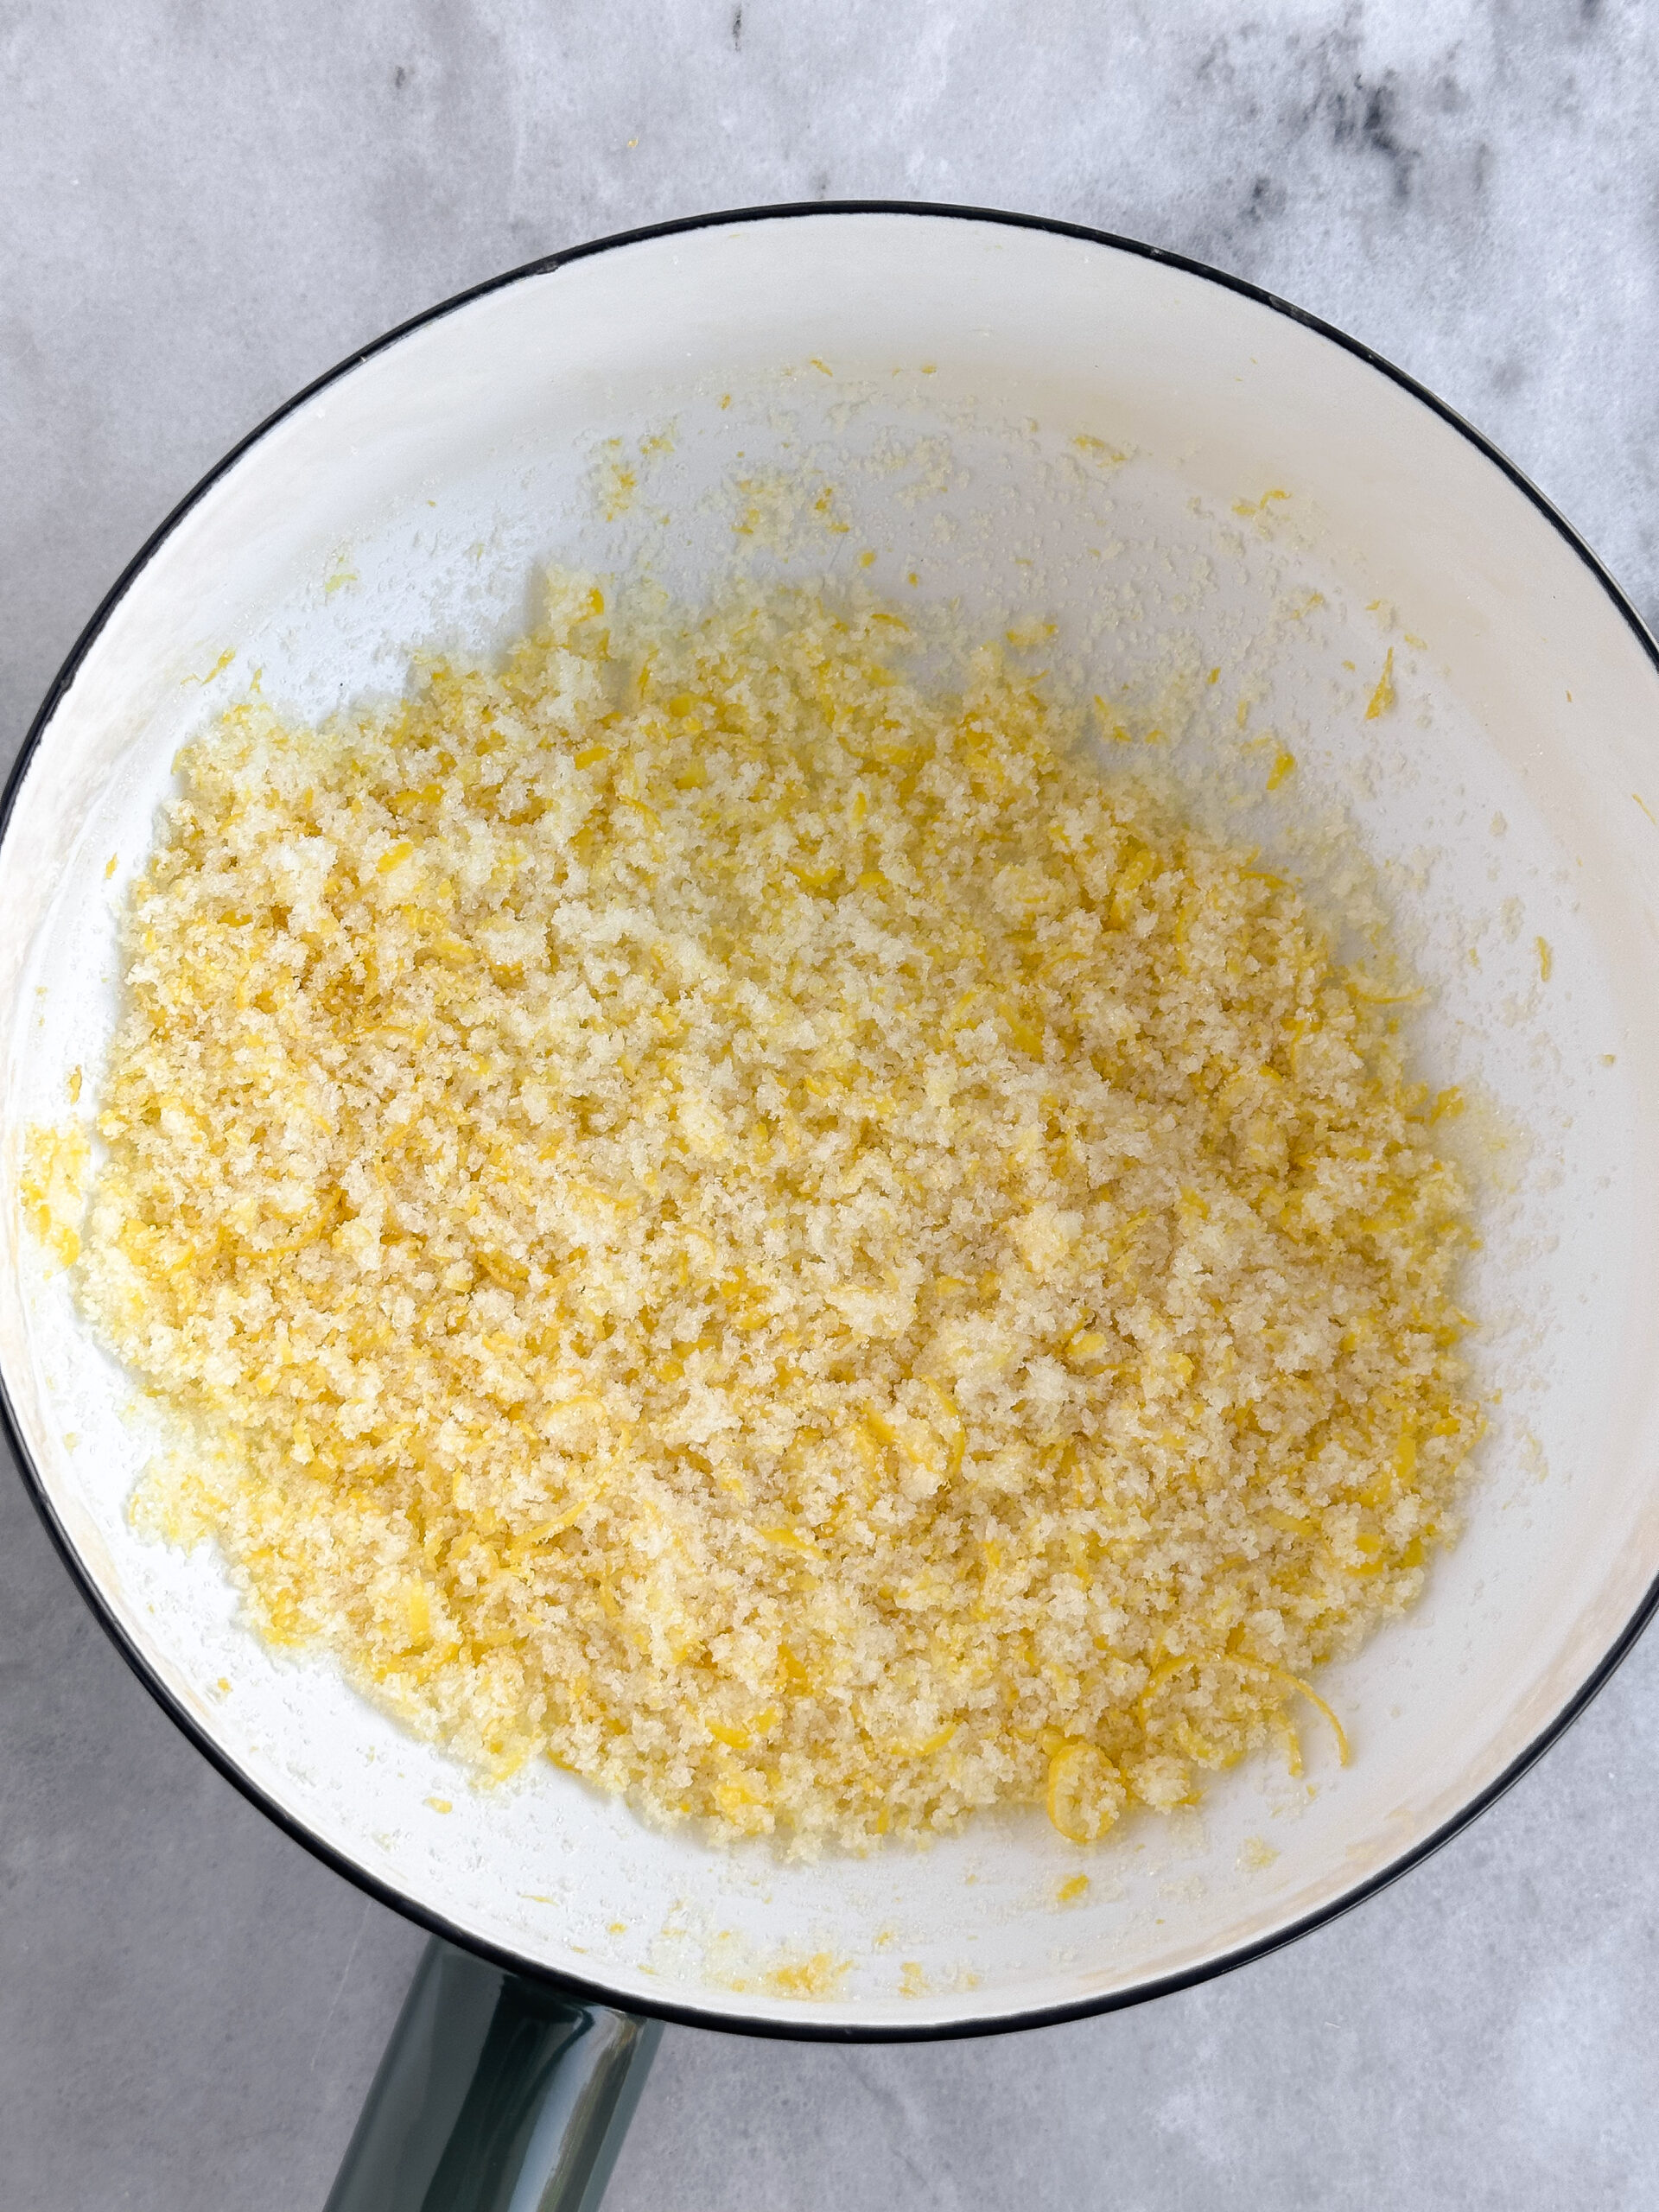
Prepare your pan by lightly greasing it with some butter or oil. Make a parchment paper sling by placing two pieces of parchment over each other in opposite directions with some overhang (my parchment was too short for an overhang). Parchment paper will make it much easier to remove the marshmallows from the pan. Sprinkle a layer of “dust” (powered sugar and cornstarch) all over the parchment paper and pan so that there are no exposed areas. Set the pan aside.
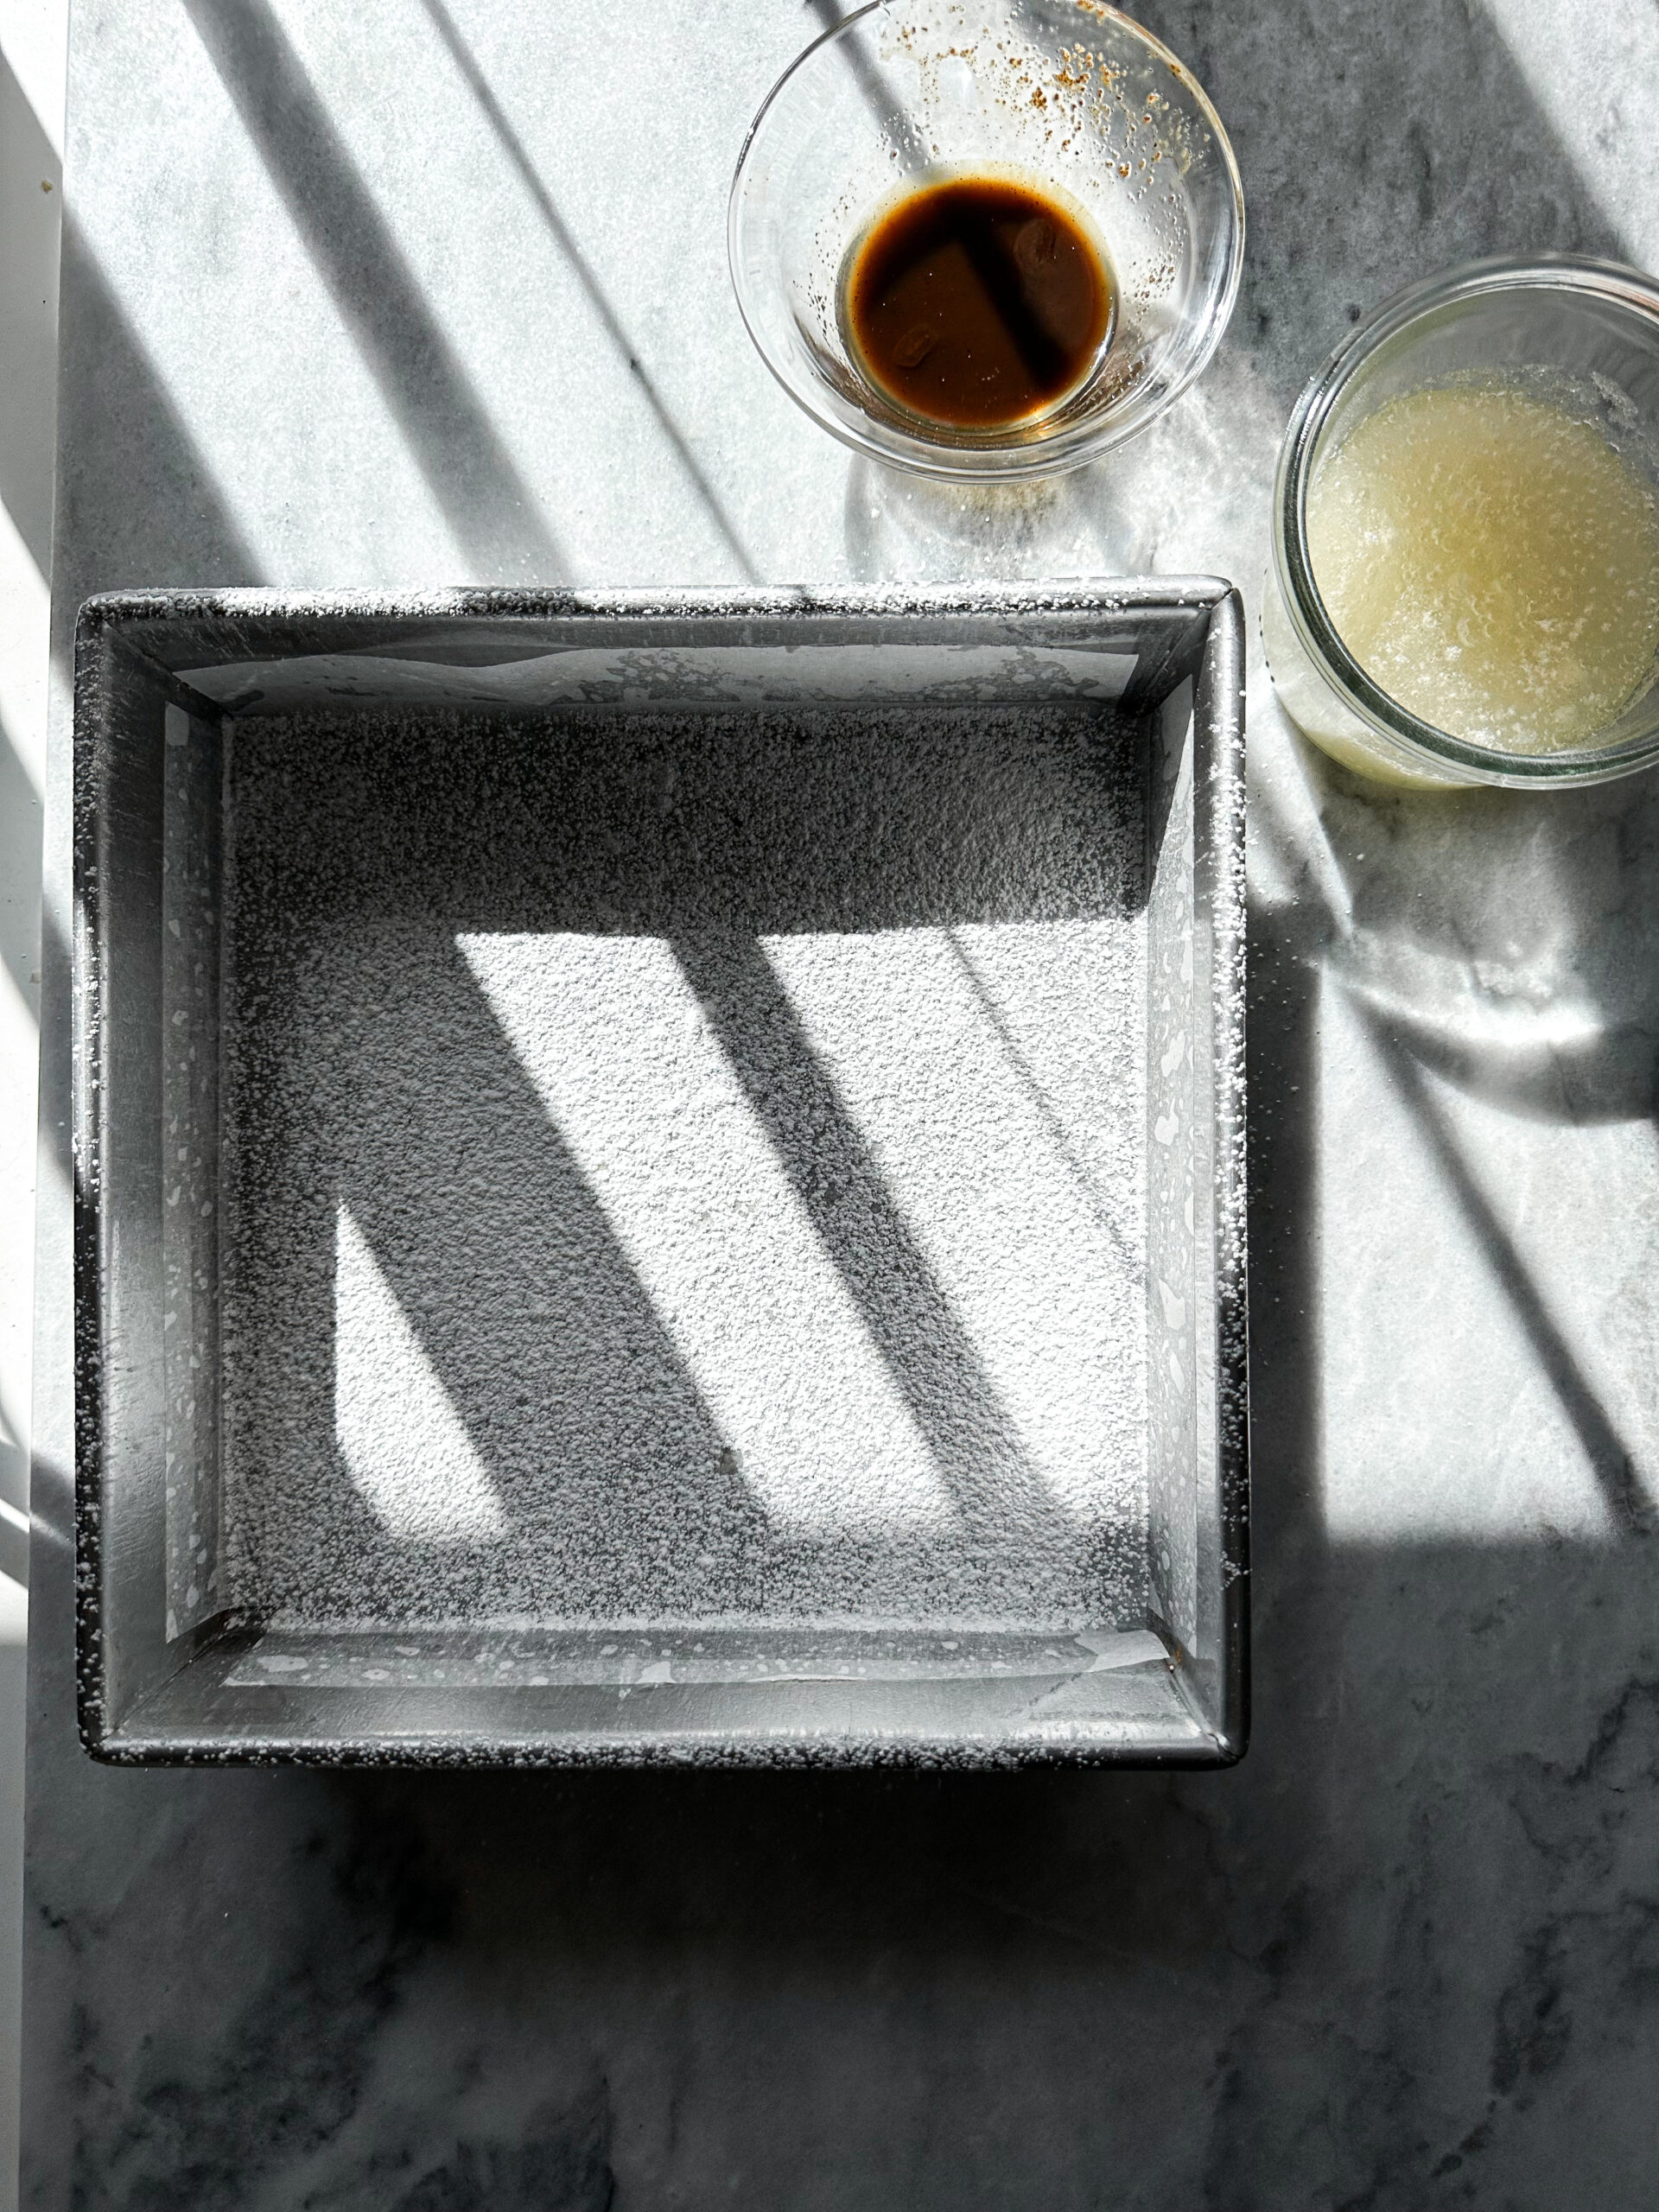
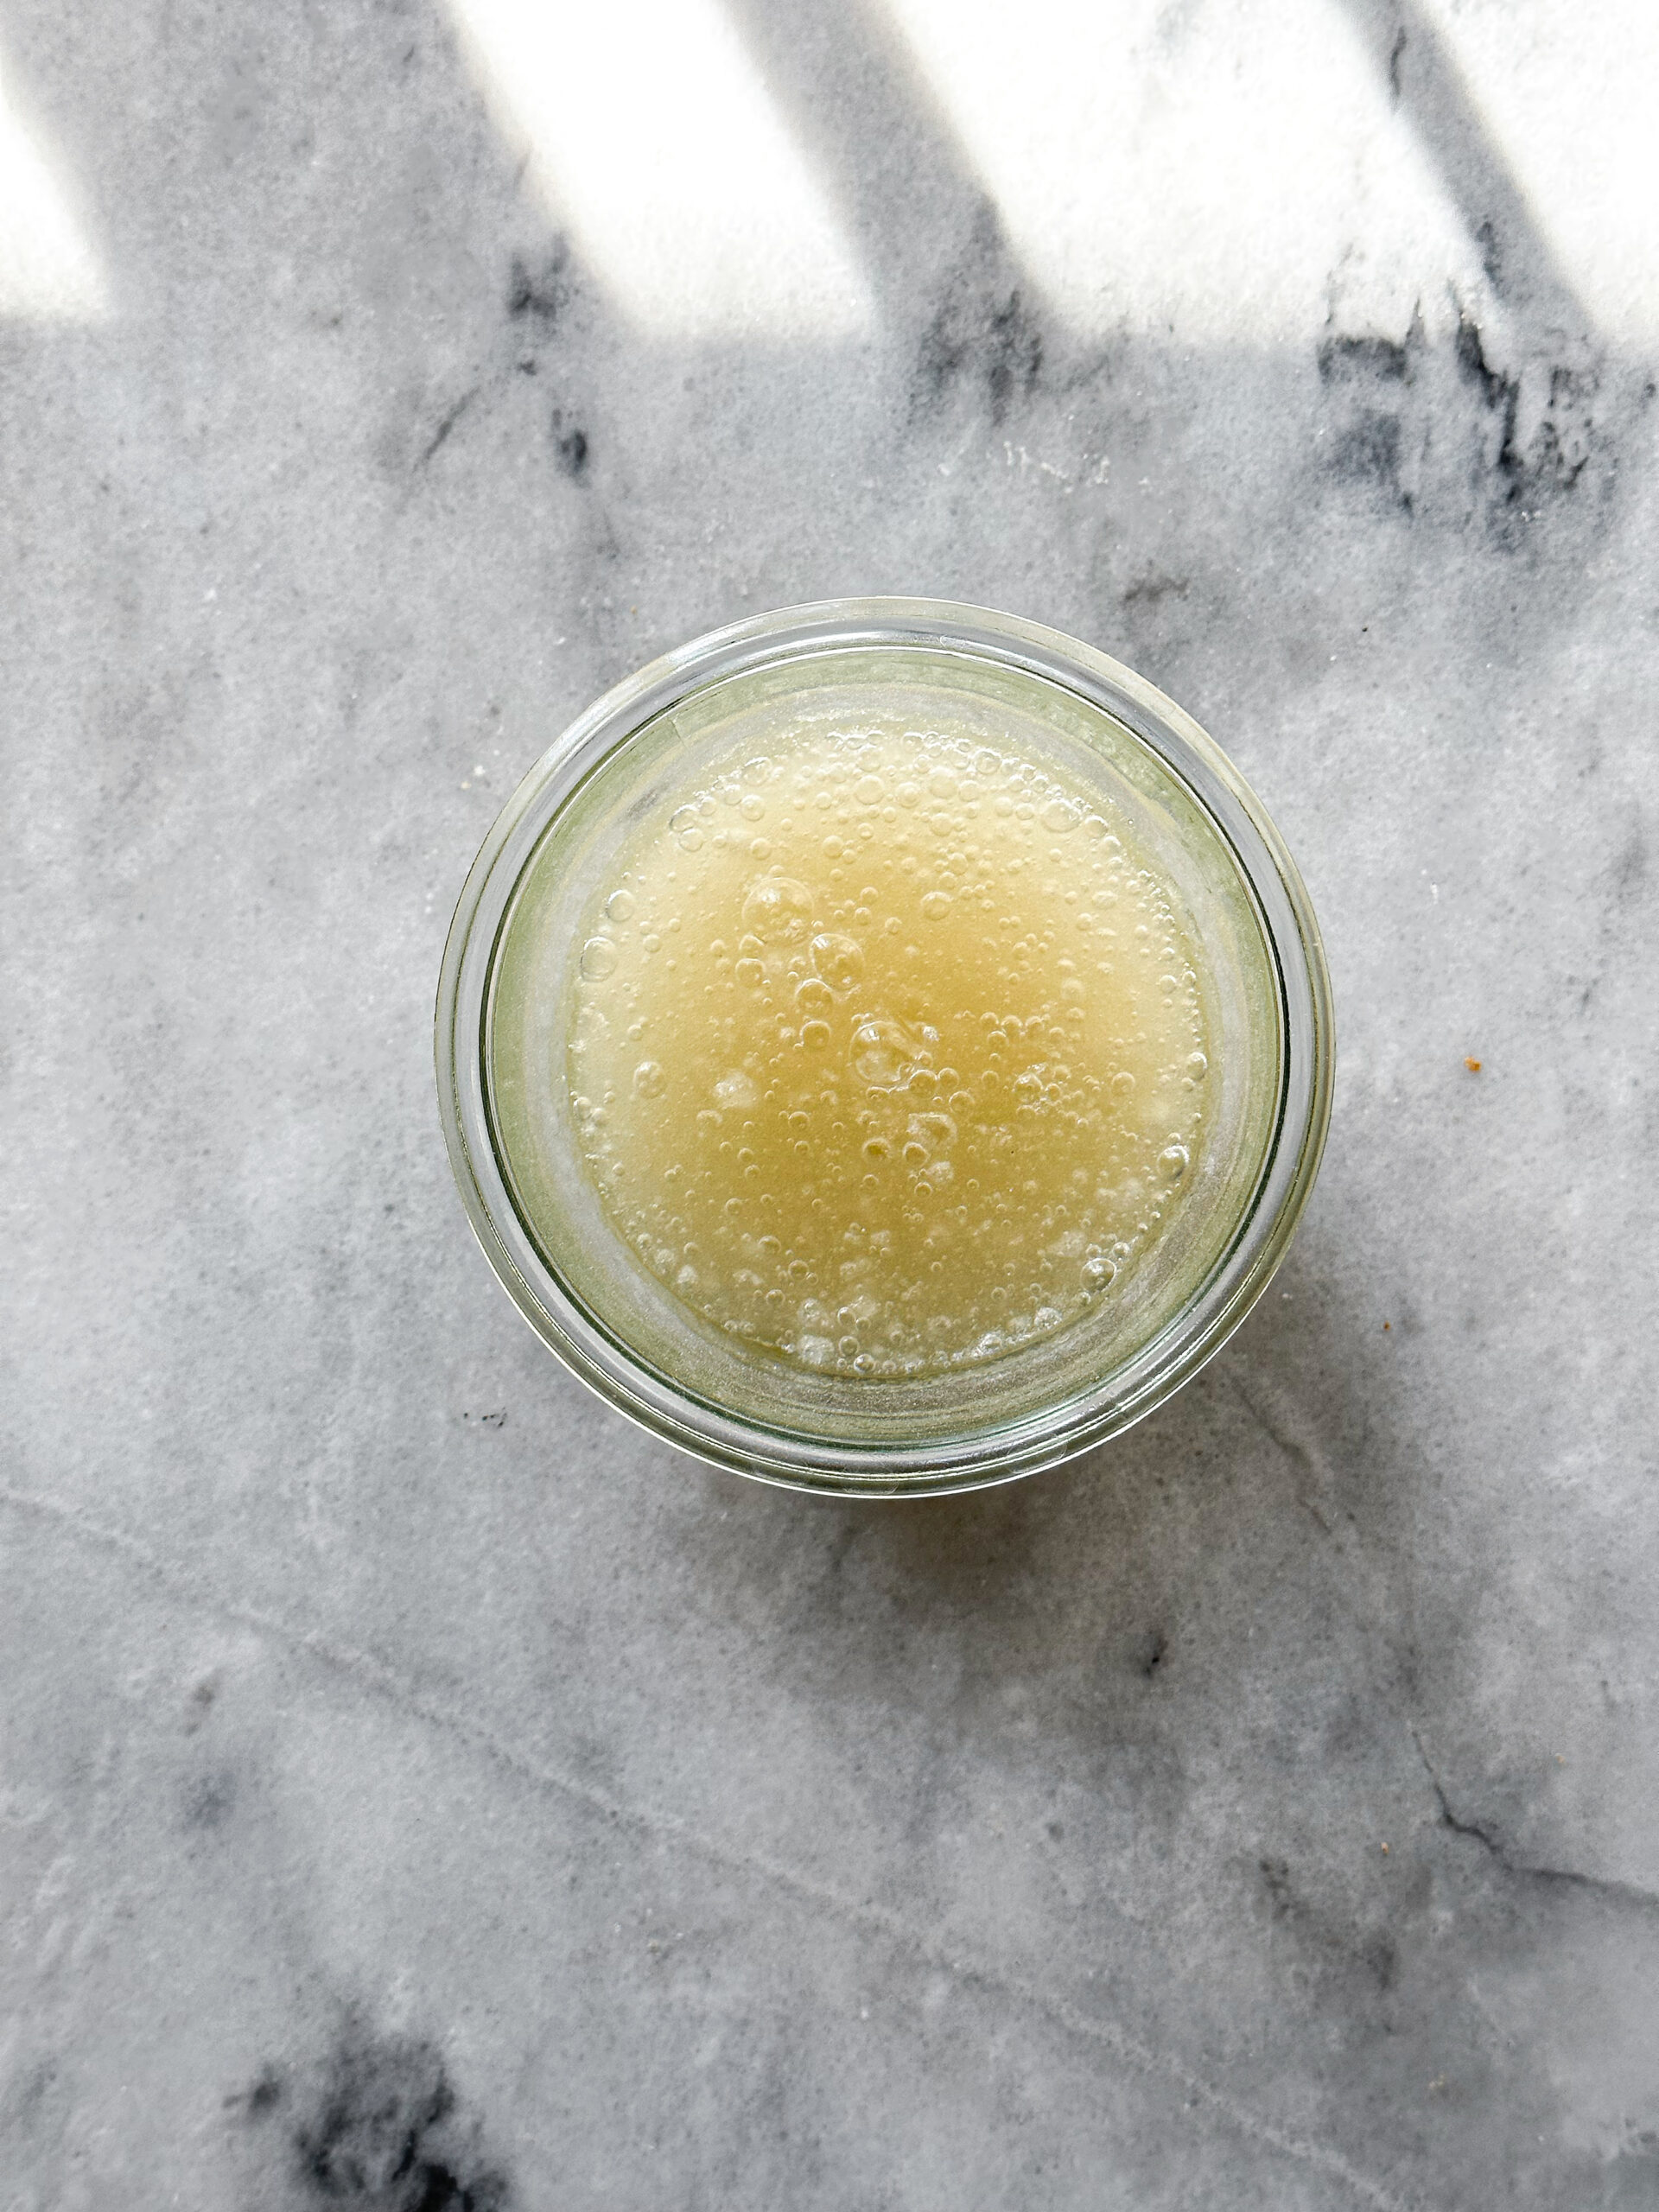
In a small bowl, combine the gelatin powder and ½ cup of cold water. Set aside.
In a medium sized saucepan, combine the granulated sugar, corn syrup, ½ cup of water, and the salt. Bring to the stovetop and stir gently to moisten the sugar entirely. Cook until the temperature reaches 238 F to 240 F, without stirring.
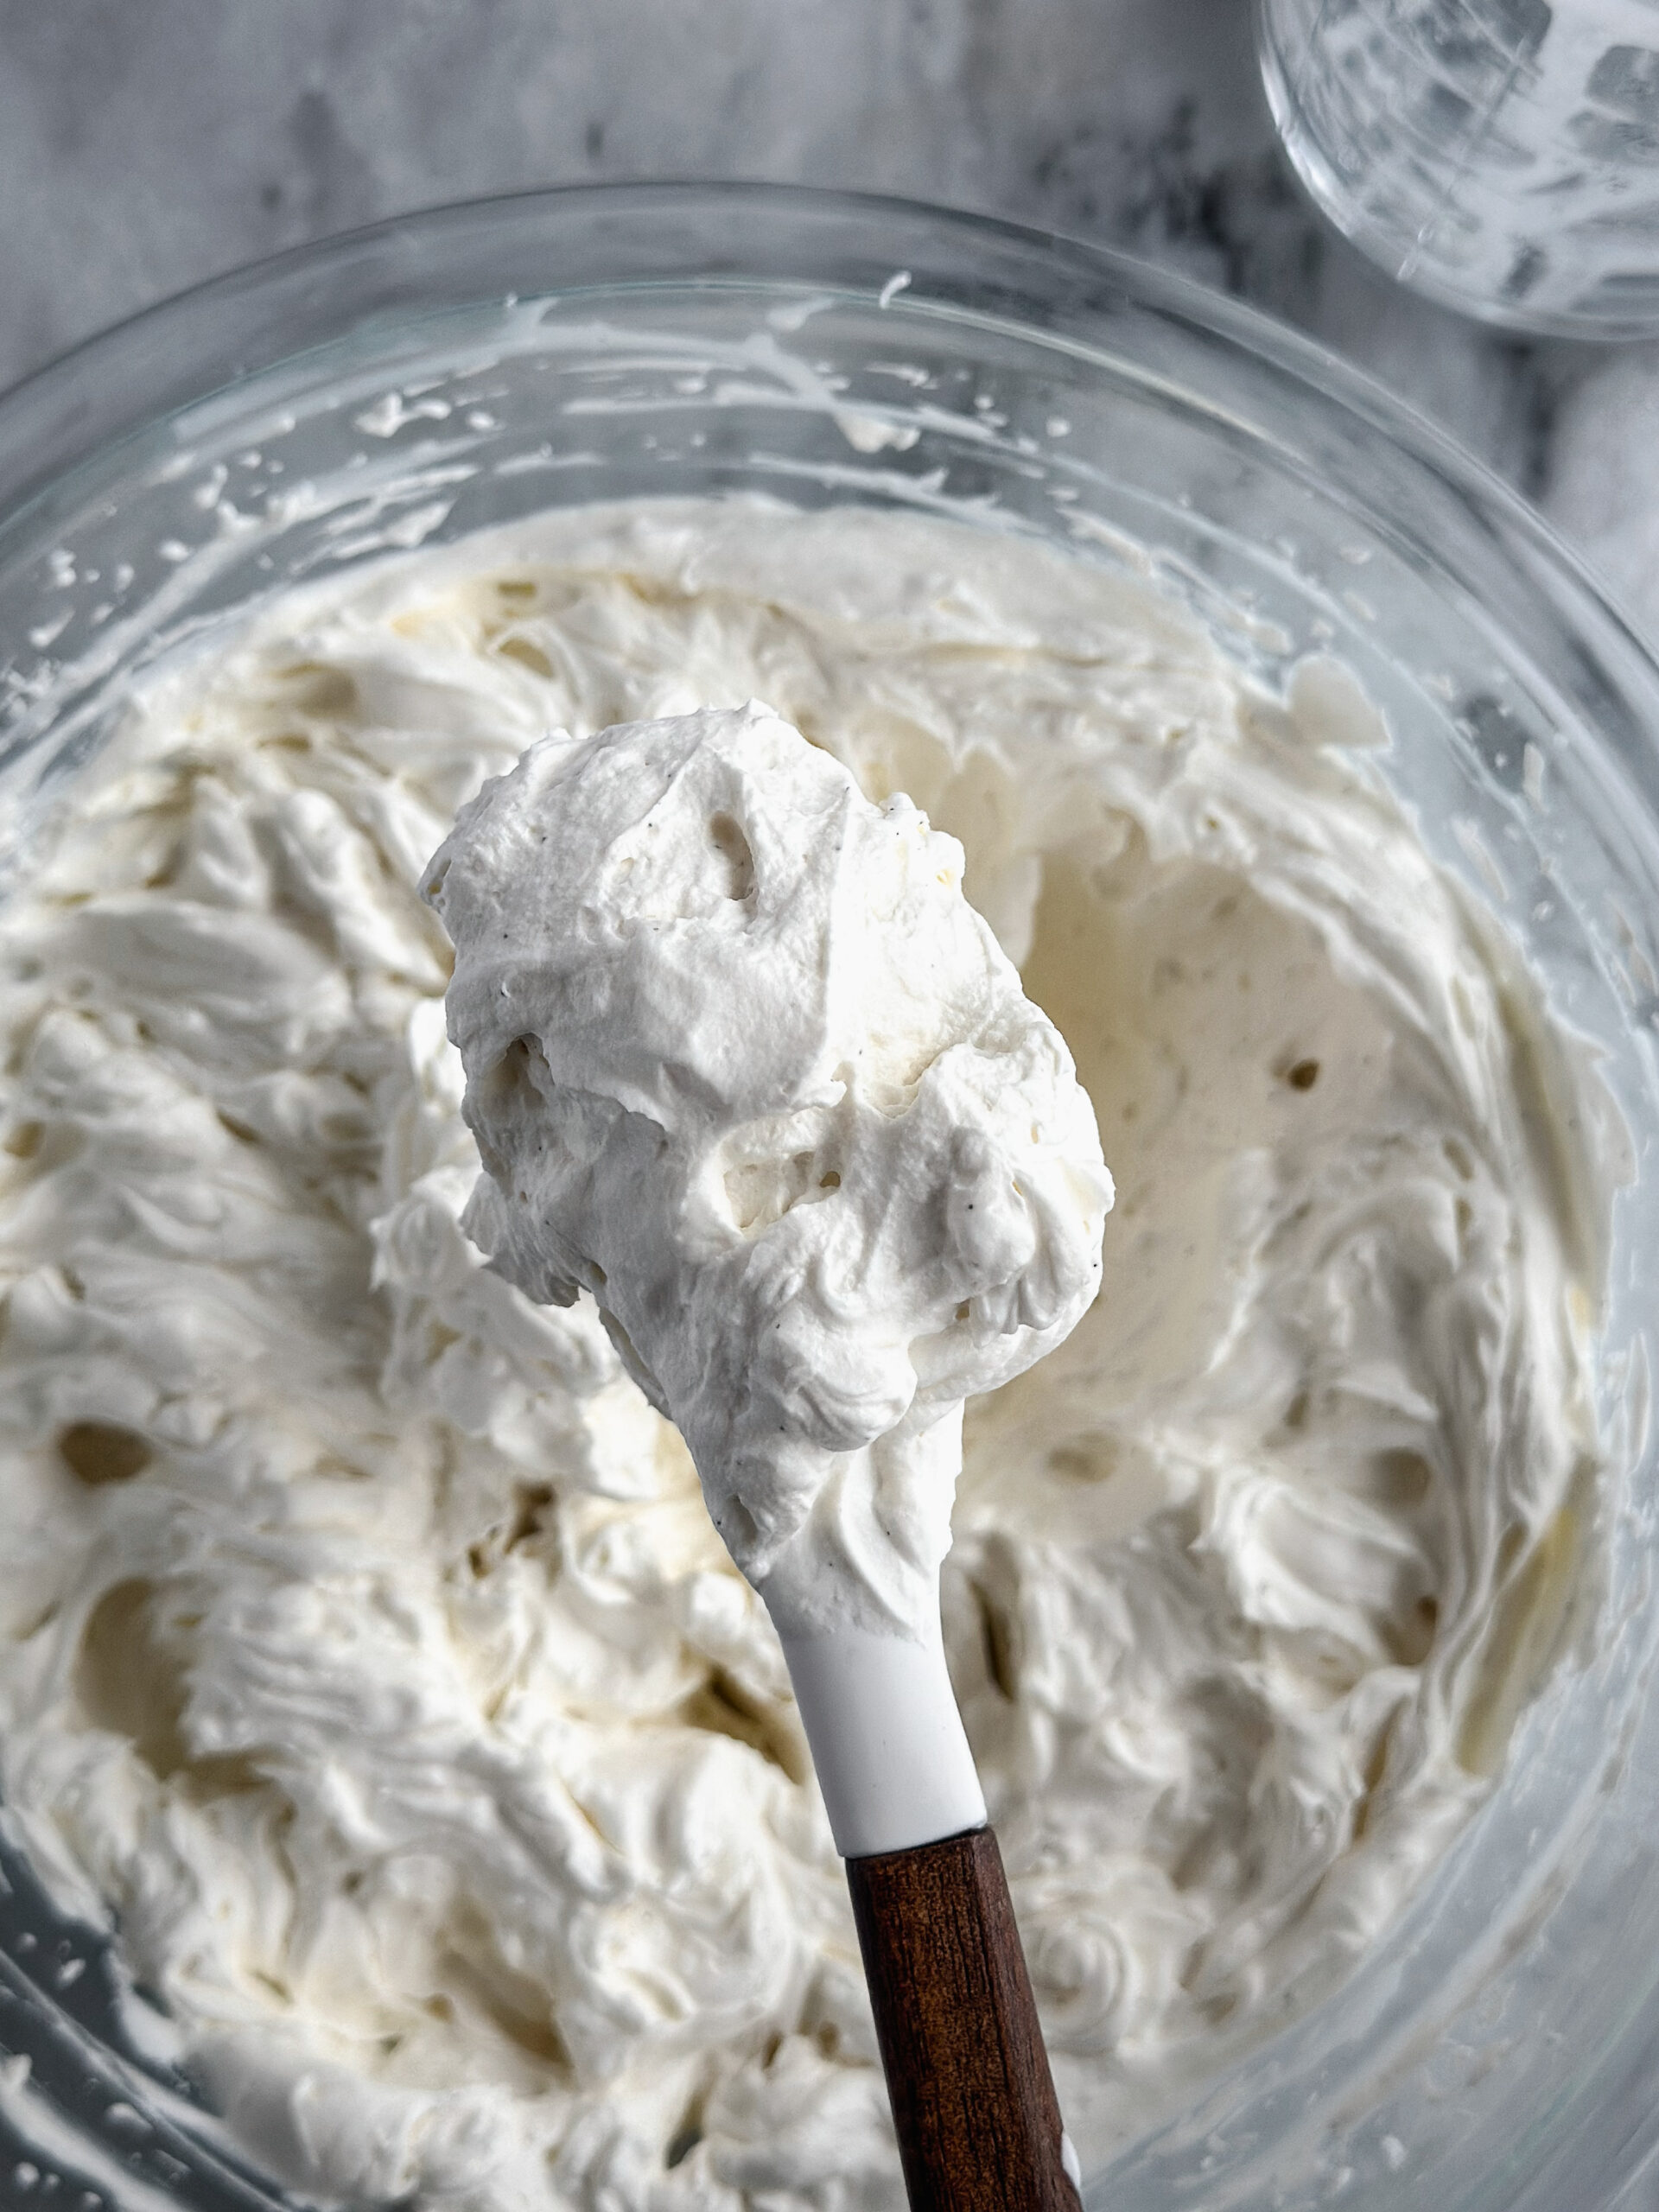
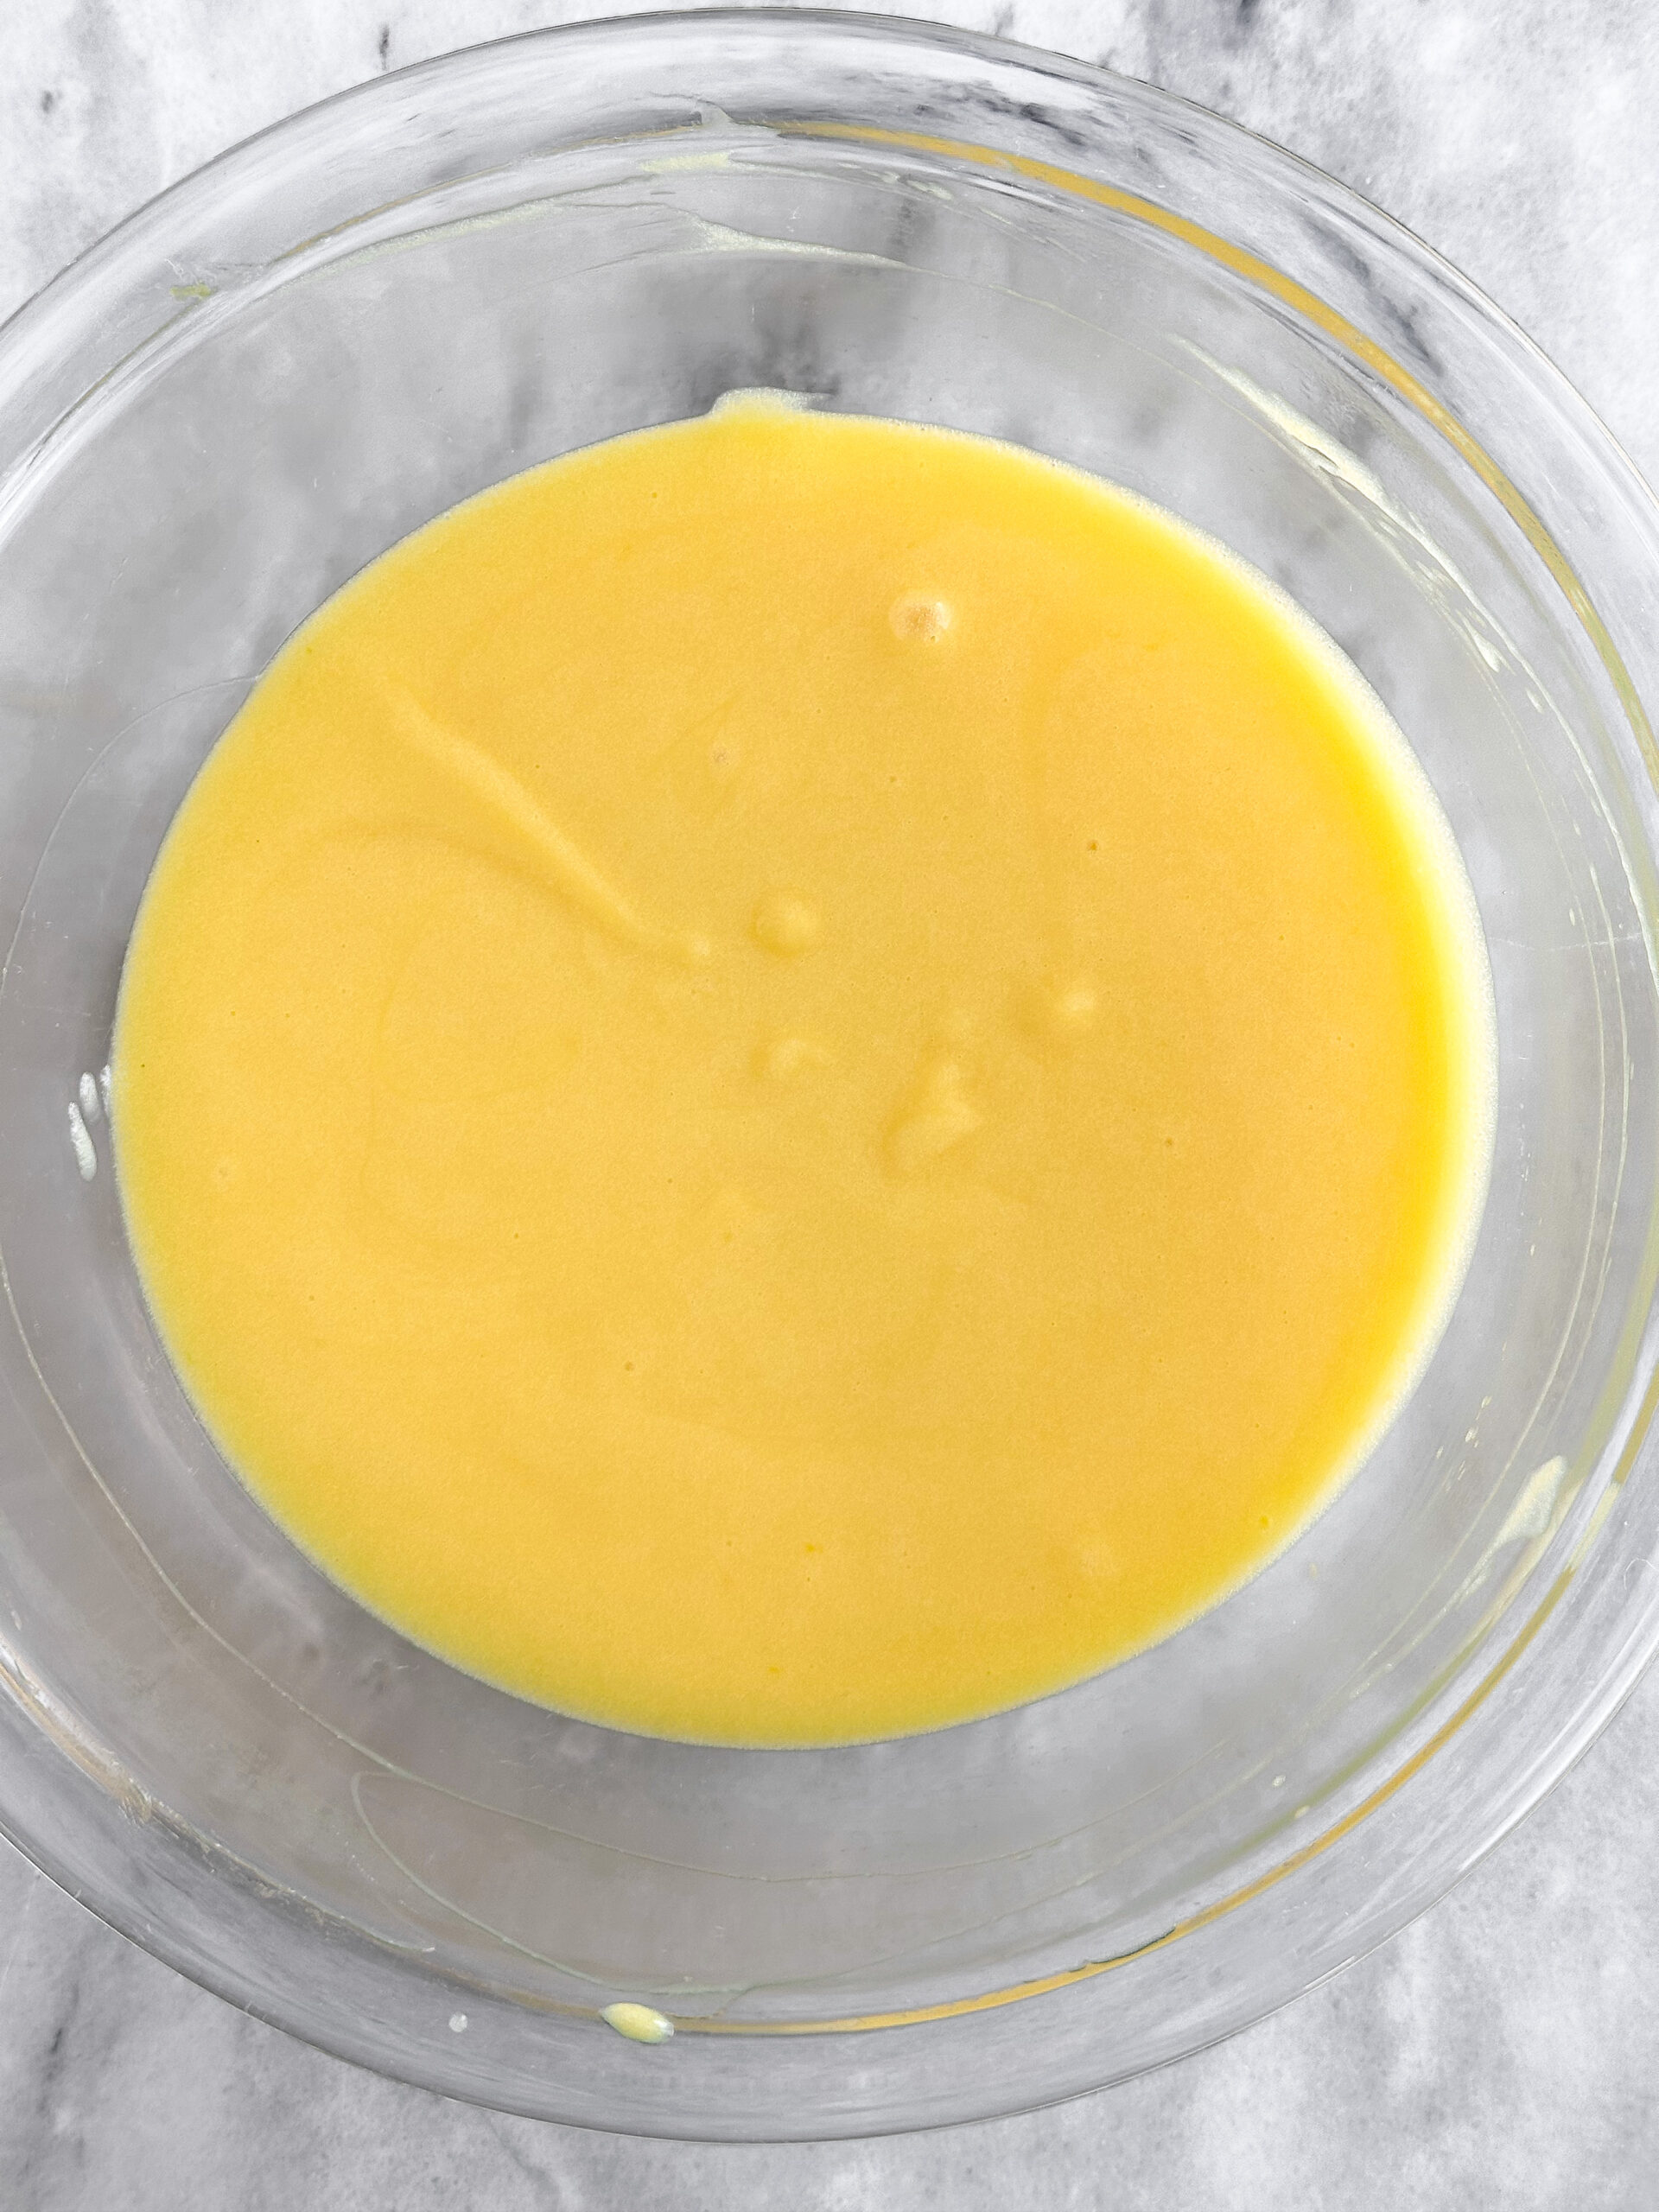
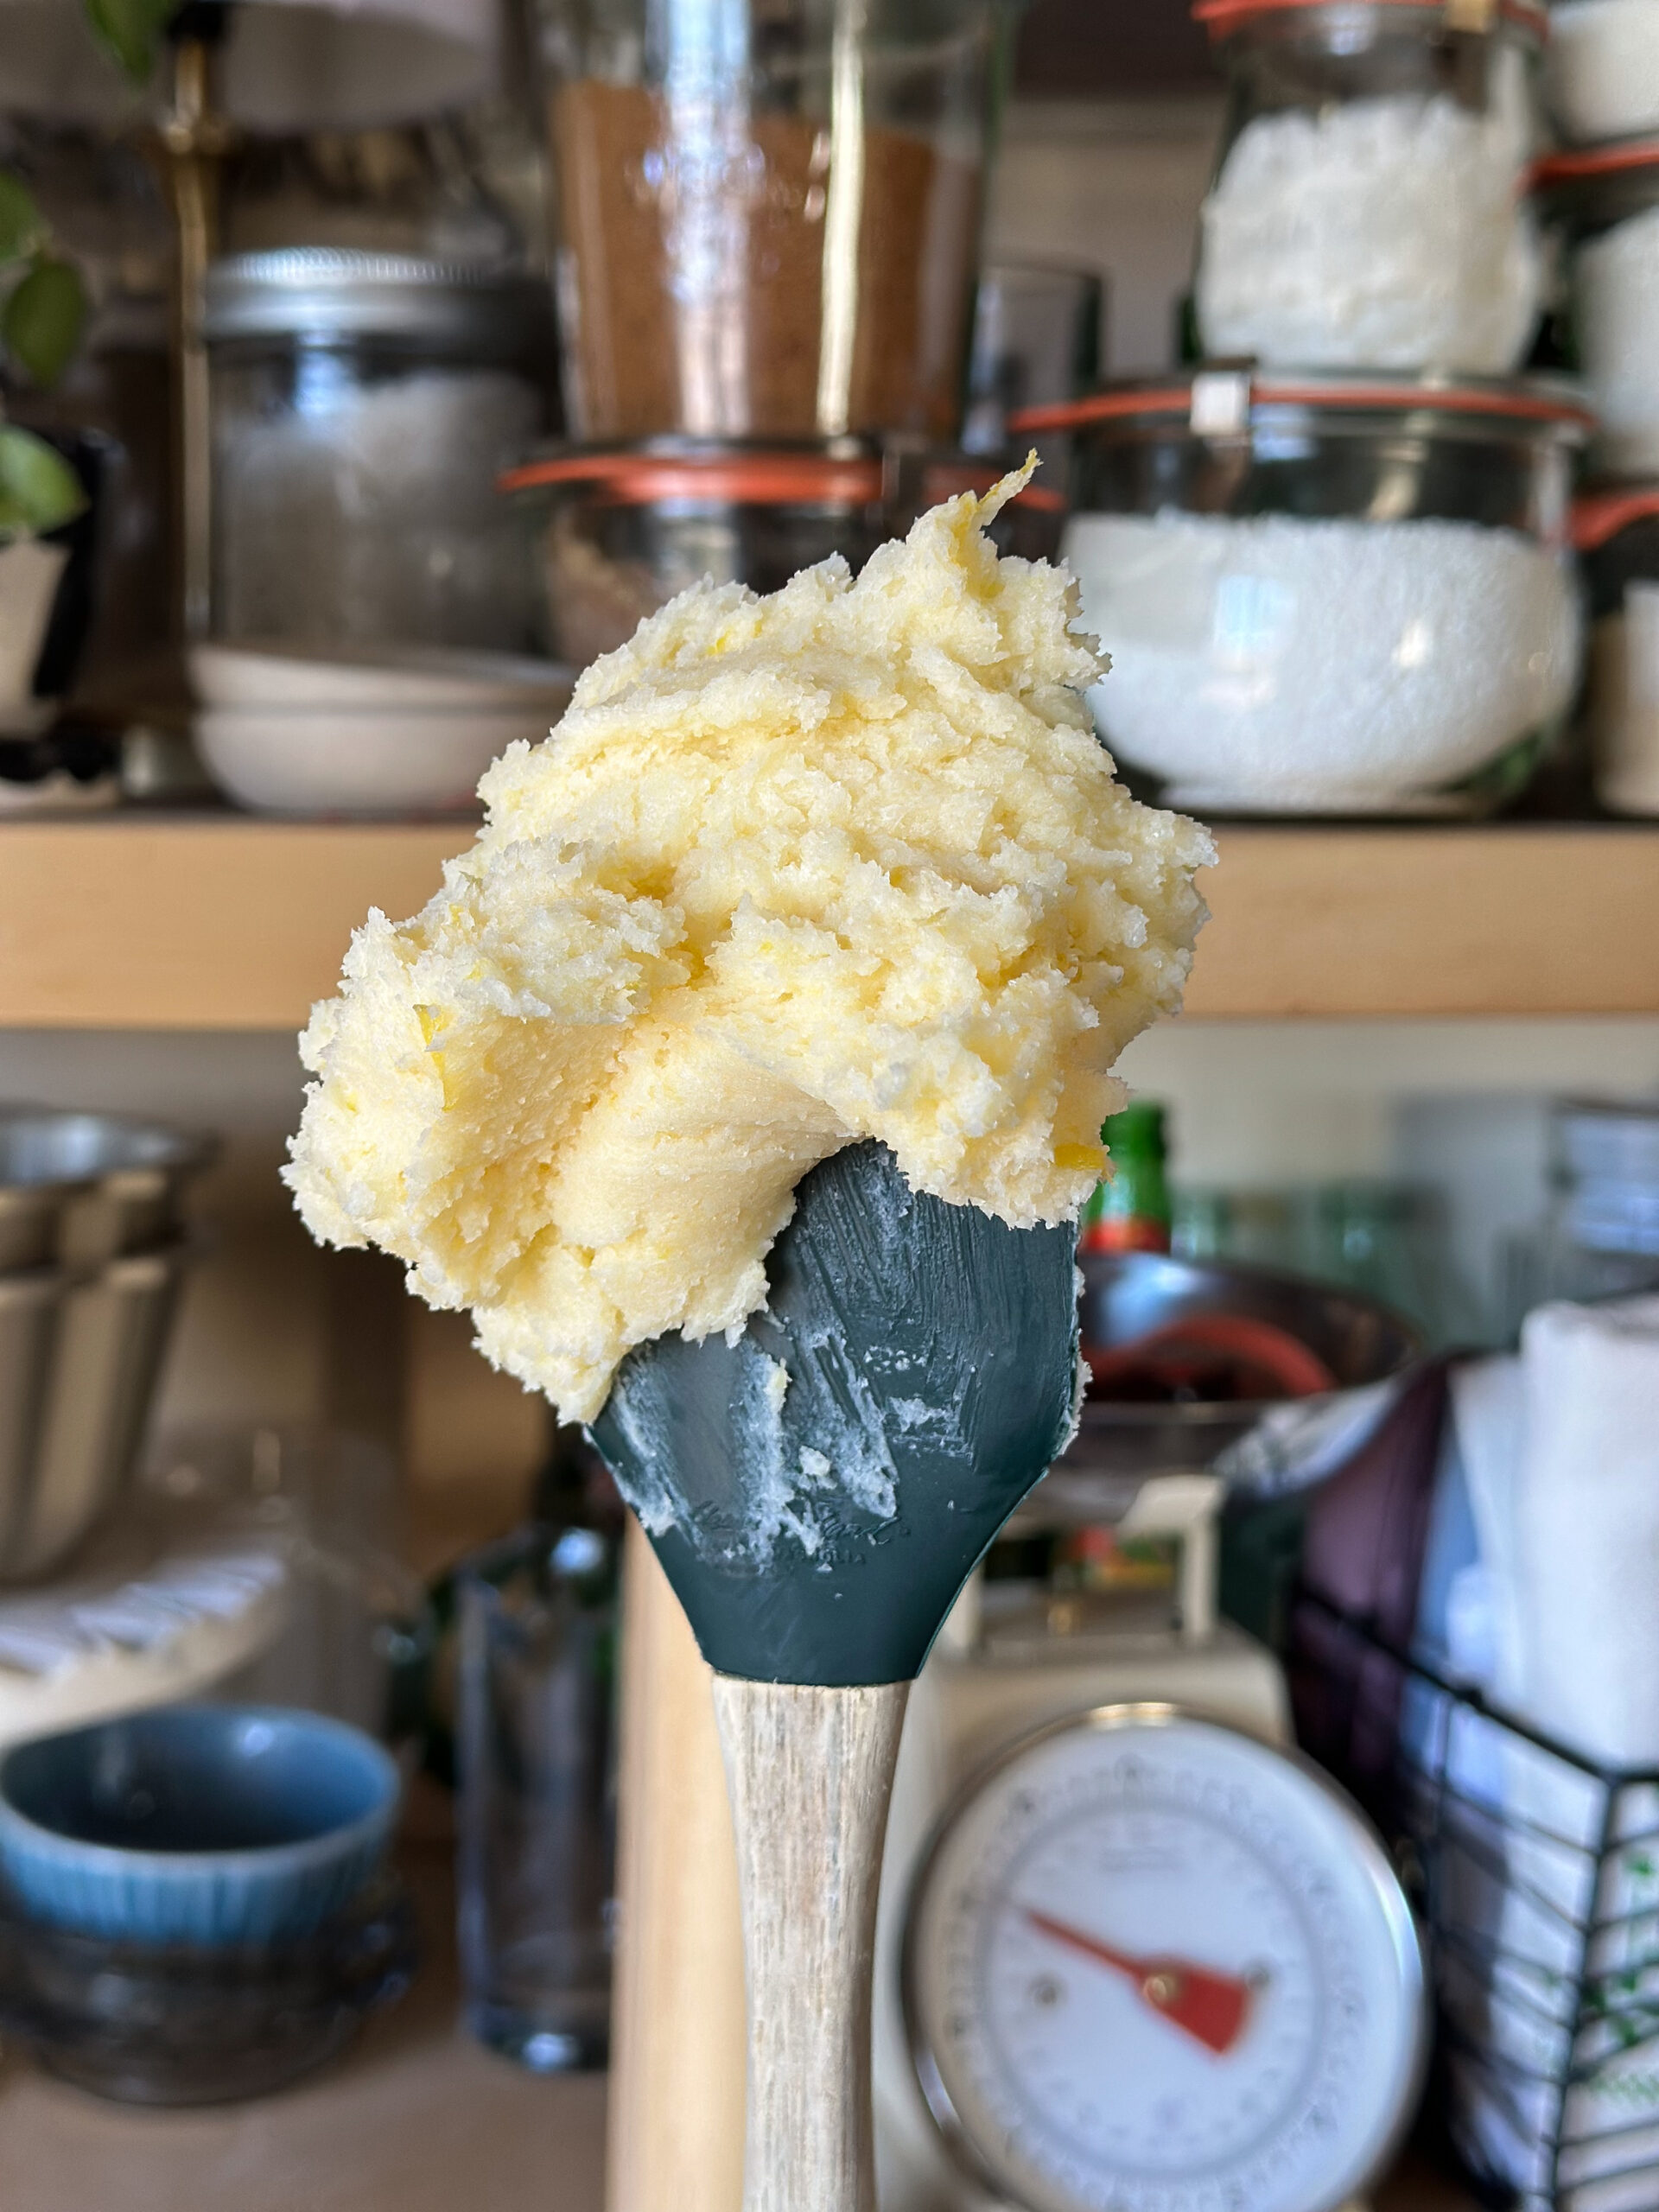
To the bowl of a stand mixer with a whisk attachment, add the puck of gelatin. Slowly stream in the sugar syrup while mixing on low speed. Once all the sugar syrup has been added, raise the speed of the mixer to medium speed and continue mixing until light, fluffy, and thick. (About ten minutes.) Add the vanilla bean paste and mix until combined.
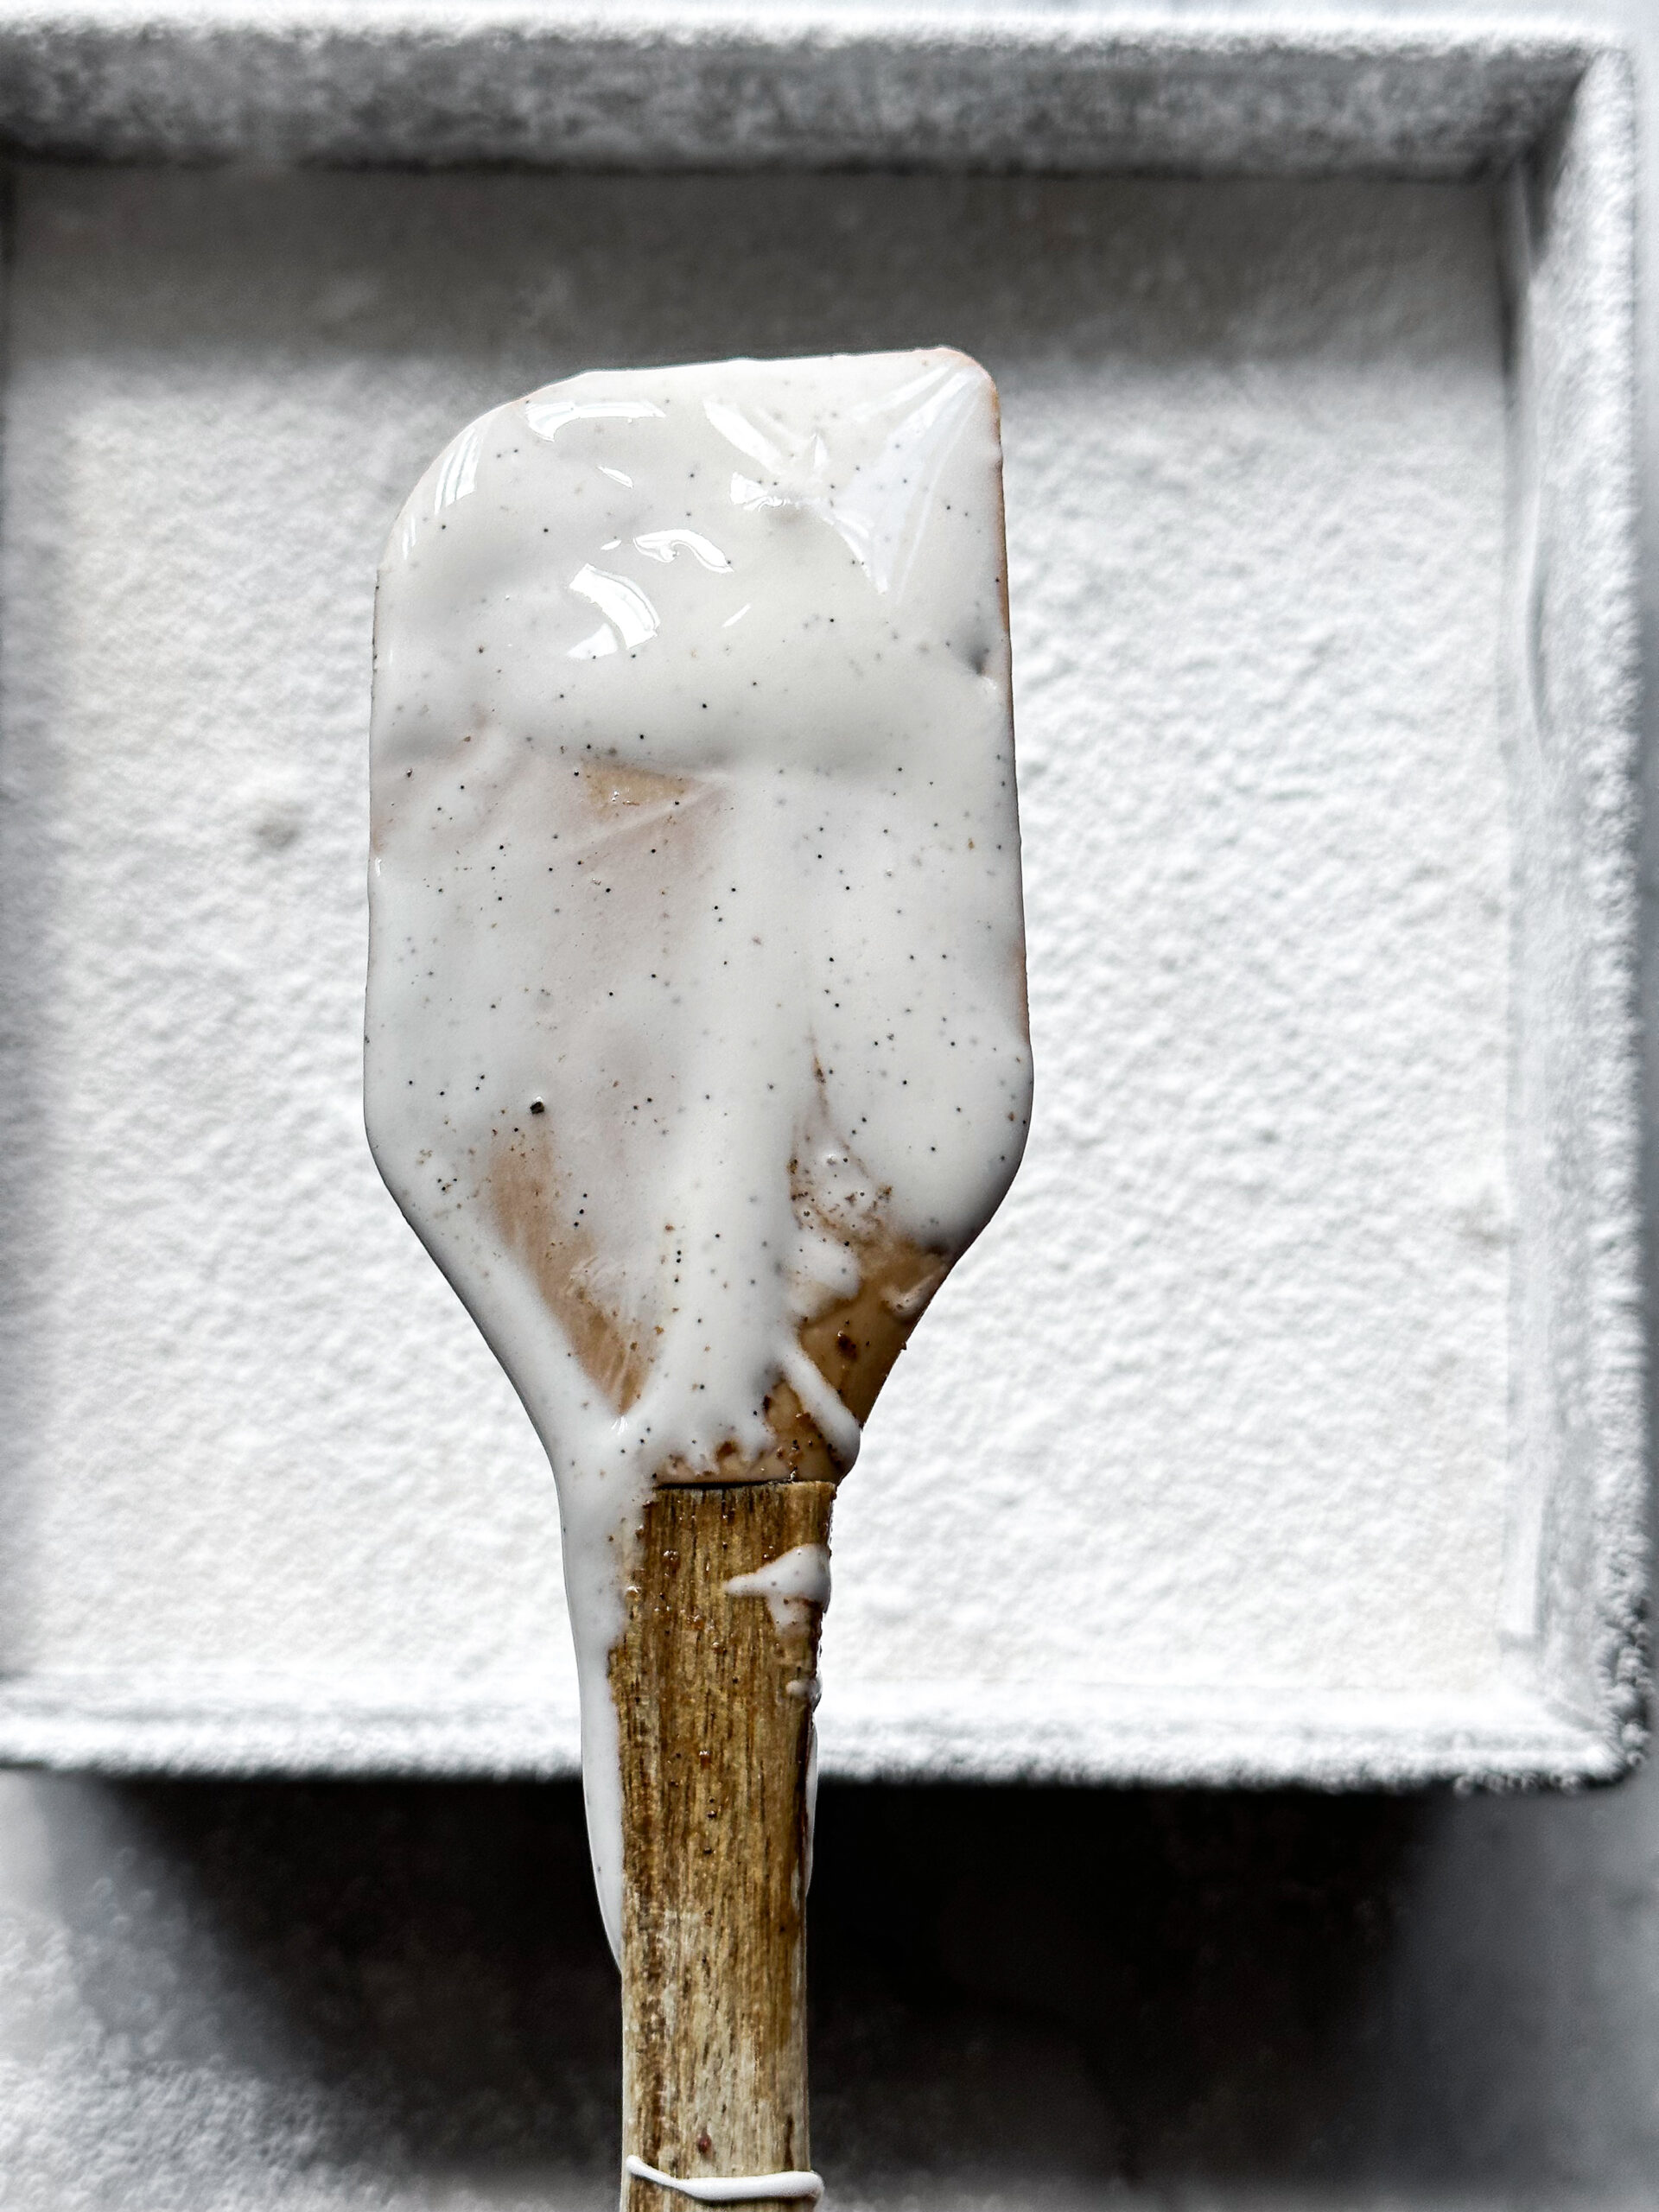
The mixture should not run or pour too easily. It should be thick enough to track lines in the bowl and not flow easily when the whisk is lifted. Be careful not to over mix the fluff into a too thick mixture that is all gathered in the whisk or “stringing”.
If you want to make a colored, marbling effect, add a small drop or two of gel food coloring to the whipped marshmallow and gently stir a few times with a spatula. As you pour the marshmallow into the pan, the marbling will appear.
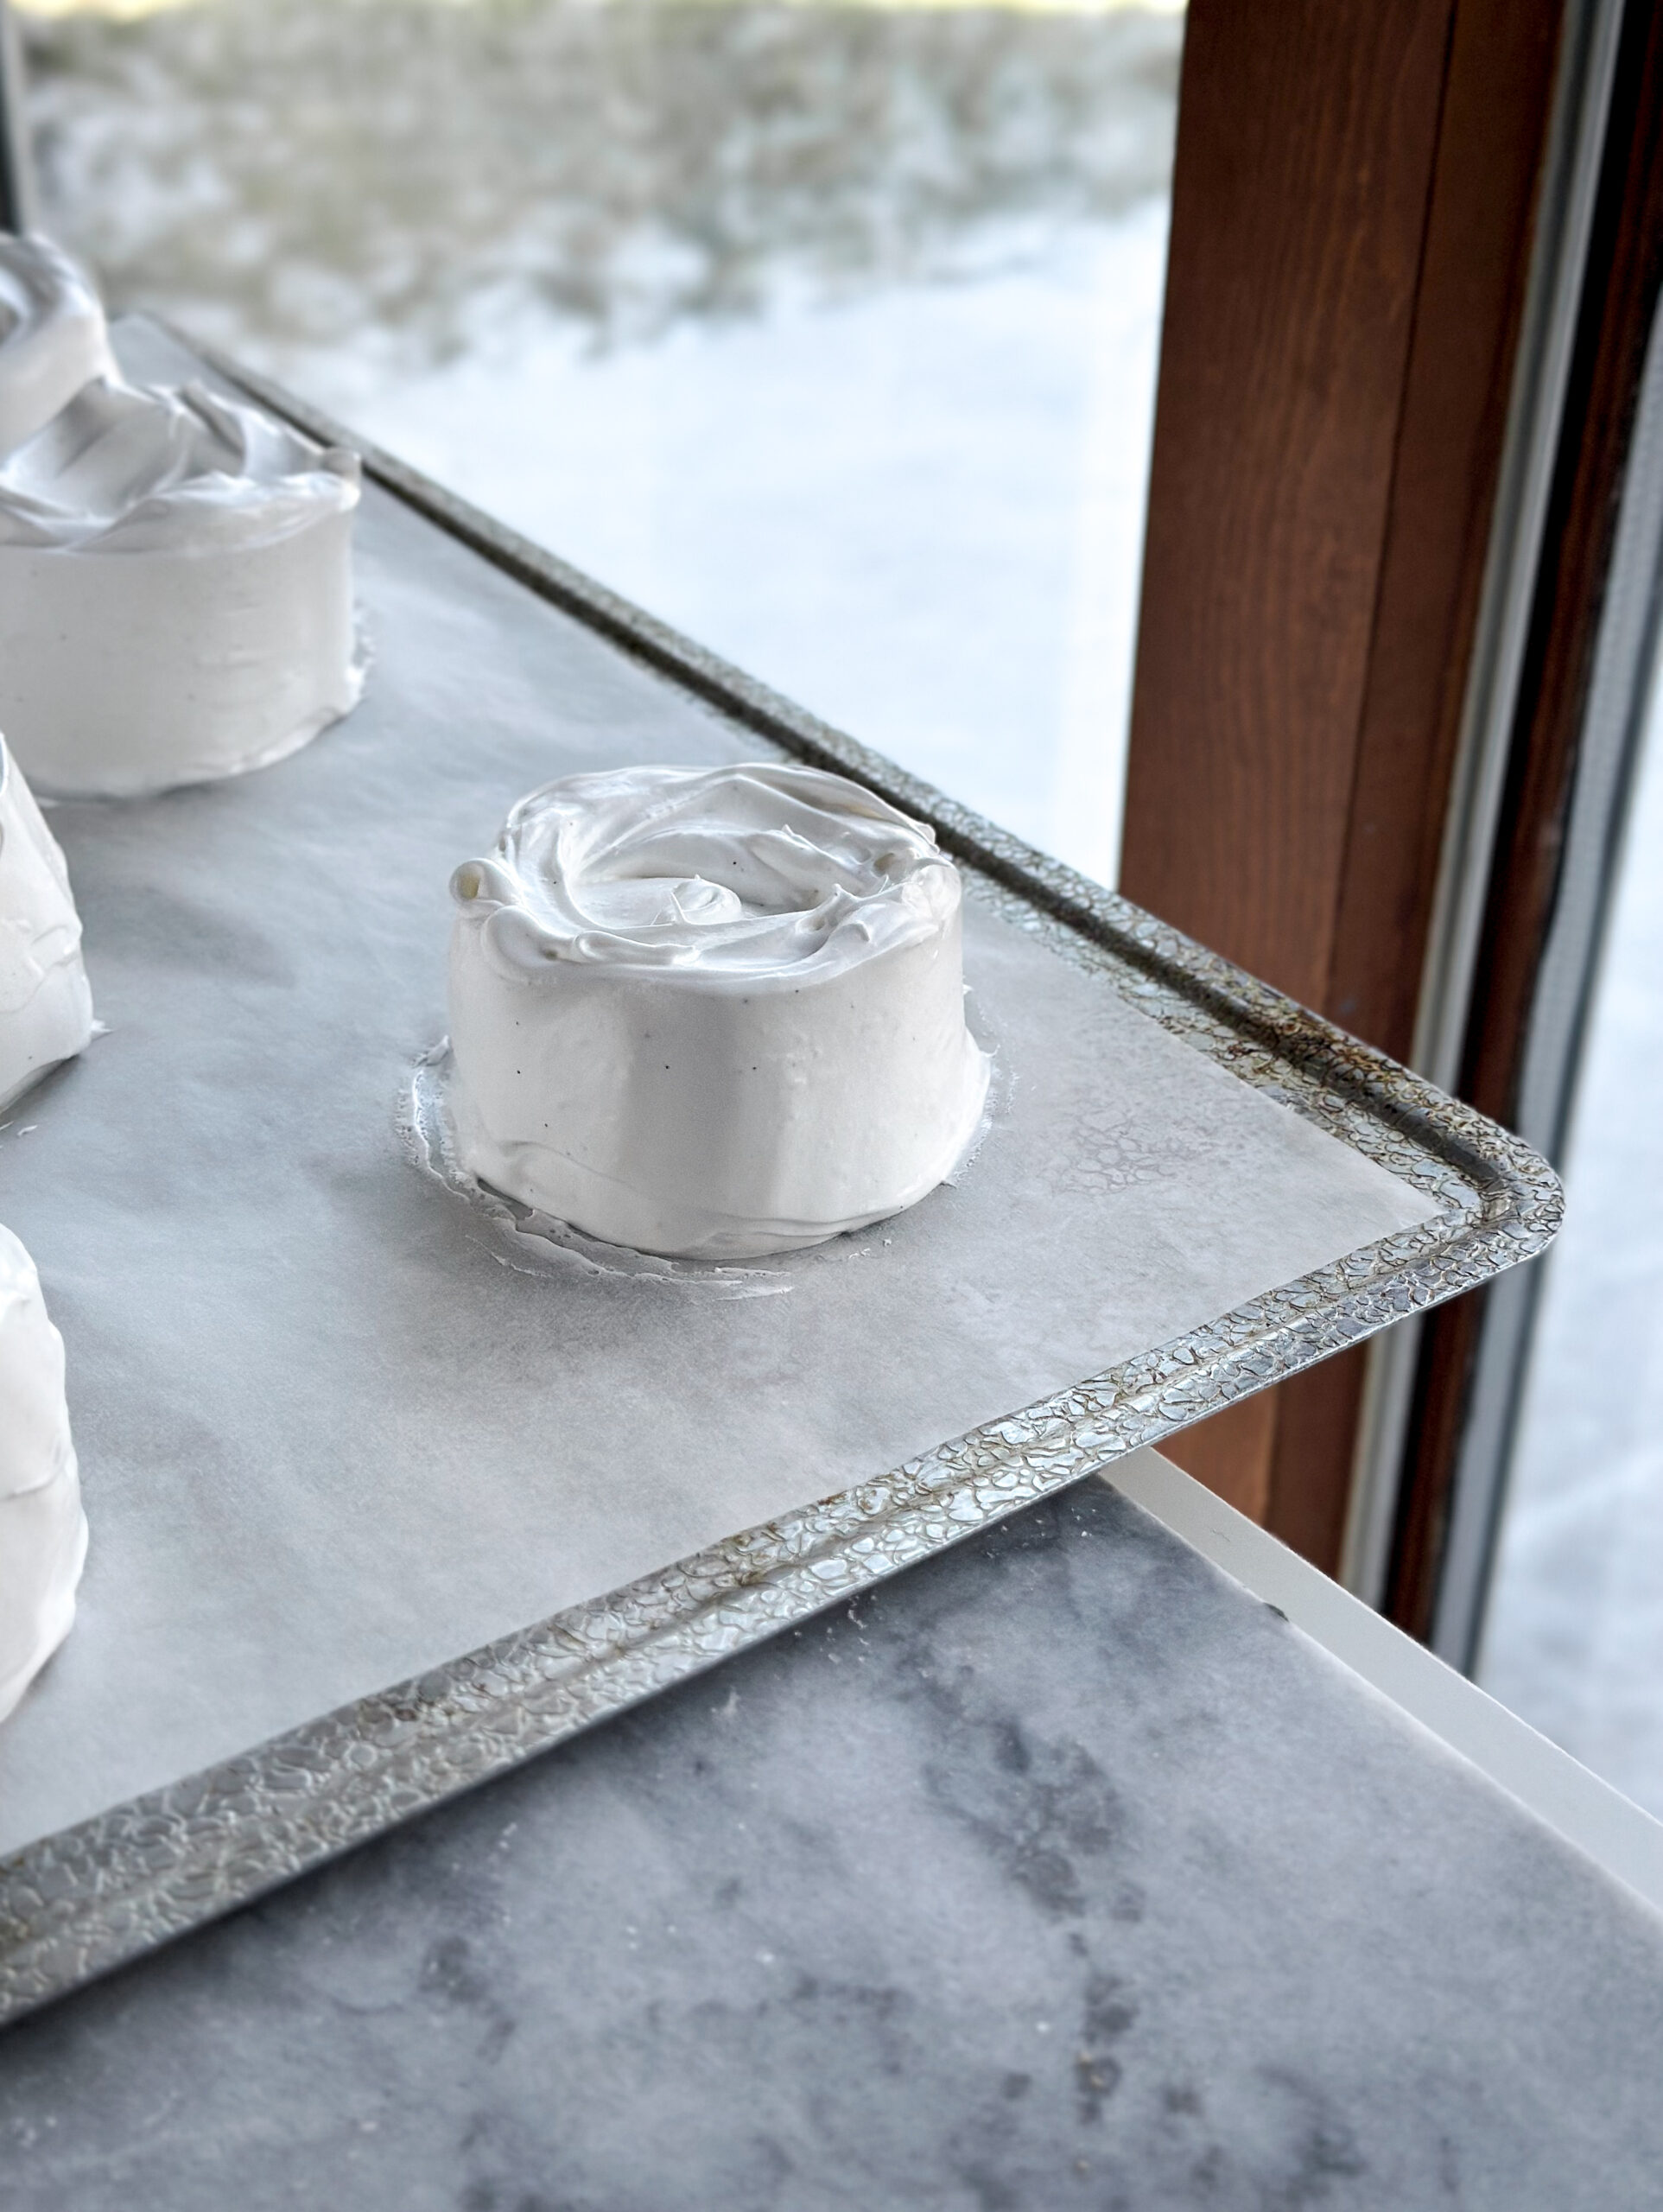
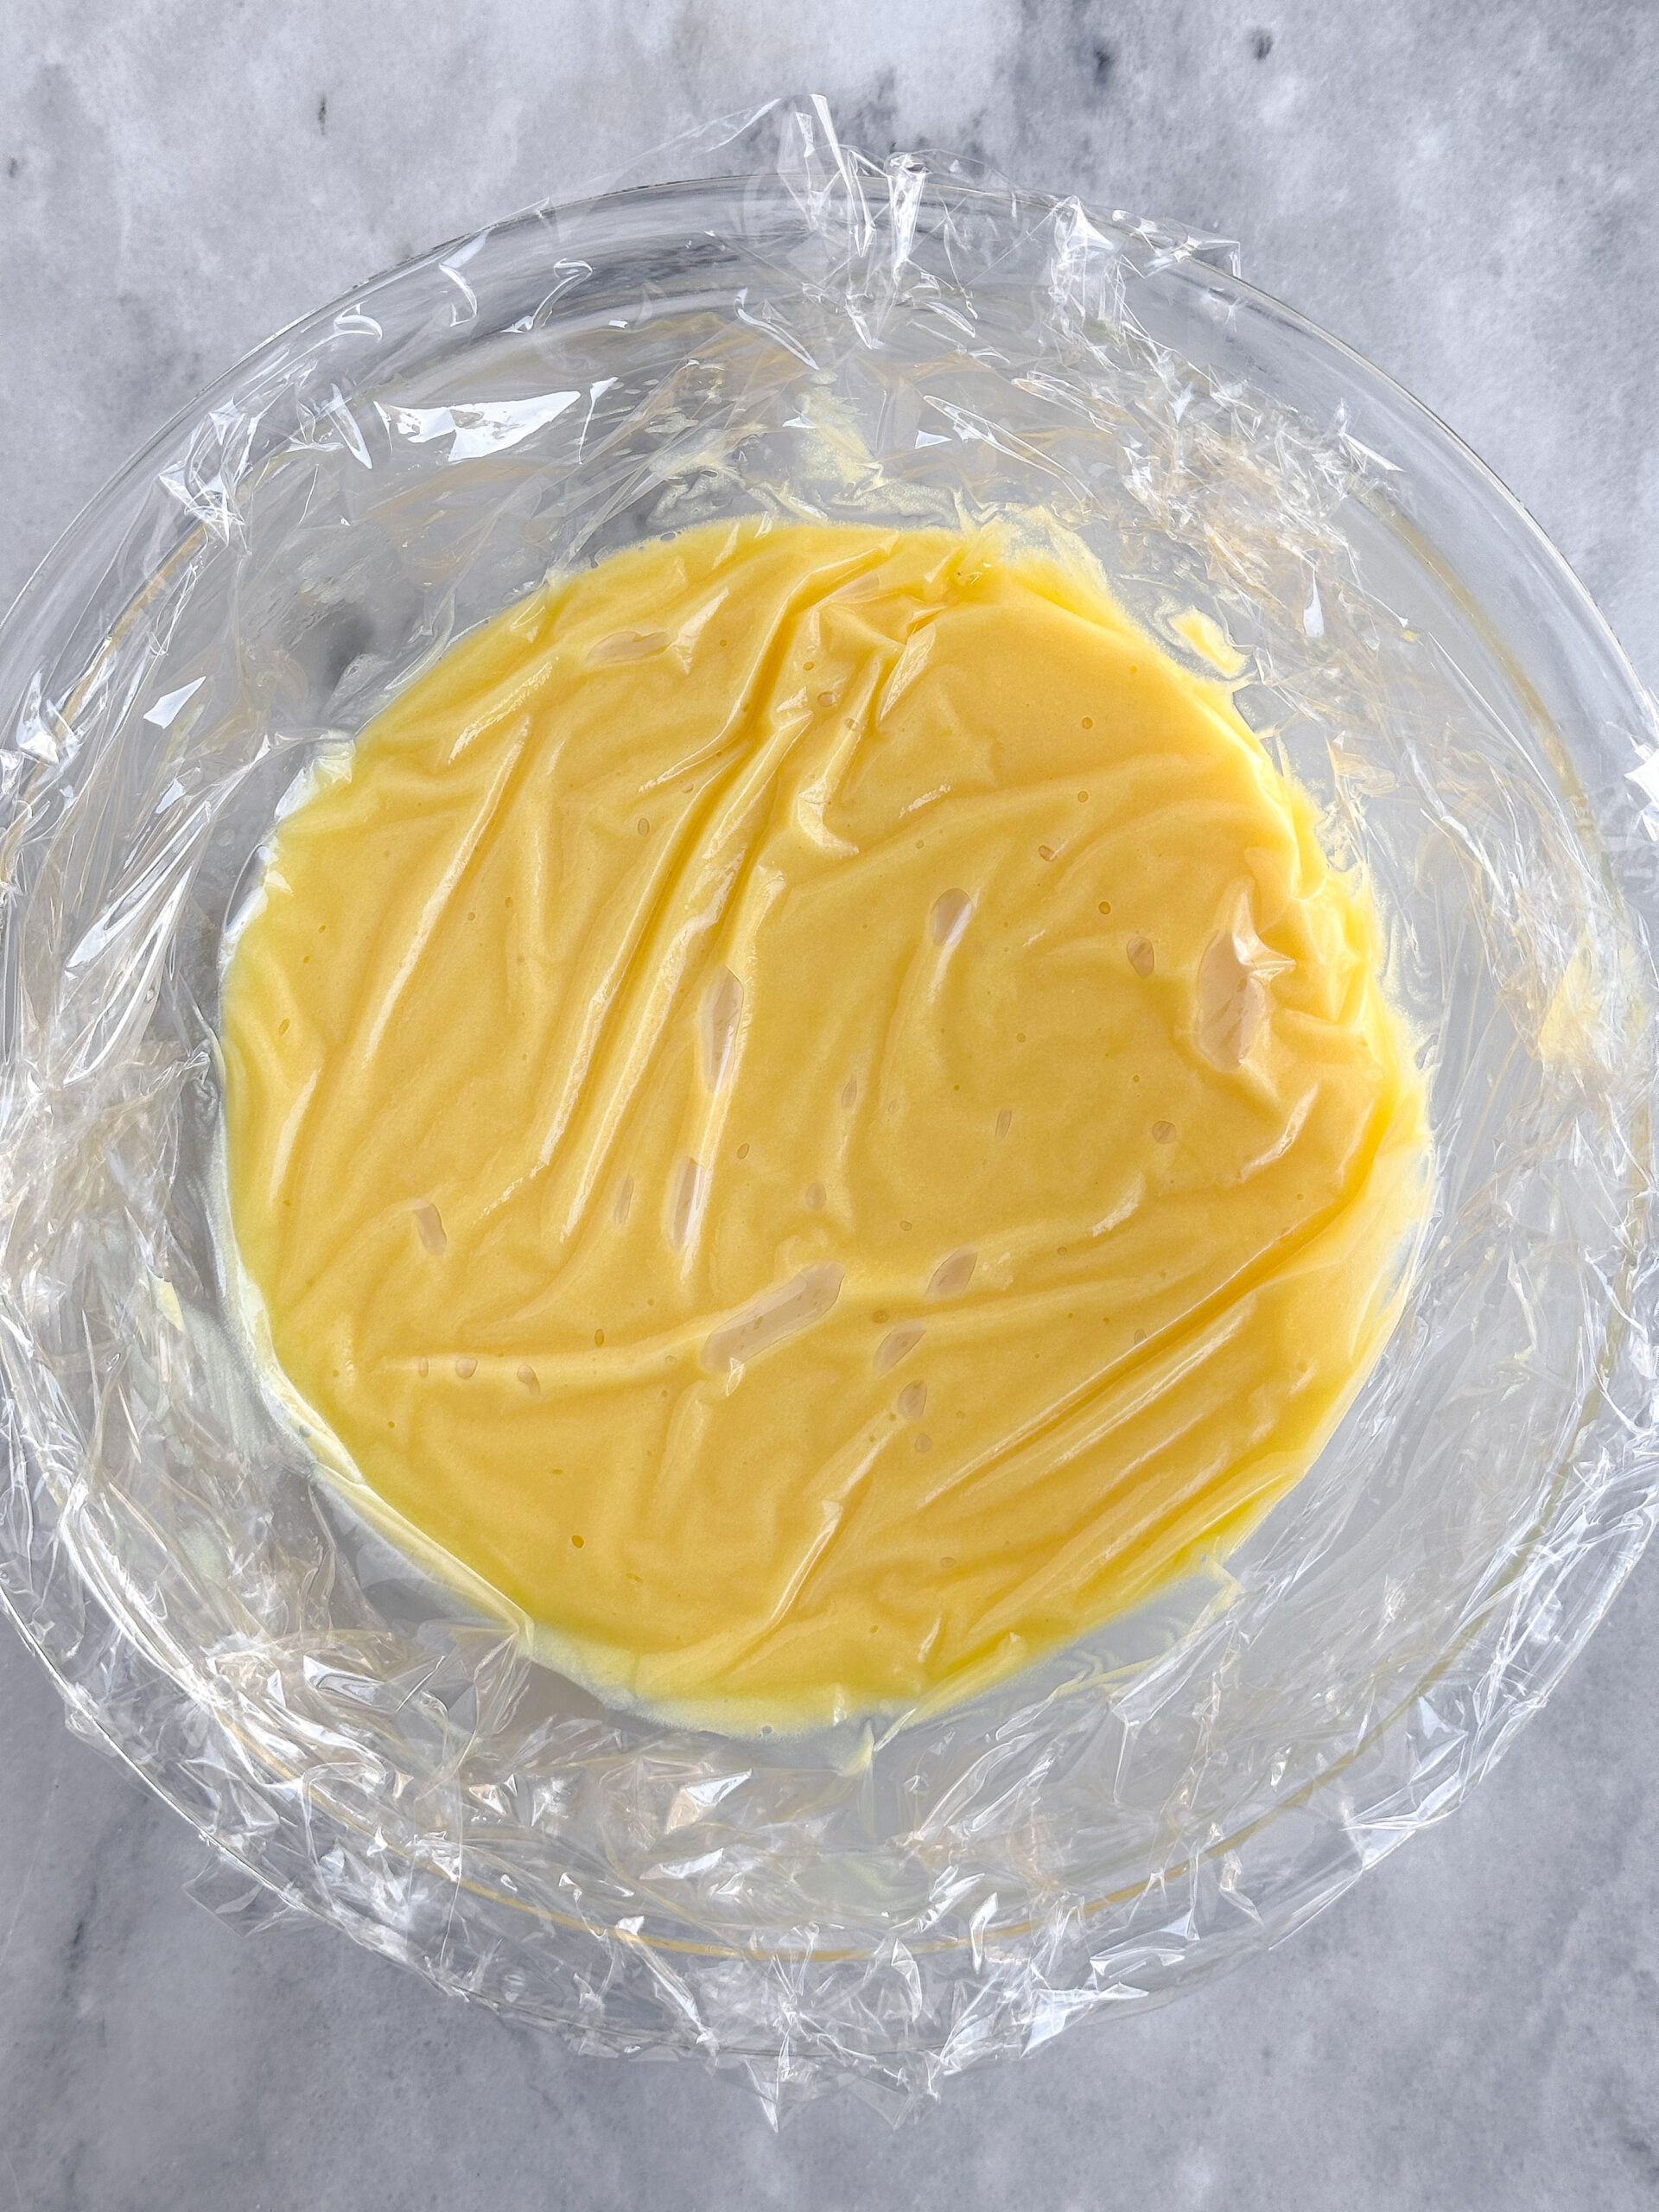
Pour the marshmallow fluff into the pan and spread it into place as best you can. Sprinkle the “dust” all over the surface and allow it to set for a few hours. Cover the top of the pan with a dish towel to prevent the marshmallow from drying out.
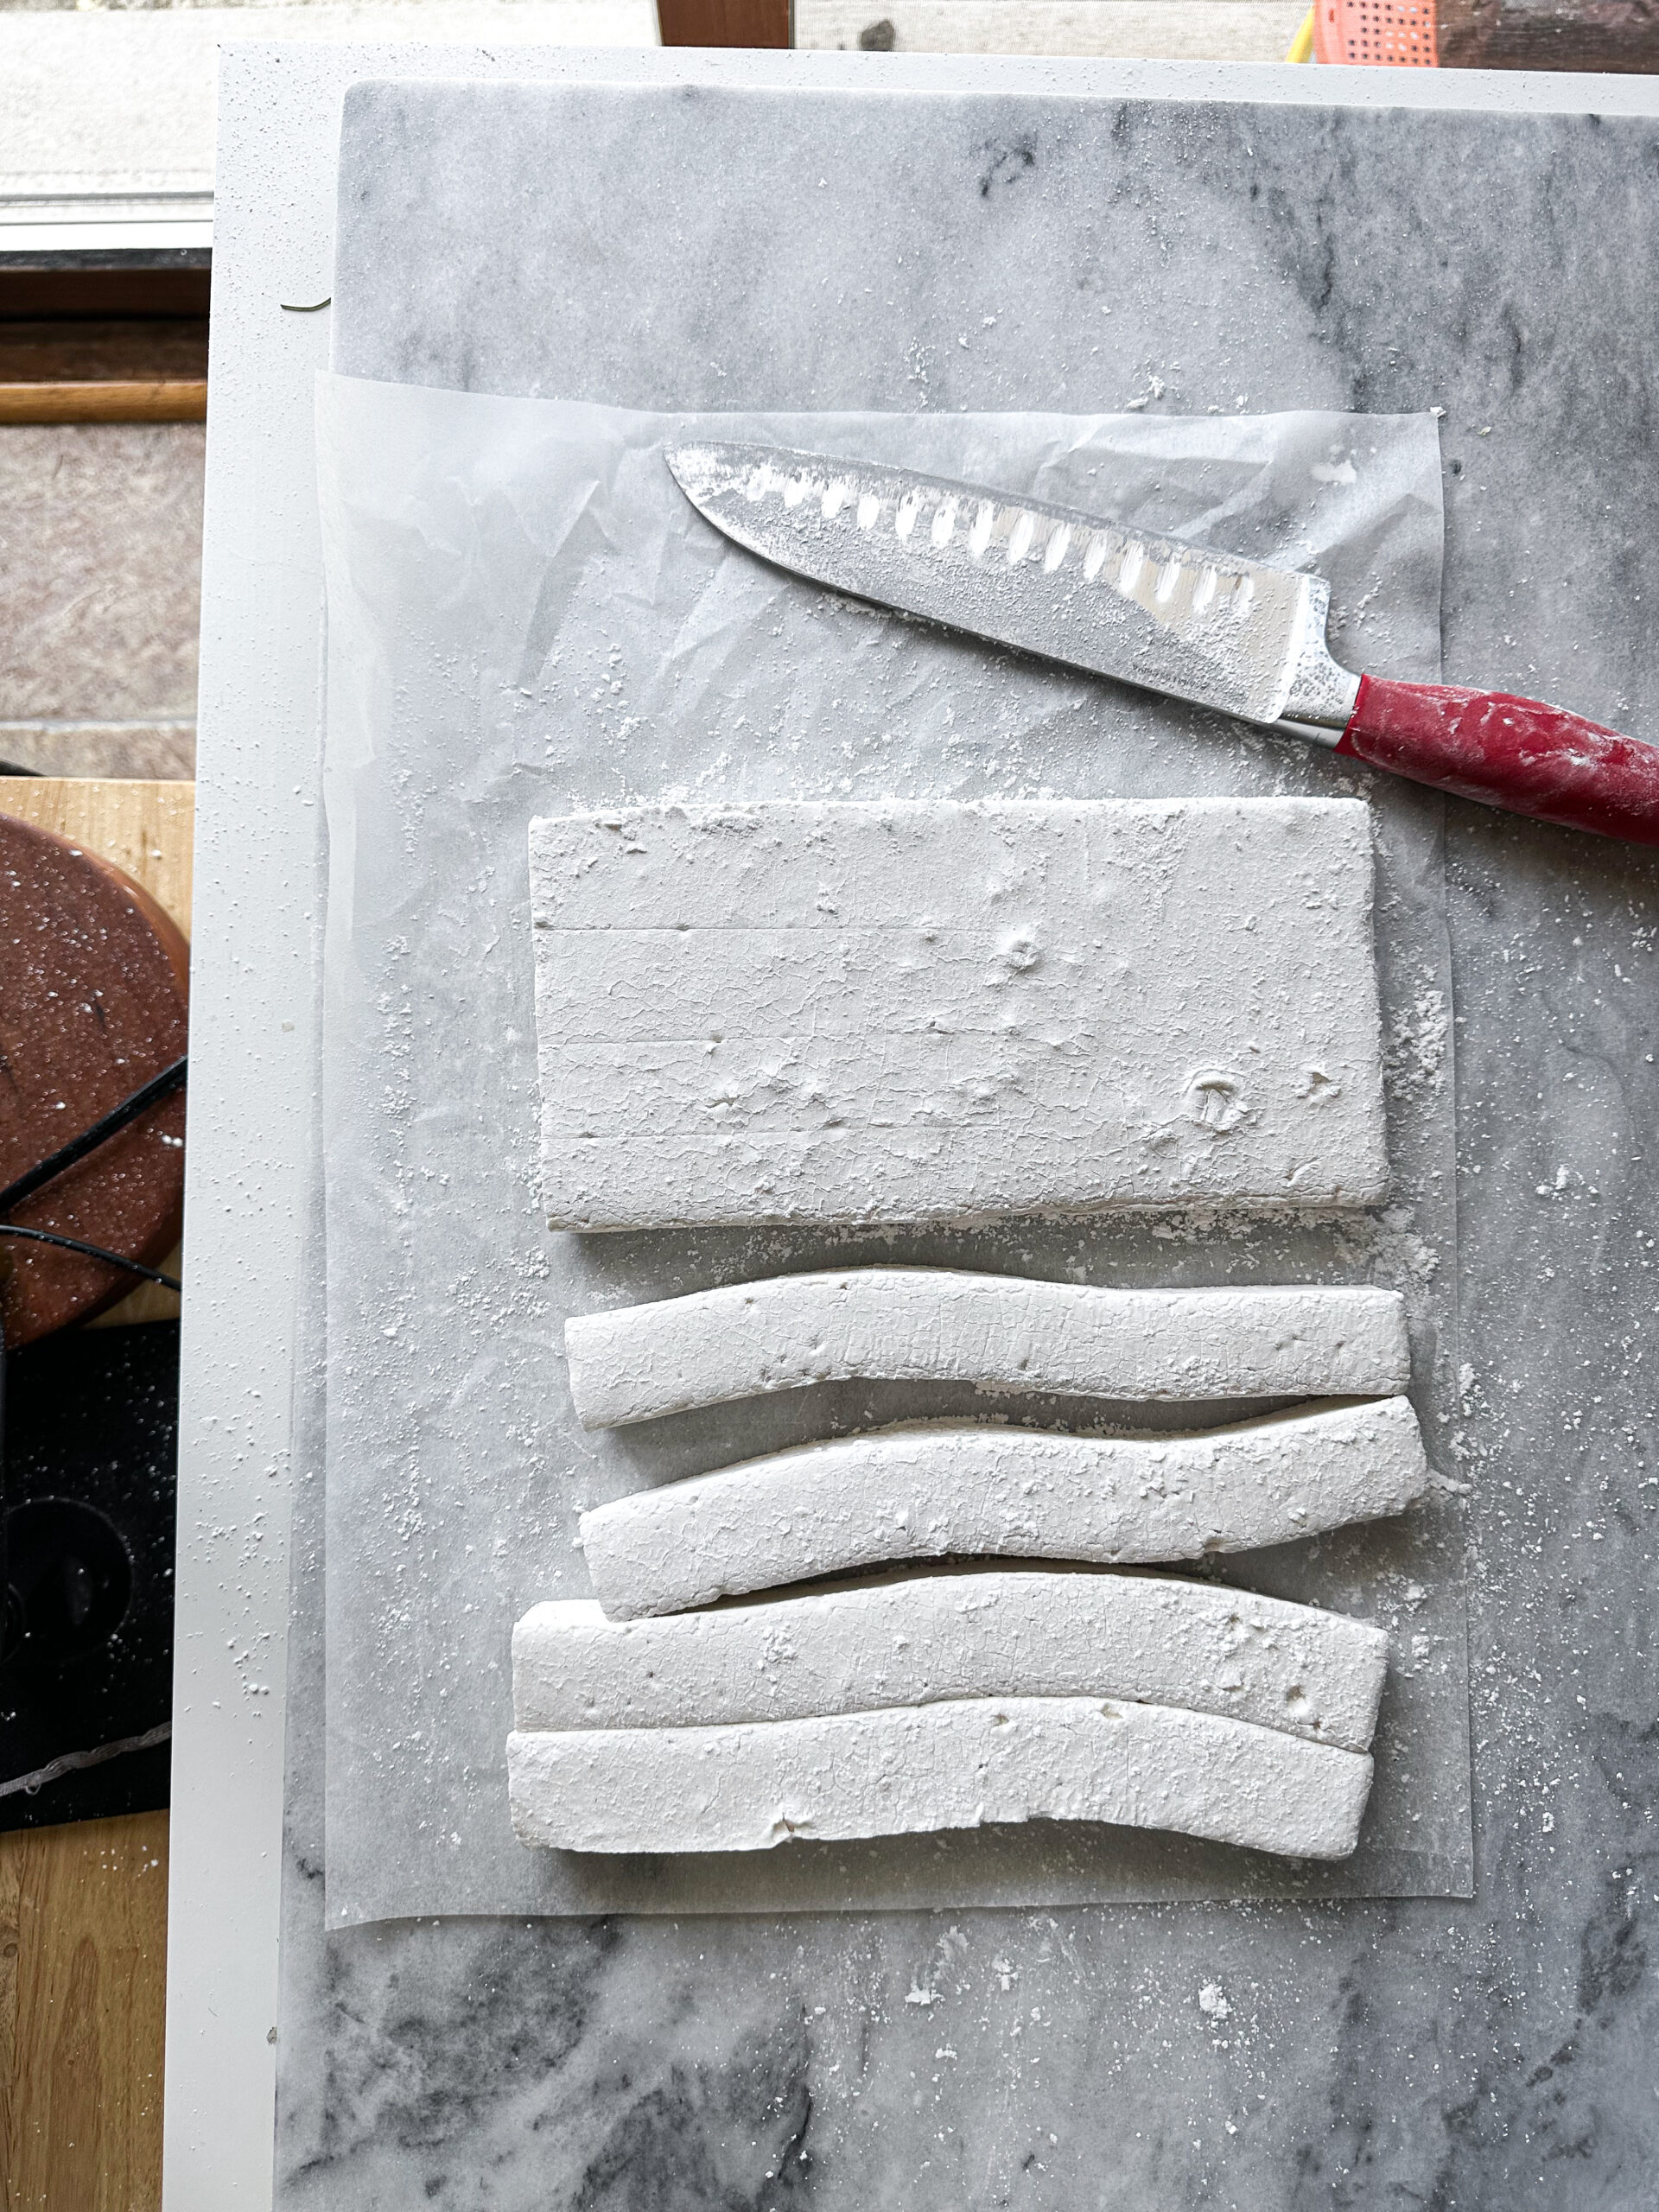
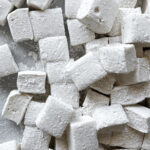
Once the marshmallows are dried and ready to cut (to test them out, give them a poke to check- they’ll be bouncy and not squishy or sticky), remove them from the pan and place on a “dust” covered surface.

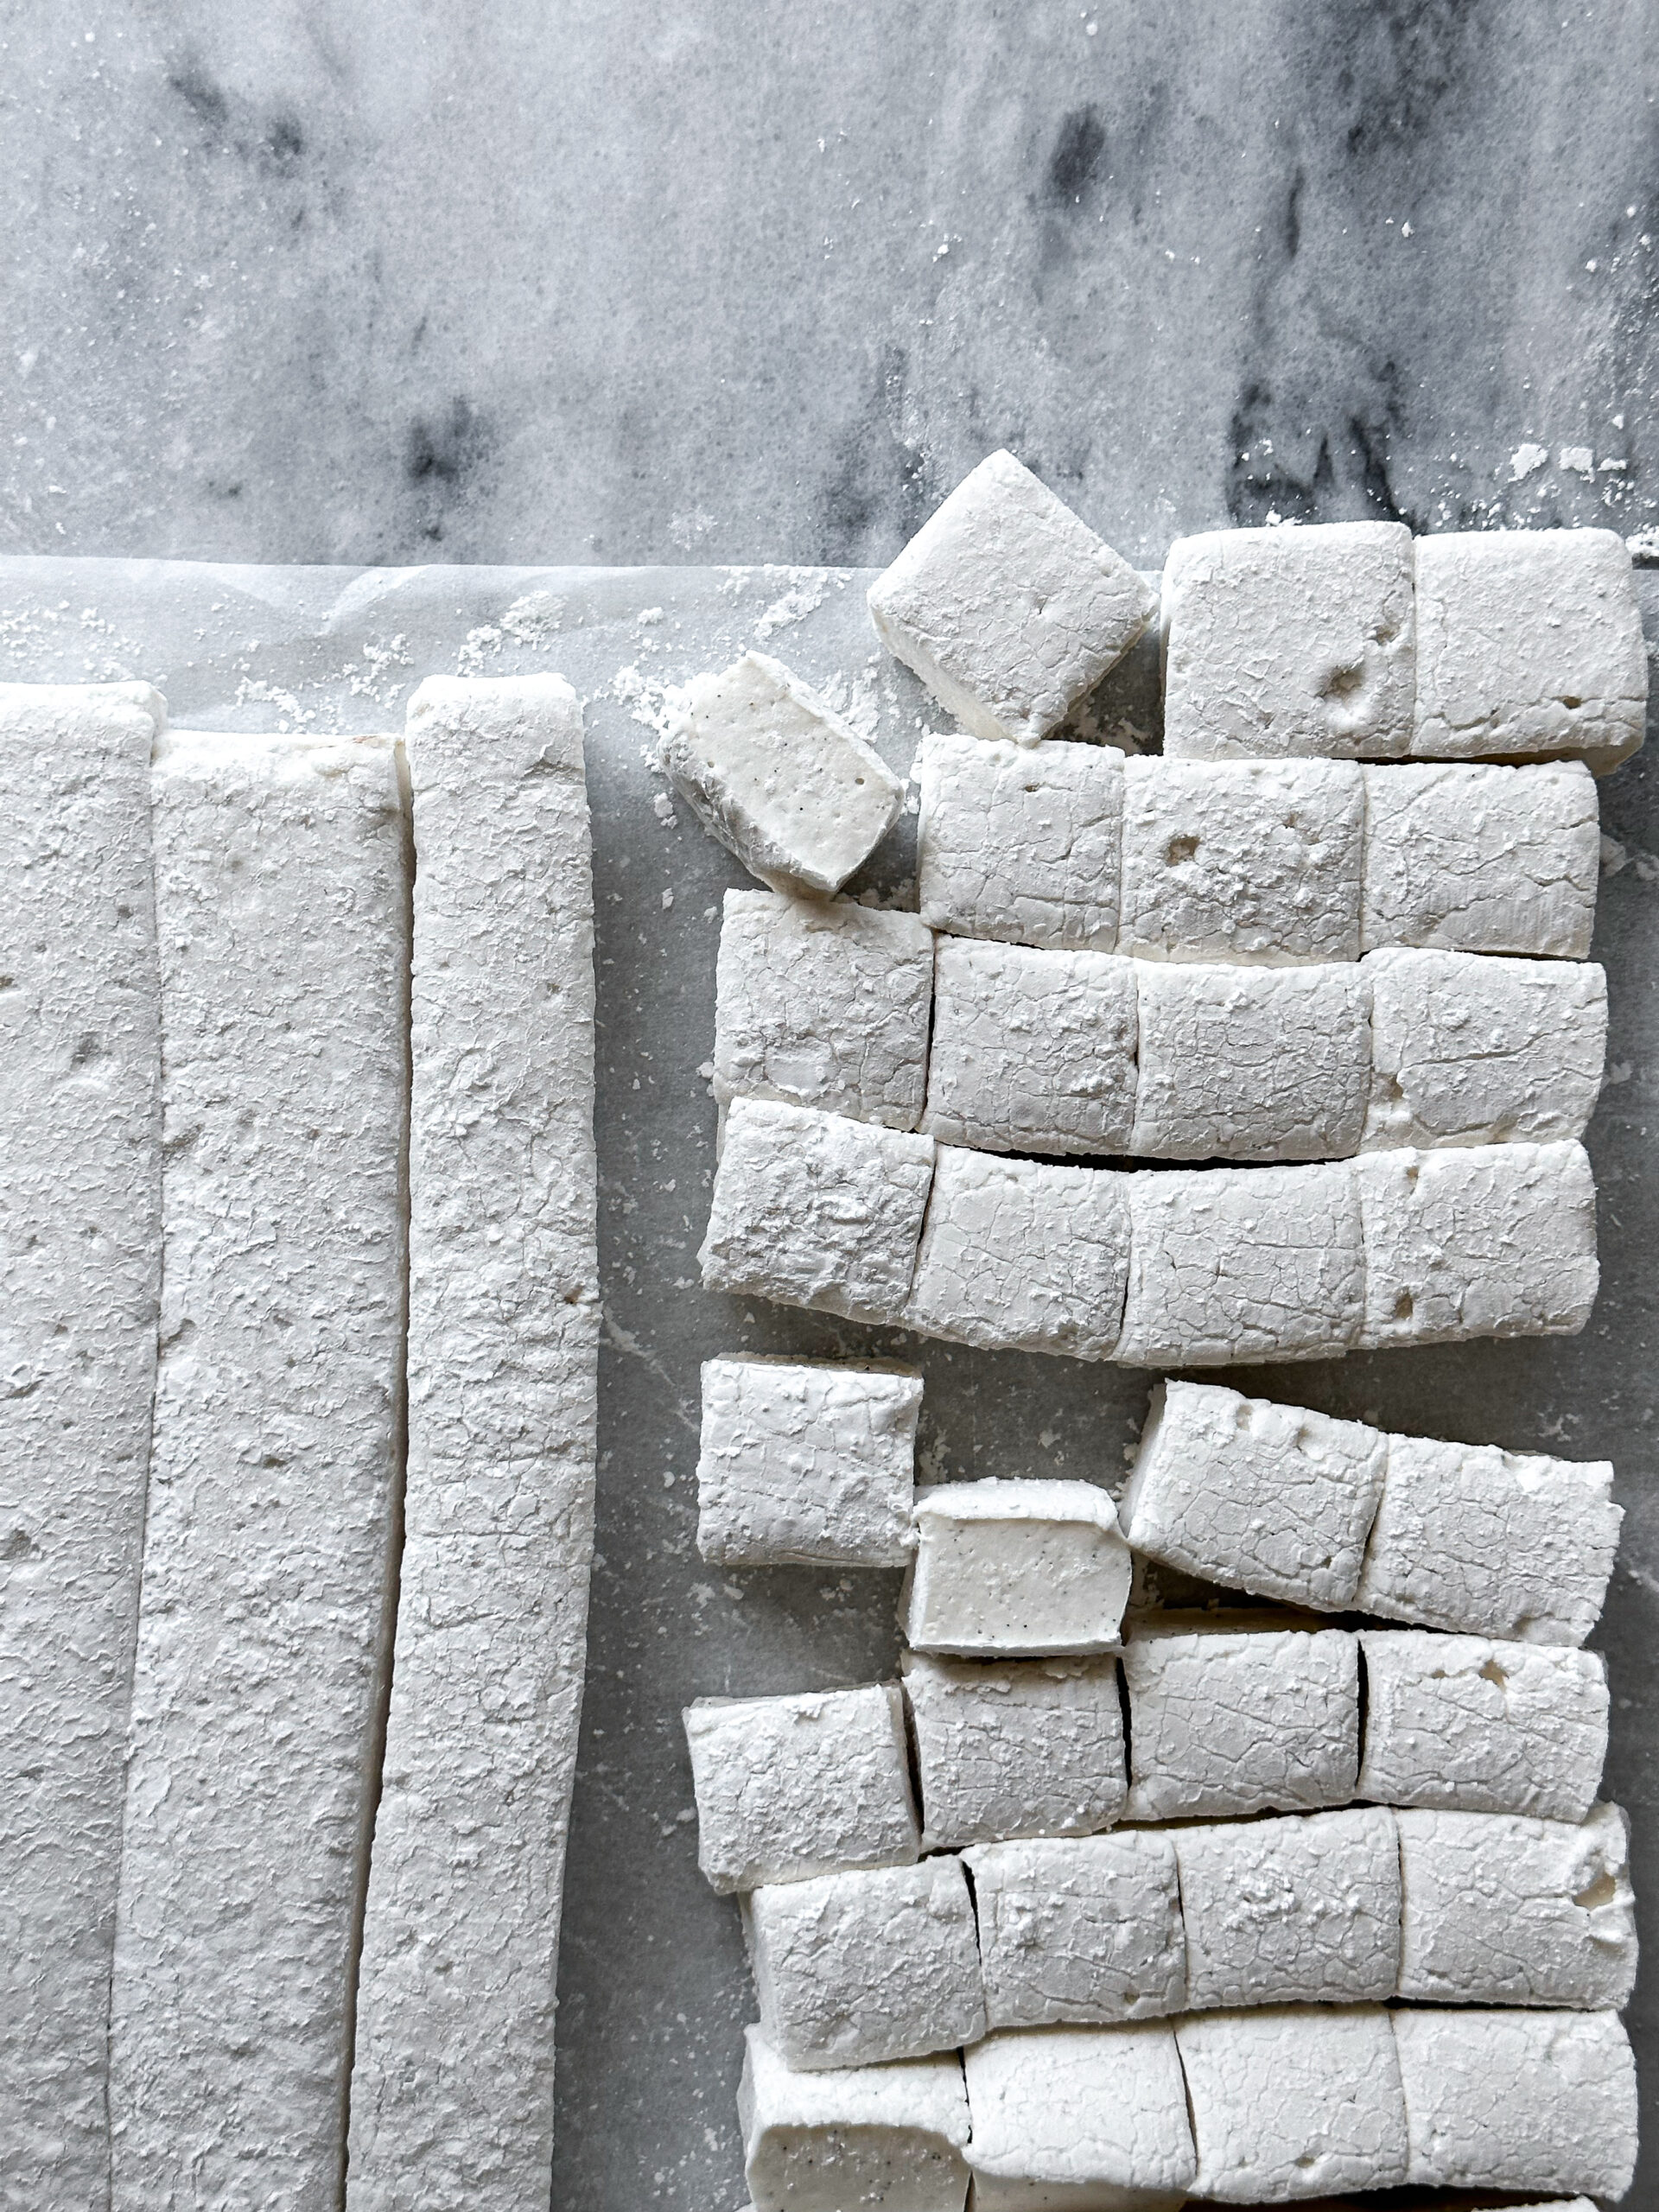
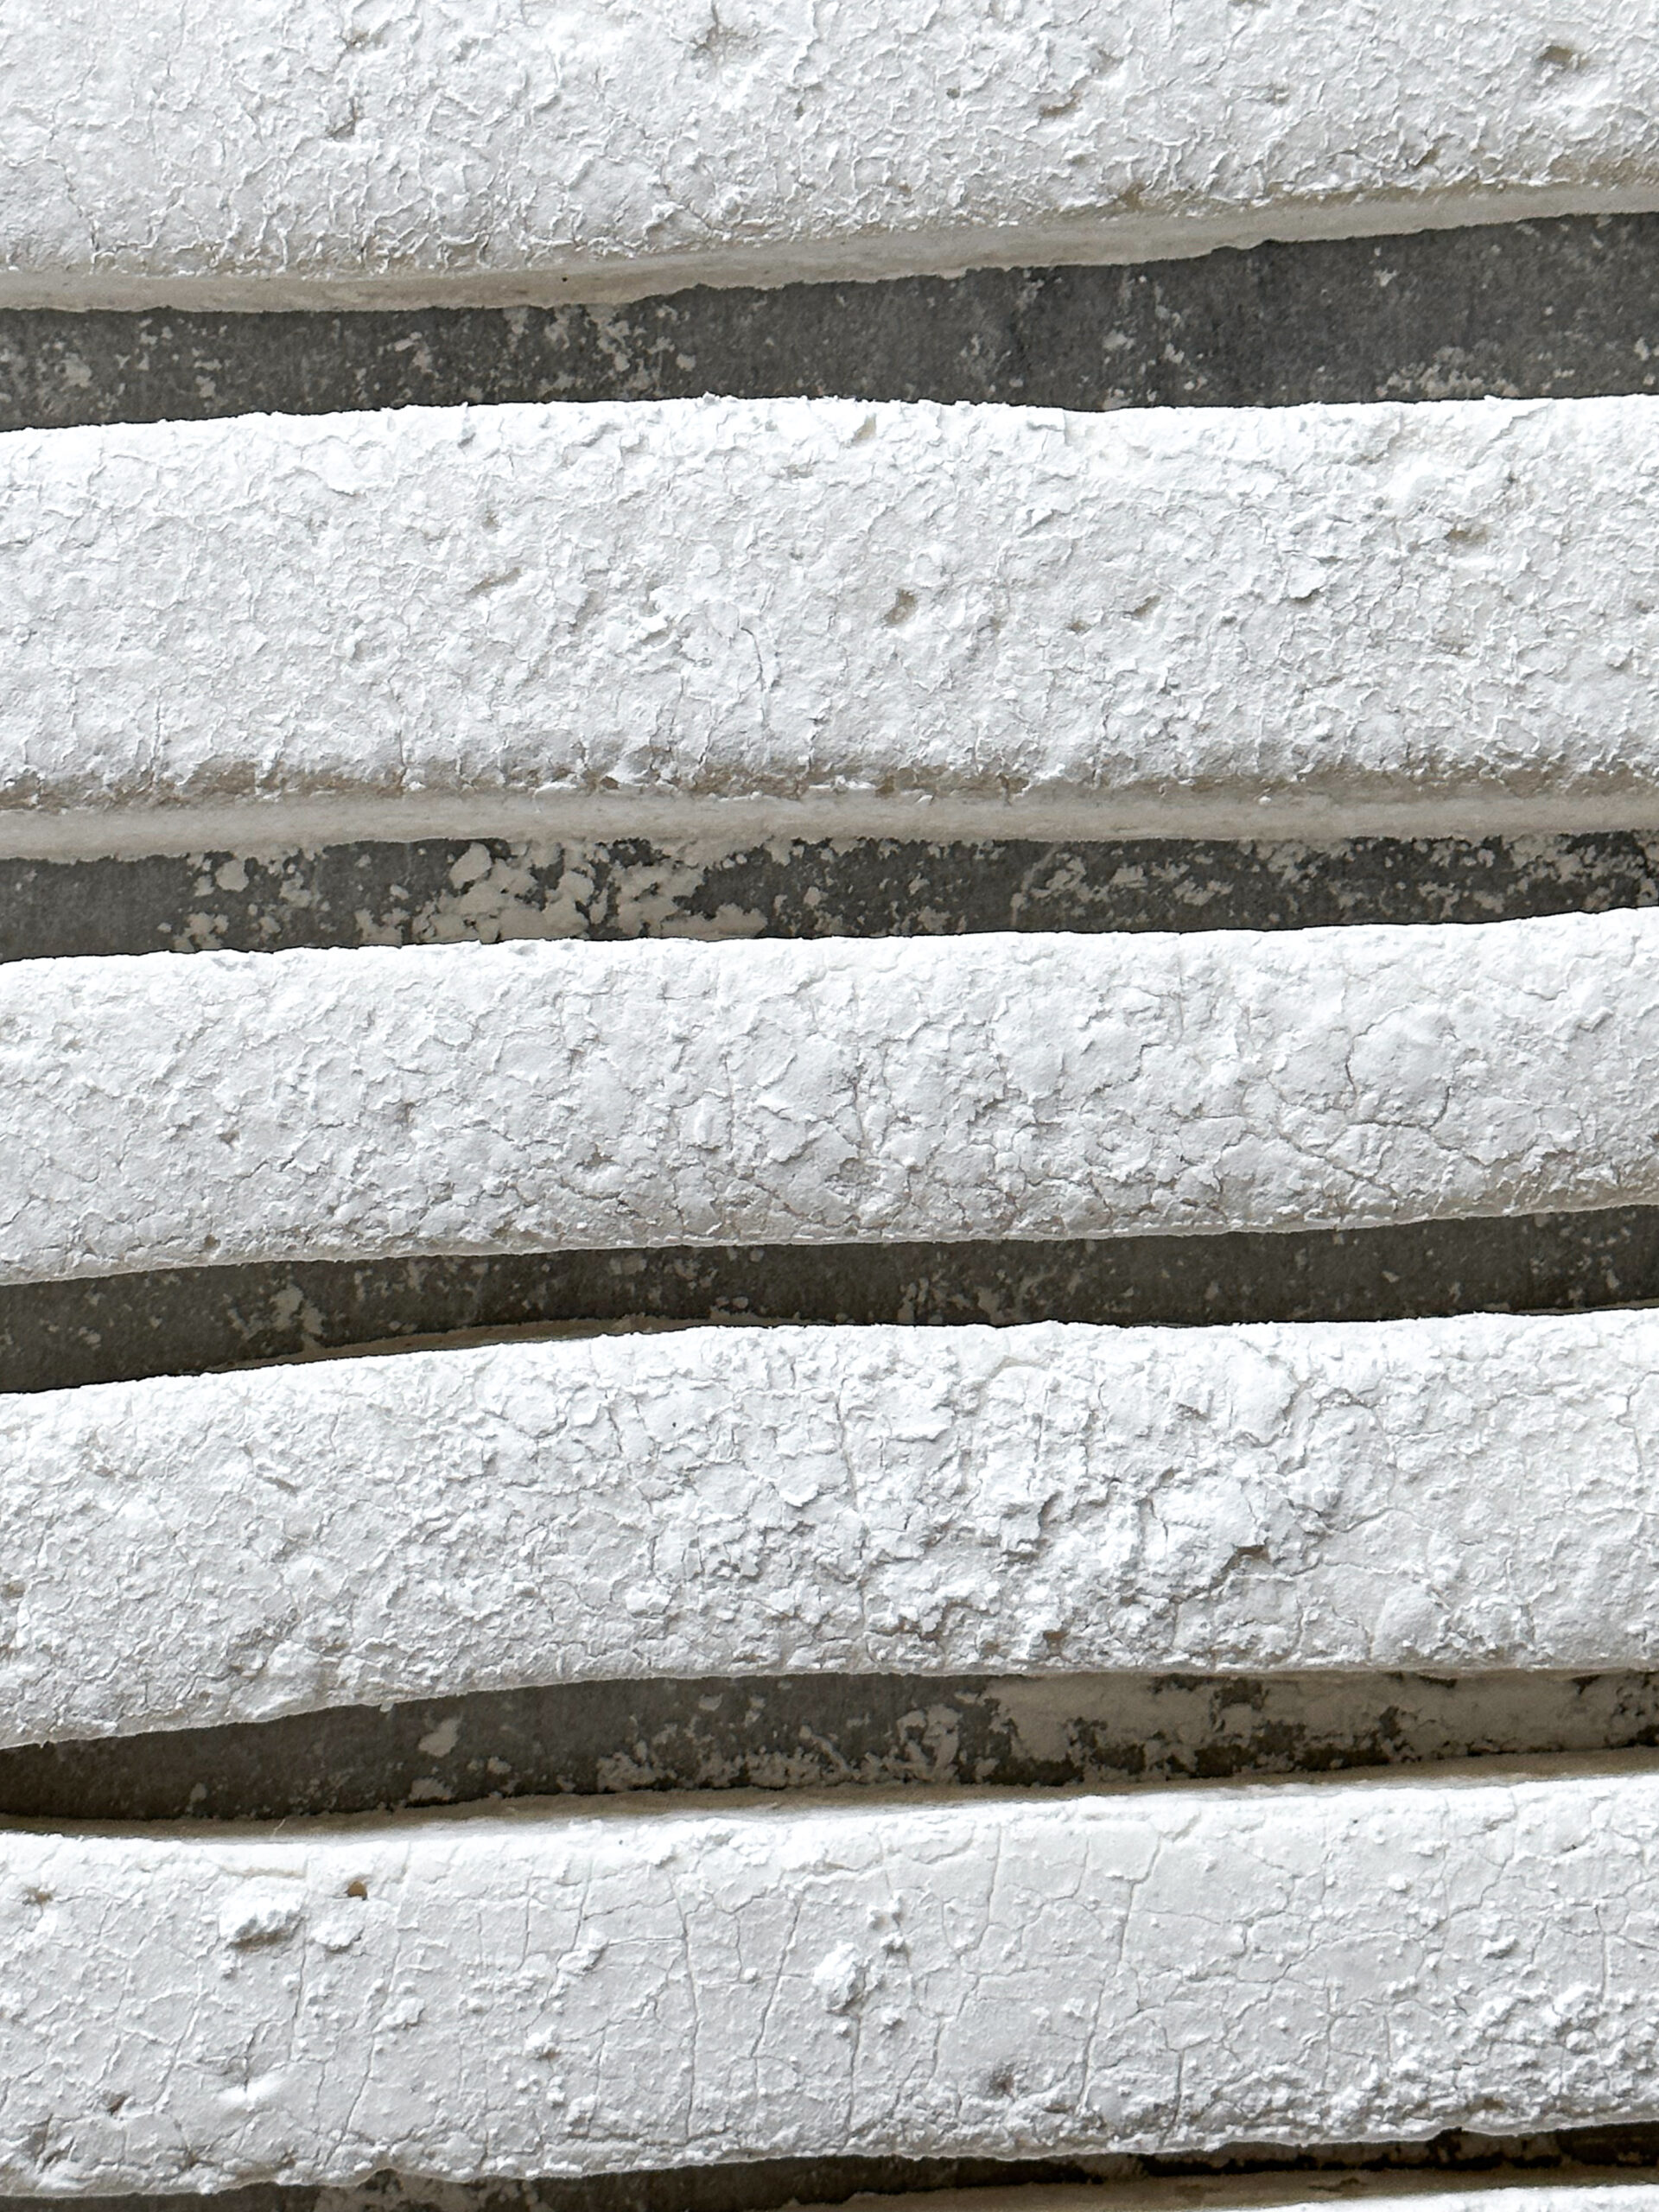
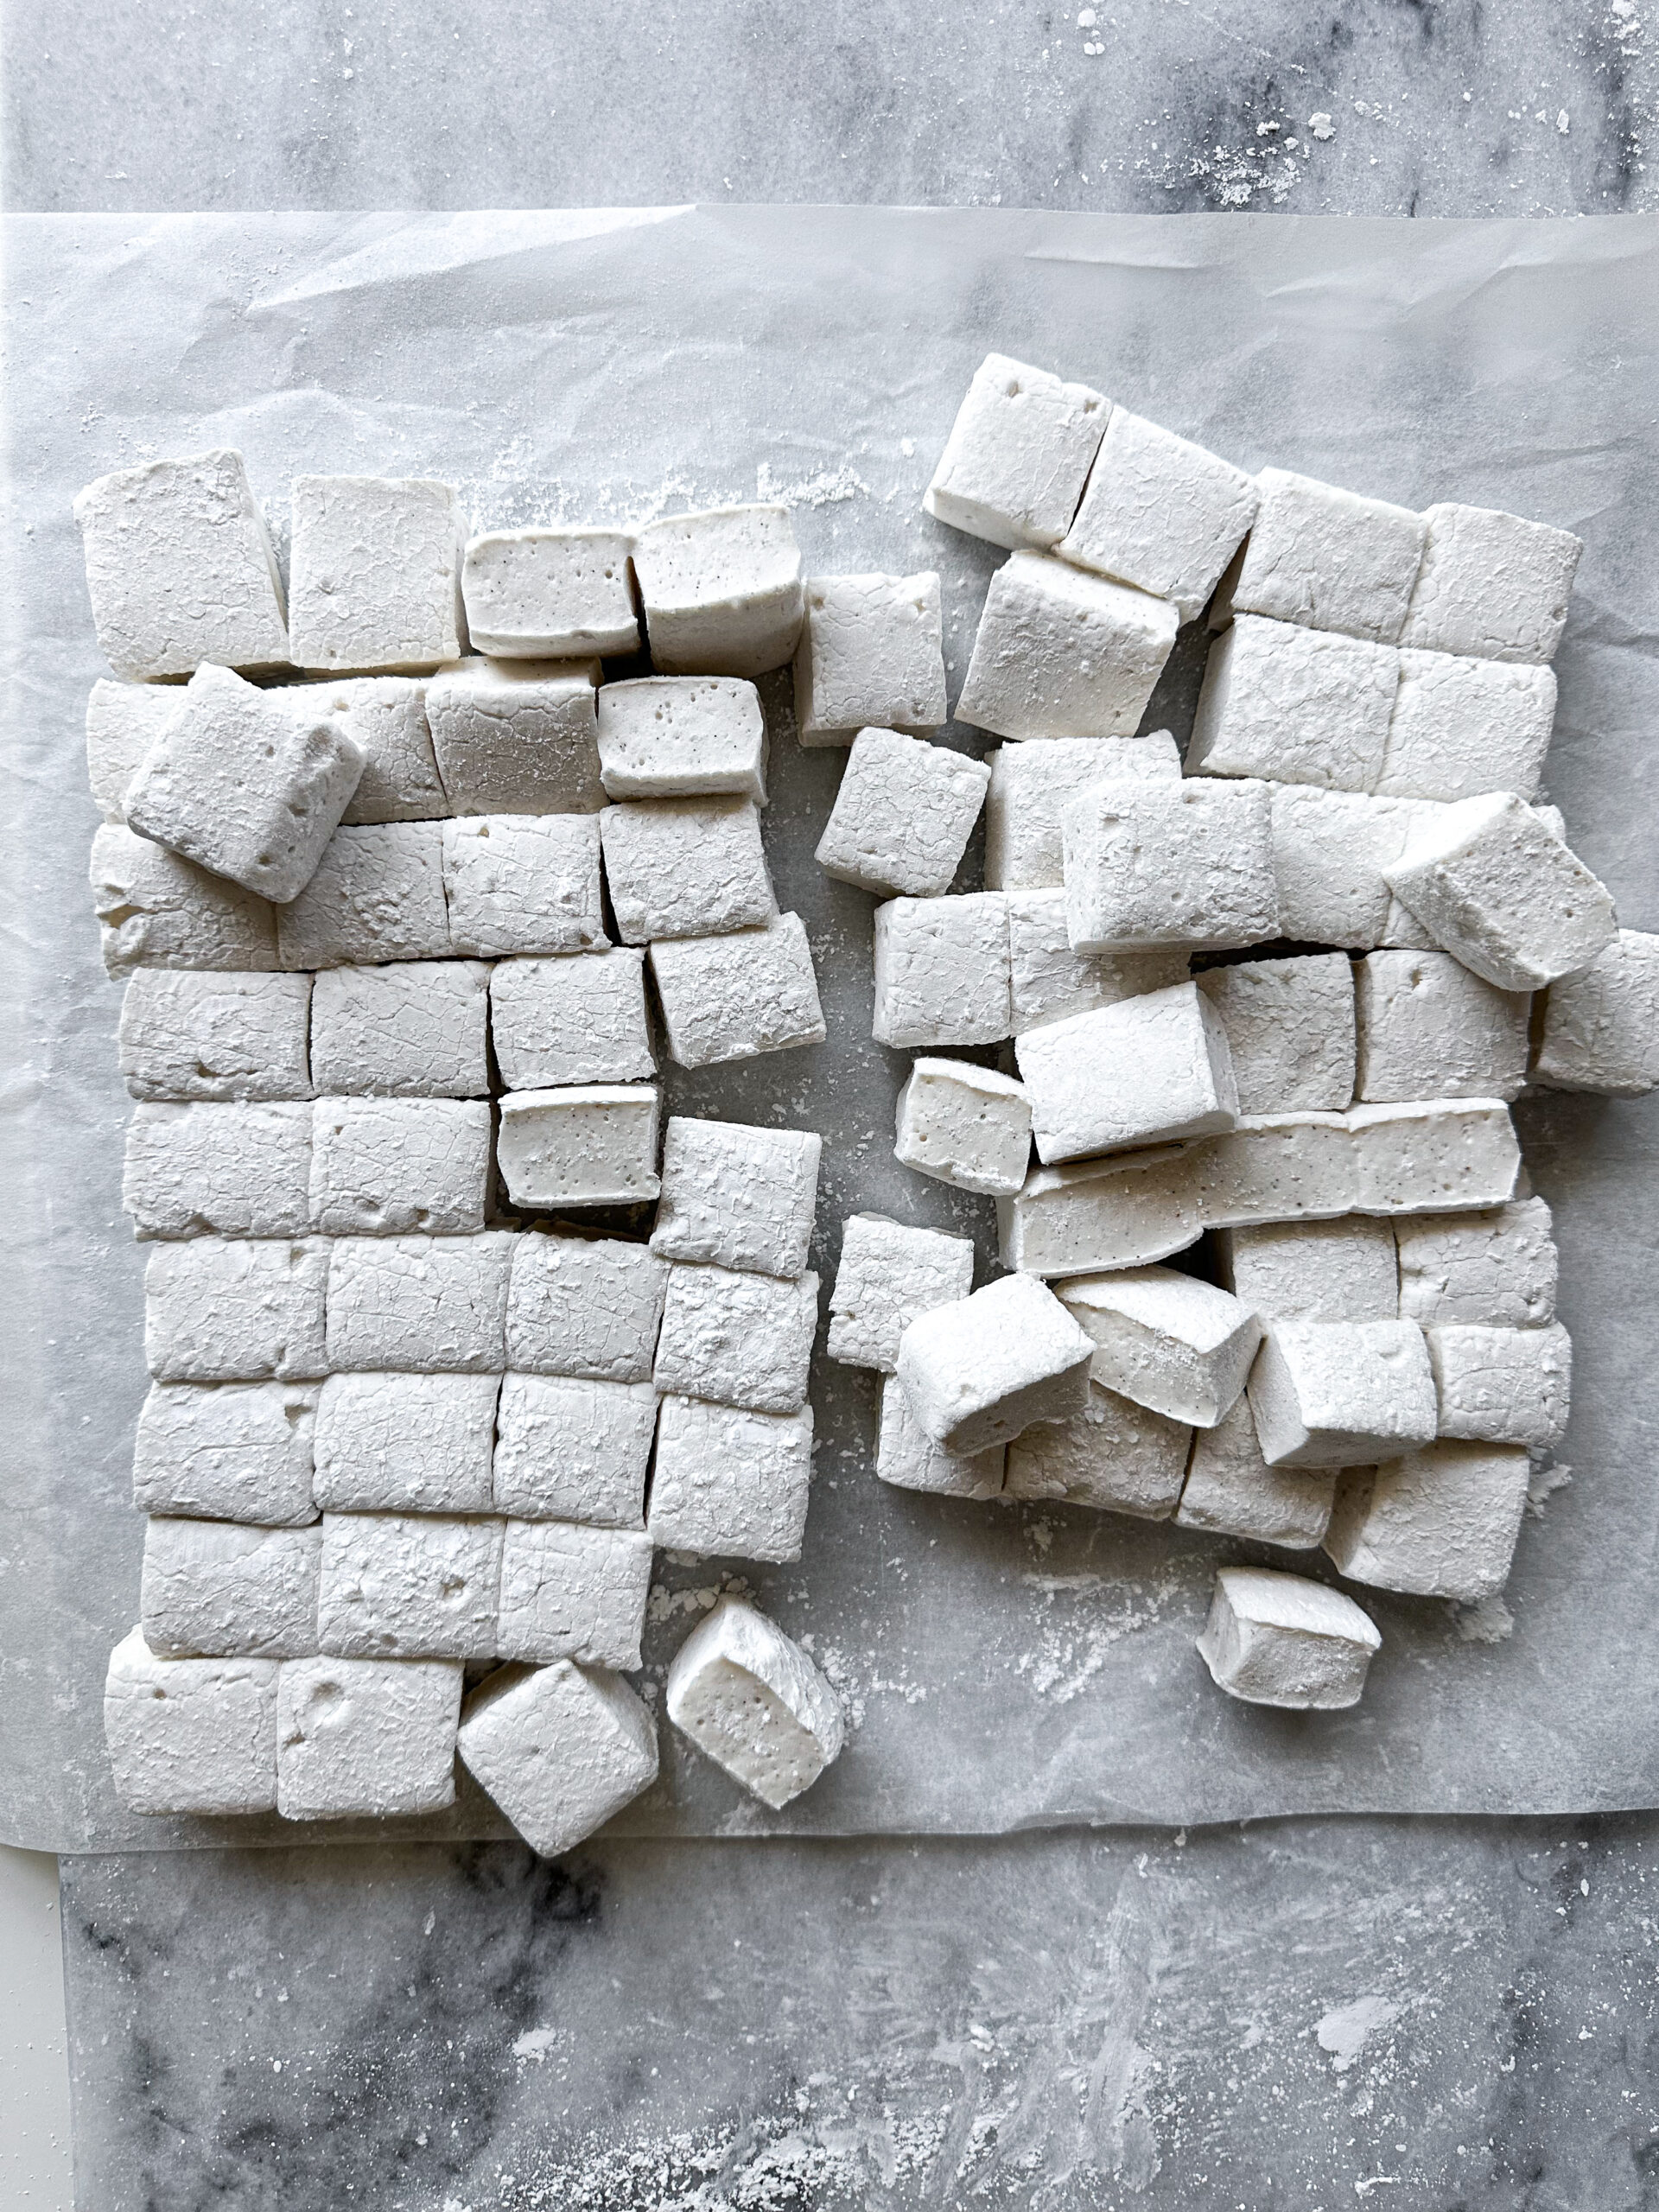
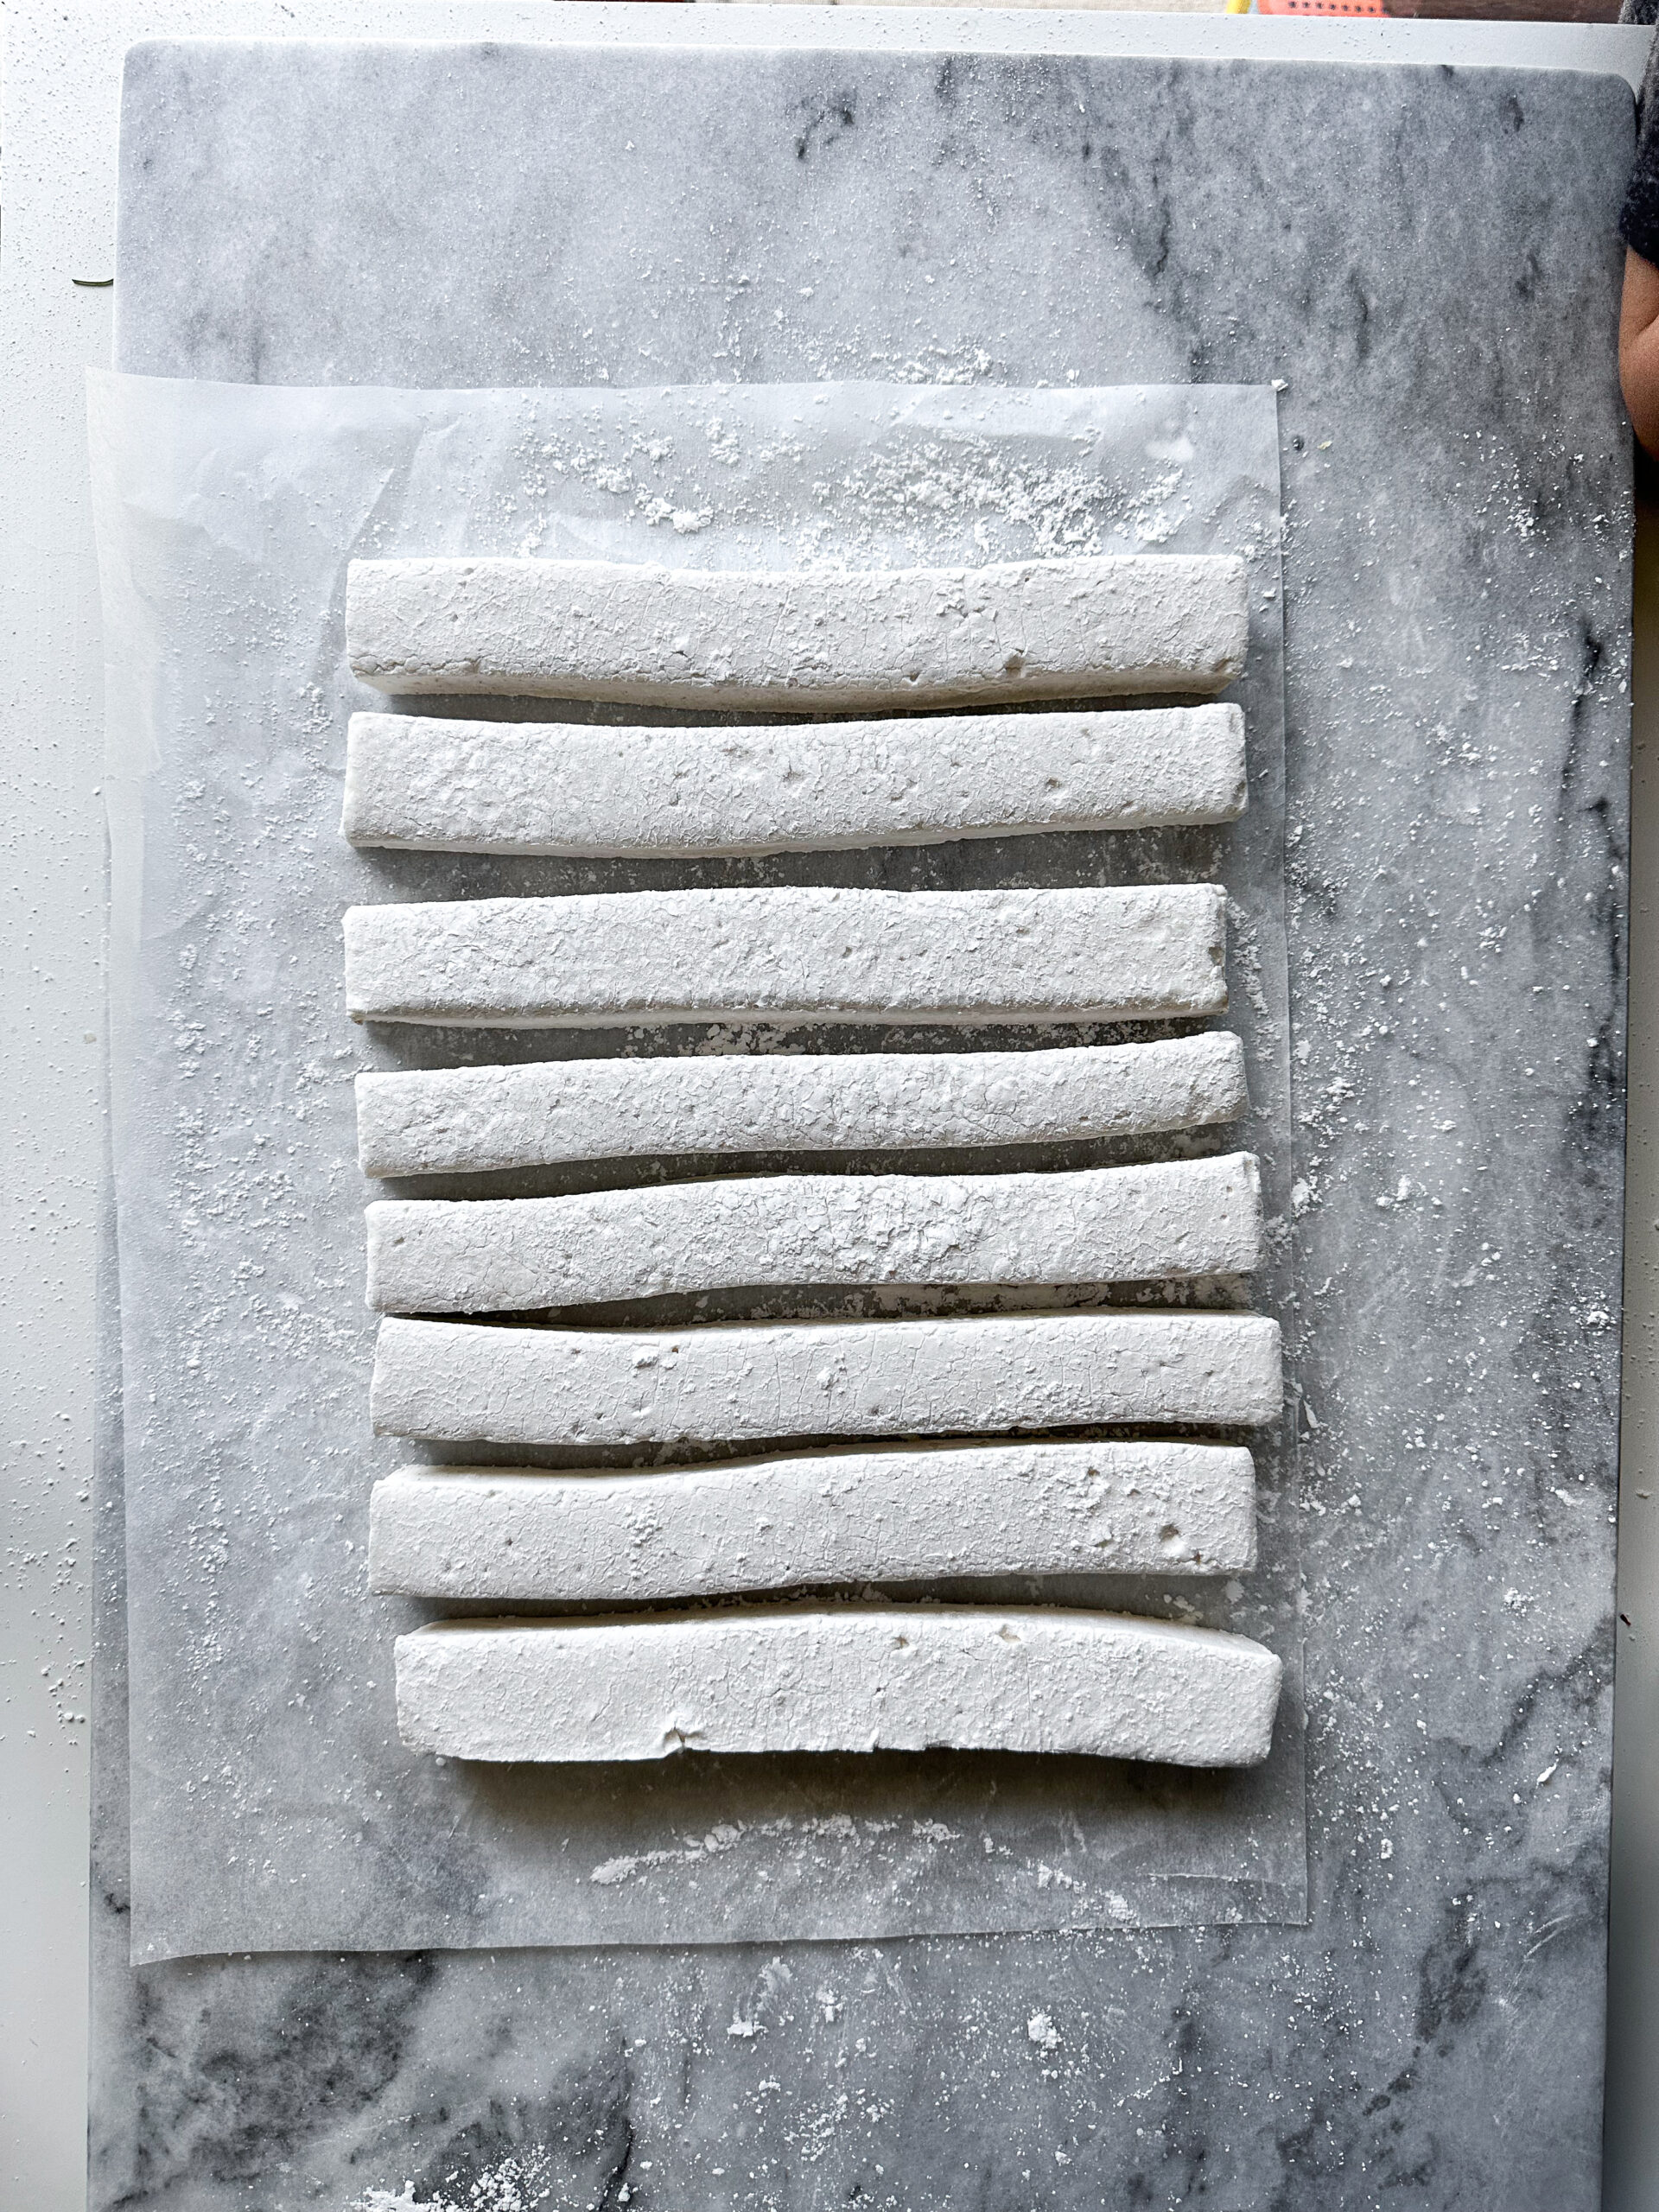
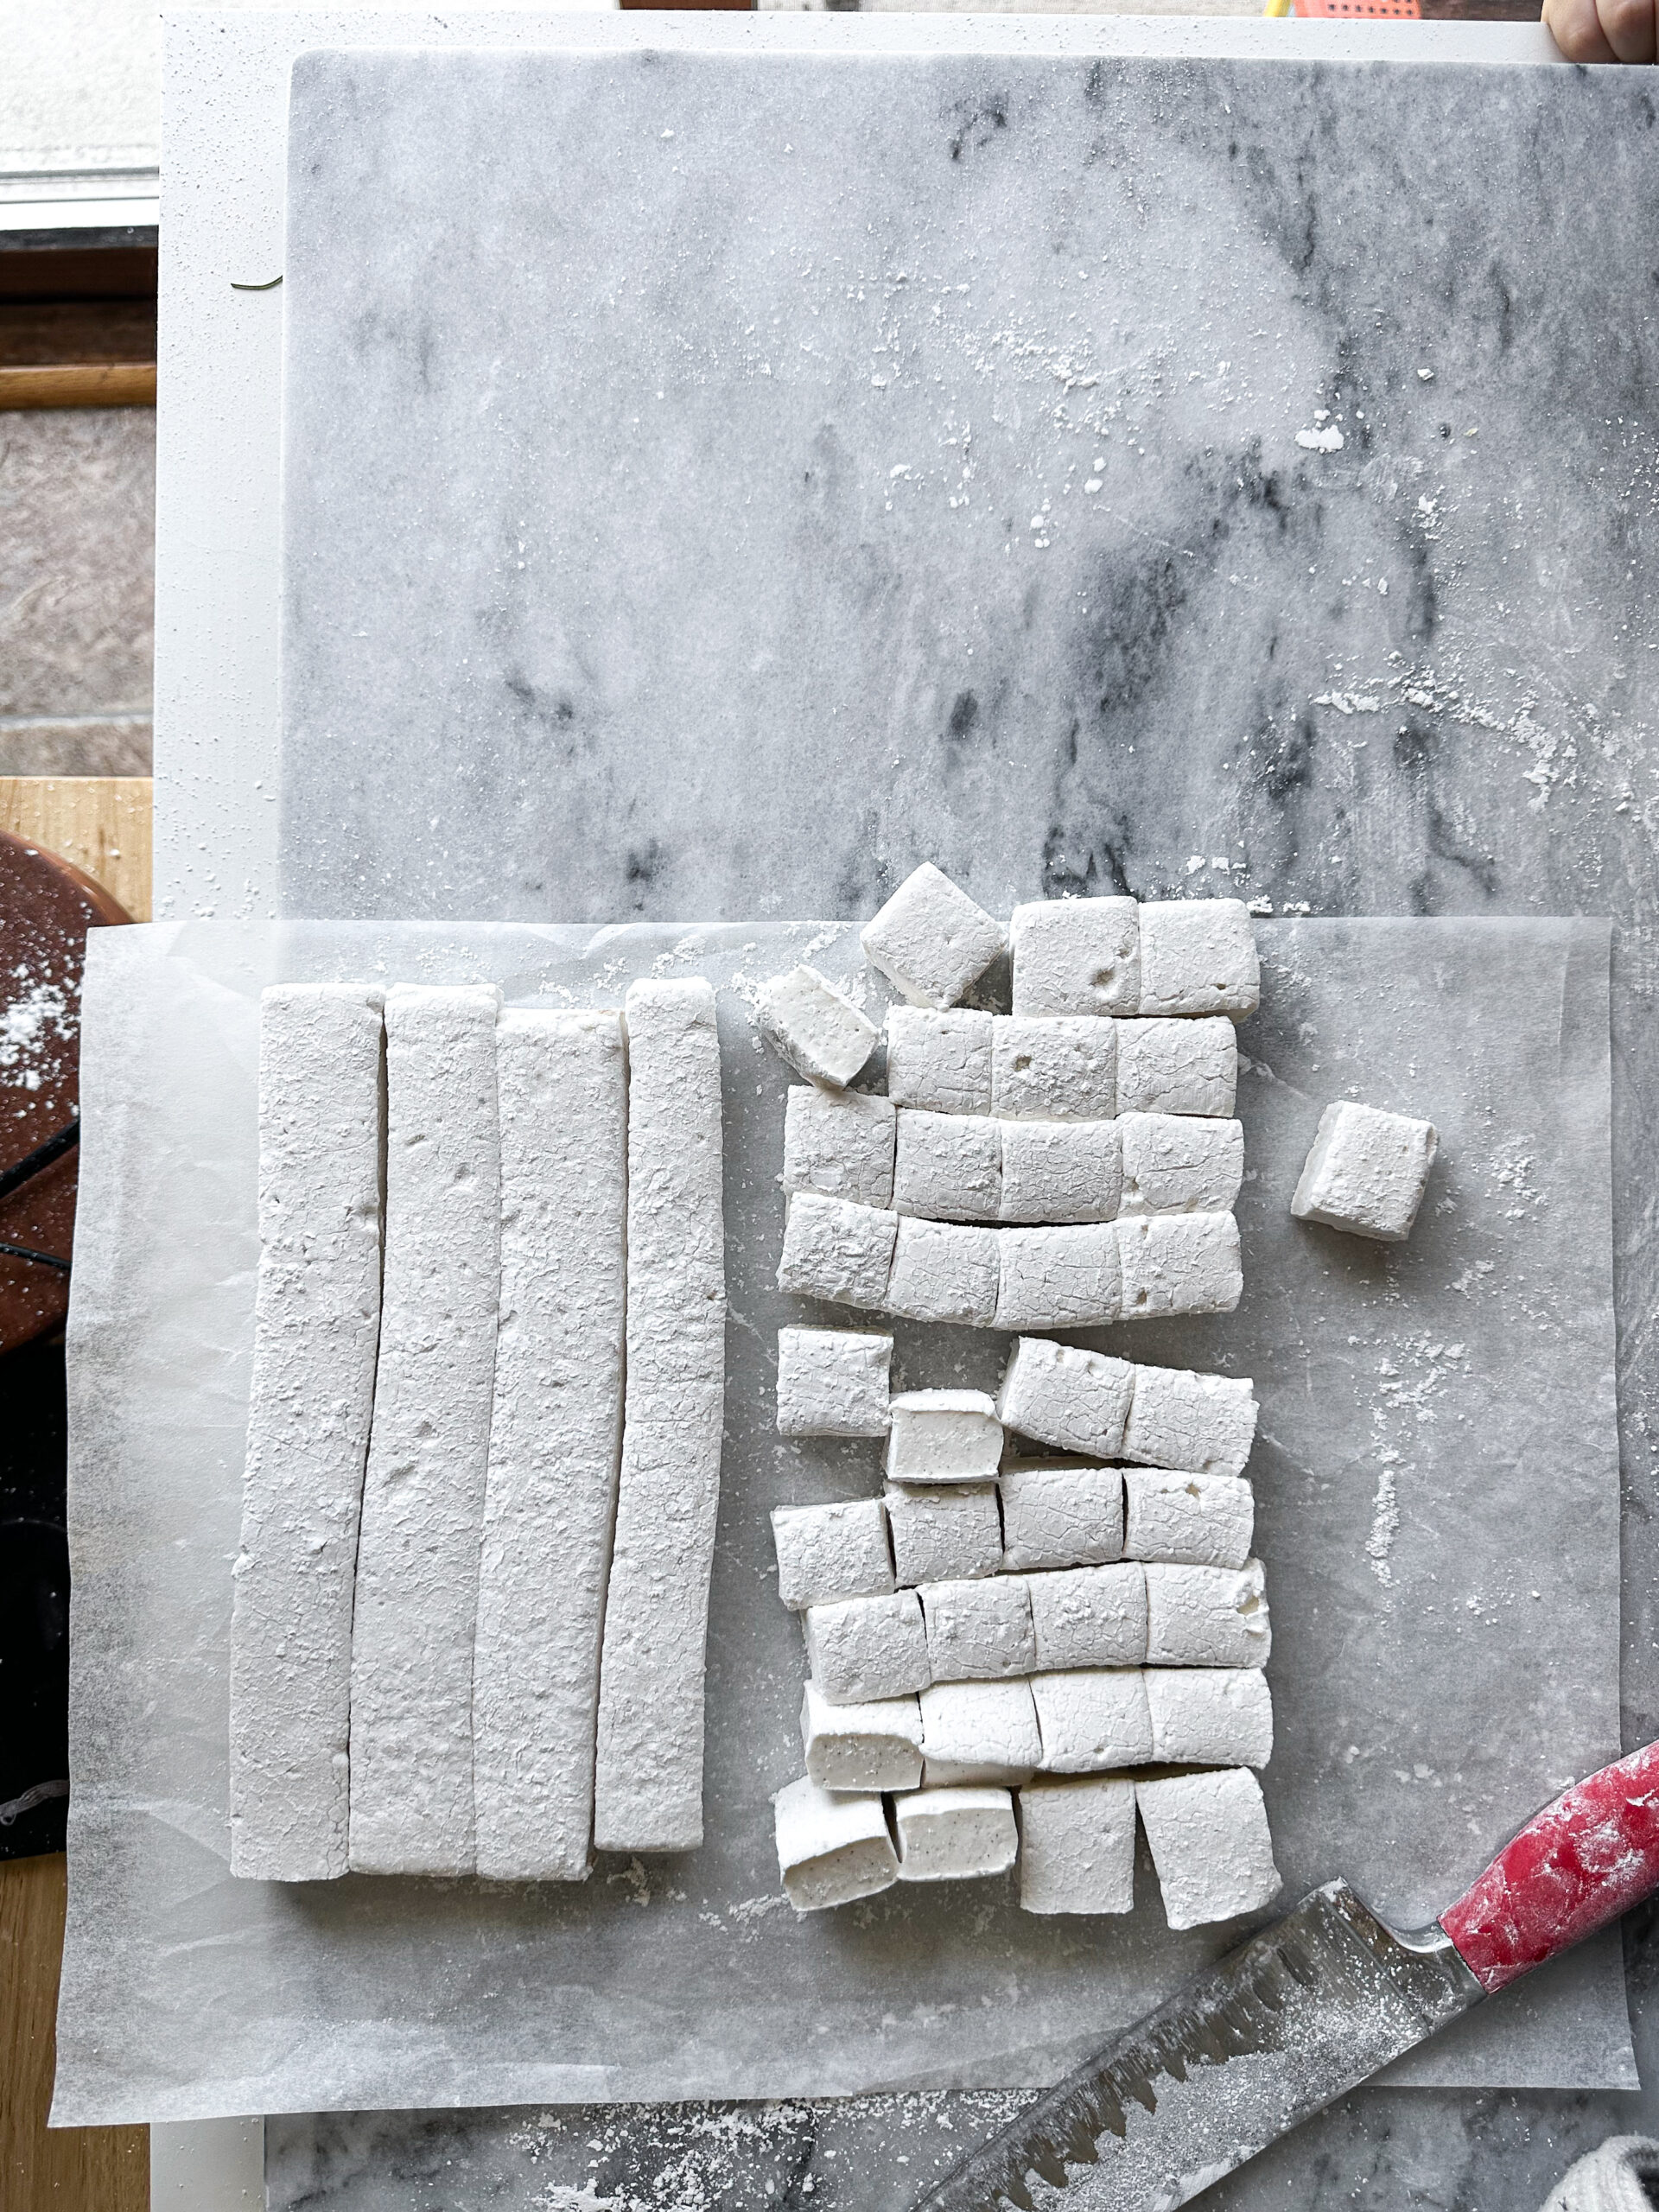
Lightly grease a large knife and cover the blade with the “dust” to prevent sticking. Slice the marshmallow square into even strips. On the cut sides, sprinkle with the “dust”. Cut each strip again in the other direction, creating little squares. On the cut sides, sprinkle with the “dust”.
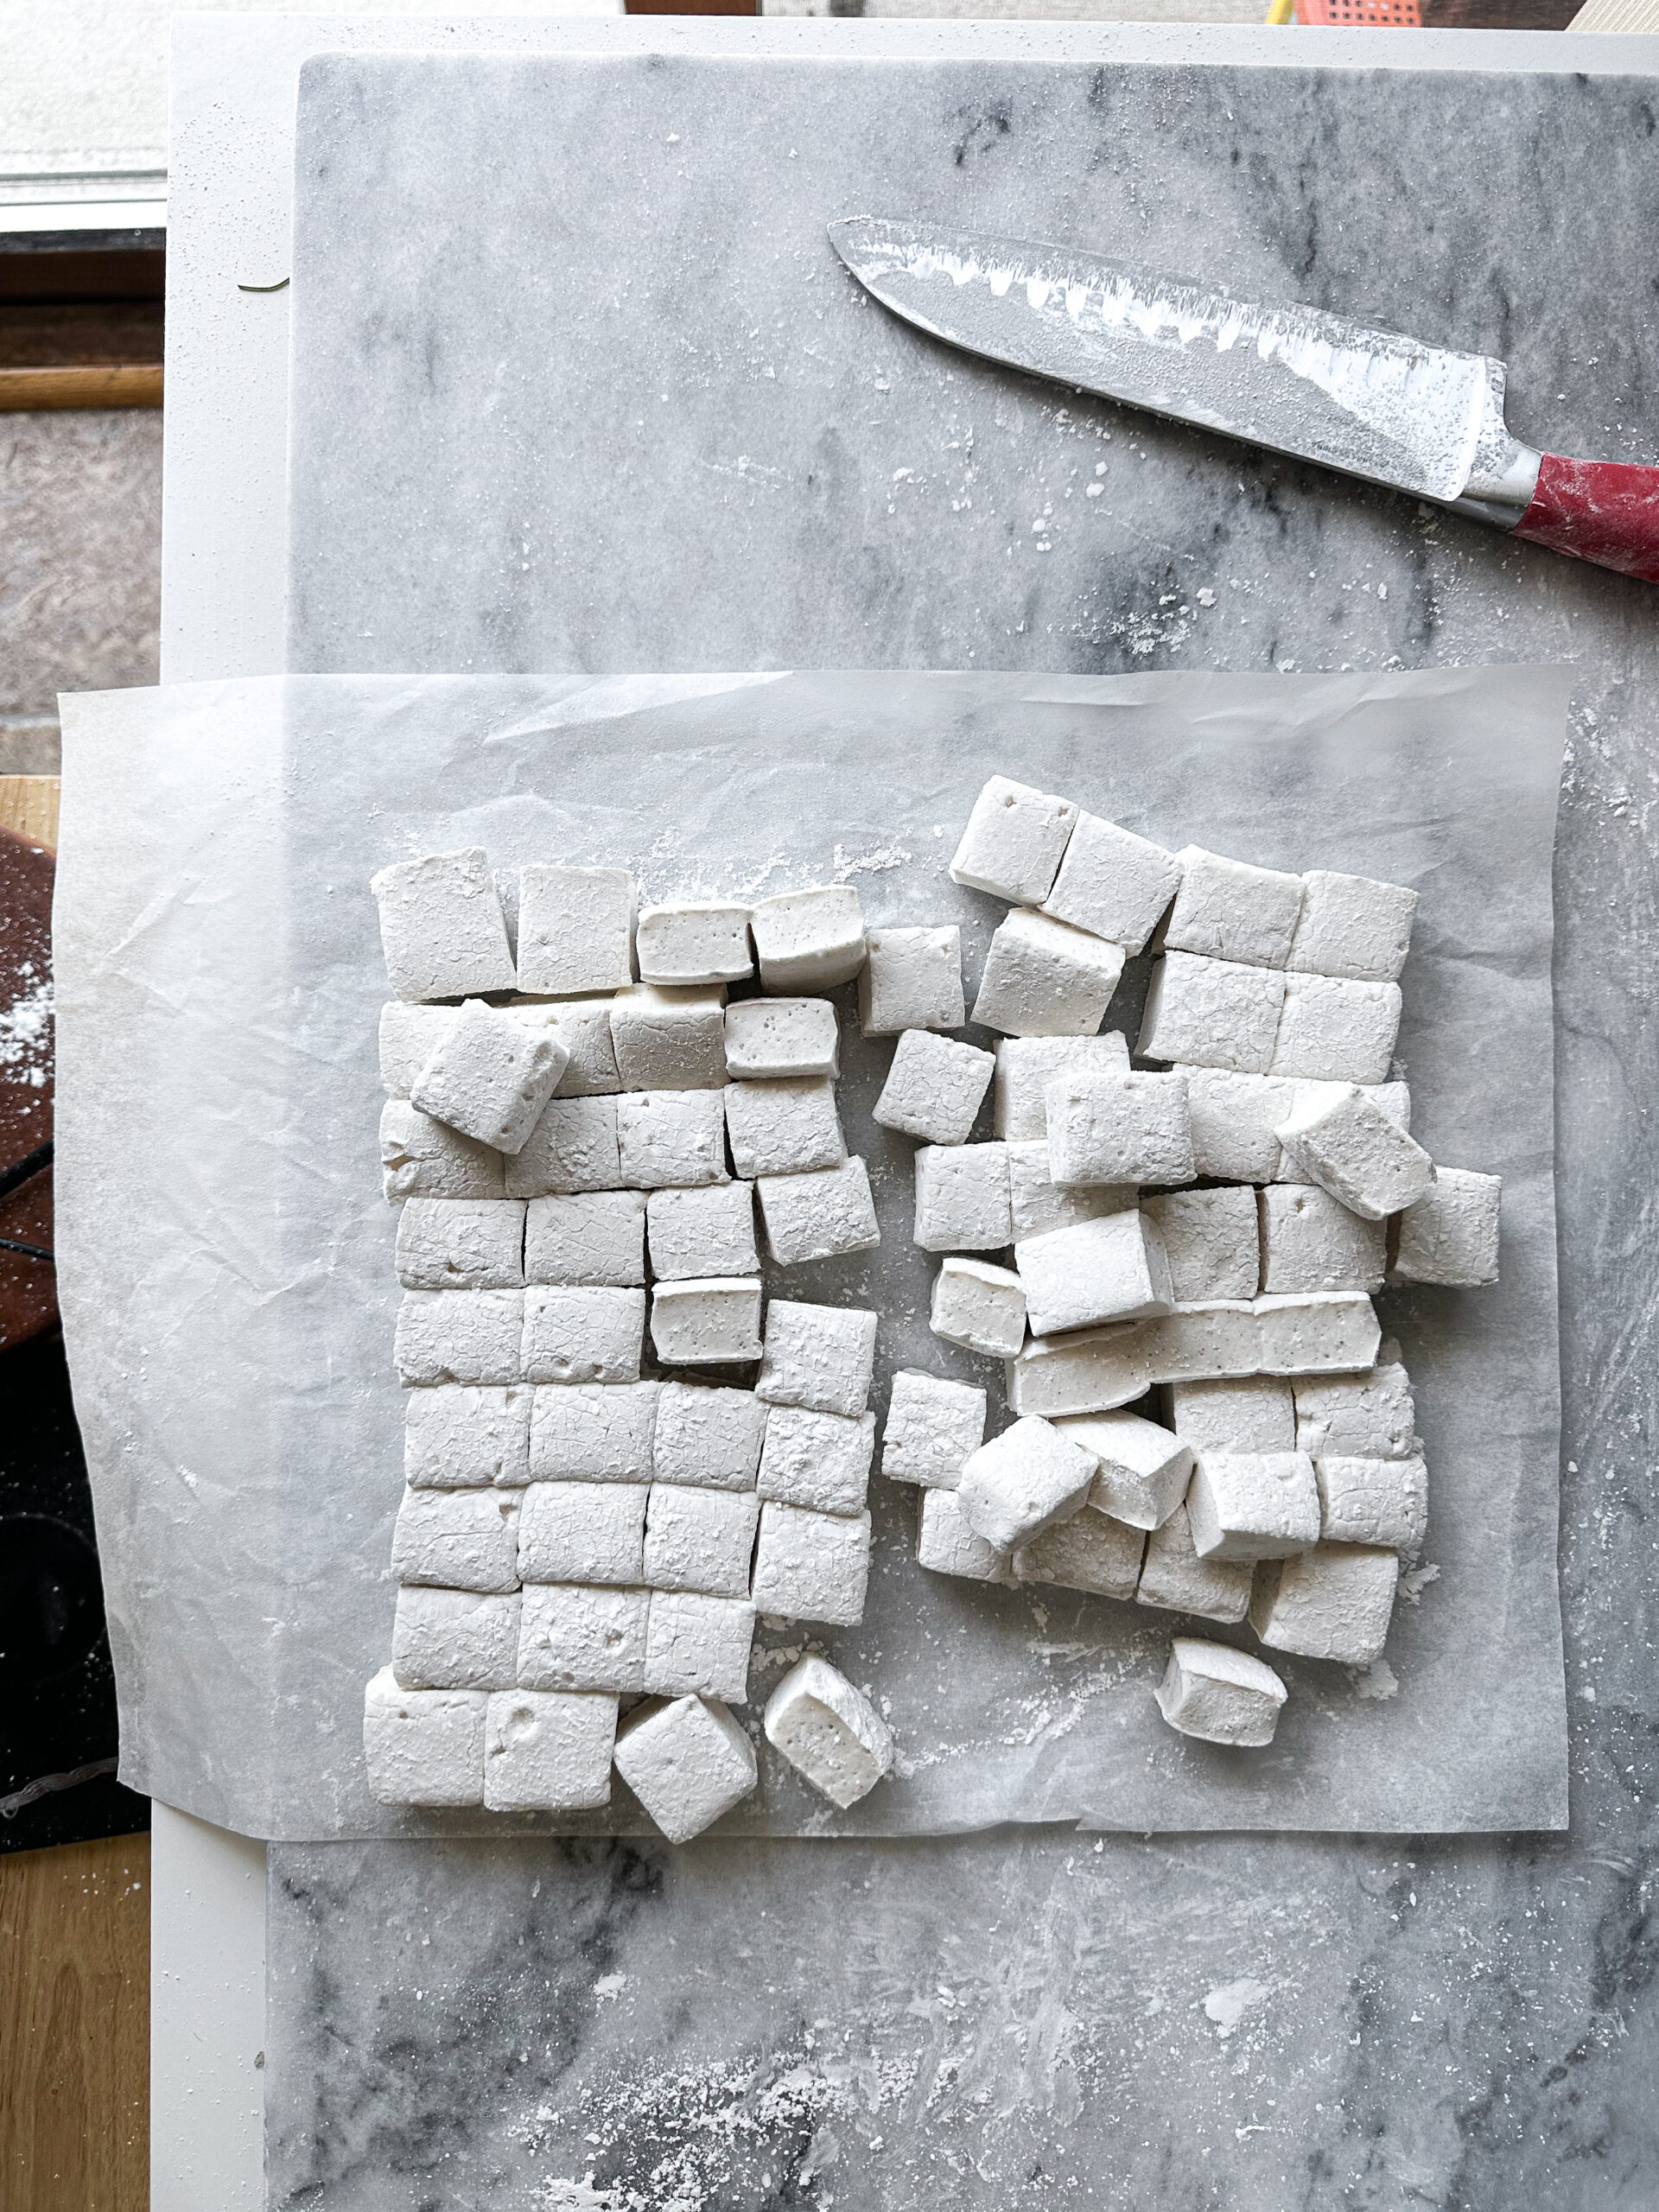
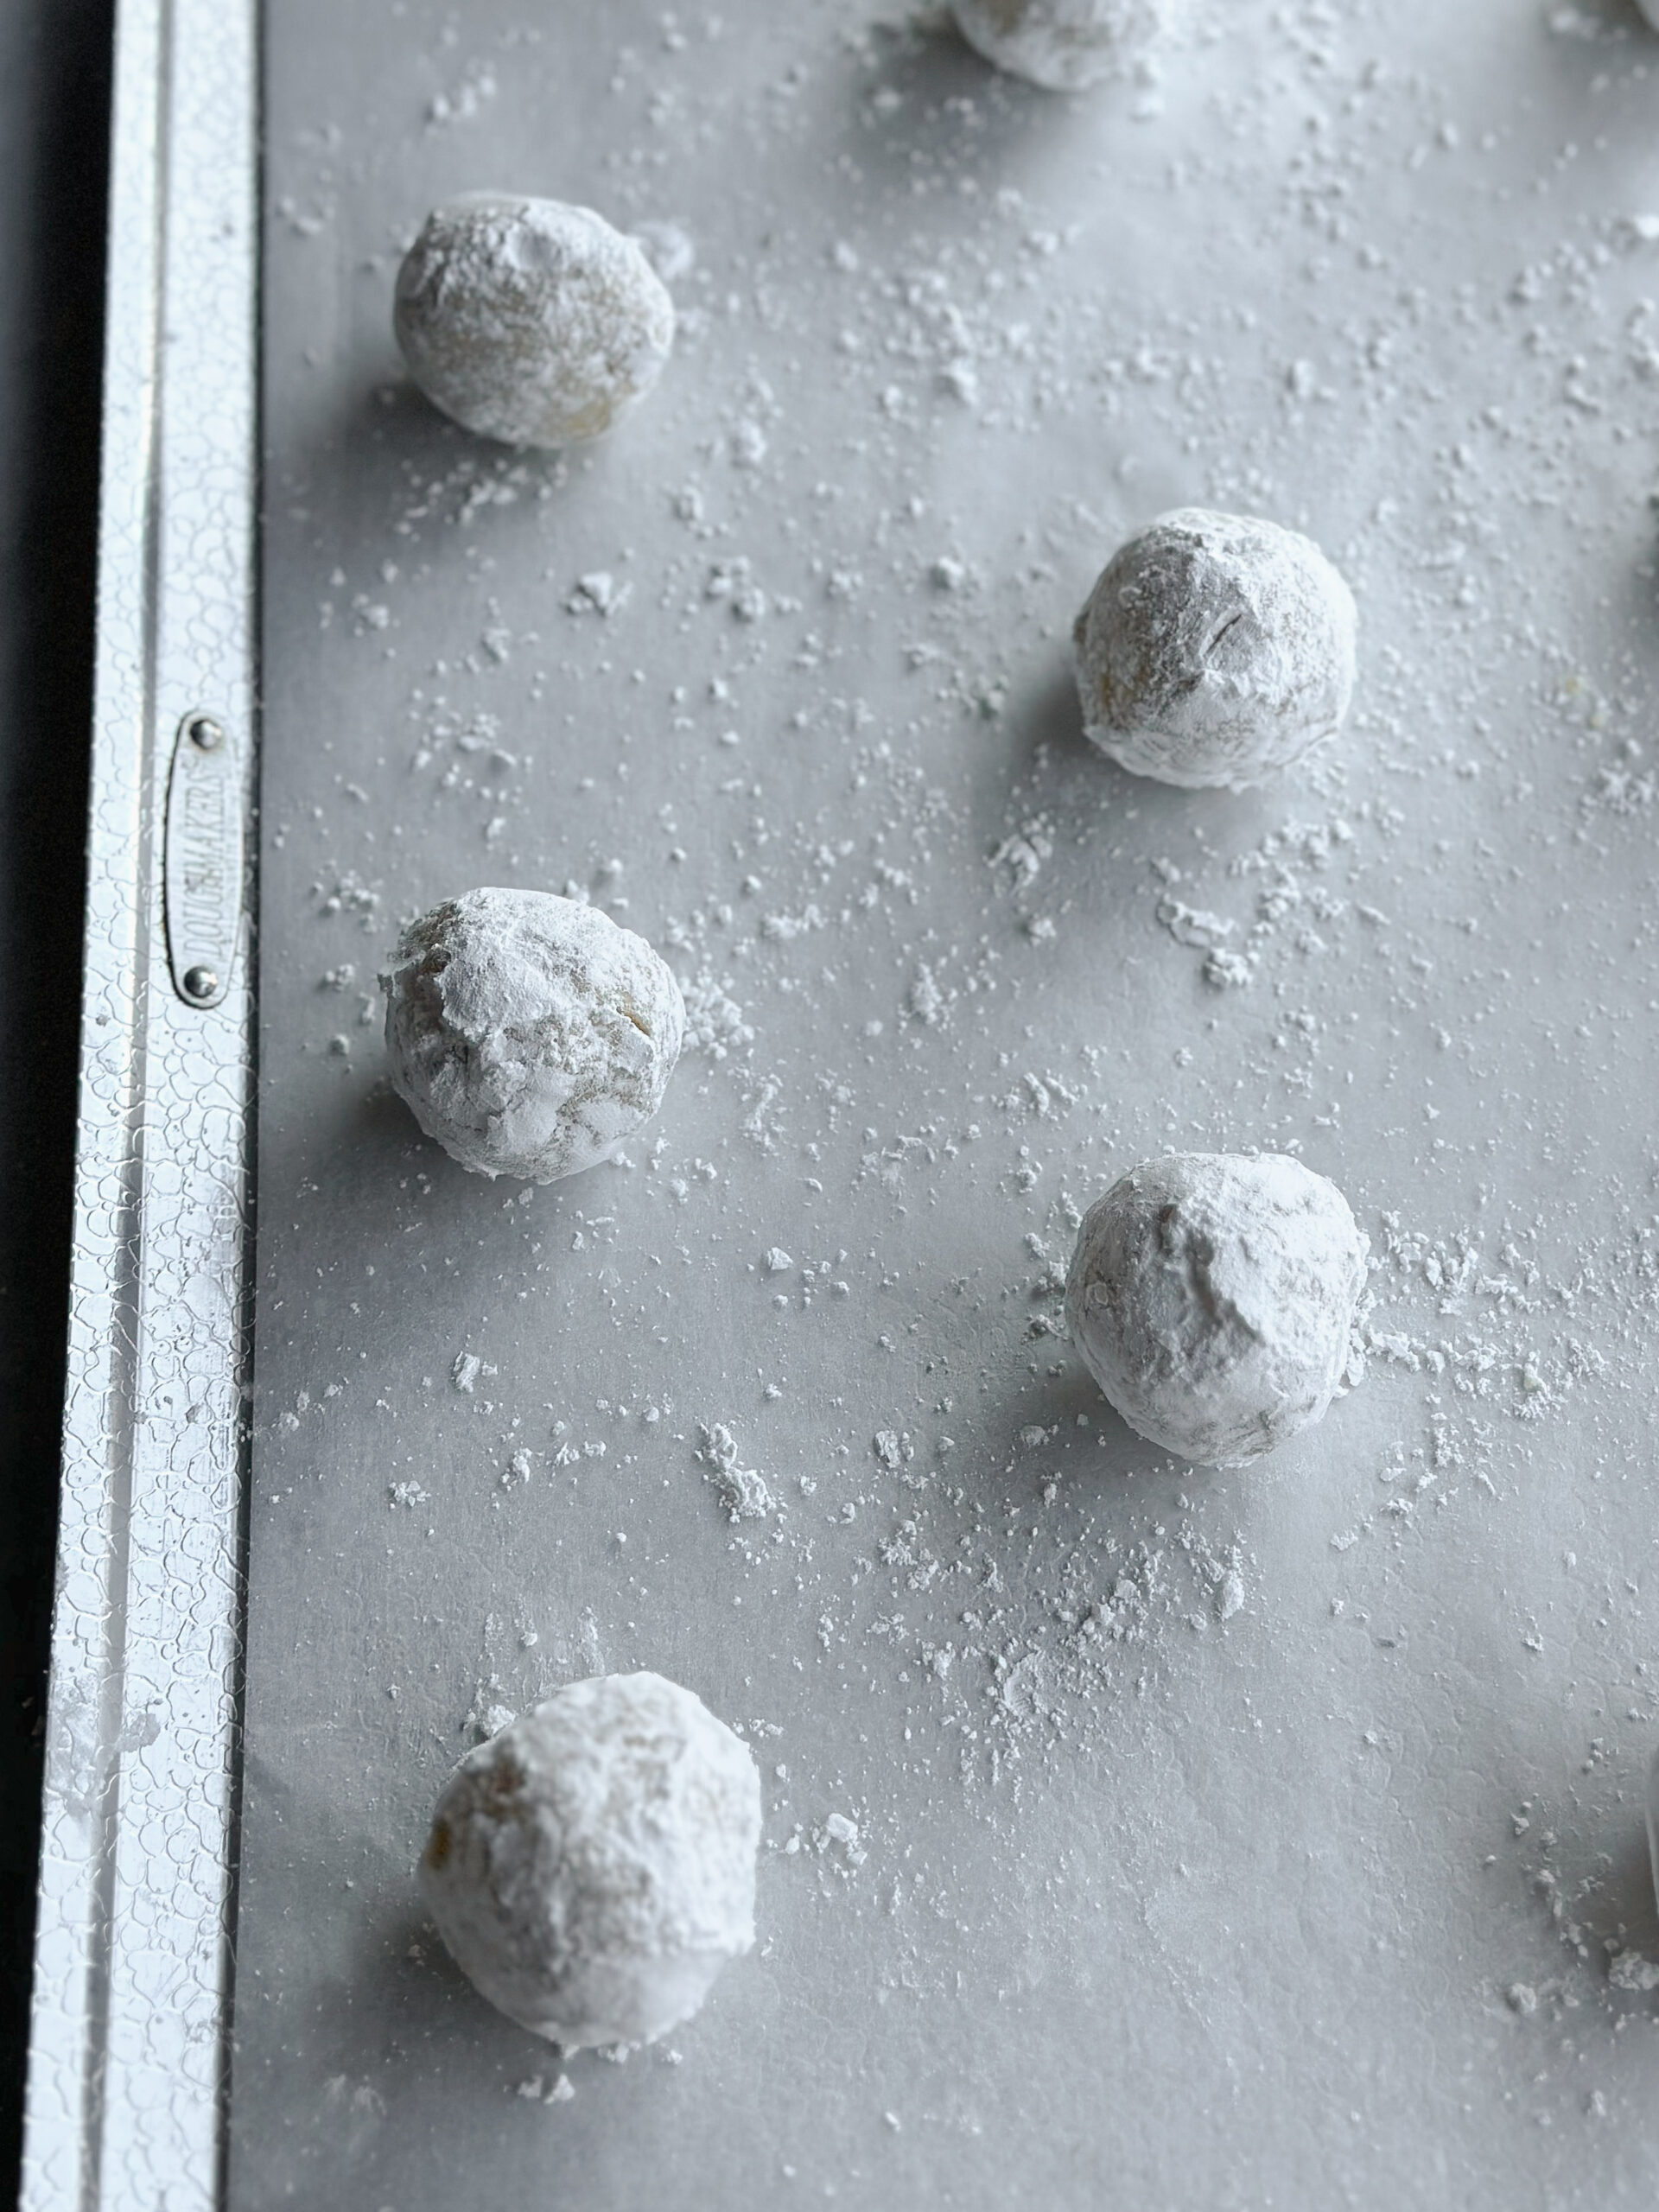
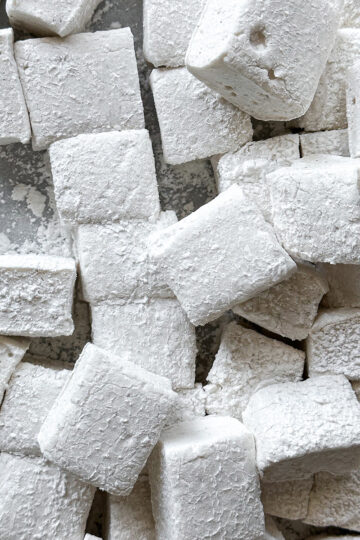
Toss the pile of marshmallows with more of the “dust” to ensure that all the sticky edges are covered. Store them in an airtight container for about three weeks (if they last that long!).
Depending on how many strips you cut, you can get about 72-81 marshmallows in a 9″x9″ pan.
success tips for making homemade marshmallows
- Use a thermometer to take the temperature of your sugar. Don’t eyeball it, because you won’t be able to know. The temperature of the sugar syrup needs to be at 238 F to 240 F.
- Use the dust liberally.
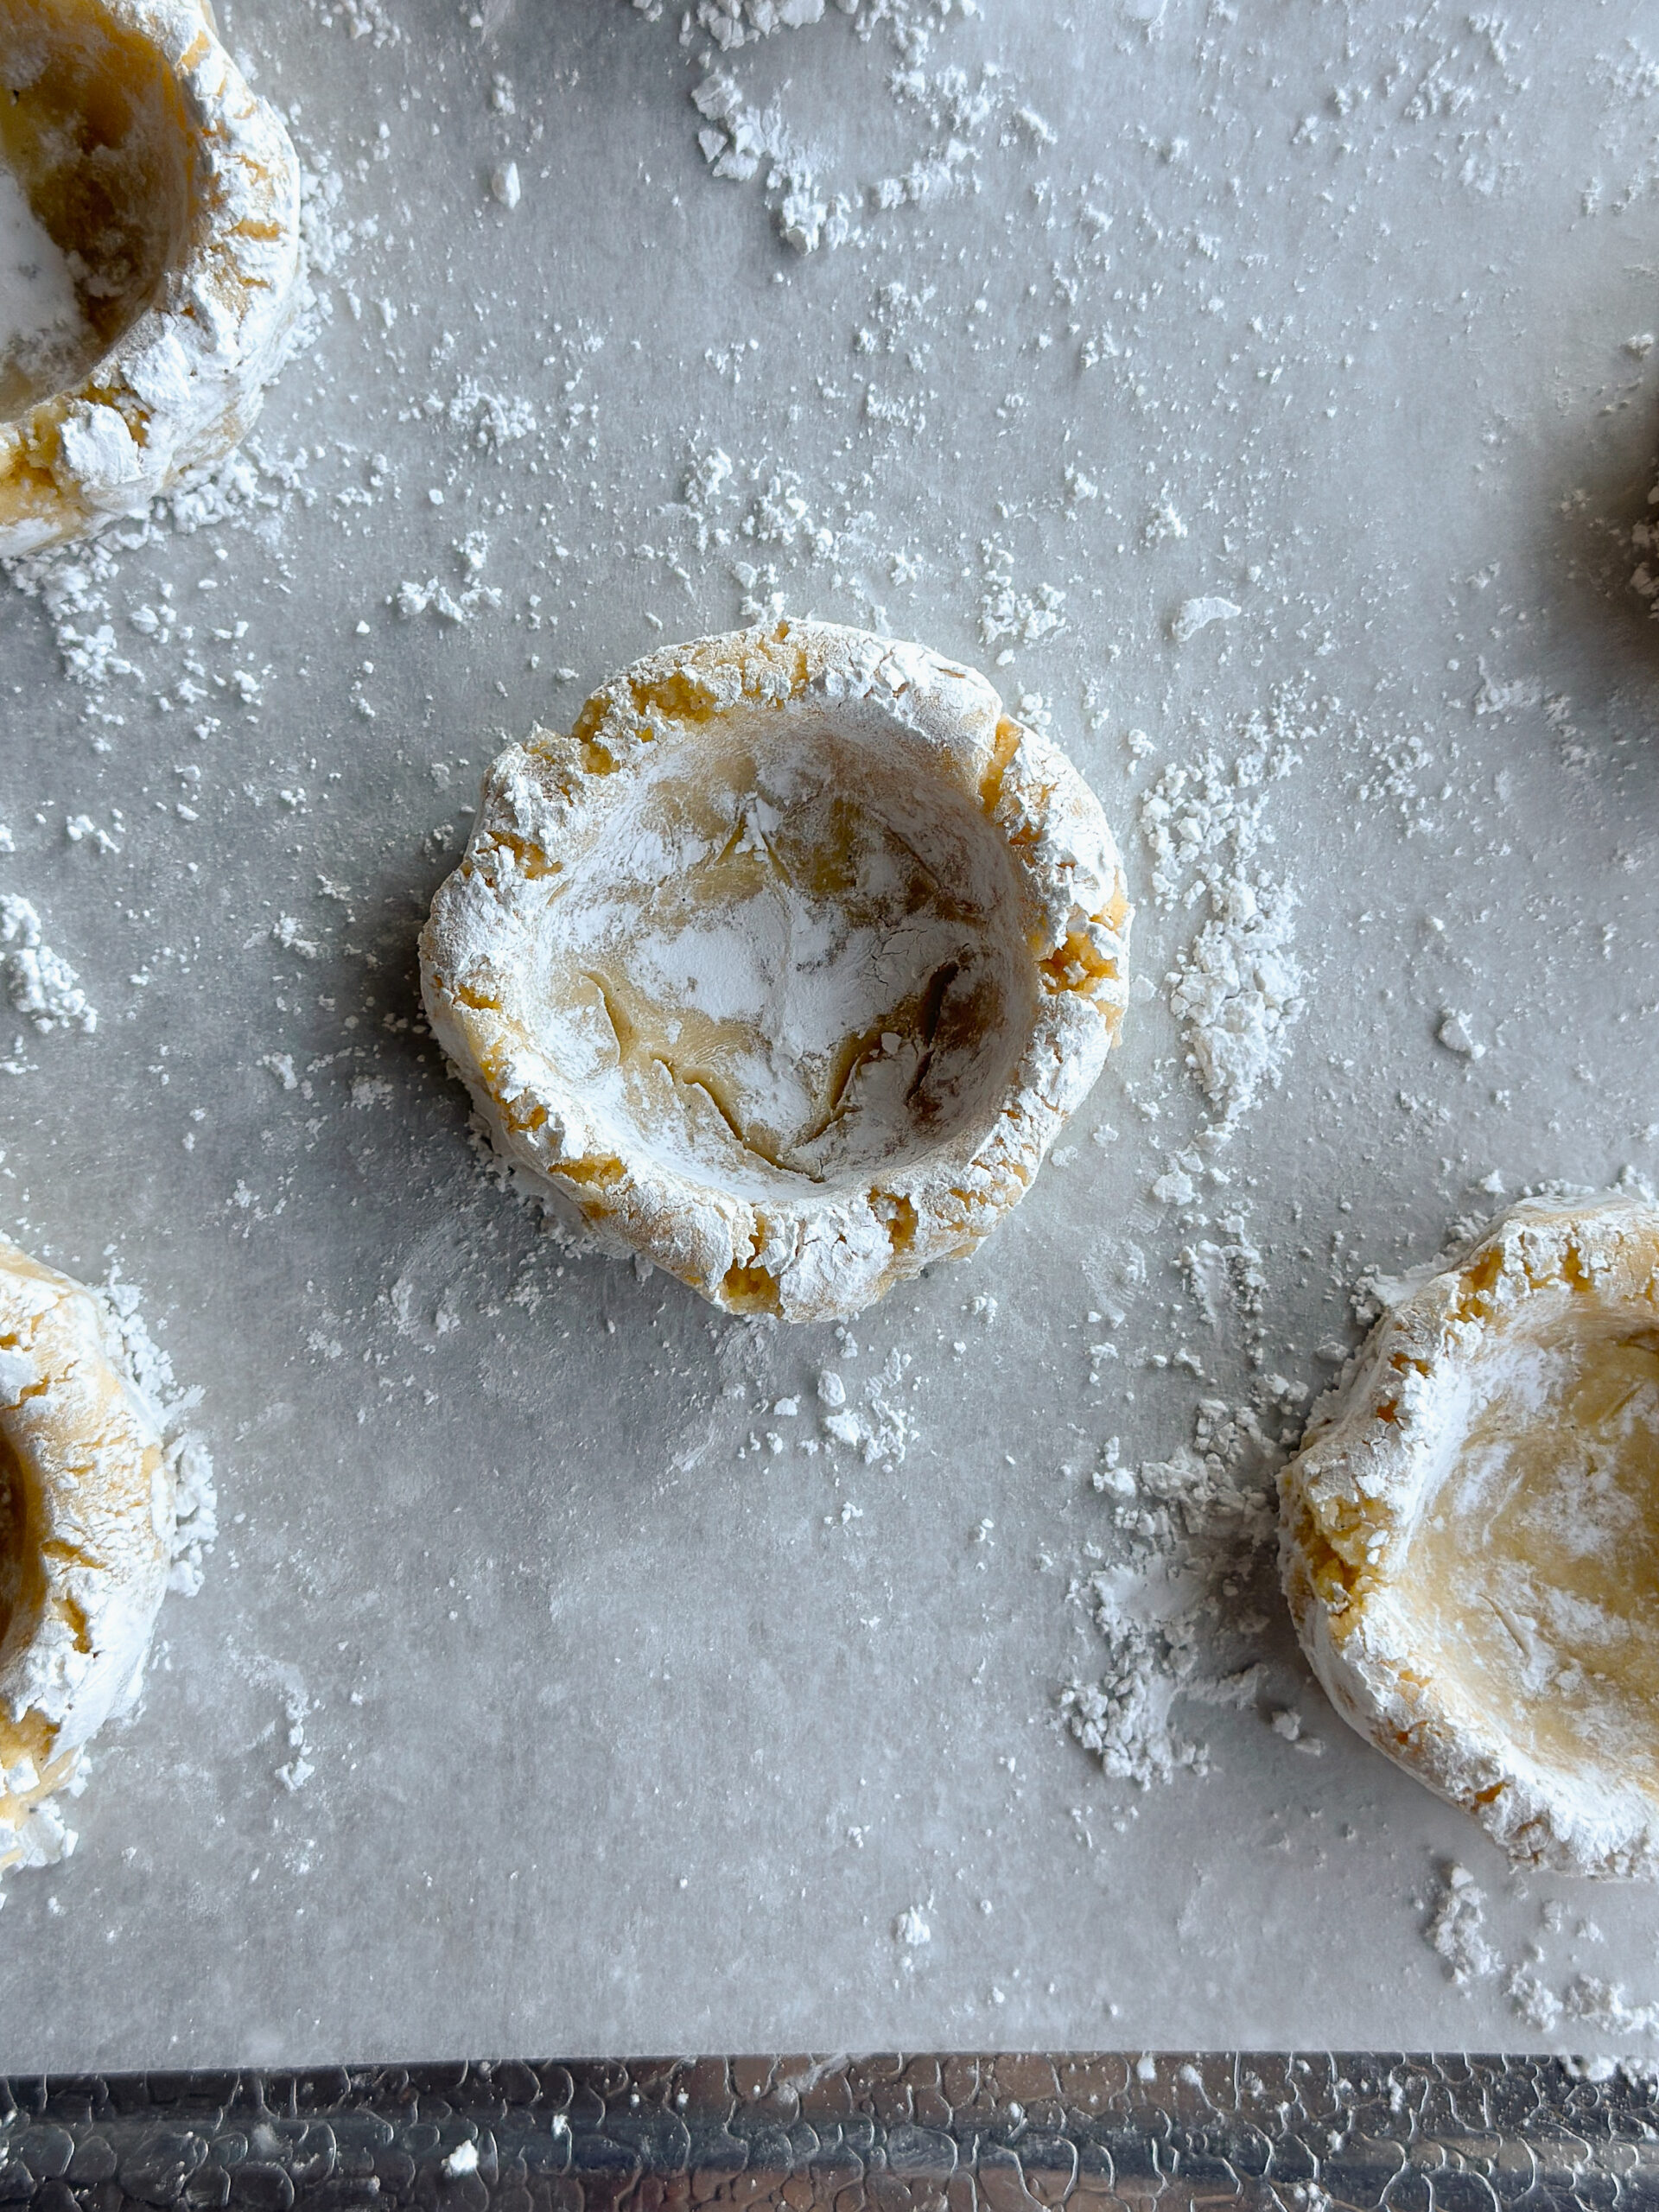
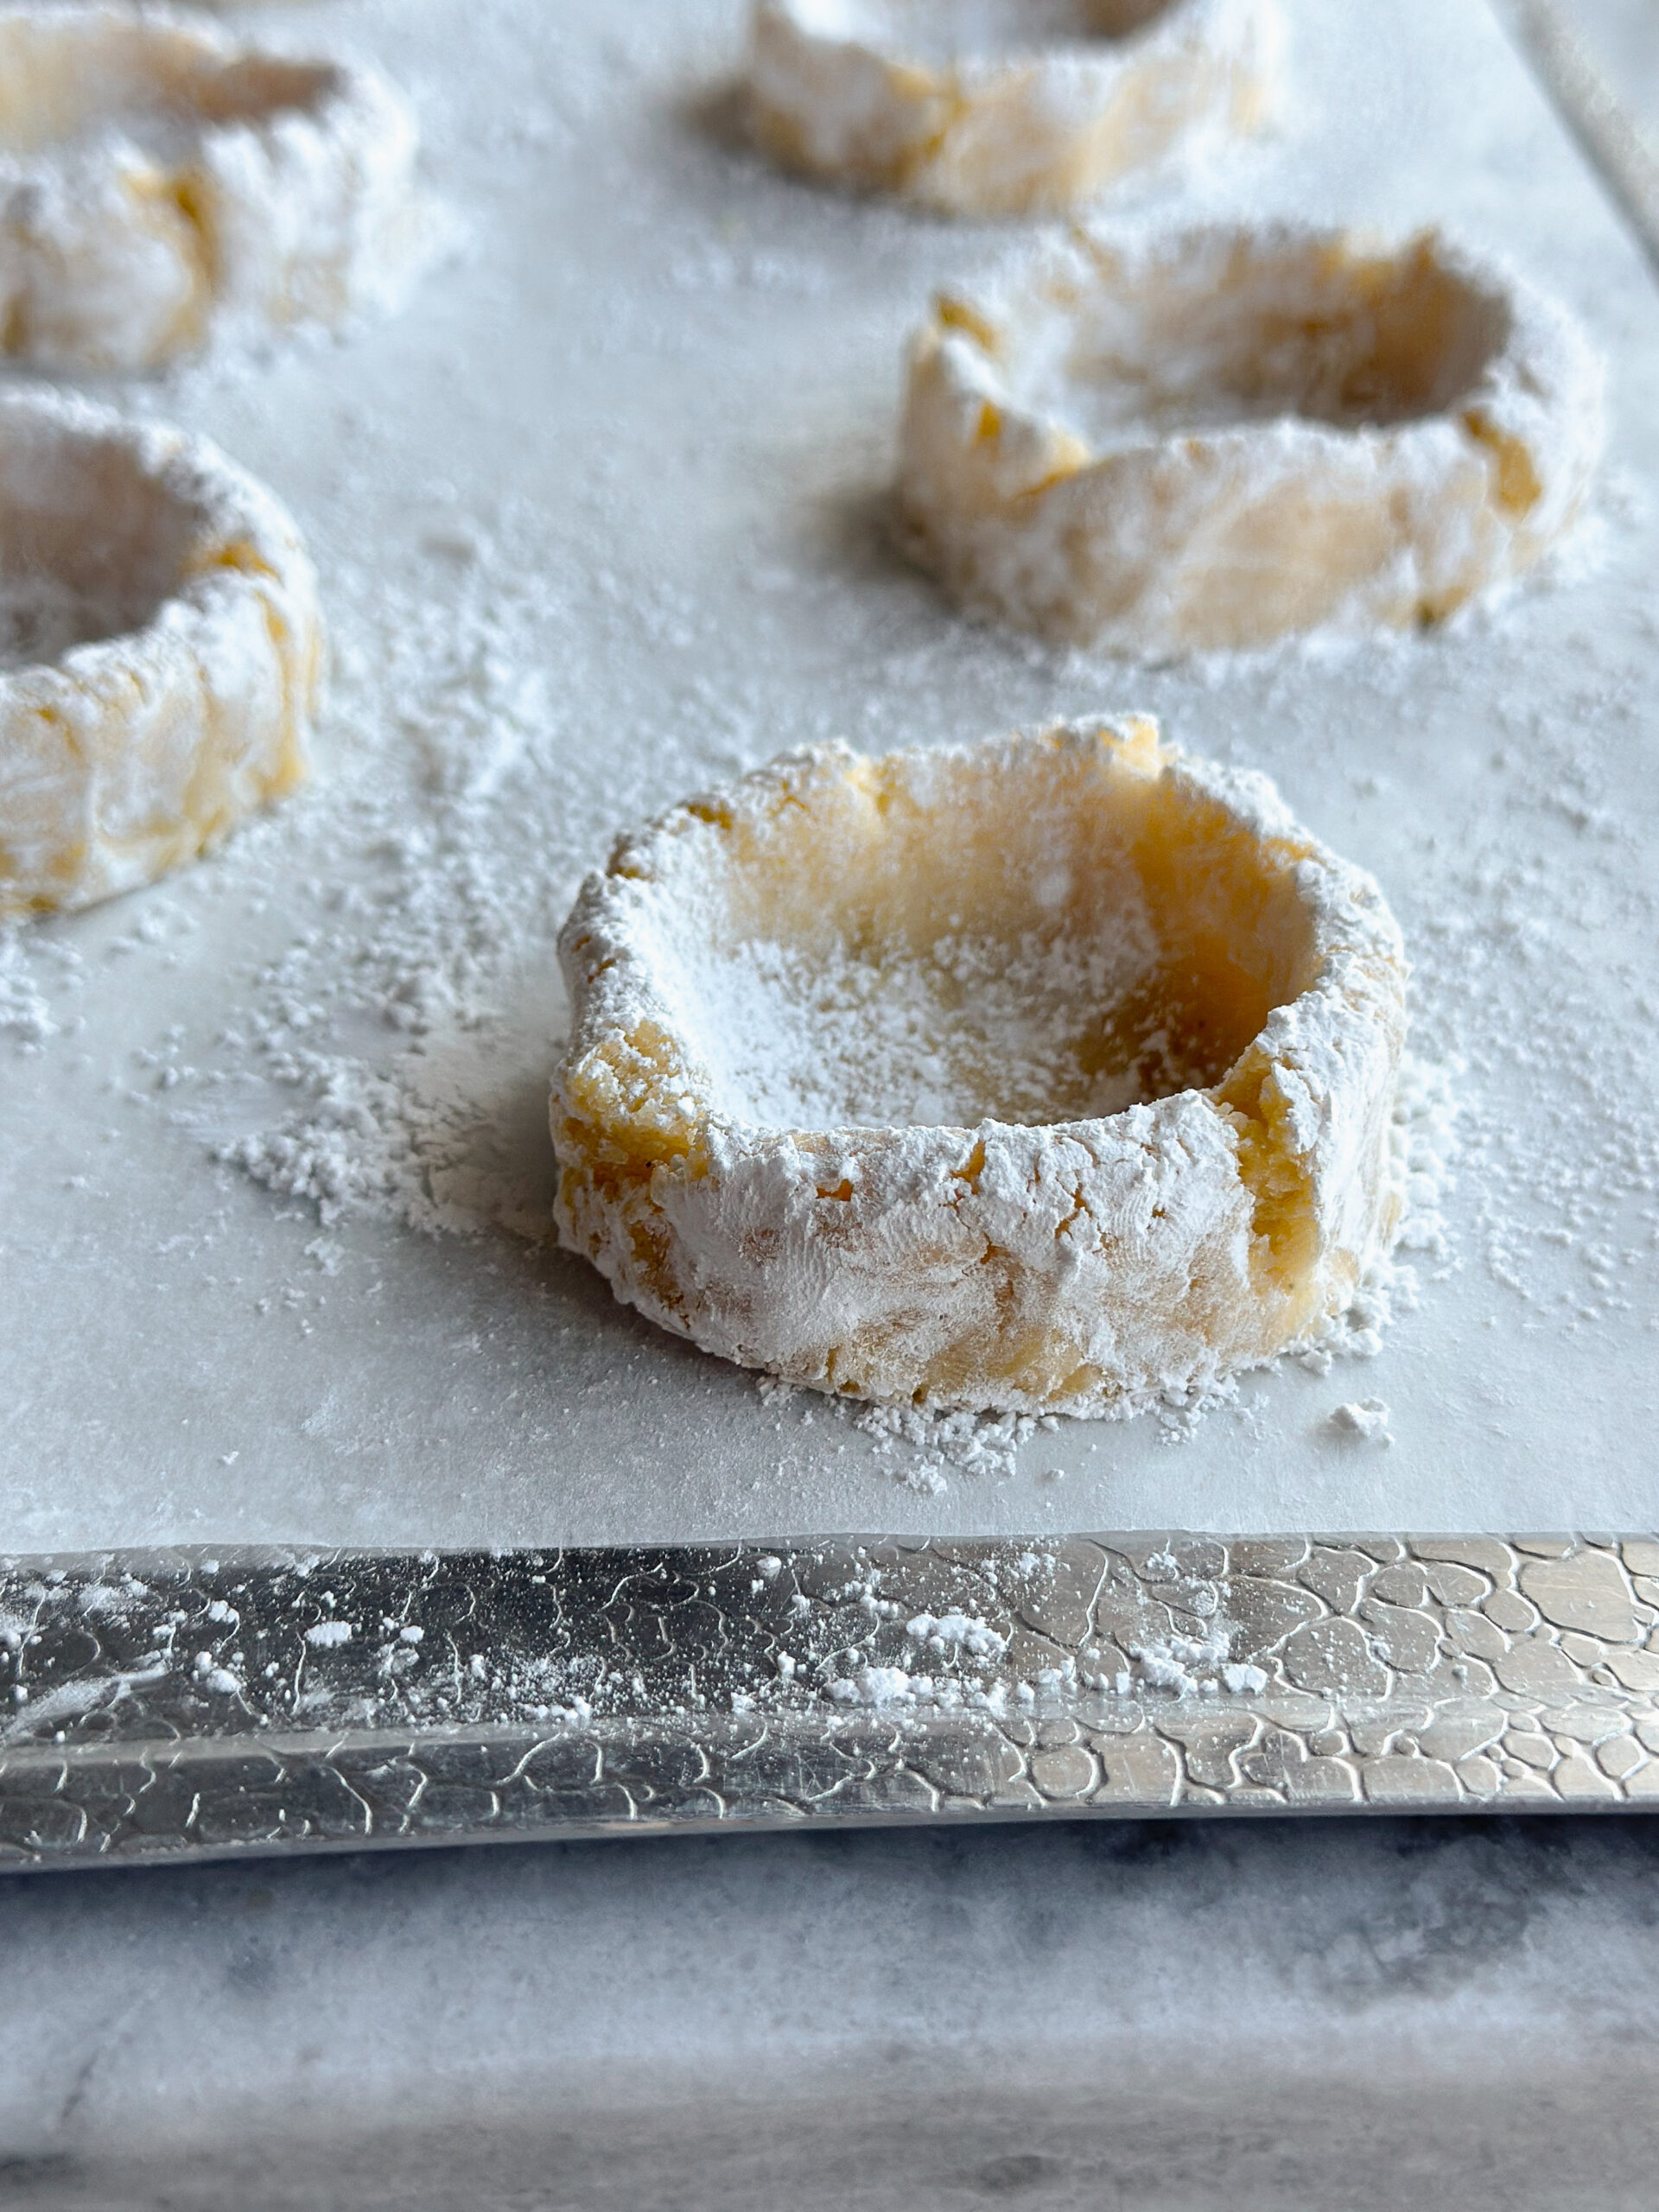
- Don’t let the marshmallows sit out for too long, or they can develop a crust. In my photos, you can see a bit of crustiness. That’s what happens when you wait too long to cut them. It’s not really a problem, other than aesthetics.
- If you under whip your marshmallows, they will take longer to set. If you whip them long enough, they will not take as long to set.
- If you’re curious, the bovine gelatin from Perfect Supplements makes a much better marshmallow than the Knox gelatin, just saying.
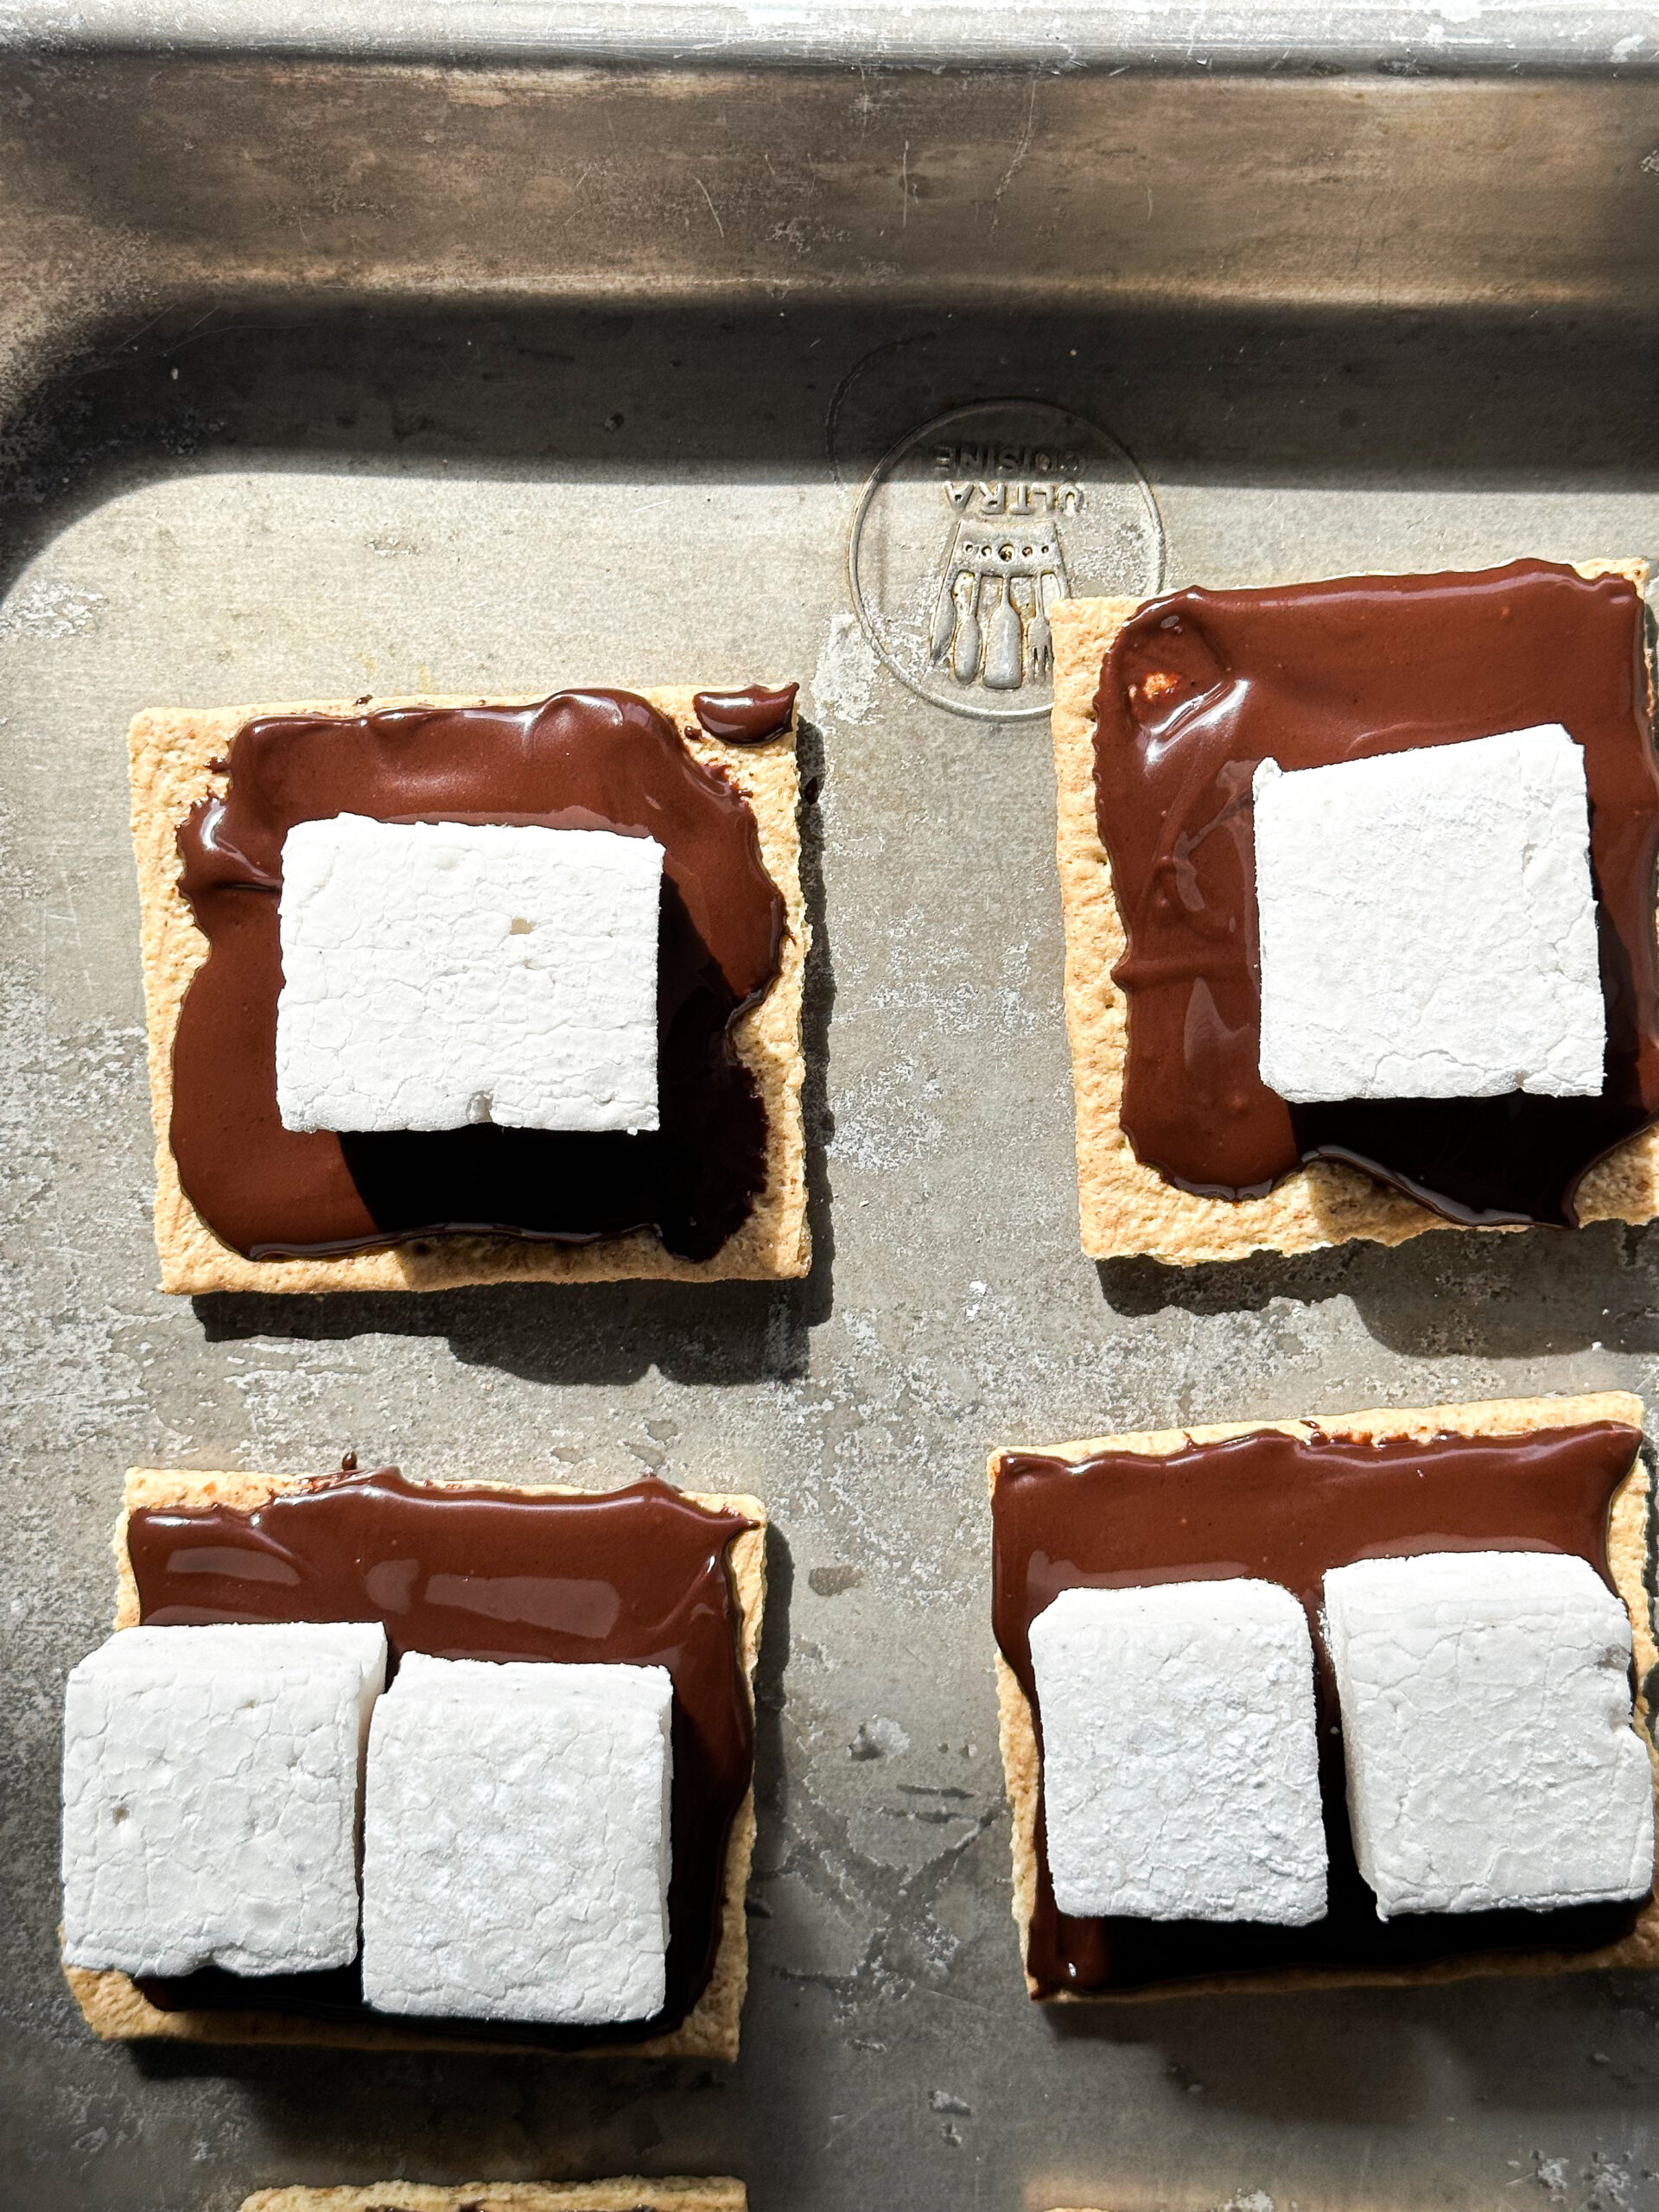
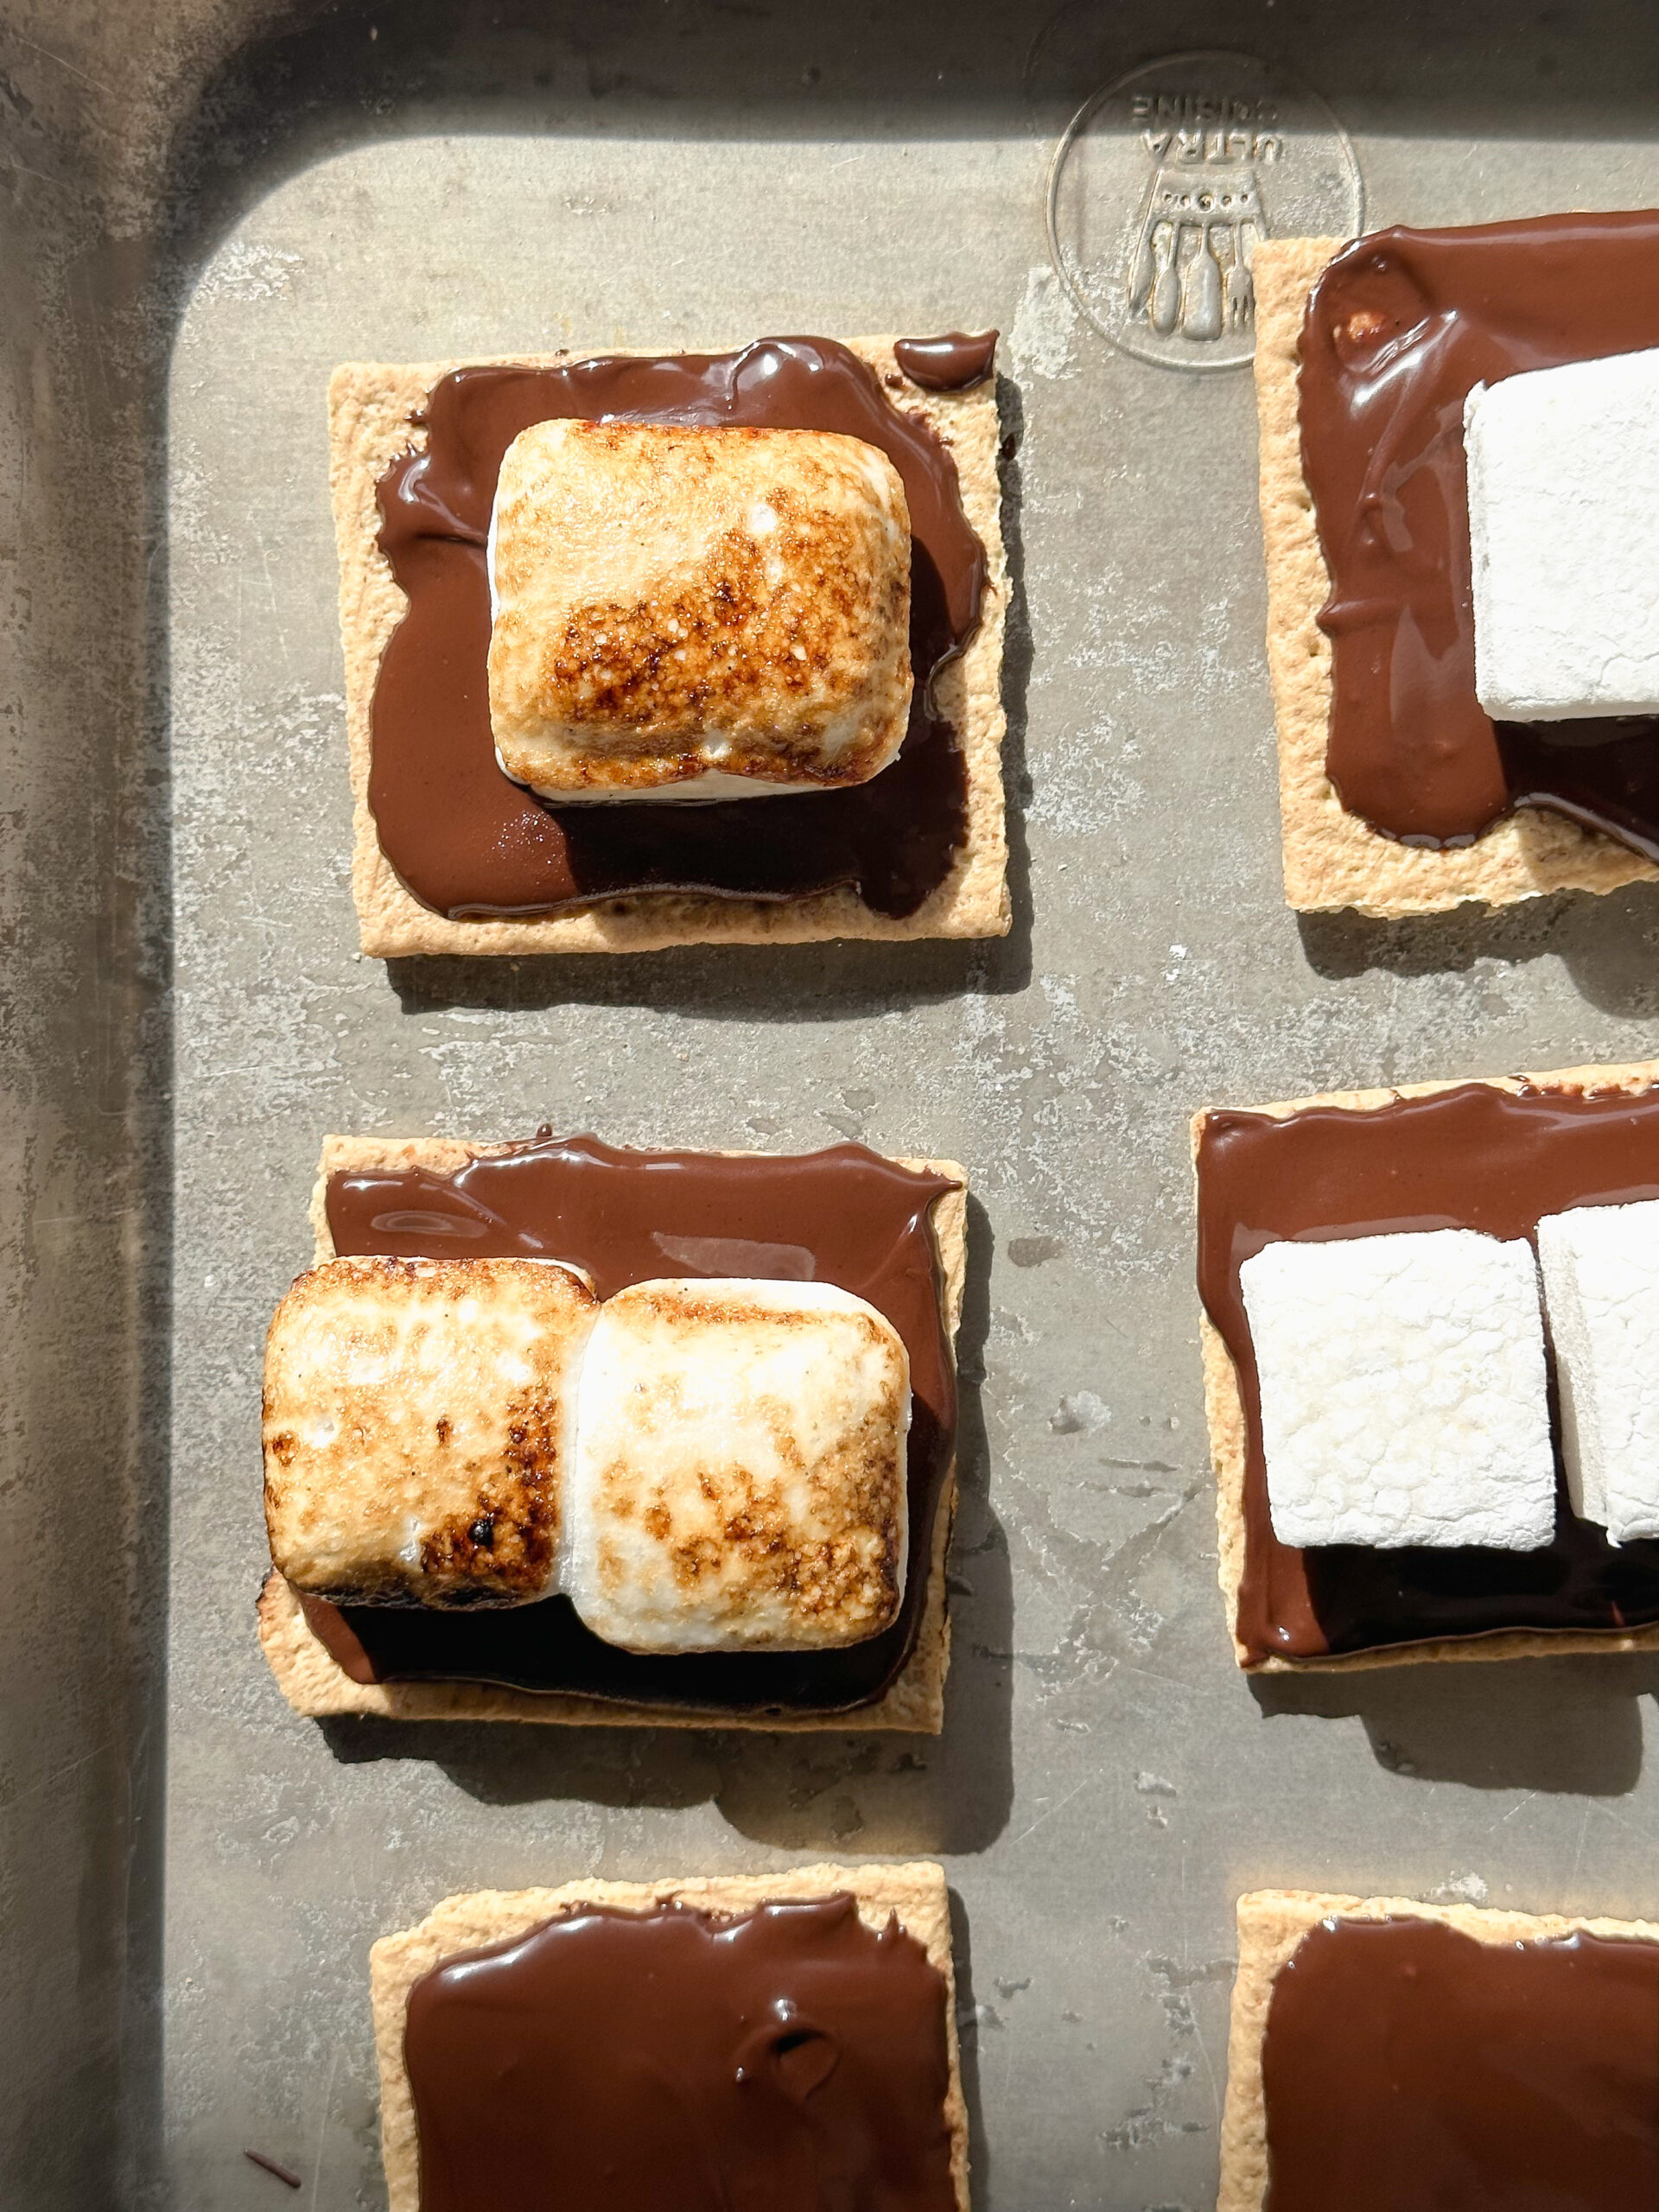
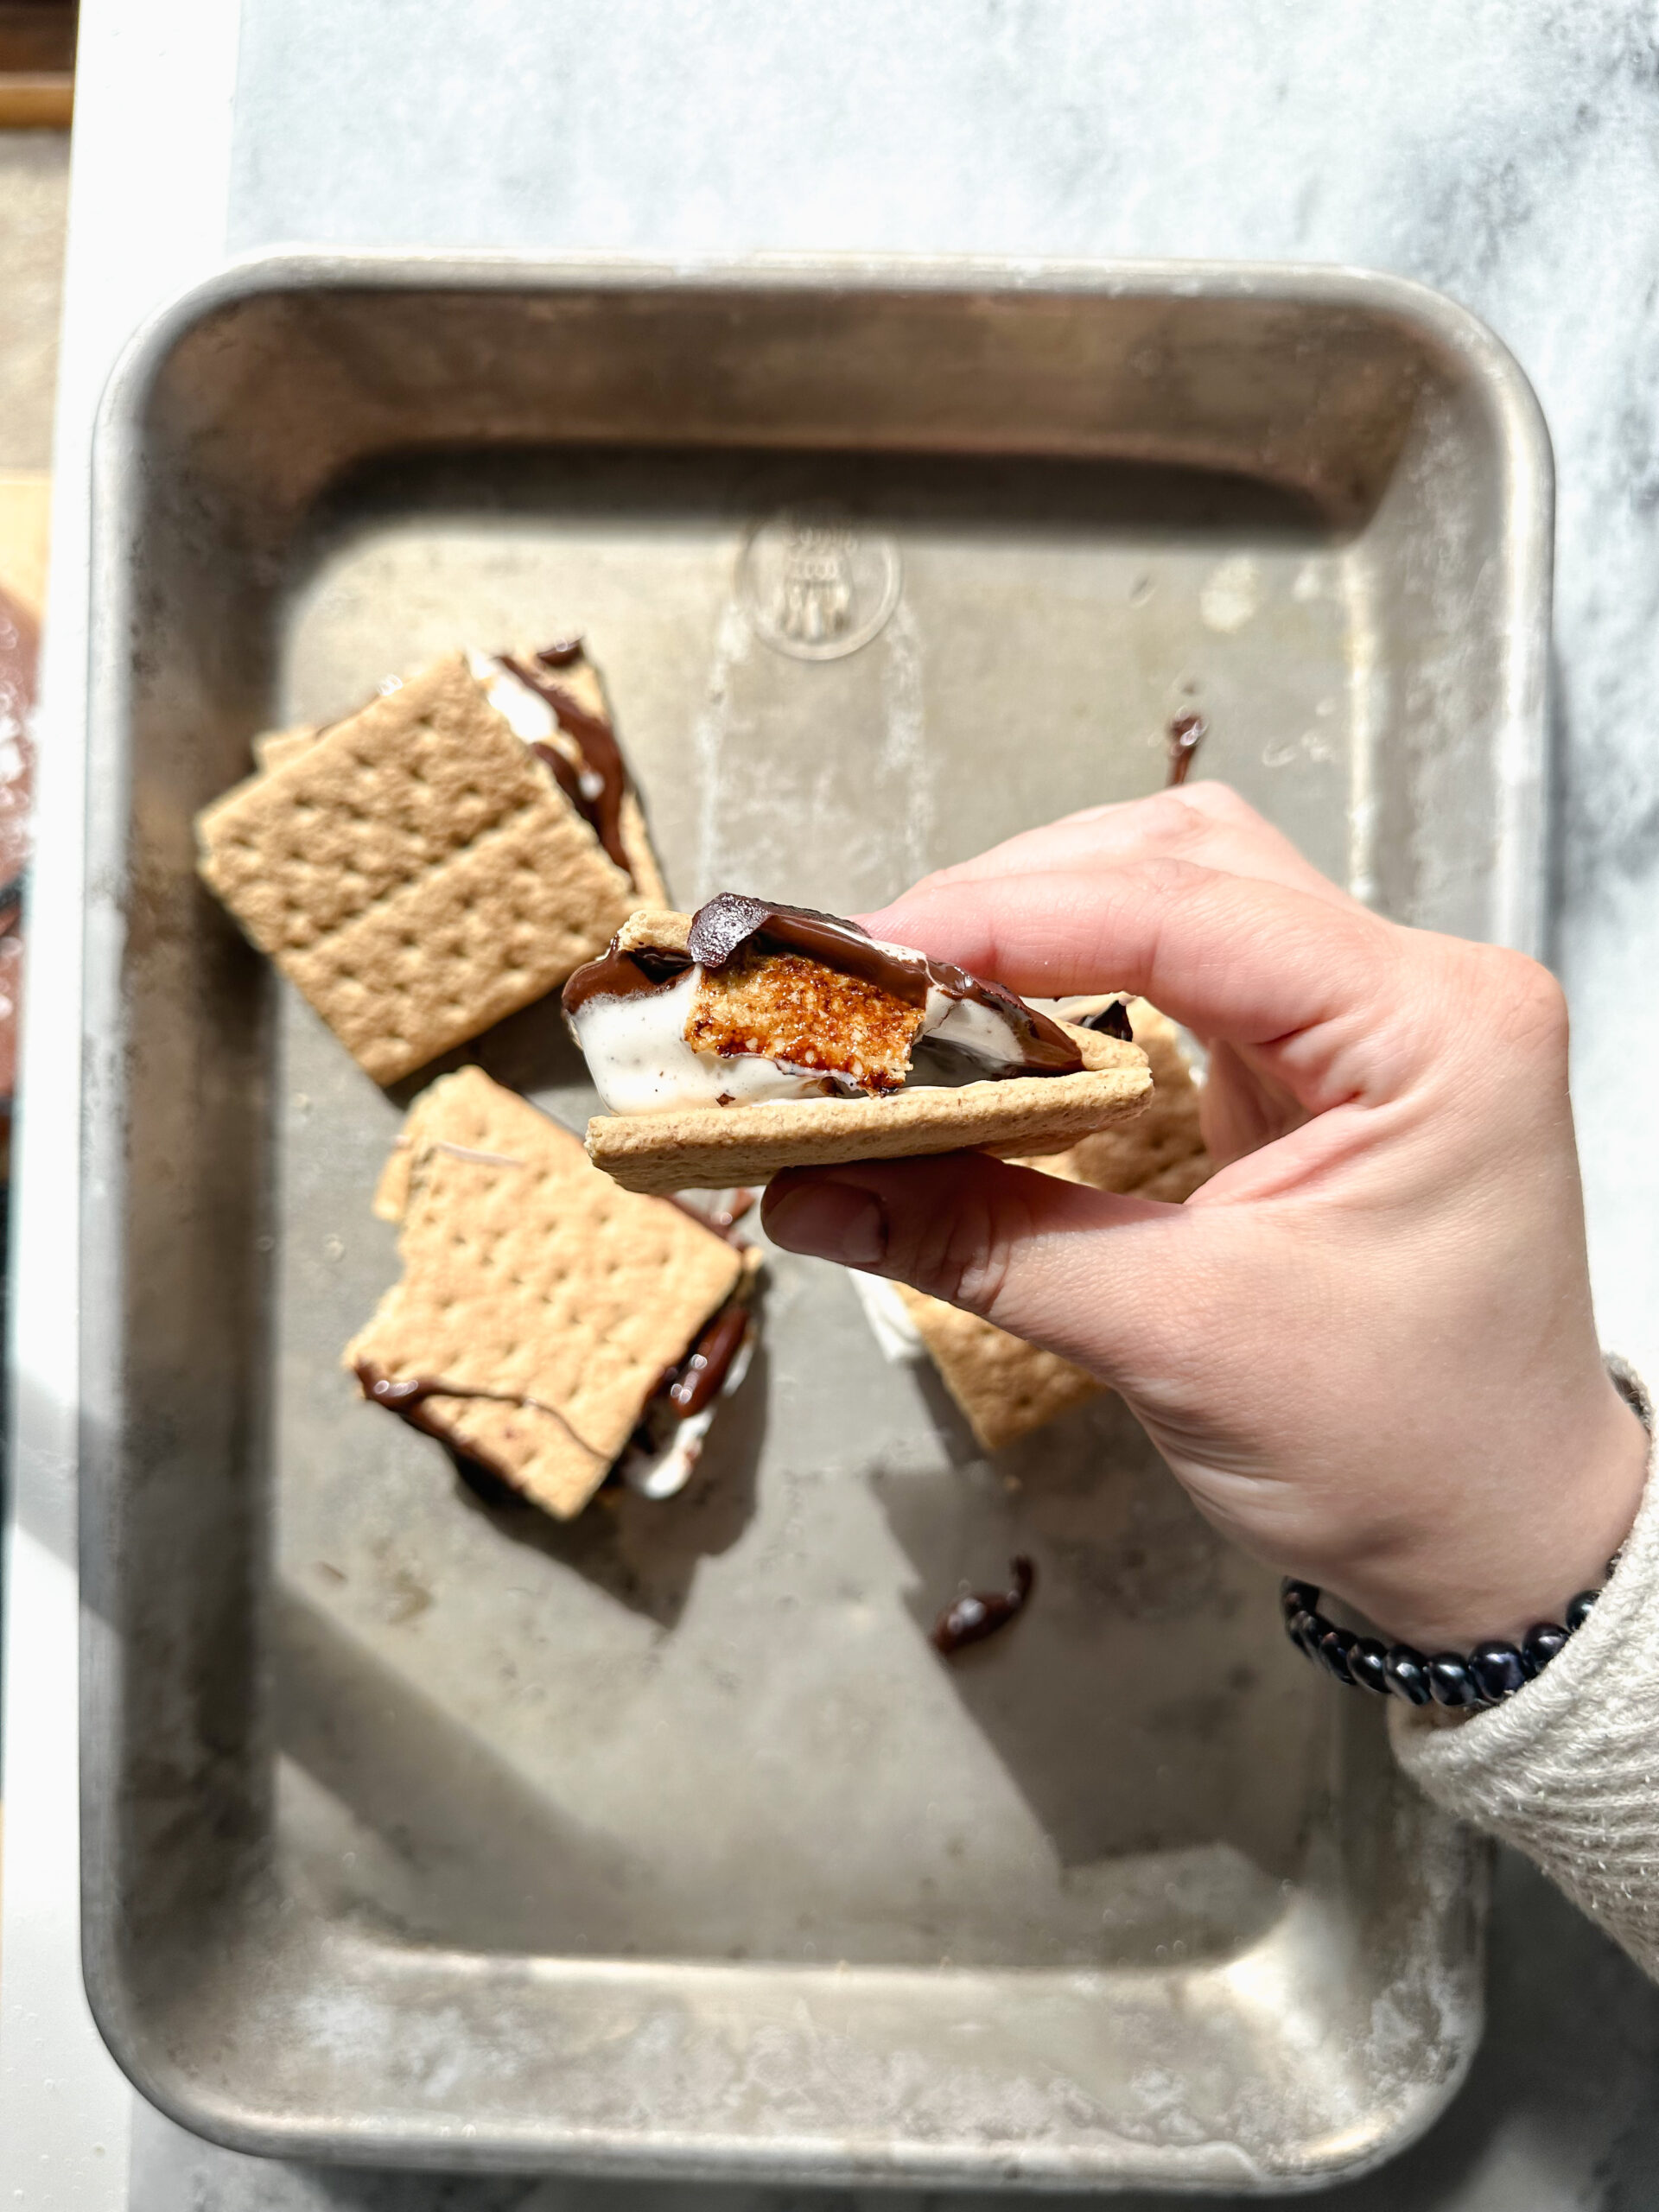
making s’mores with homemade marshmallows
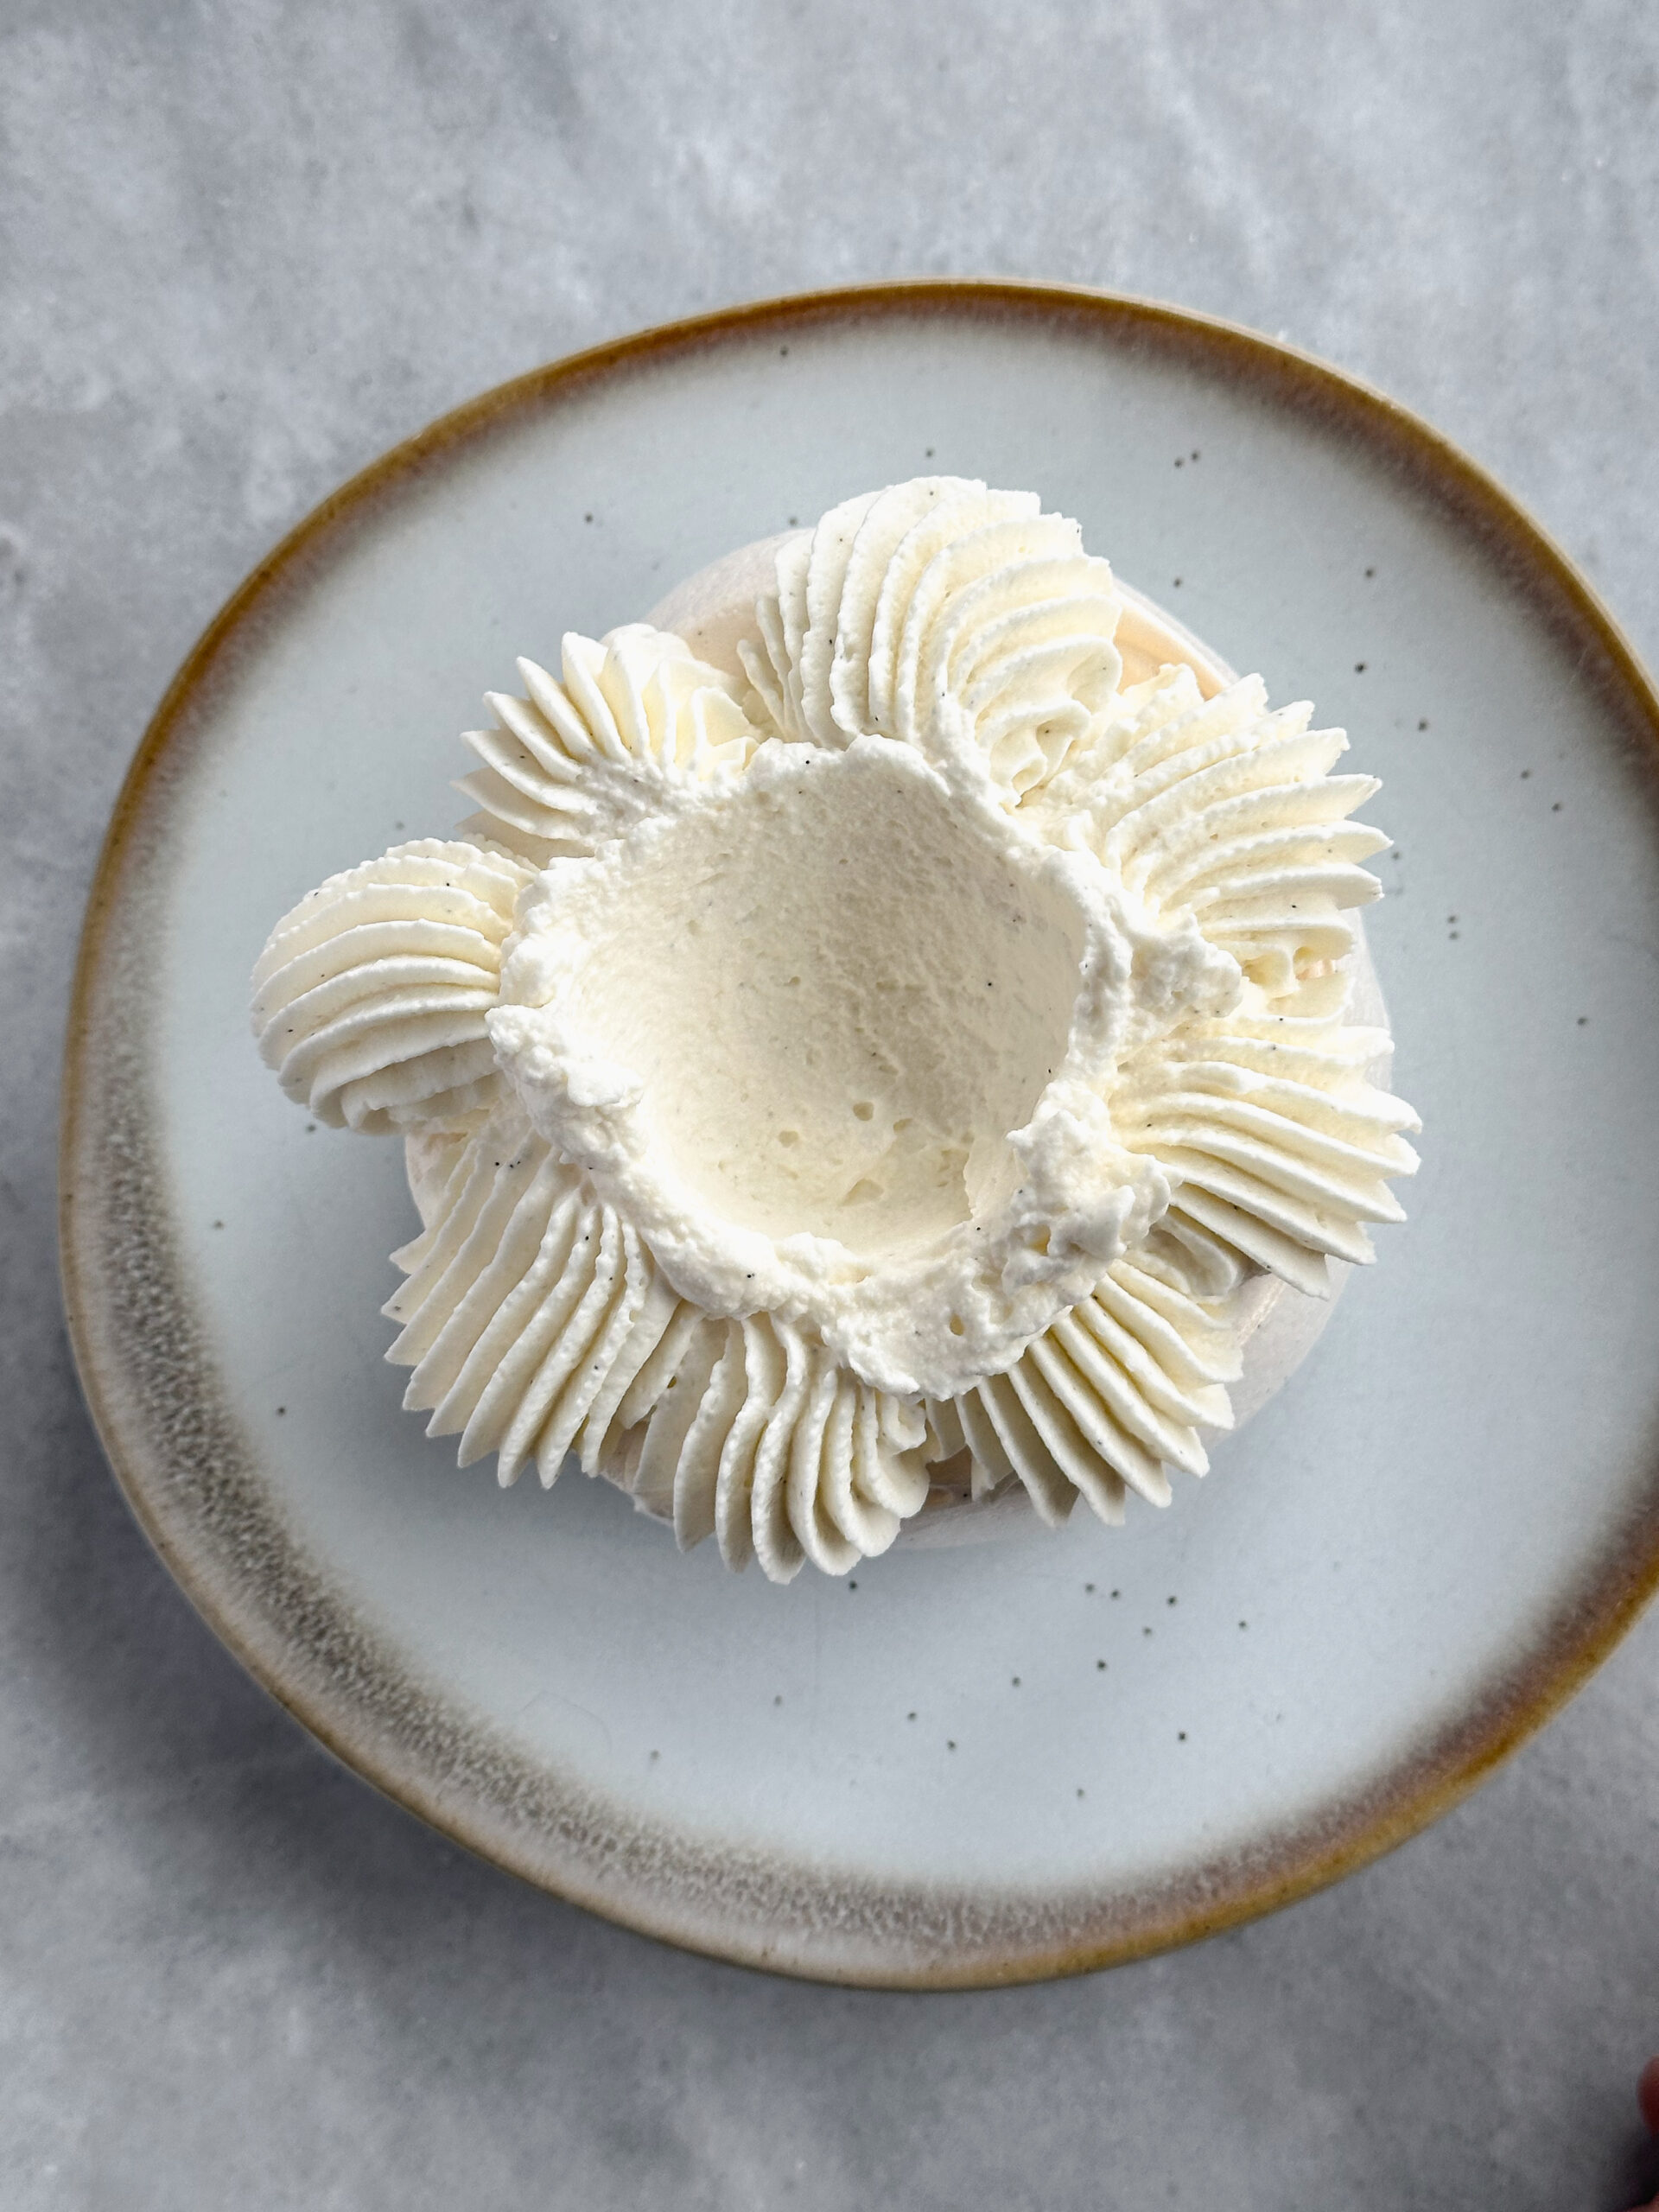
These homemade marshmallows work incredibly well for s’mores because they melt very easily with heat. The texture of a melted homemade marshmallow is so creamy and light. Add a char around the outside from flame? Insane.
FAQs
- Why does my marshmallow smell insanely bad when I first pour the syrup into the mixture with the gelatin? Gelatin has a smell, and it is normal for it to smell bad. I promise the smell will go away in the final product. In my experience, high quality bovine gelatin smells much better than the cheaper Knox gelatin.
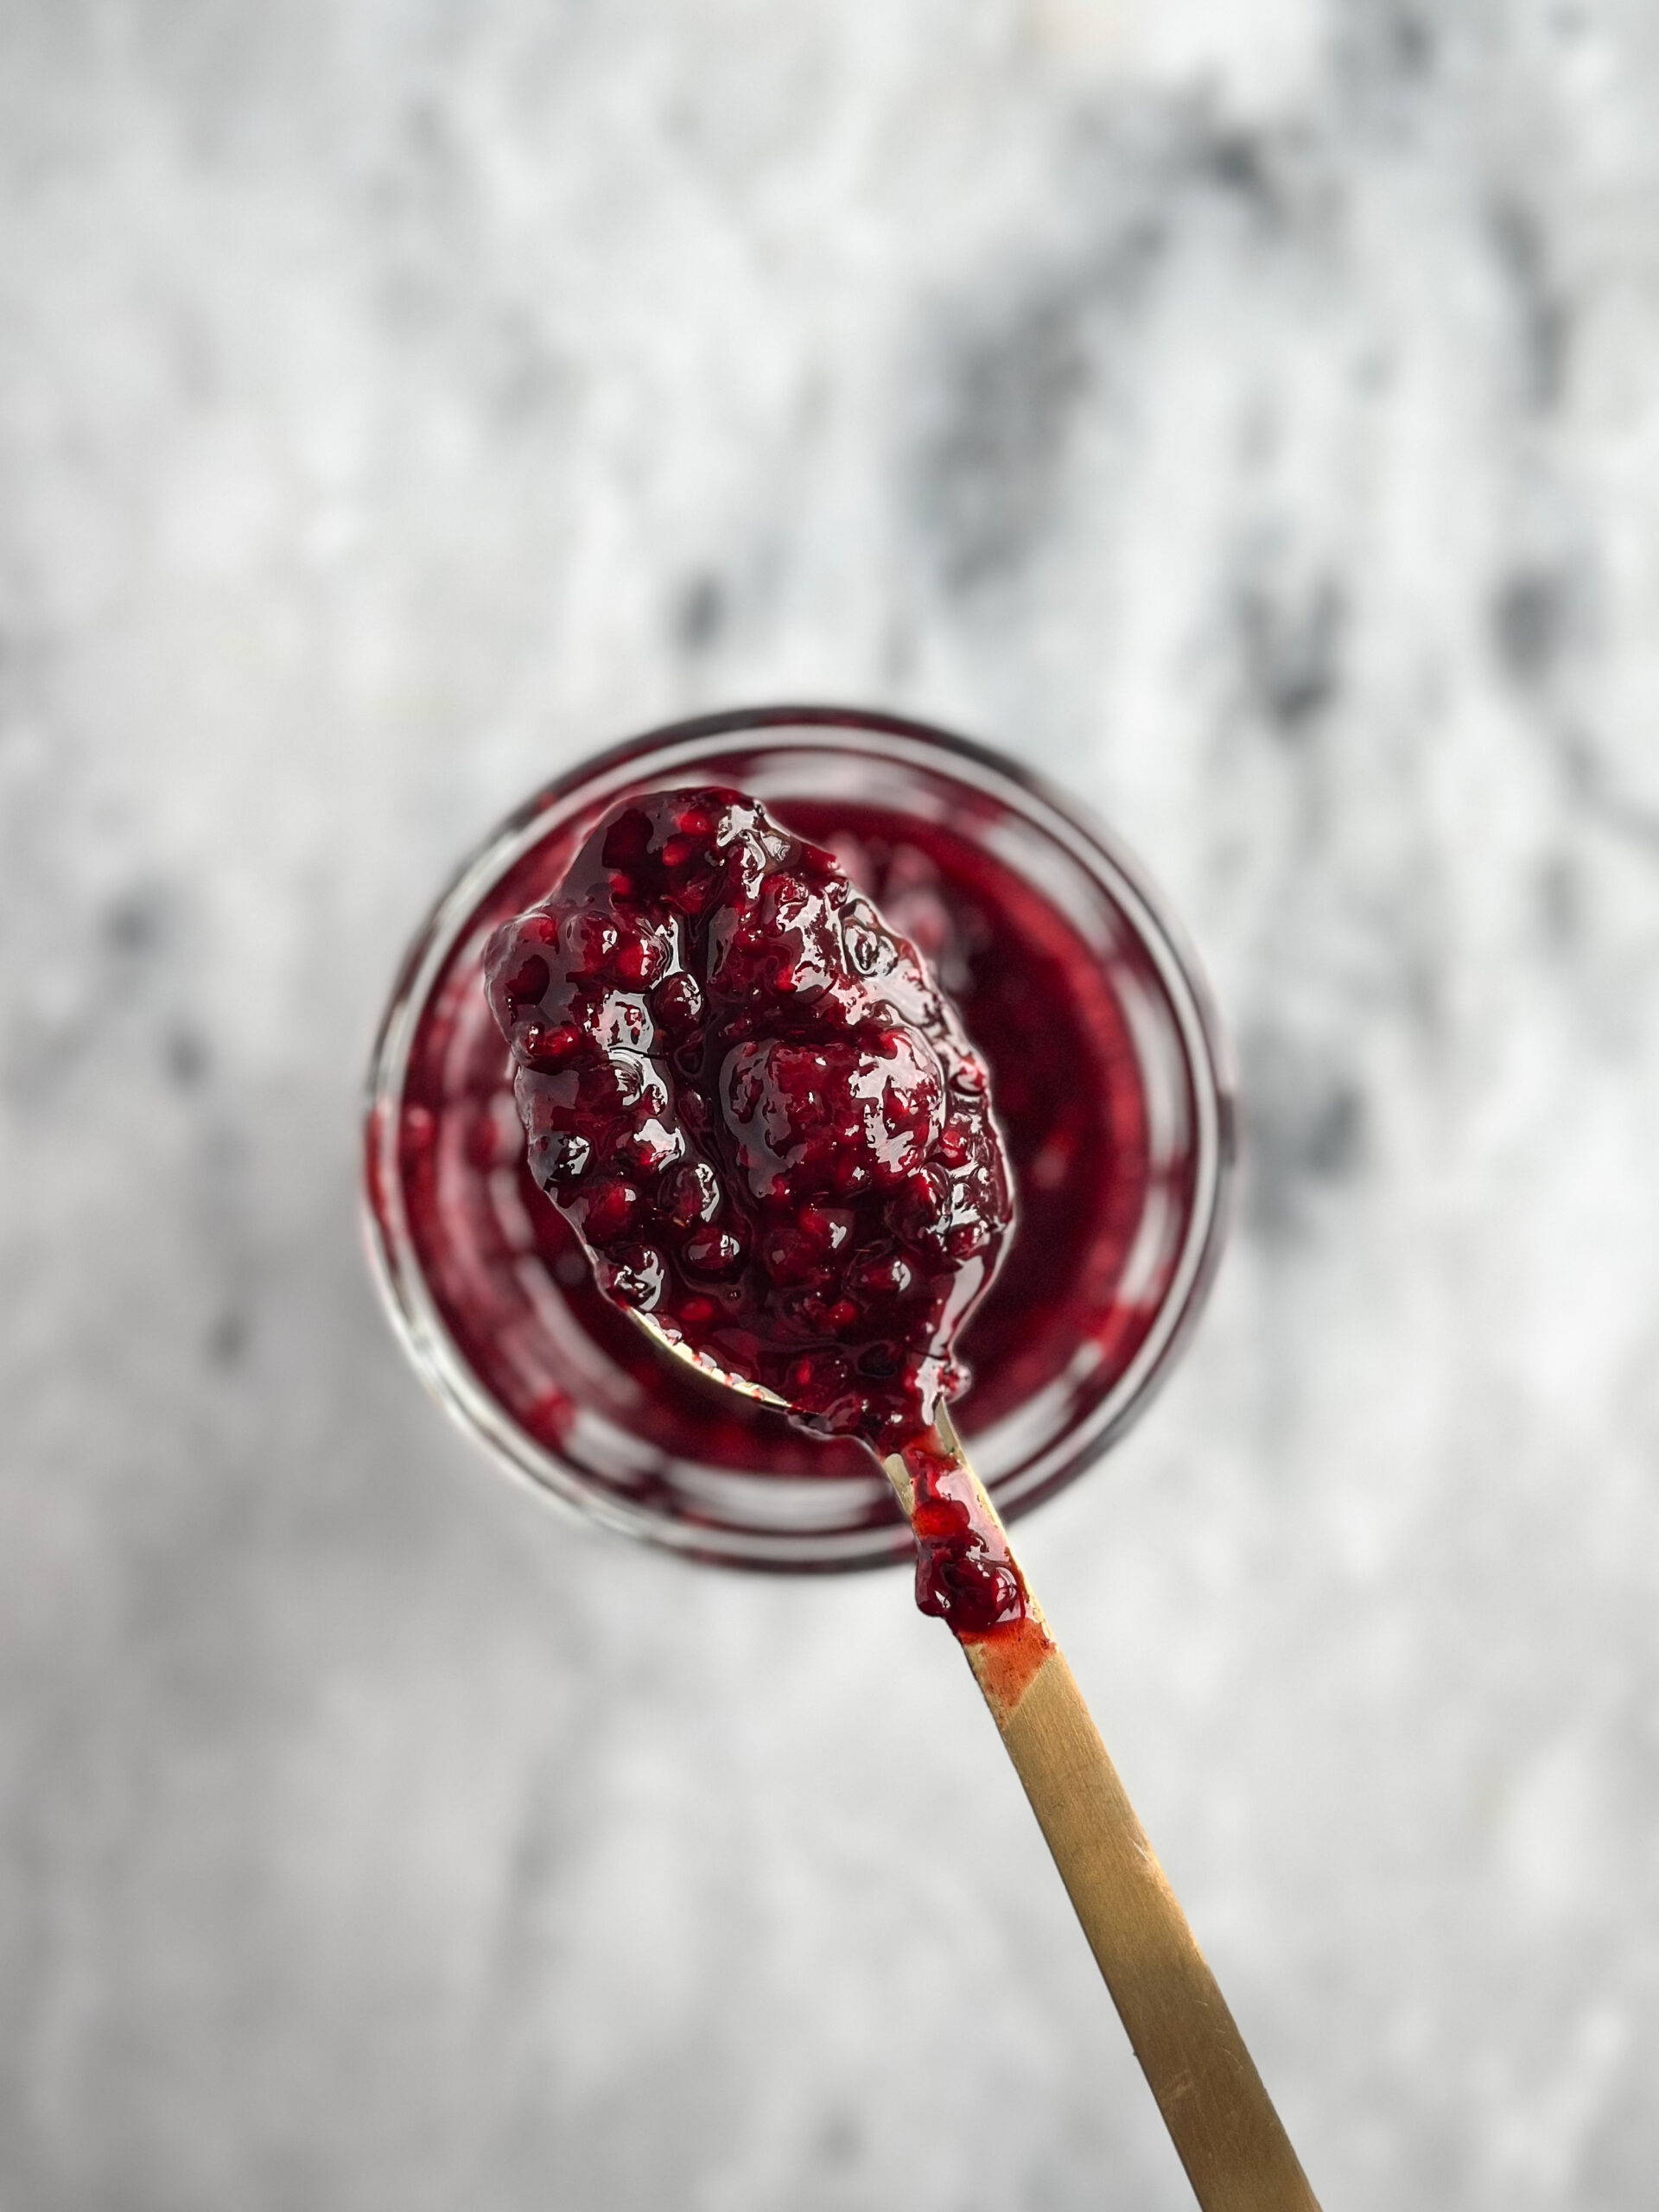
- Can I flavor my marshmallows? There are many ways to flavor marshmallows, the simplest being with extracts. I love Watkins extracts, and I’ve flavored my marshmallows with caramel and peppermint extracts. Use about ½ teaspoon to 1 teaspoon of extract. Although I haven’t tried it yet, you can also flavor marshmallows with freeze dried fruit, fruit purees, caramel, or cocoa powder.
- Do homemade marshmallows melt well? They melt incredibly well and are the most smooth and creamy melted marshmallows I’ve ever used.
- What can I do with my marshmallows? Make s’mores, put them in cups of cocoa, or dip them in fondue.
homemade marshmallows
Homemade marshmallows are much better than store-bought and so easy to make. You will not see marshmallows the same way after trying these.
Ingredients
The Marshmallow
21g unflavored gelatin (3 Knox envelopes)
½ cup cold water
300g (1 ½ cups) granulated sugar
320g (1 cup) corn syrup
½ cup water
½ tsp Diamond Crystal kosher salt (or ¼ tsp regular table salt)
1 tbsp vanilla bean paste
The Dust
60g (½ cup) powdered sugar
40g (¼ cup) cornstarch
Instructions
Prepare a 8”x8” or 9”x9” pan by lightly greasing it with some butter or oil. Make a parchment paper sling by placing two pieces of parchment paper over each other in opposite directions. Sprinkle a layer of powdered sugar “dust” over the parchment and sides of the pan. Set the pan aside.
In a small bowl, combine the gelatin and ½ cup of cold water. Set aside.
In a medium sized saucepan, combine the granulated sugar, corn syrup, ½ cup water, and the salt. Bring to the stovetop and stir gently to moisten the sugar entirely. Cook without stirring until the temperature reaches 238 F to 240 F.
To the bowl of a stand mixer with a whisk attachment, add the gelatin puck. Slowly stream in the sugar syrup while mixing on low speed. Once all the sugar syrup has been added, raise the speed of the mixer to medium speed and continue mixing until light, fluffy, and thick. (About ten minutes.) Add the vanilla bean paste and mix until combined.
Pour the marshmallow fluff into the pan and spread it into place.
In a bowl, combine the powdered sugar and cornstarch.
Using a fine mesh sieve, sprinkle the powdered sugar “dust” all over the surface and allow it to set for a few hours. Cover the top of the pan with a dish towel to prevent the marshmallow from drying out.
Once the marshmallows are set, remove them from the pan and place onto a surface dusted with the powdered sugar mixture. Using a large greased knife, cut the marshmallow square into even strips. Cut each strip into even squares, dusting the cut edges as you go to prevent sticking.
Store the marshmallows in an airtight container for up to three weeks.
Notes
- Why does my marshmallow smell insanely bad when I first pour the syrup into the mixture with the gelatin? Gelatin has a smell, and it is normal for it to smell bad. I promise the smell will go away in the final product. In my experience, high quality bovine gelatin smells much better than the cheaper Knox gelatin.
- Can I flavor my marshmallows? There are many ways to flavor marshmallows, the simplest being with extracts. I love Watkins extracts, and I’ve flavored my marshmallows with caramel and peppermint extracts. Use about ½ teaspoon to 1 teaspoon of extract. Although I haven’t tried it yet, you can also flavor marshmallows with freeze dried fruit, fruit purees, caramel, or cocoa powder.
- Do homemade marshmallows melt well? They melt incredibly well and are the most smooth and creamy melted marshmallows I’ve ever used.
- What can I do with my marshmallows? Make s’mores, put them in cups of cocoa, or dip them in fondue.